









Most projector placement advice ends once the throw distance works. That is necessary, but it is not enough for a real home theater. A projector can produce the right image size and still end up too close to your ears, too low over a recliner, difficult to service, or in the path of a head, light, ceiling fan, or air vent.
The best projector location is not simply the center of the room or the spot directly above the couch. It is the area where the projector’s optics, the screen, the seats, the people using them, and the room itself can all work together.
This guide shows you how to find that area before you drill into the ceiling or build a permanent shelf.
The Right Projector Location Is a Zone, Not a Single Point
A throw-distance calculator may give you a range of possible distances. Your projector’s vertical offset and lens shift create another range. The seats, ceiling, wiring, and ventilation then remove the positions that do not work in practice.
What remains is your usable mounting zone: the part of the room where the projector works optically and remains comfortable, safe, and practical to live with.
A good location must pass six checks:
- The projector can produce the intended image size.
- The lens can align with the screen without excessive digital correction.
- The light path clears people, seat backs, and walkways.
- Fan noise is acceptable from the actual seats.
- The projector has the ventilation and service access required by its manual.
- The mount does not conflict with speakers, lights, HVAC, wiring, or other ceiling features.
If a position fails one of these checks, it is not the right location—even if the image fits perfectly.

Decide These Four Things Before Measuring the Projector
Projector placement becomes much easier when a few room decisions are already stable.
1. The screen wall and image size
You need the intended image width, not only the advertised diagonal size. Throw ratio is based on image width, and different aspect ratios produce different widths at the same diagonal measurement.
If the screen size is still changing, the projector’s mounting range will keep changing with it. Settle that decision first with a home theater screen size guide, then calculate the lens range.
2. The finished position of the seats
Measure the seats where they will actually be used. Include:
- the front and back of each row;
- the highest point of the backrest or headrest;
- the viewer’s approximate head position while sitting upright;
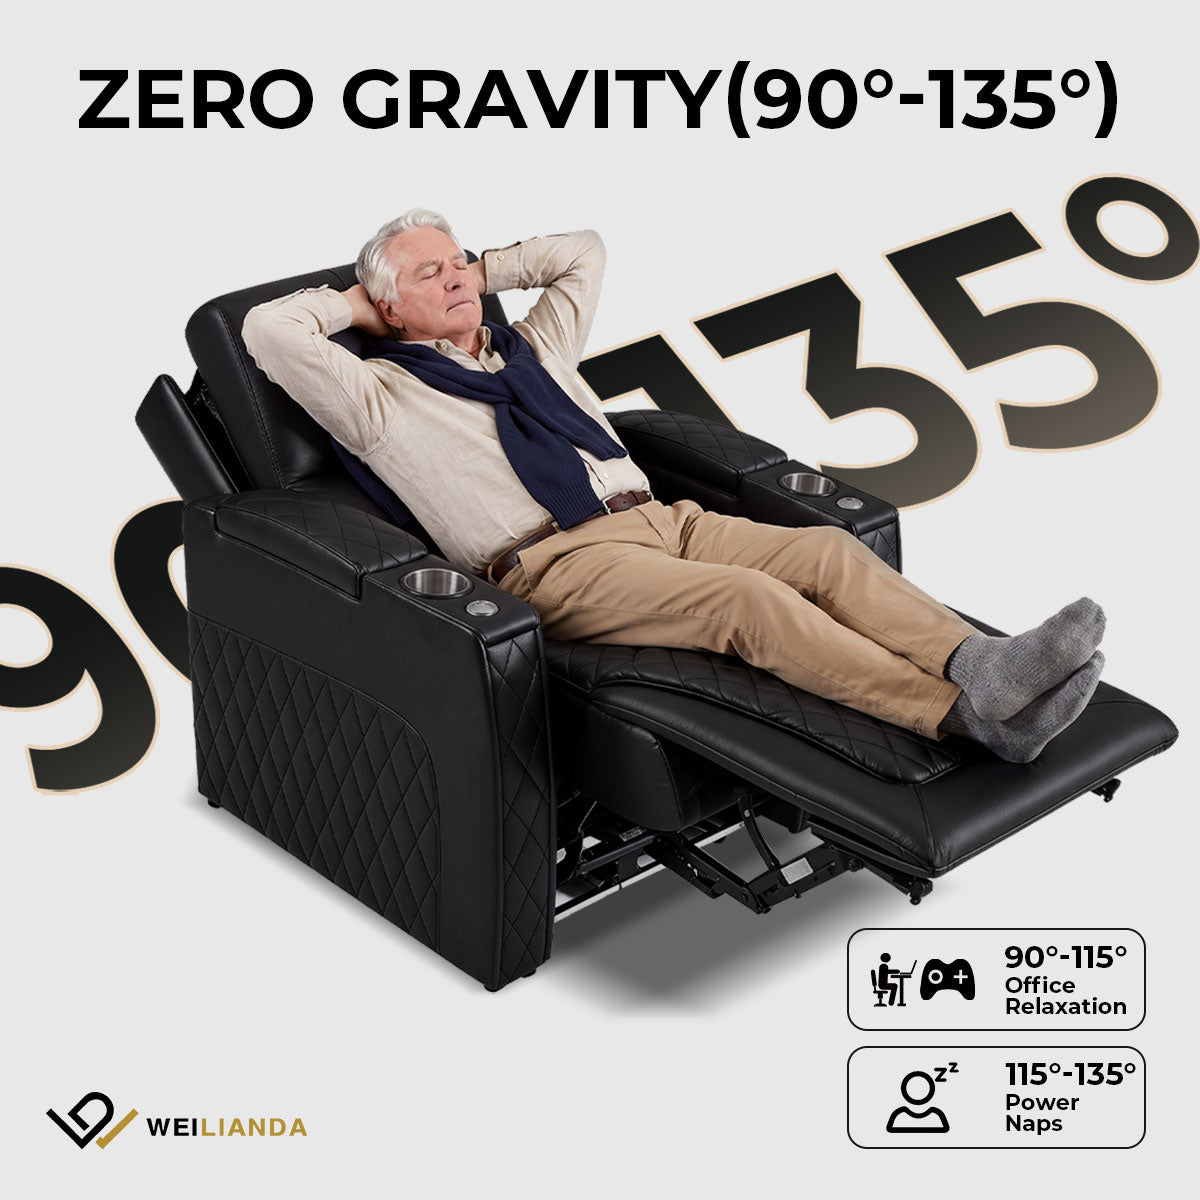
- the head and backrest position when fully reclined;
- the space people use when entering or leaving the row.
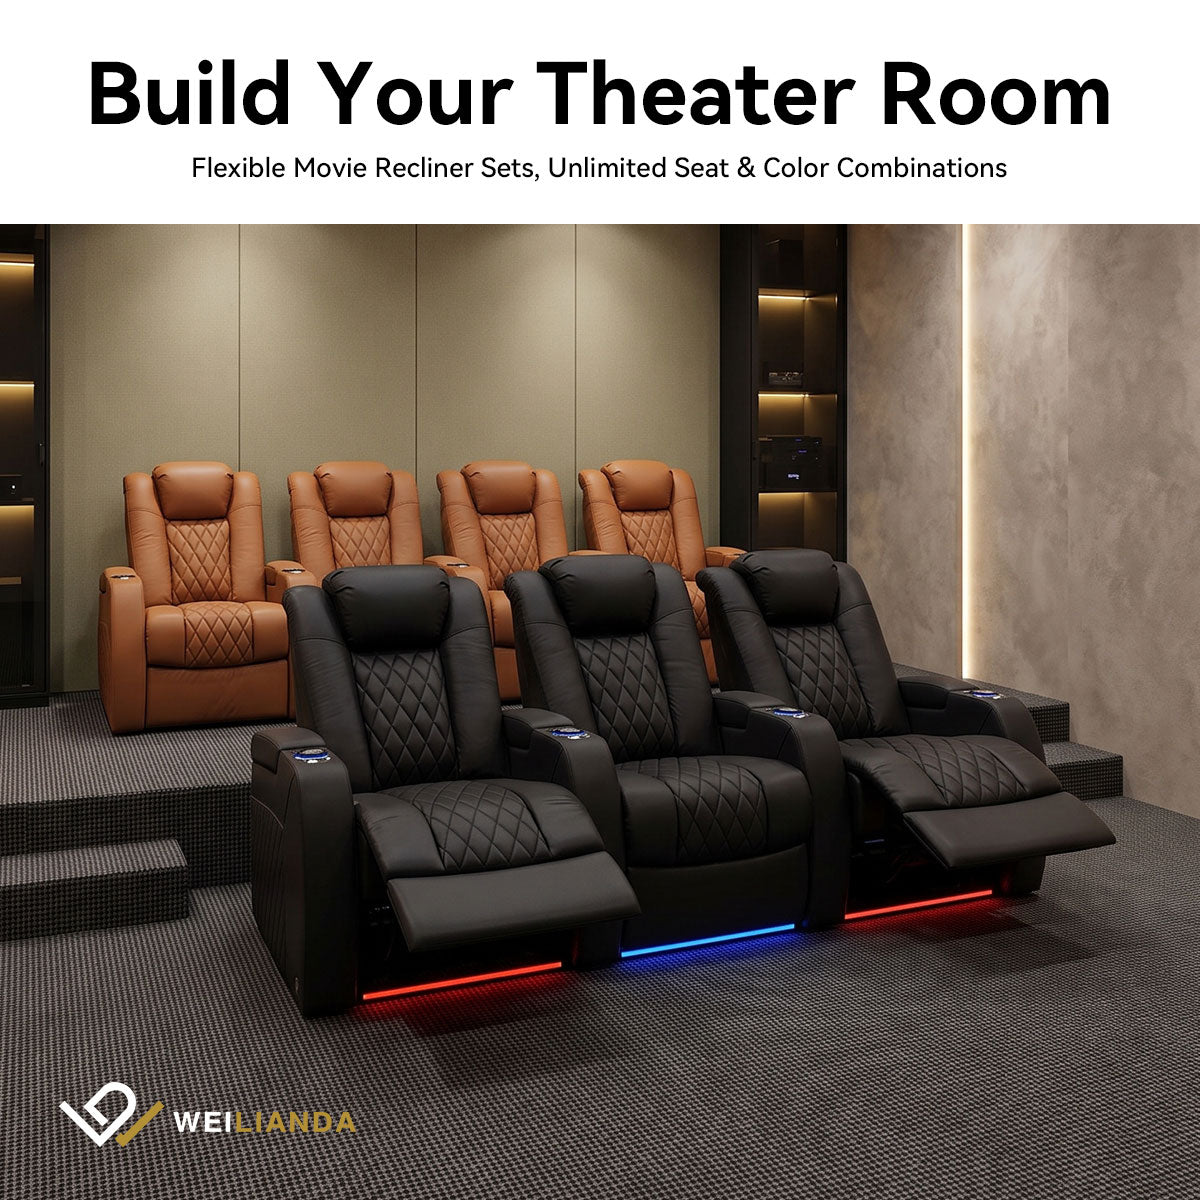
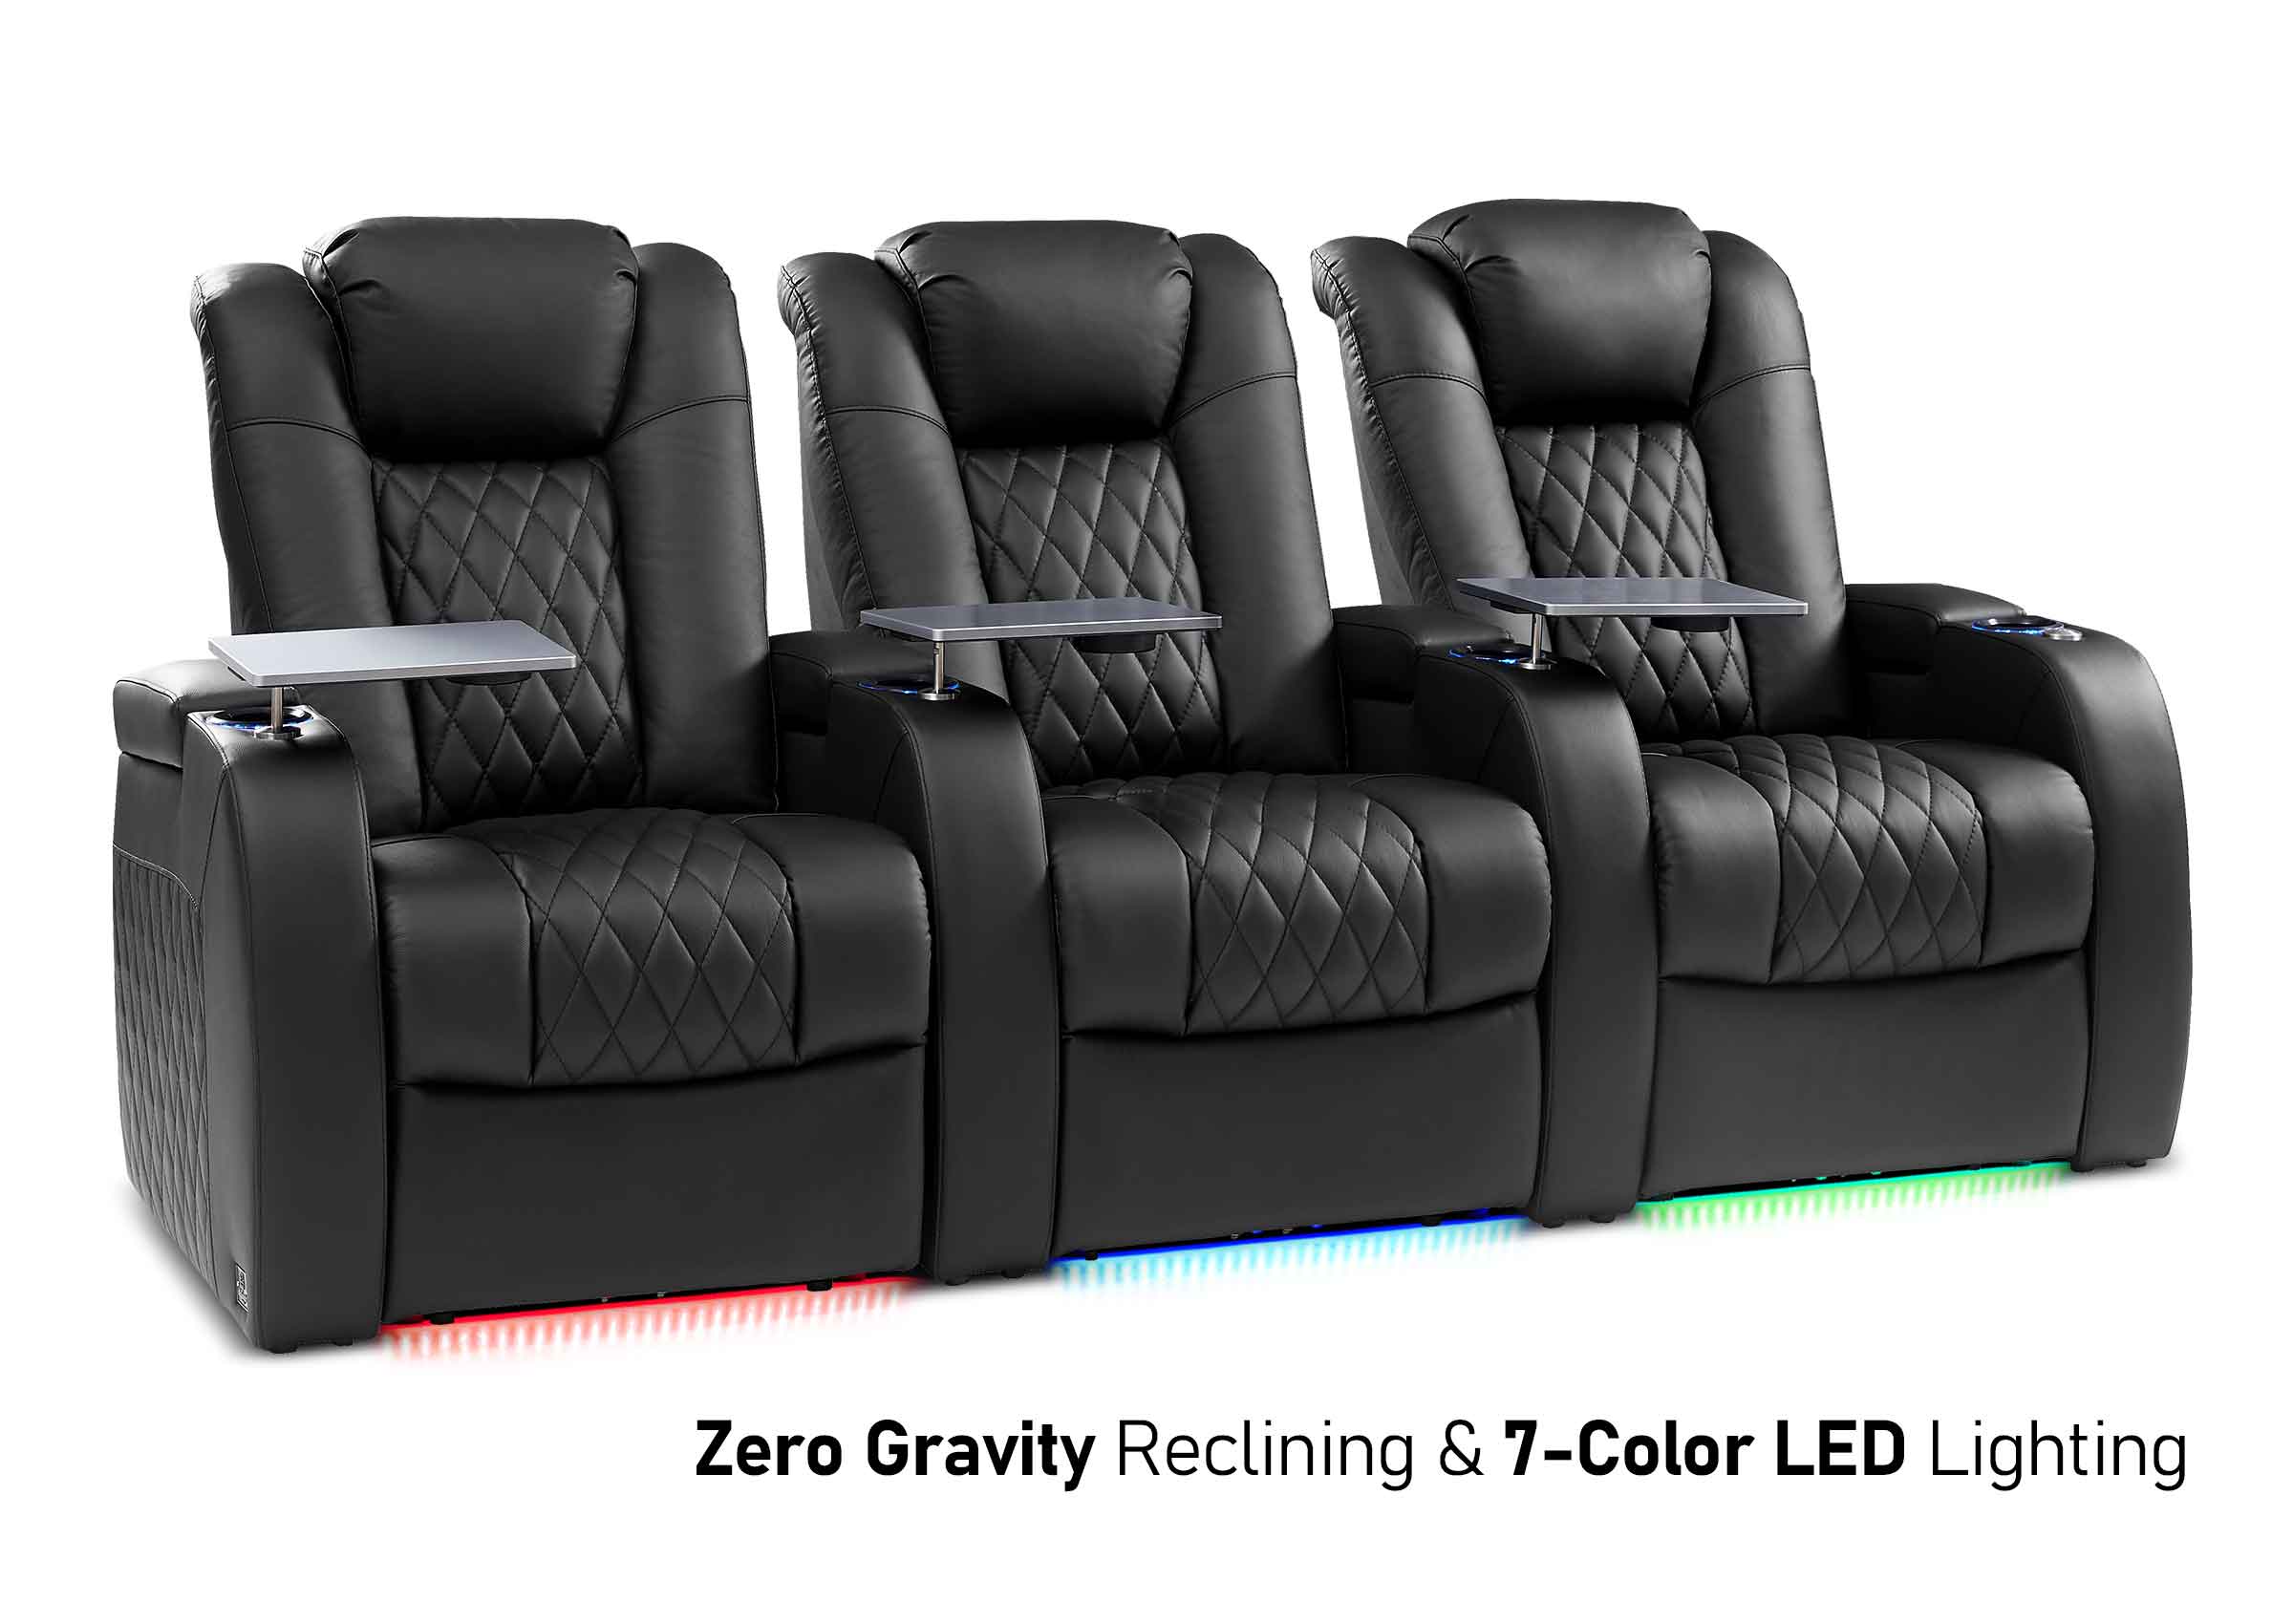
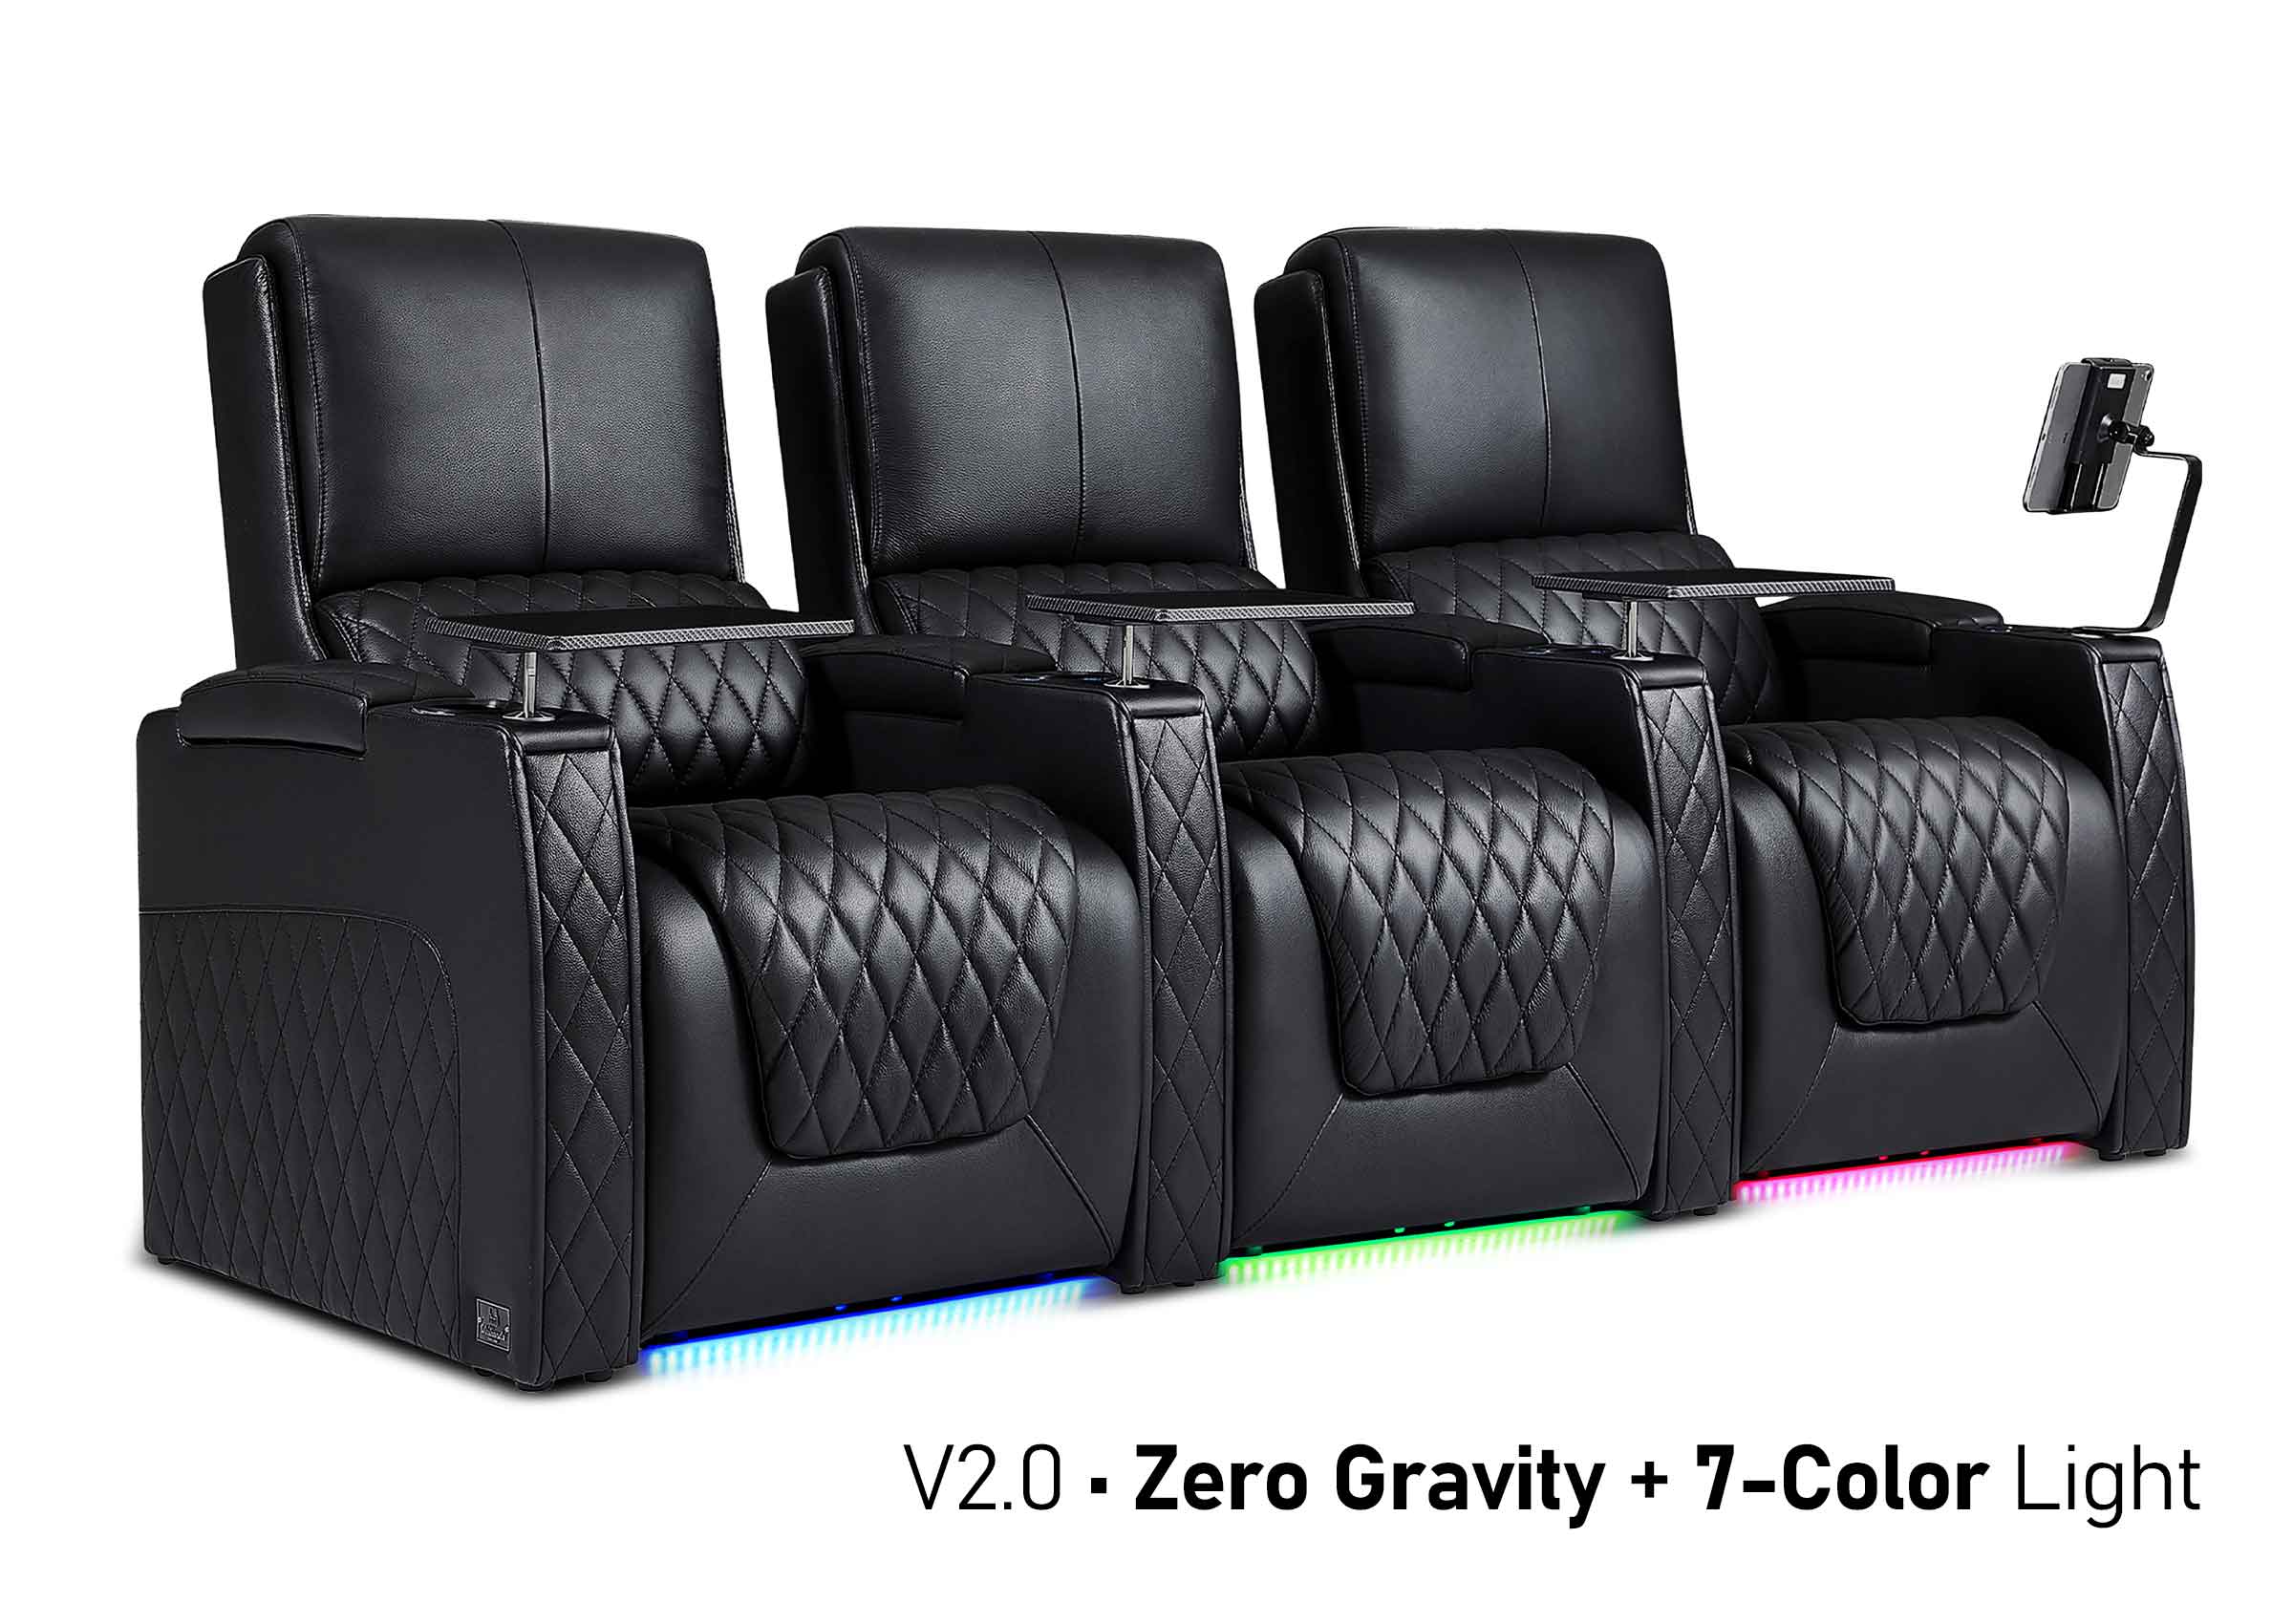
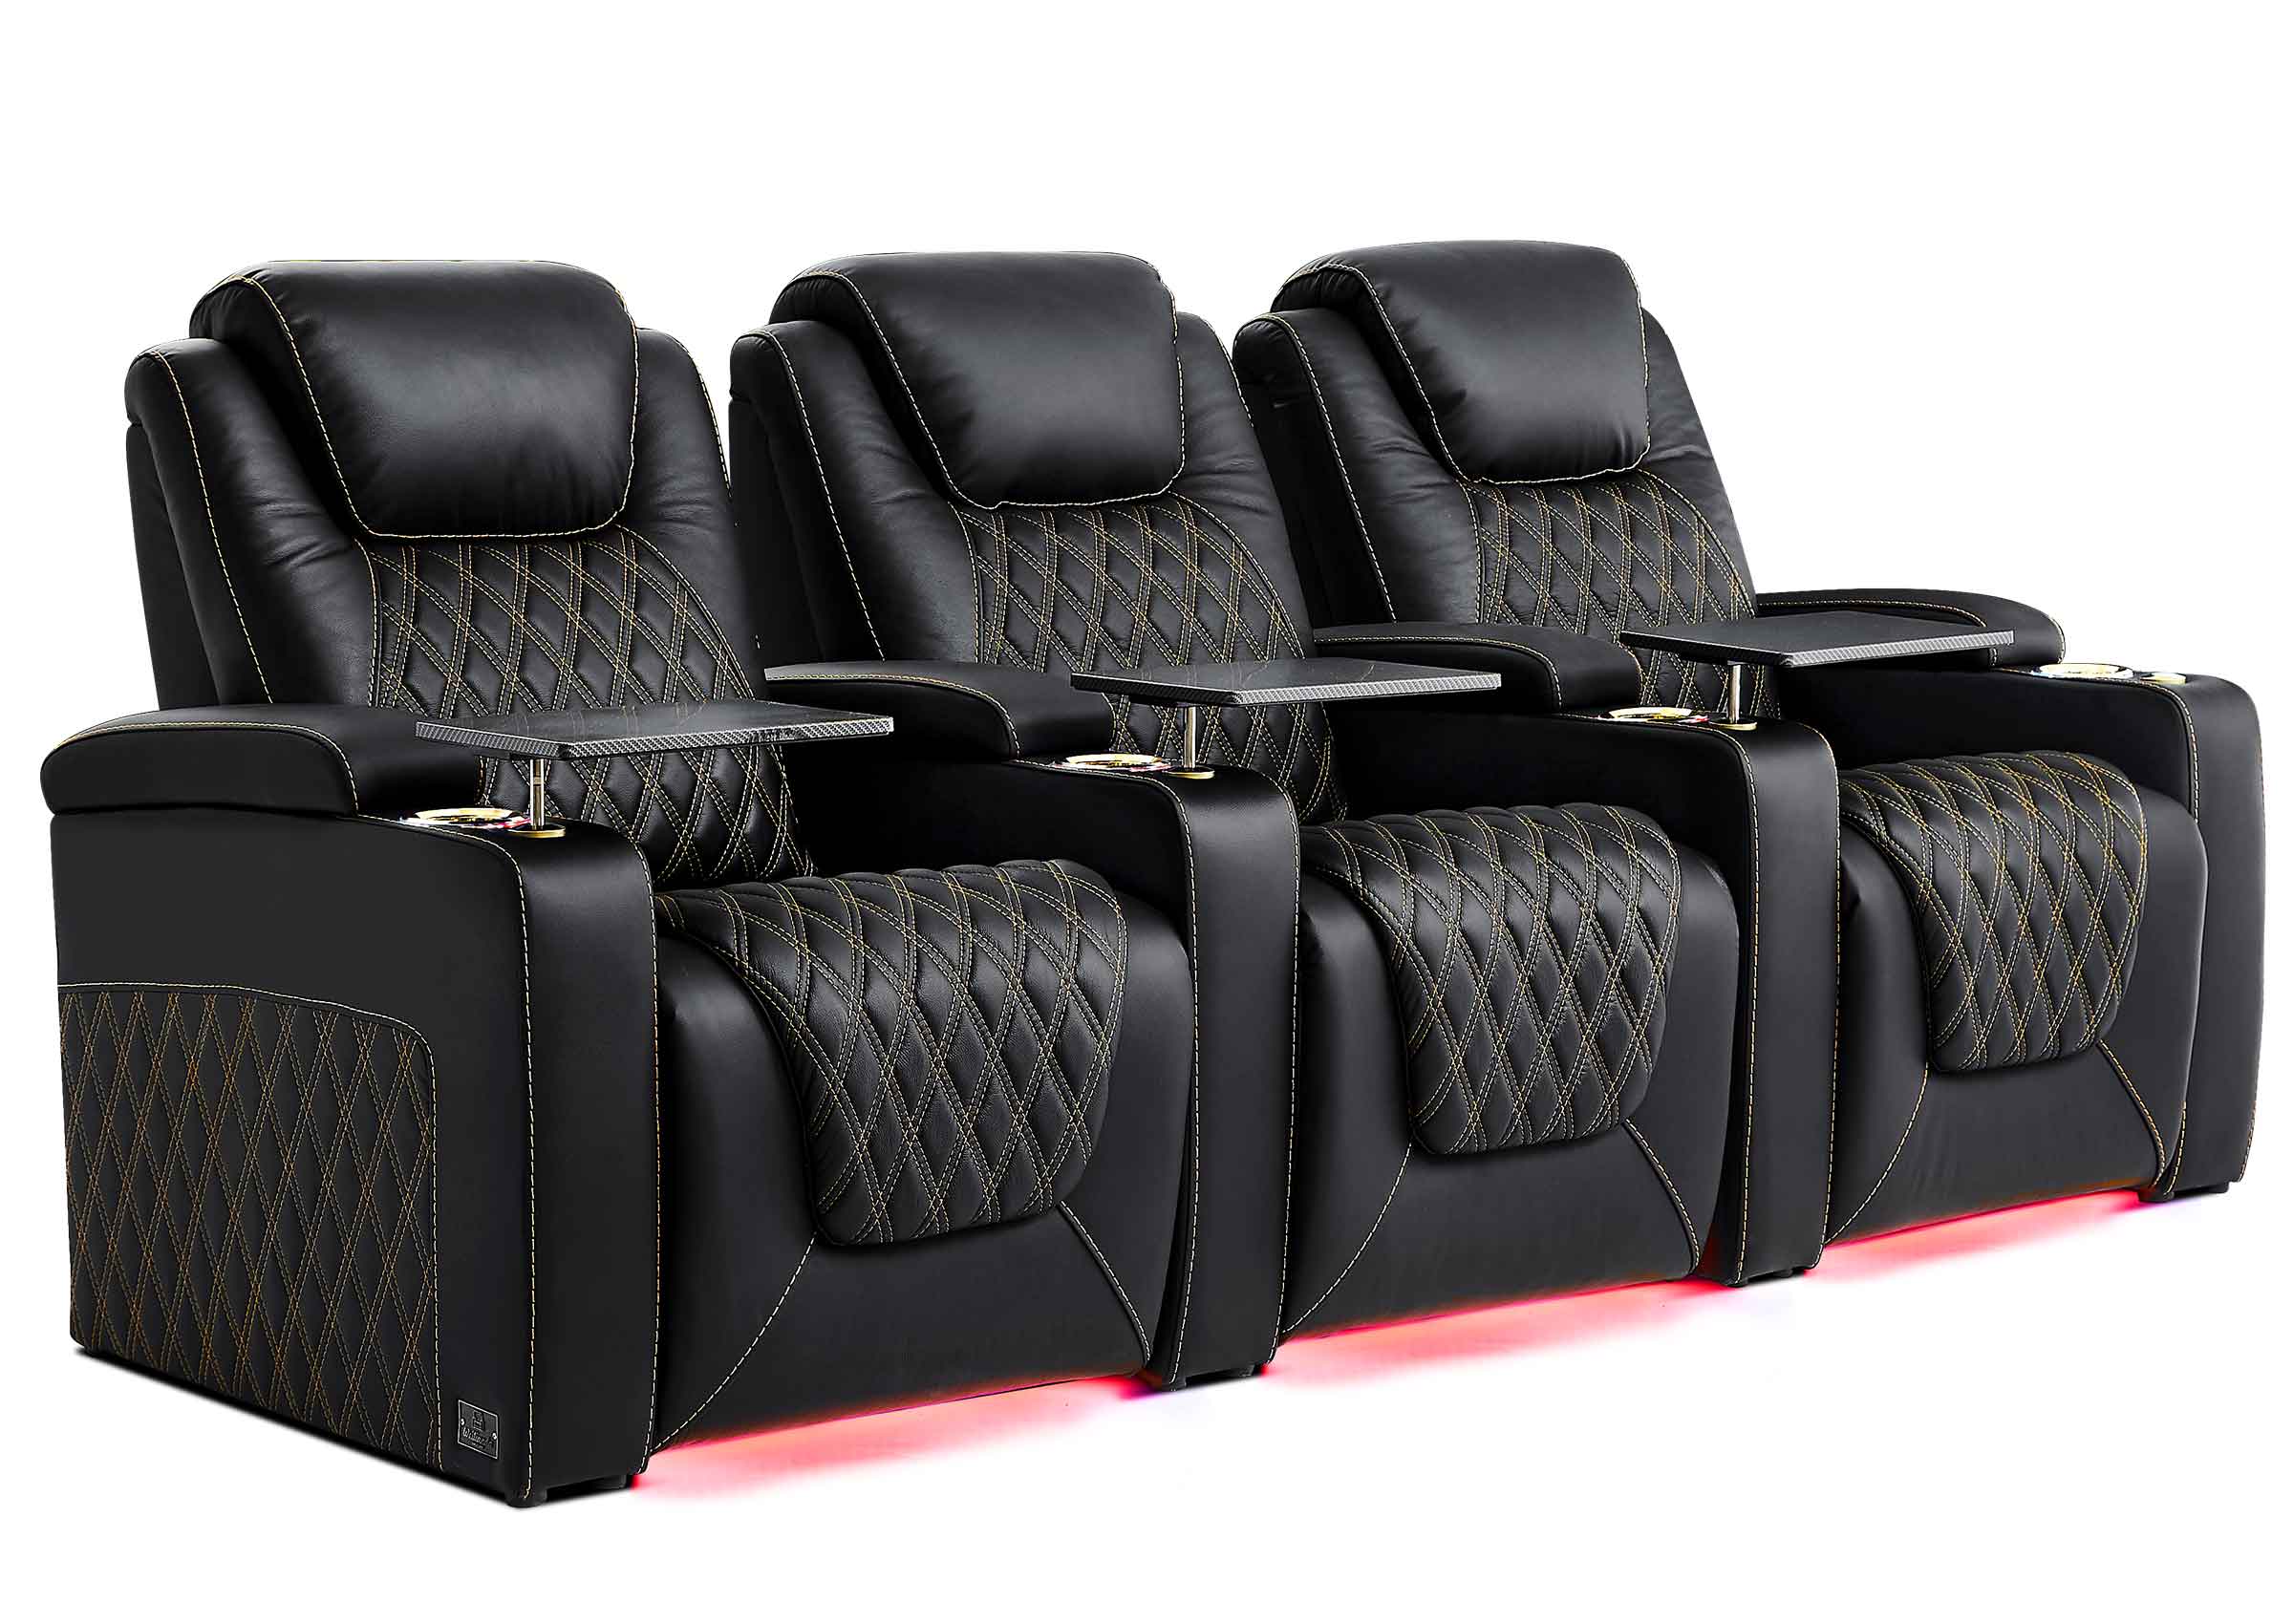
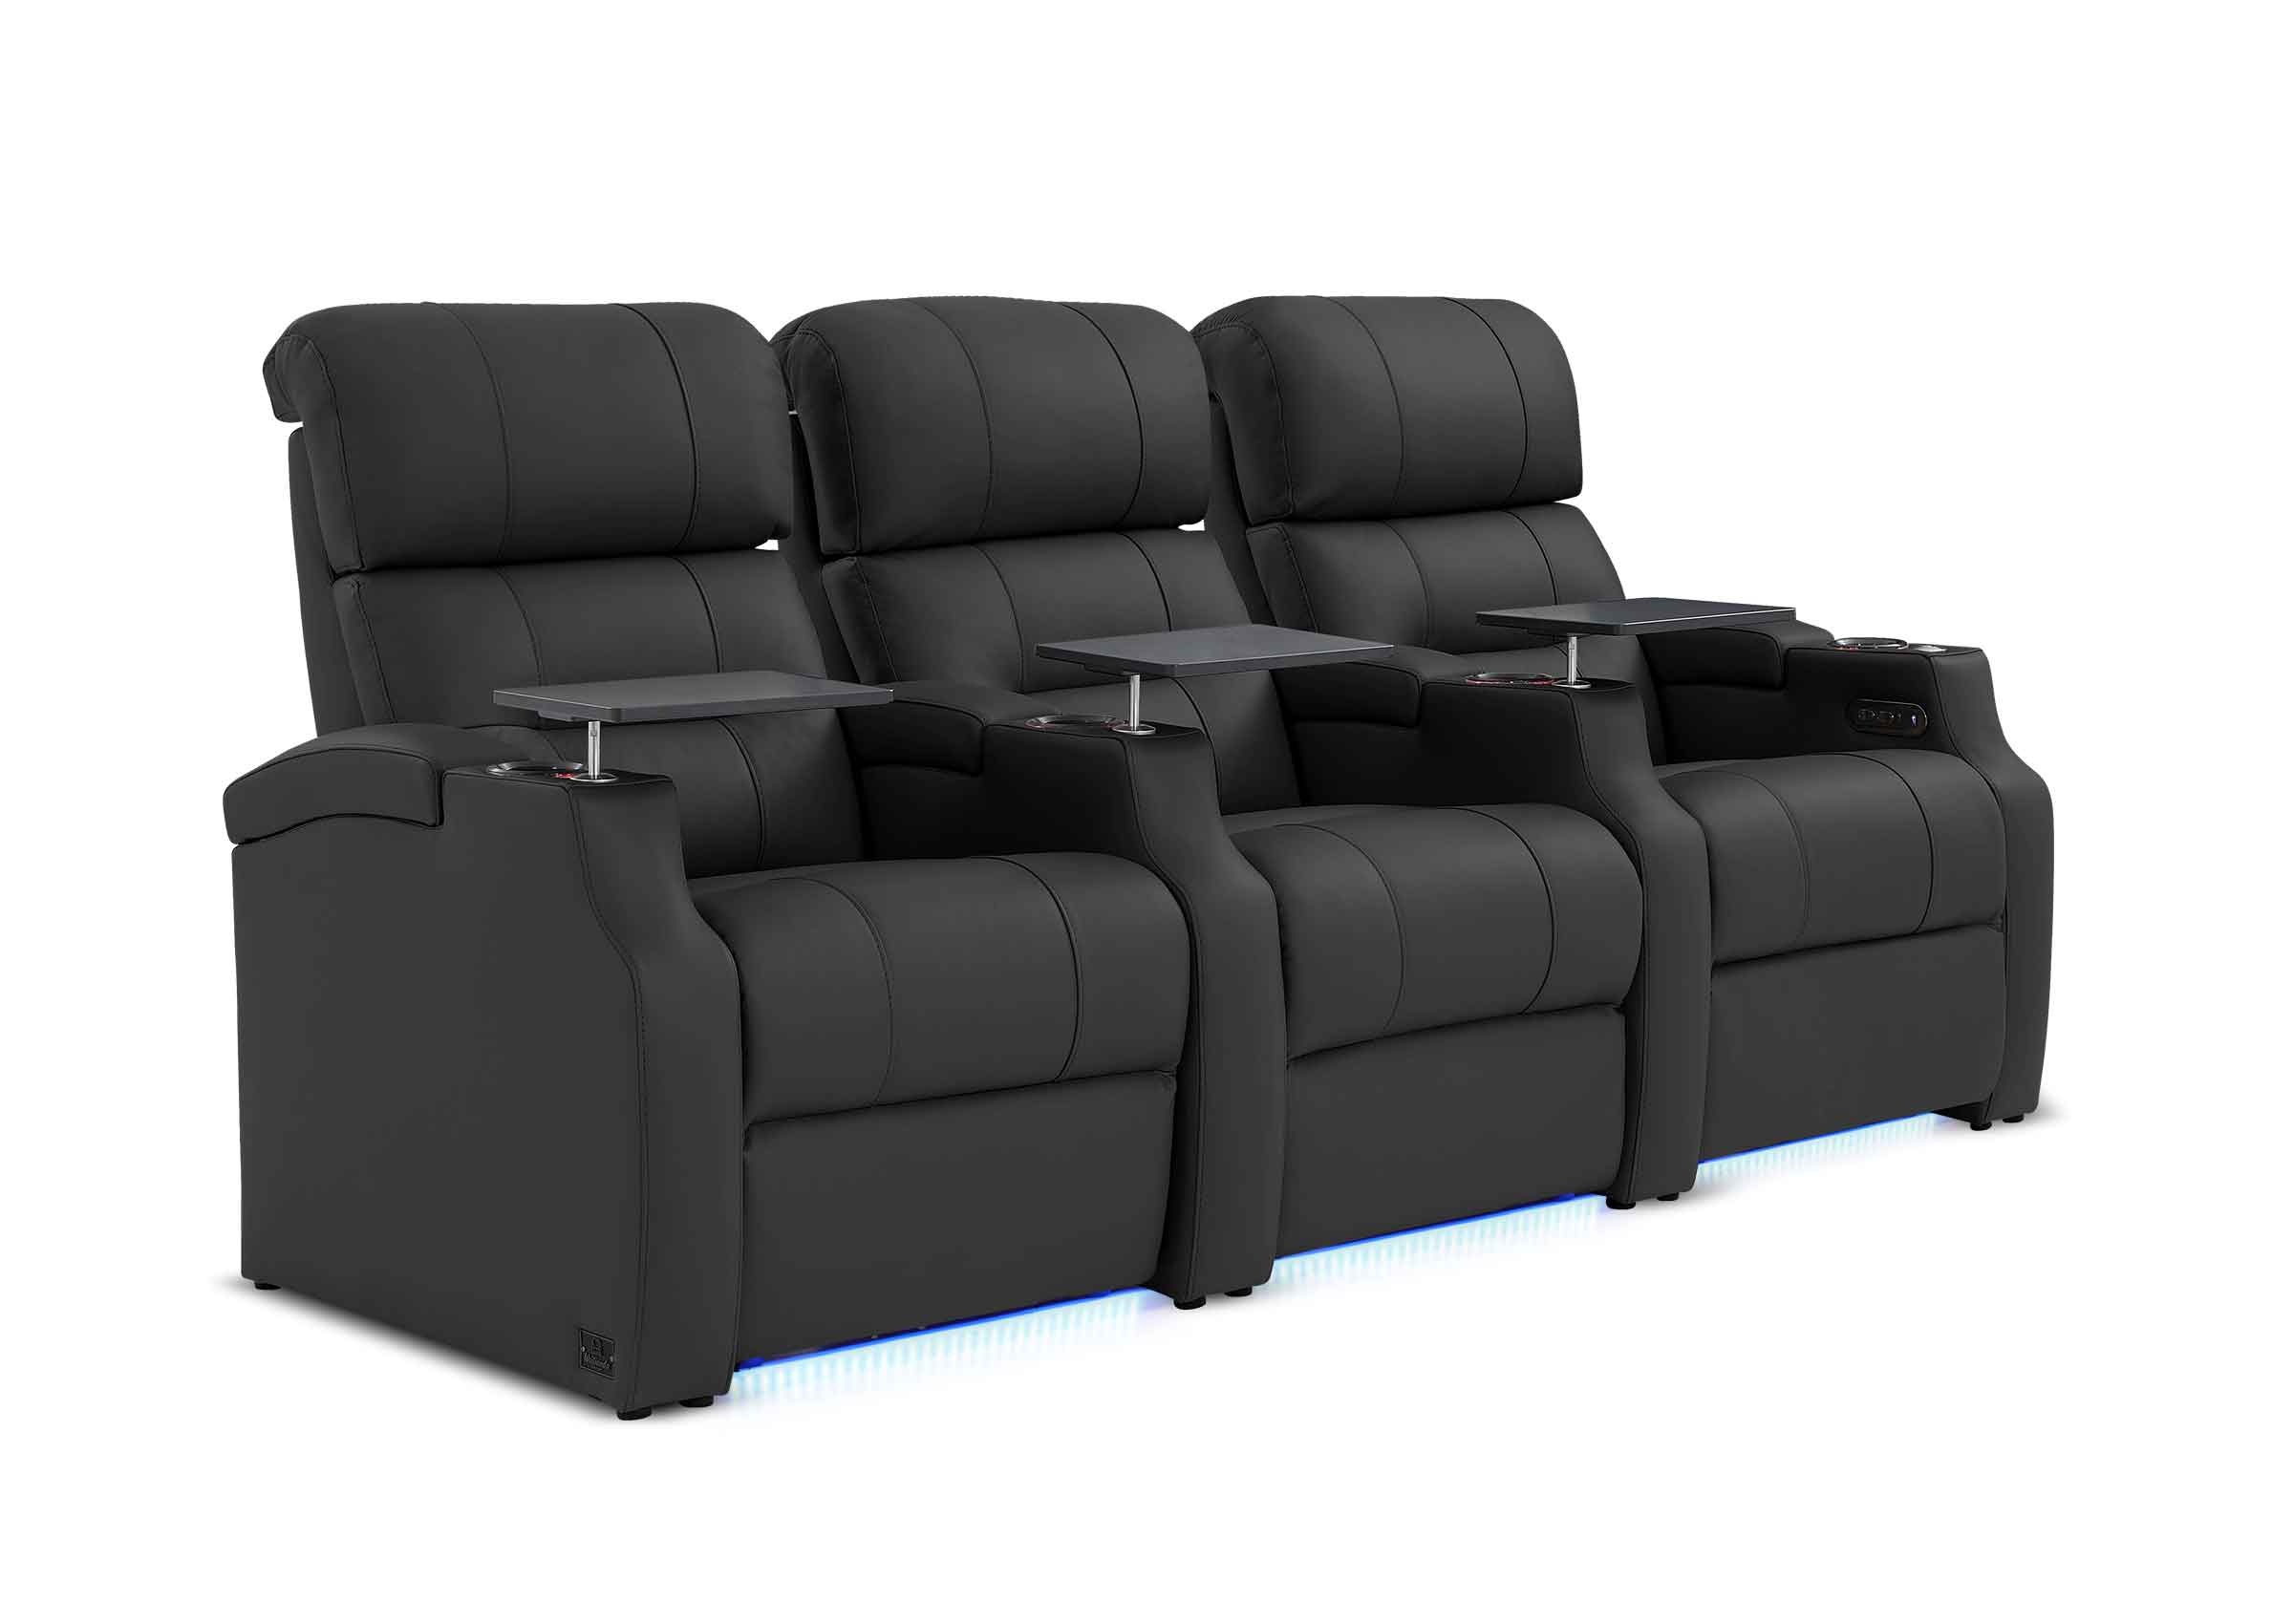
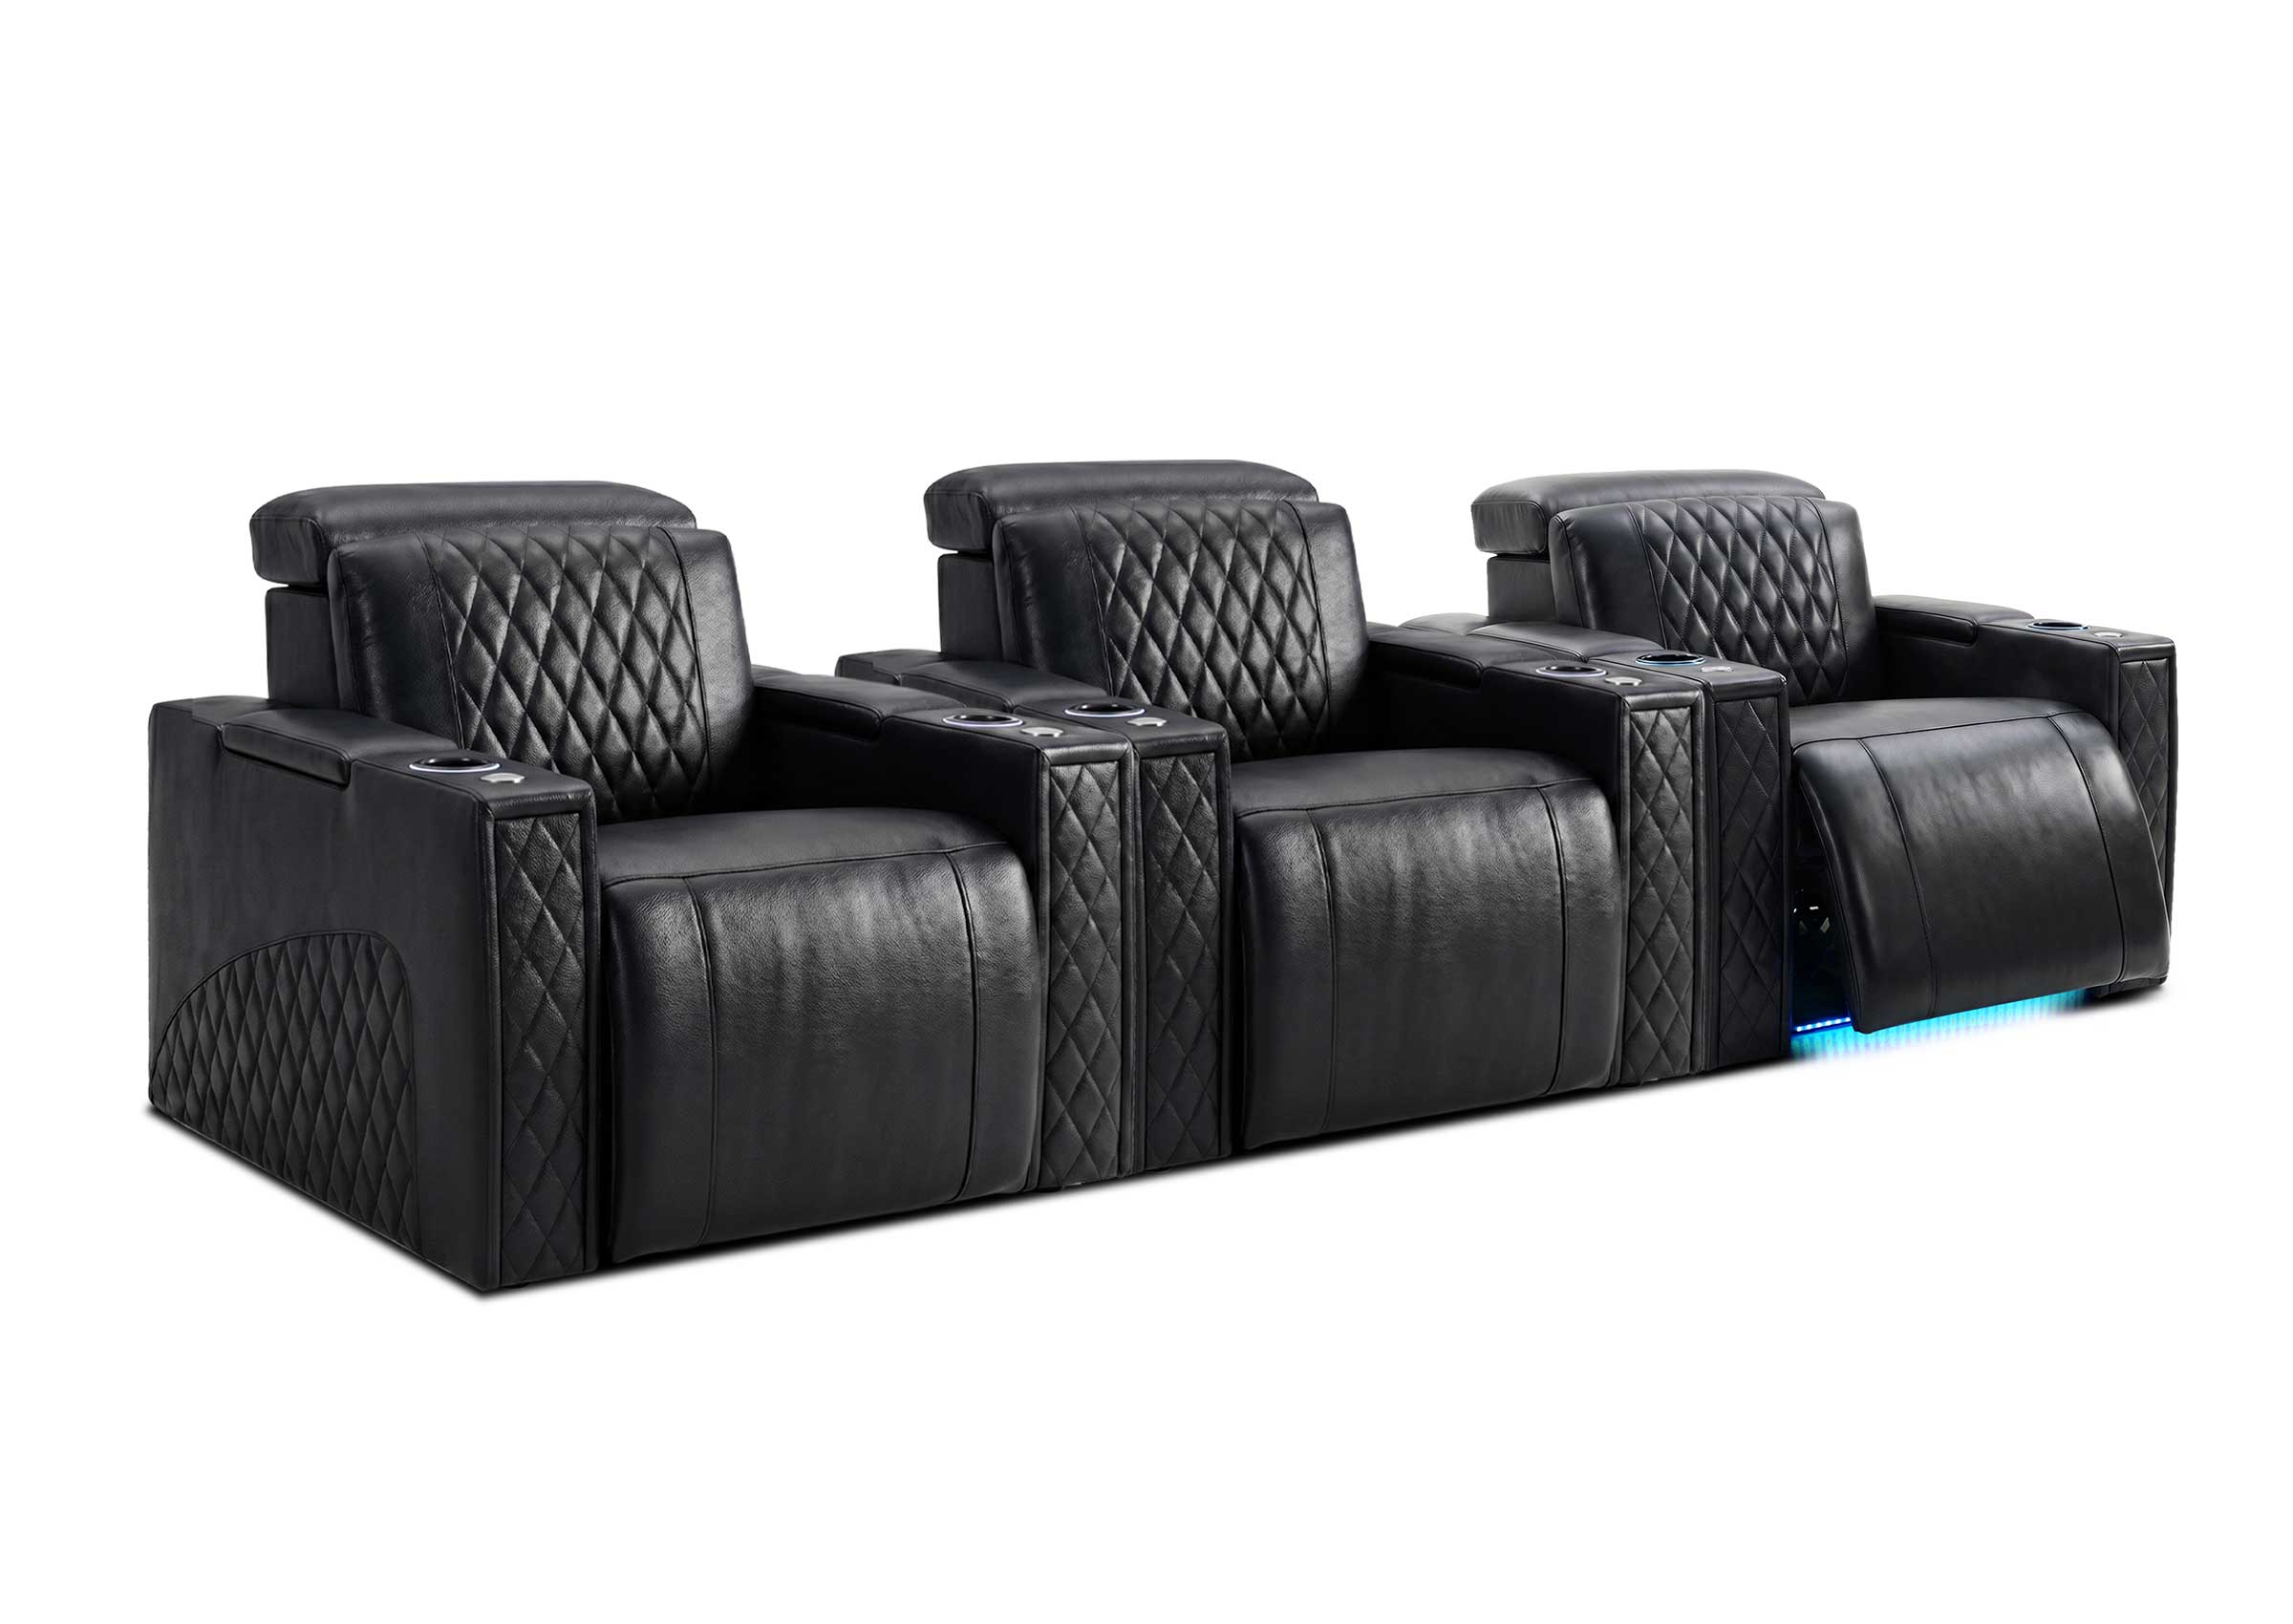
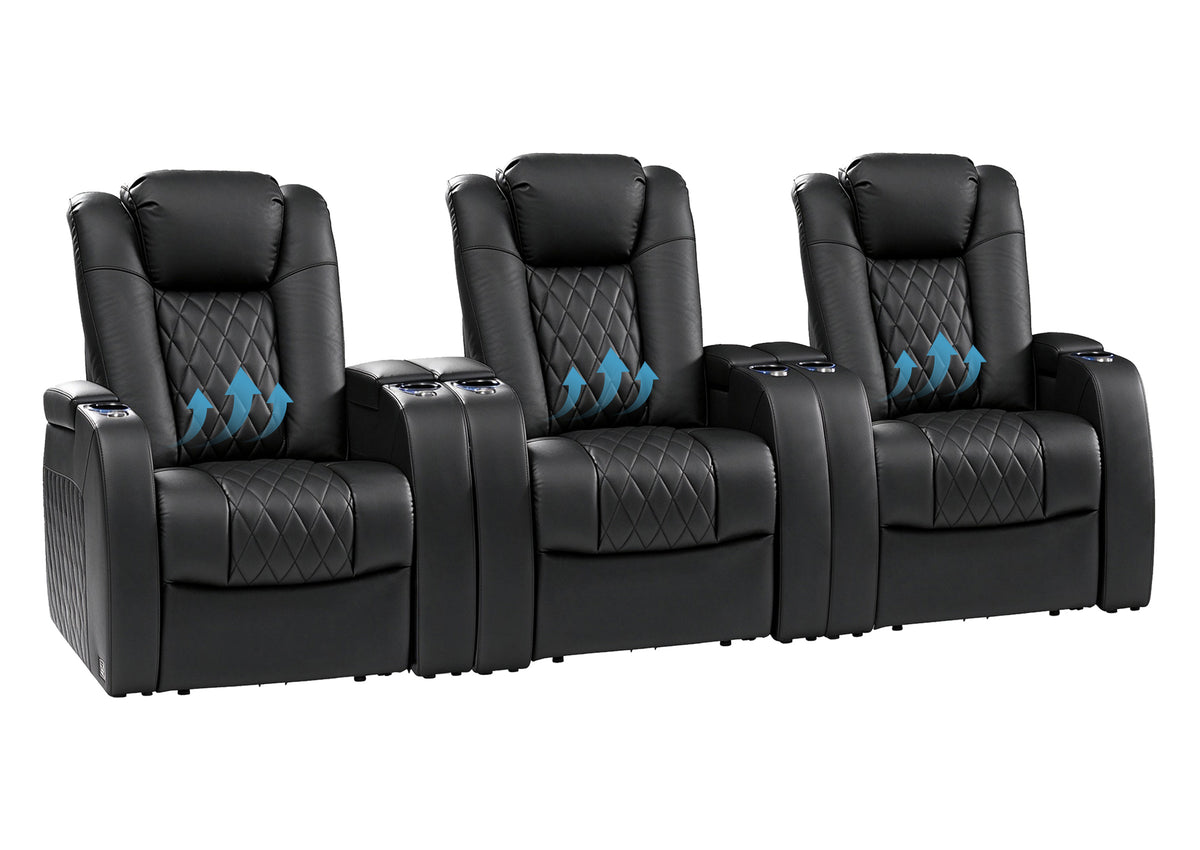
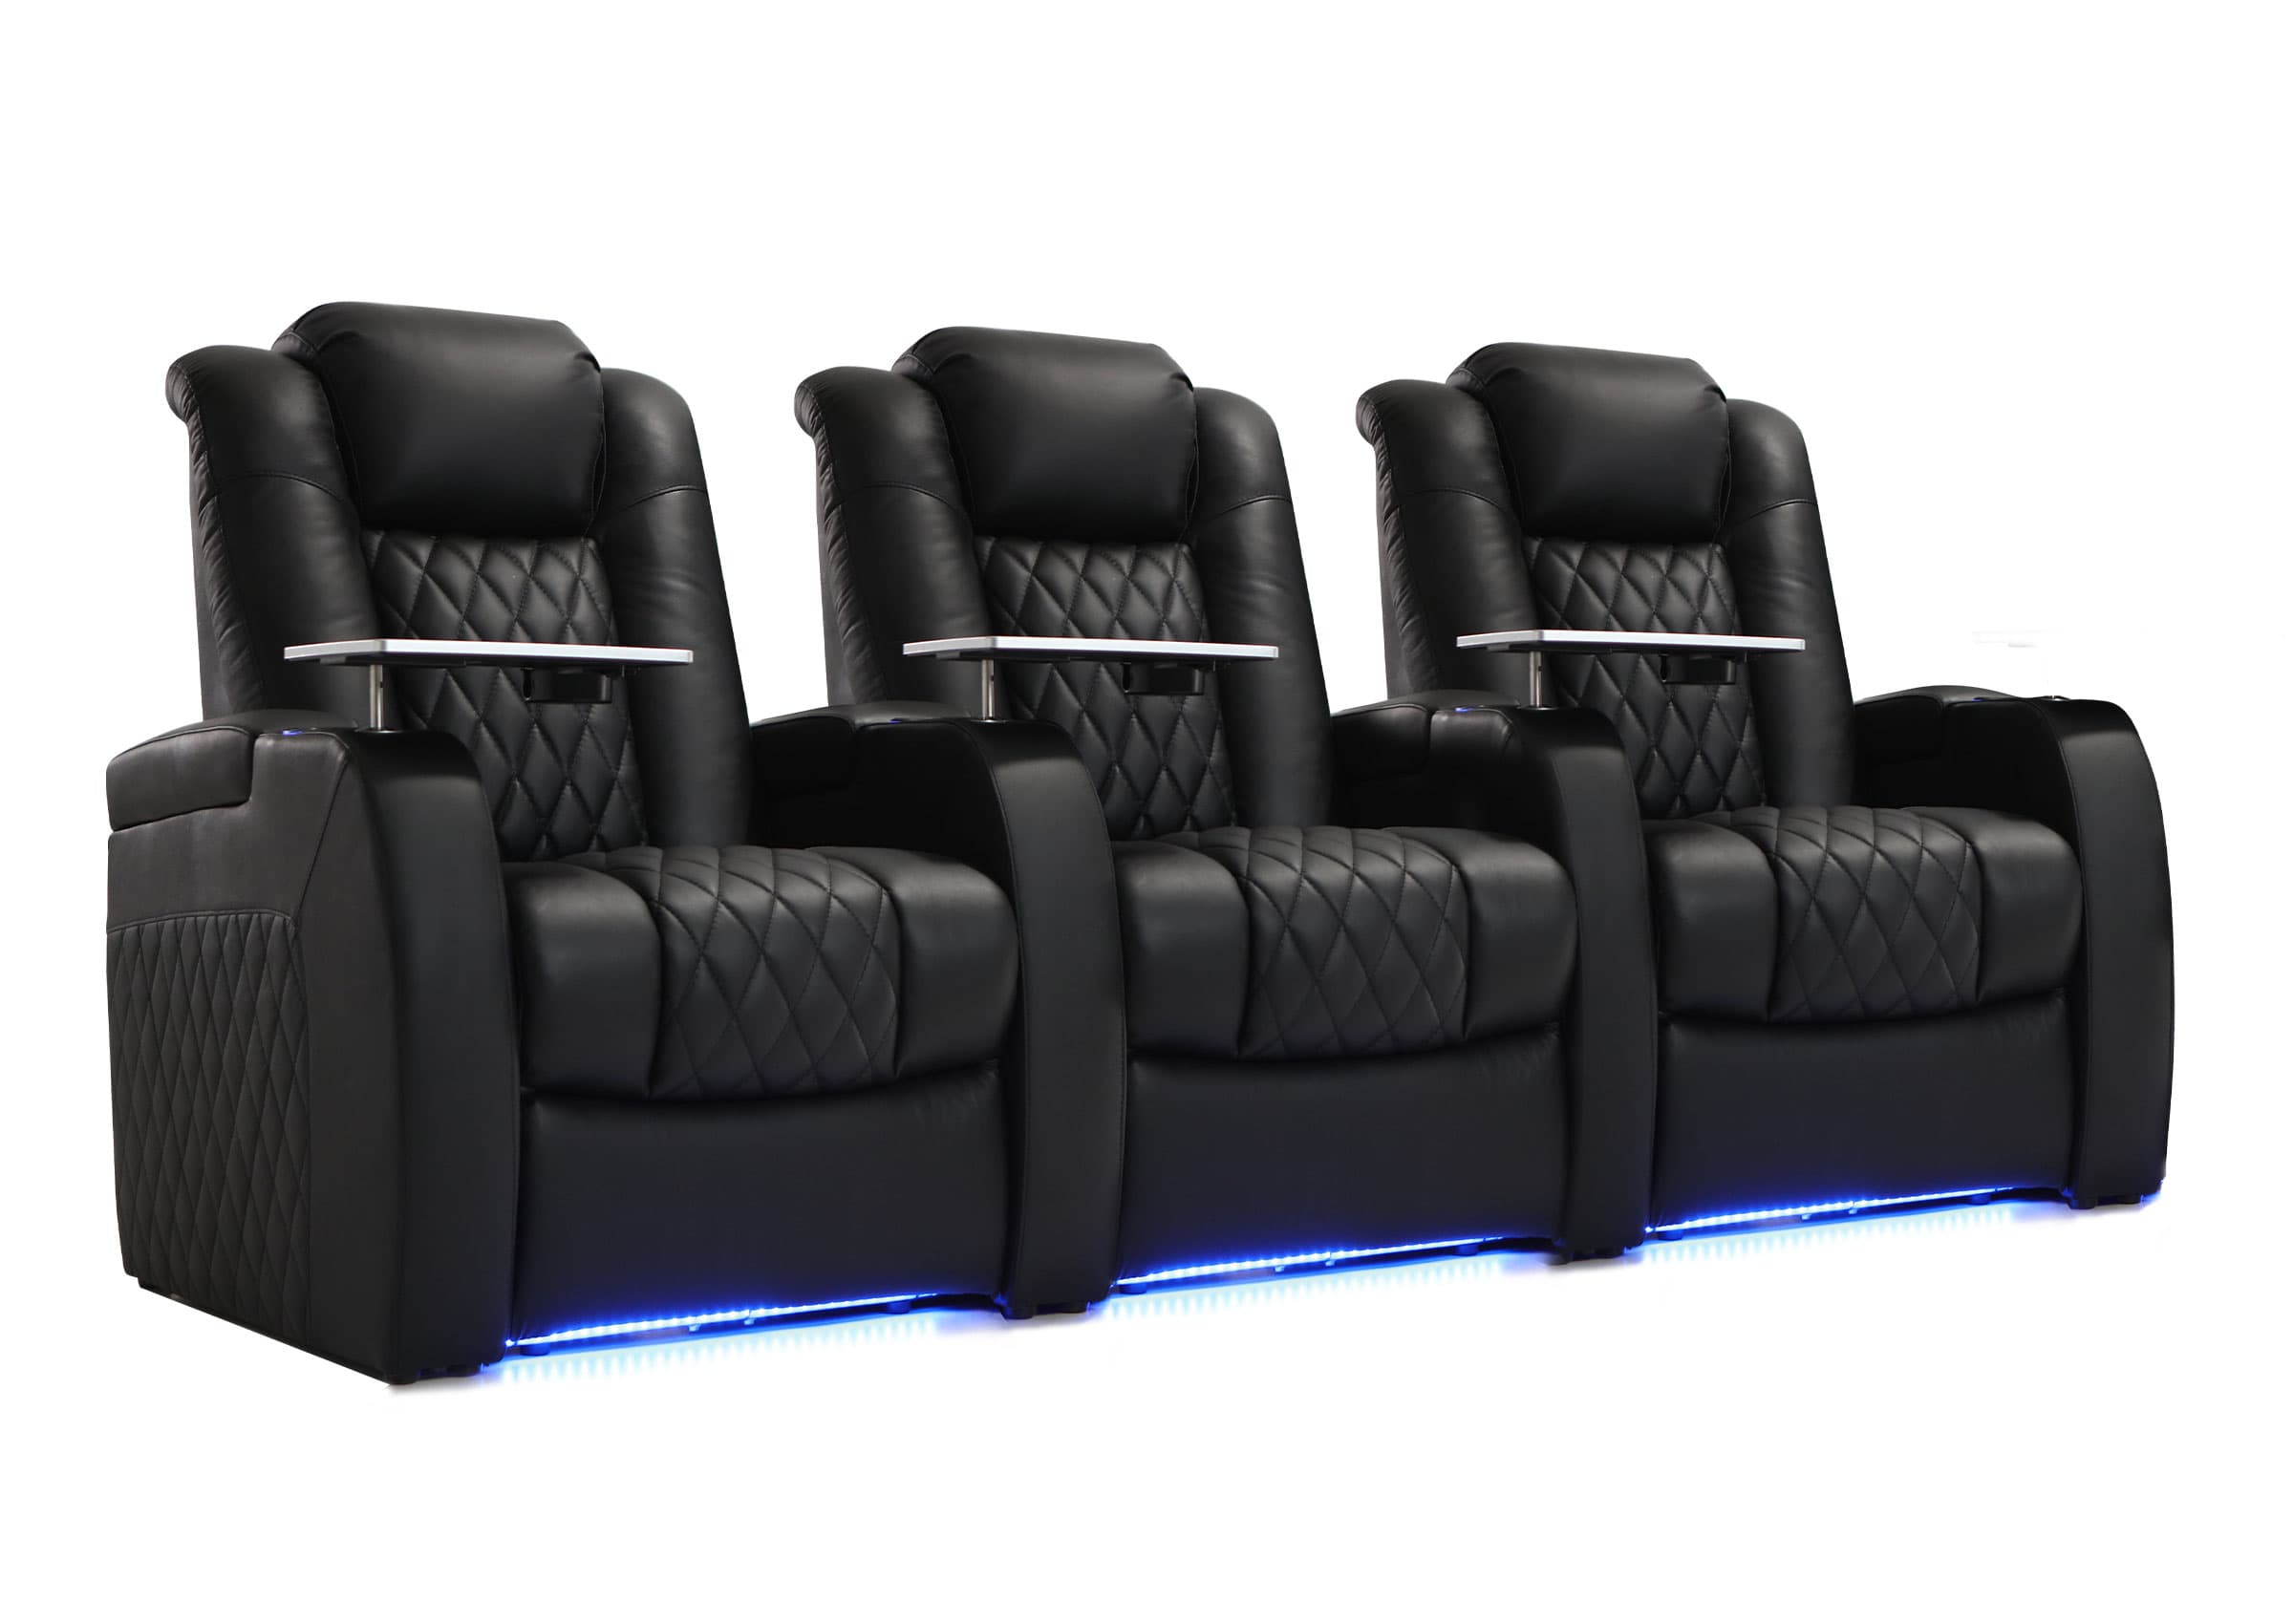
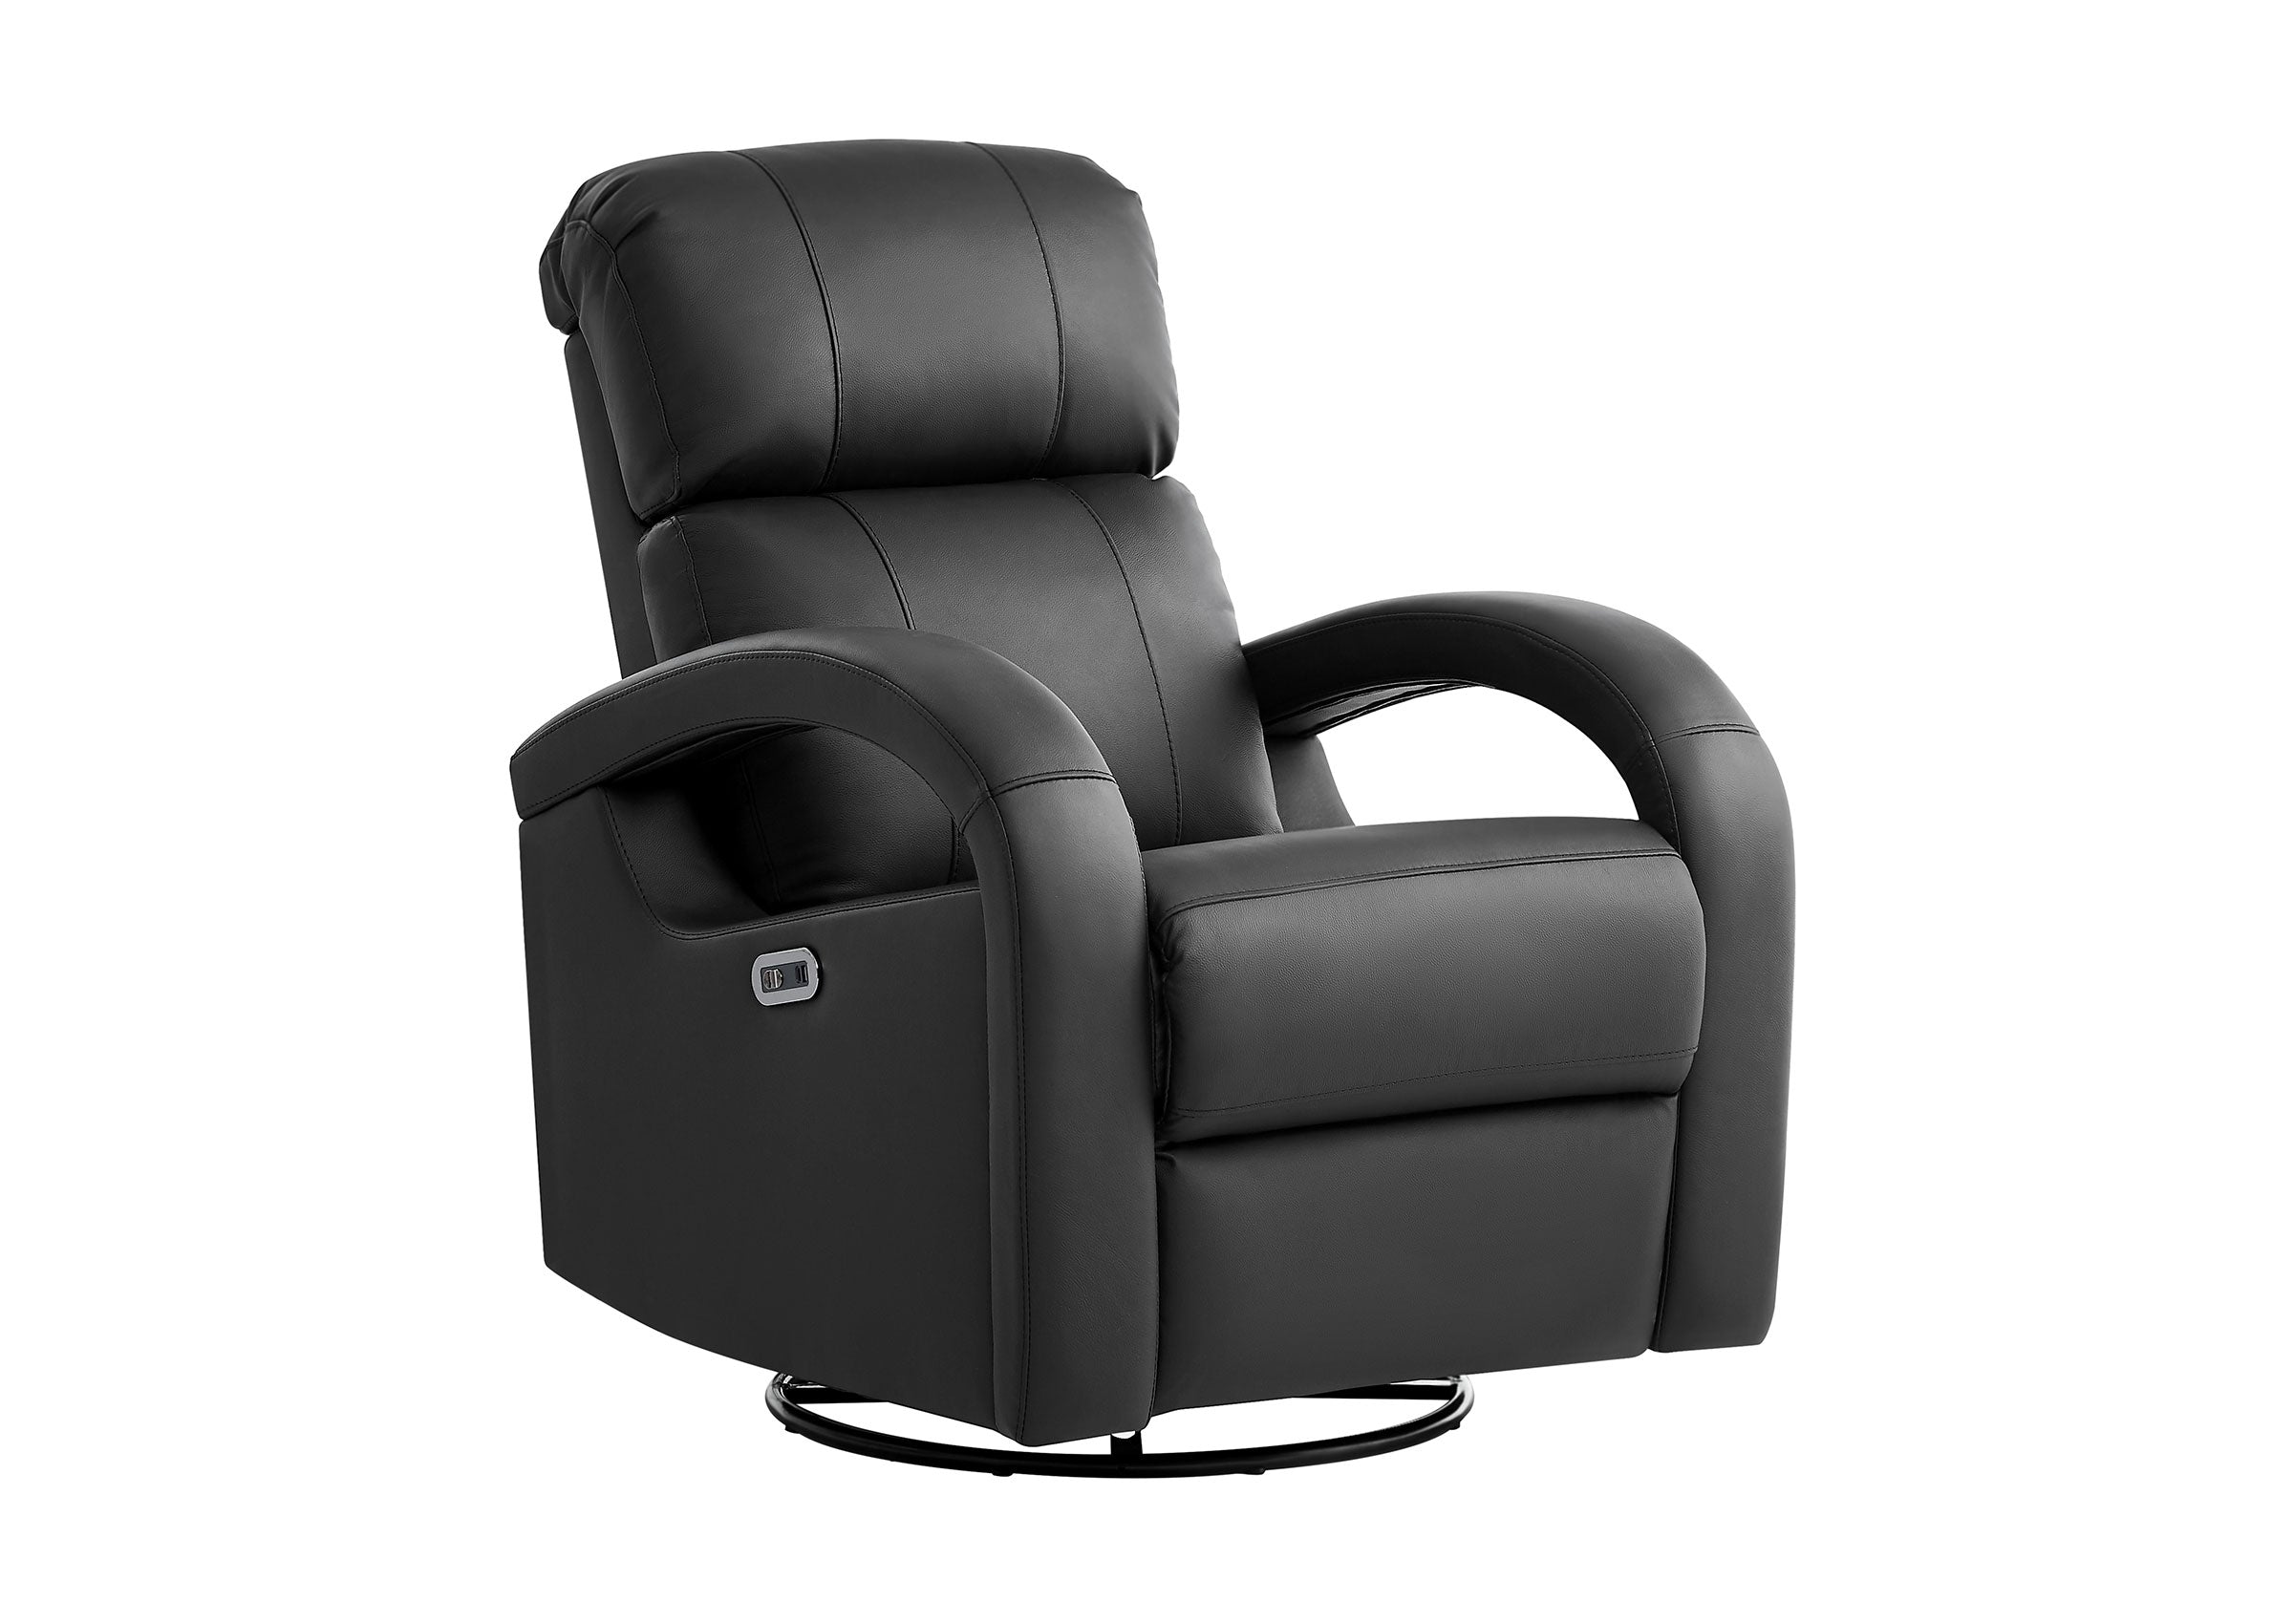
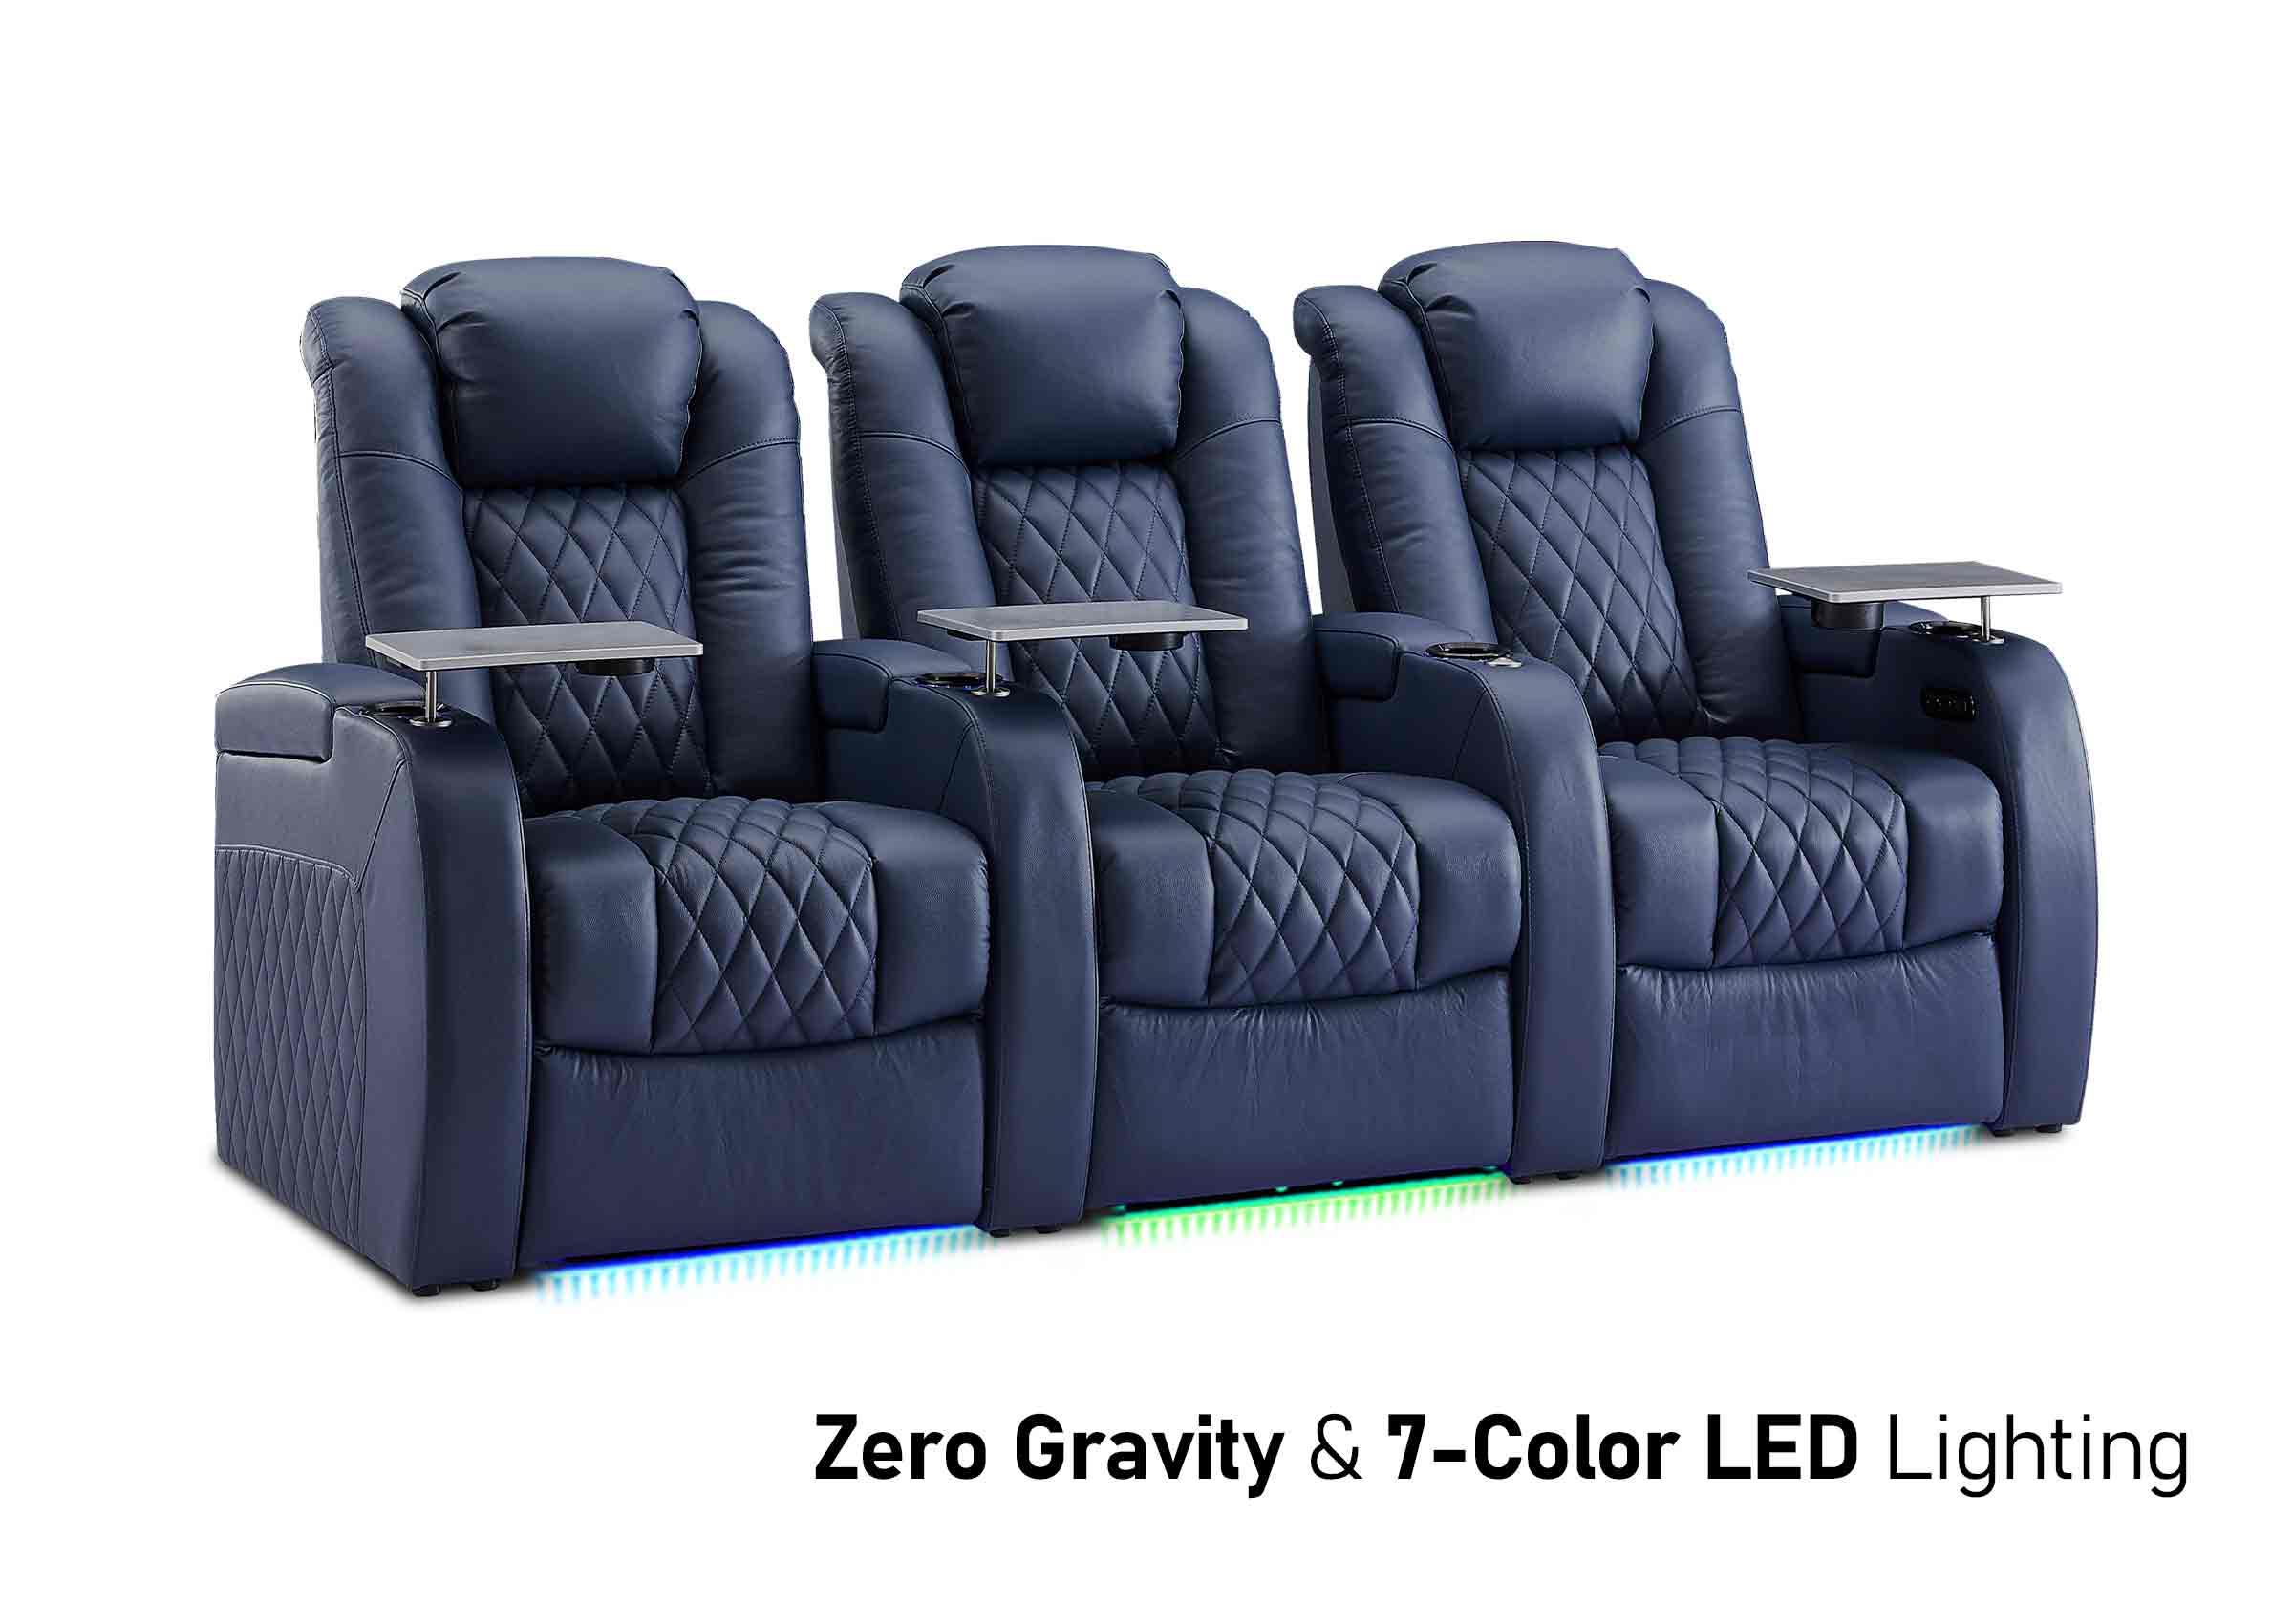
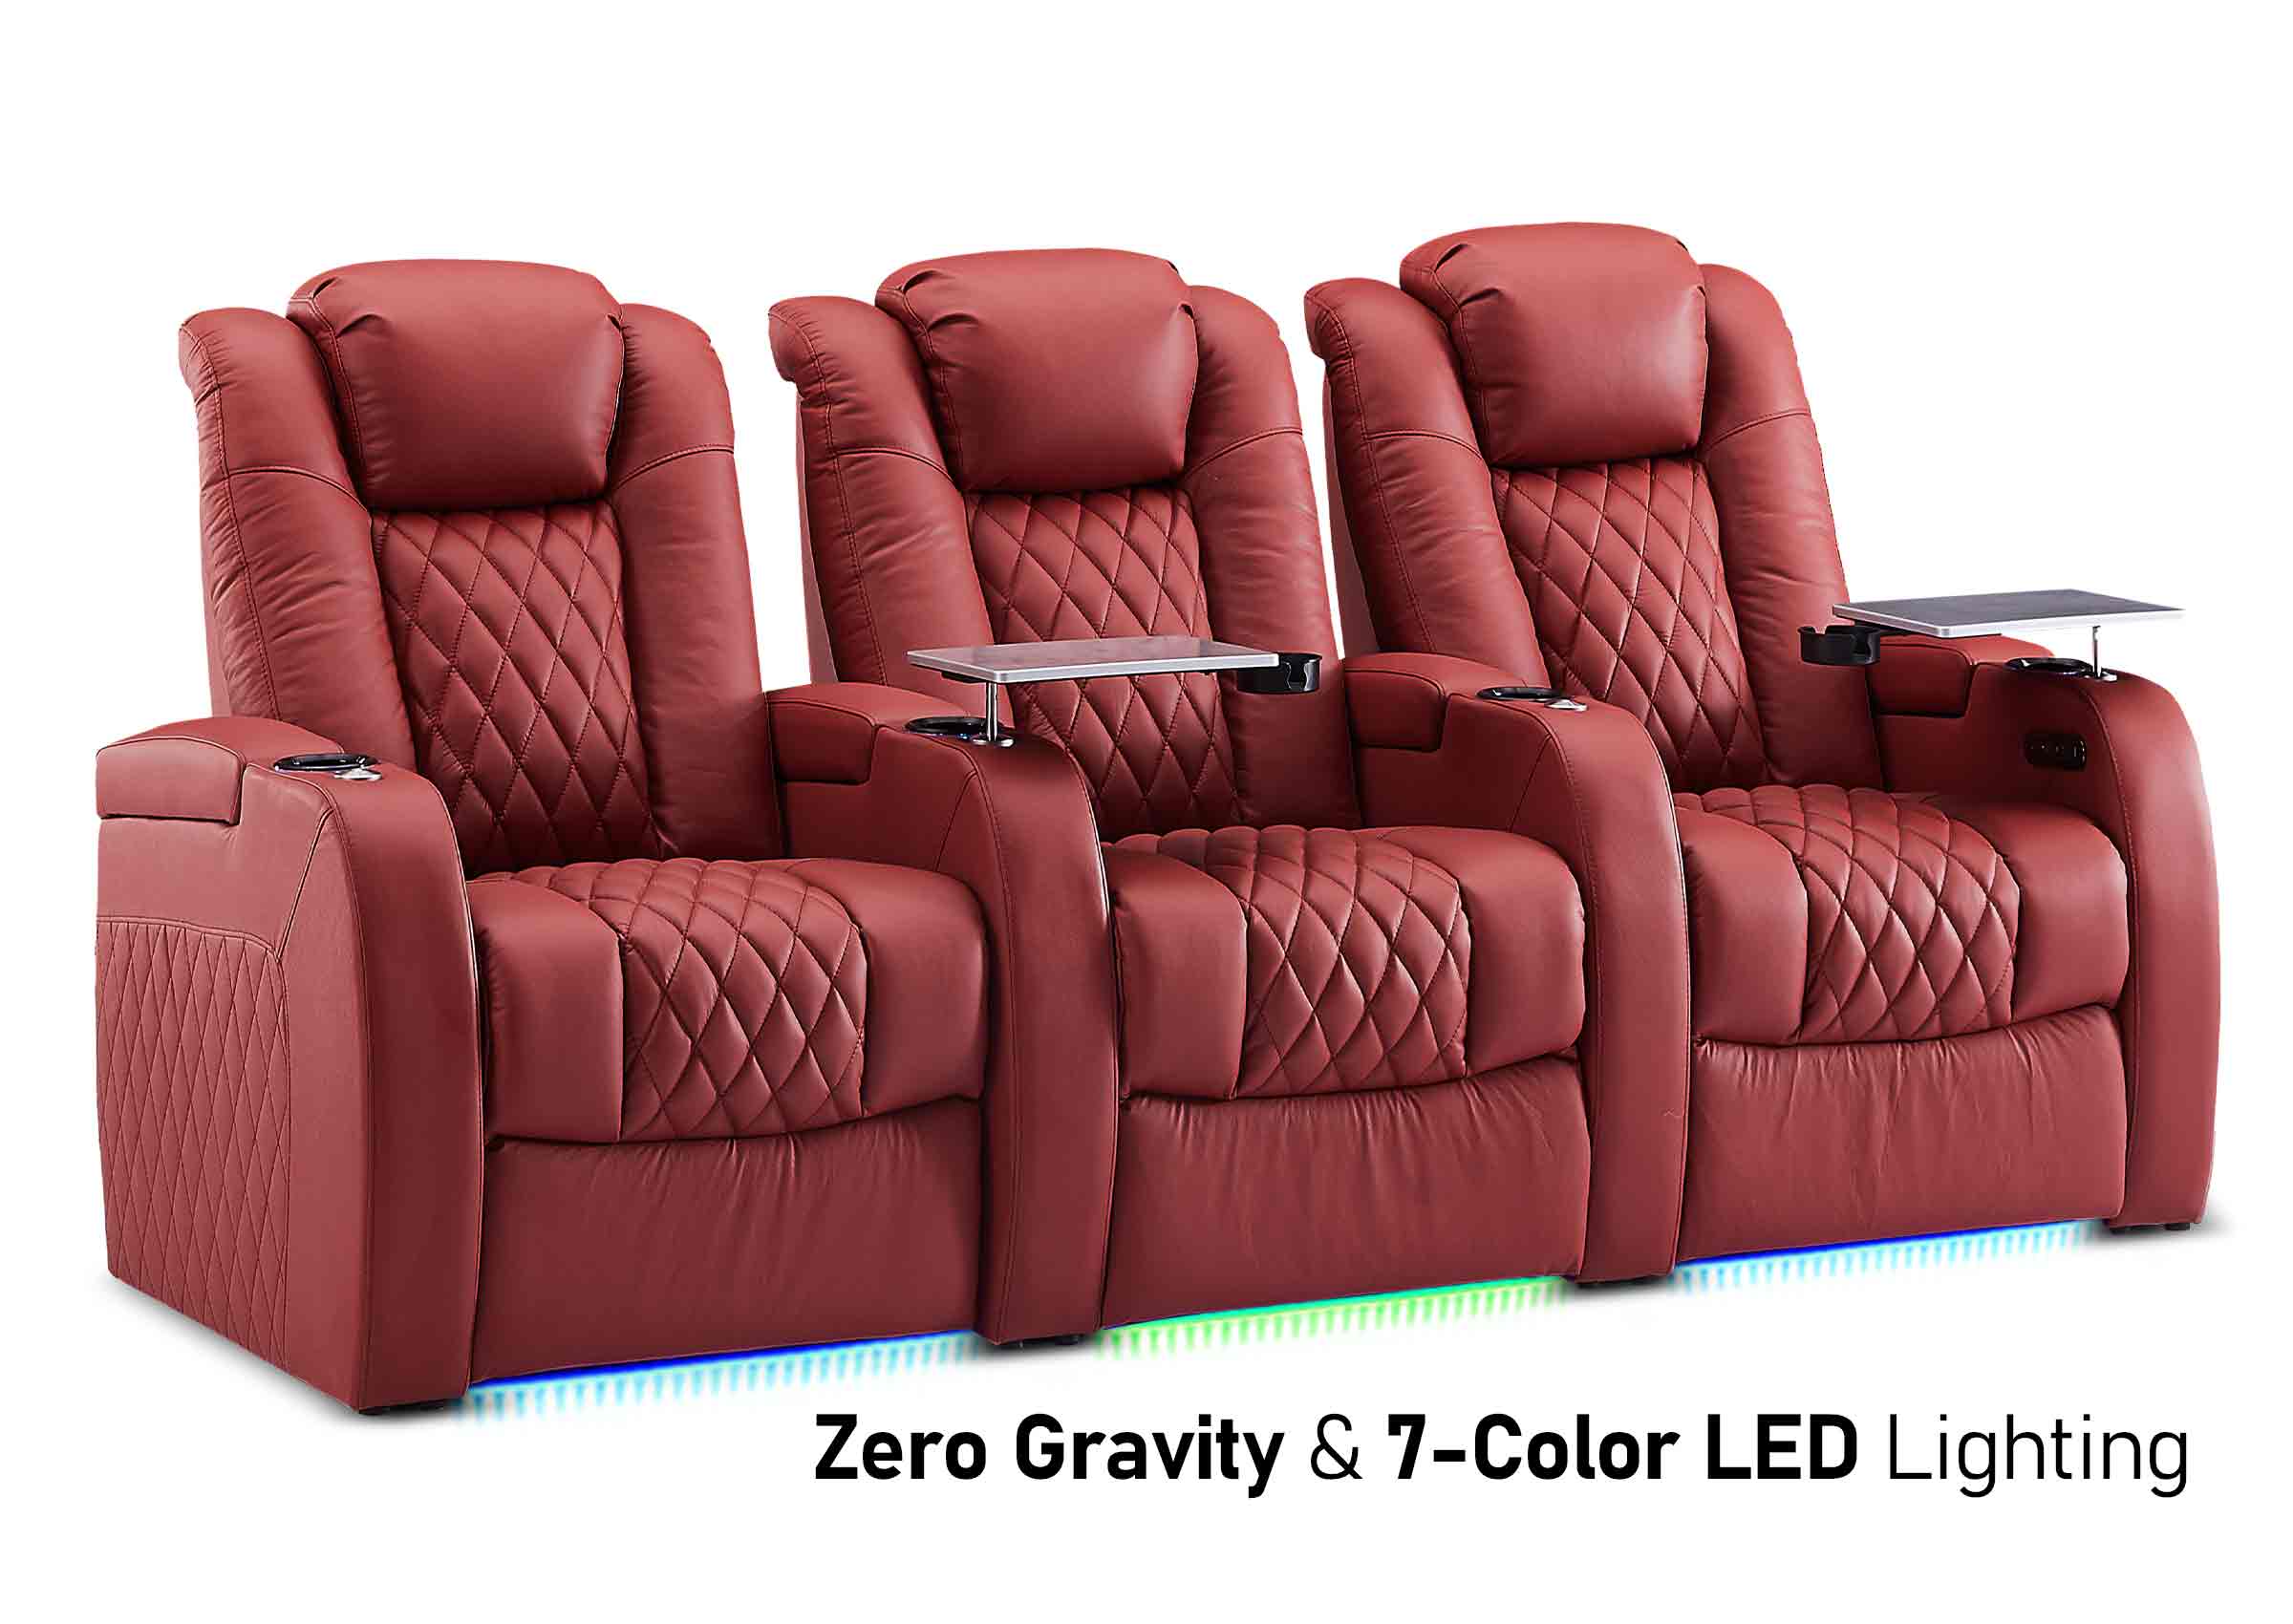
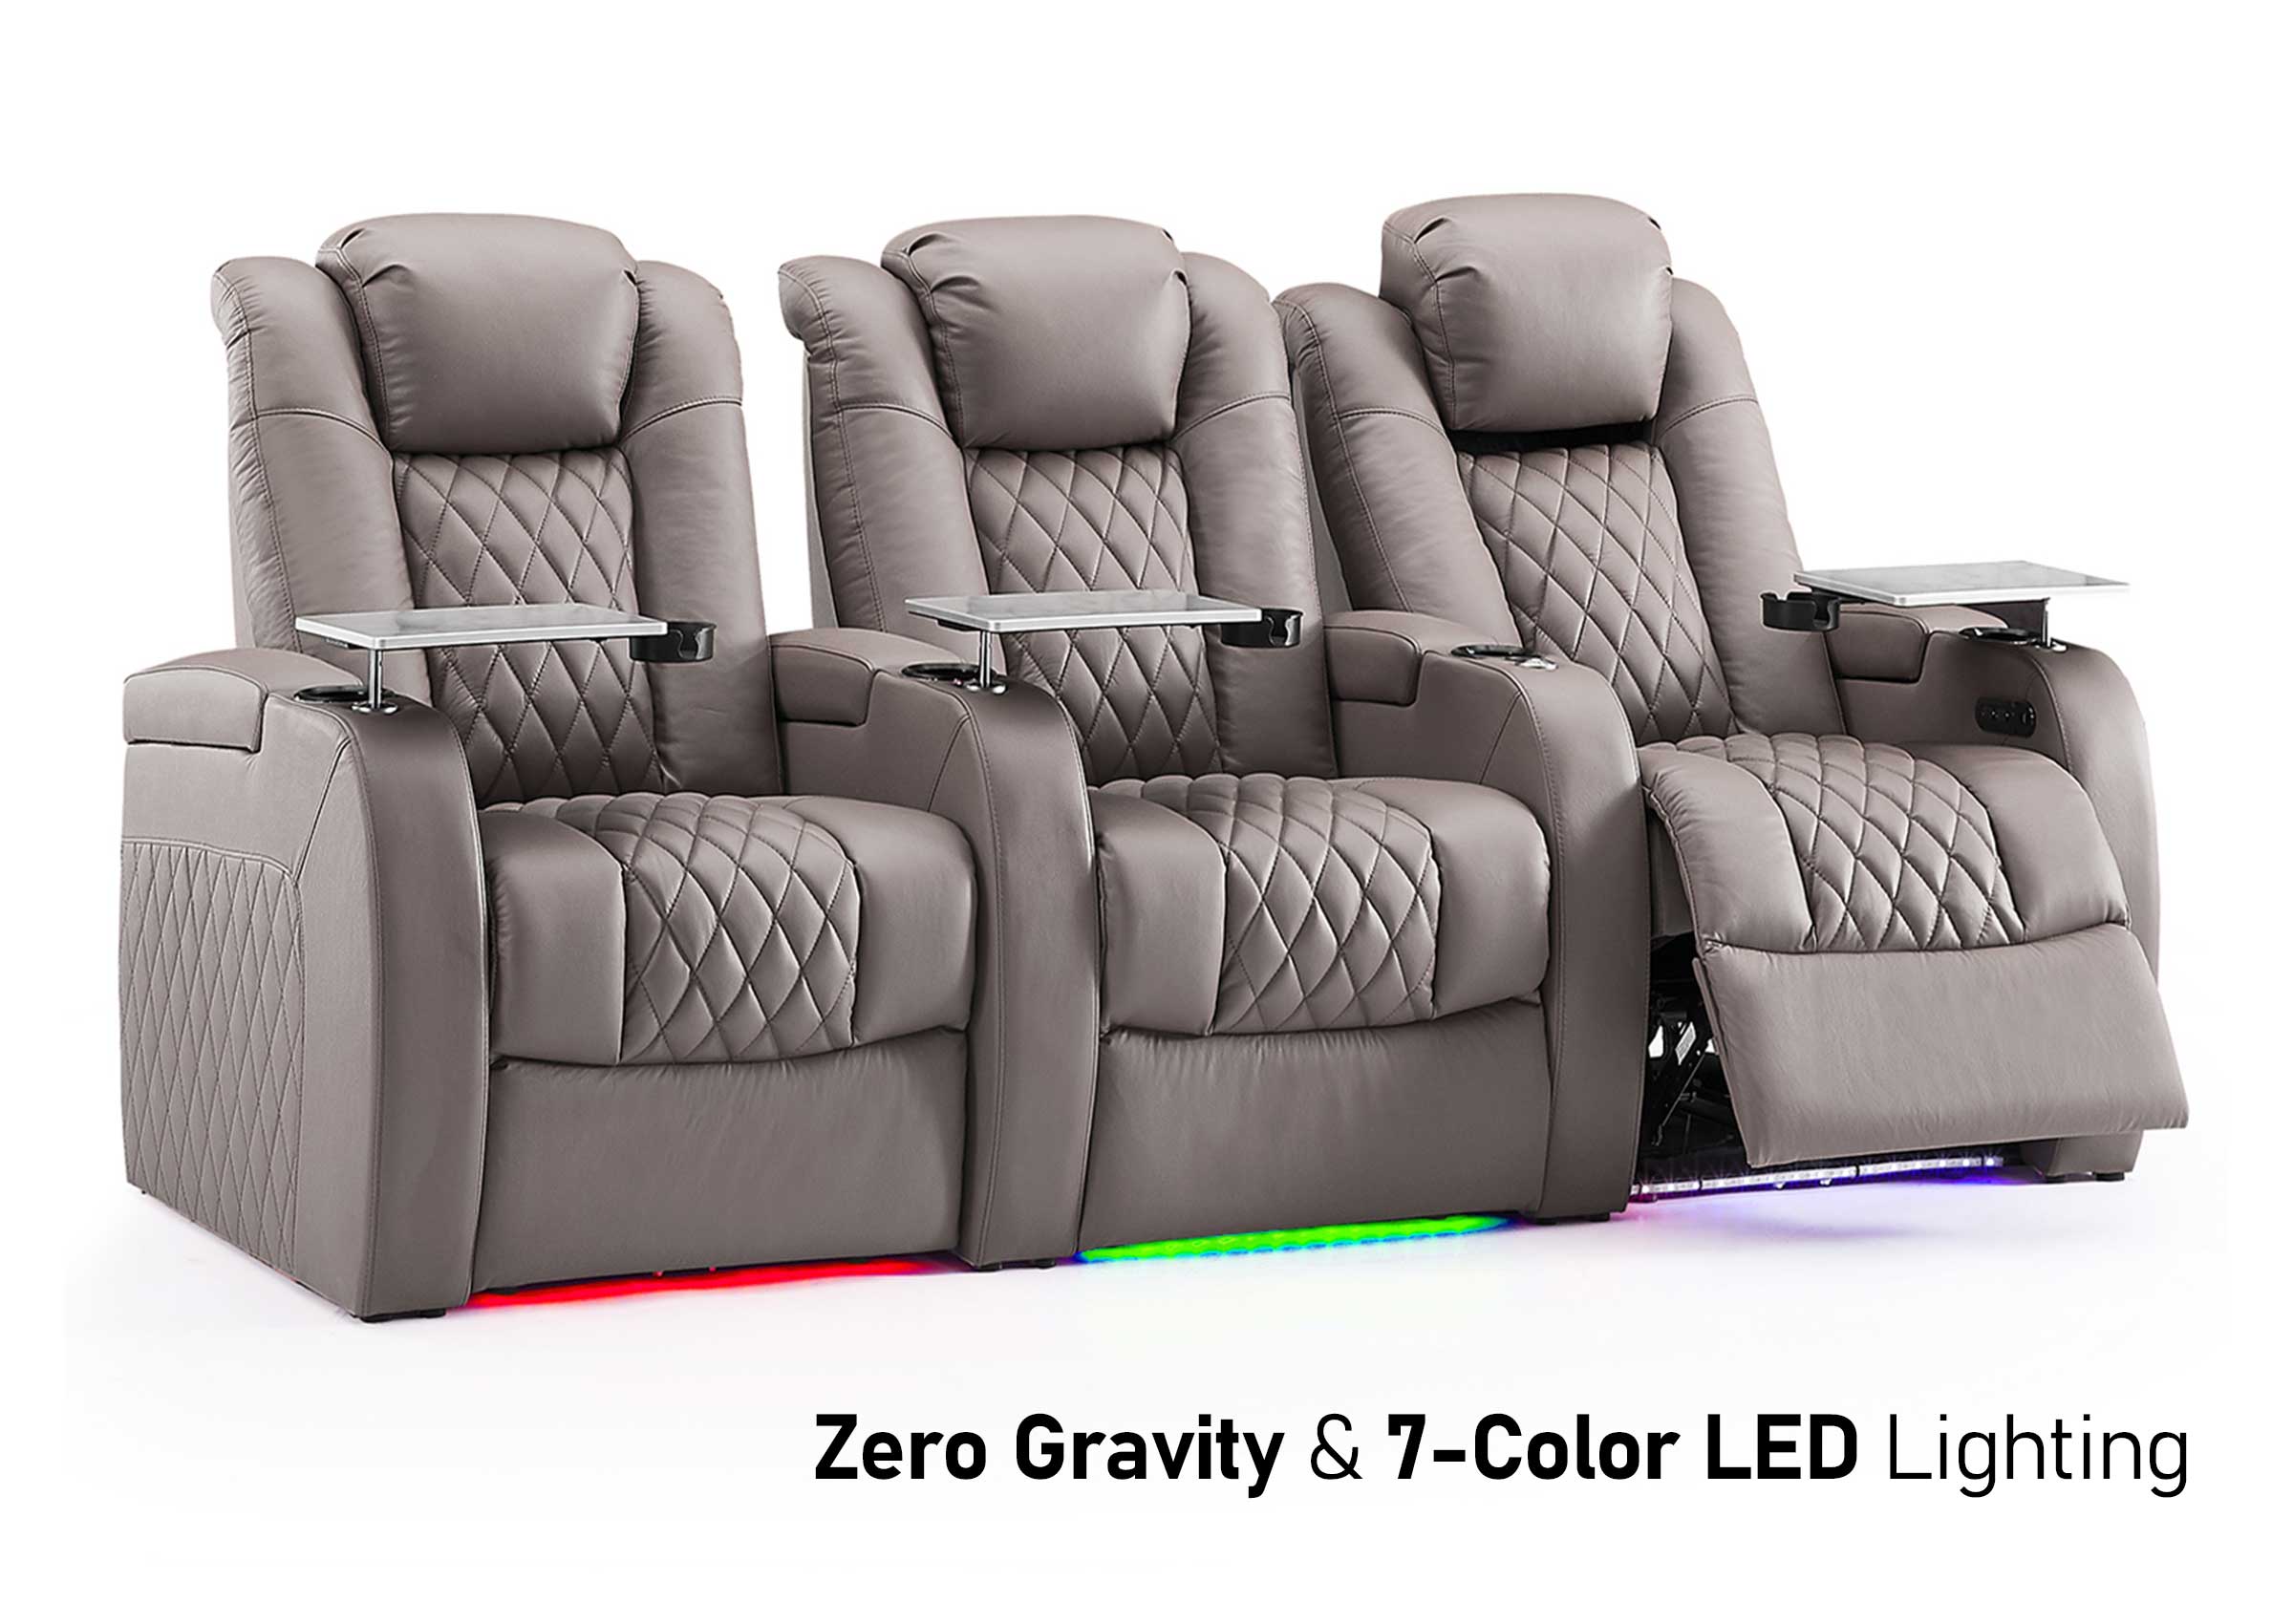
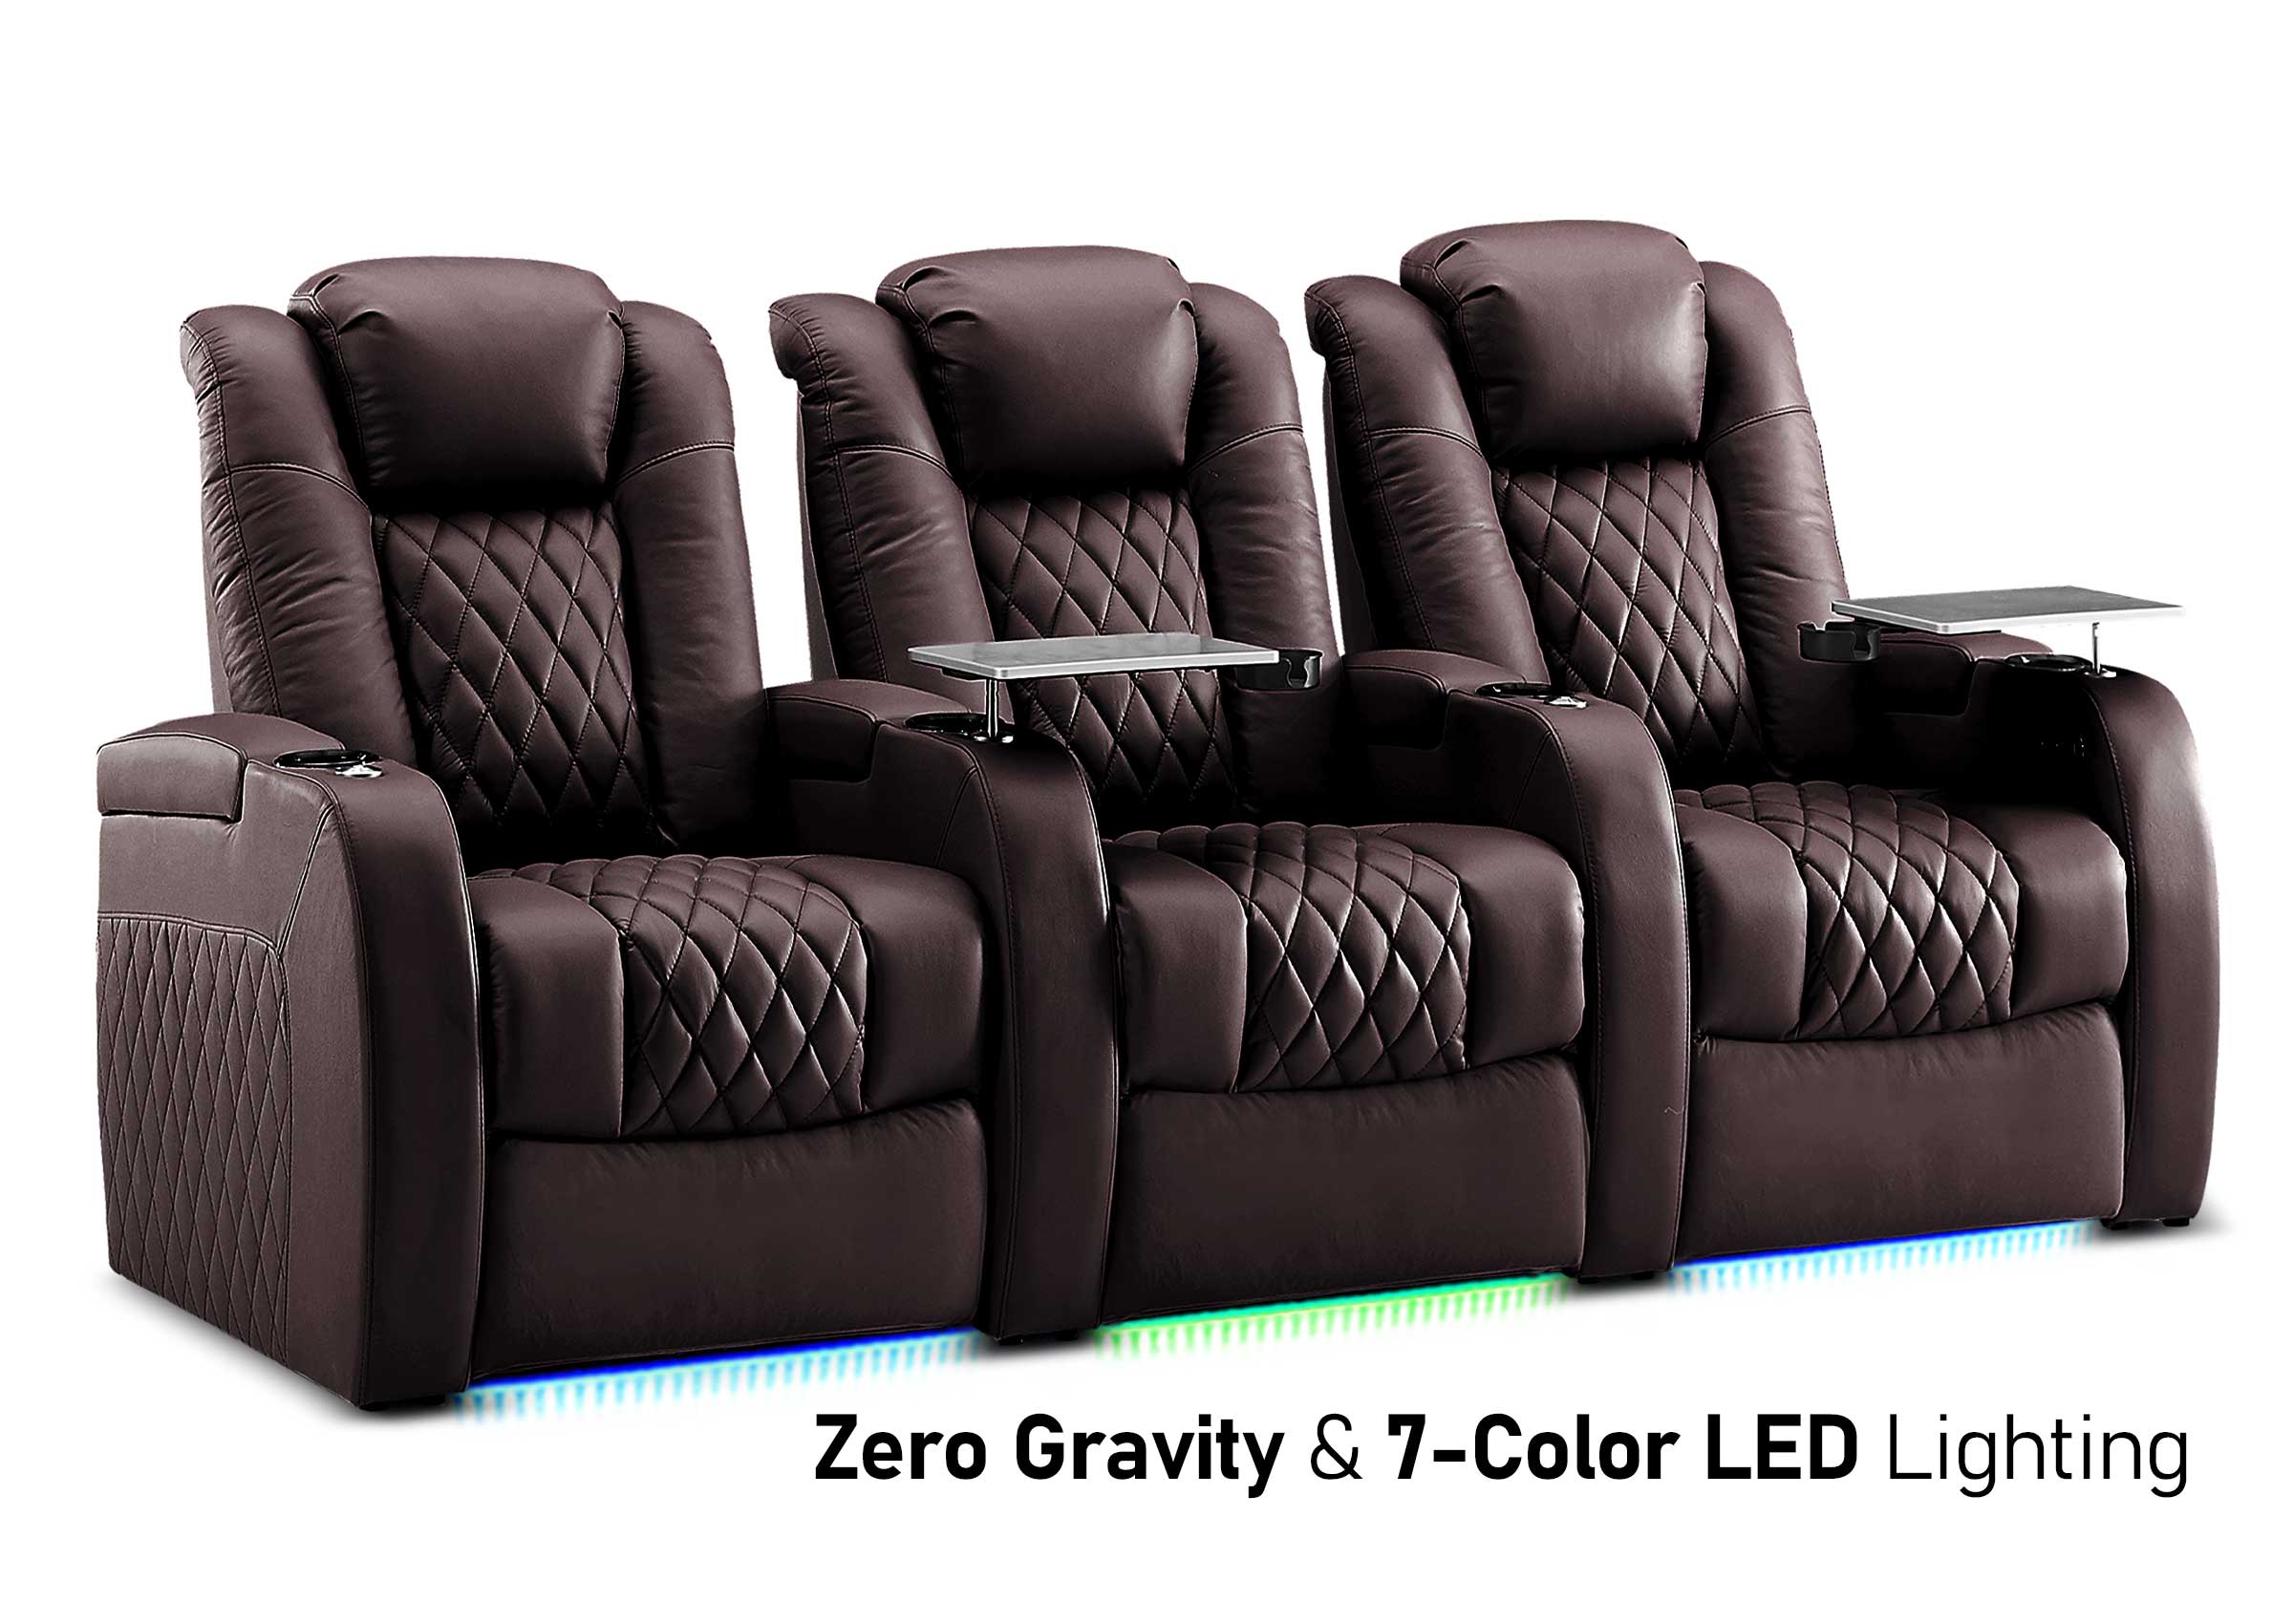
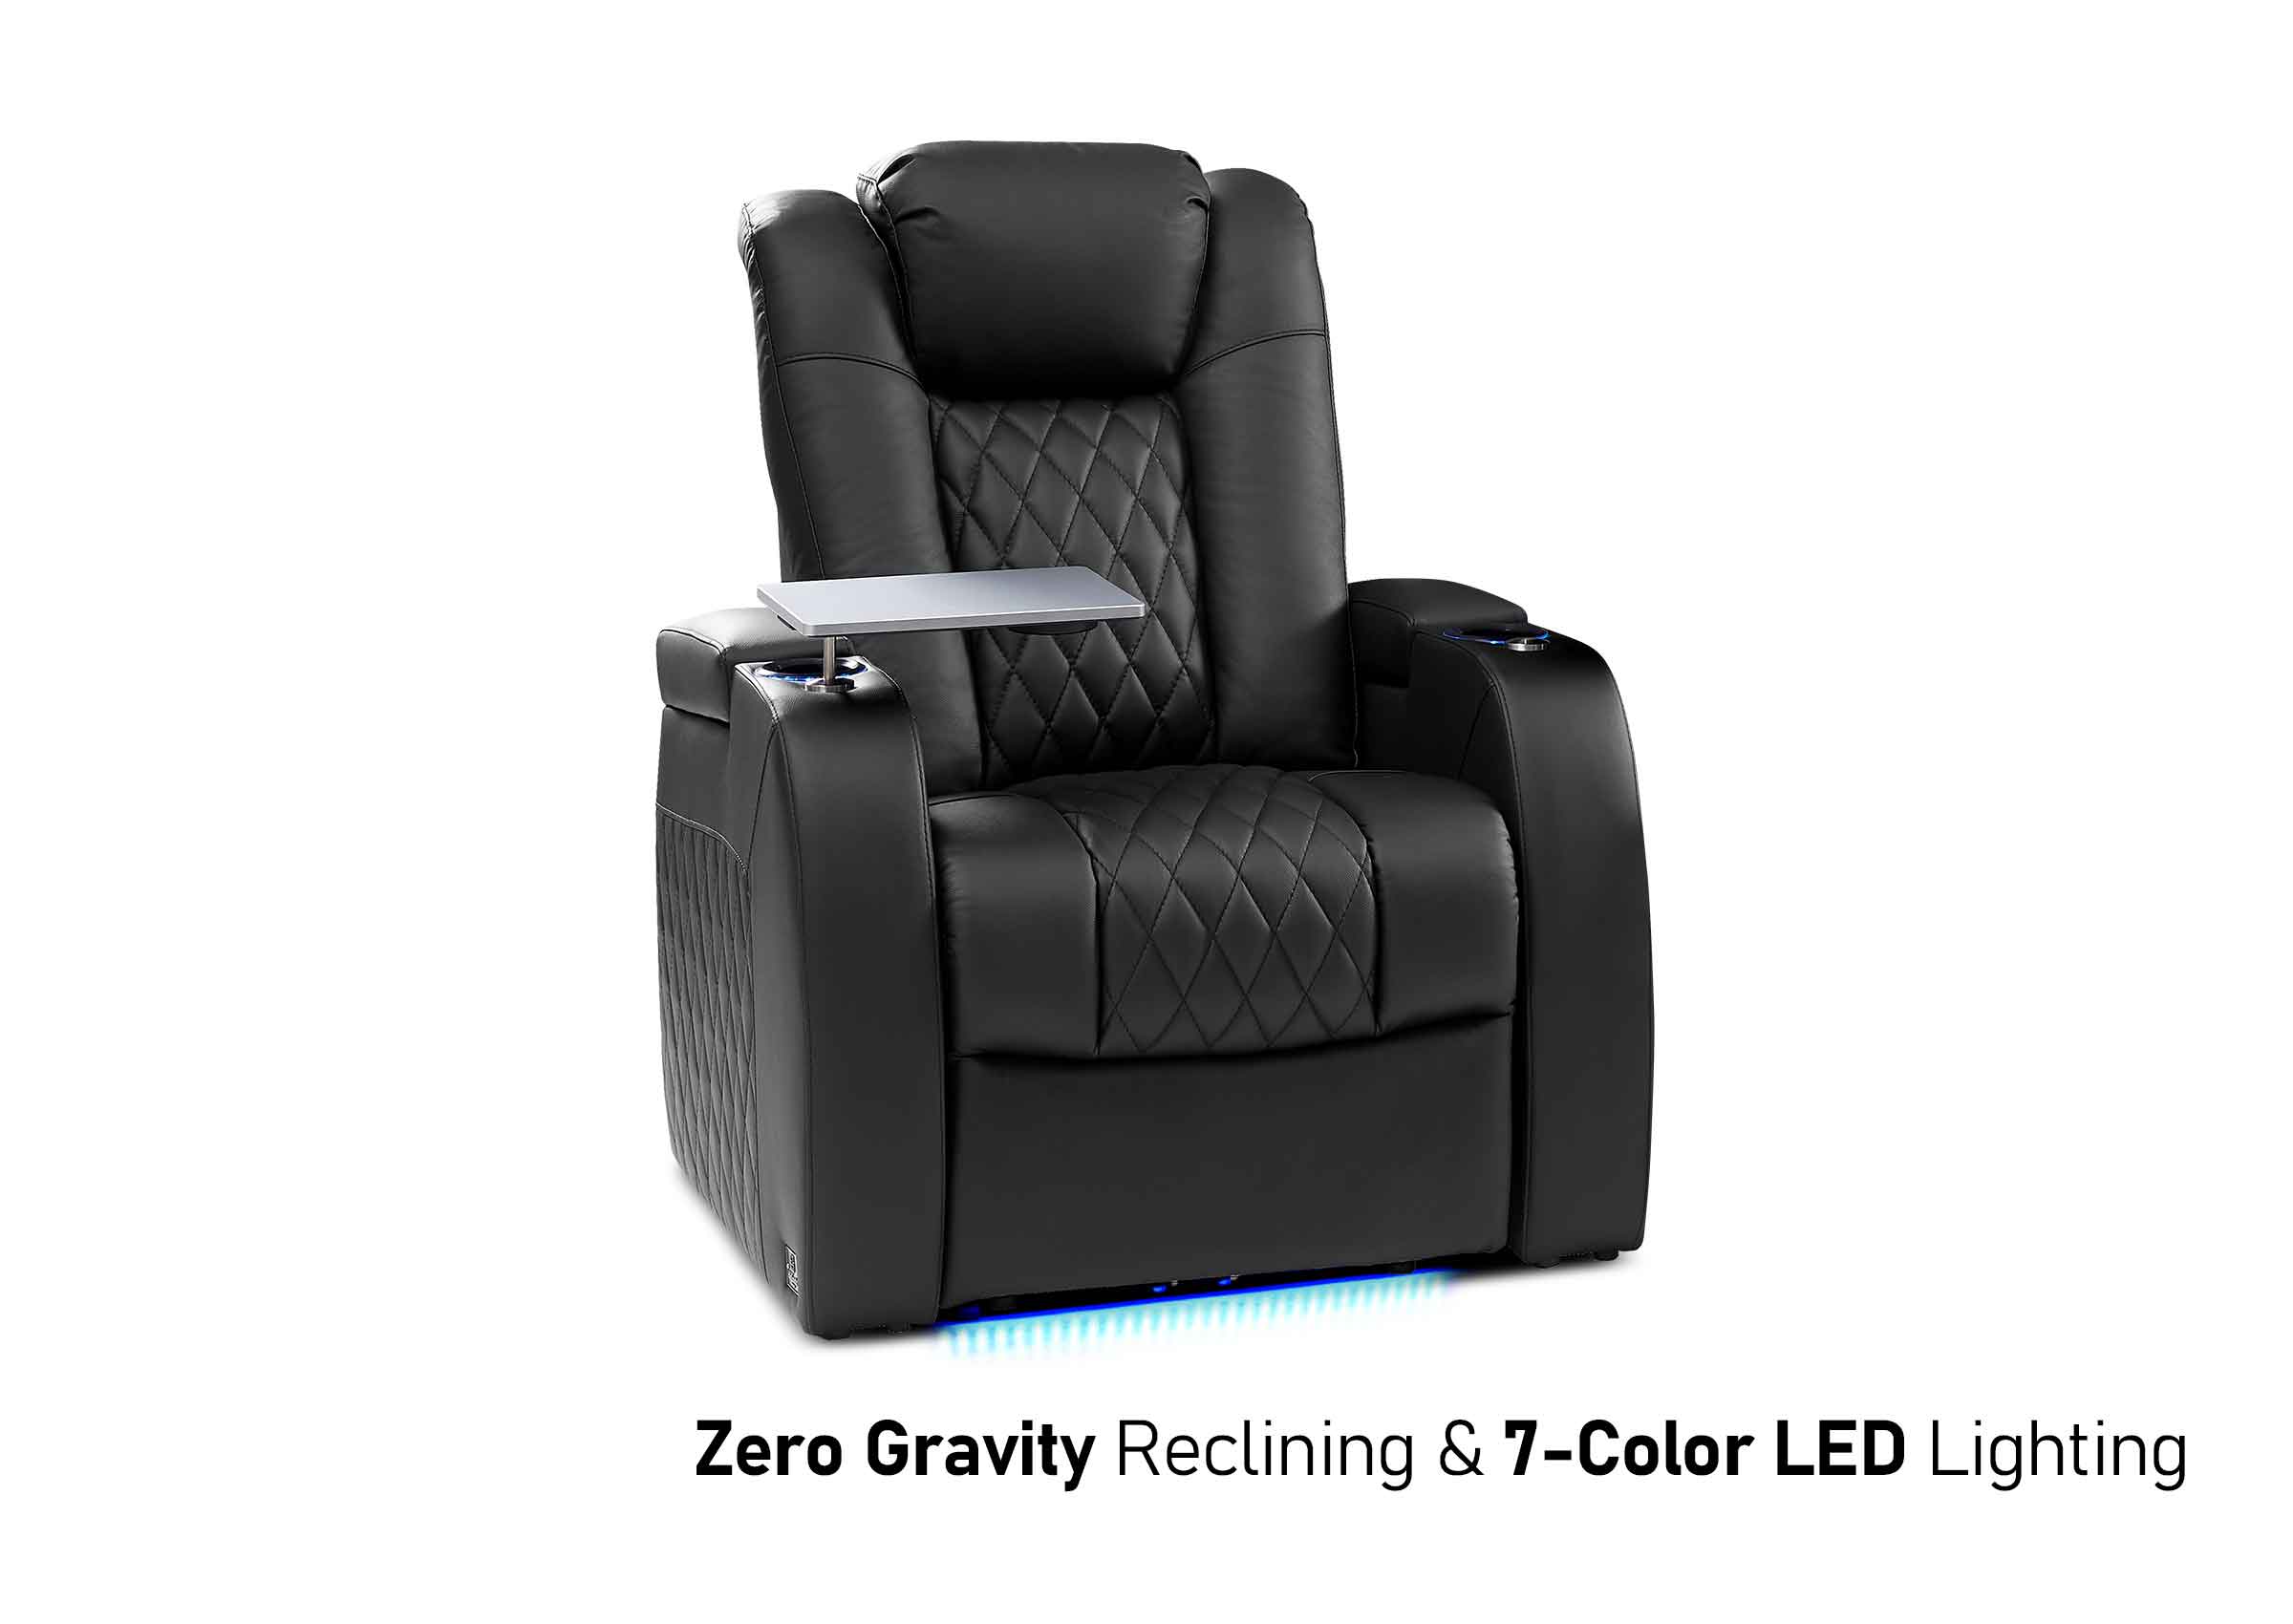
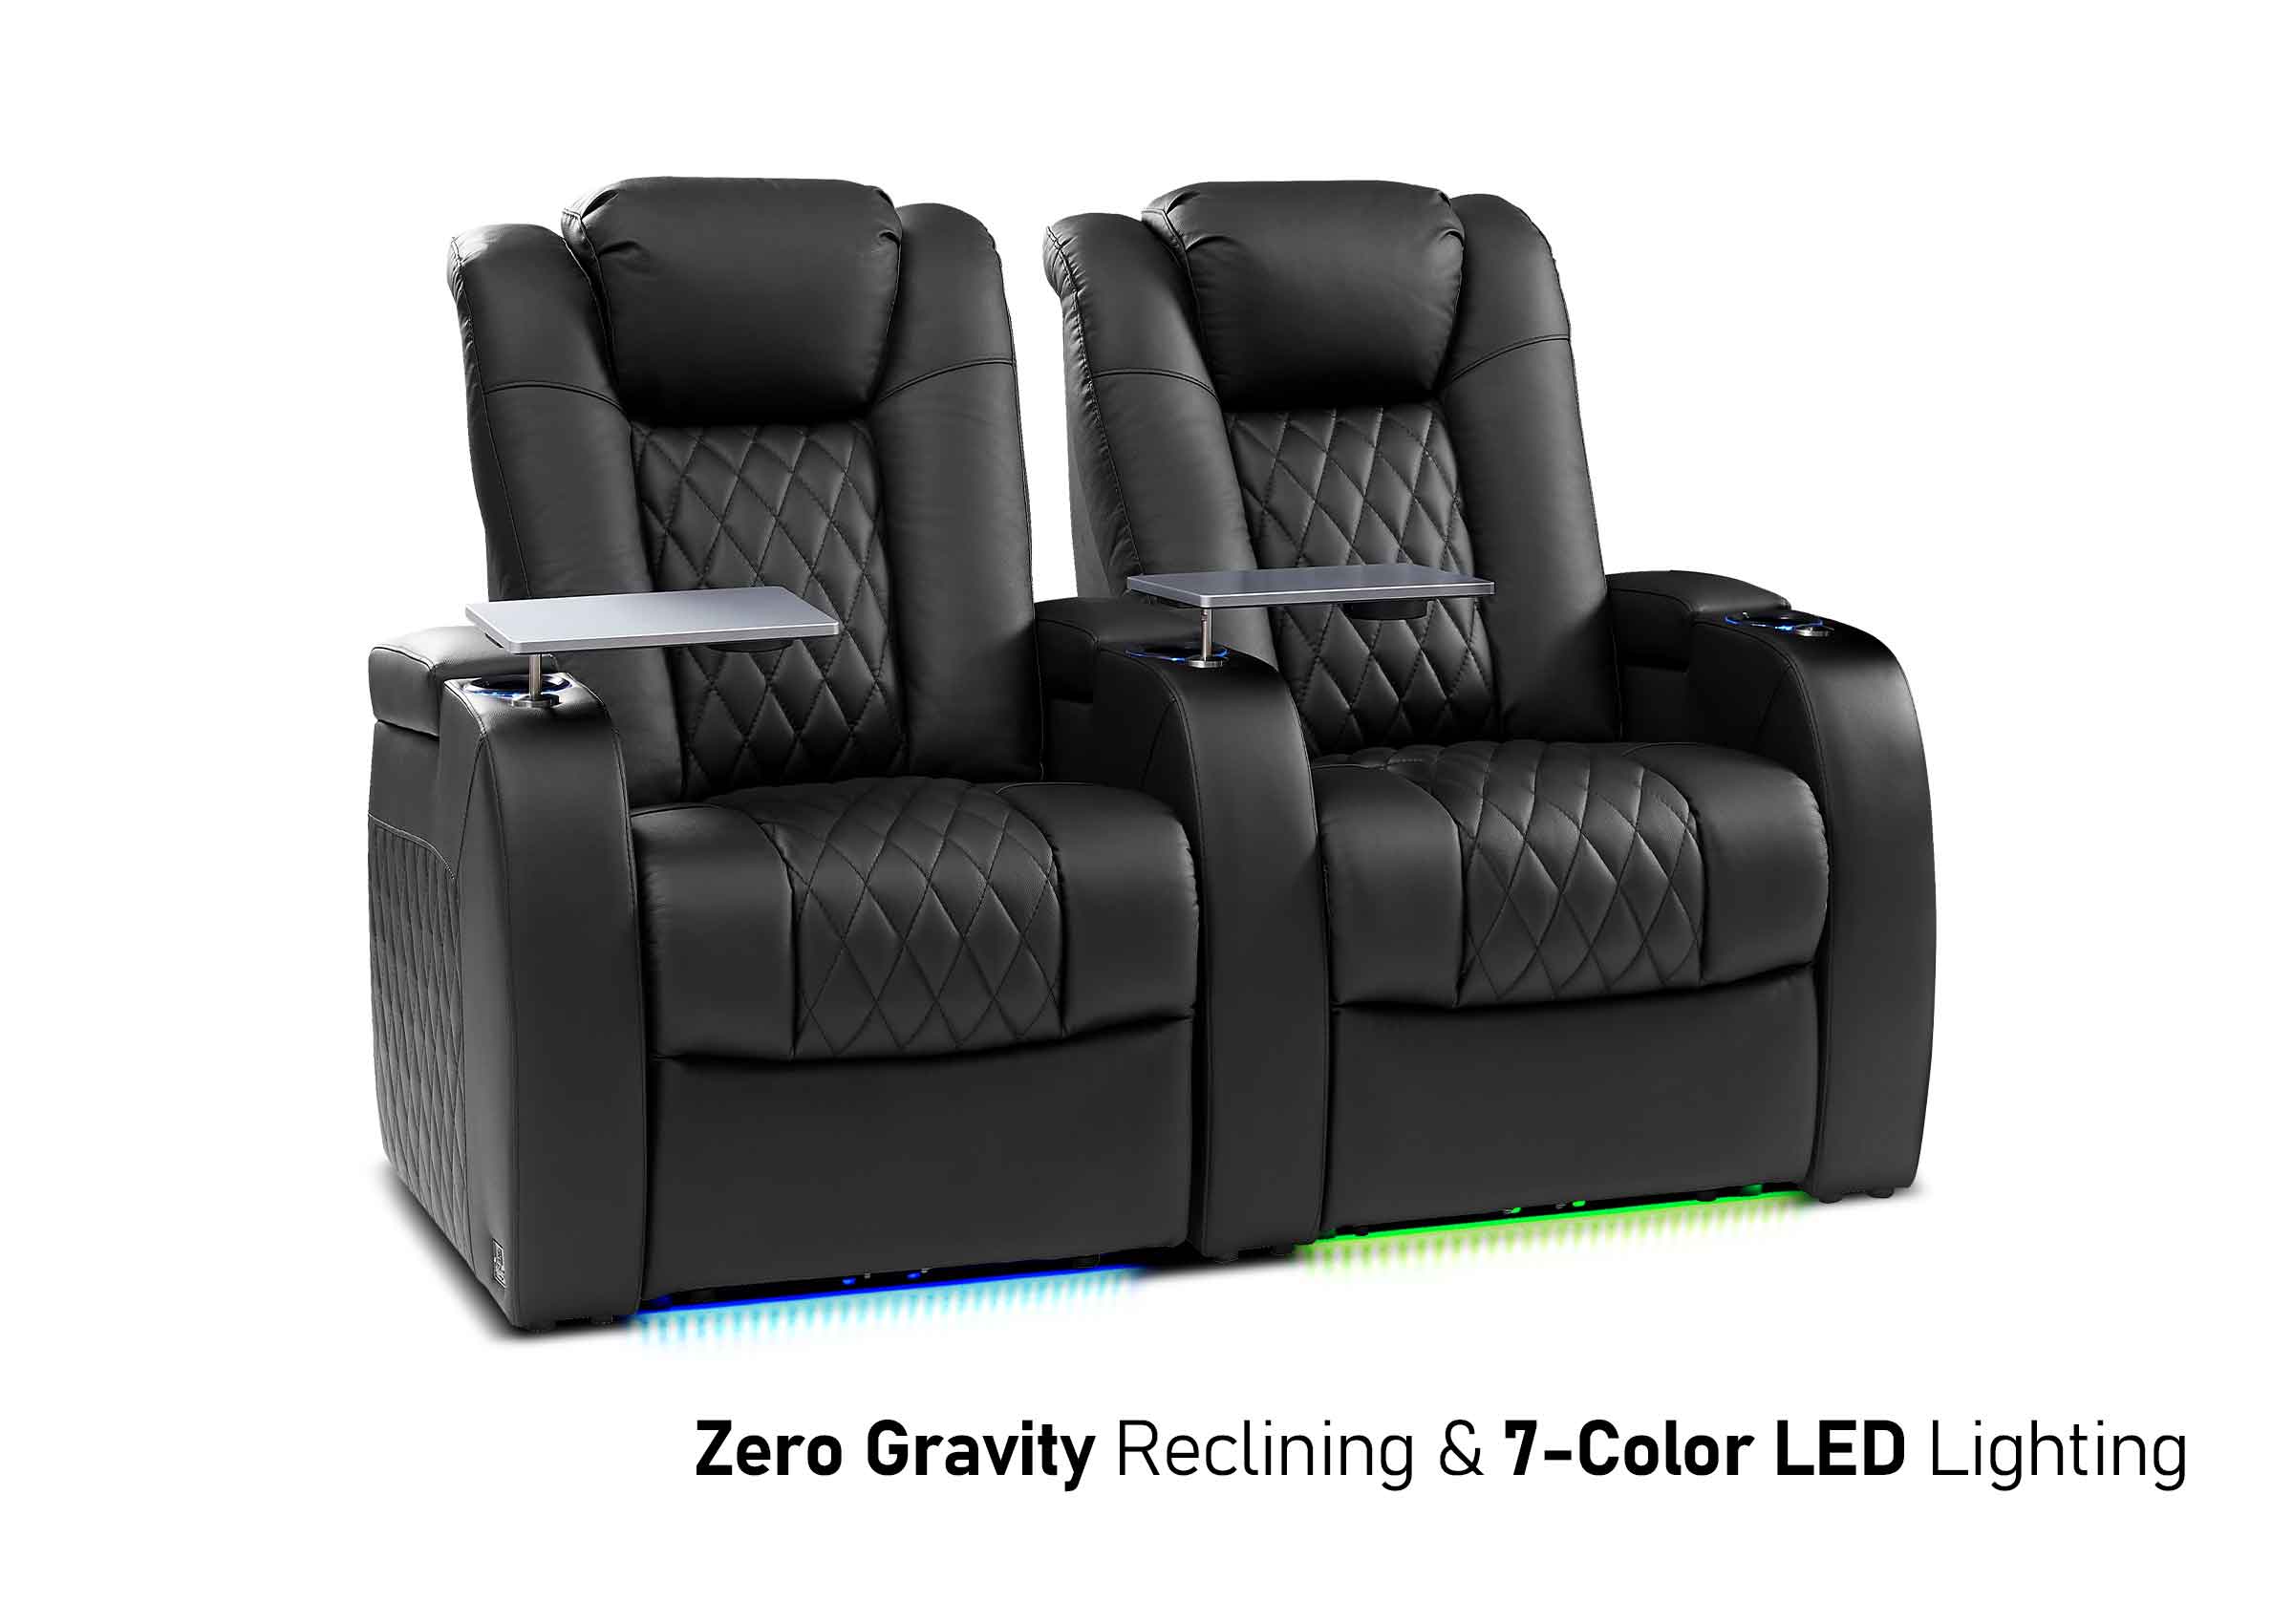
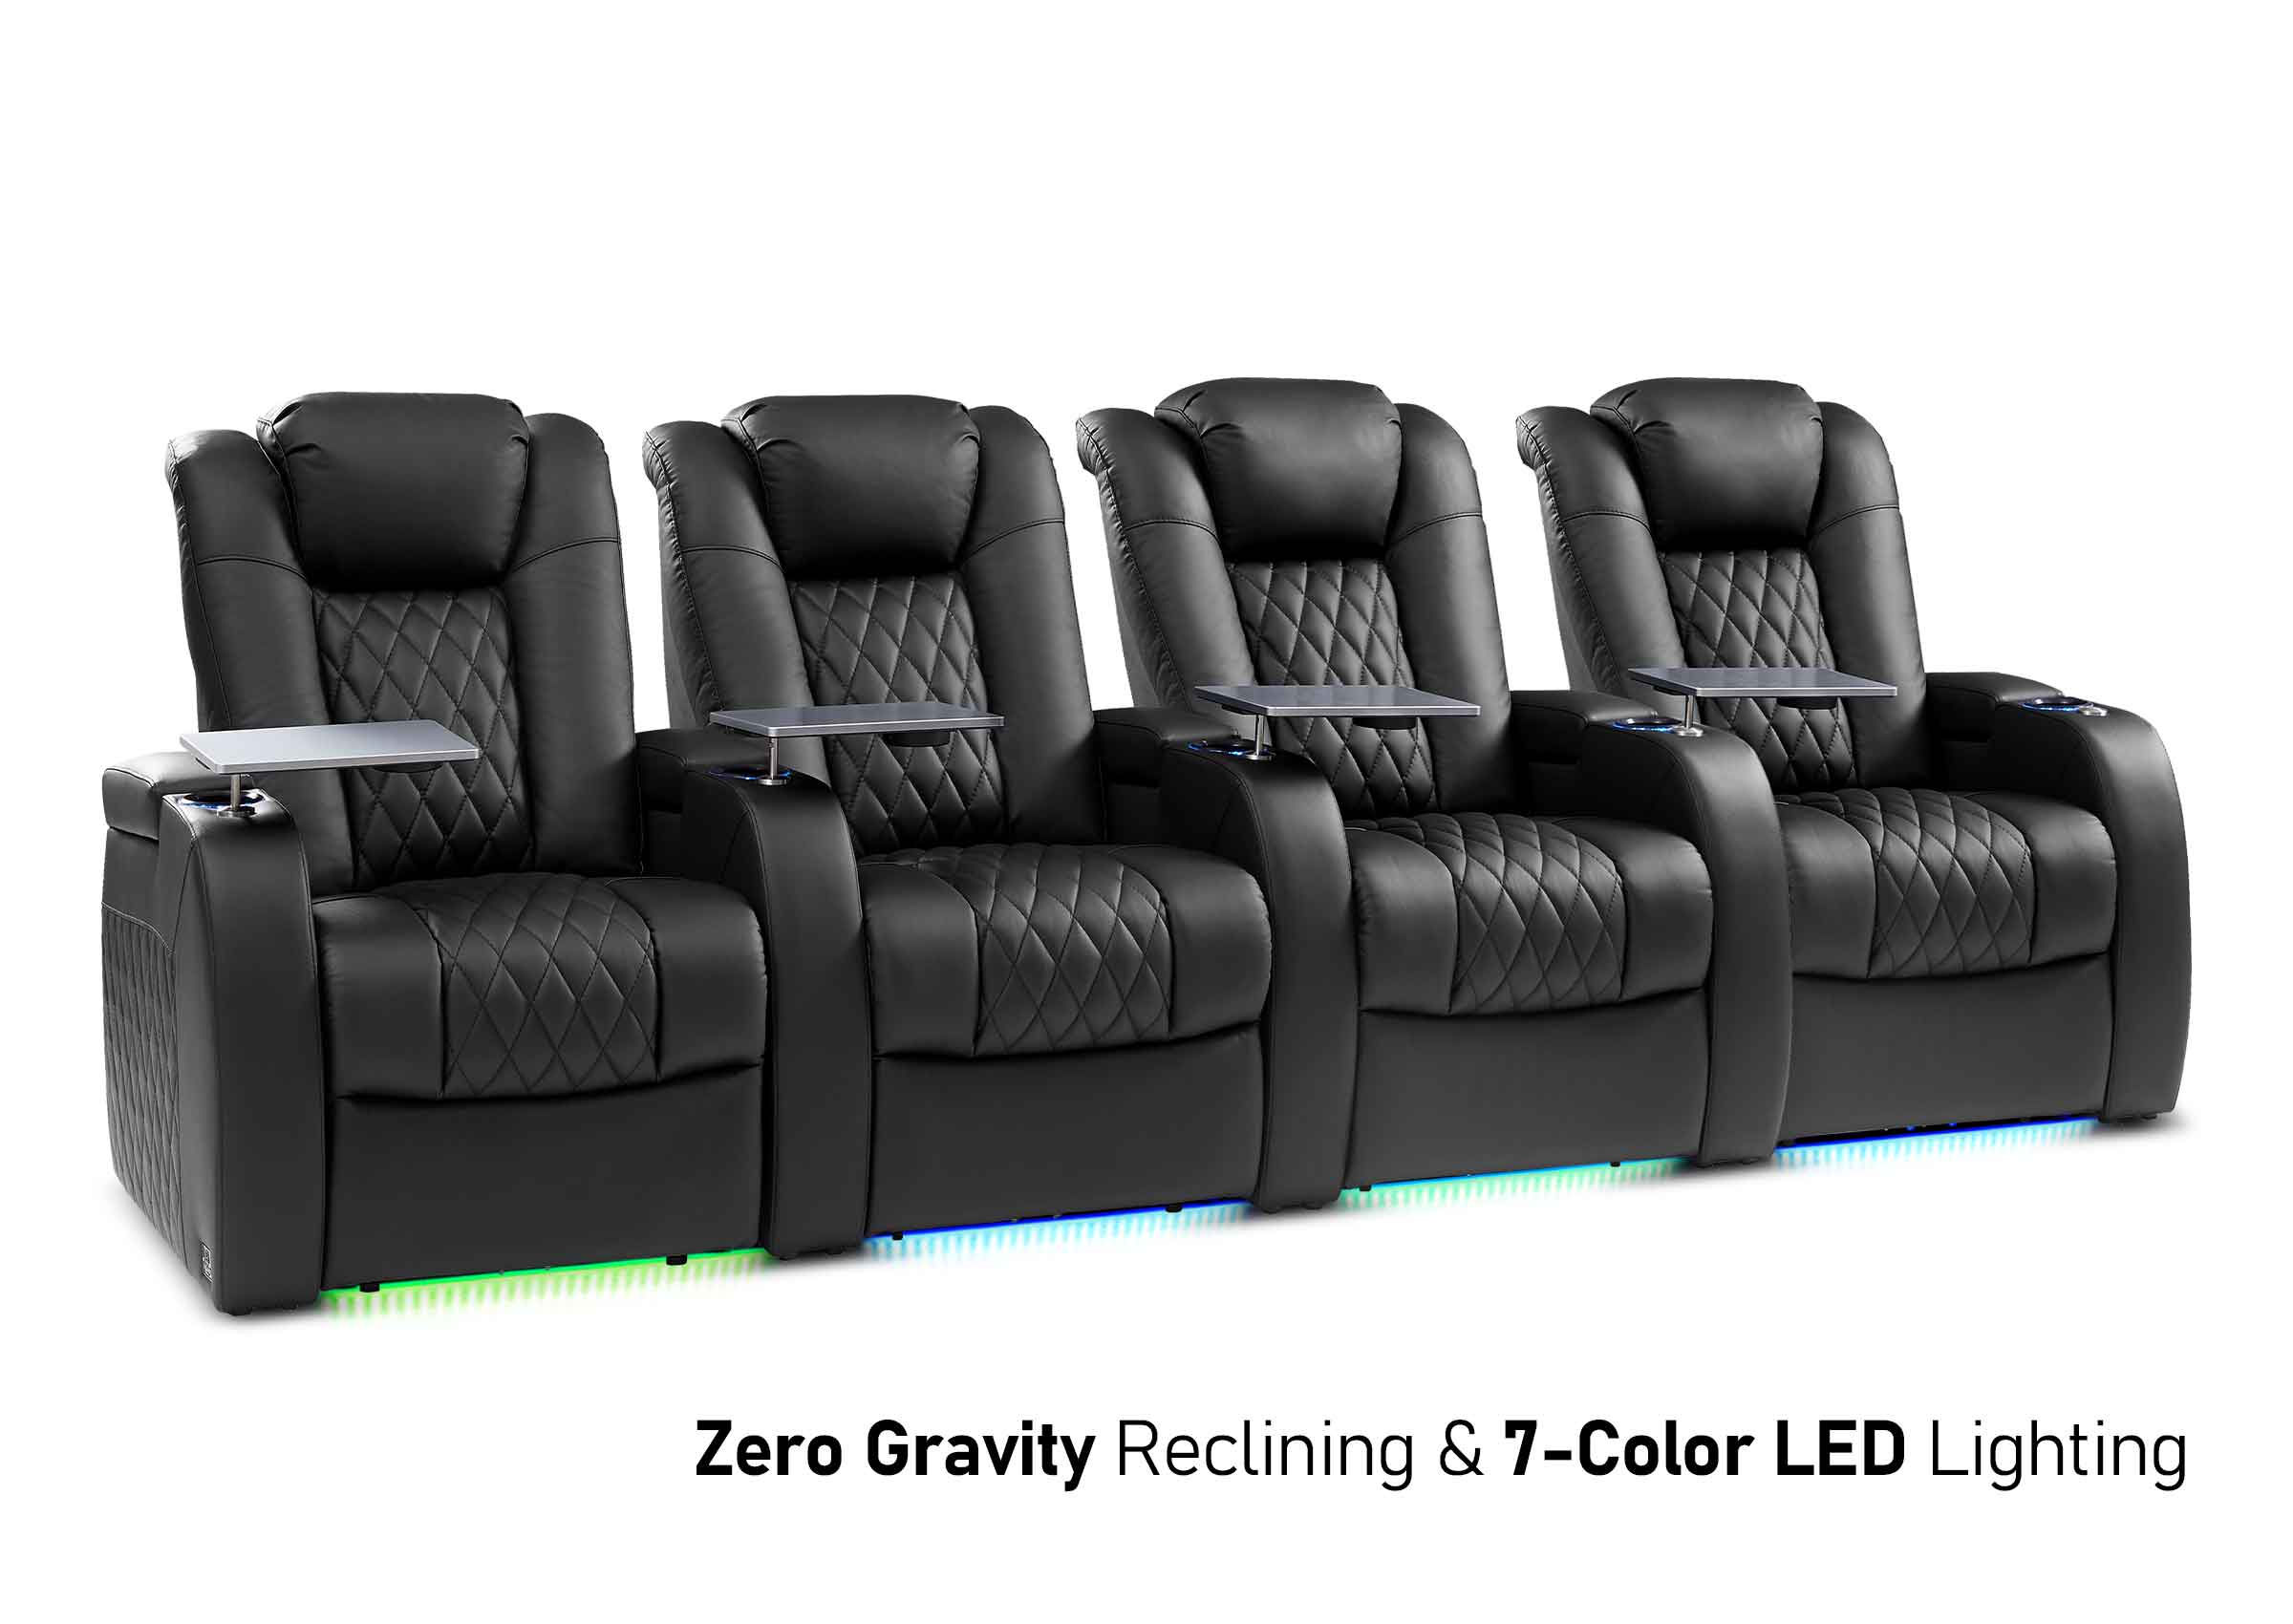
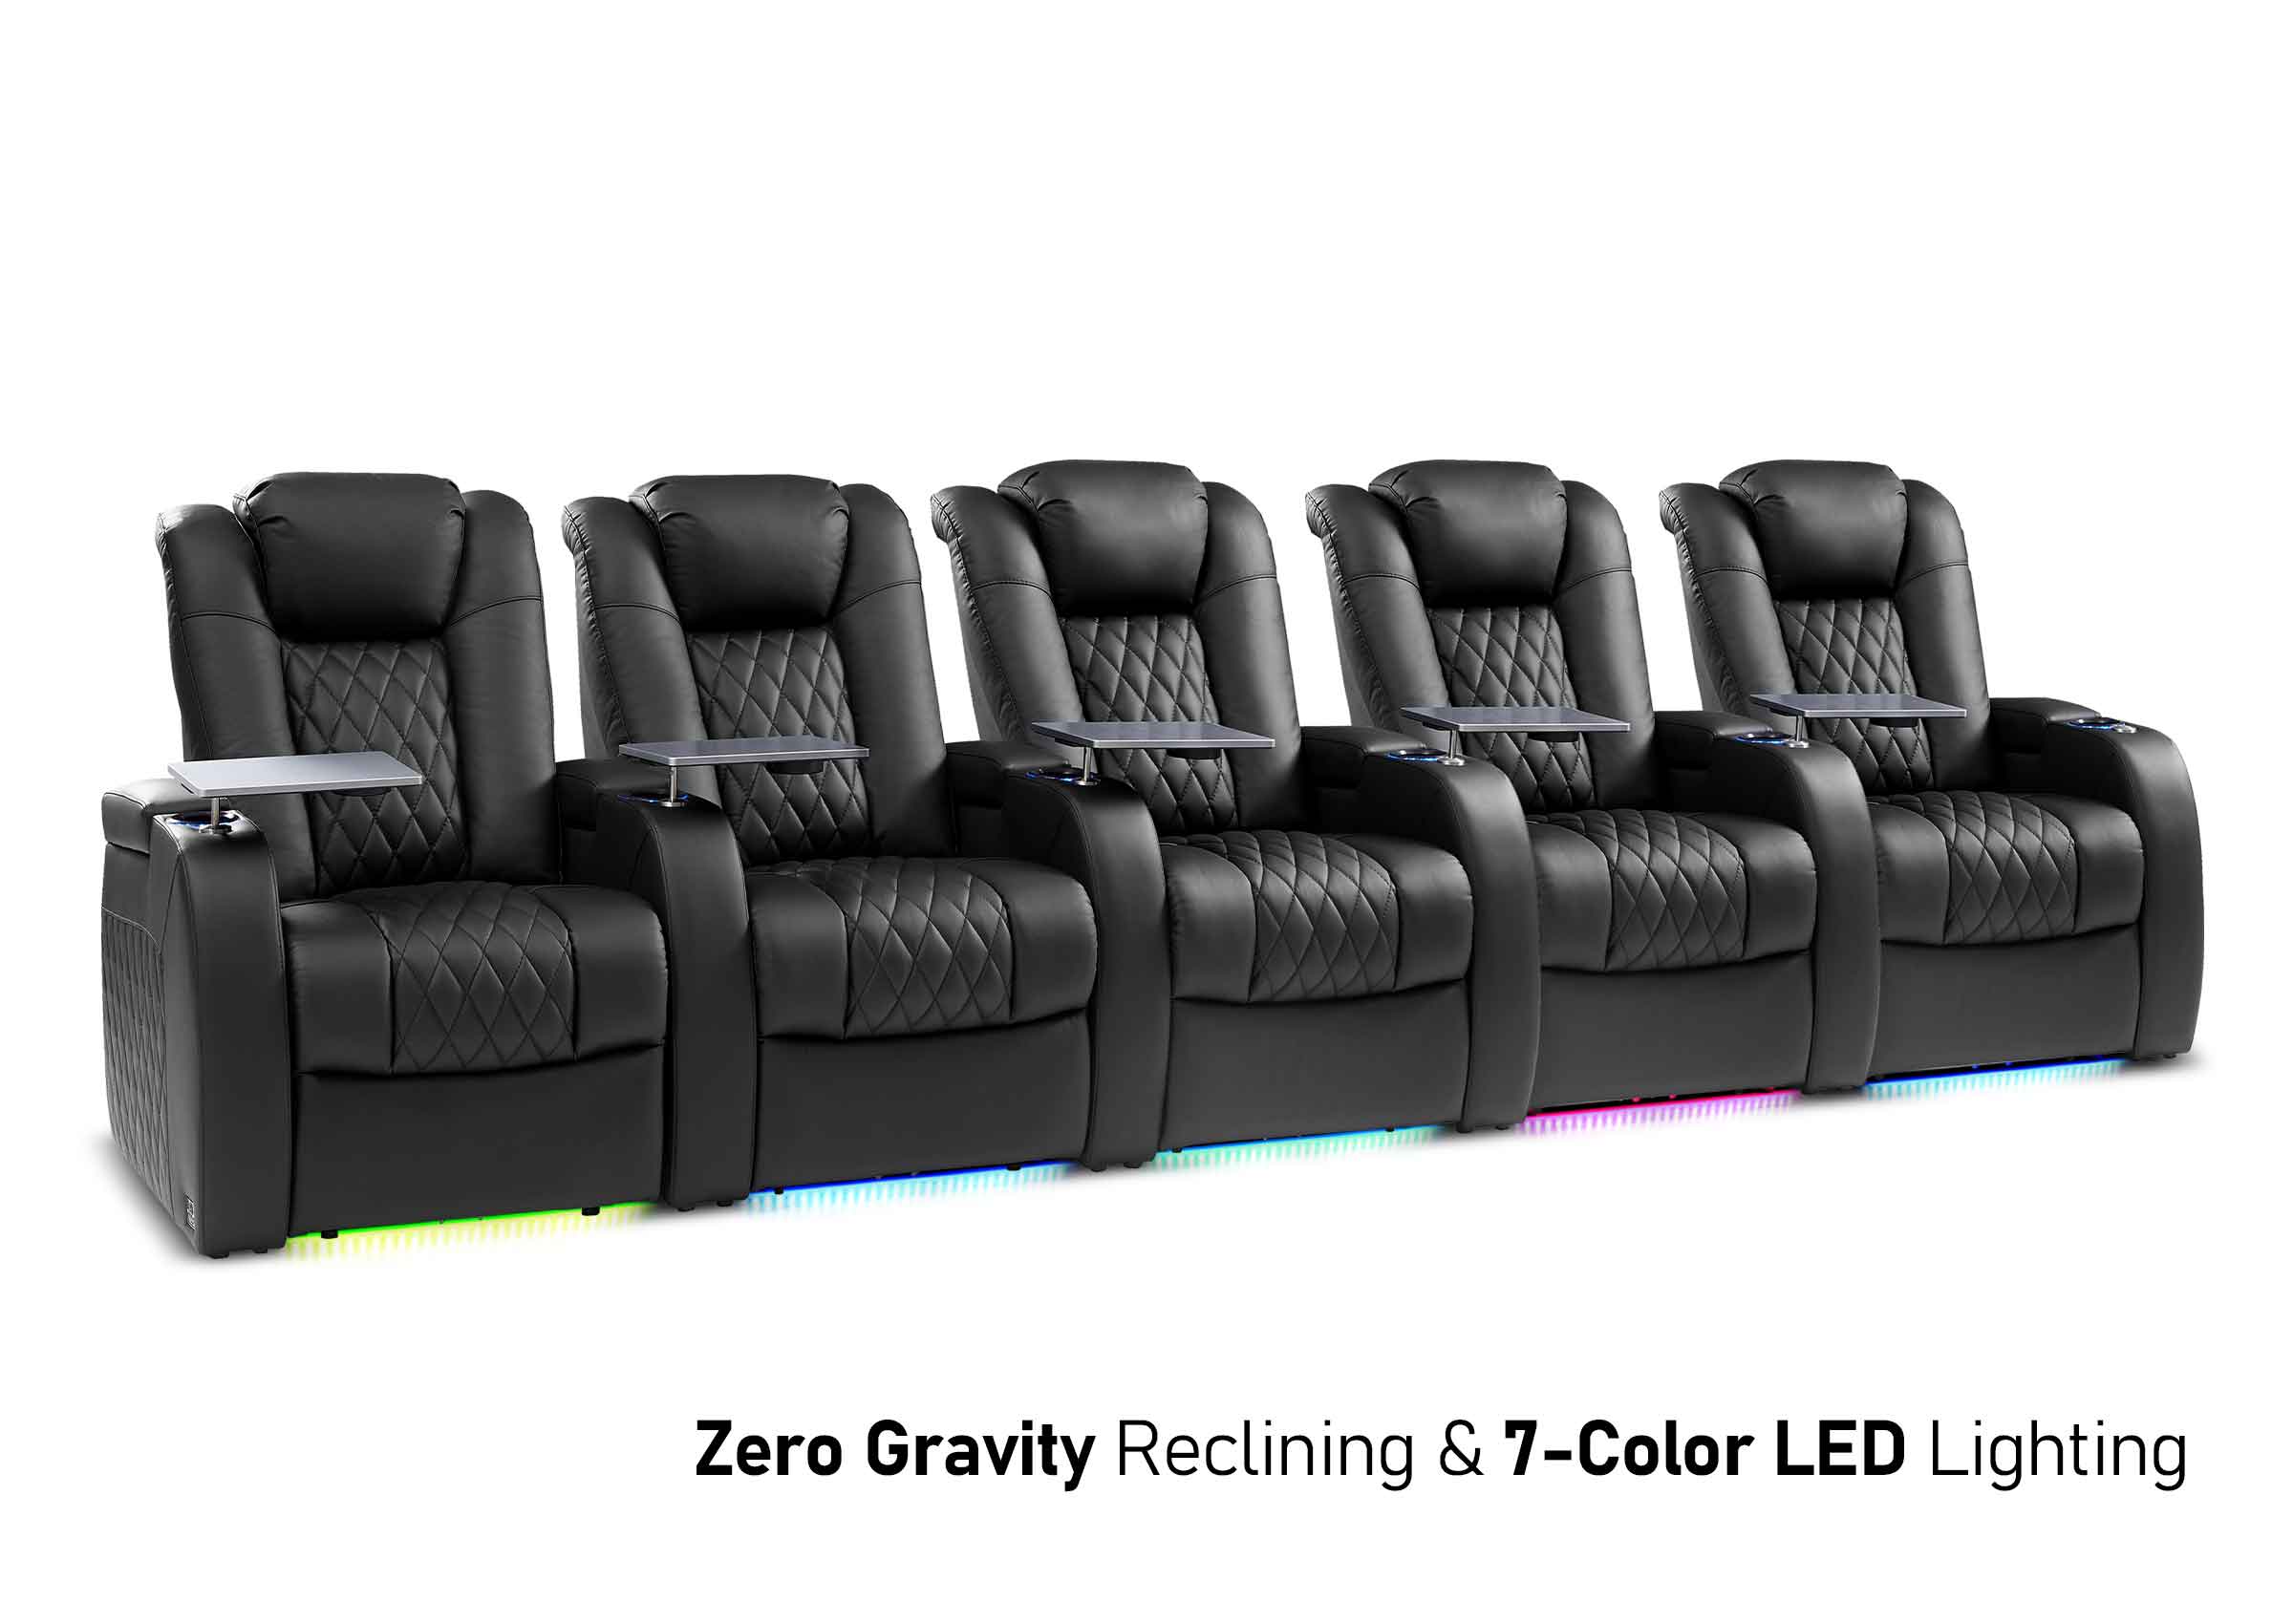
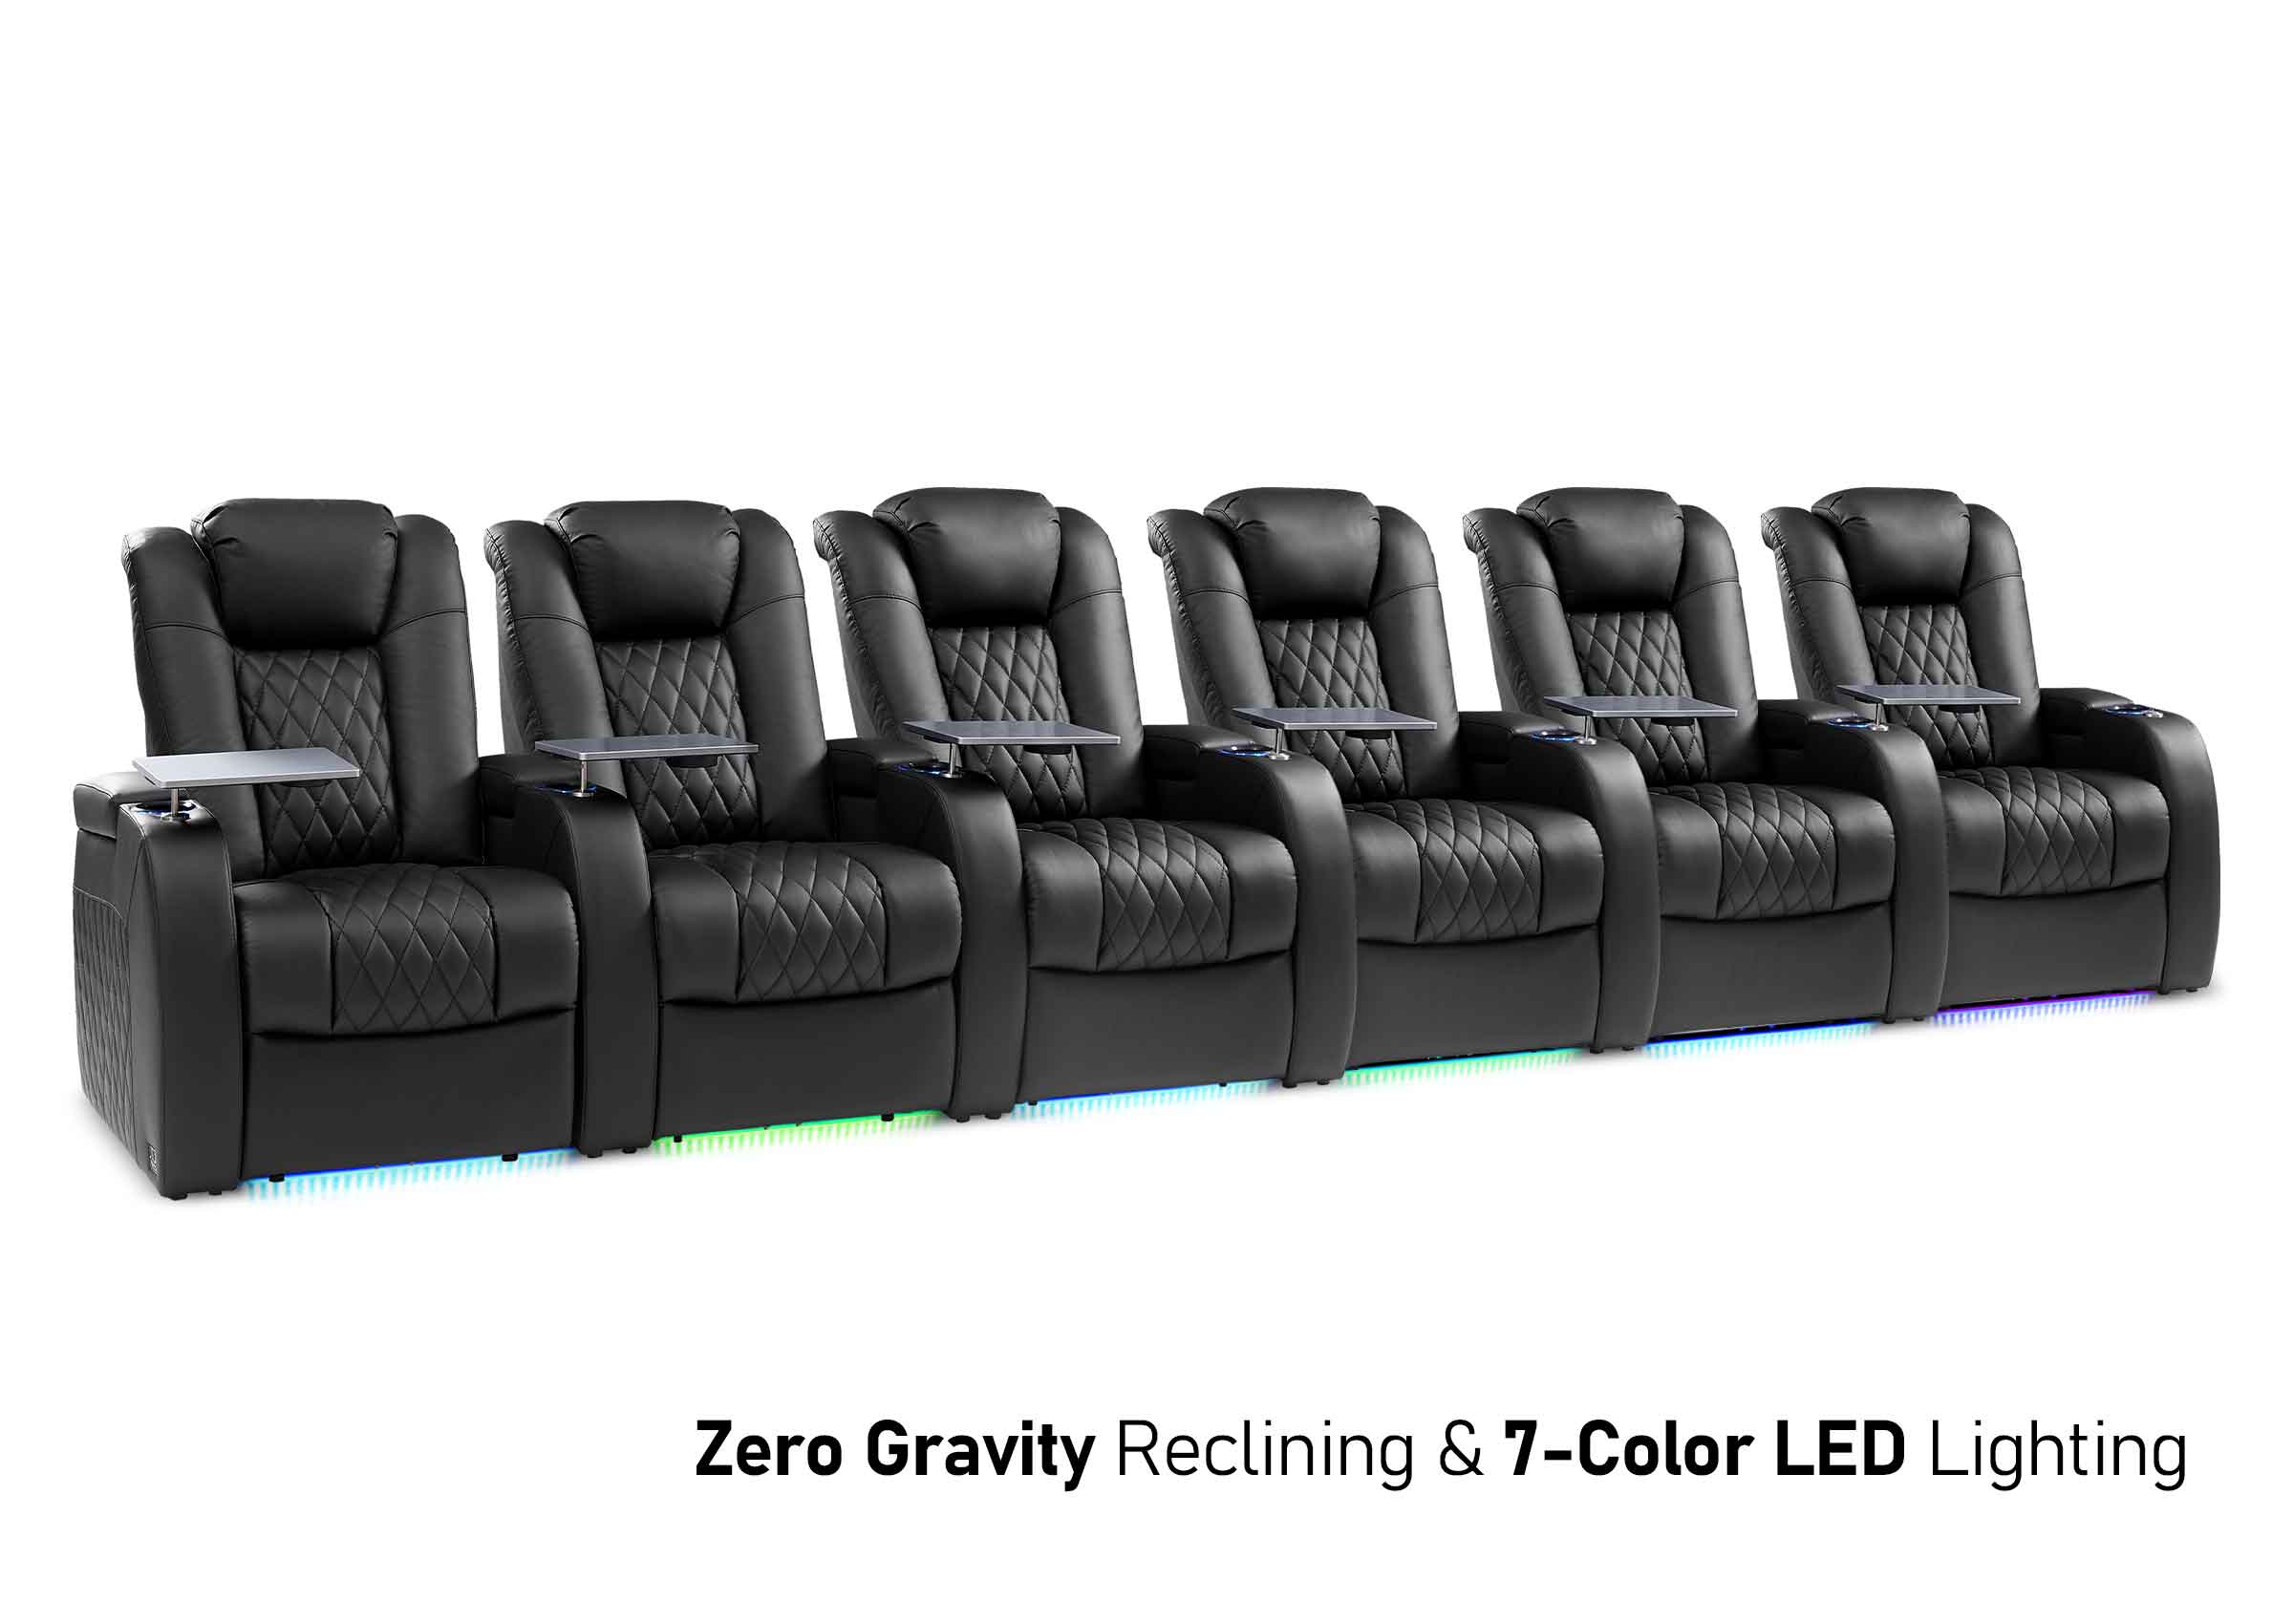
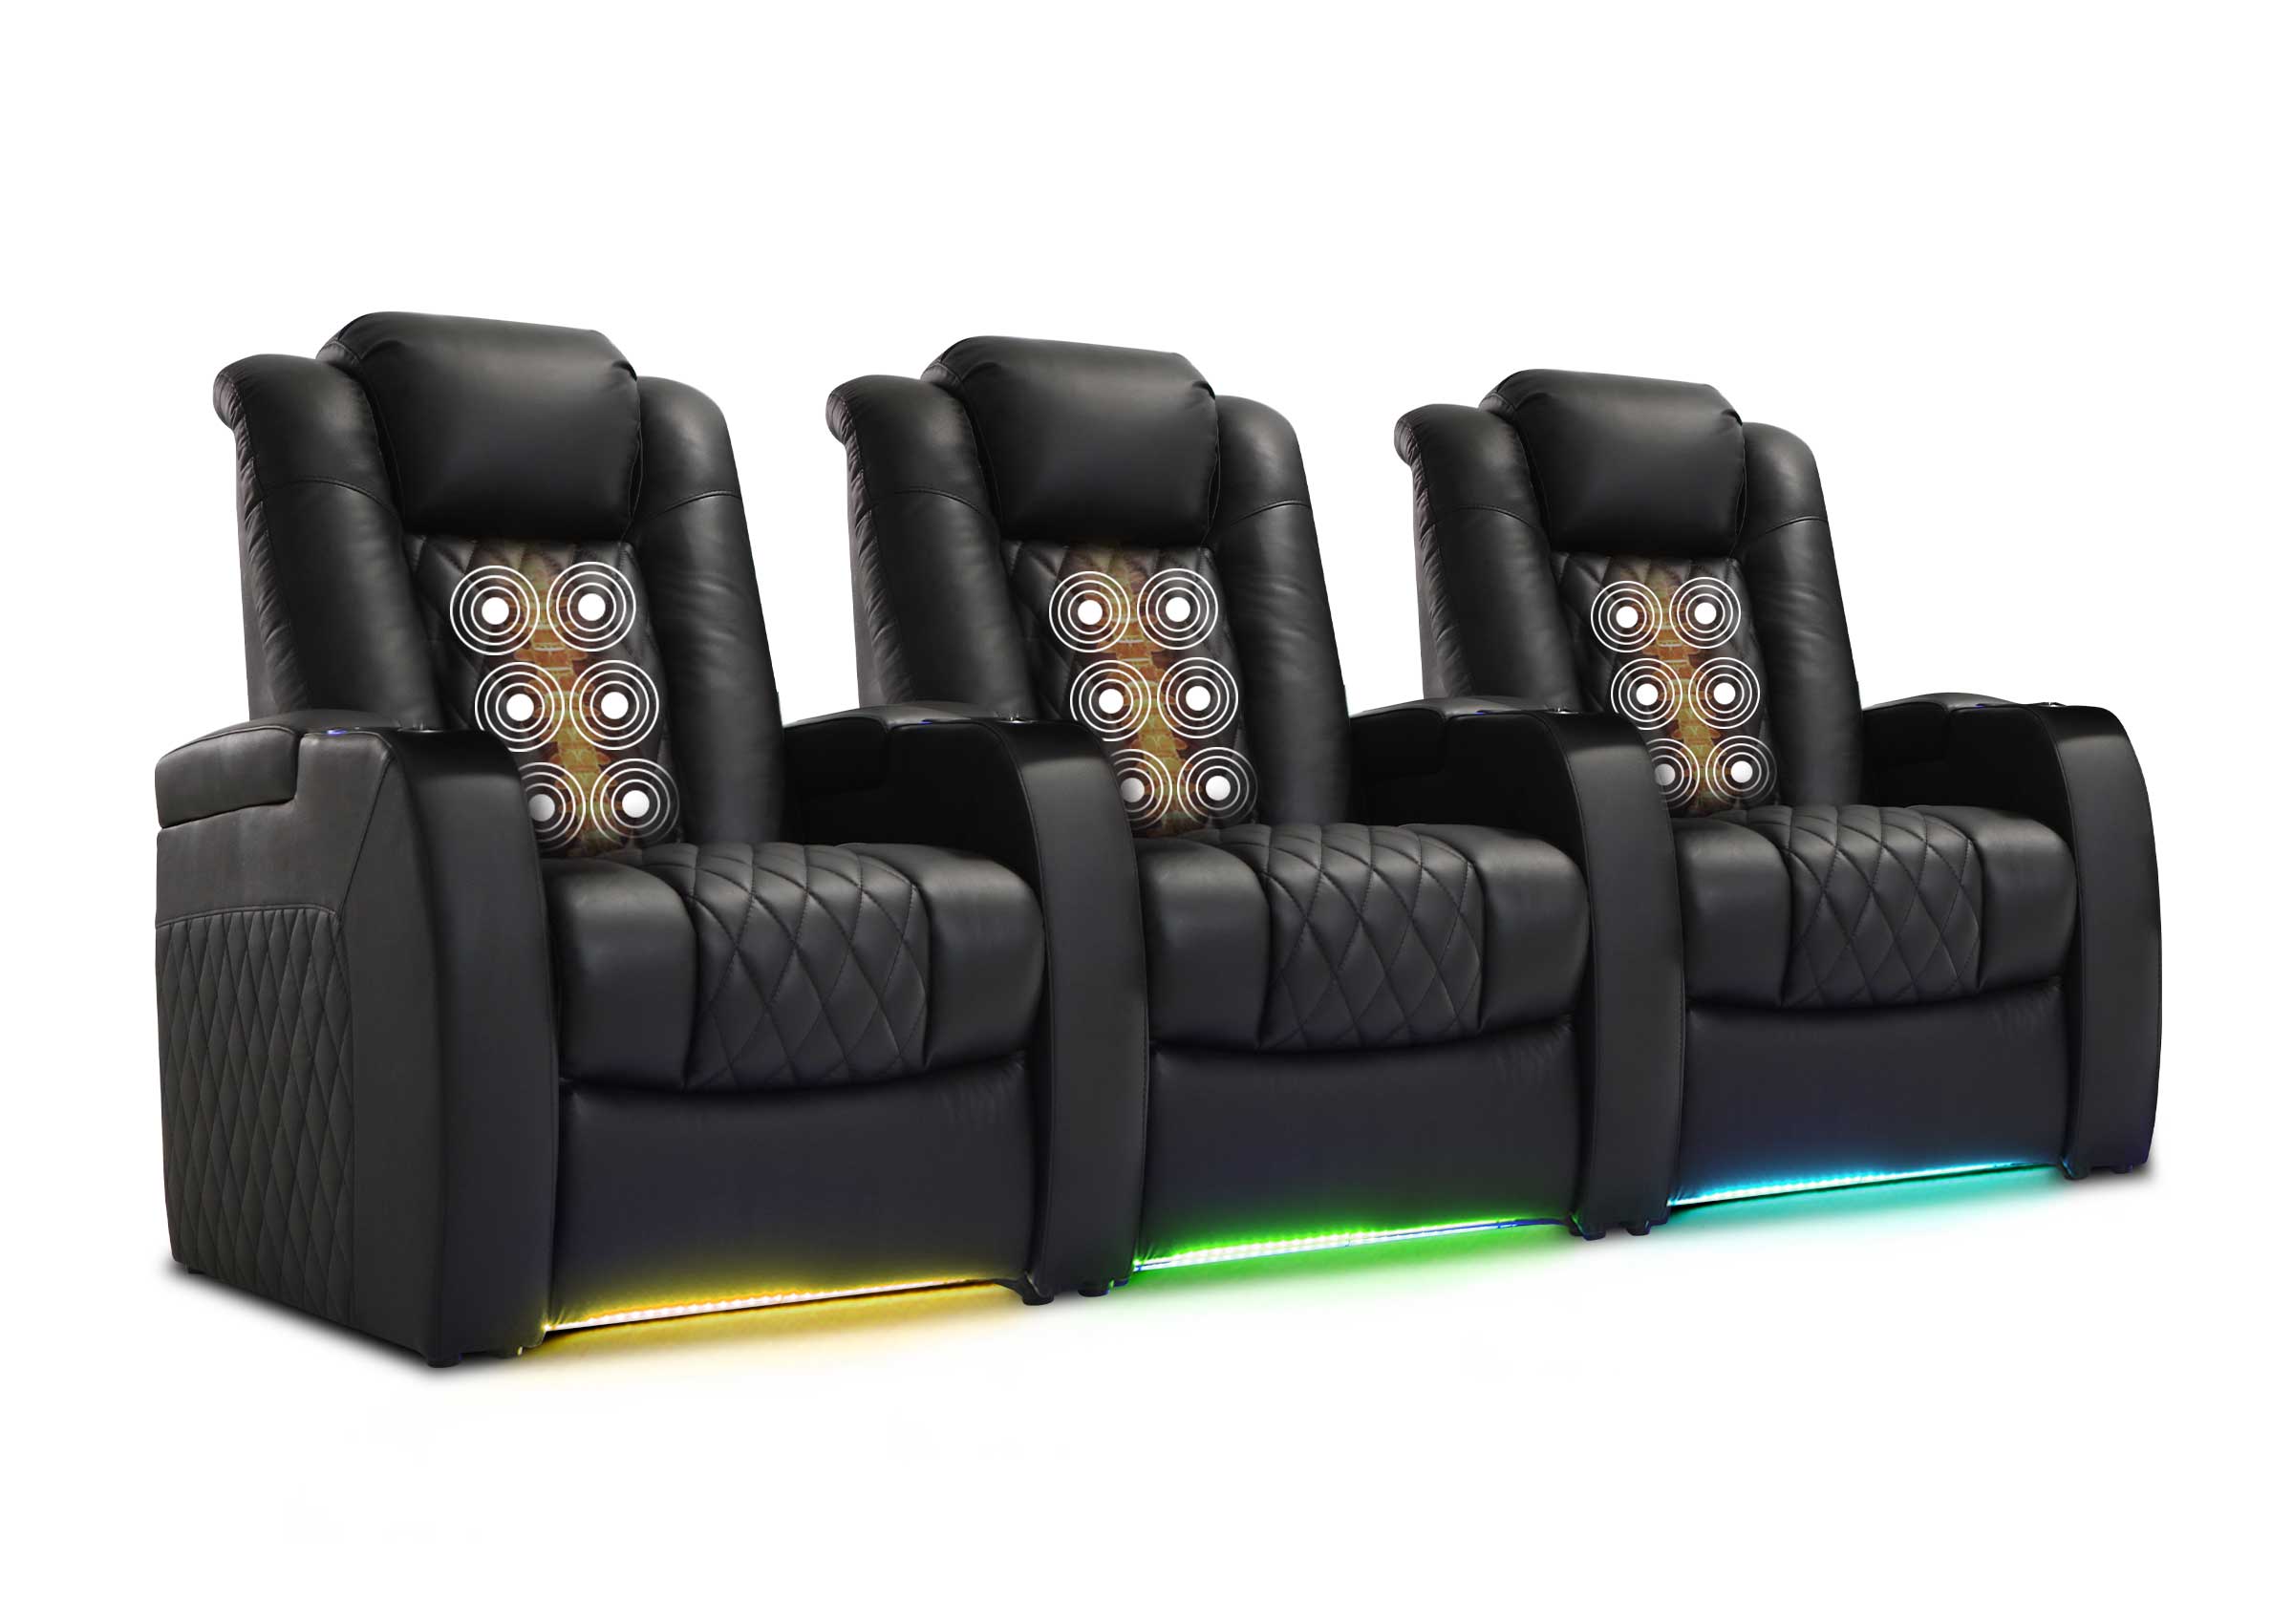
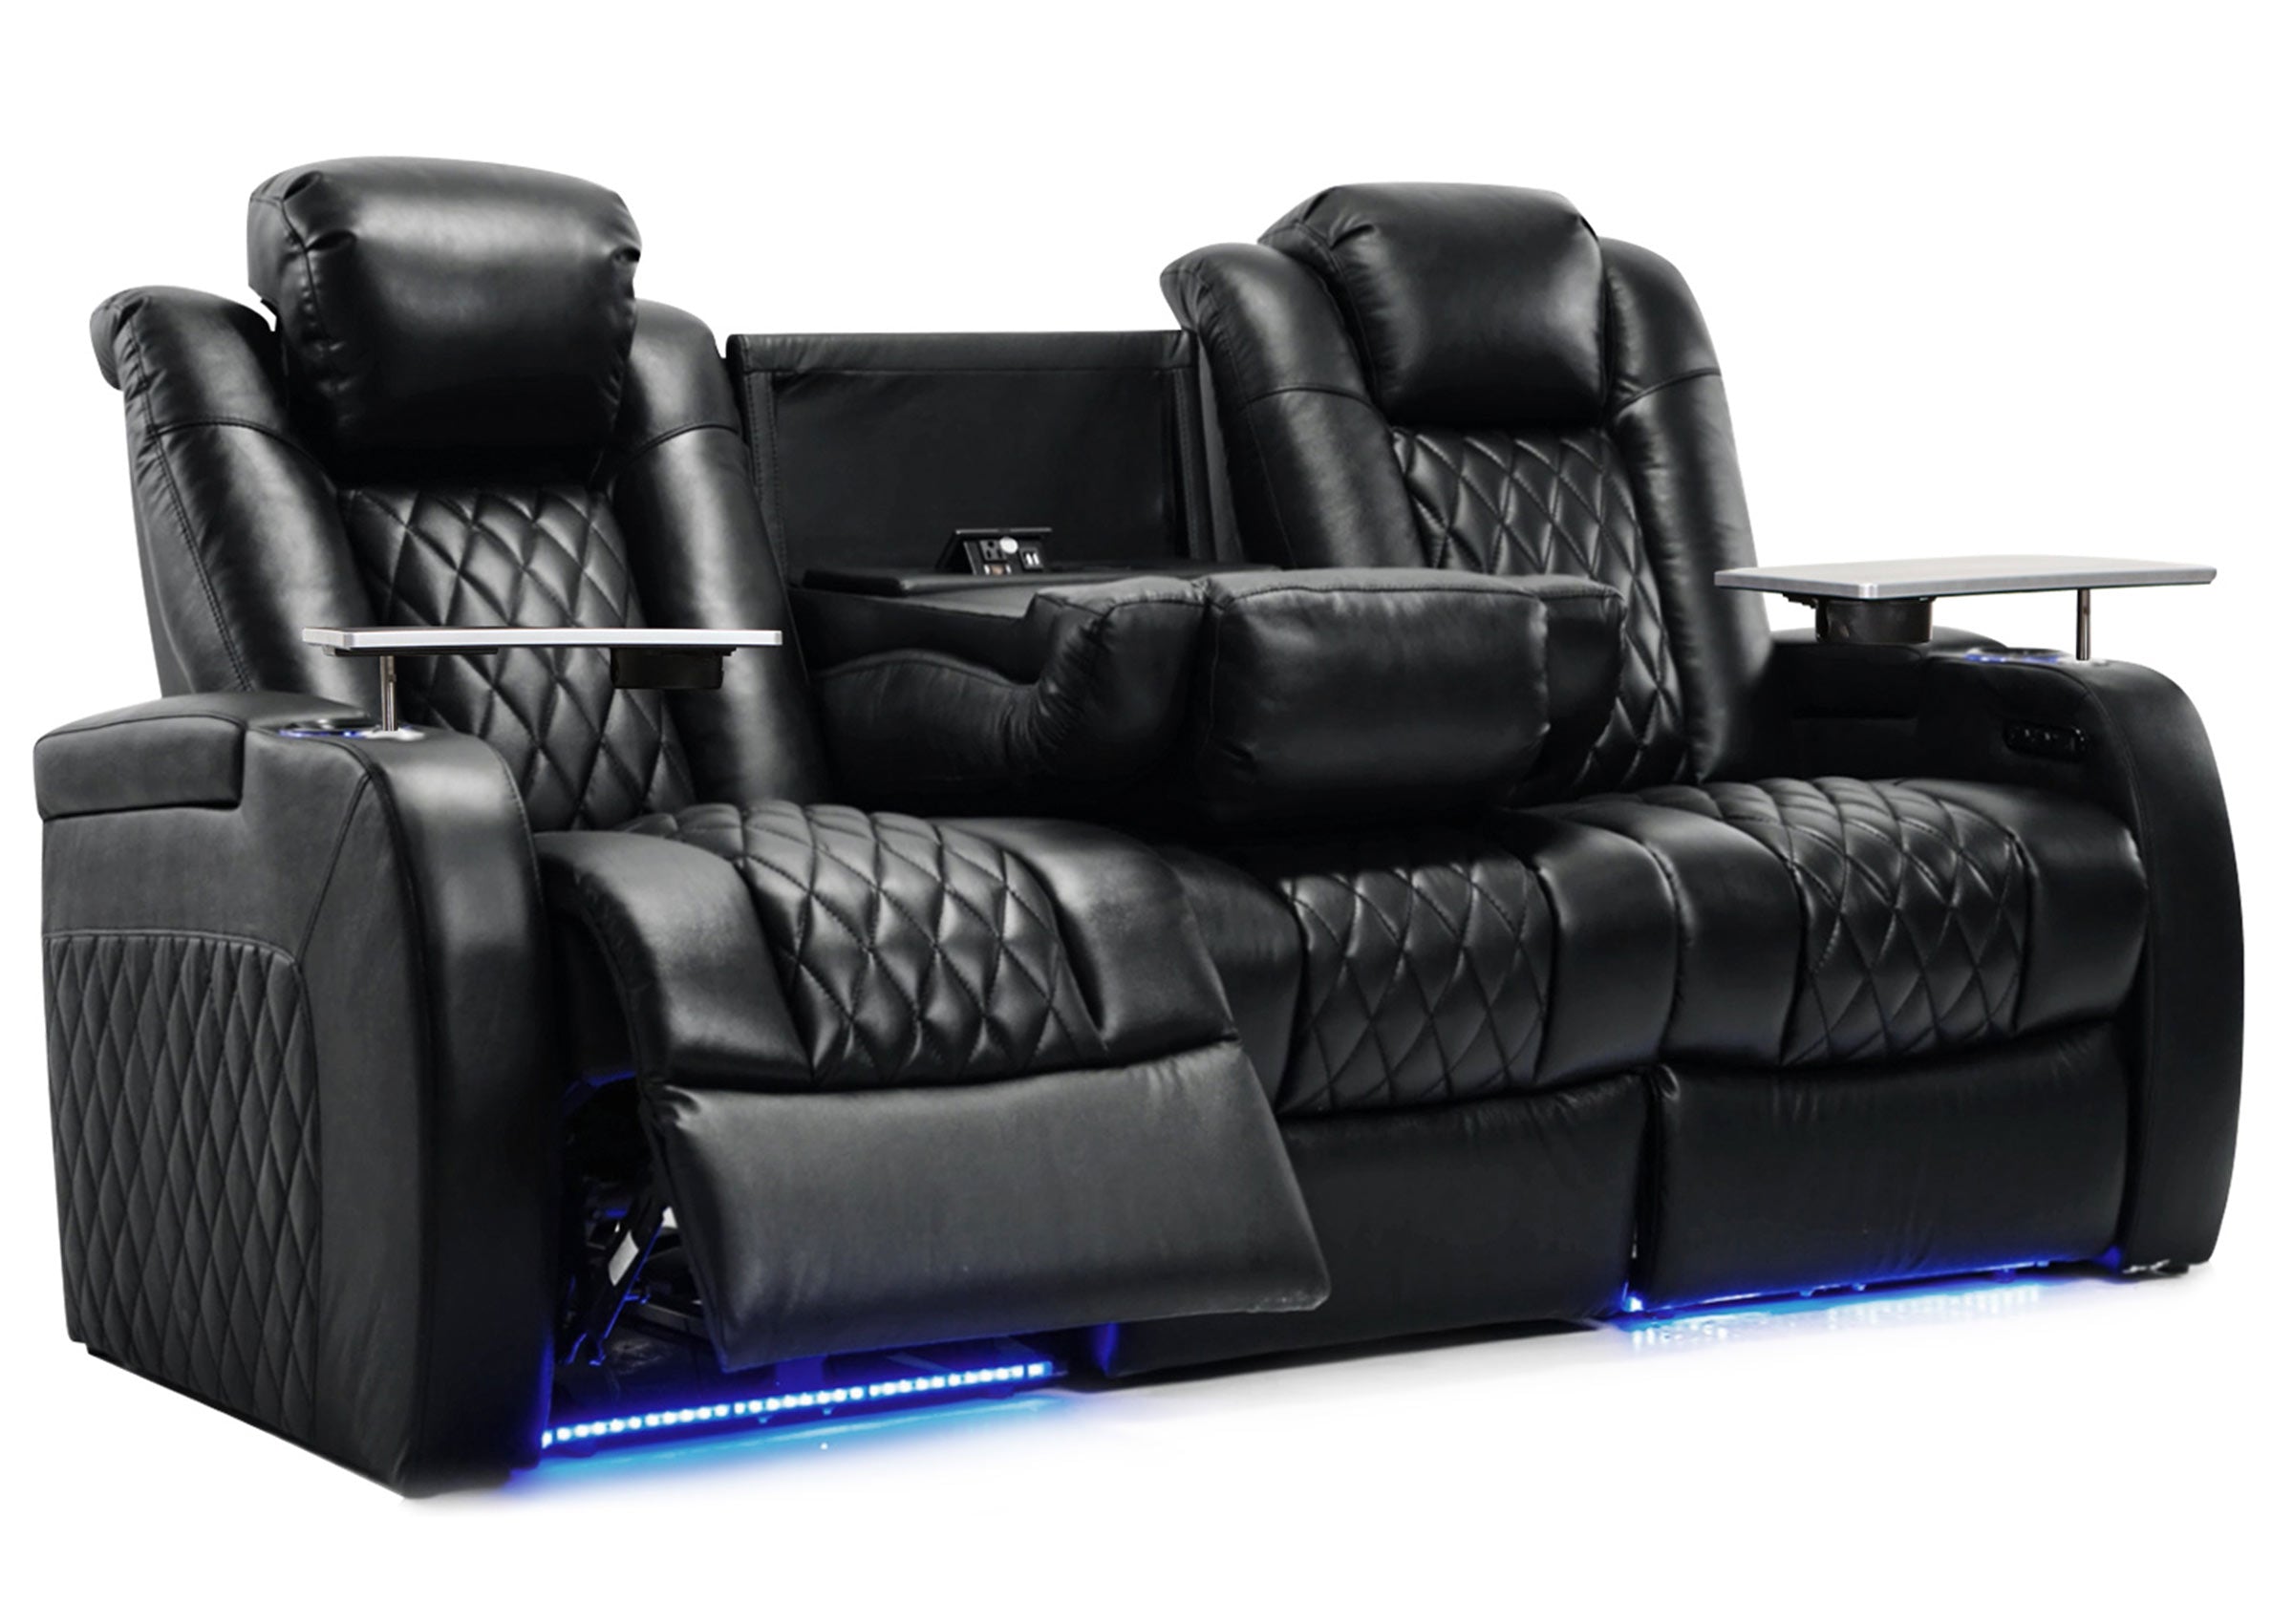
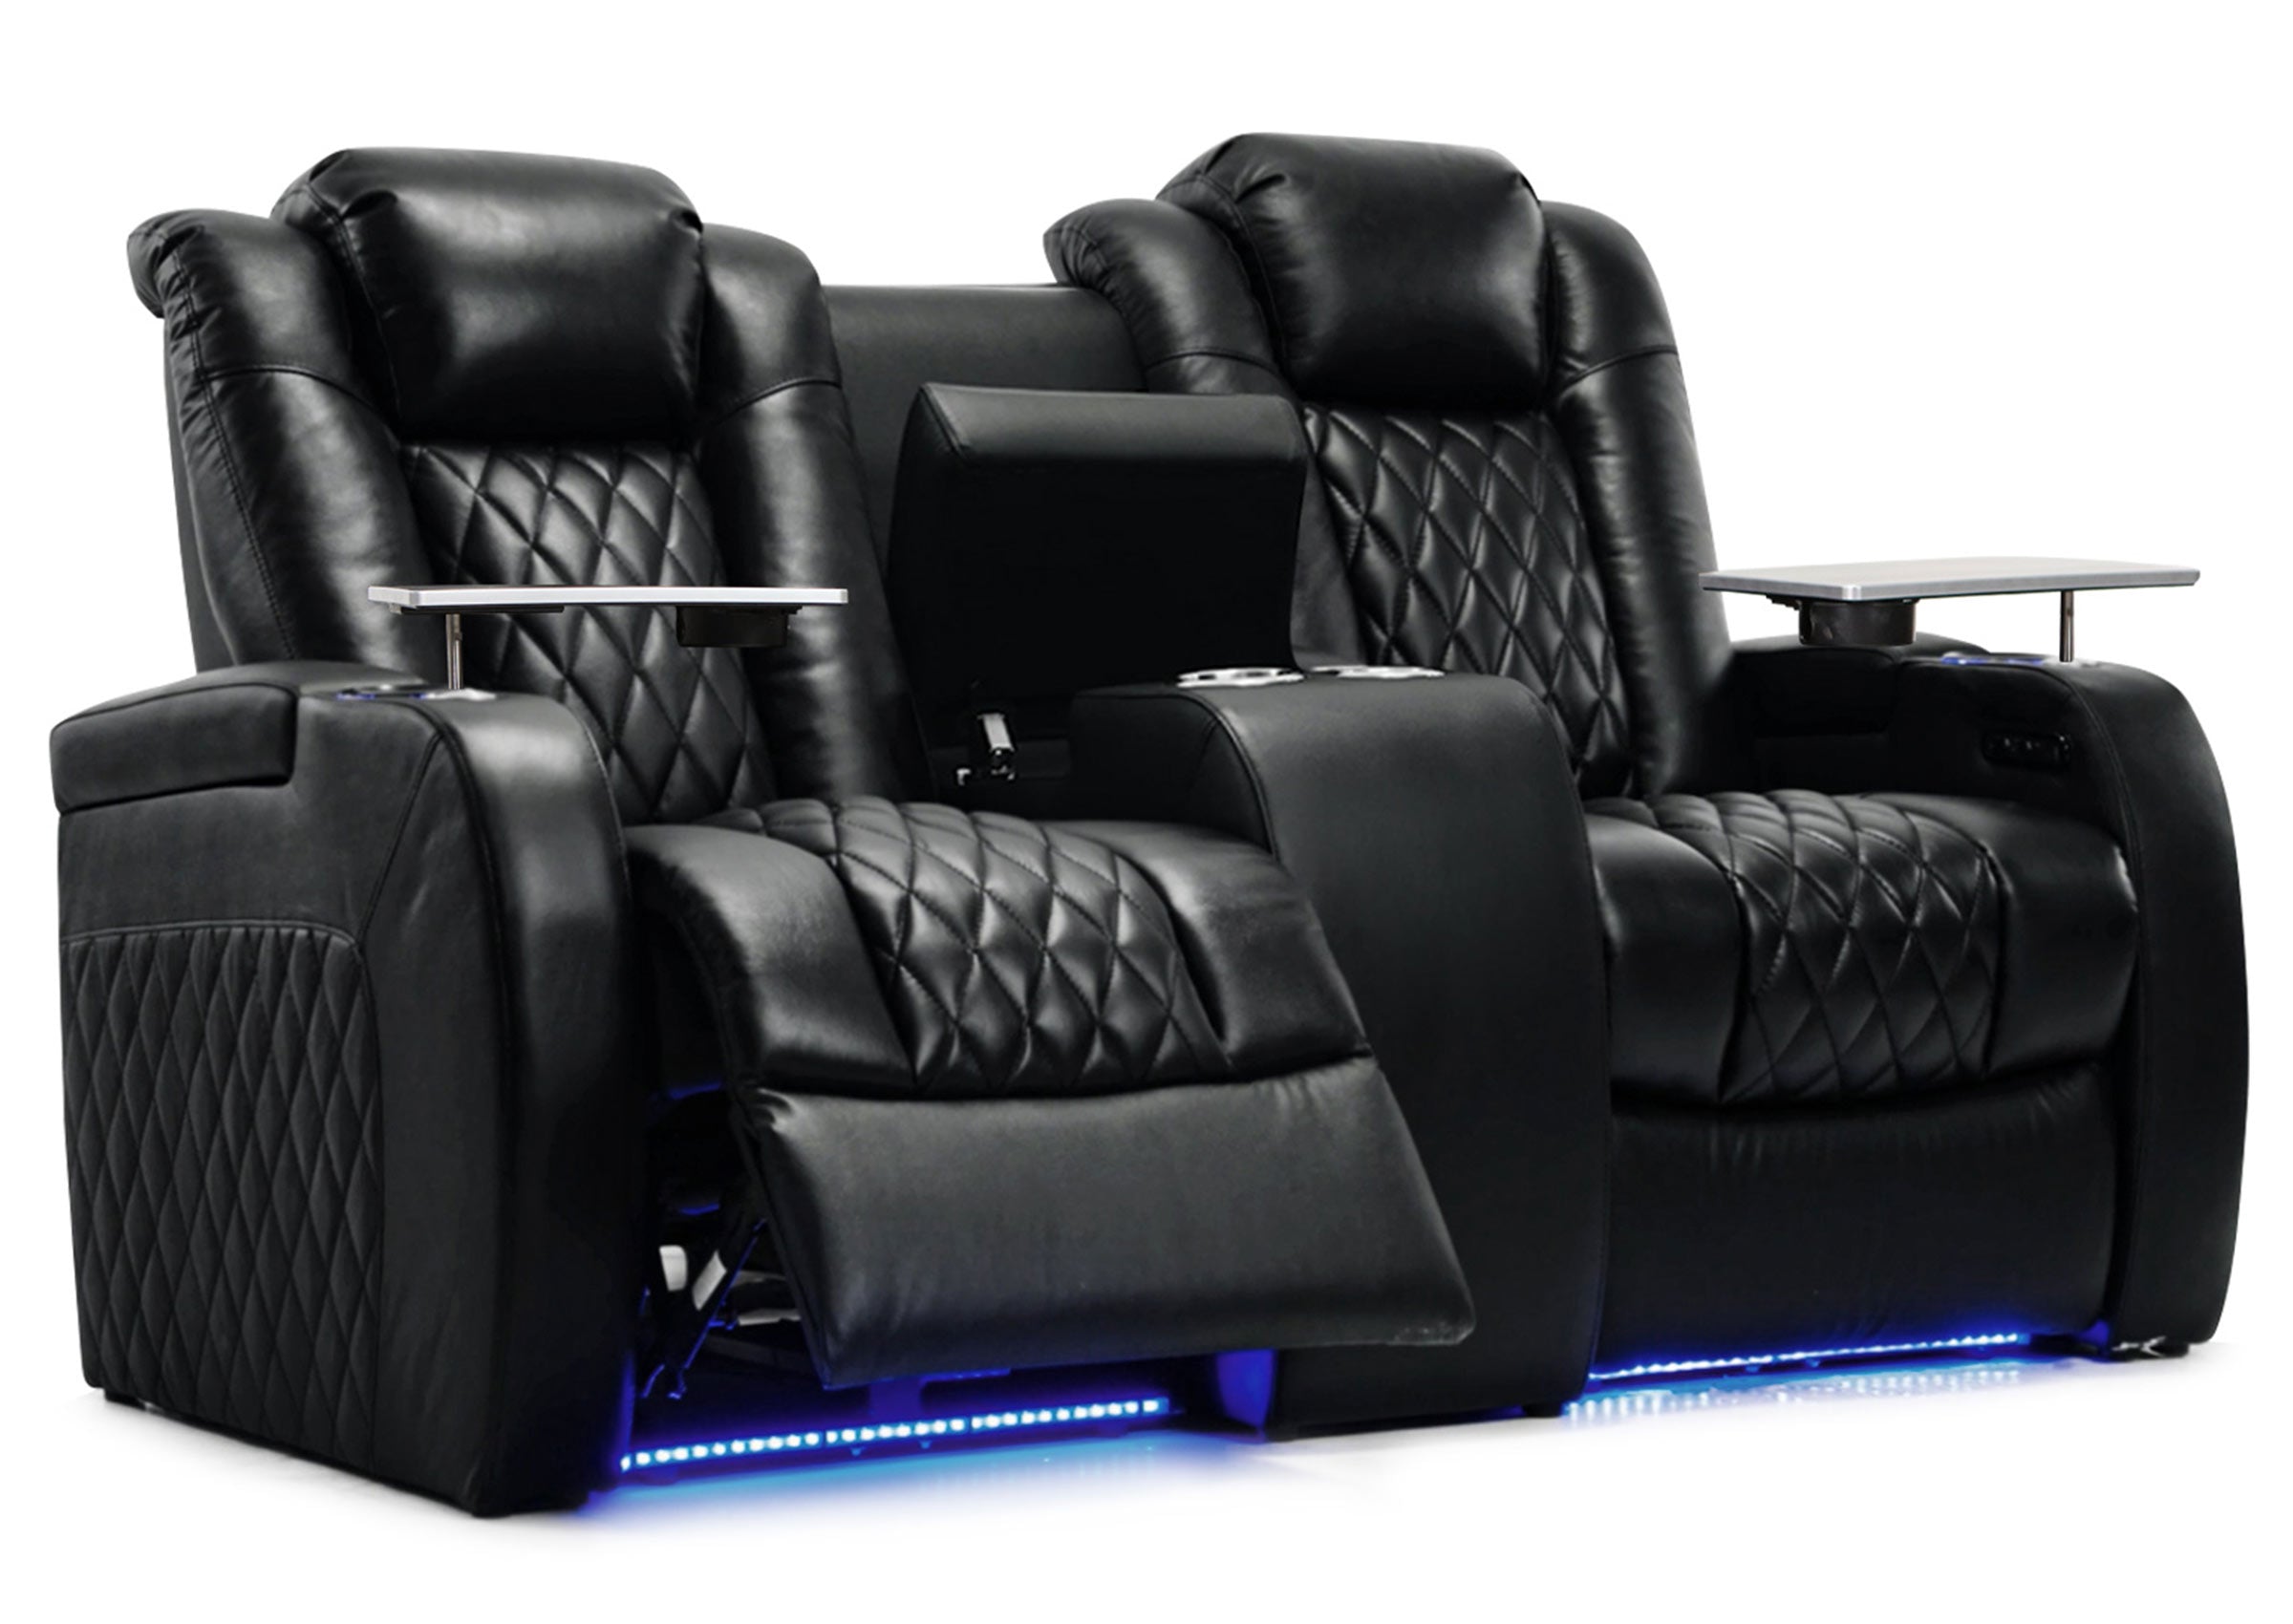
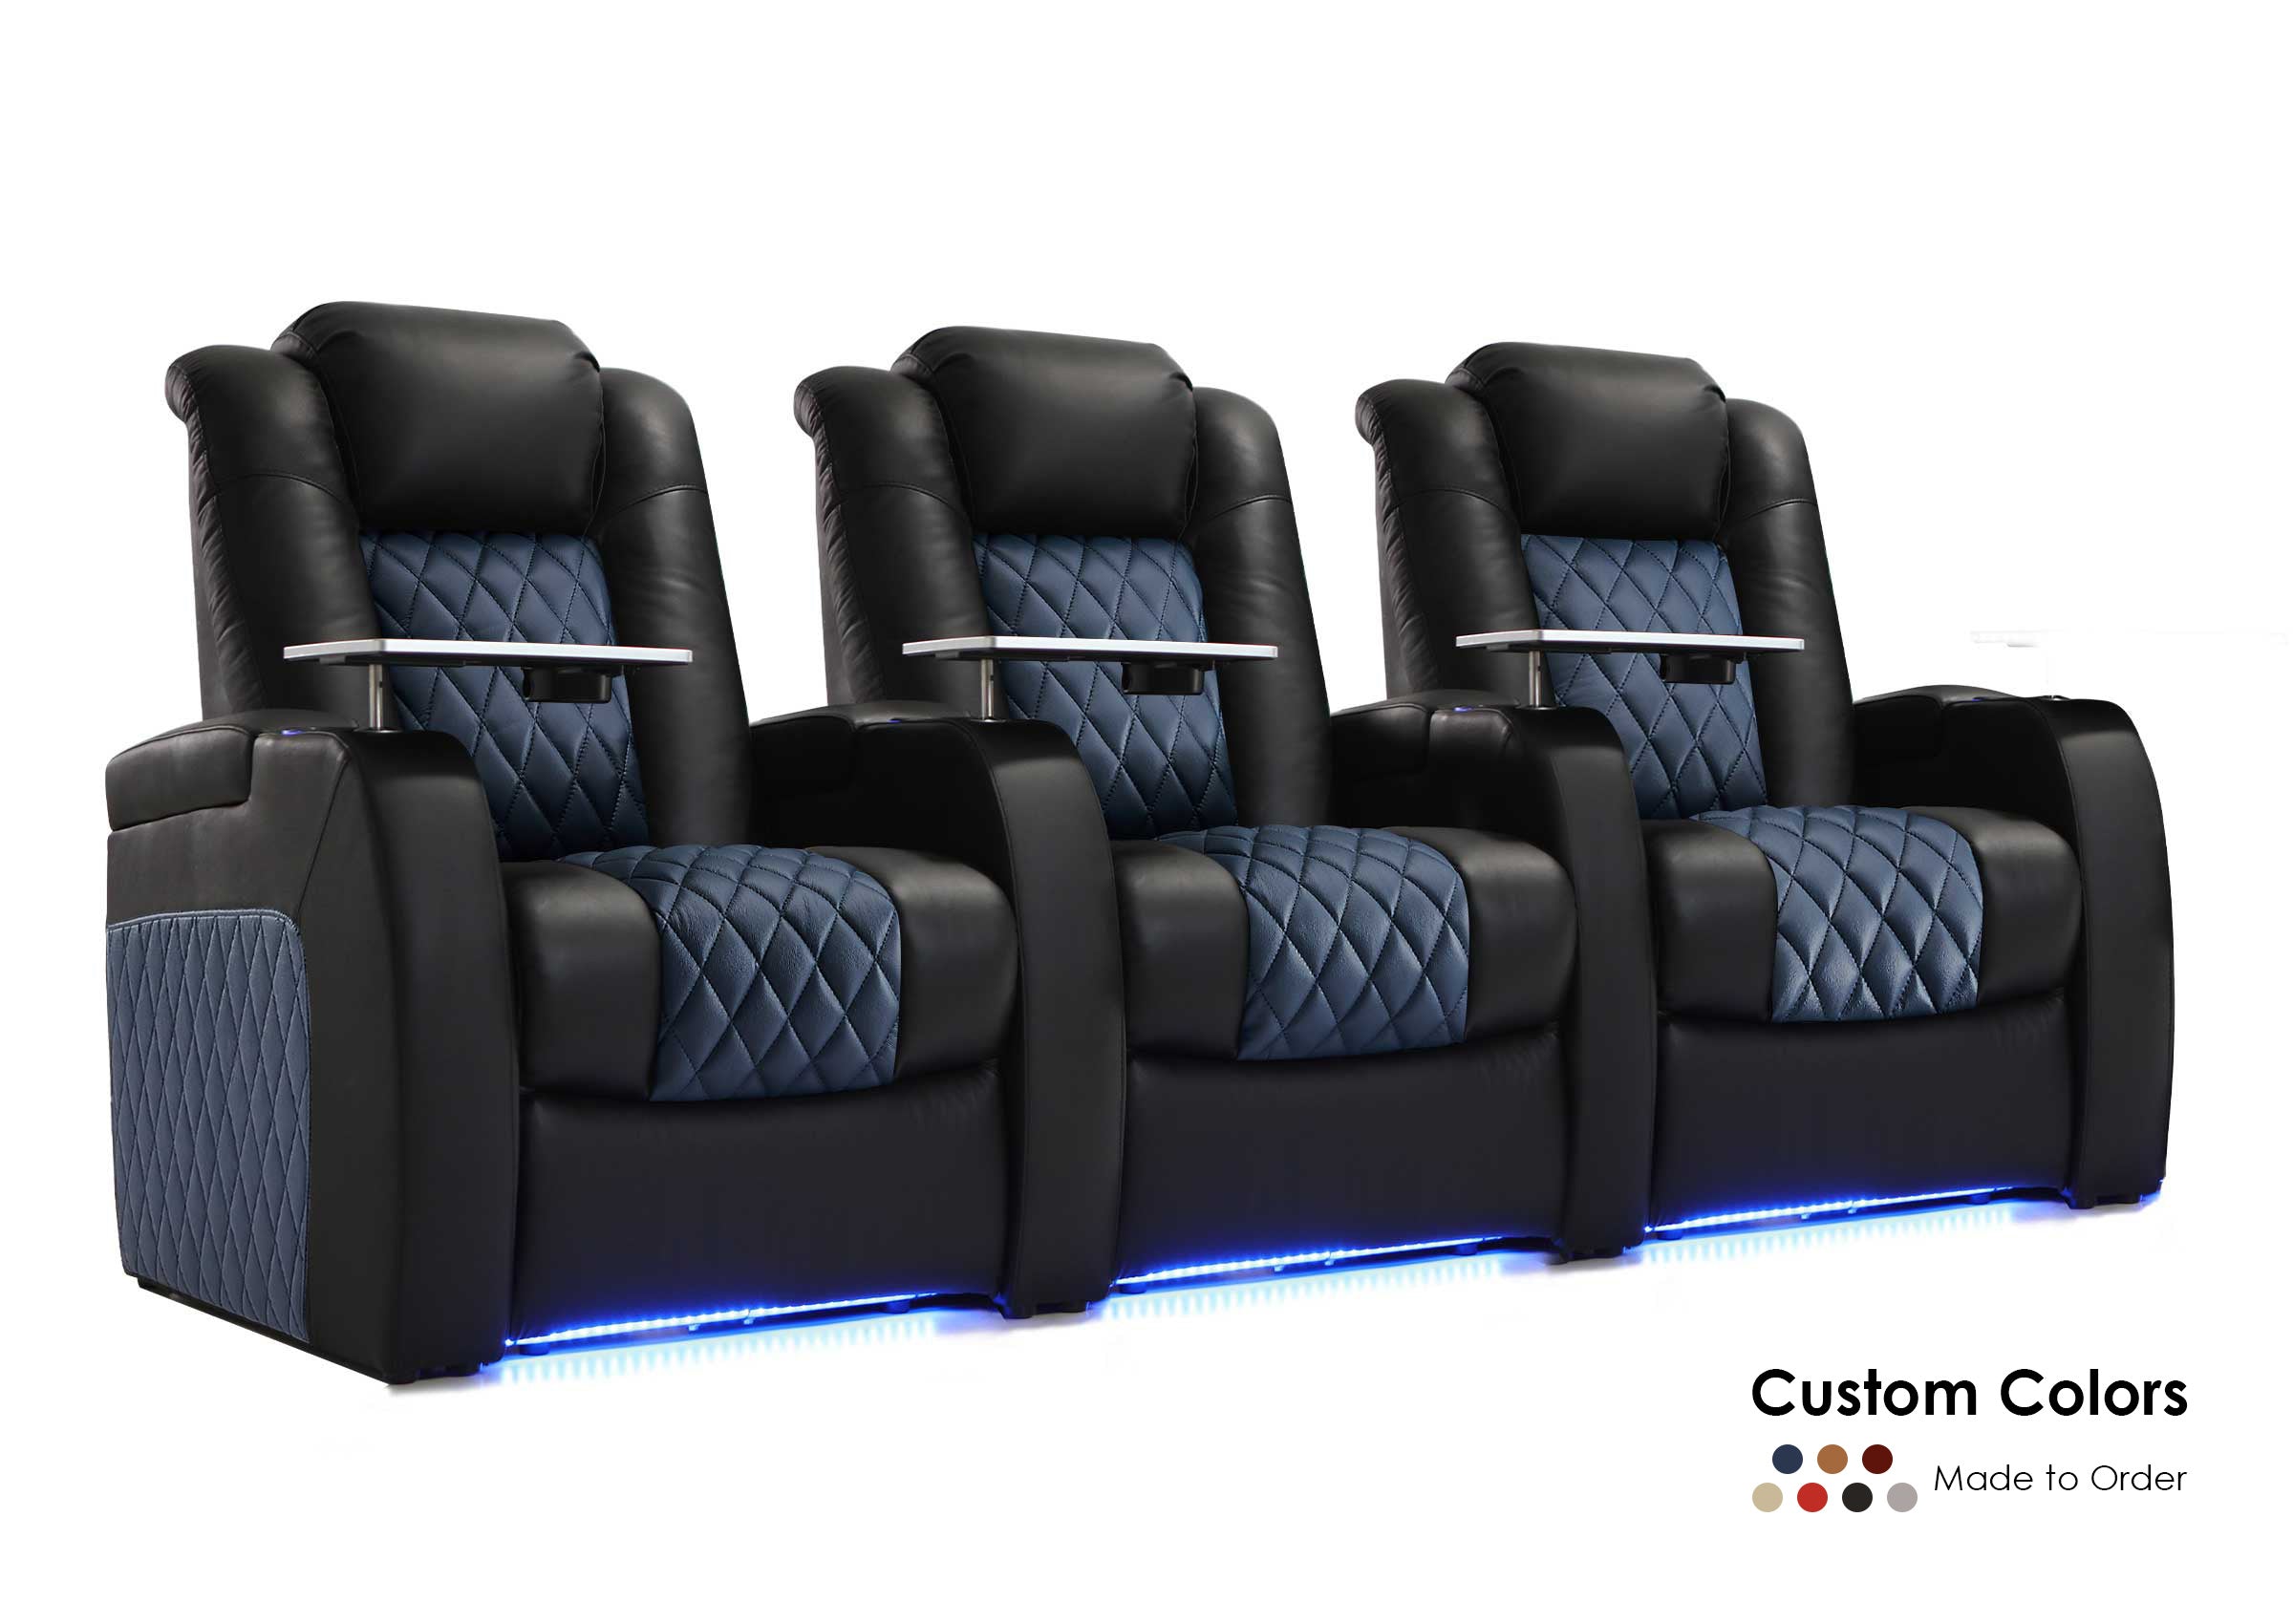
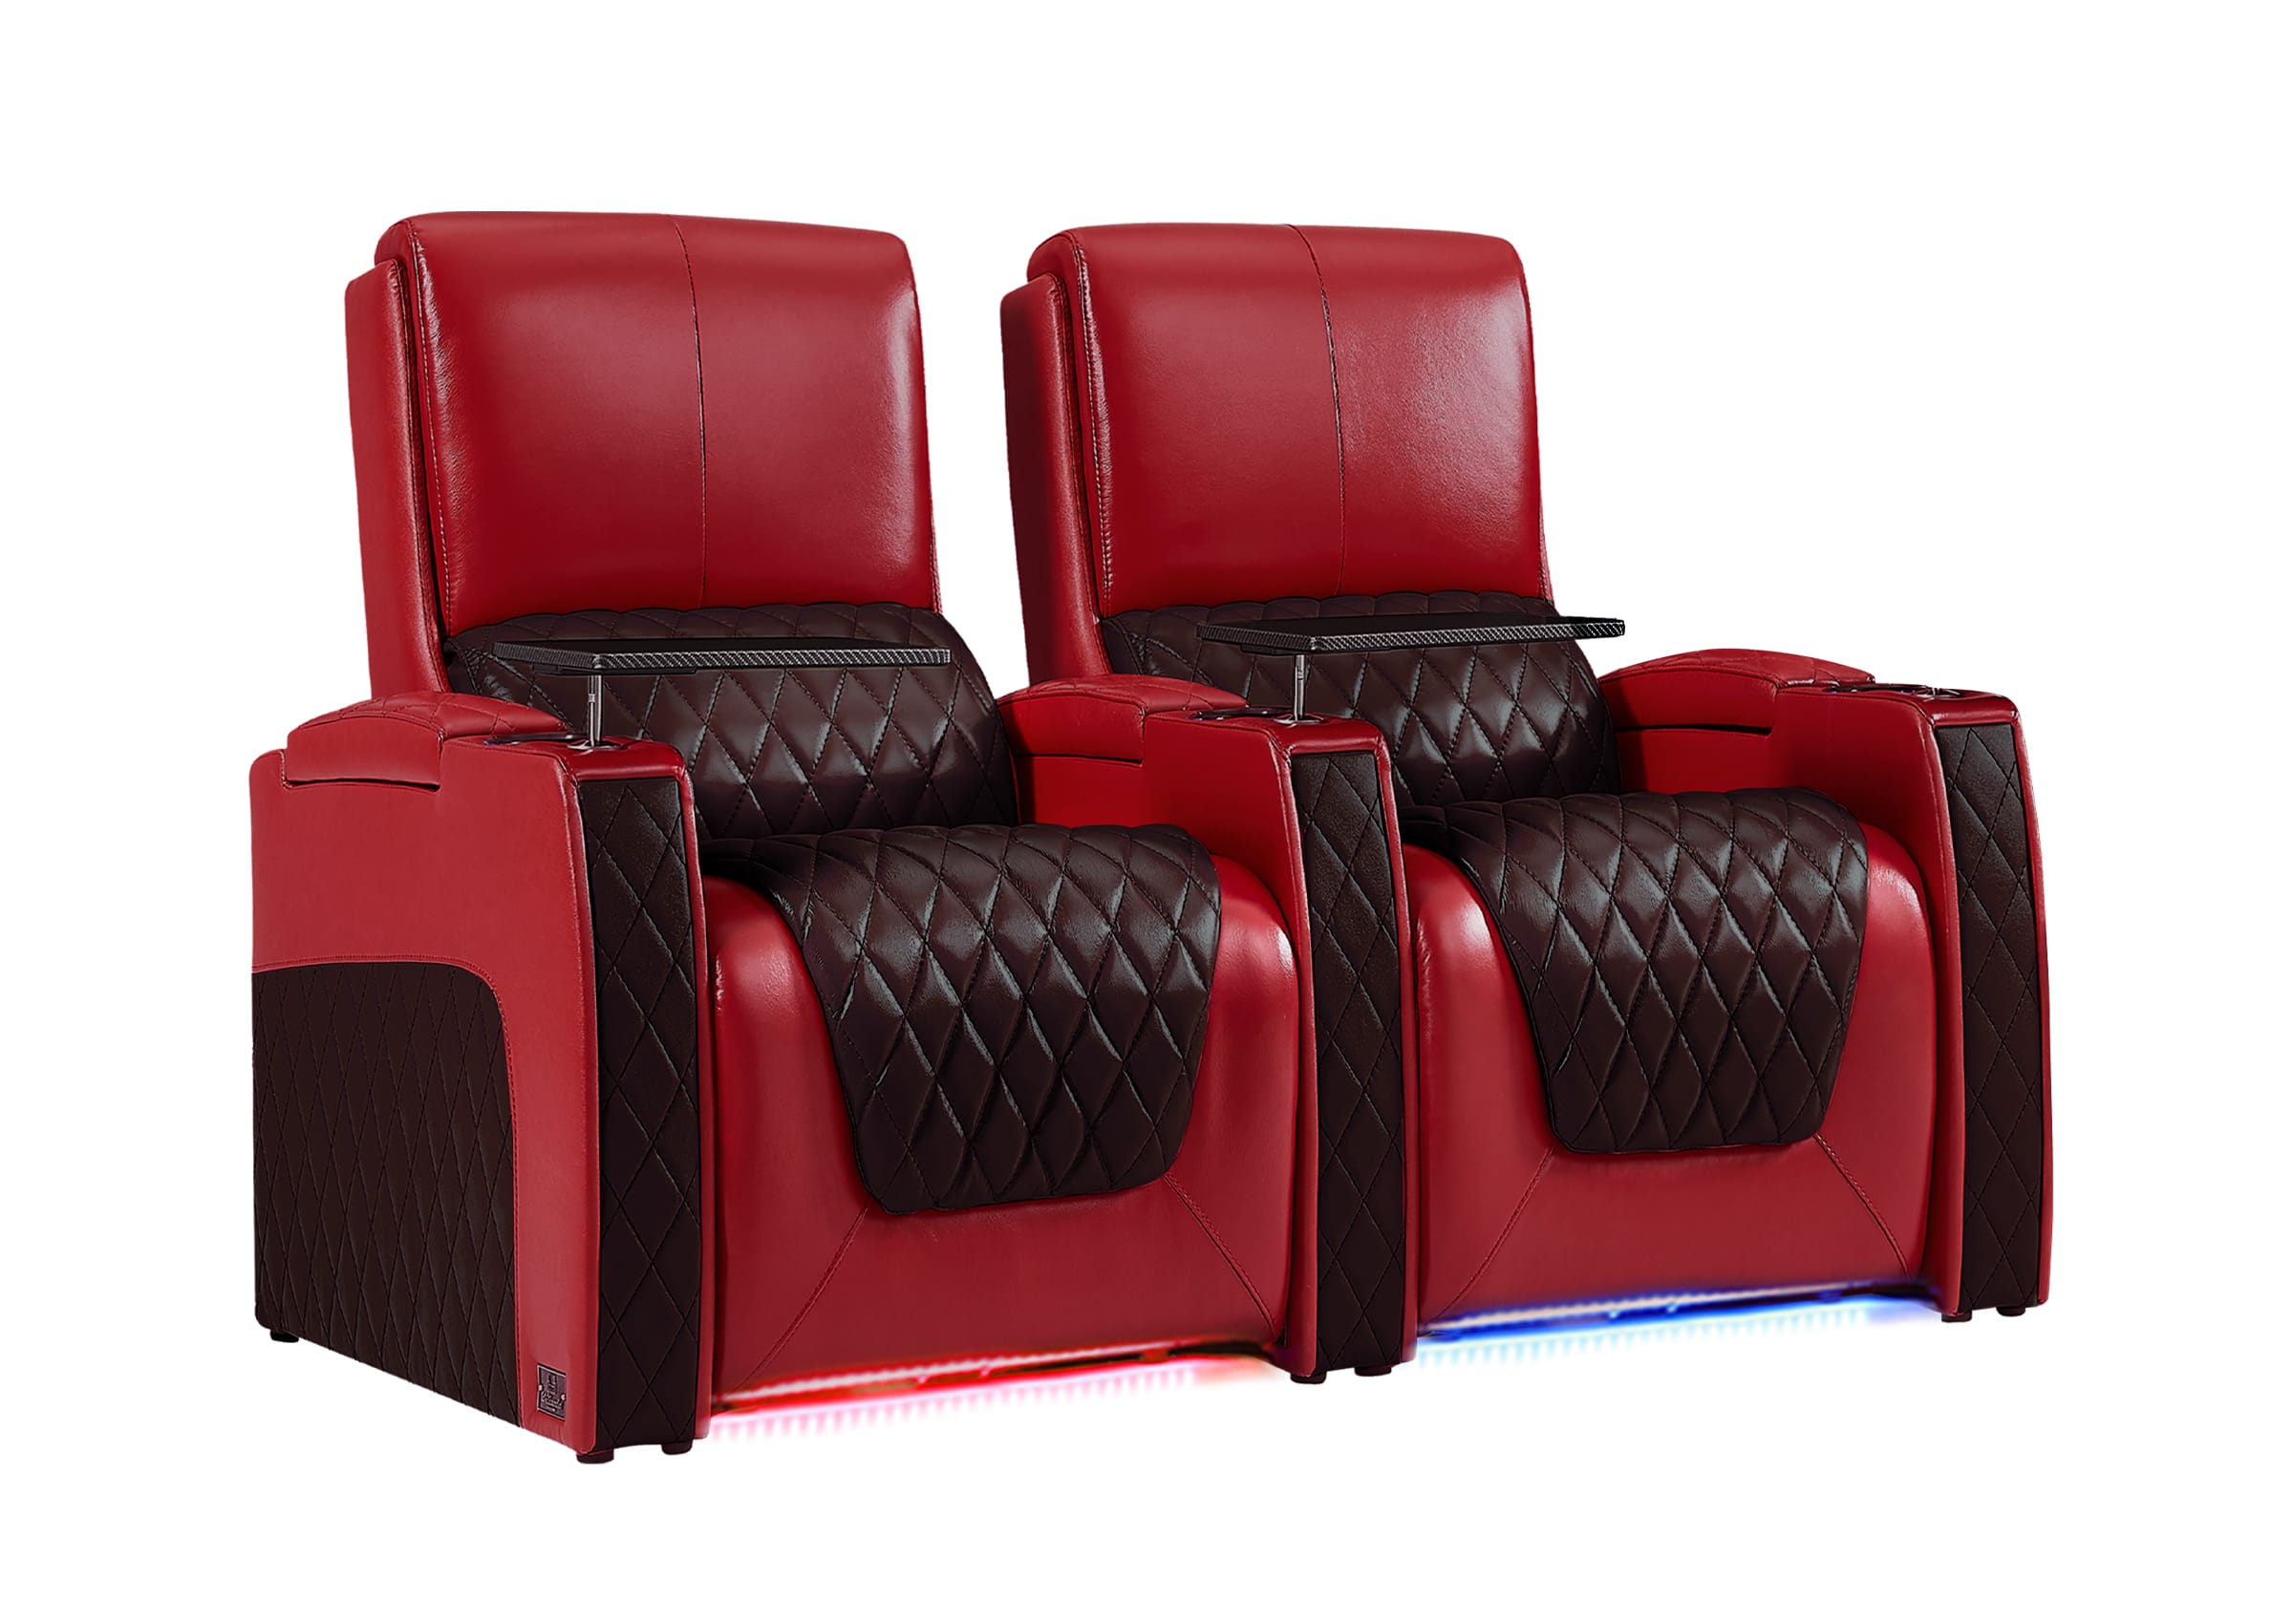
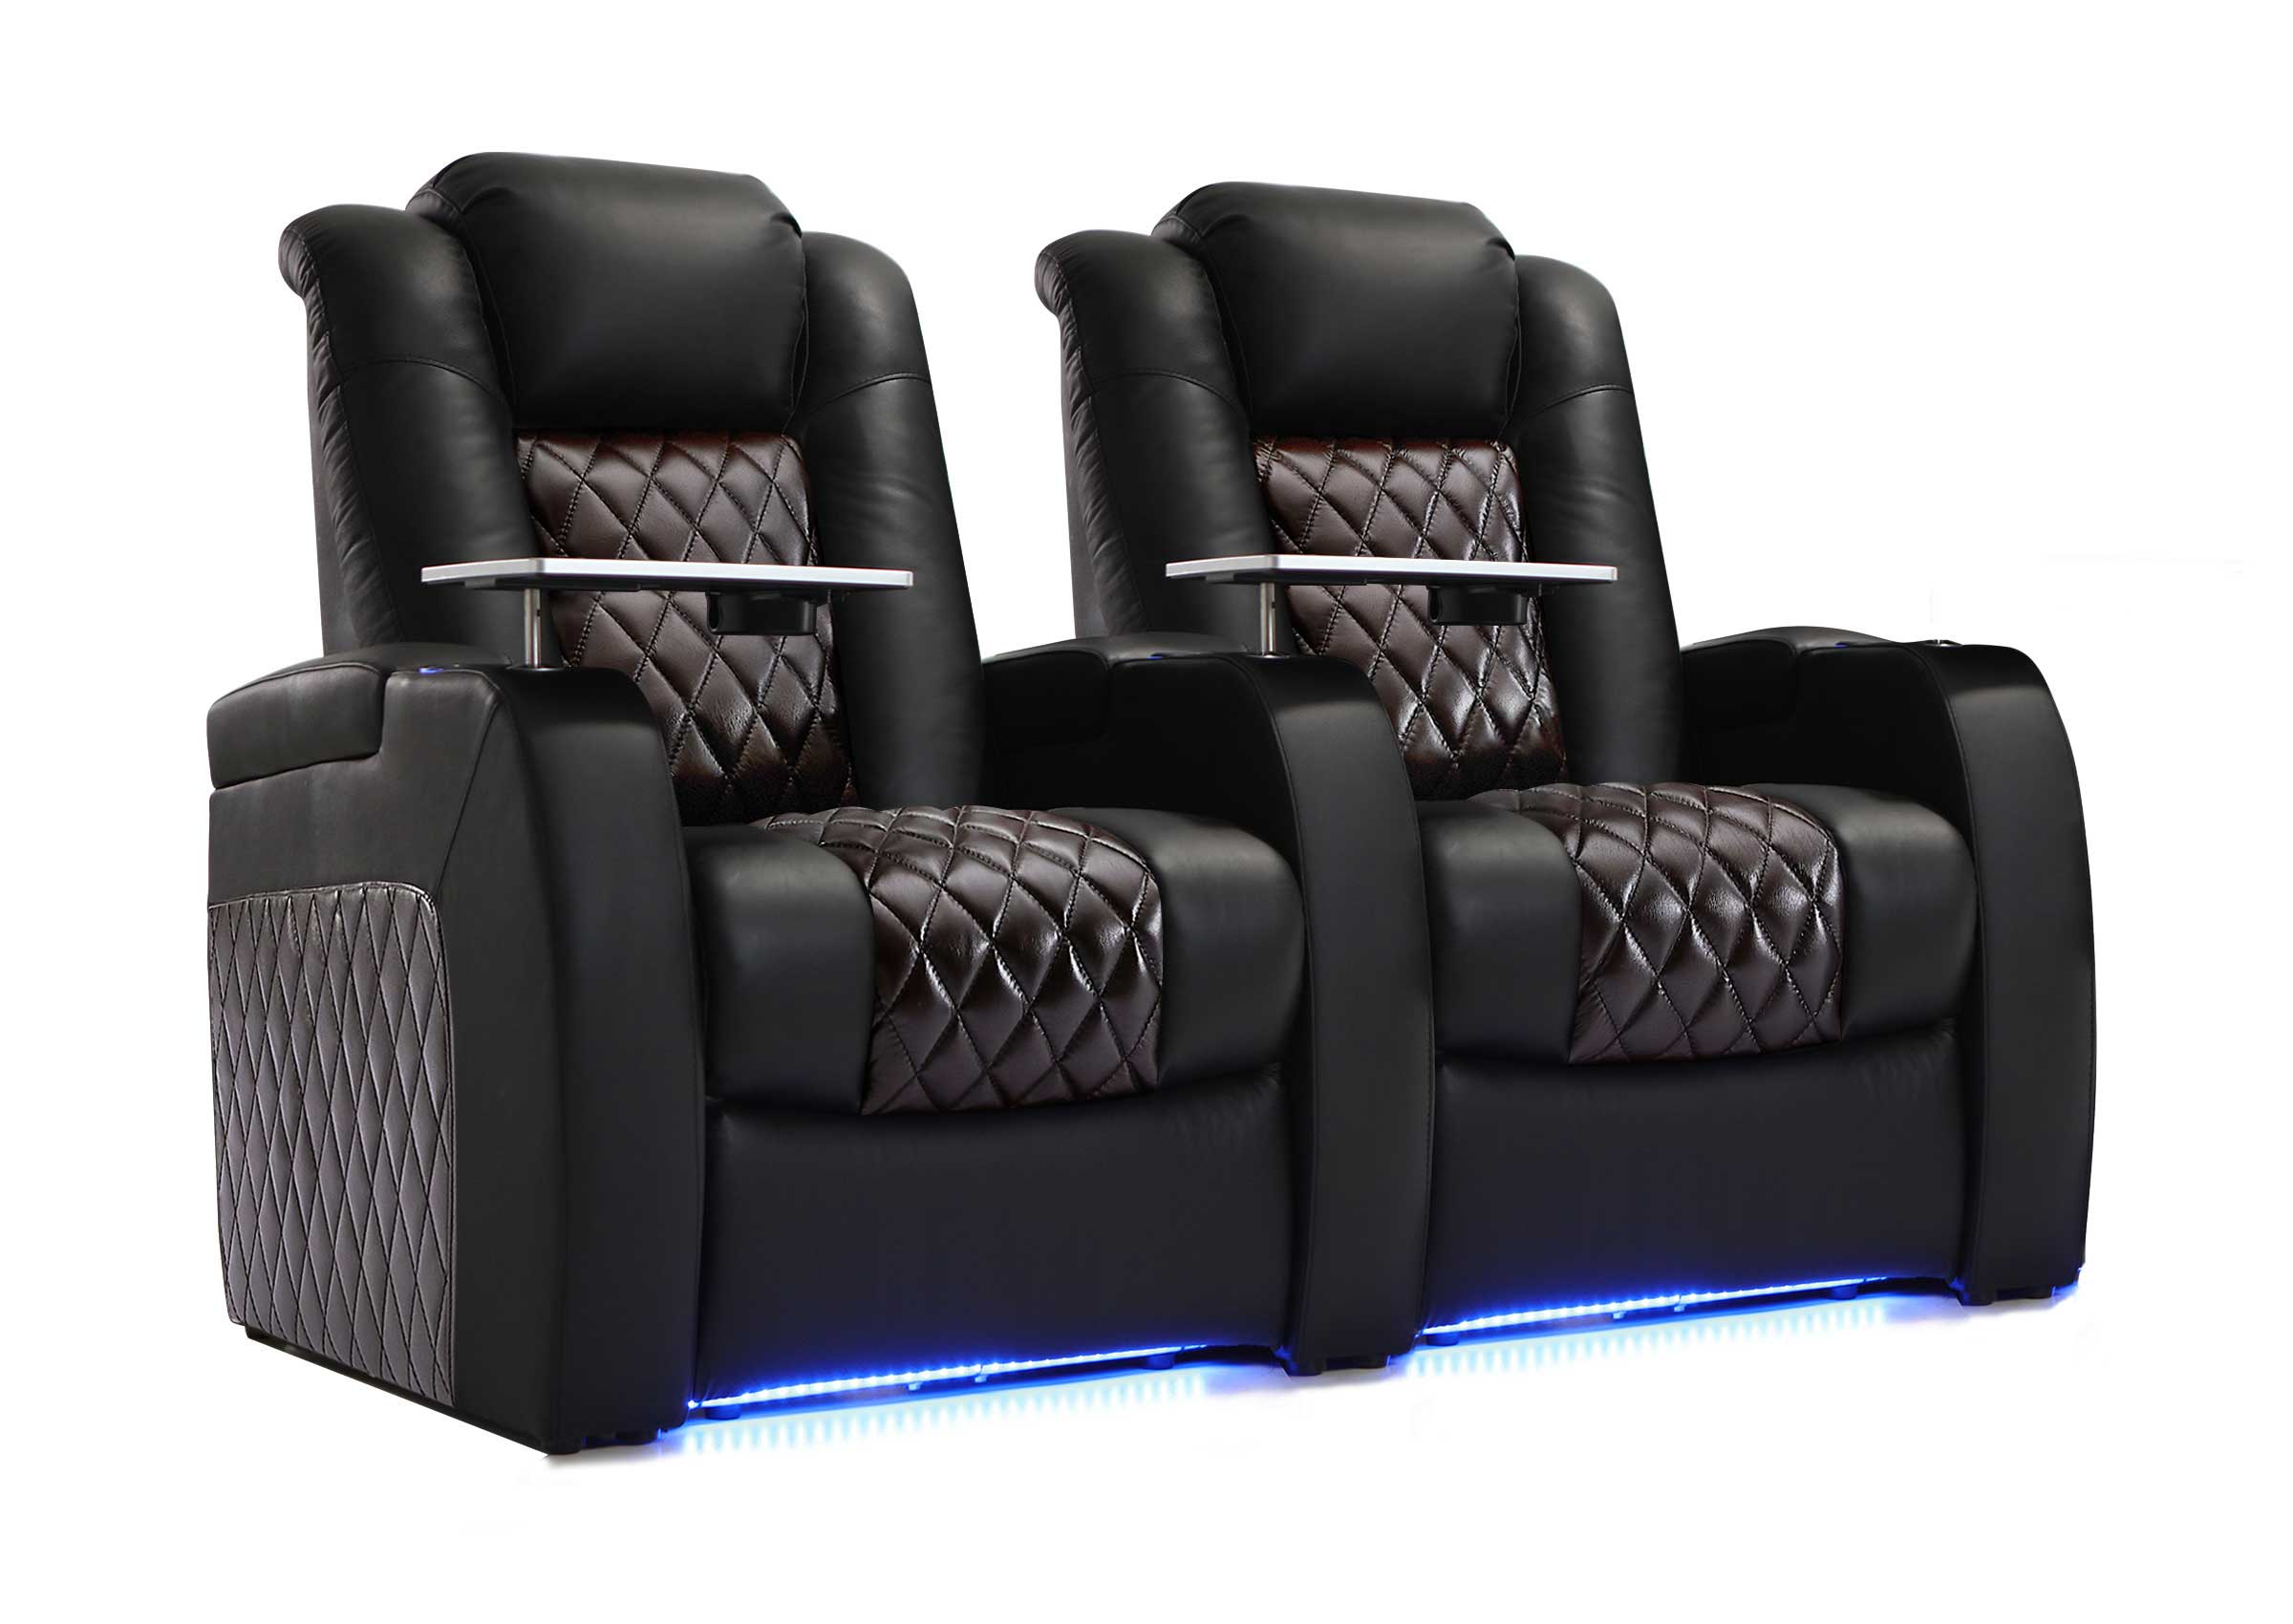
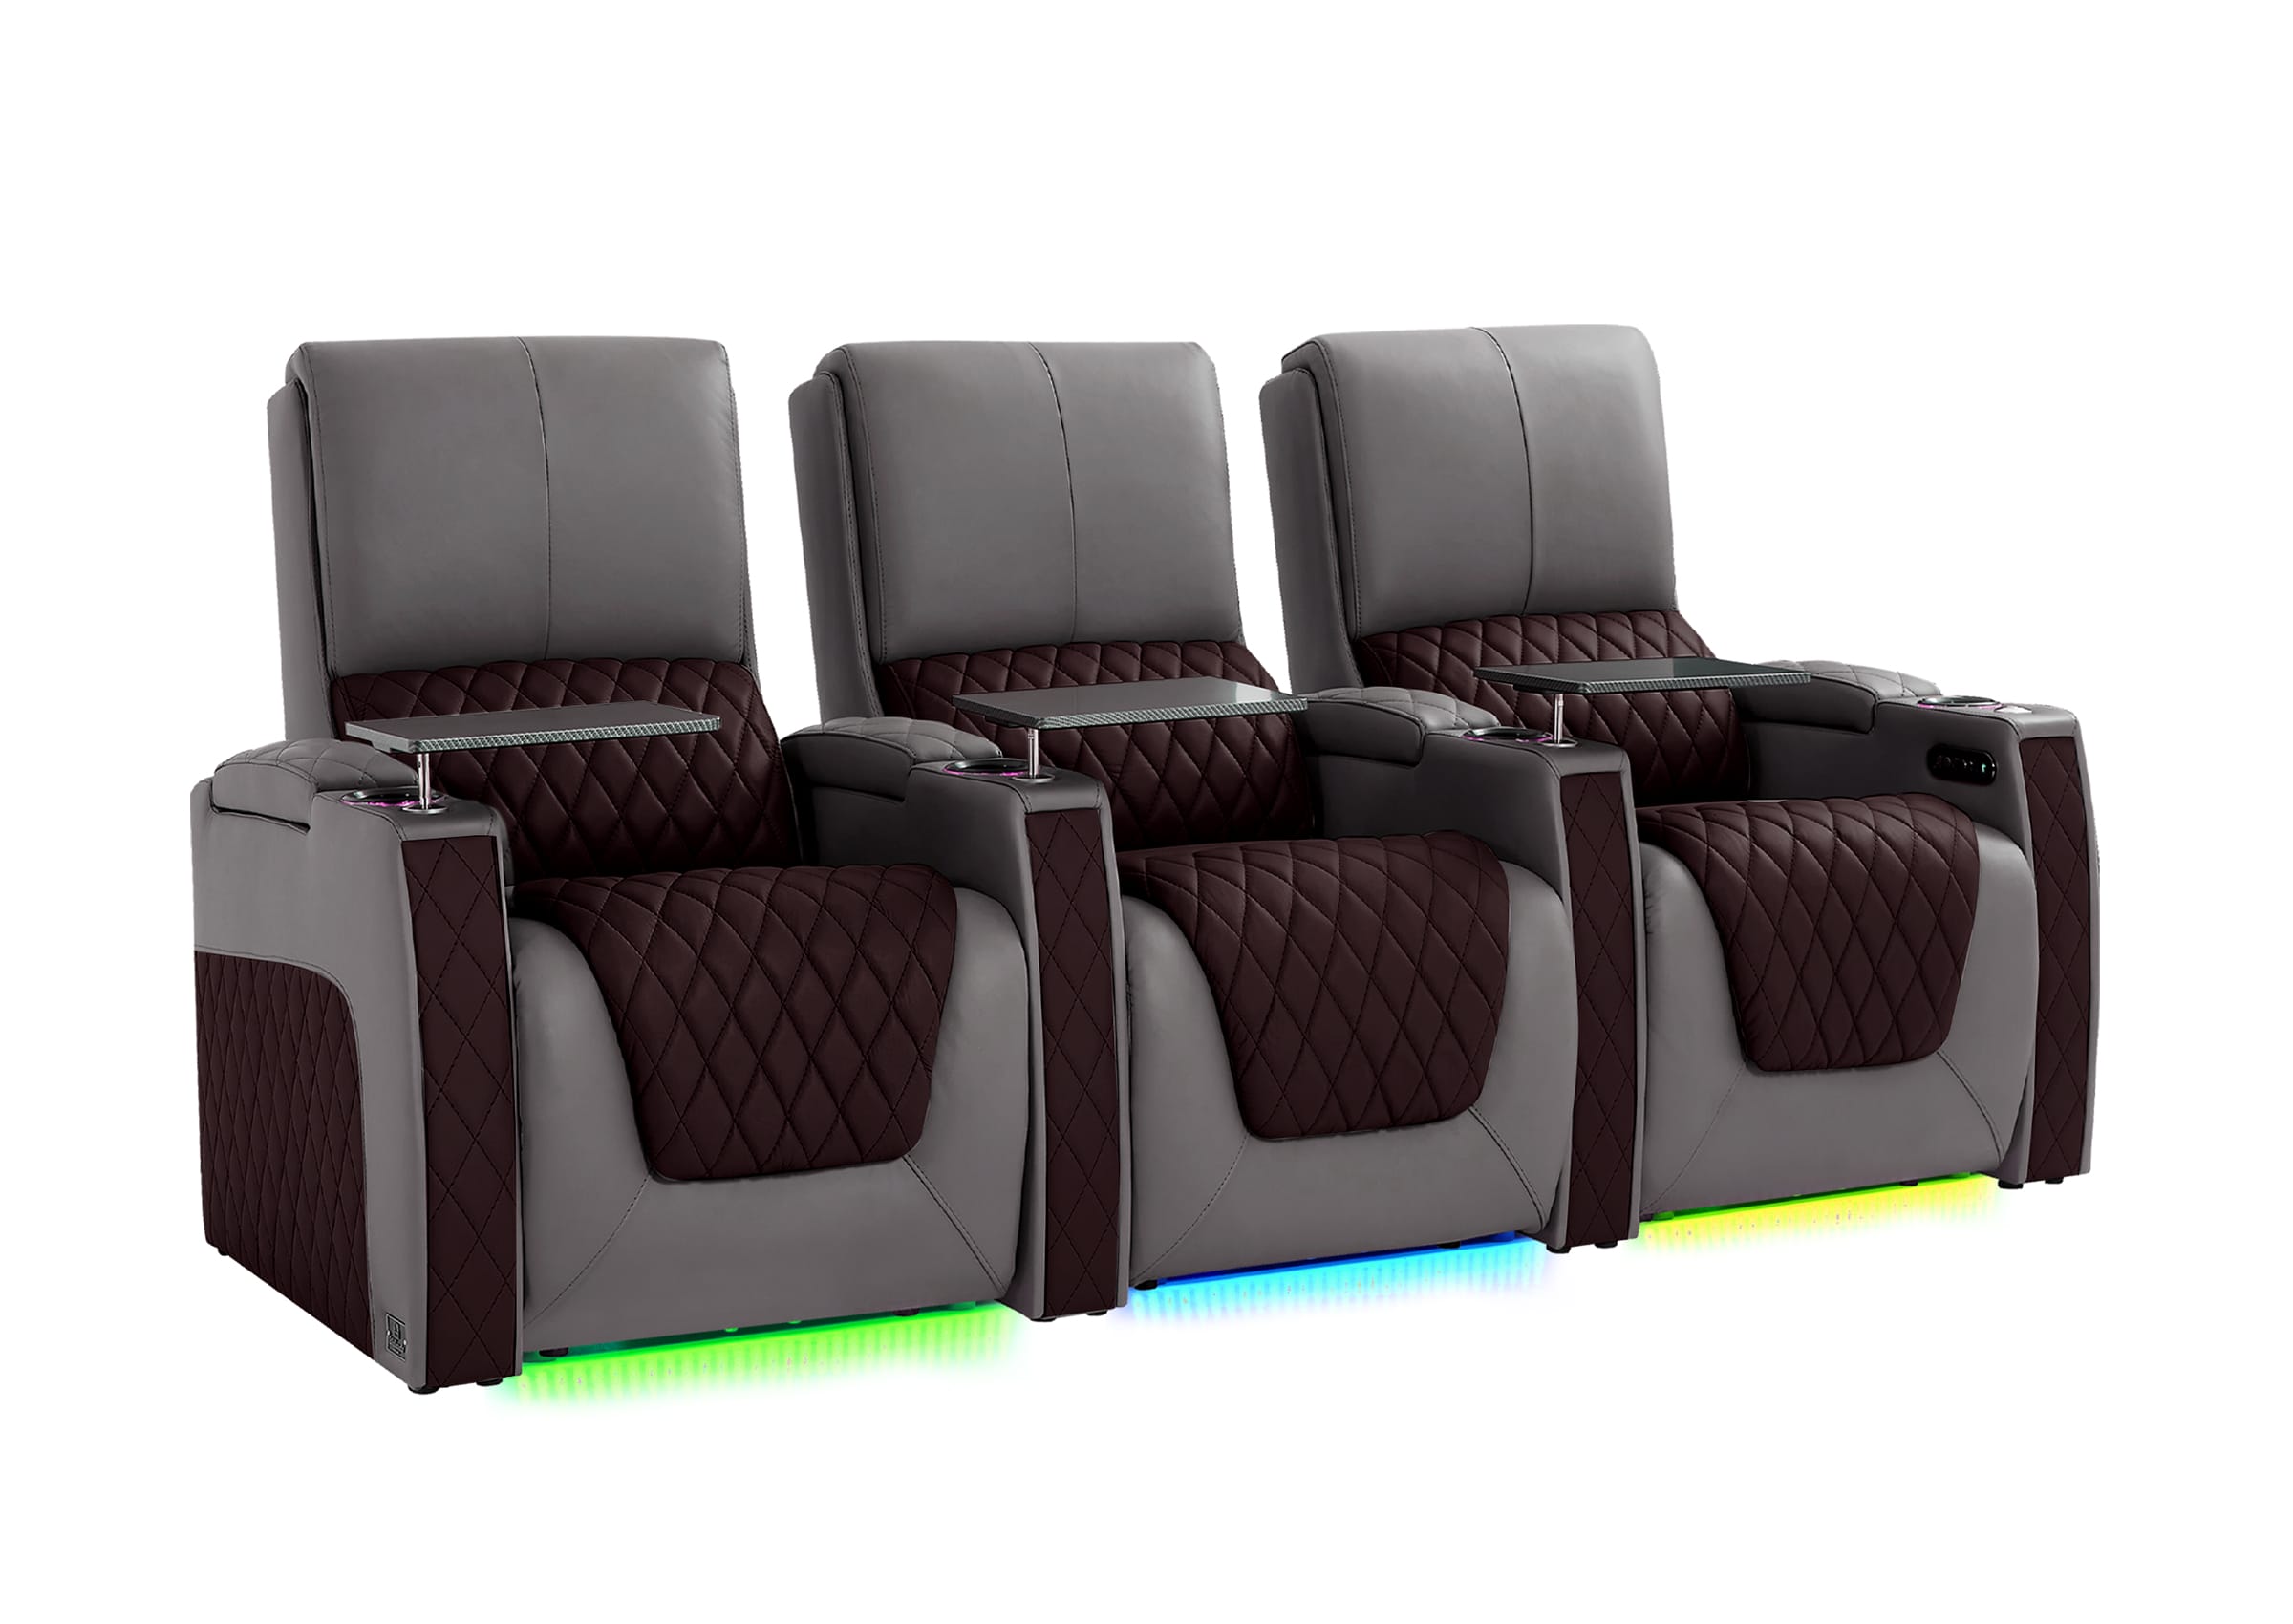
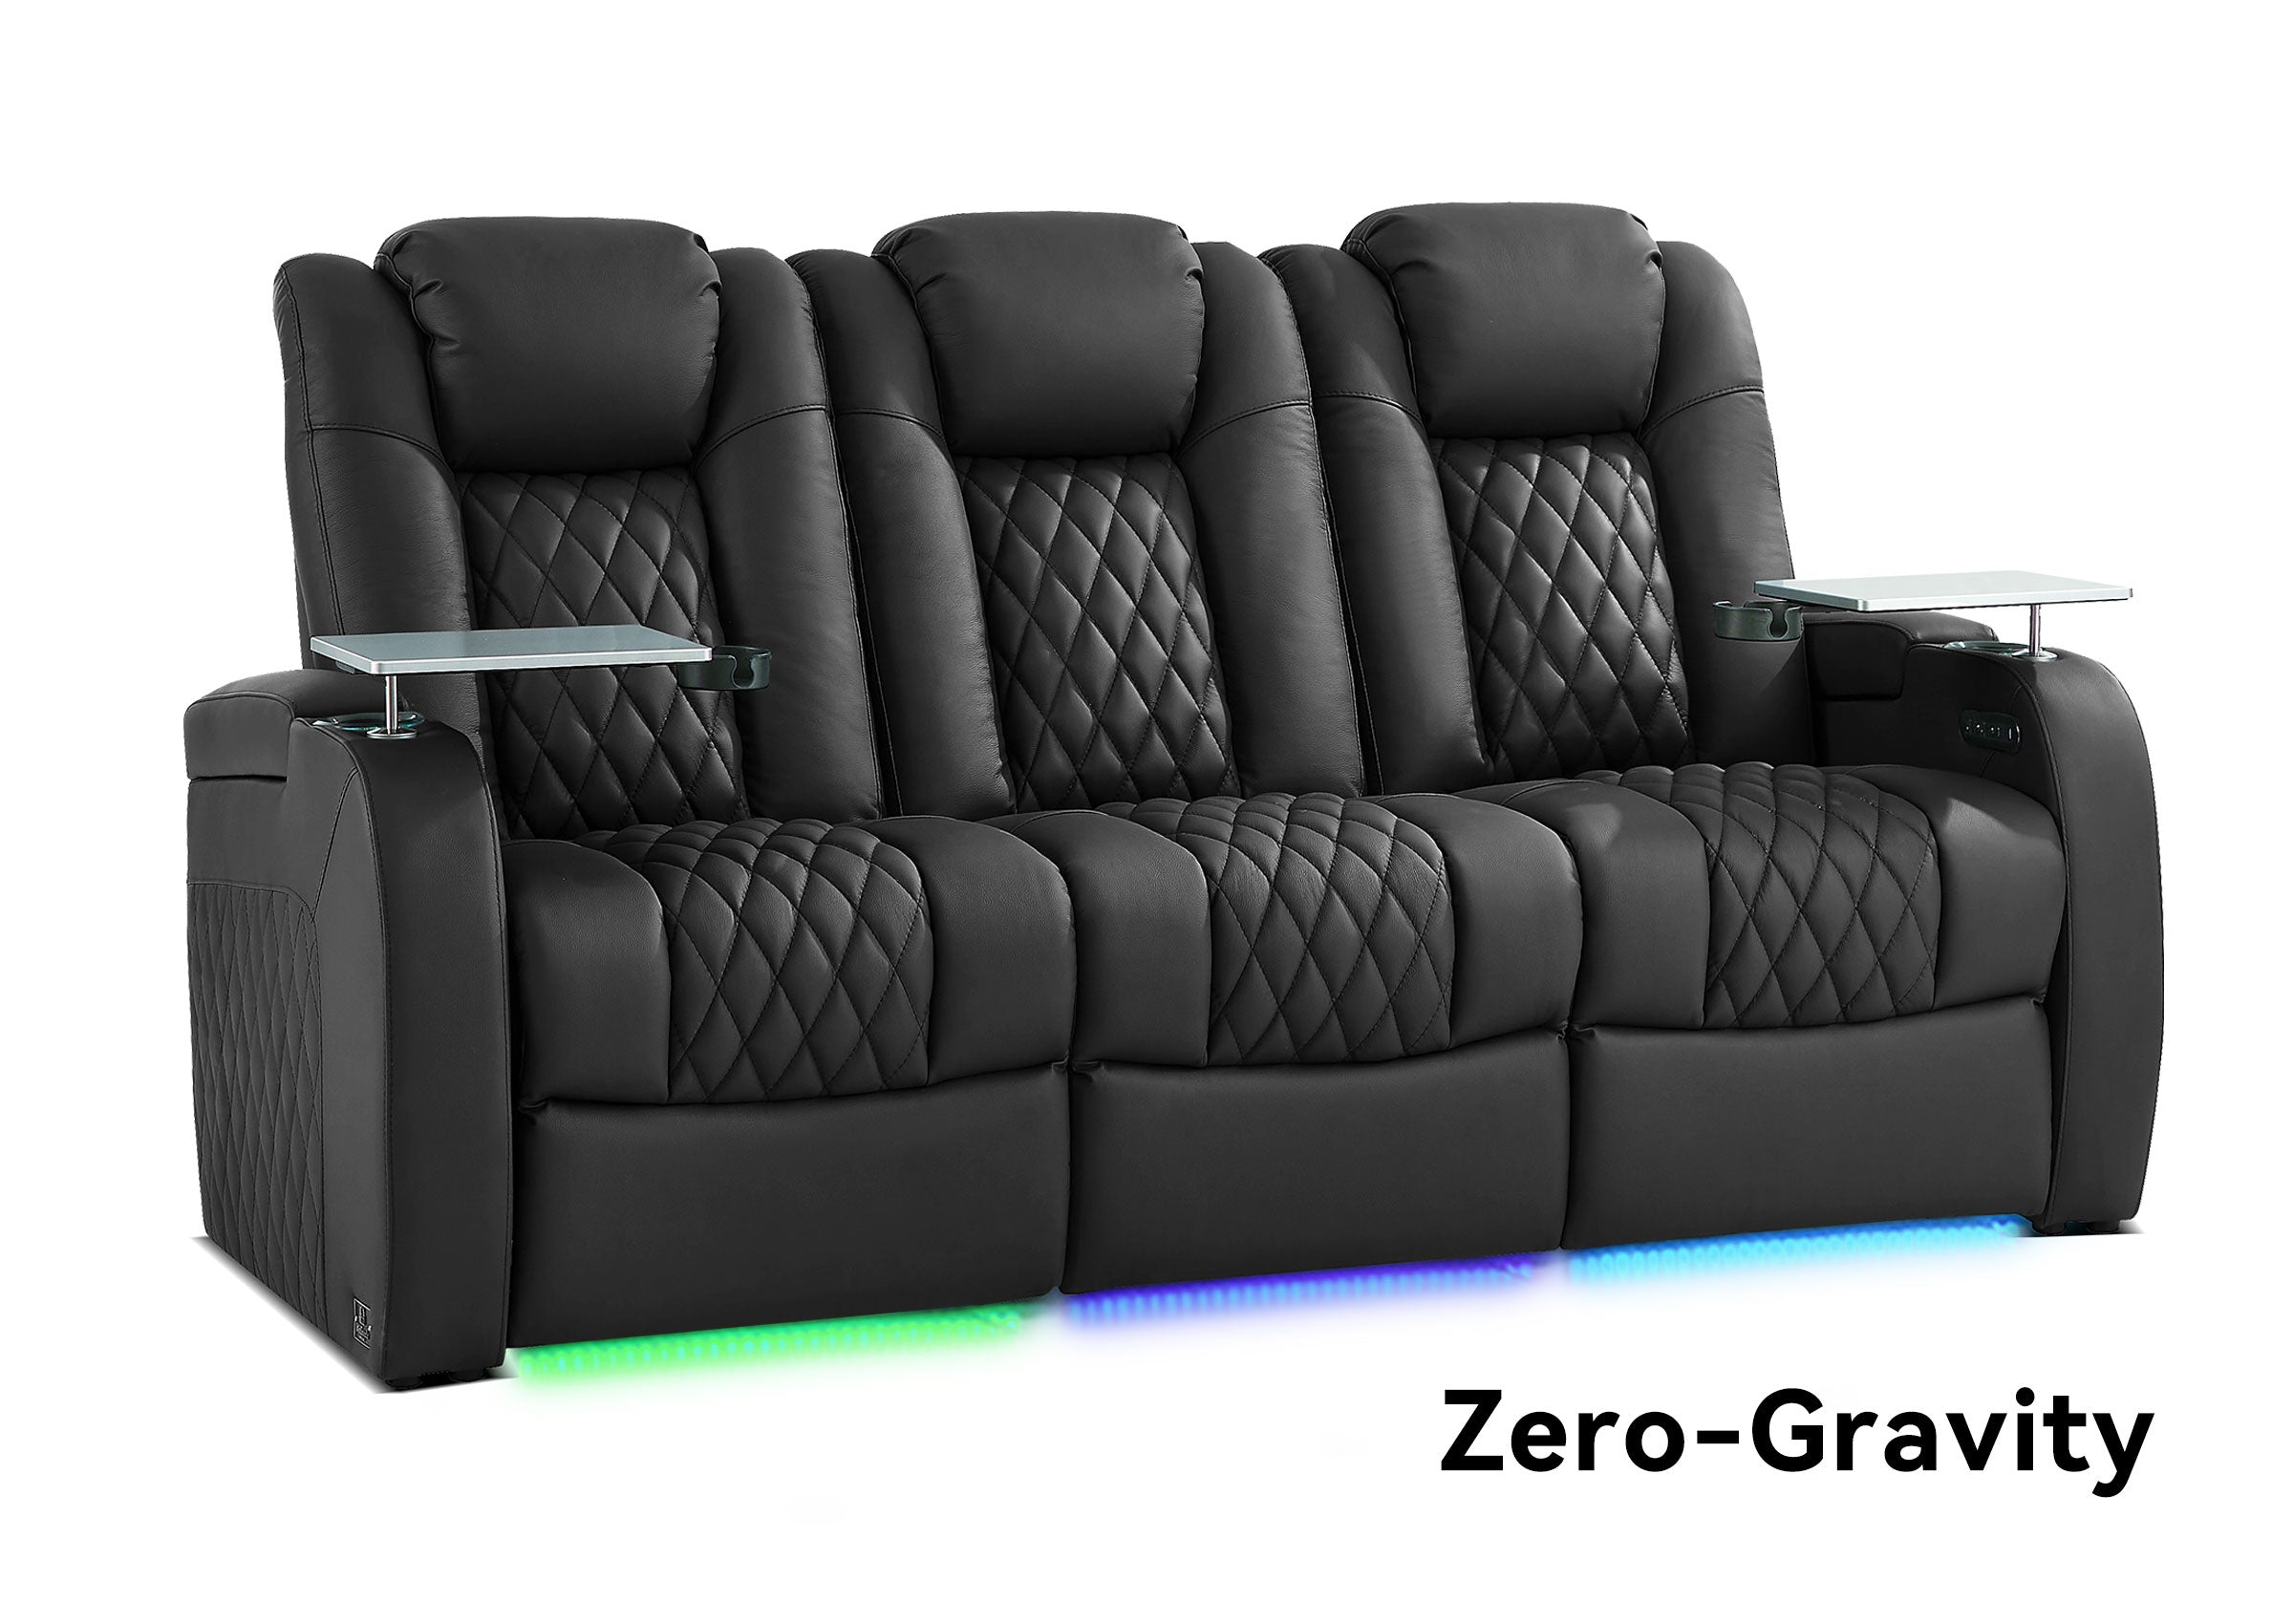
The shipping footprint or upright chair depth is not enough for a power recliner. The projector must work with the room in its viewing state, not only when every seat is closed.
If the seating has not arrived yet, confirm the actual product dimensions and full recline clearance instead of estimating from a generic chair footprint.
3. The final screen height
Screen height affects both viewing comfort and projector geometry. Raising the screen may help a projector beam clear people, but it can also create an uncomfortable upward viewing angle. Lowering it may improve the view from a recliner while making the light path harder to clear.
Do not solve a projector problem by creating a seating problem.
4. The exact projector model
Two projectors that look similar can require very different mounting positions. Throw range, lens offset, zoom, lens shift, vent direction, mounting orientation, and chassis dimensions all vary by model.
Choose the model—or at least a very short list—before committing to a ceiling opening, shelf, conduit, or outlet.
Step 1: Find the Model-Specific Throw-Distance Range
Throw distance is measured from the projector lens to the screen surface. It is not necessarily measured from the mounting plate, the center of the chassis, or the back of the projector.
The basic relationship is:
Throw distance ÷ image width = throw ratio
A zoom lens normally provides a minimum and maximum throw ratio, which creates a range of possible projector positions for the same image size. The range belongs to that projector and lens; it is not a universal home-theater rule.
Use the manufacturer’s installation chart or a model-specific tool such as the ProjectorCentral Throw Distance Calculator. Then confirm the result against the current manual for the exact model.
Record three measurements:
| Measurement | Why it matters |
|---|---|
| Nearest valid lens position | The closest the lens can be while filling the screen |
| Farthest valid lens position | The farthest the lens can be while filling the screen |
| Projector body depth and lens location | Converts the lens range into the real space occupied by the chassis |
That last measurement is easy to miss. A lens may fall inside the valid range while the back of the projector collides with a wall, shelf edge, soffit, or HVAC duct.
When possible, avoid designing around the extreme end of a zoom or shift range. A little adjustment room makes final alignment easier if the screen frame or finished wall position changes slightly.
Step 2: Check Lens Height, Offset, and Lens Shift
Distance alone does not tell you where the projector can sit vertically.
Some projectors naturally place the image above or below the lens centerline. Others offer vertical and horizontal lens shift. The available range can be generous, limited, or absent, and maximum horizontal and vertical movement may not be available at the same time.
For example, Epson’s lens-shift instructions show that shift ranges differ by lens and that moving fully in one direction can reduce movement in another. That is why a percentage from an unrelated projector should never be applied to your model.
Use this order:
- Mark the intended top, bottom, and center of the image.
- Find the projector’s specified lens position or offset for that image.
- Check whether lens shift can place the image correctly from your proposed mount height.
- Confirm that the projector body and mount fit above the seats and below the ceiling.
- Use digital keystone only for minor correction when necessary, not as the main plan for an avoidable off-axis installation.
Lens shift moves the image without physically tilting the projector. Keystone correction reshapes the image electronically. Depending on the projector, heavy correction may crop or resample the picture and can reduce the usable image area. A clean optical position gives you a better starting point.
Step 3: Check the Entire Light Cone, Not Just the Centerline
The projector does not send one thin line to the center of the screen. It sends a widening cone of light to all four corners of the image.
This creates a common planning mistake: the lens appears to be above everyone’s head, but a viewer, raised headrest, fully reclined seat, or person walking through the room still clips the lower part of the projected image.
Screen sightline and projector light path are different geometries:
- Screen sightline runs from the viewer’s eyes to the screen.
- Projector light path runs from the lens to the complete screen surface.
A riser can improve the back row’s view while moving those viewers closer to the projector beam. A tall recliner can be comfortable and still place its headrest inside the lower light boundary.
A practical clearance test
Before mounting anything permanently:
- Mark the proposed lens position with painter’s tape.
- Mark all four corners of the intended image on the screen wall.
- Use string or a laser line to visualize the outer boundaries from the lens position to the screen corners.
- Put every recliner into its most demanding position.
- Have the tallest regular viewer sit upright, recline, and get out of the seat.
- Walk through the normal entry path while someone watches the screen area.
A temporary live projection test is even better because it reveals shadows that a centerline drawing can miss.
Do not test only the main seat. Check the outer seats, the back row, and any aisle that crosses between the lens and screen. The position that works beautifully for one person may create interruptions during family movie nights.
Step 4: Listen From the Couch Before Choosing “Above the Couch”
Mounting the projector over the main seating position is sometimes unavoidable, and it can work well. But the correct optical position is not automatically the best acoustic position.
Fan noise changes with operating mode, thermal load, room temperature, and ventilation. It can also feel more obvious in a quiet room or when a hard rear wall and ceiling reflect the sound toward the seats.
Before final installation, place the projector as close as practical to the proposed position and test it under realistic conditions:
- use the picture mode you expect to watch most often;
- play a quiet dialogue scene;
- listen from the main seat and the seats nearest the projector;
- compare a quieter mode with a higher-load mode;
- check whether a shelf or nearby wall makes the sound more noticeable.
If the projector is already unusually loud, do not assume placement is the only cause. ViewSonic’s projector support guidance separates settings and ventilation issues from grinding or rattling that may indicate mechanical trouble. An abnormal mechanical sound calls for inspection, not a decorative enclosure.
Moving the projector away from listeners can help, but only if the new position still satisfies throw range, lens geometry, beam clearance, and ventilation.
Step 5: Protect Ventilation and Service Access
A projector shelf is not just a platform. It becomes part of the cooling environment around the projector.
Check the exact manual for:
- intake and exhaust locations;
- minimum clearance on every relevant side;
- approved mounting orientations;
- operating temperature limits;
- filter, lamp, or service-panel access;
- cable bend space behind the chassis.
Do not copy a clearance number from another brand or model. For example, one Epson installation document specifies substantial clearances for its particular projector and mounting conditions. Those figures show why ventilation matters; they are not universal dimensions for all home projectors.
A shelf behind the couch can be a sensible solution when it provides the correct lens height, sufficient depth, open airflow, acceptable noise, and easy cable access. It becomes a poor solution when the back wall traps exhaust, the shelf blocks an intake, or servicing the projector requires moving an entire row of seating.
Also check where the hot exhaust goes. Air directed at a viewer’s head or toward a thermostat may cause a different problem even when the projector itself remains within its operating limits.
Step 6: Check the Ceiling Before You Drill
The ideal projector position often overlaps with other parts of a home theater plan.
Before selecting the final mount point, mark the locations of:
- ceiling joists, blocking, and the rated attachment point;
- power and signal wiring;
- recessed lights and their light spill;
- HVAC supply and return vents;
- ceiling fans and their complete blade sweep;
- soffits, beams, pipes, and access panels;
- overhead or height speakers;
- acoustic panels or a future star ceiling.
Dolby’s 5.1.4 overhead-speaker guide begins with a defined seating position and places the overhead speakers around it. That means the projector and Atmos layout should be coordinated from the same seating reference instead of planned in separate drawings.
Do not shift an overhead speaker casually to make room for the projector, and do not move the projector far off the screen centerline unless its optics support that position. If the conflict cannot be resolved cleanly, review the screen size, projector model, mount style, and ceiling layout together.
Ceiling mounting also involves structural and fall hazards. Use a compatible mount attached to suitable structure and follow the projector and mount manufacturers’ instructions. Some manufacturers explicitly recommend professional installation for ceiling-mounted units. A drywall anchor selected only by projector weight is not a complete mounting plan.
If ceiling height or a sloped surface is limiting the available mounting zone, review the wider room compromises in this guide to low-ceiling home theater solutions before moving the screen or seats.

Ceiling Mount, Rear Shelf, or Another Location?
There is no universally best mounting method. Choose the one that passes the complete room test.
| Location | Often works well when | Watch for |
|---|---|---|
| Ceiling mount | The room is permanent, structure is available, and the projector can stay clear of heads and ceiling equipment | Fan noise above seats, service access, structural attachment, wiring, Atmos and HVAC conflicts |
| Rear shelf | The throw range reaches the back wall and the lens can align with the screen | High-back seats, reflected fan noise, blocked vents, shelf vibration, insufficient depth |
| High cabinet or open stand | You need accessibility or want to test a position before permanent mounting | Accidental movement, furniture vibration, traffic, cables, and unstable alignment |
| Short-throw or ultra-short-throw position | A conventional ceiling or rear location cannot clear the room | Screen compatibility, cabinet depth, people passing near the light path, and model-specific geometry |
A ceiling mount is often the cleaner choice when the screen is fixed, suitable structure is available, and wiring can be planned before the ceiling is finished. It is less appealing when it lands over the quietest seat or makes filters and connections difficult to reach.
A rear shelf can be easier to access when the projector’s throw range reaches the back wall. But “behind the couch” is not a measurement. The lens still needs the correct distance and height, and the shelf must pass the head-clearance, noise, ventilation, and service tests.

PLAN THE ROOM AS ONE SYSTEM
Choose the Seating Position Before You Lock the Projector Mount
The finished seat depth, recline path, headrest height, and row position all affect the usable projector zone. Confirm the seating footprint before drilling or building a rear shelf.
Record the Measurements Before Making the Position Permanent
Keep the final numbers in one place. This makes the plan easier to recheck and easier to share with an installer.
| Planning item | Your confirmed measurement or result |
|---|---|
| Screen width and finished screen height | |
| Nearest and farthest valid lens position | |
| Proposed lens height and available lens shift | |
| Projector body depth and vent locations | |
| Highest upright and reclined head/seat point | |
| Required ventilation and service clearance | |
| Fan-noise result from the main seats | |
| Ceiling, wiring, speaker, lighting, and HVAC conflicts |
A Better Installation Order
The order of decisions matters. Use this sequence to avoid solving one problem by creating another:
- Choose the screen wall, size, and provisional height.
- Place the seats in their finished upright and reclined positions.
- Confirm the projector model and calculate its valid lens-distance range.
- Verify offset, lens height, and lens-shift limits.
- Test the full light cone around heads, backrests, risers, and walkways.
- Listen for fan noise from every important seat.
- Confirm ventilation, cable bends, and service access.
- Coordinate the mount with structure, power, lights, HVAC, speakers, and other ceiling features.
- Run a temporary image test, then drill only after the room passes the complete check.
This process may feel slower than starting with a ceiling mount location. It is much faster than moving a screen, relocating an outlet, opening a finished ceiling, or discovering that a reclined viewer blocks the picture.
Common Projector Placement Mistakes
| Mistake | Why it causes trouble |
|---|---|
| Mounting at the geometric center of the room | The correct position comes from the screen, the specific lens, and the seating—not the room center. |
| Measuring from the projector body | Throw distance is normally measured from the lens; the mount and chassis may sit several inches away. |
| Choosing the projector after ceiling work | Another model may have a different throw range, offset, vent layout, or chassis depth. |
| Planning around heavy keystone correction | Digital correction should not replace a cleaner optical position the room can support. |
| Testing only with recliners closed | Head position, backrest height, beam clearance, and room traffic change during actual use. |
| Checking empty space but not vent direction | A shelf may look open while recirculating exhaust or blocking an intake. |
| Forgetting future access | Cable changes, filter cleaning, and service should not require removing a row of seats. |
Questions People Ask About Home Theater Projector Placement
Should a projector be directly above the seating position?
It can be, but it does not have to be. The position is suitable only if the projector’s throw and lens geometry work, the beam clears viewers, fan noise is acceptable, ventilation remains open, and the mount can be attached safely.
How far behind the couch should a projector be?
There is no universal couch-to-projector distance. Calculate from the lens to the screen for the exact projector and image width, then check how the resulting chassis position relates to the couch, heads, backrests, noise, and shelf depth.
Can a projector sit on a shelf behind a reclining sofa?
Yes, if the shelf places the lens within the valid throw and offset range and still provides head clearance, airflow, stability, cable space, and acceptable fan noise. Test the sofa fully reclined before fixing the shelf height.
Does the projector lens need to be centered with the screen?
Centering the lens is usually the simplest starting point. Some projectors support horizontal lens shift that allows an off-center installation, but the allowed movement is model-specific and may interact with vertical shift.
Can I tilt the projector and use keystone correction?
Small correction may be acceptable, but a heavily tilted, digitally corrected image is usually a sign that the physical placement should be reconsidered. Use the projector’s optical offset and lens shift first when available.
Can theater seats block a ceiling-mounted projector?
Yes. Tall viewers, high-back recliners, raised rear rows, and people walking through the beam can all create shadows. Check the full light cone with seats upright and reclined, not only a line from the lens to the center of the screen.
Should the projector position be planned before Atmos speakers?
The projector and overhead speakers should be planned together around the same final seating position. Planning either system in isolation can create avoidable ceiling conflicts.
How much ventilation space does a projector need?
Use the installation manual for the exact model. Intake and exhaust locations, mounting orientation, and required clearances vary too much for one safe universal number.
Is a rear shelf quieter than a ceiling mount?
Not automatically. A shelf may move the projector away from directly overhead, but a nearby rear wall or enclosed shelf can reflect or trap sound. Listen from the seats with the projector operating under realistic load.
Plan for the Person in the Seat, Not Just the Image on the Wall
A projector is correctly placed only when the room still works after people sit down, recline, stand up, and move through it. Throw distance establishes where the lens can work; it does not decide by itself where the projector belongs.
Start with the screen and the finished seating position. Build a model-specific optical zone, remove the locations that conflict with the beam, noise, ventilation, service access, and ceiling systems, and test the remaining position before making it permanent.
The result is more than a rectangular image. It is a home theater that remains comfortable, quiet, usable, and maintainable from the seats where the experience actually happens.
Need to confirm seating dimensions before the projector position becomes permanent? Visit Weilianda Support or email leon@weiliandahome.com with your proposed layout and seating questions.
After the physical mounting zone is confirmed, continue with the complete projector setup and calibration process.