


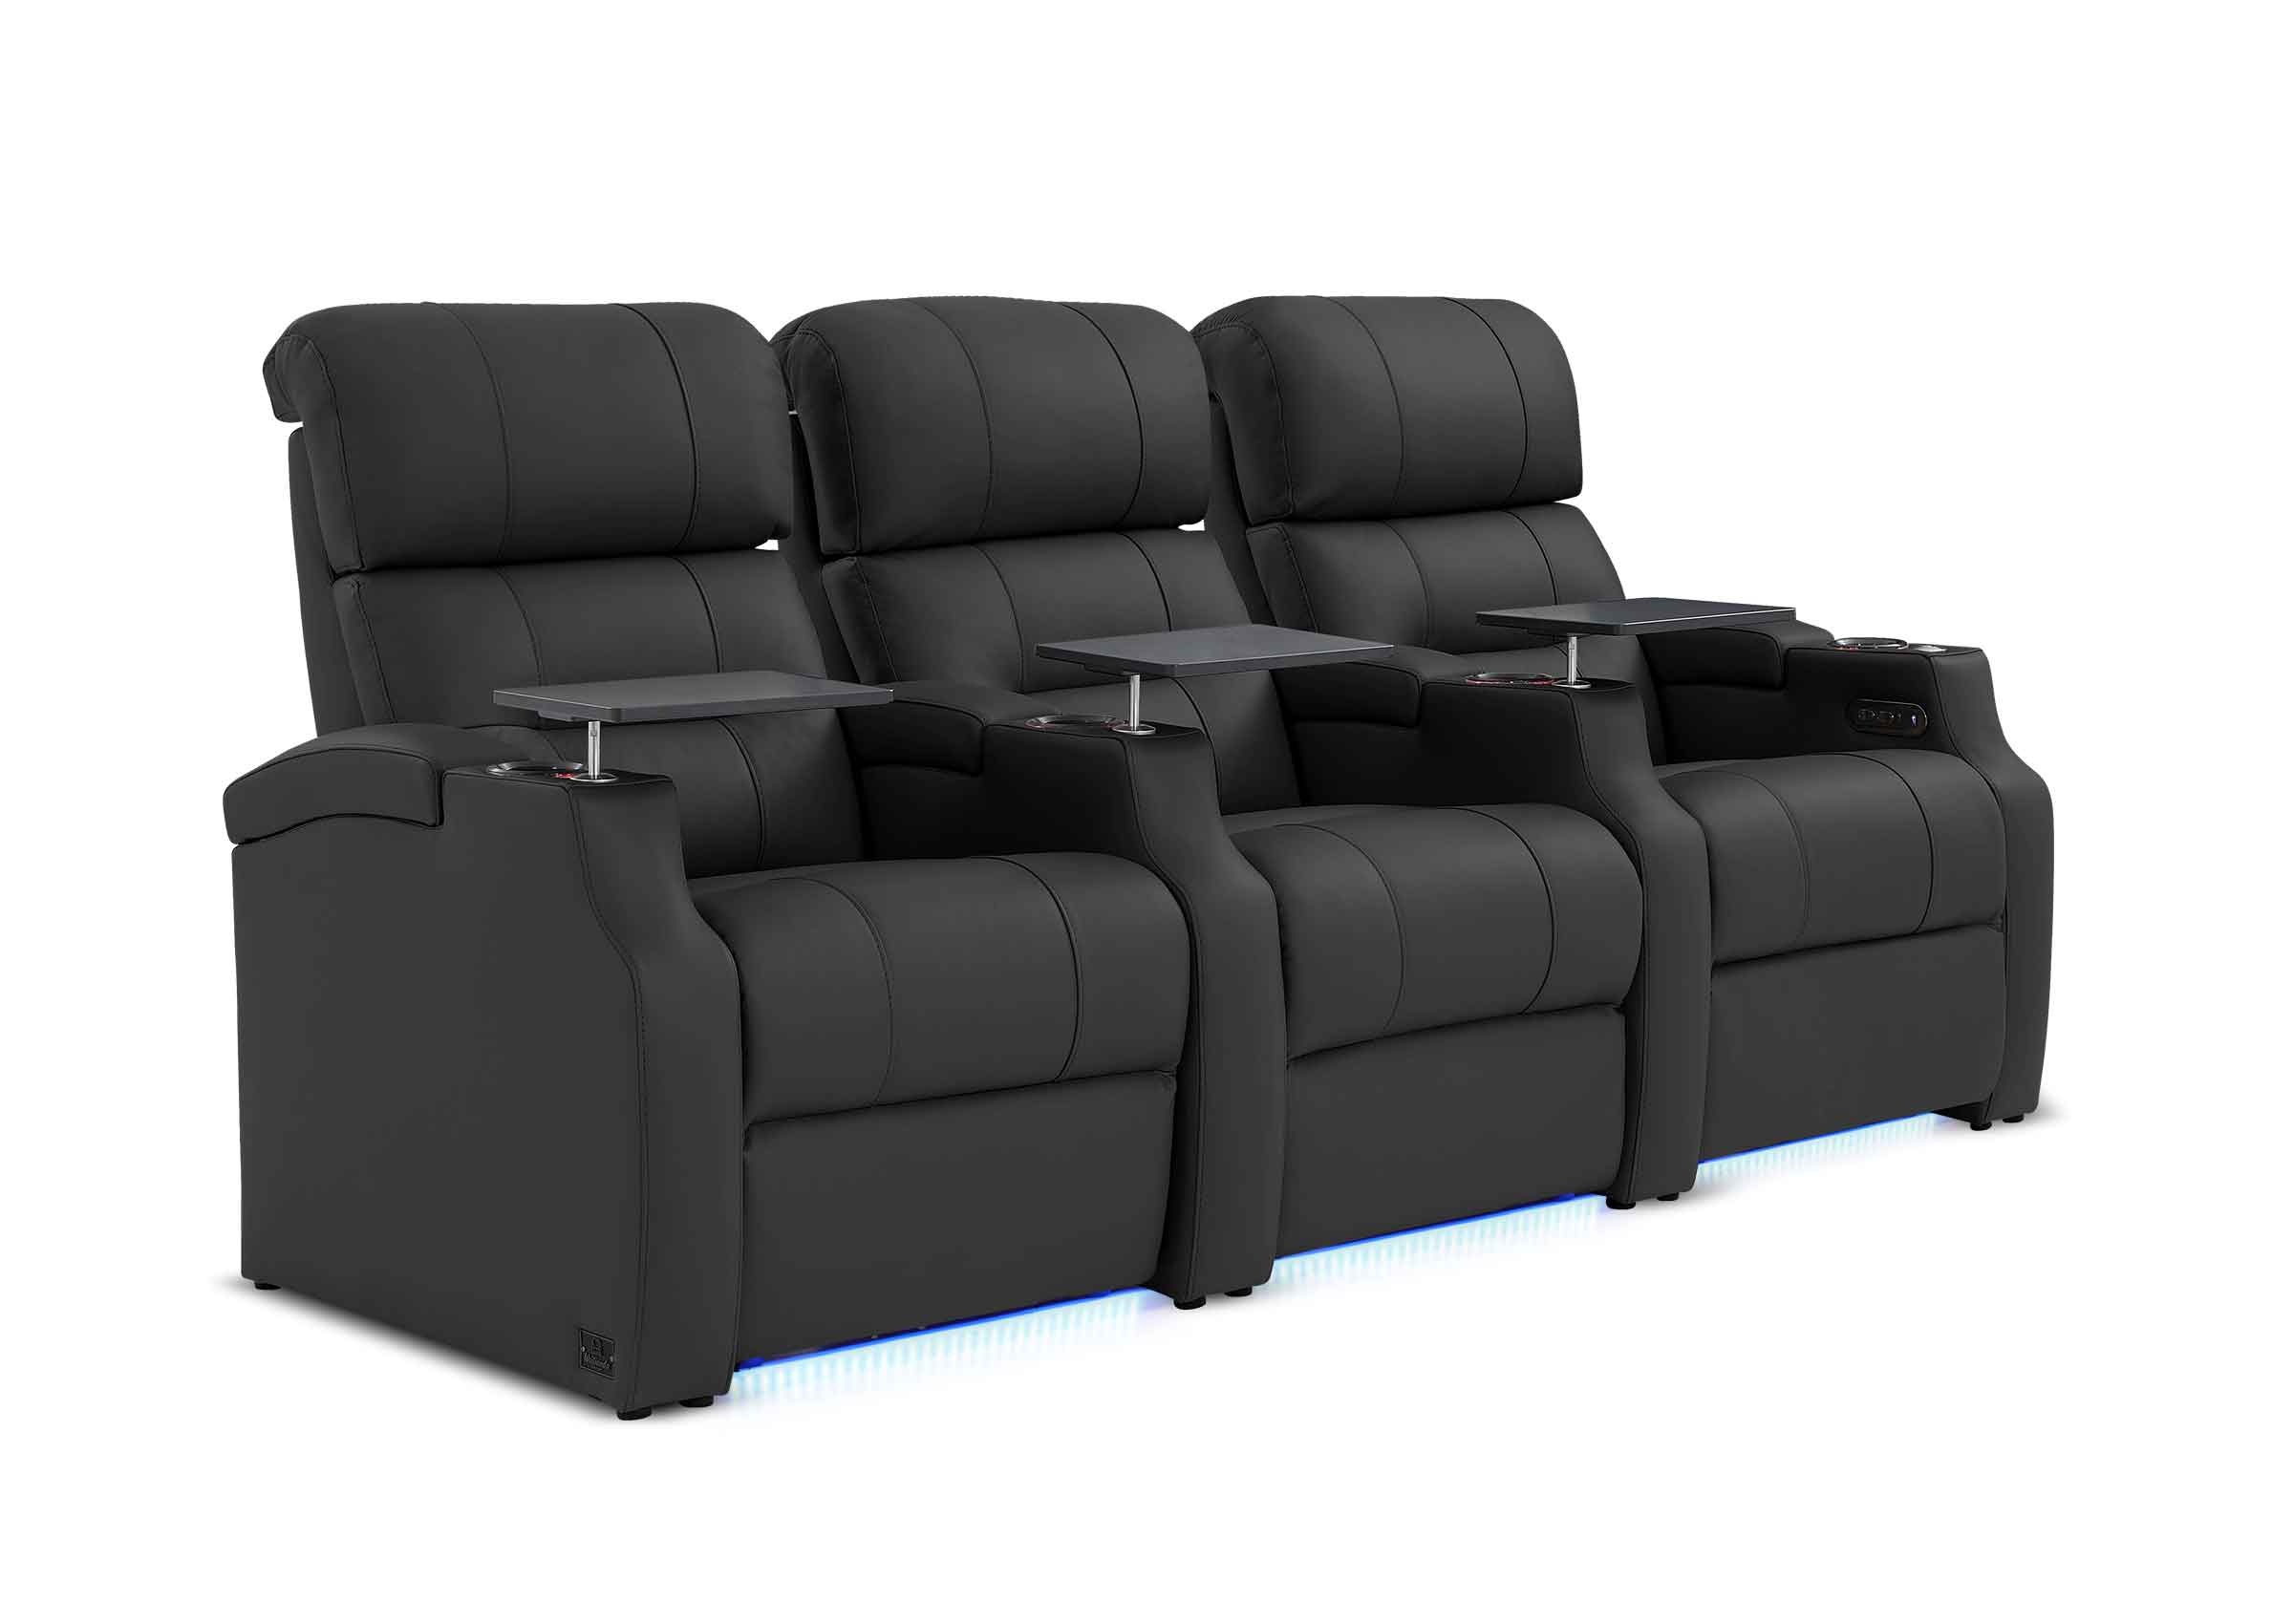
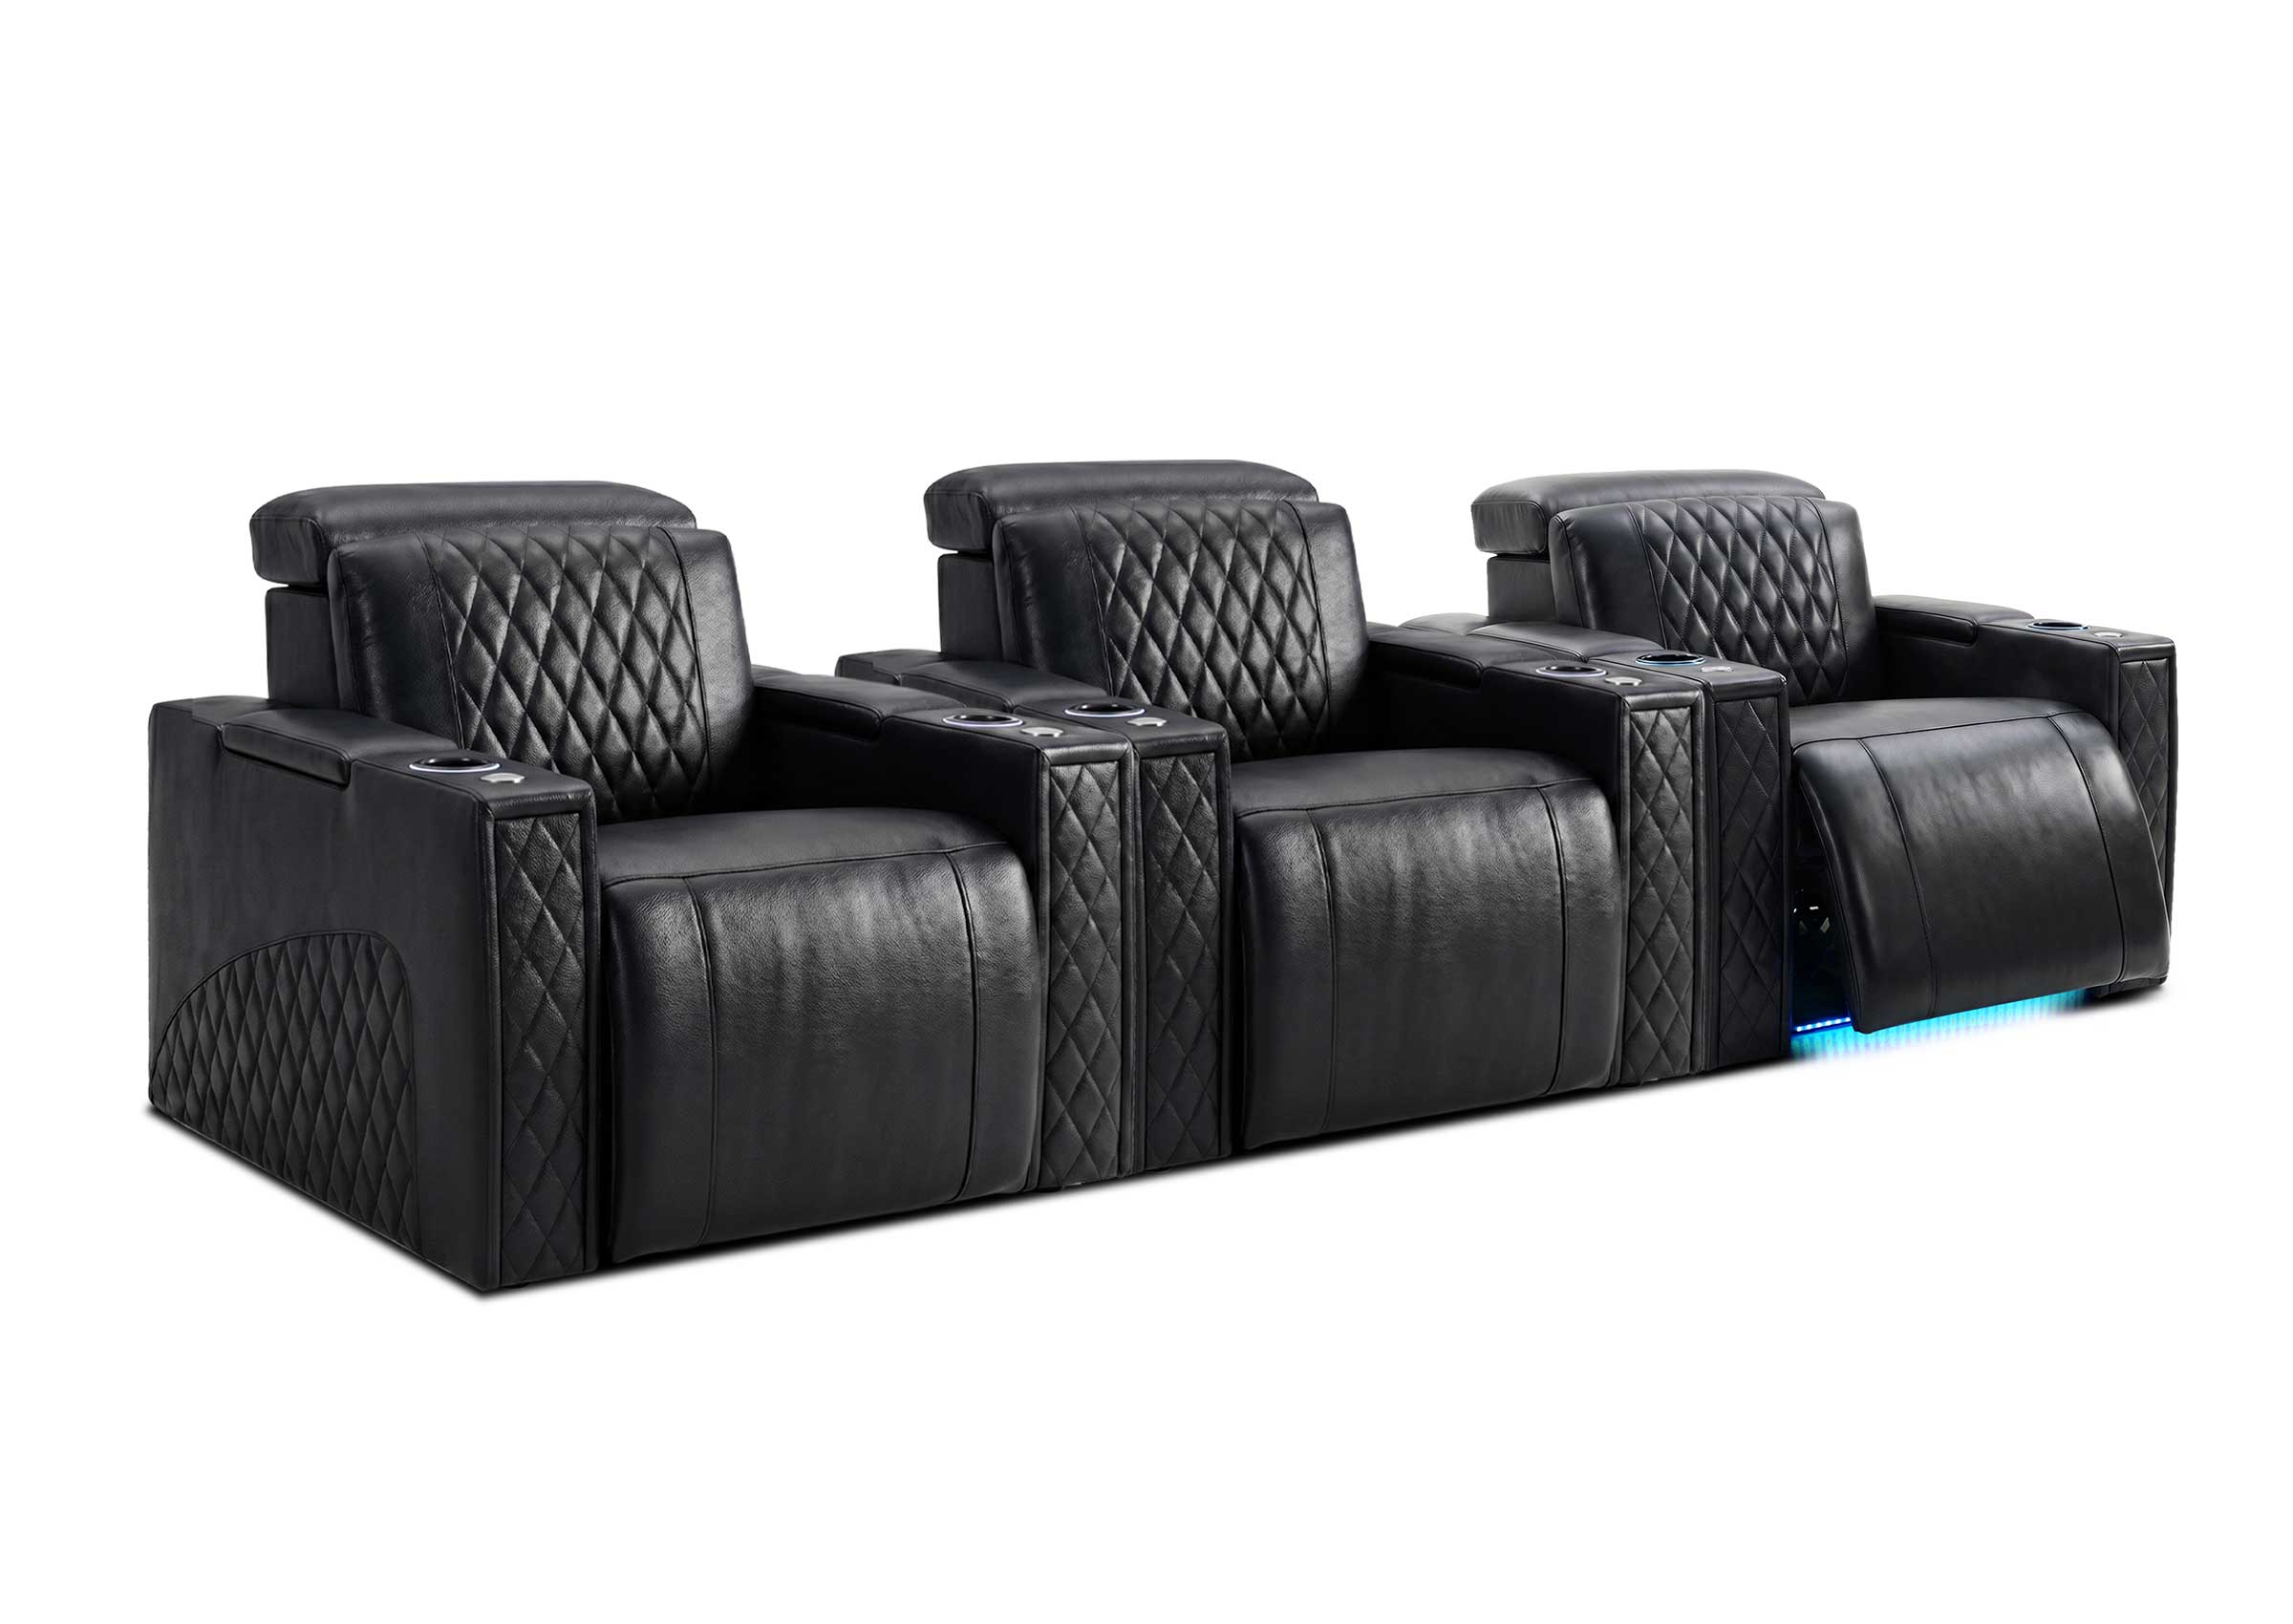

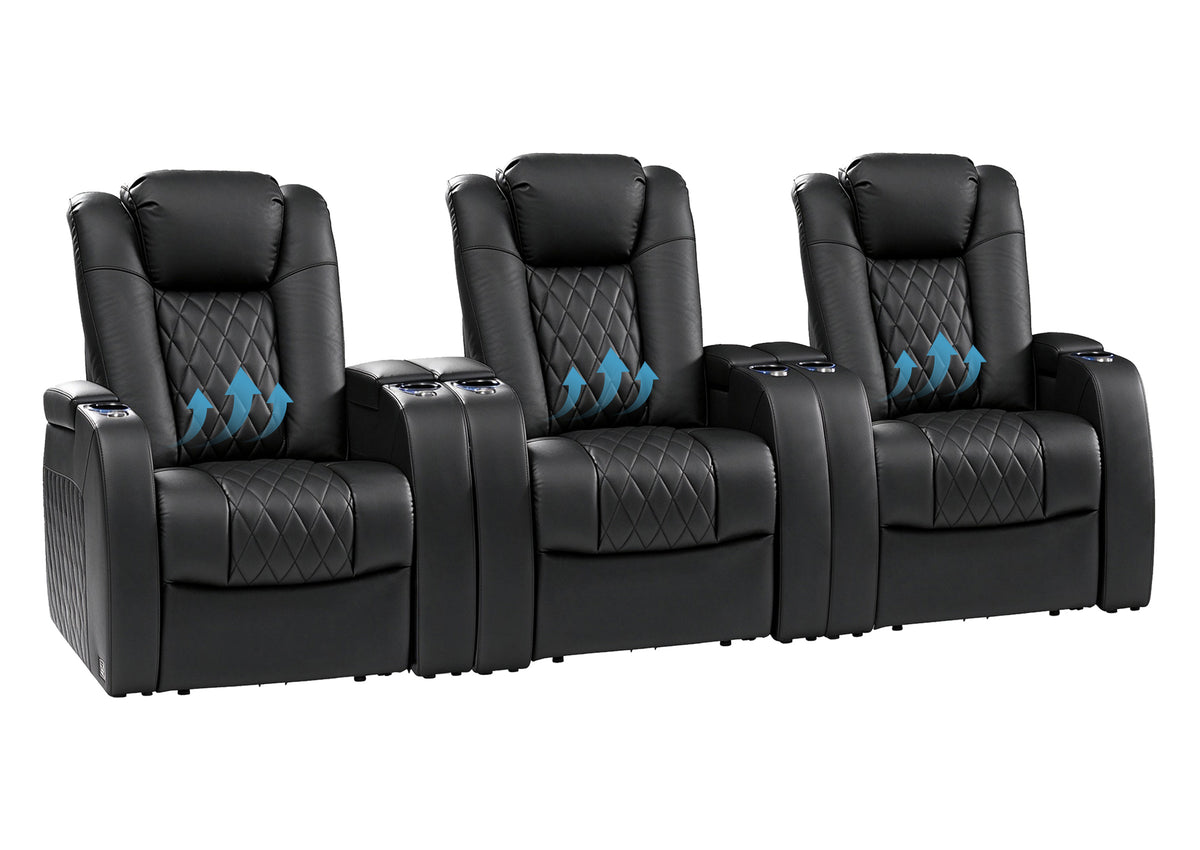
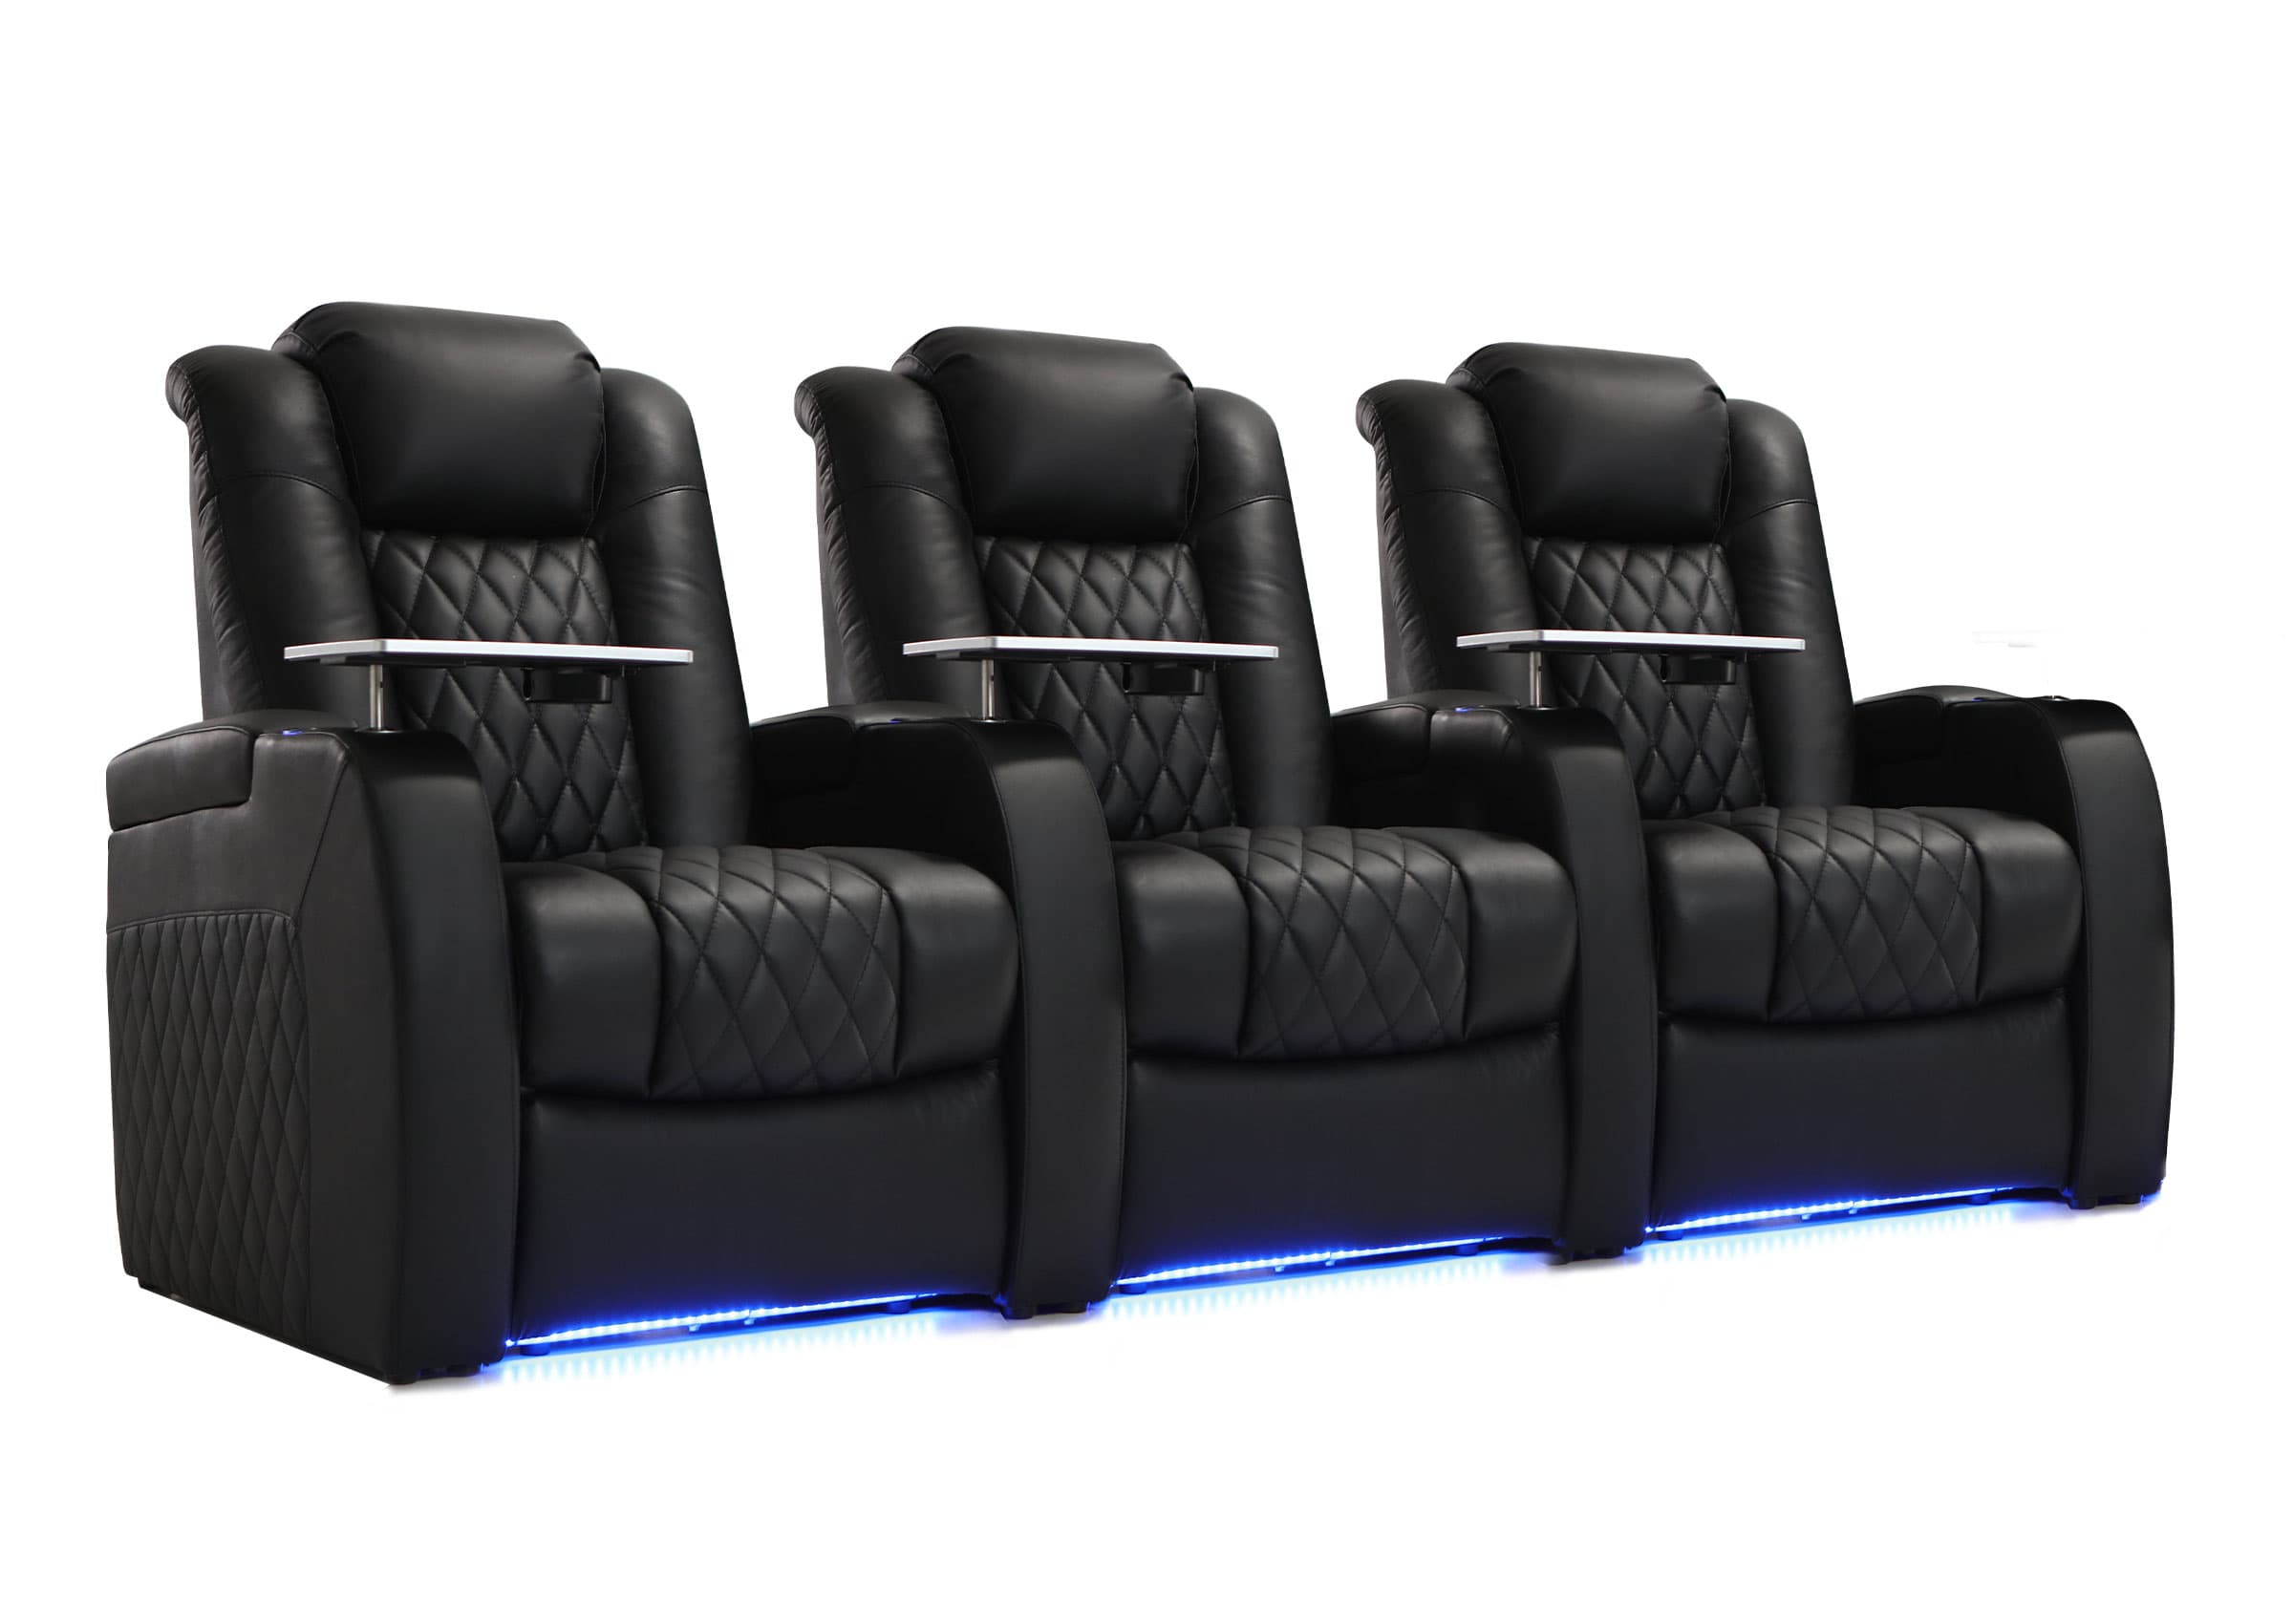
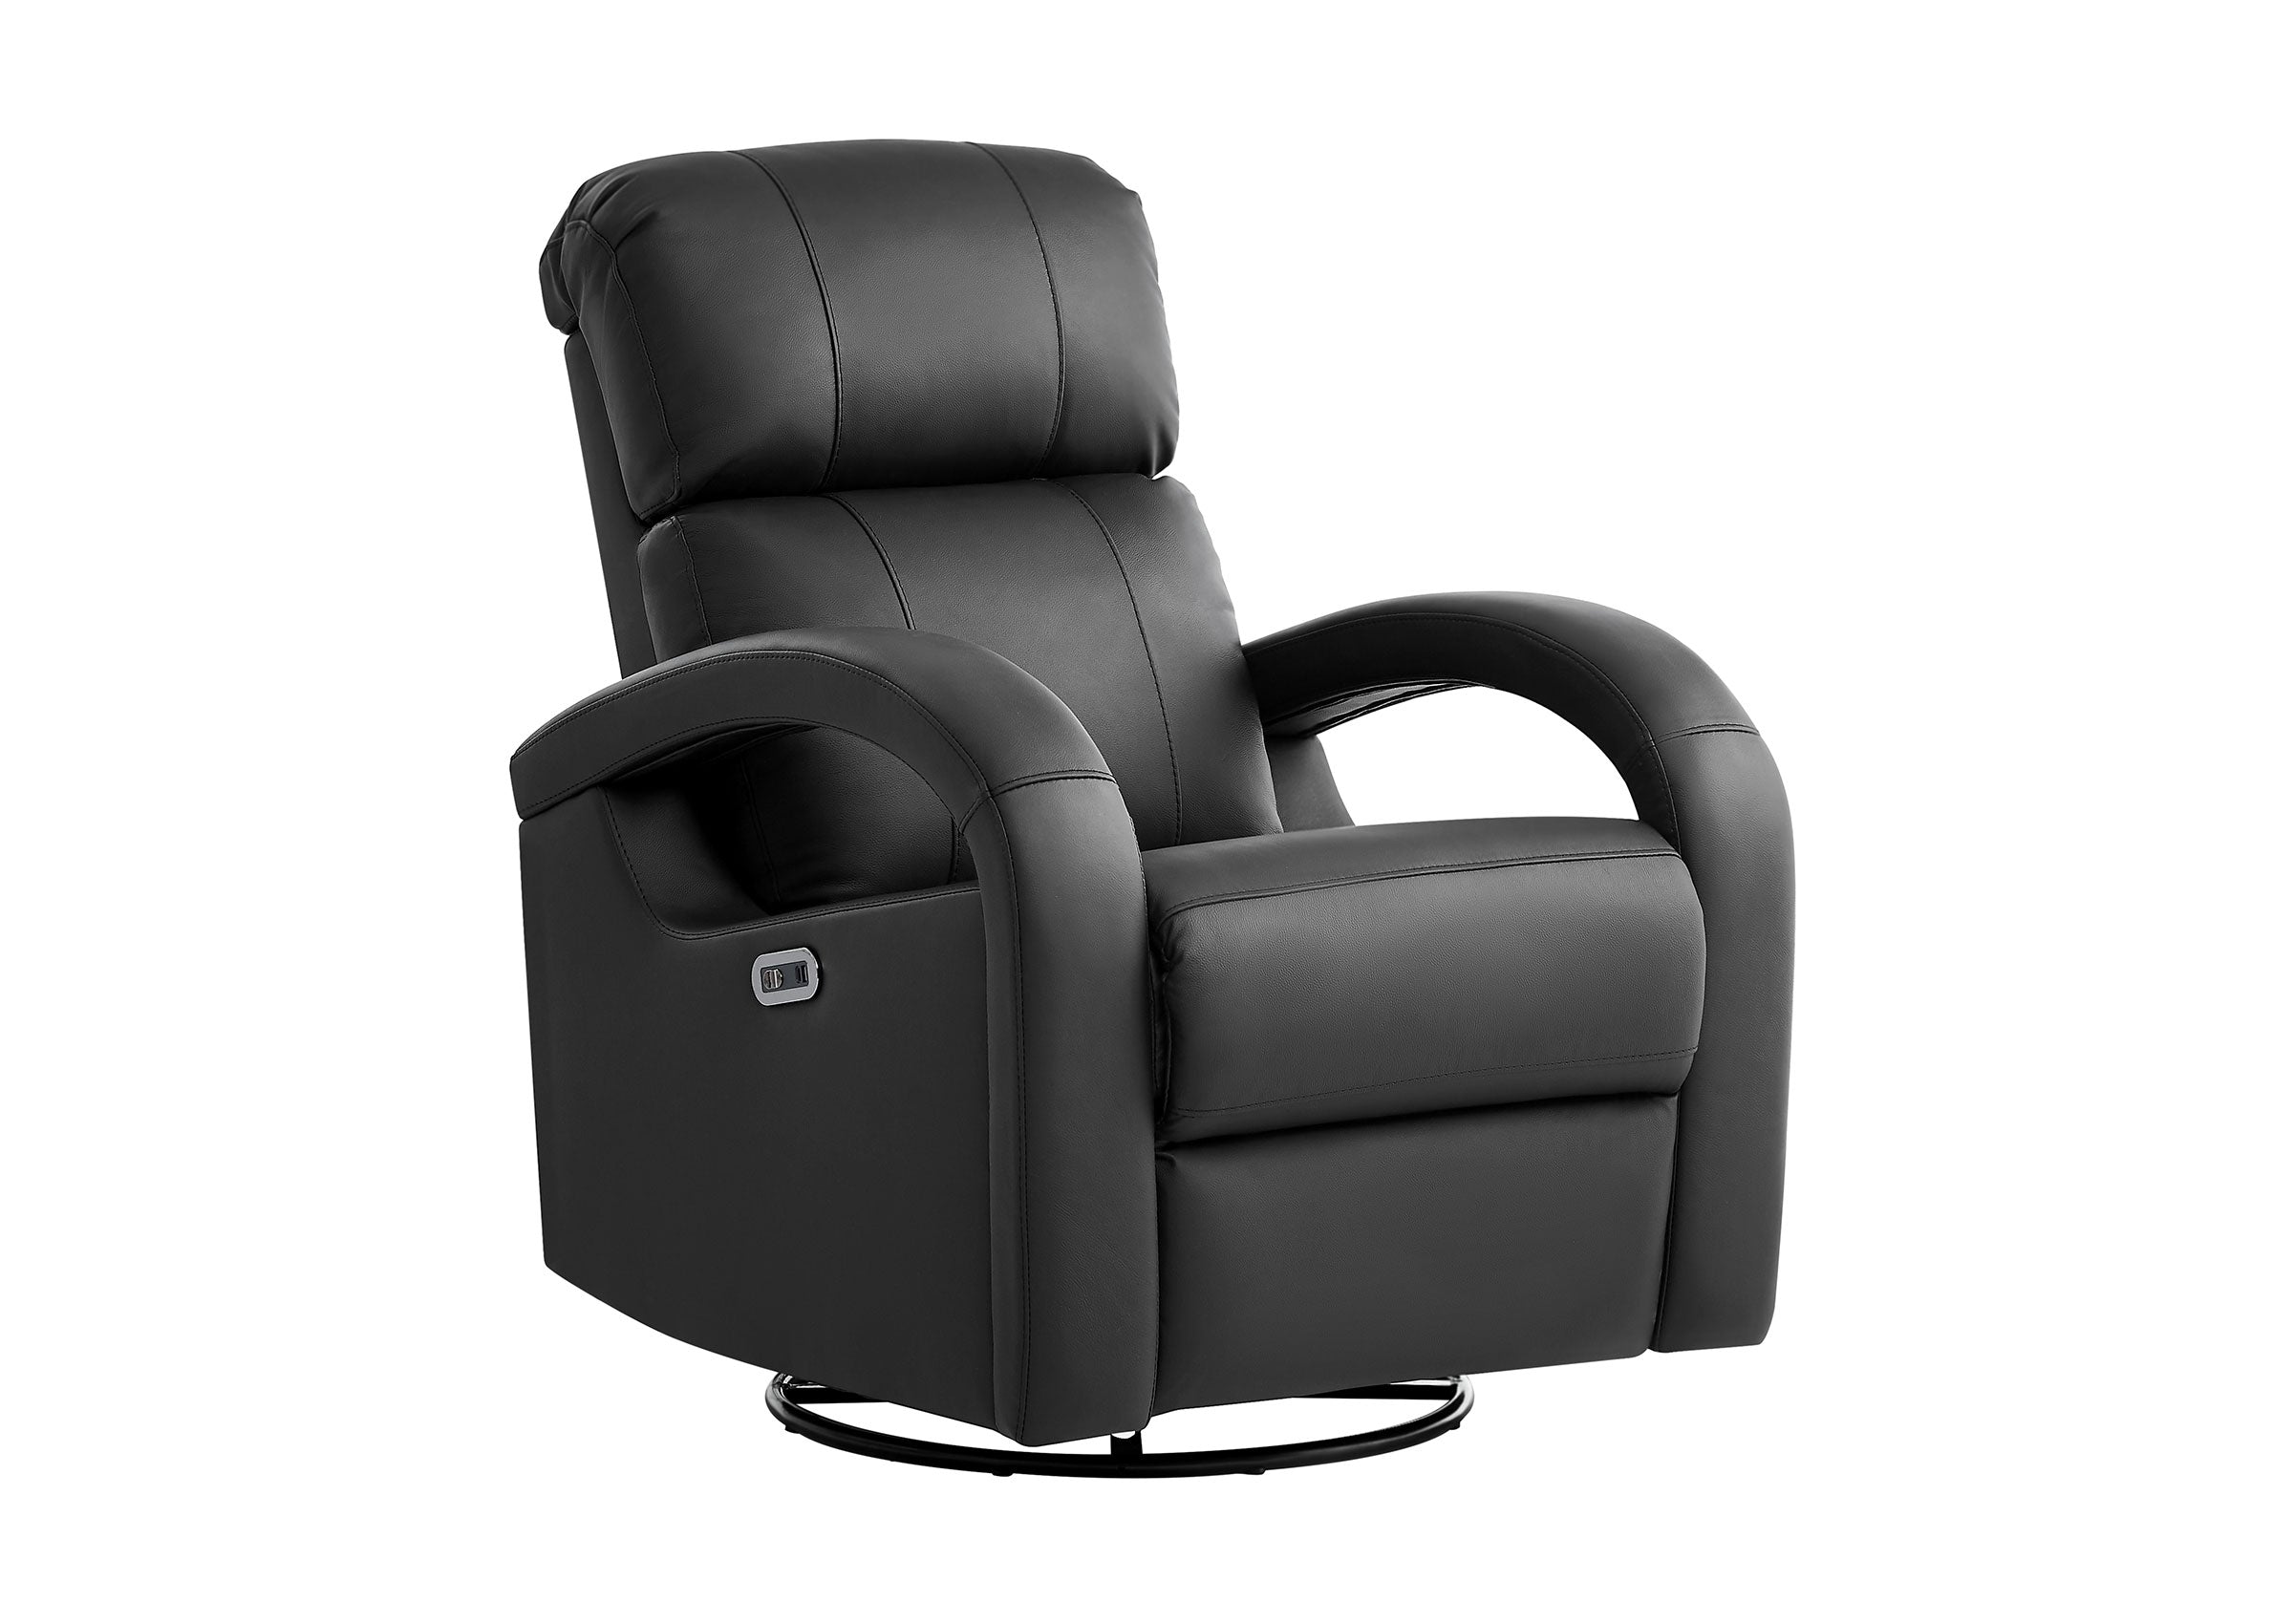
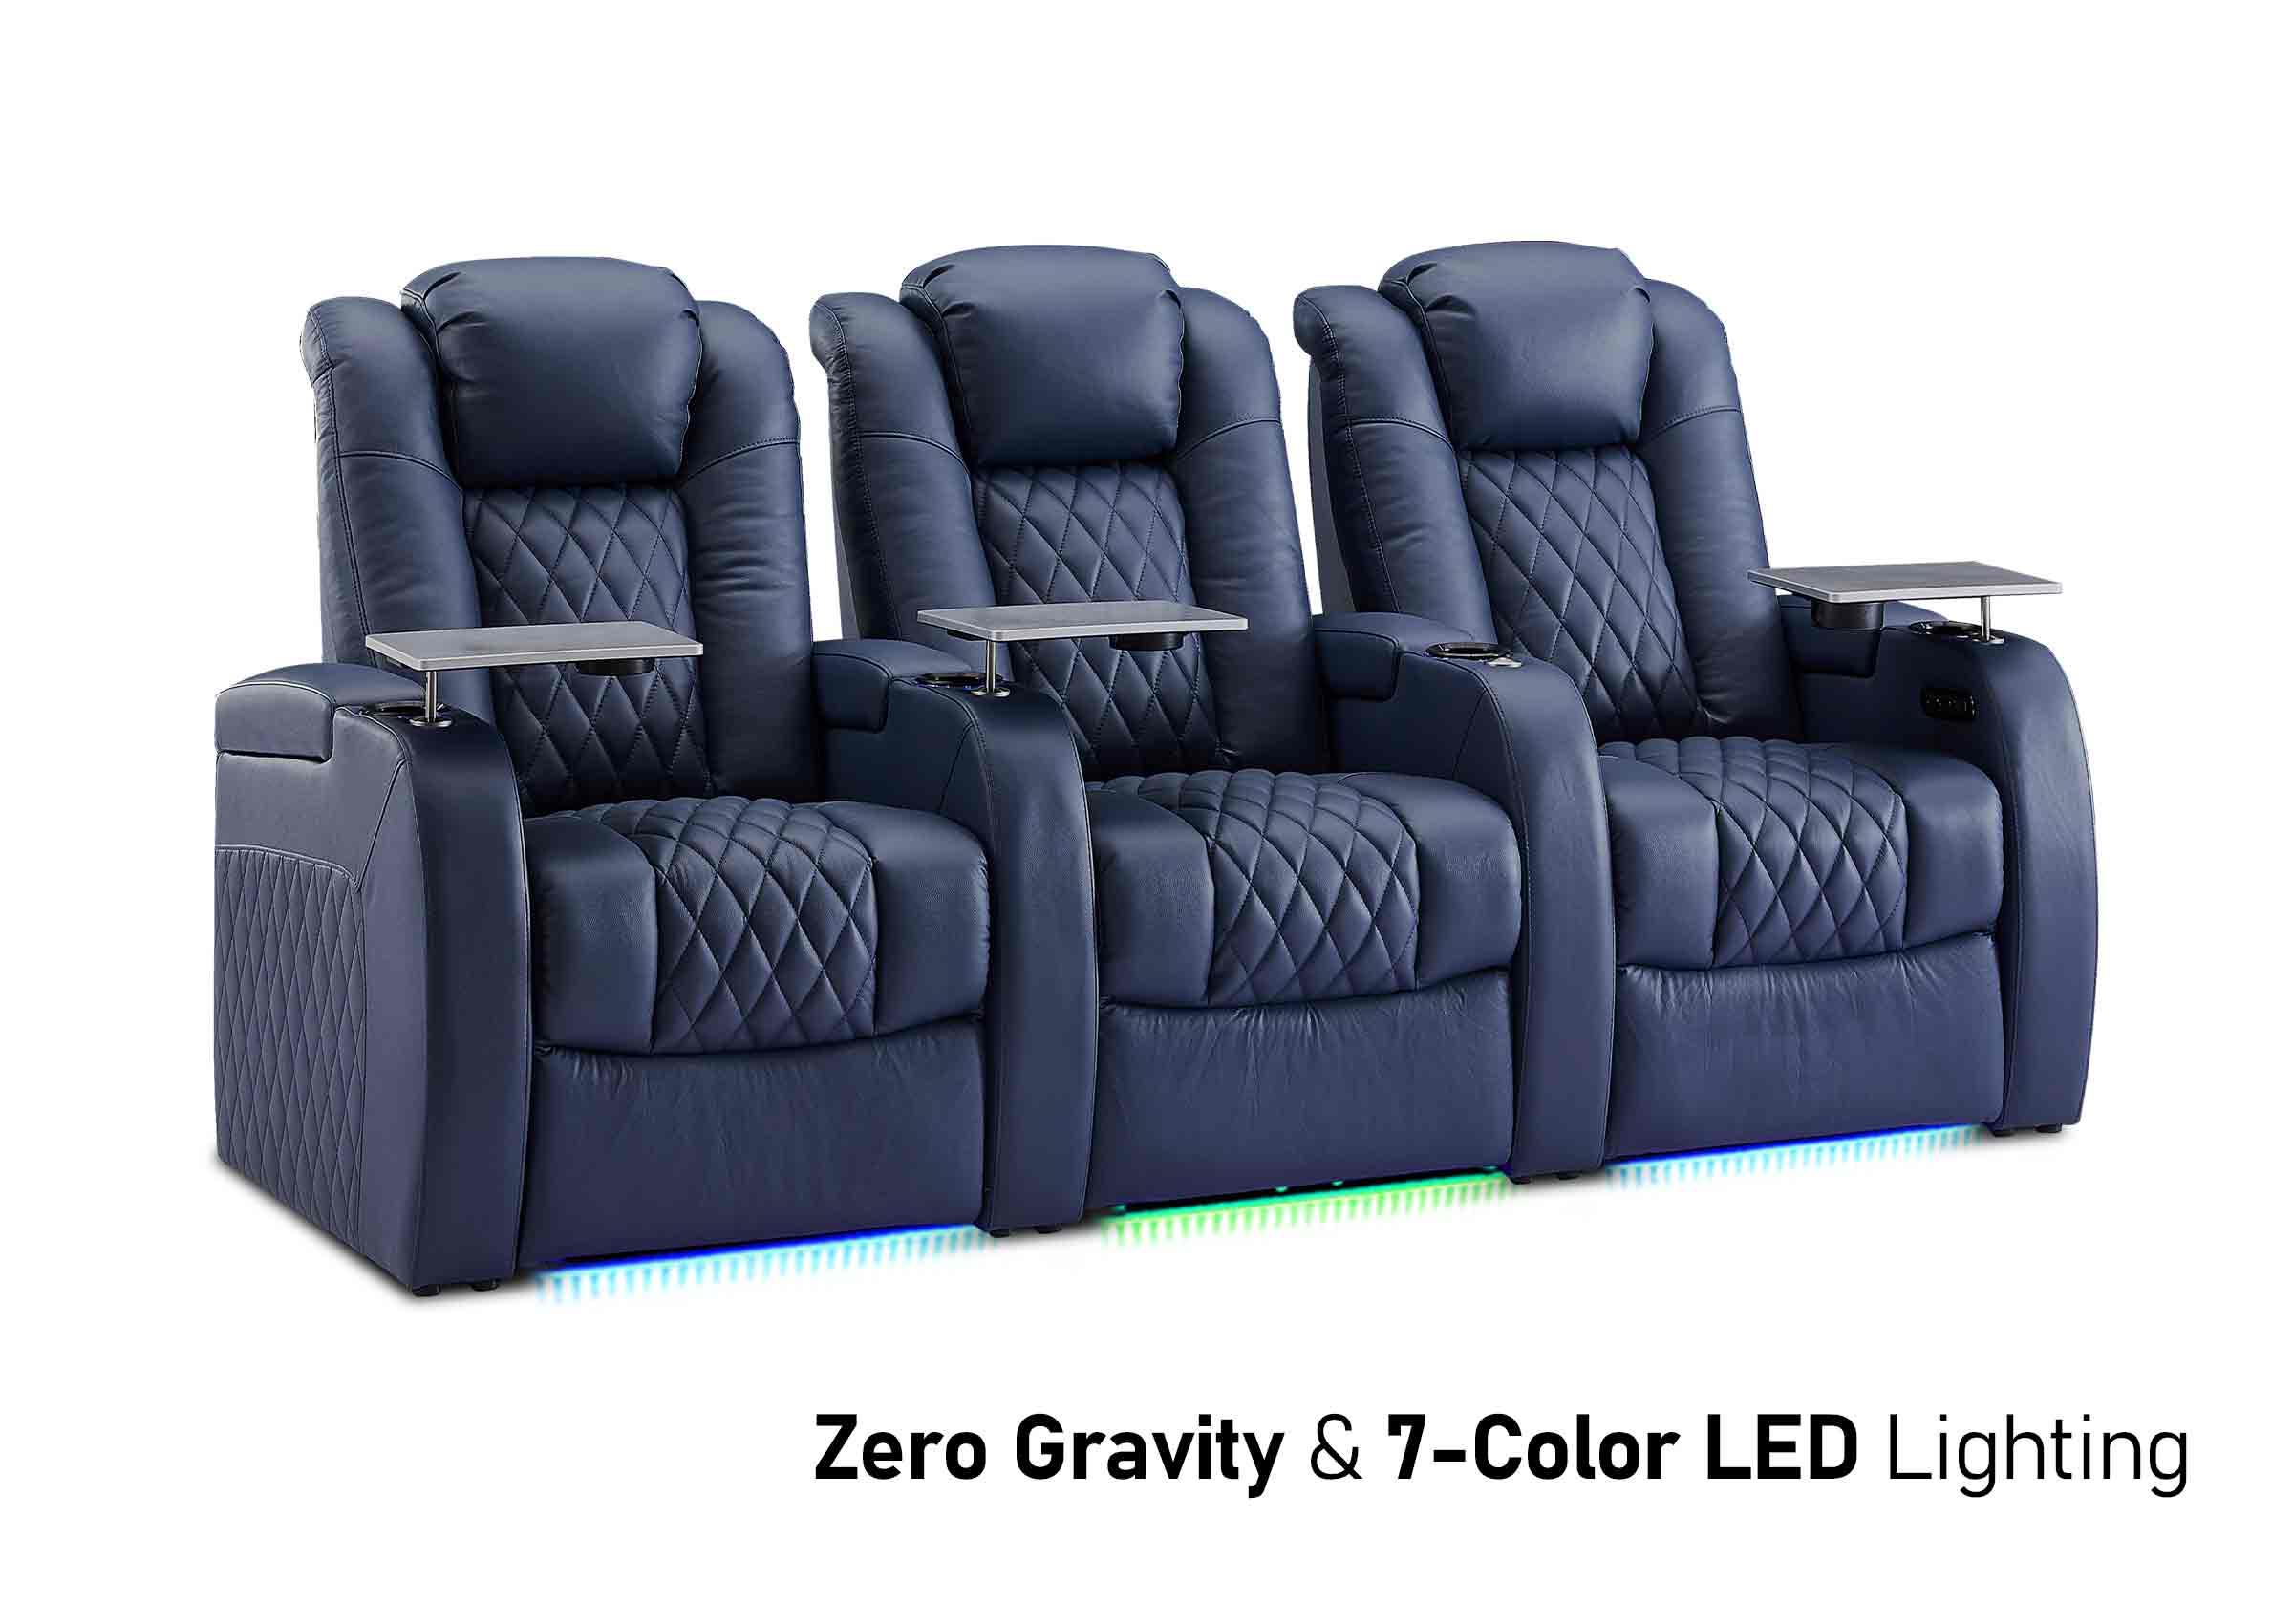
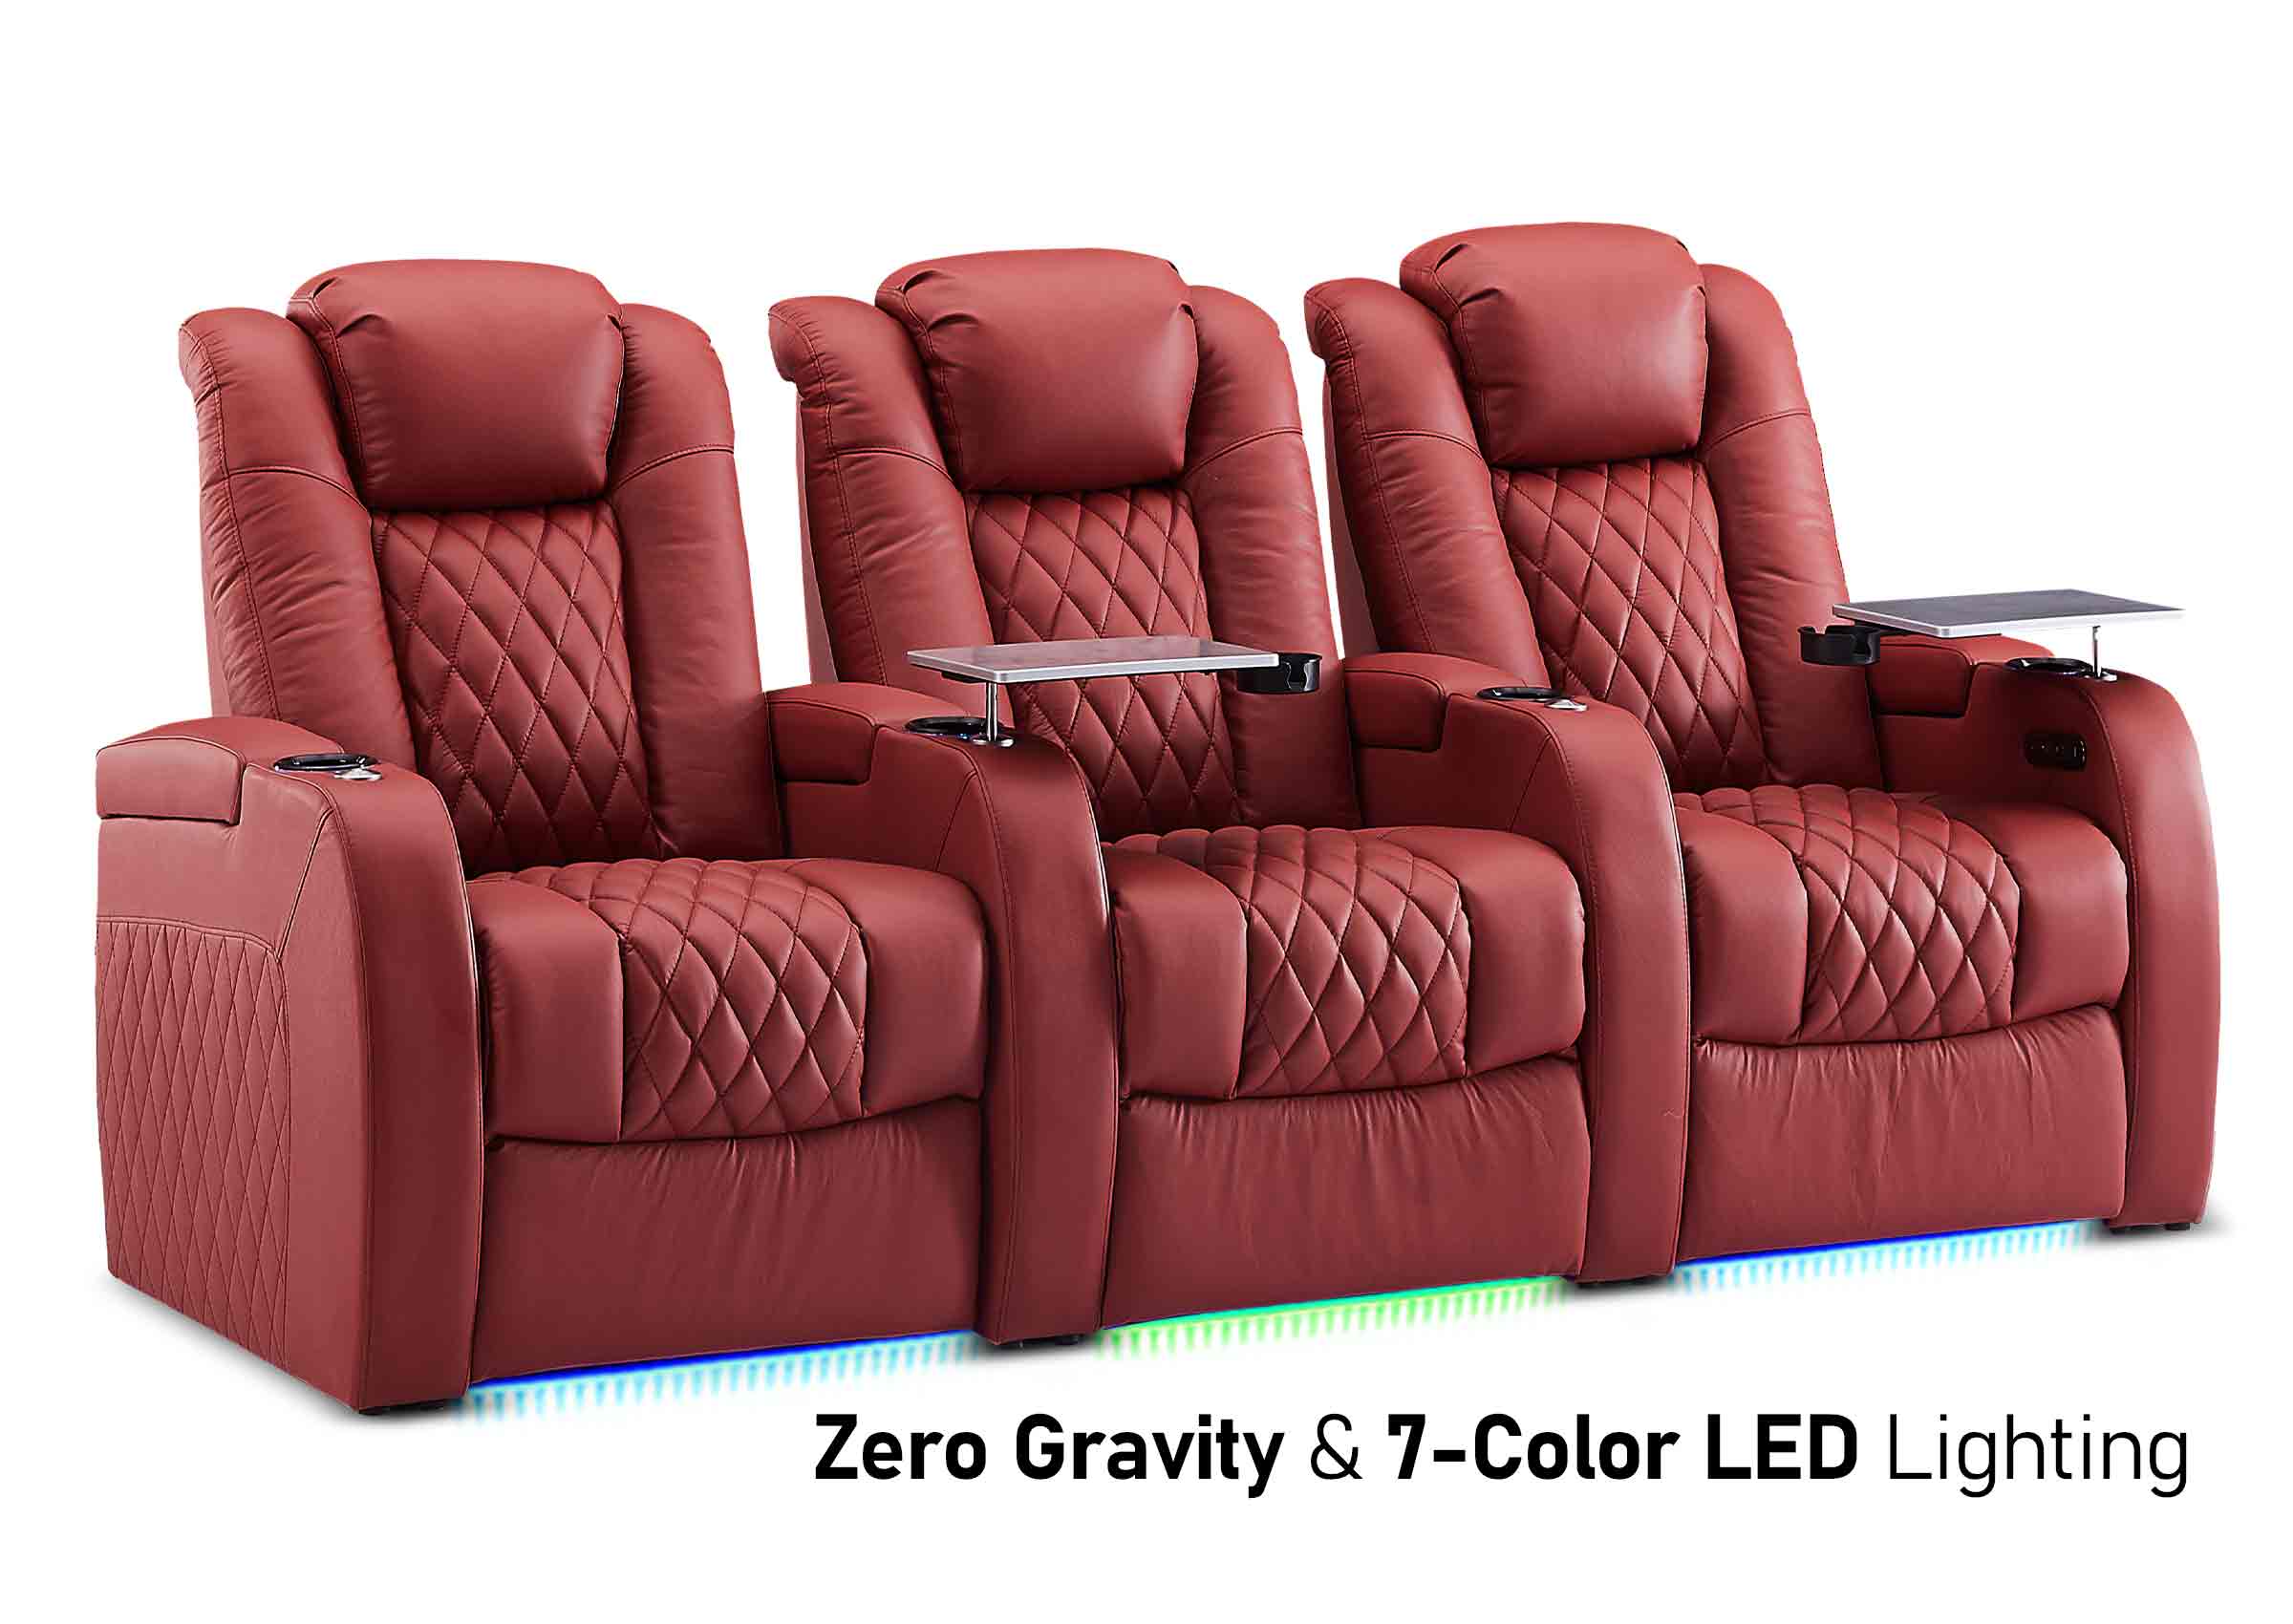

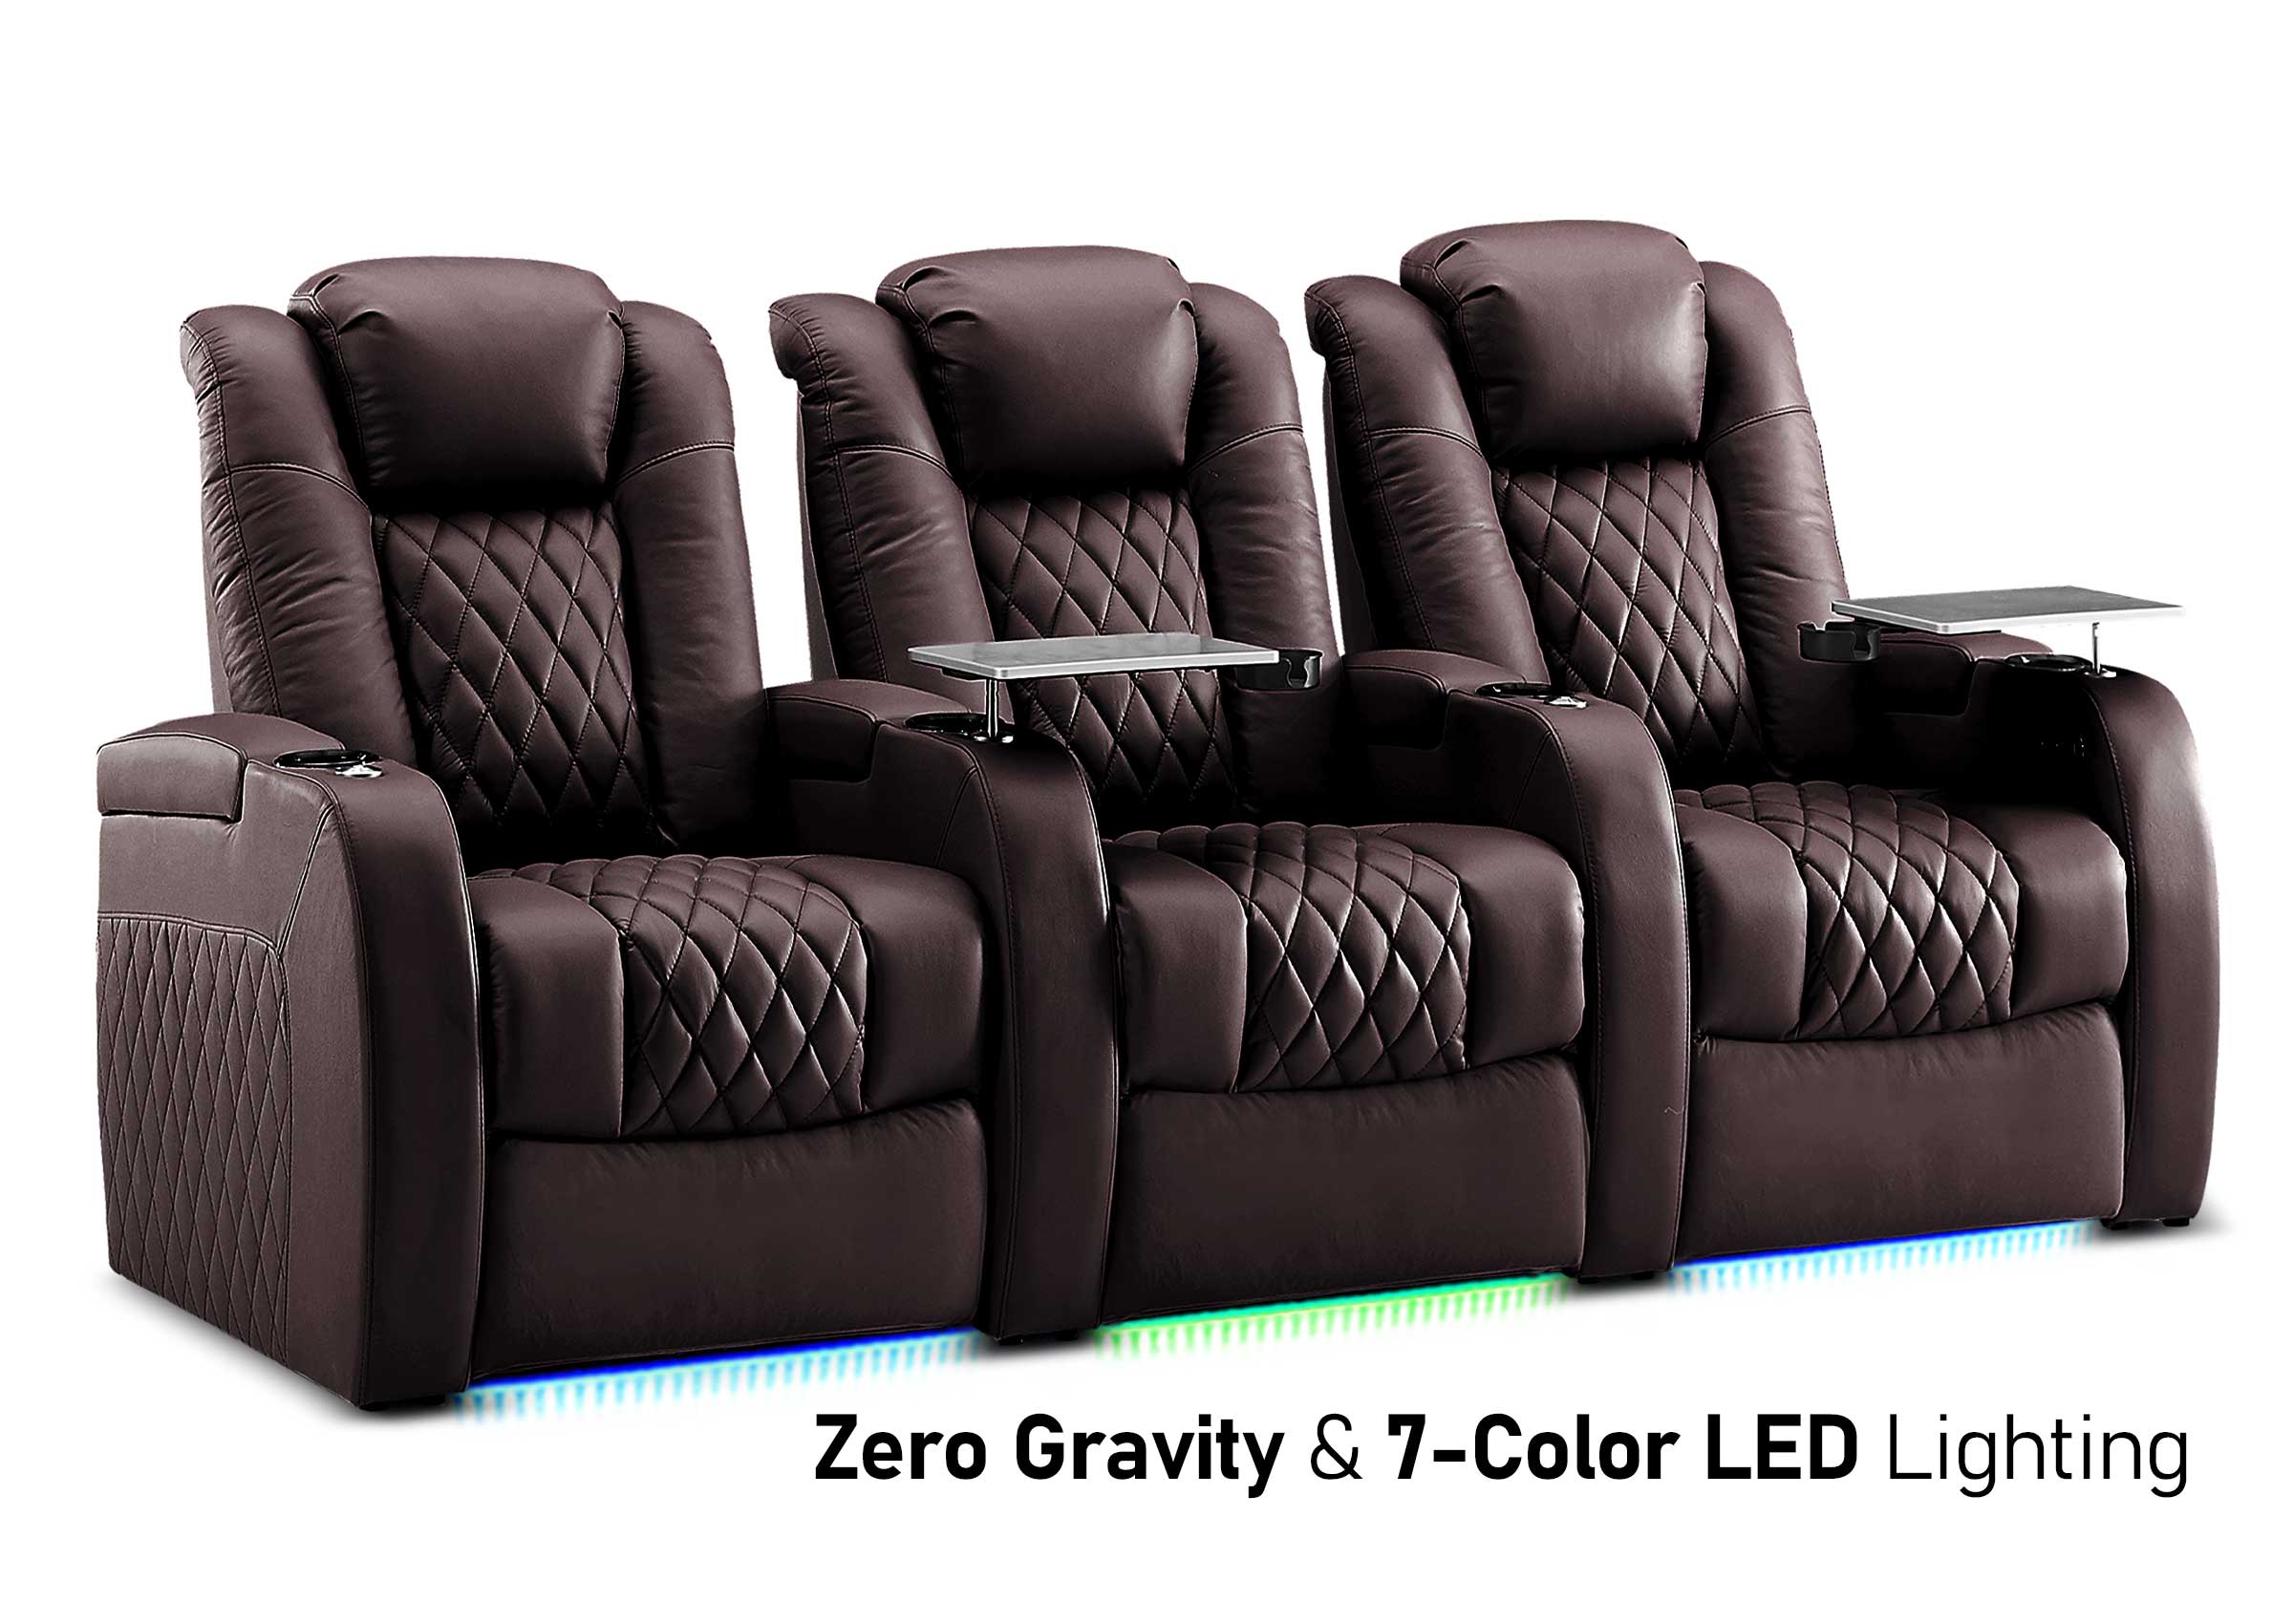

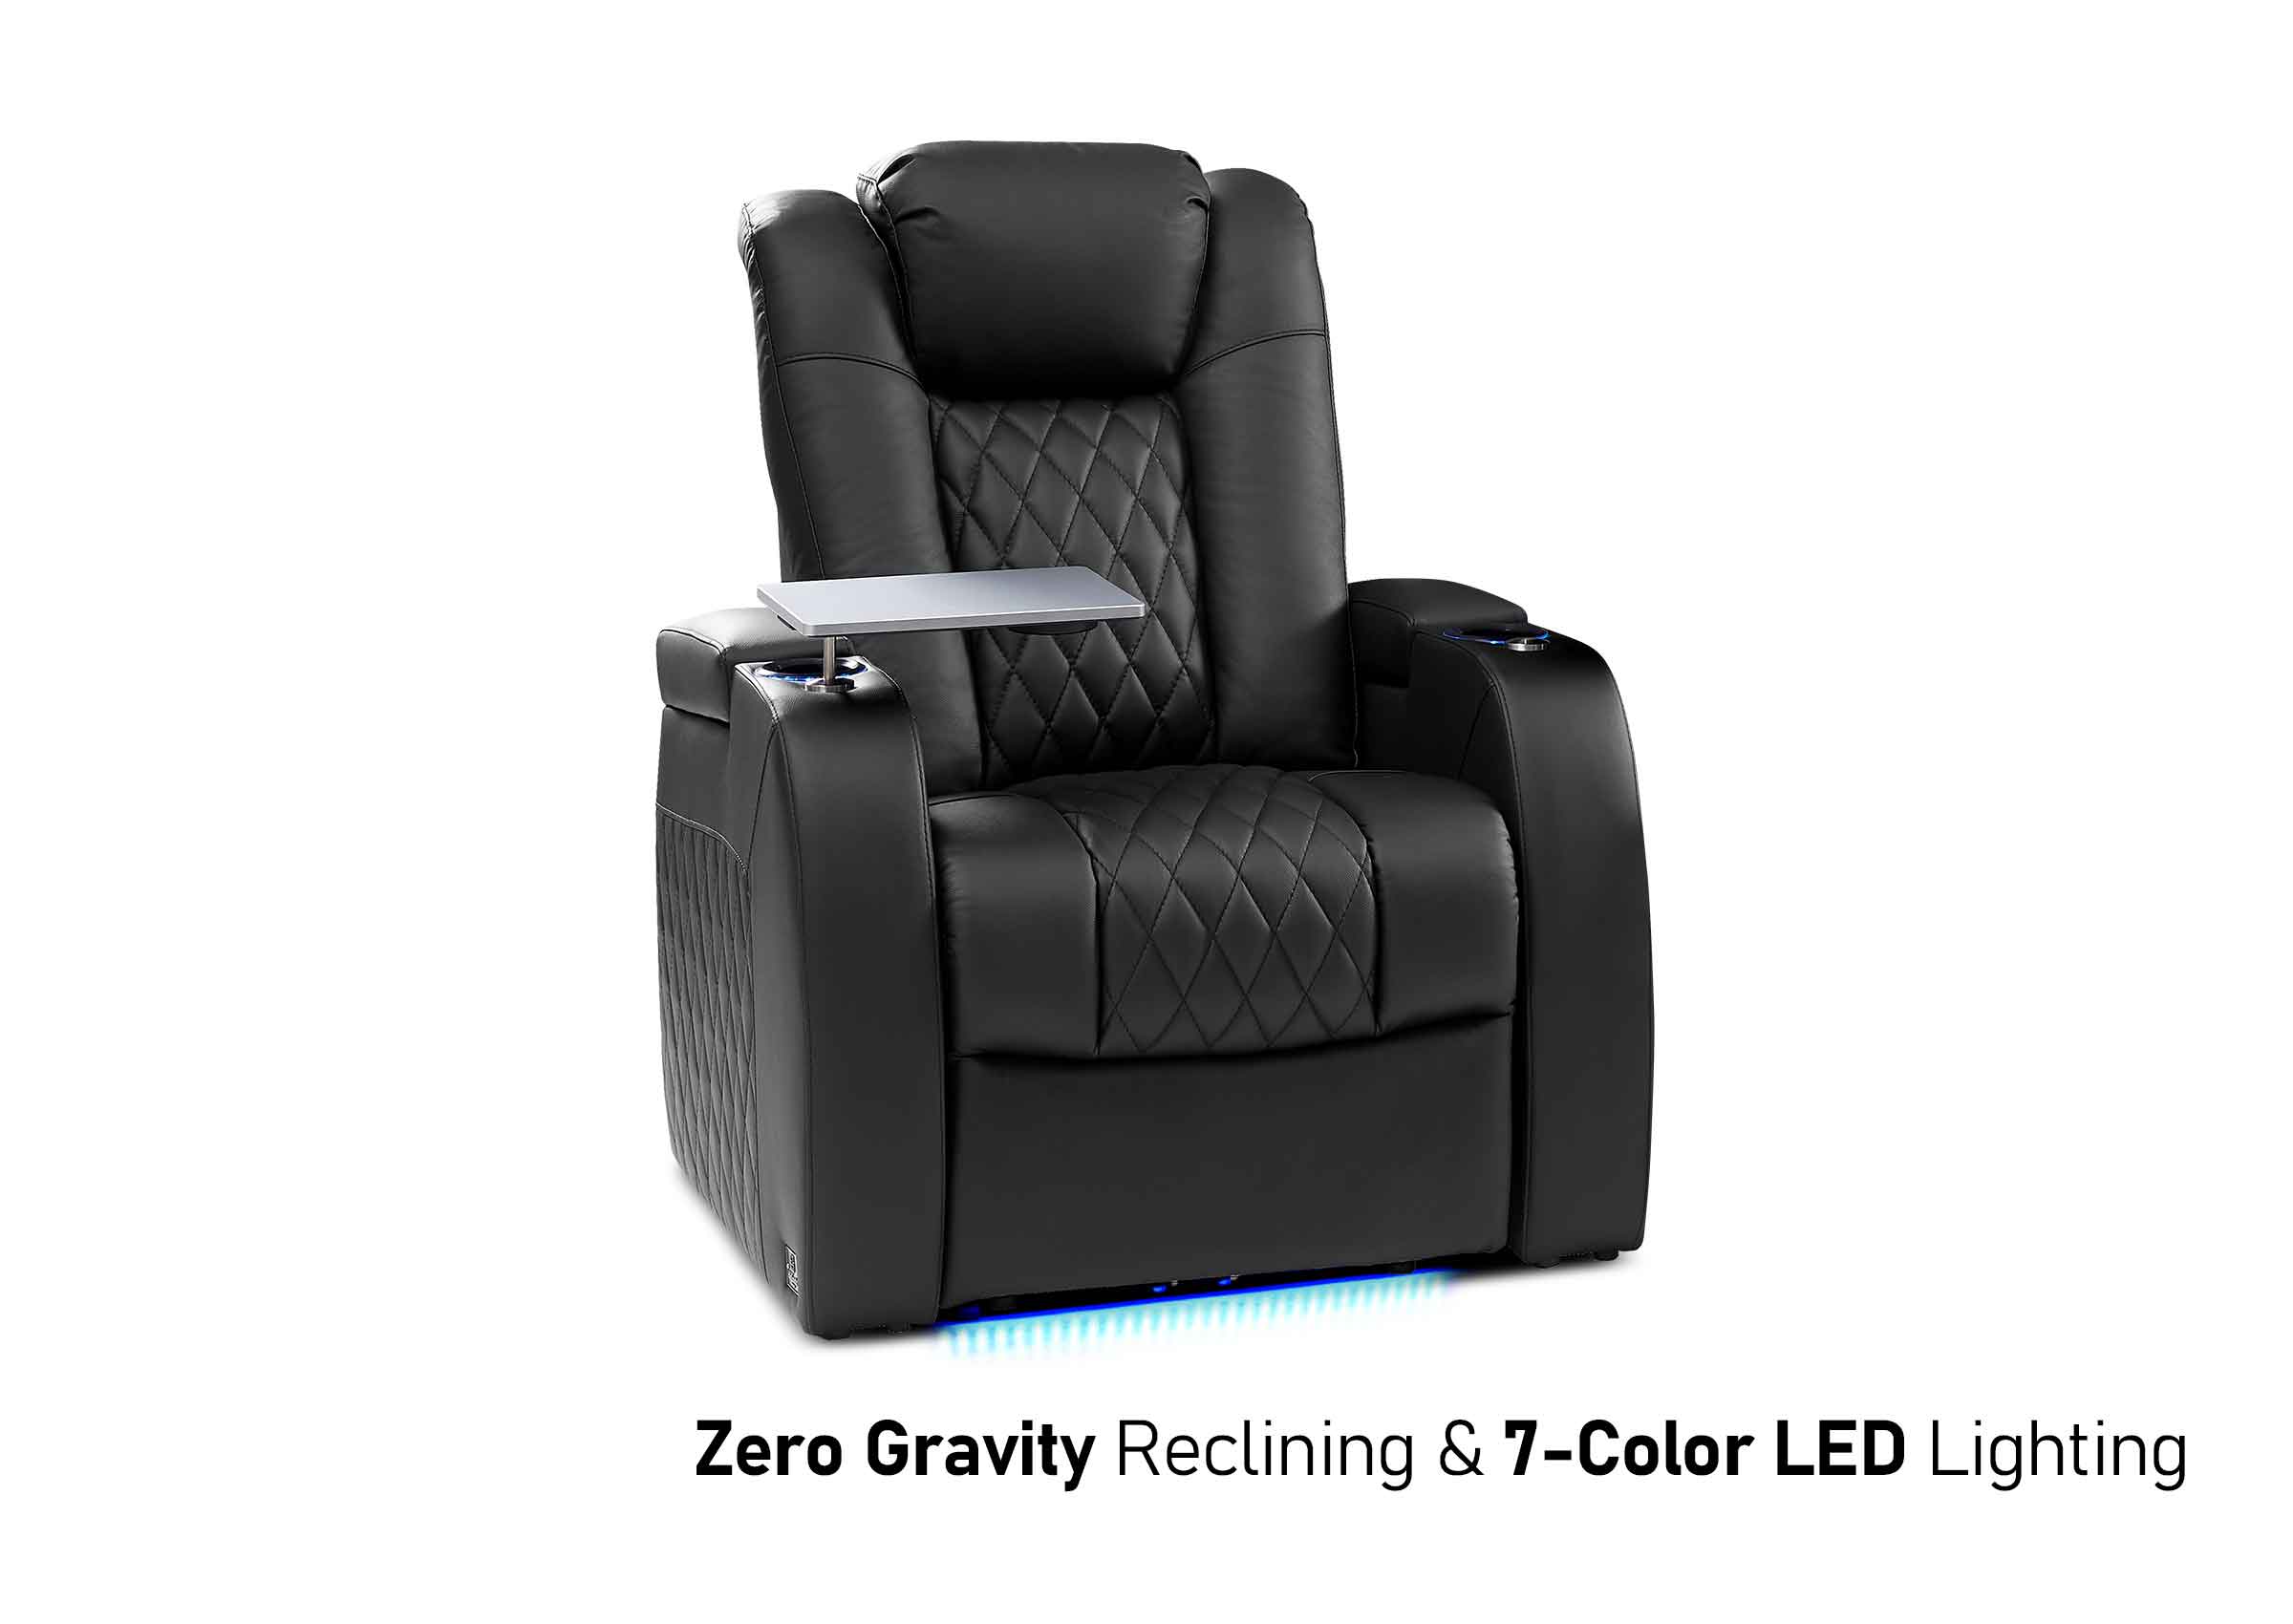
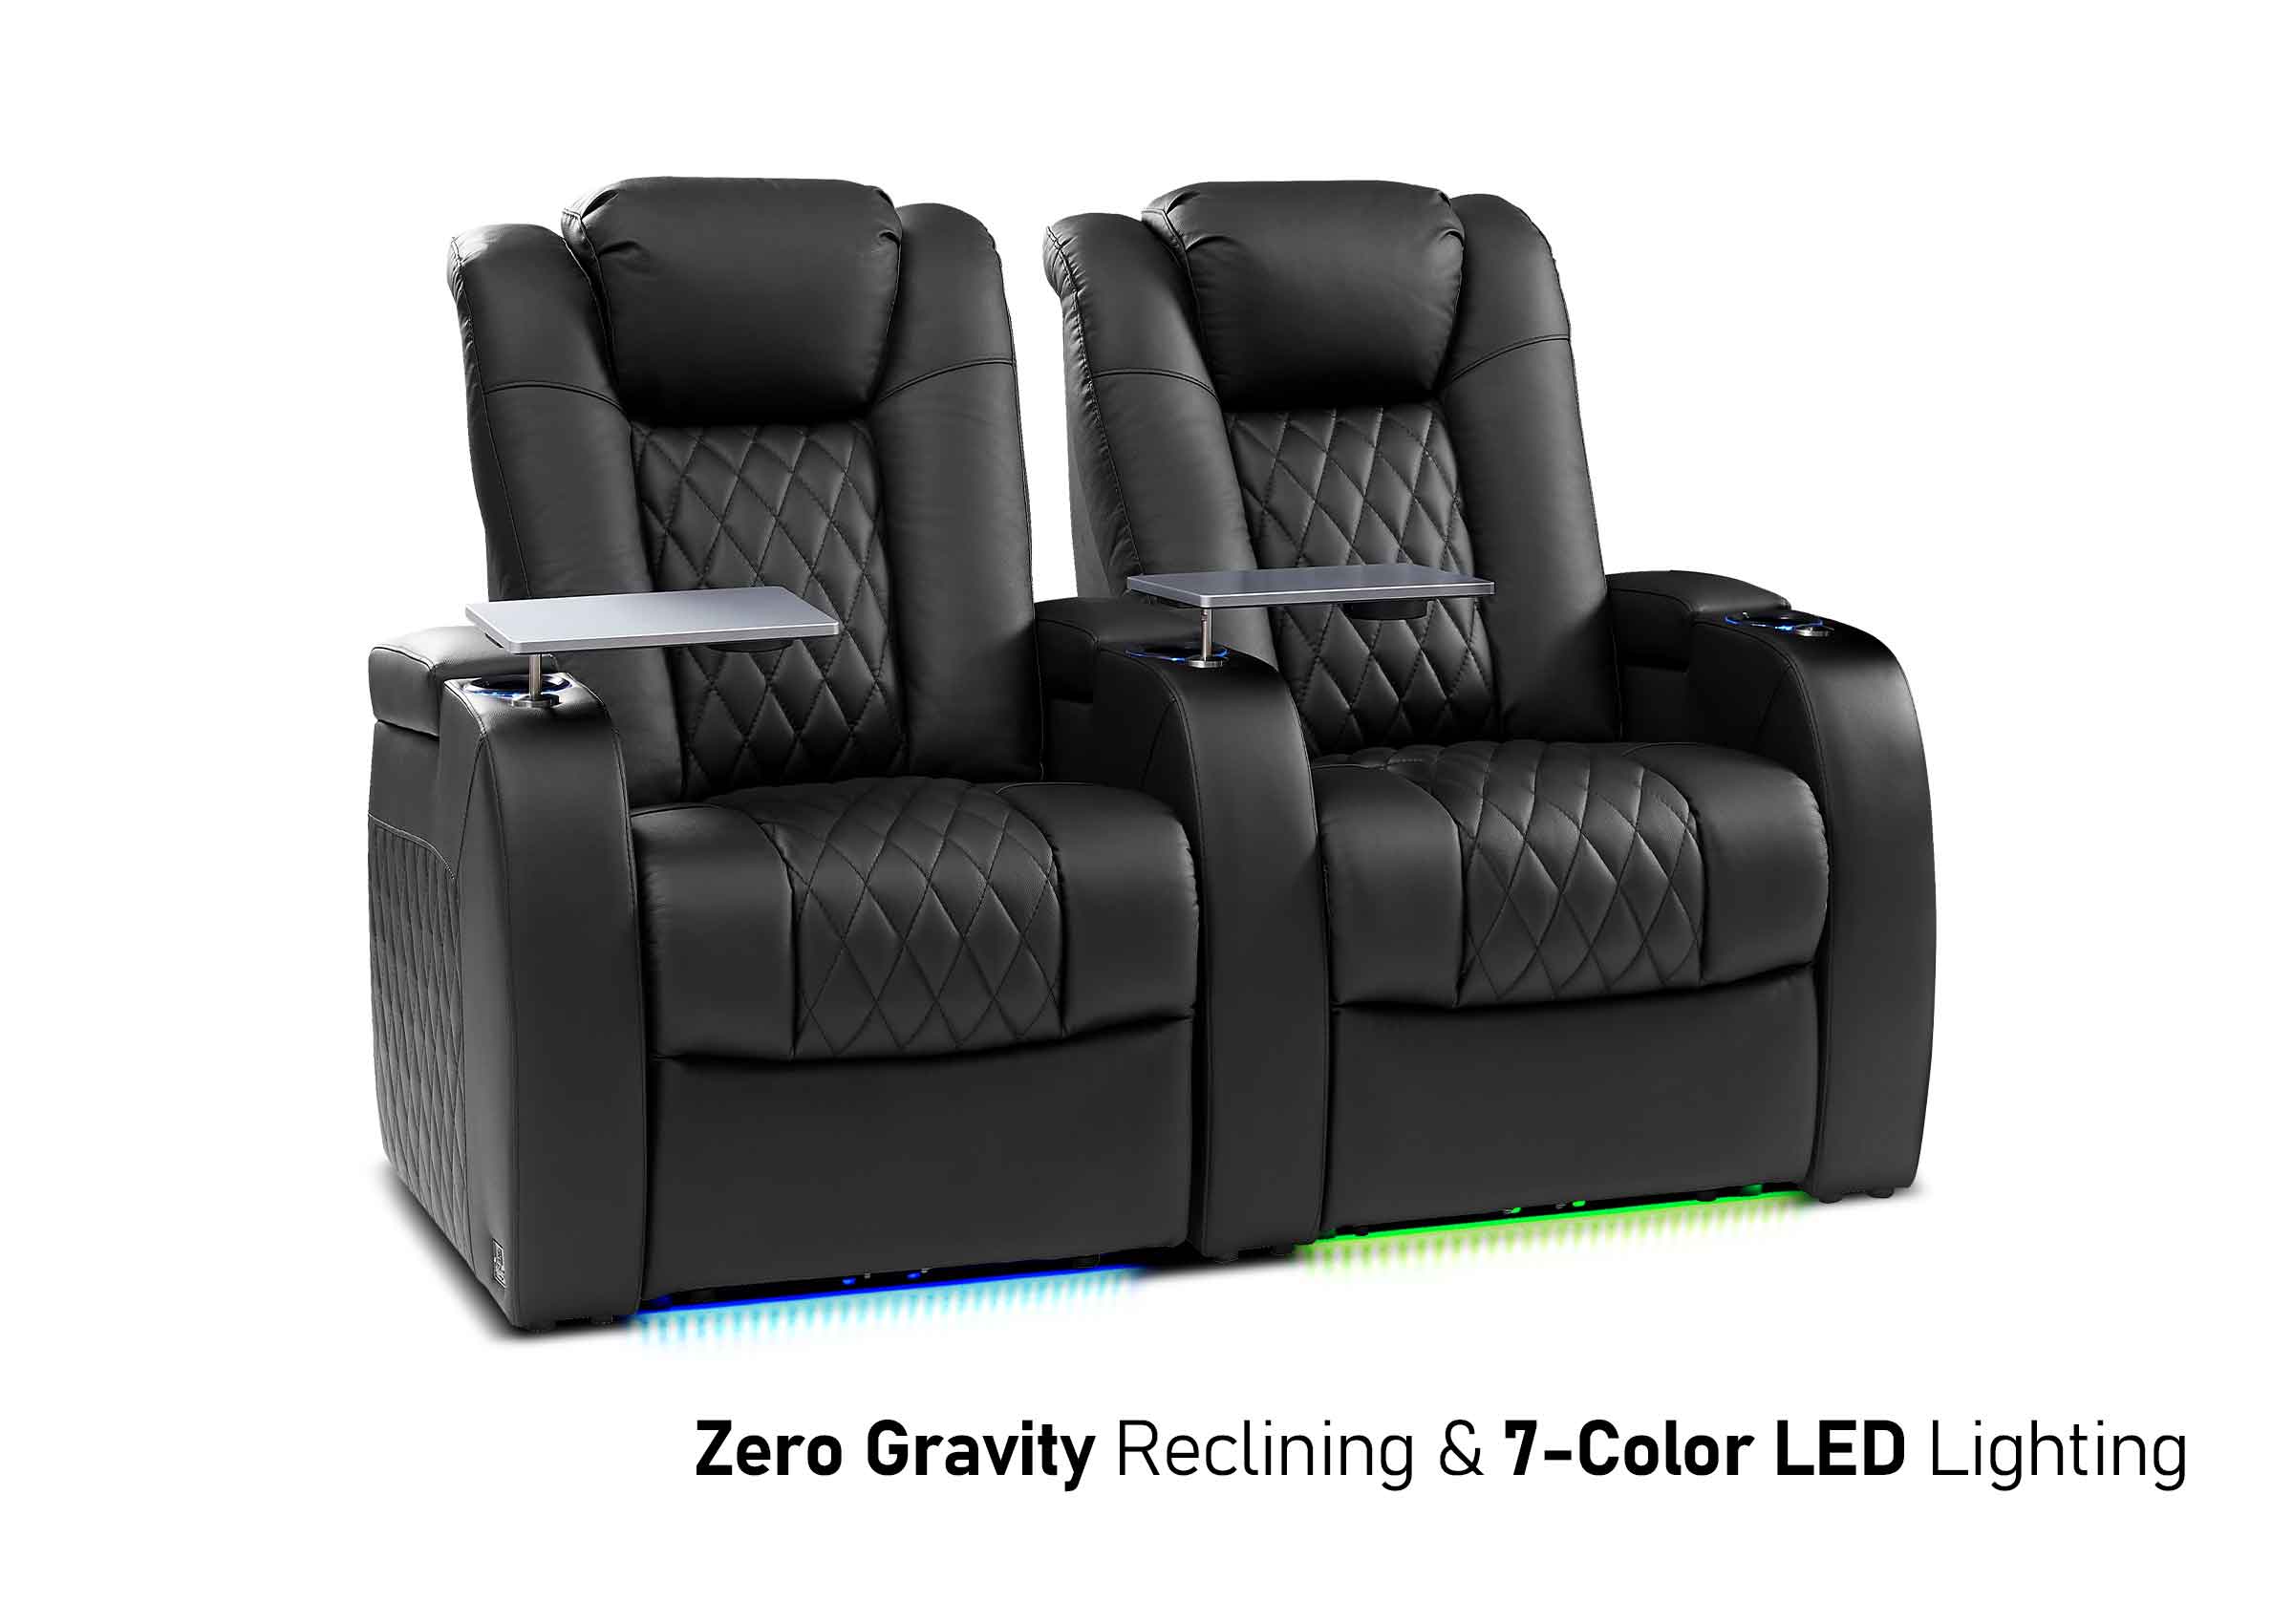
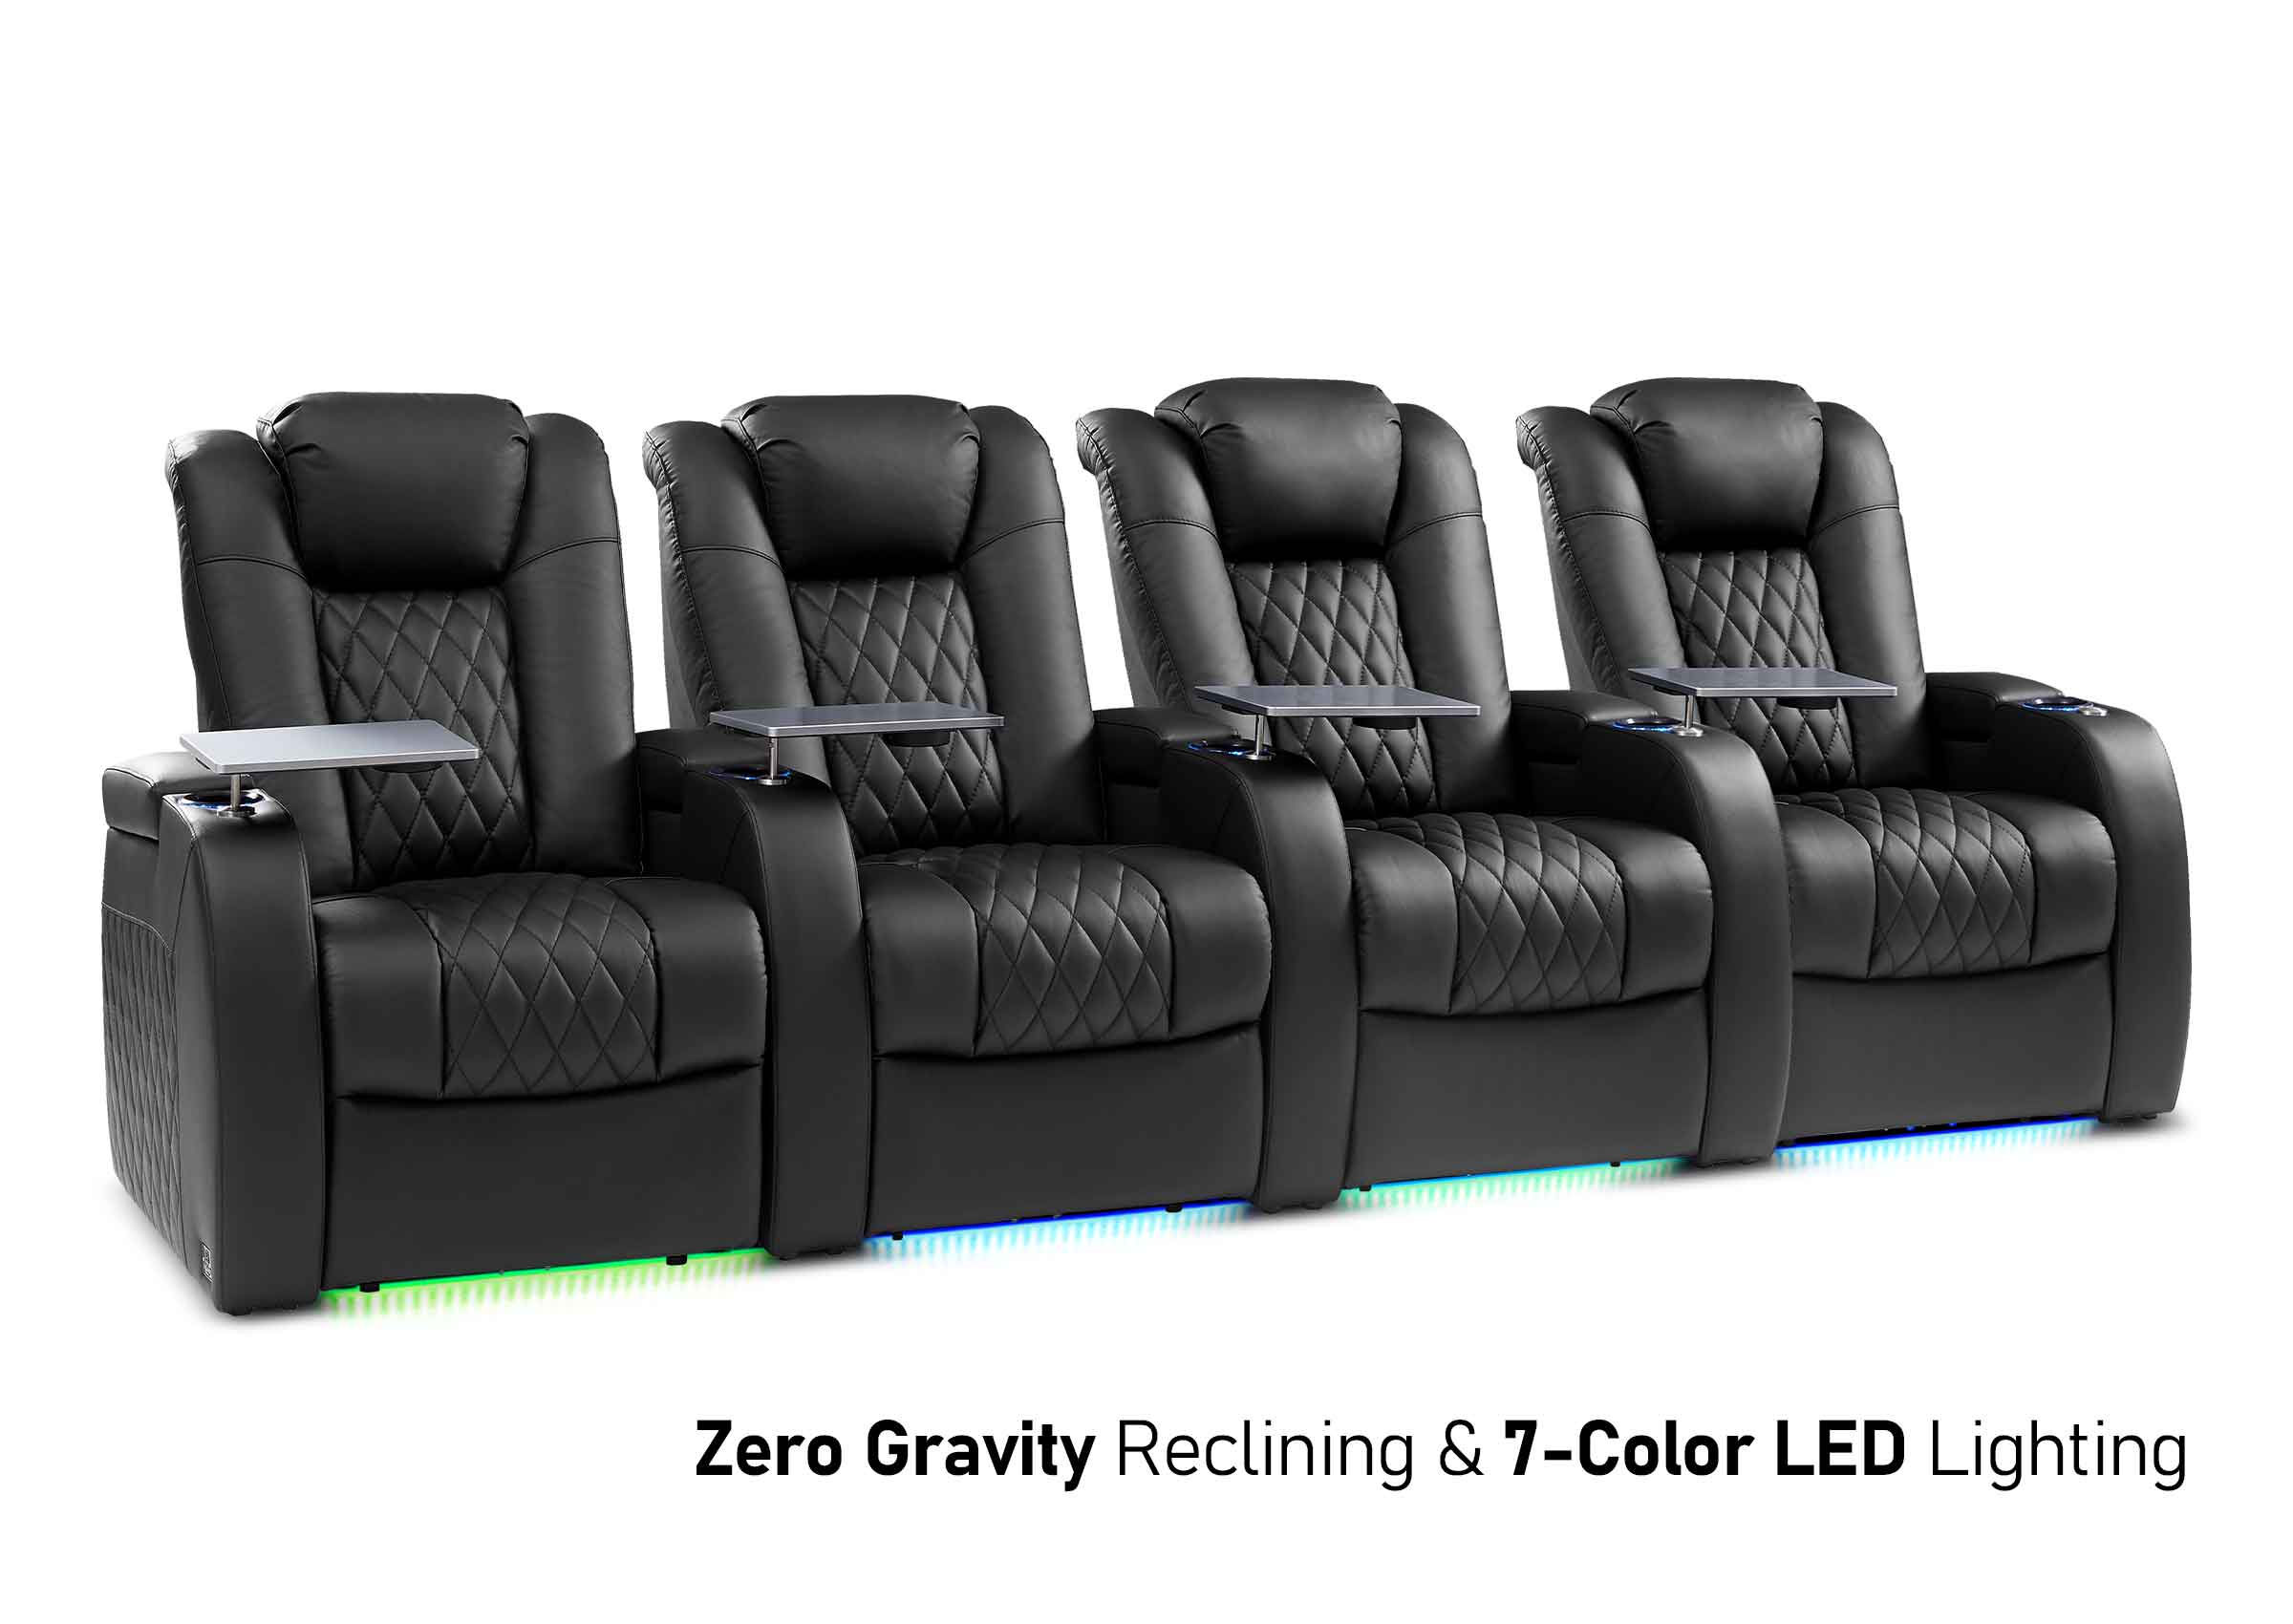
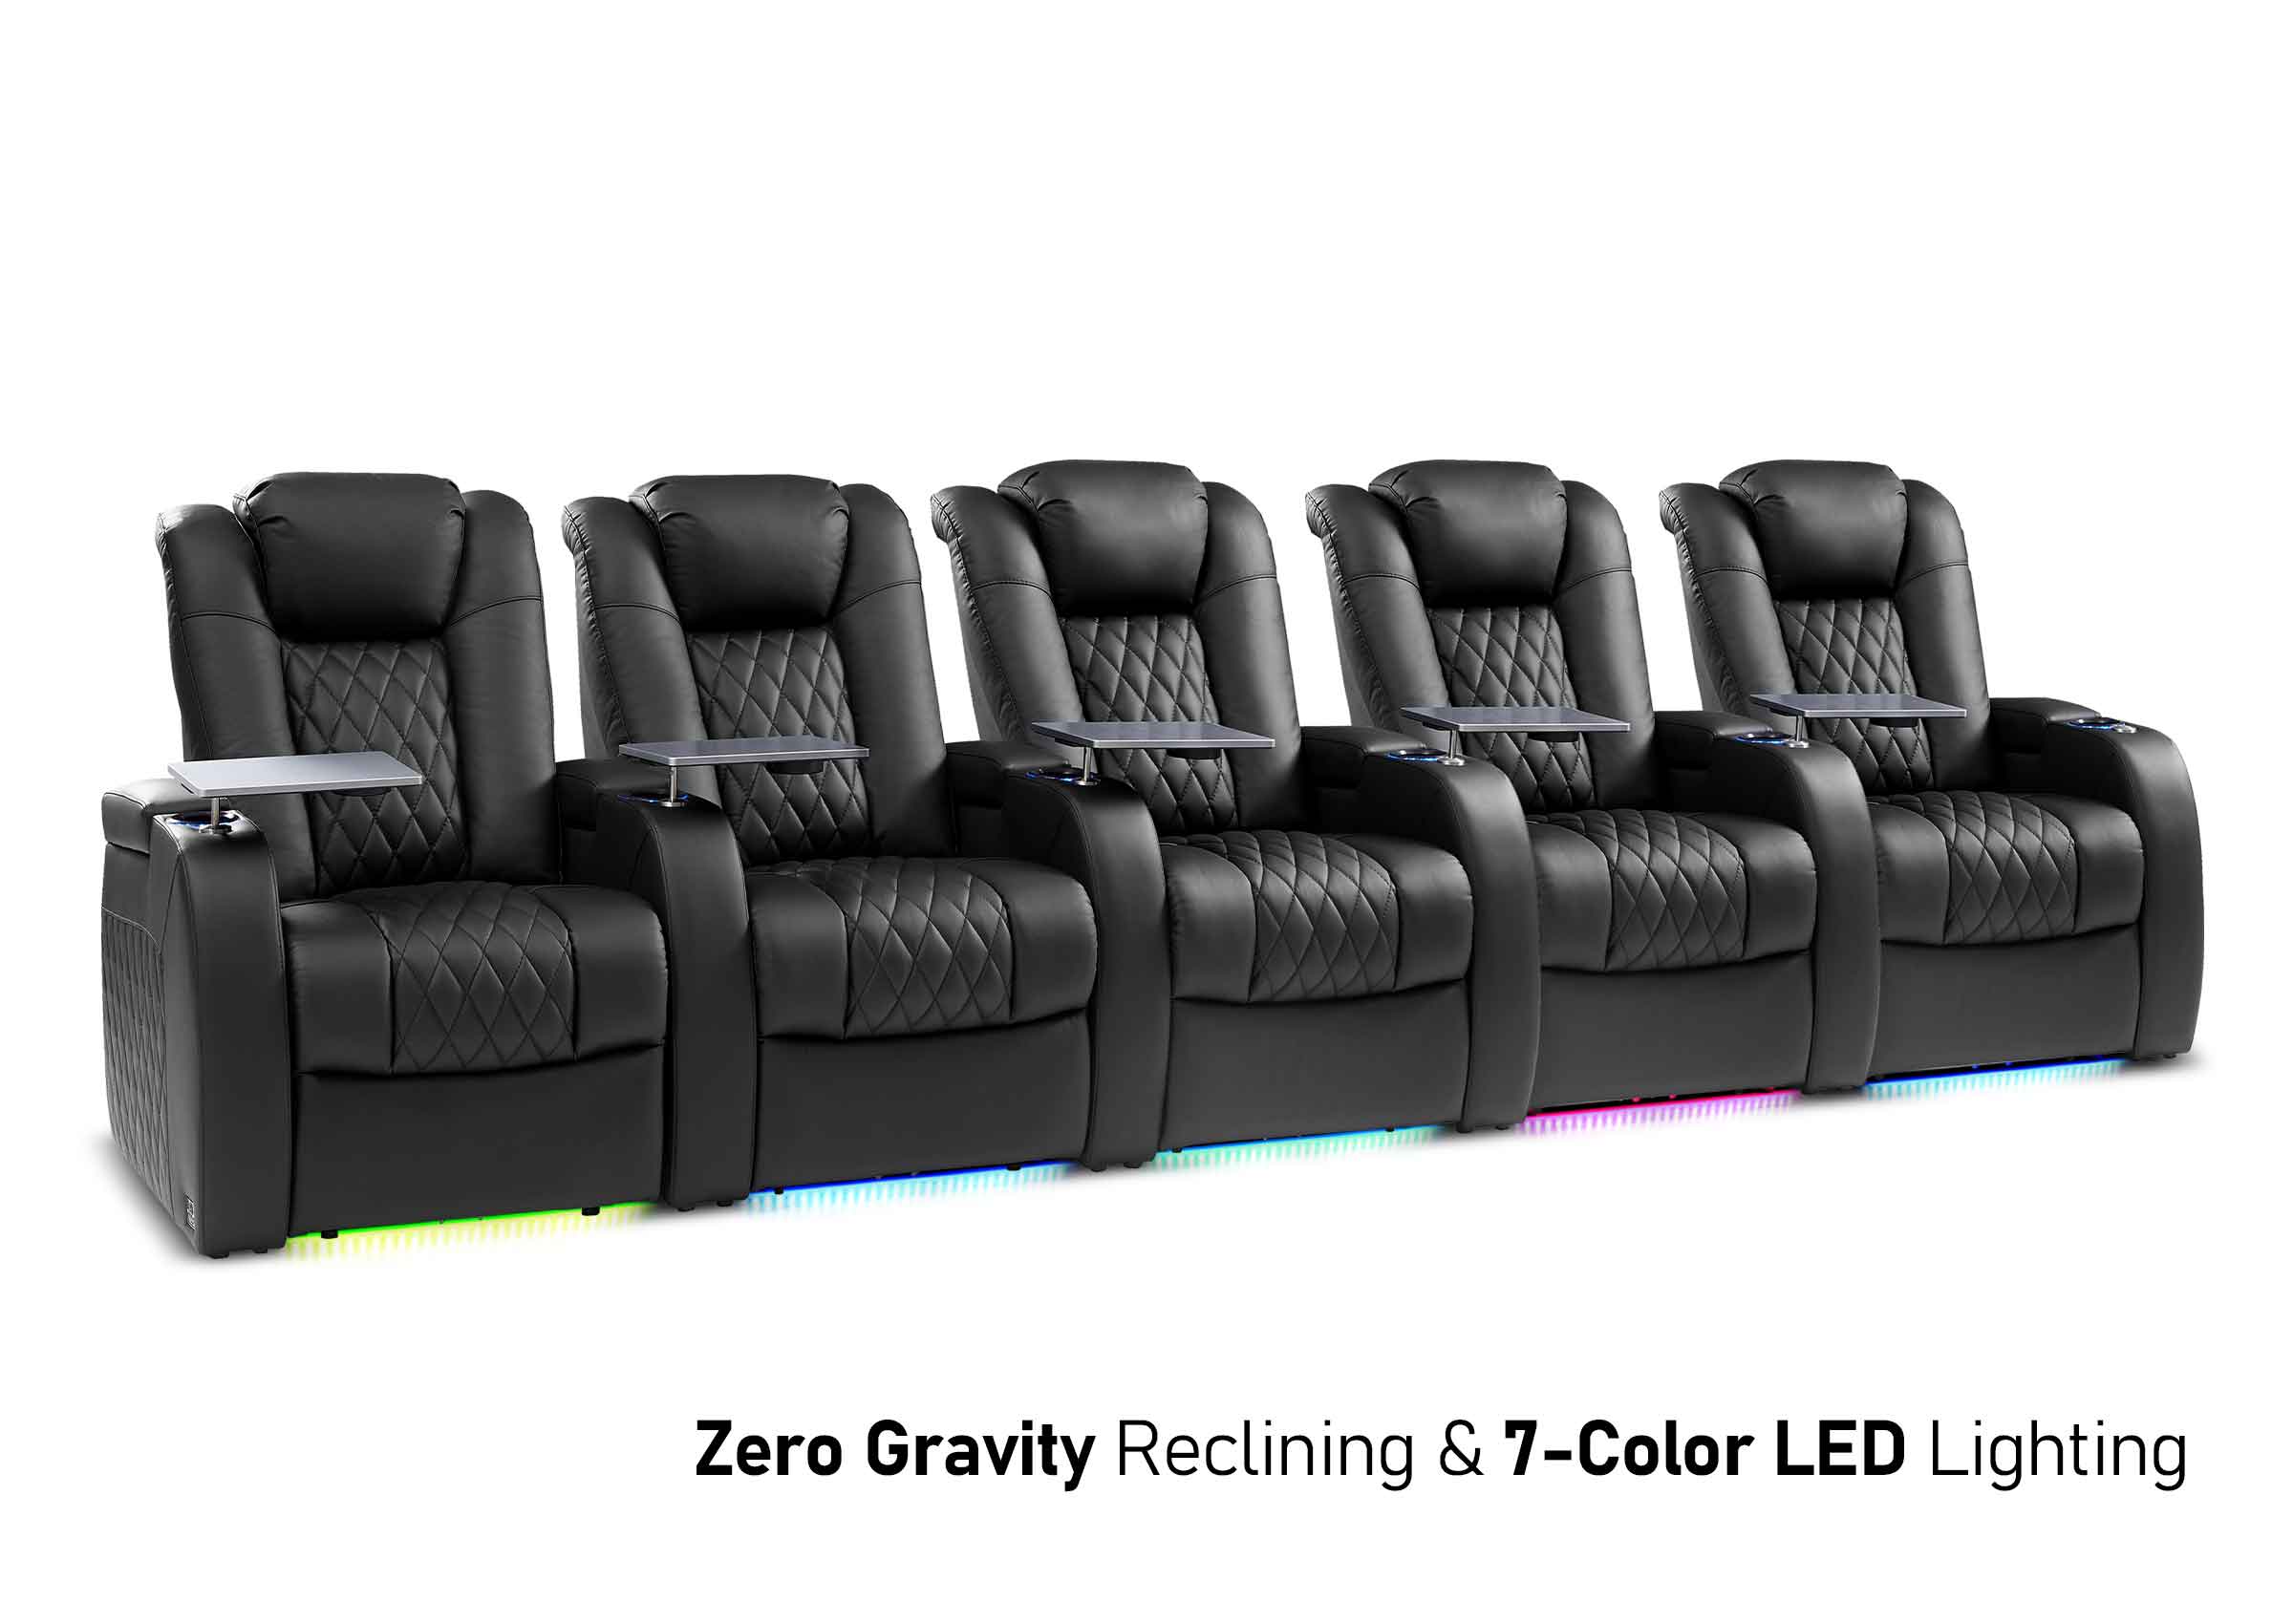
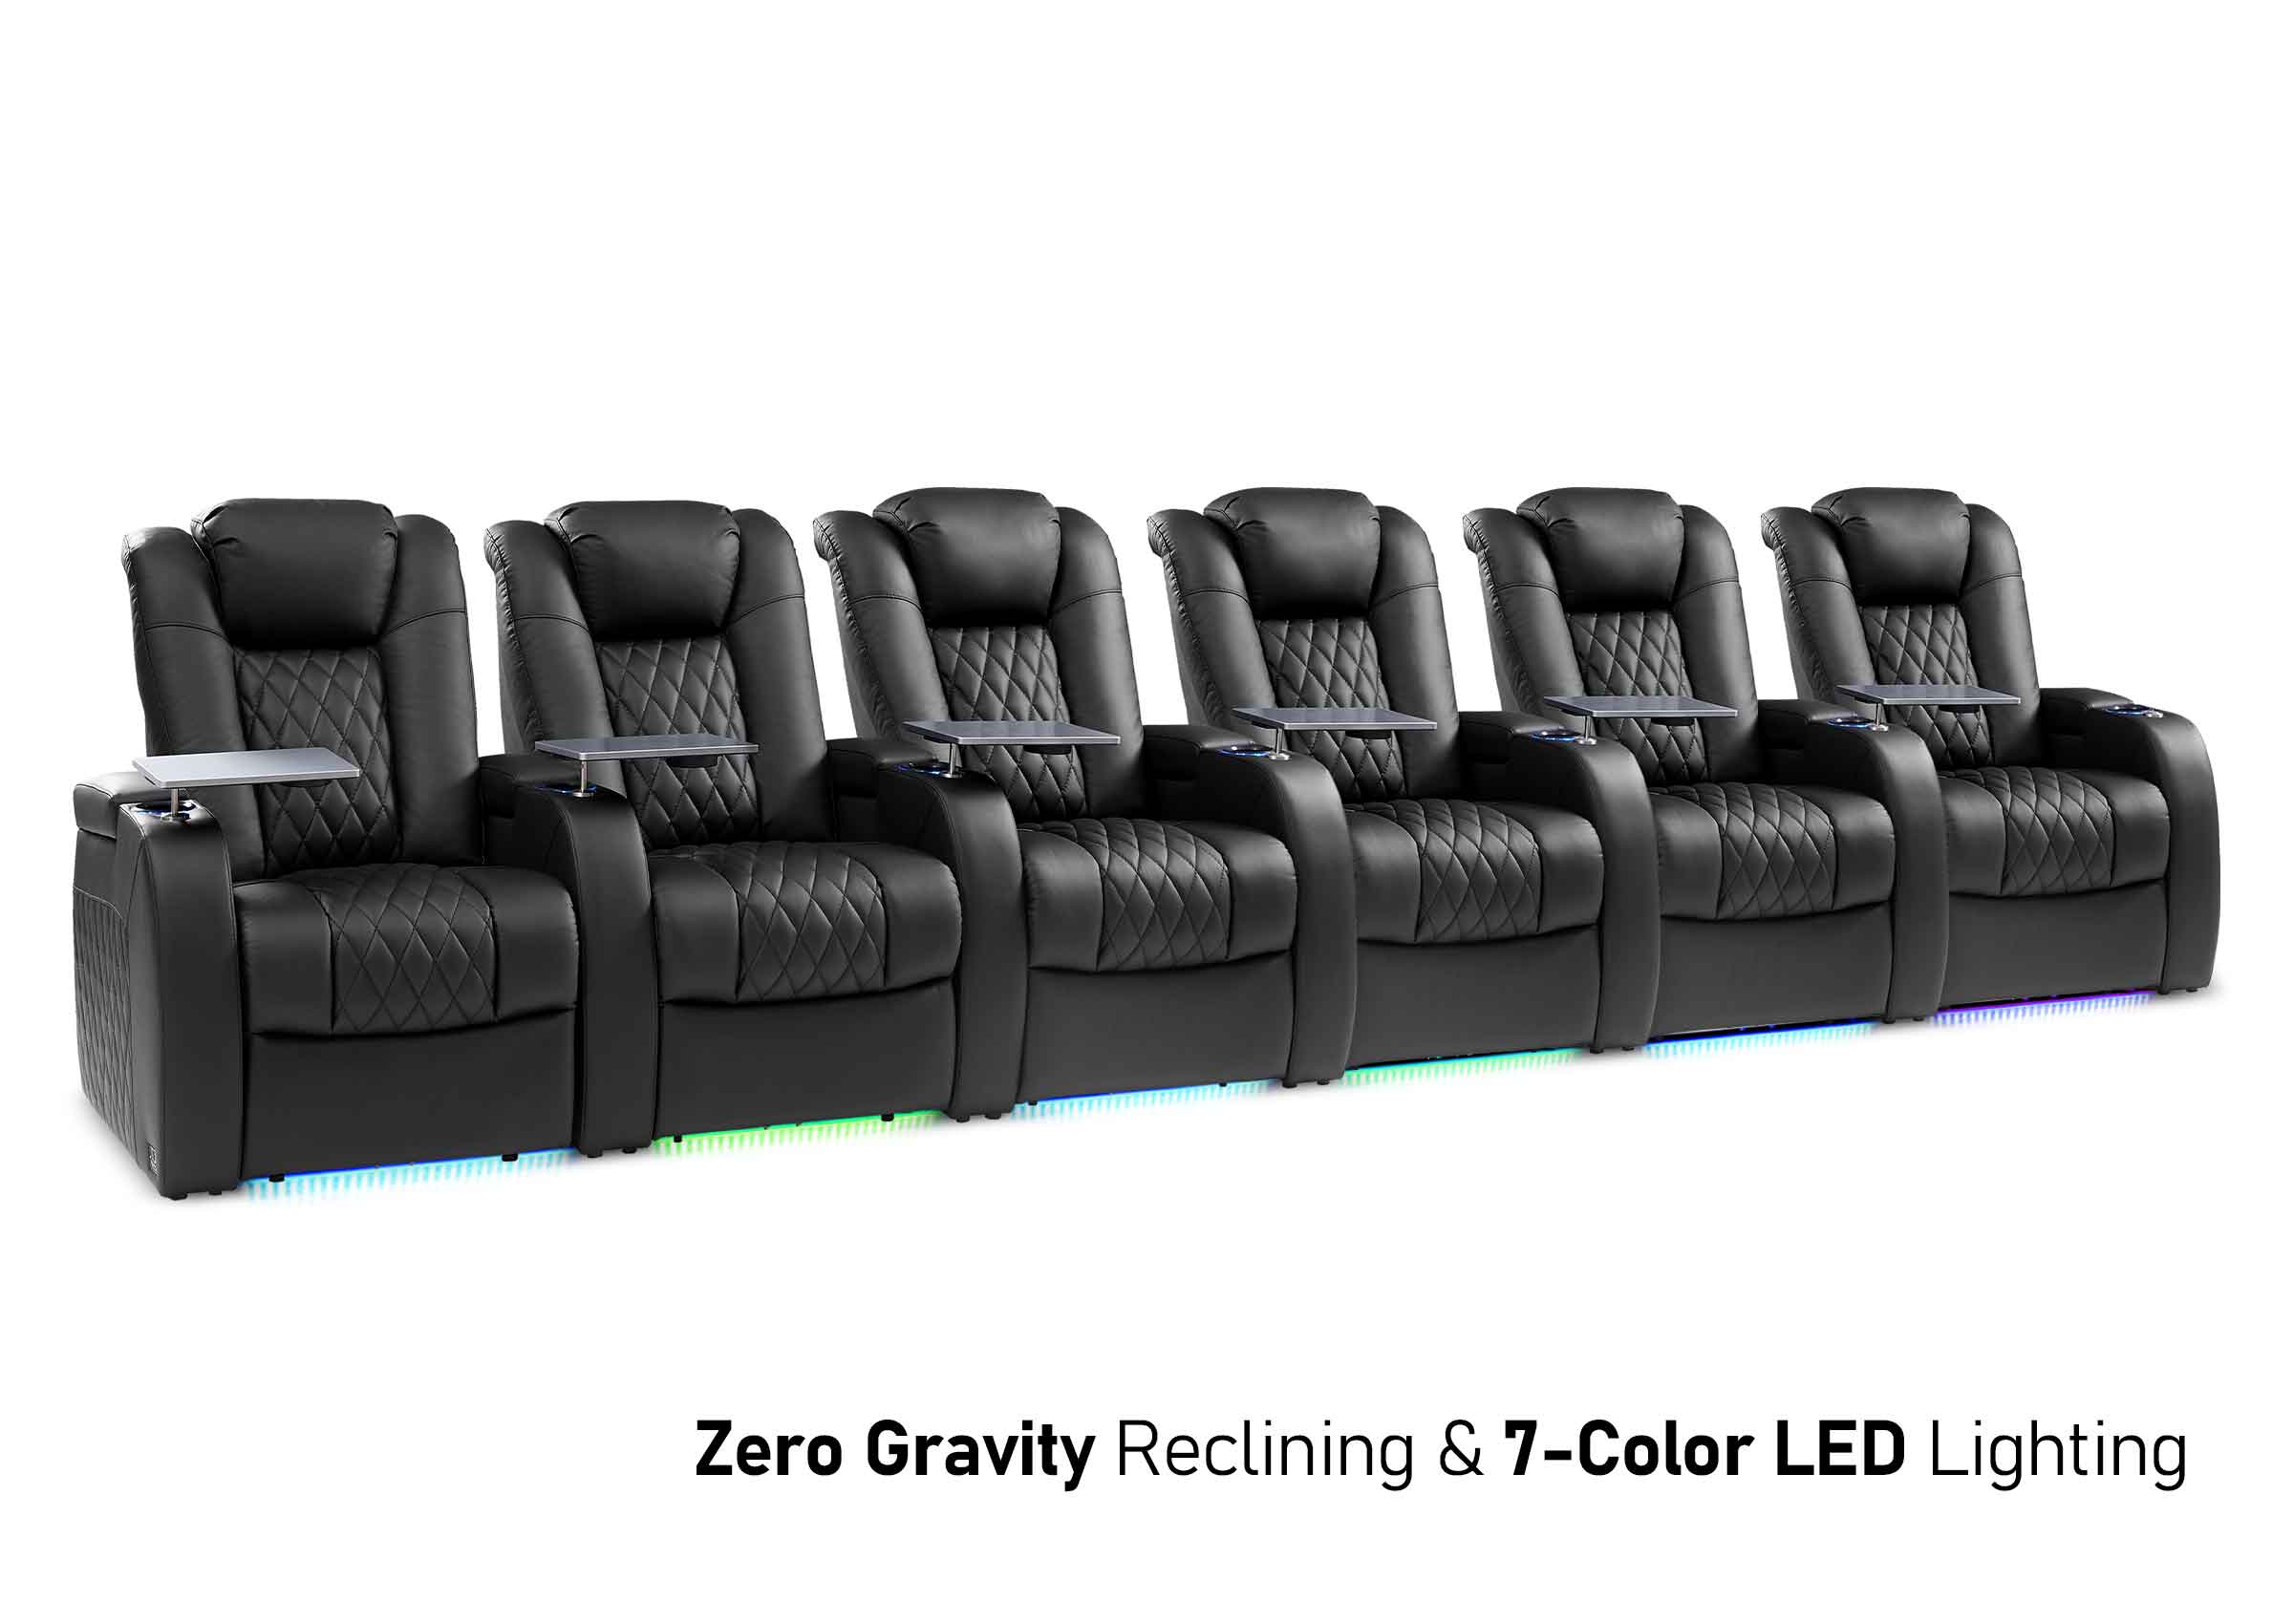
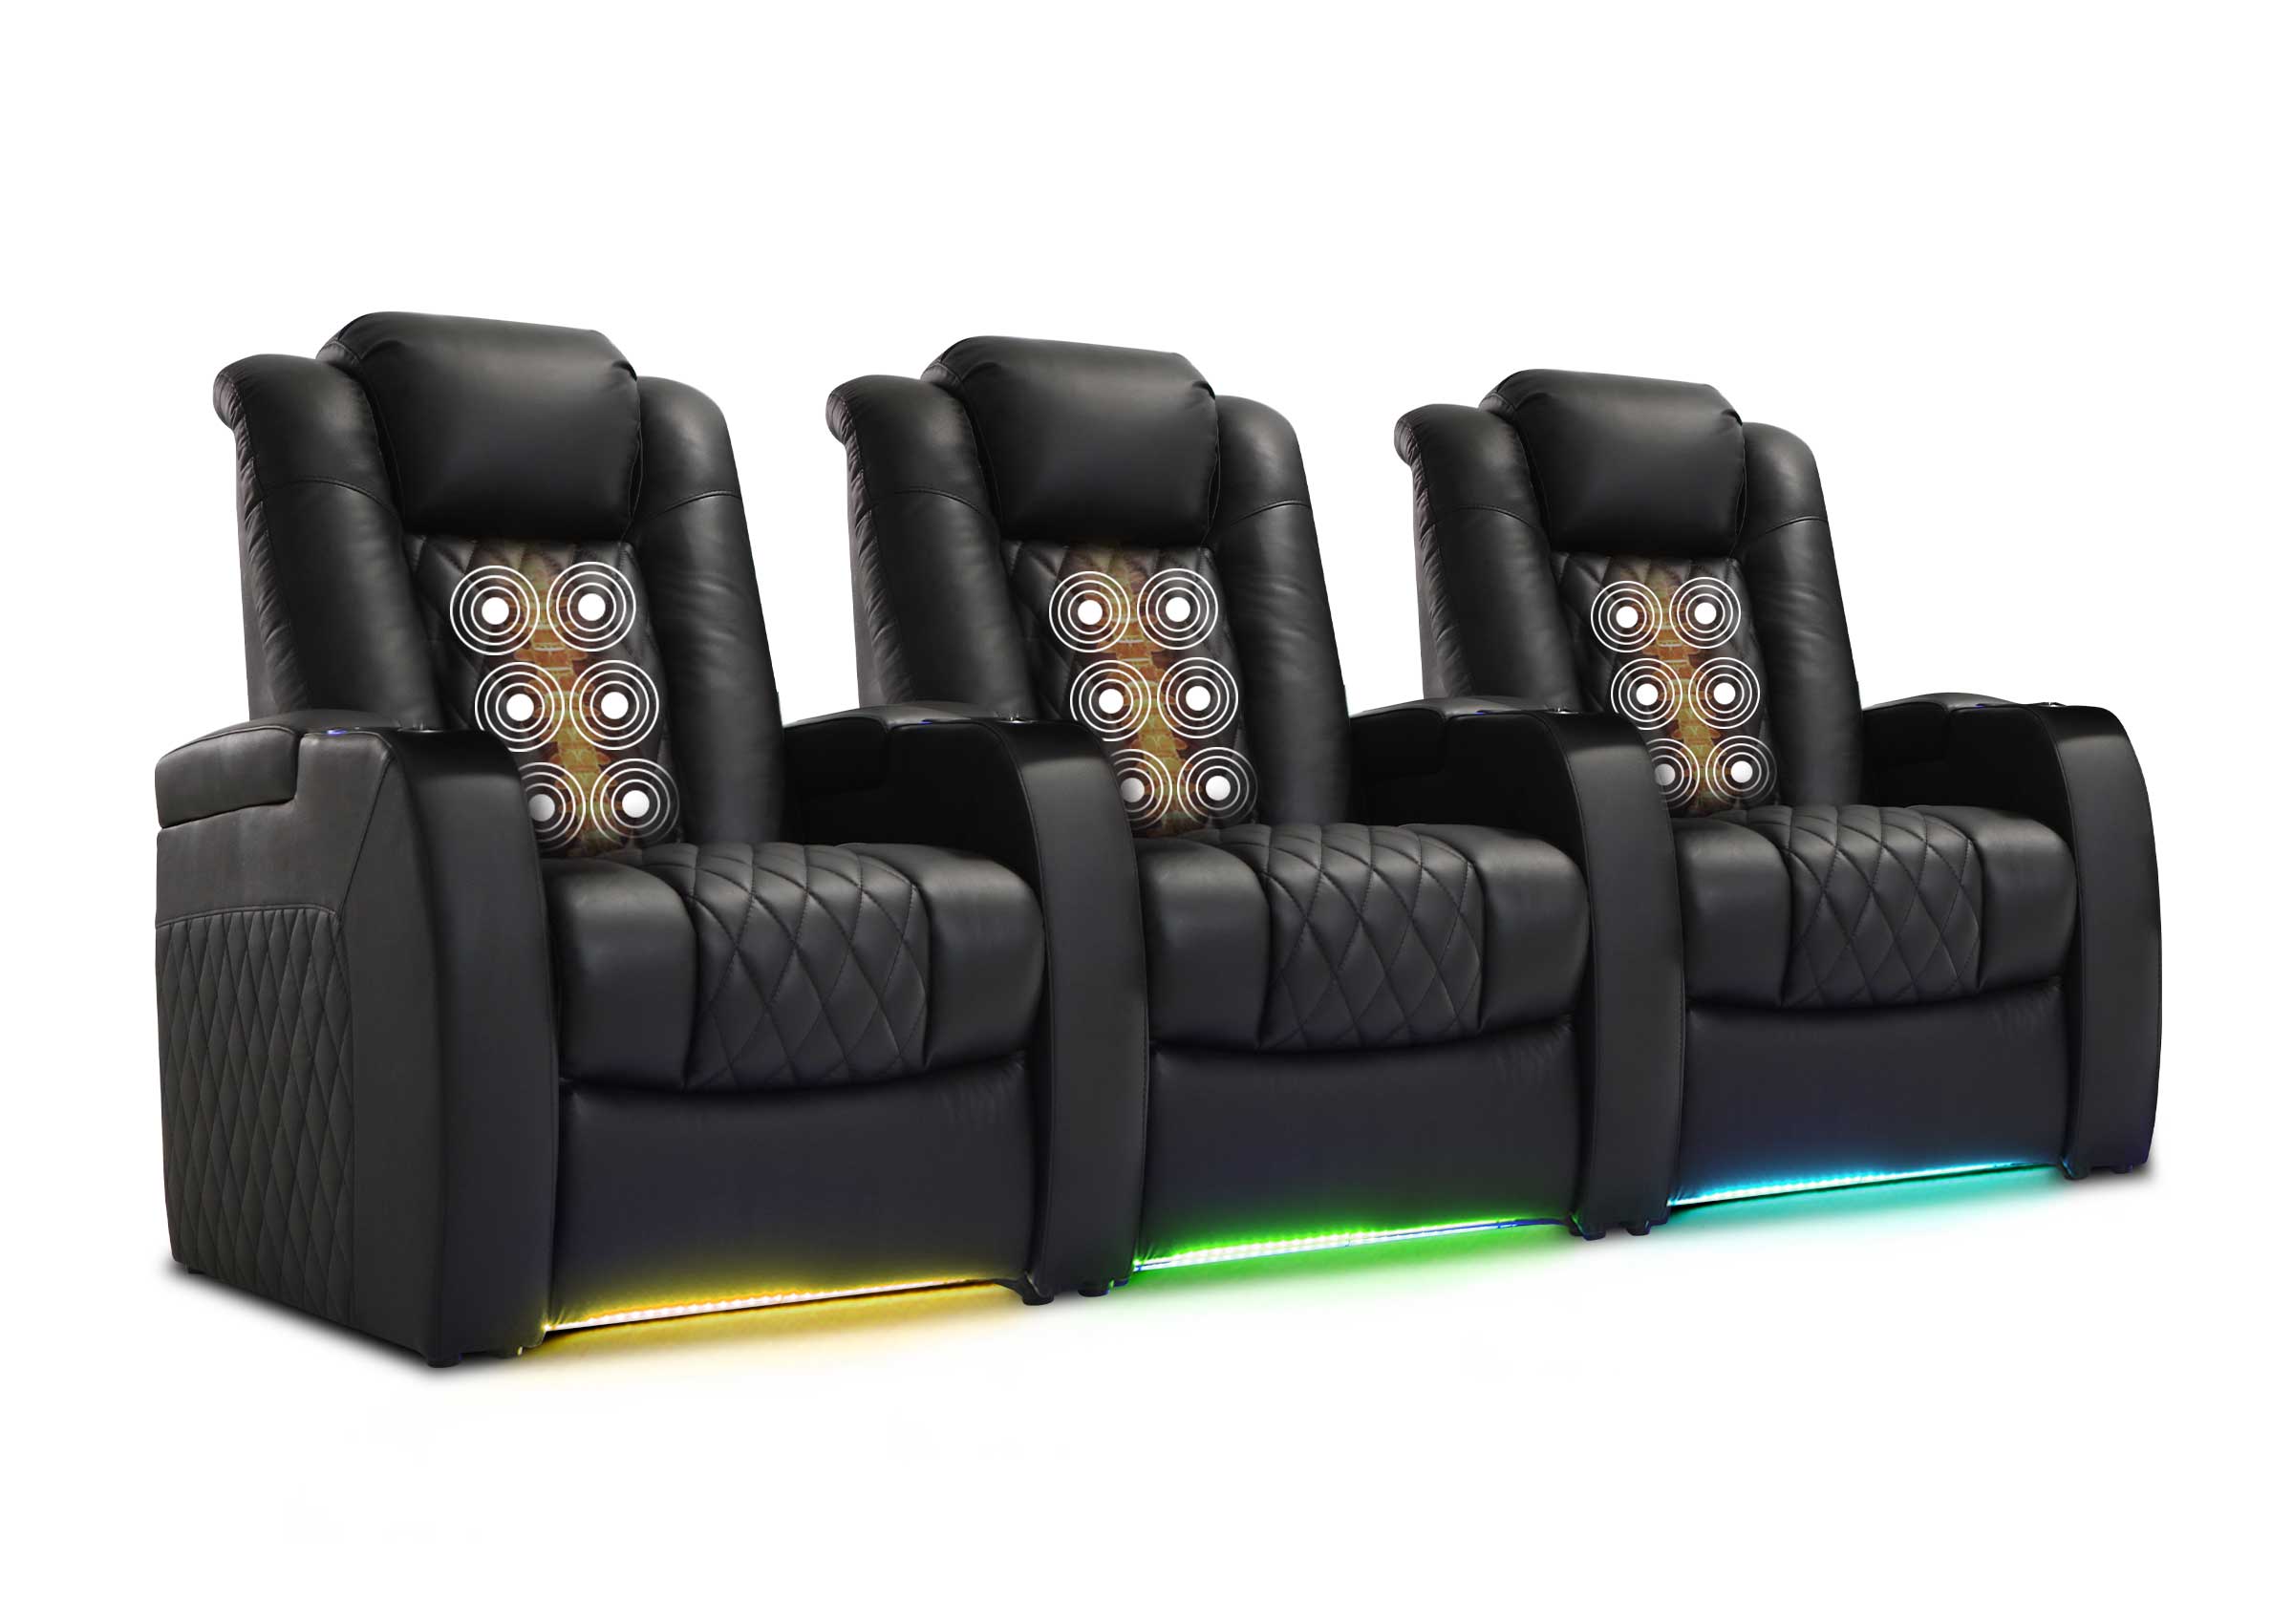

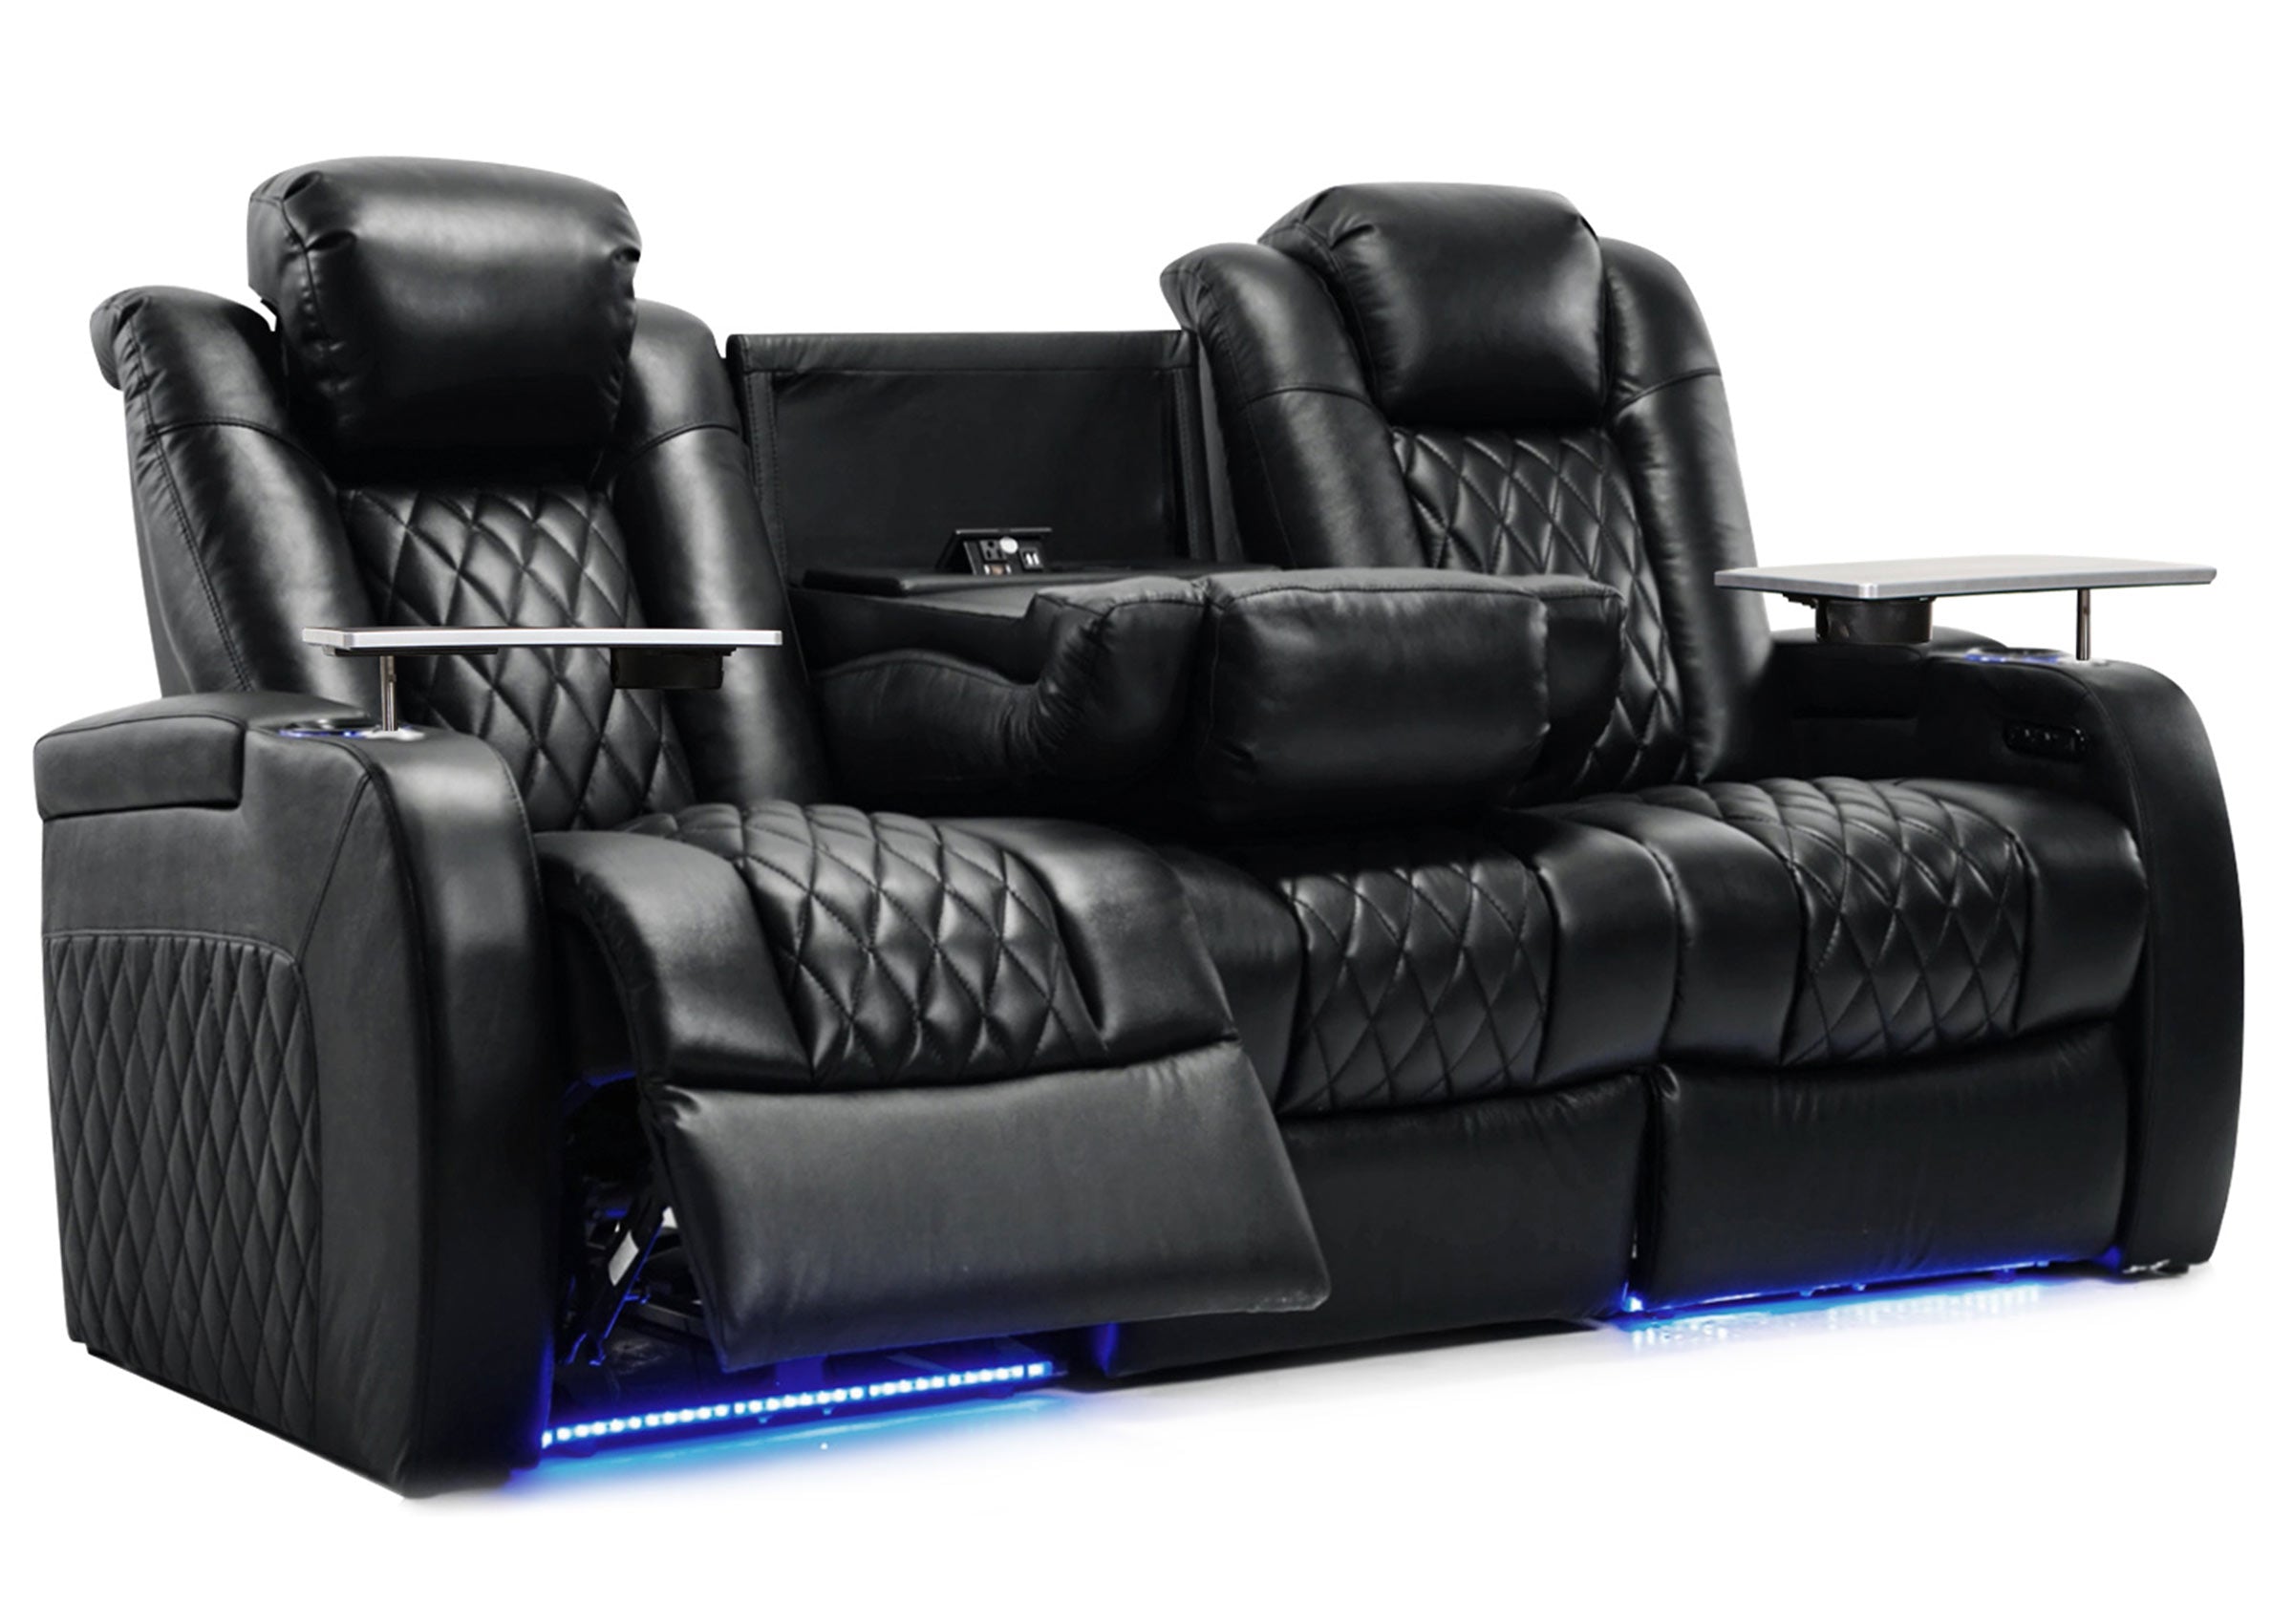
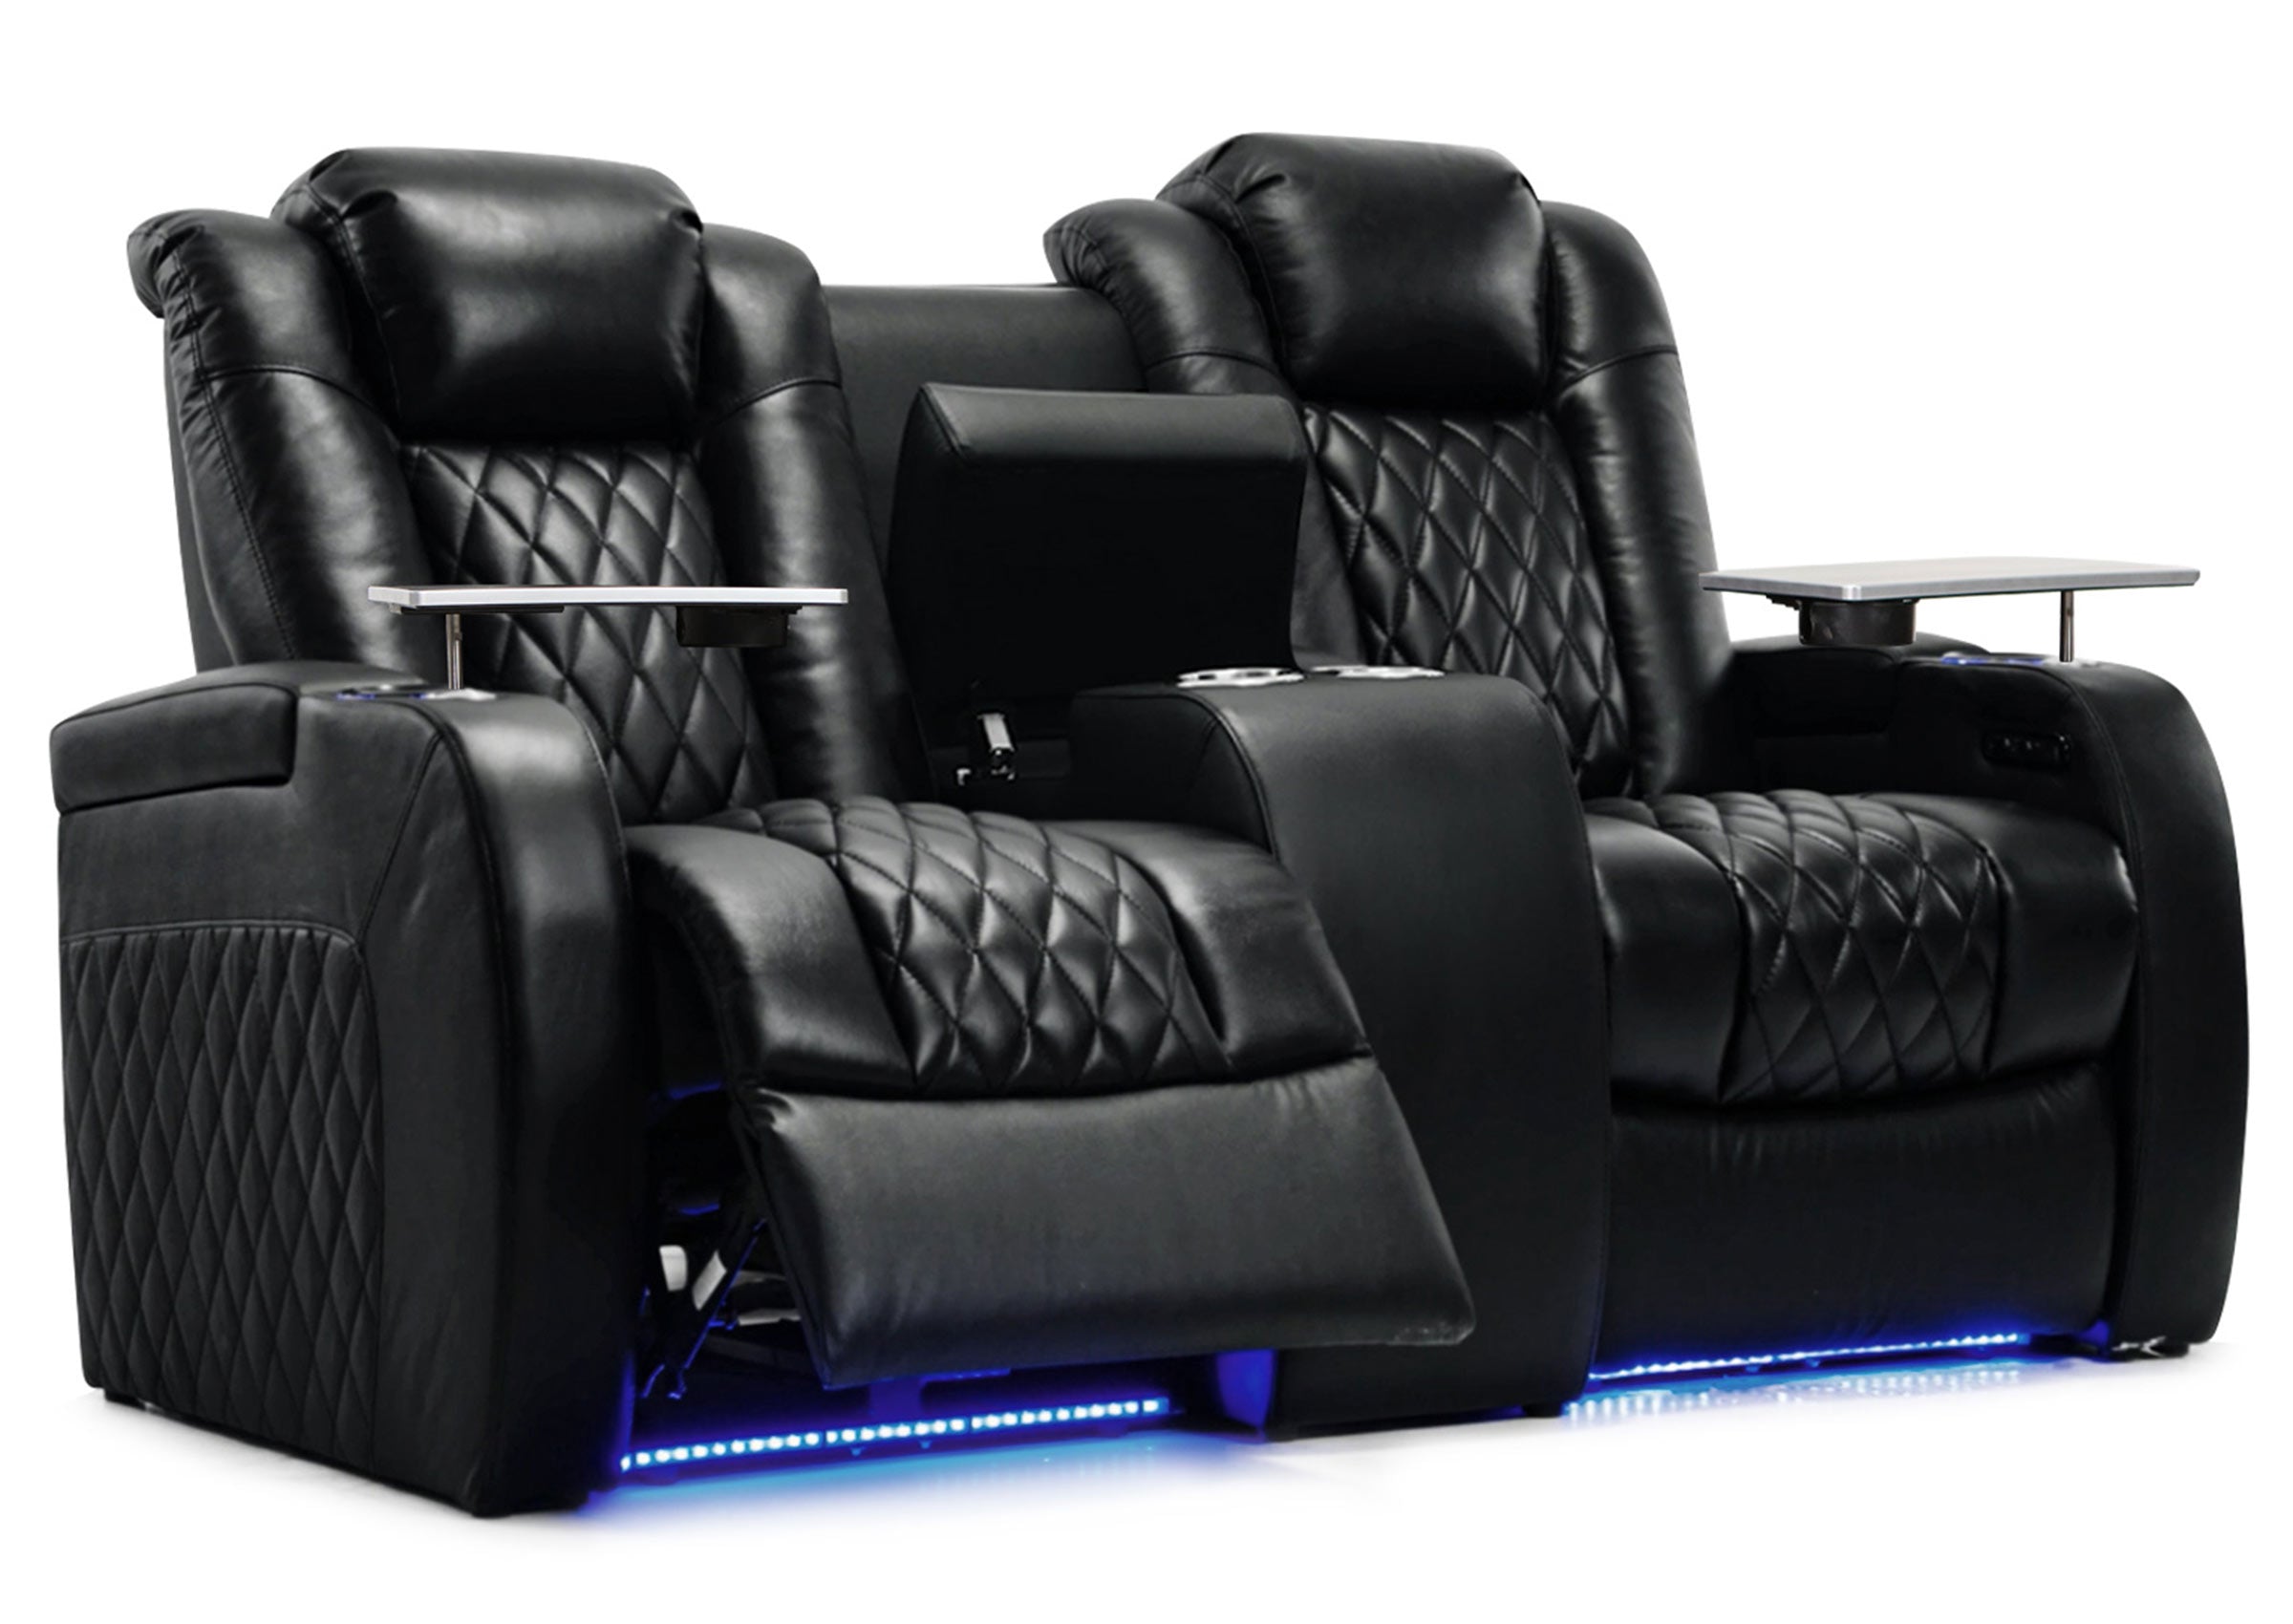



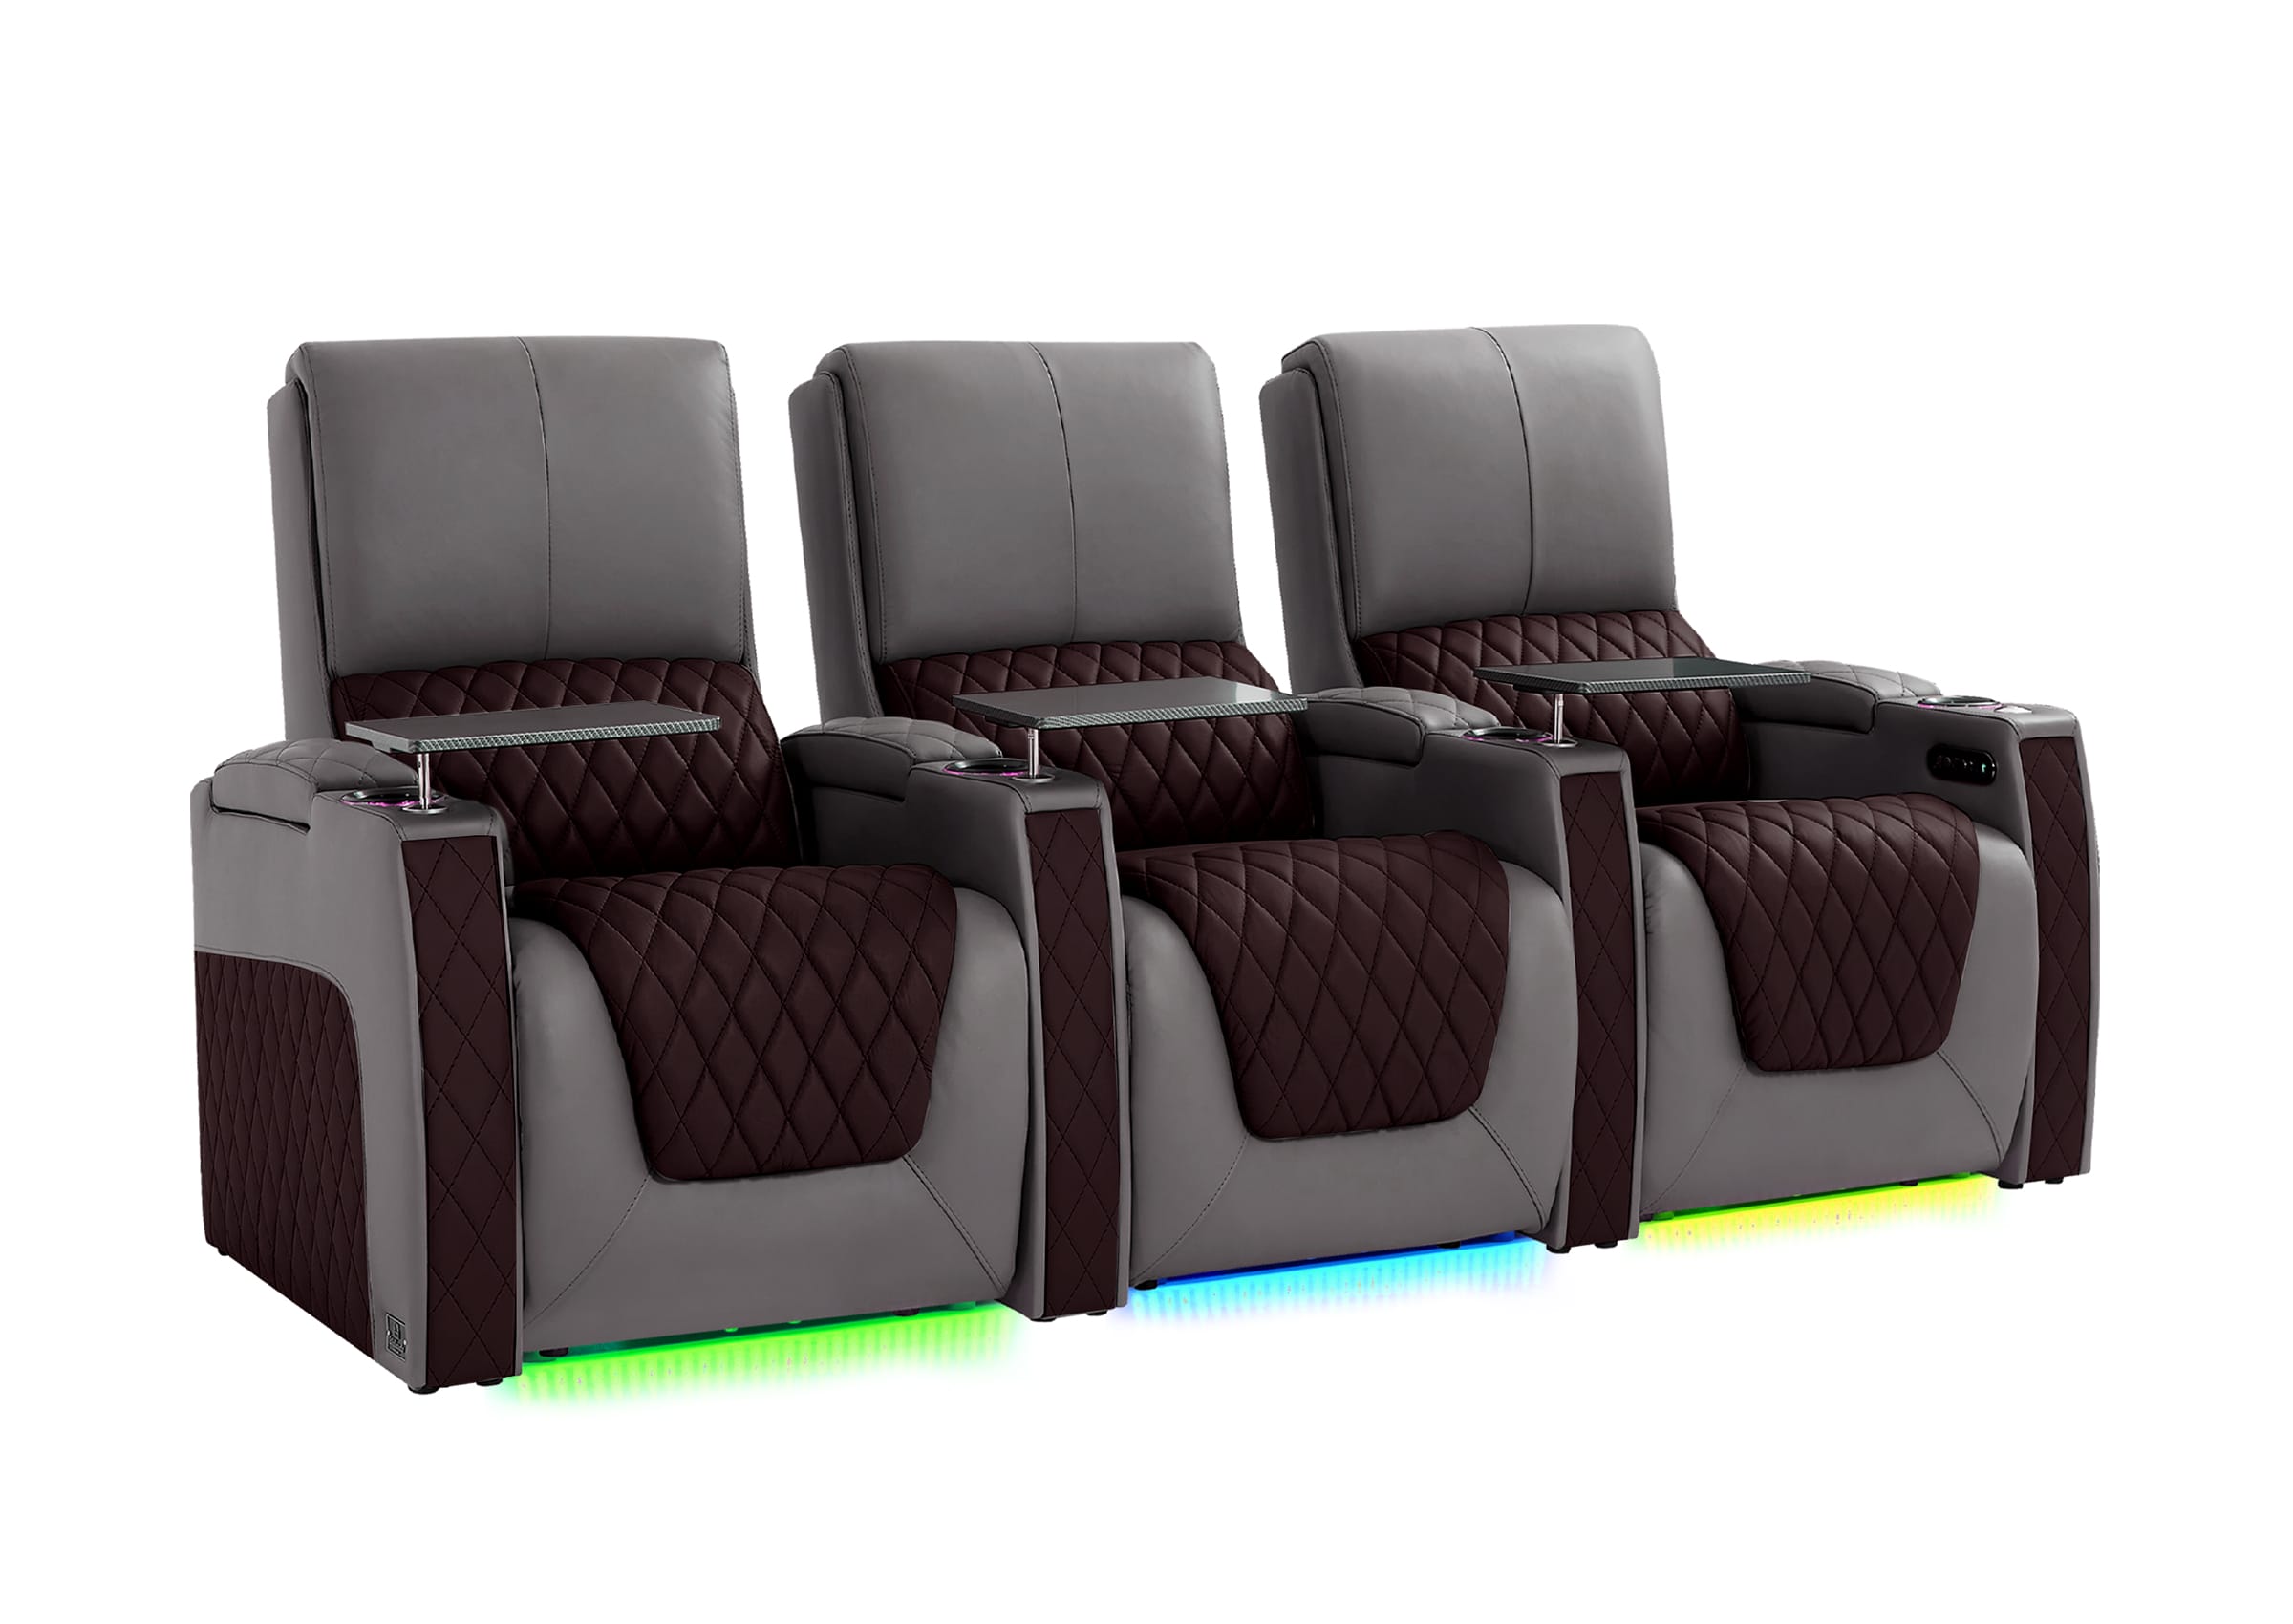
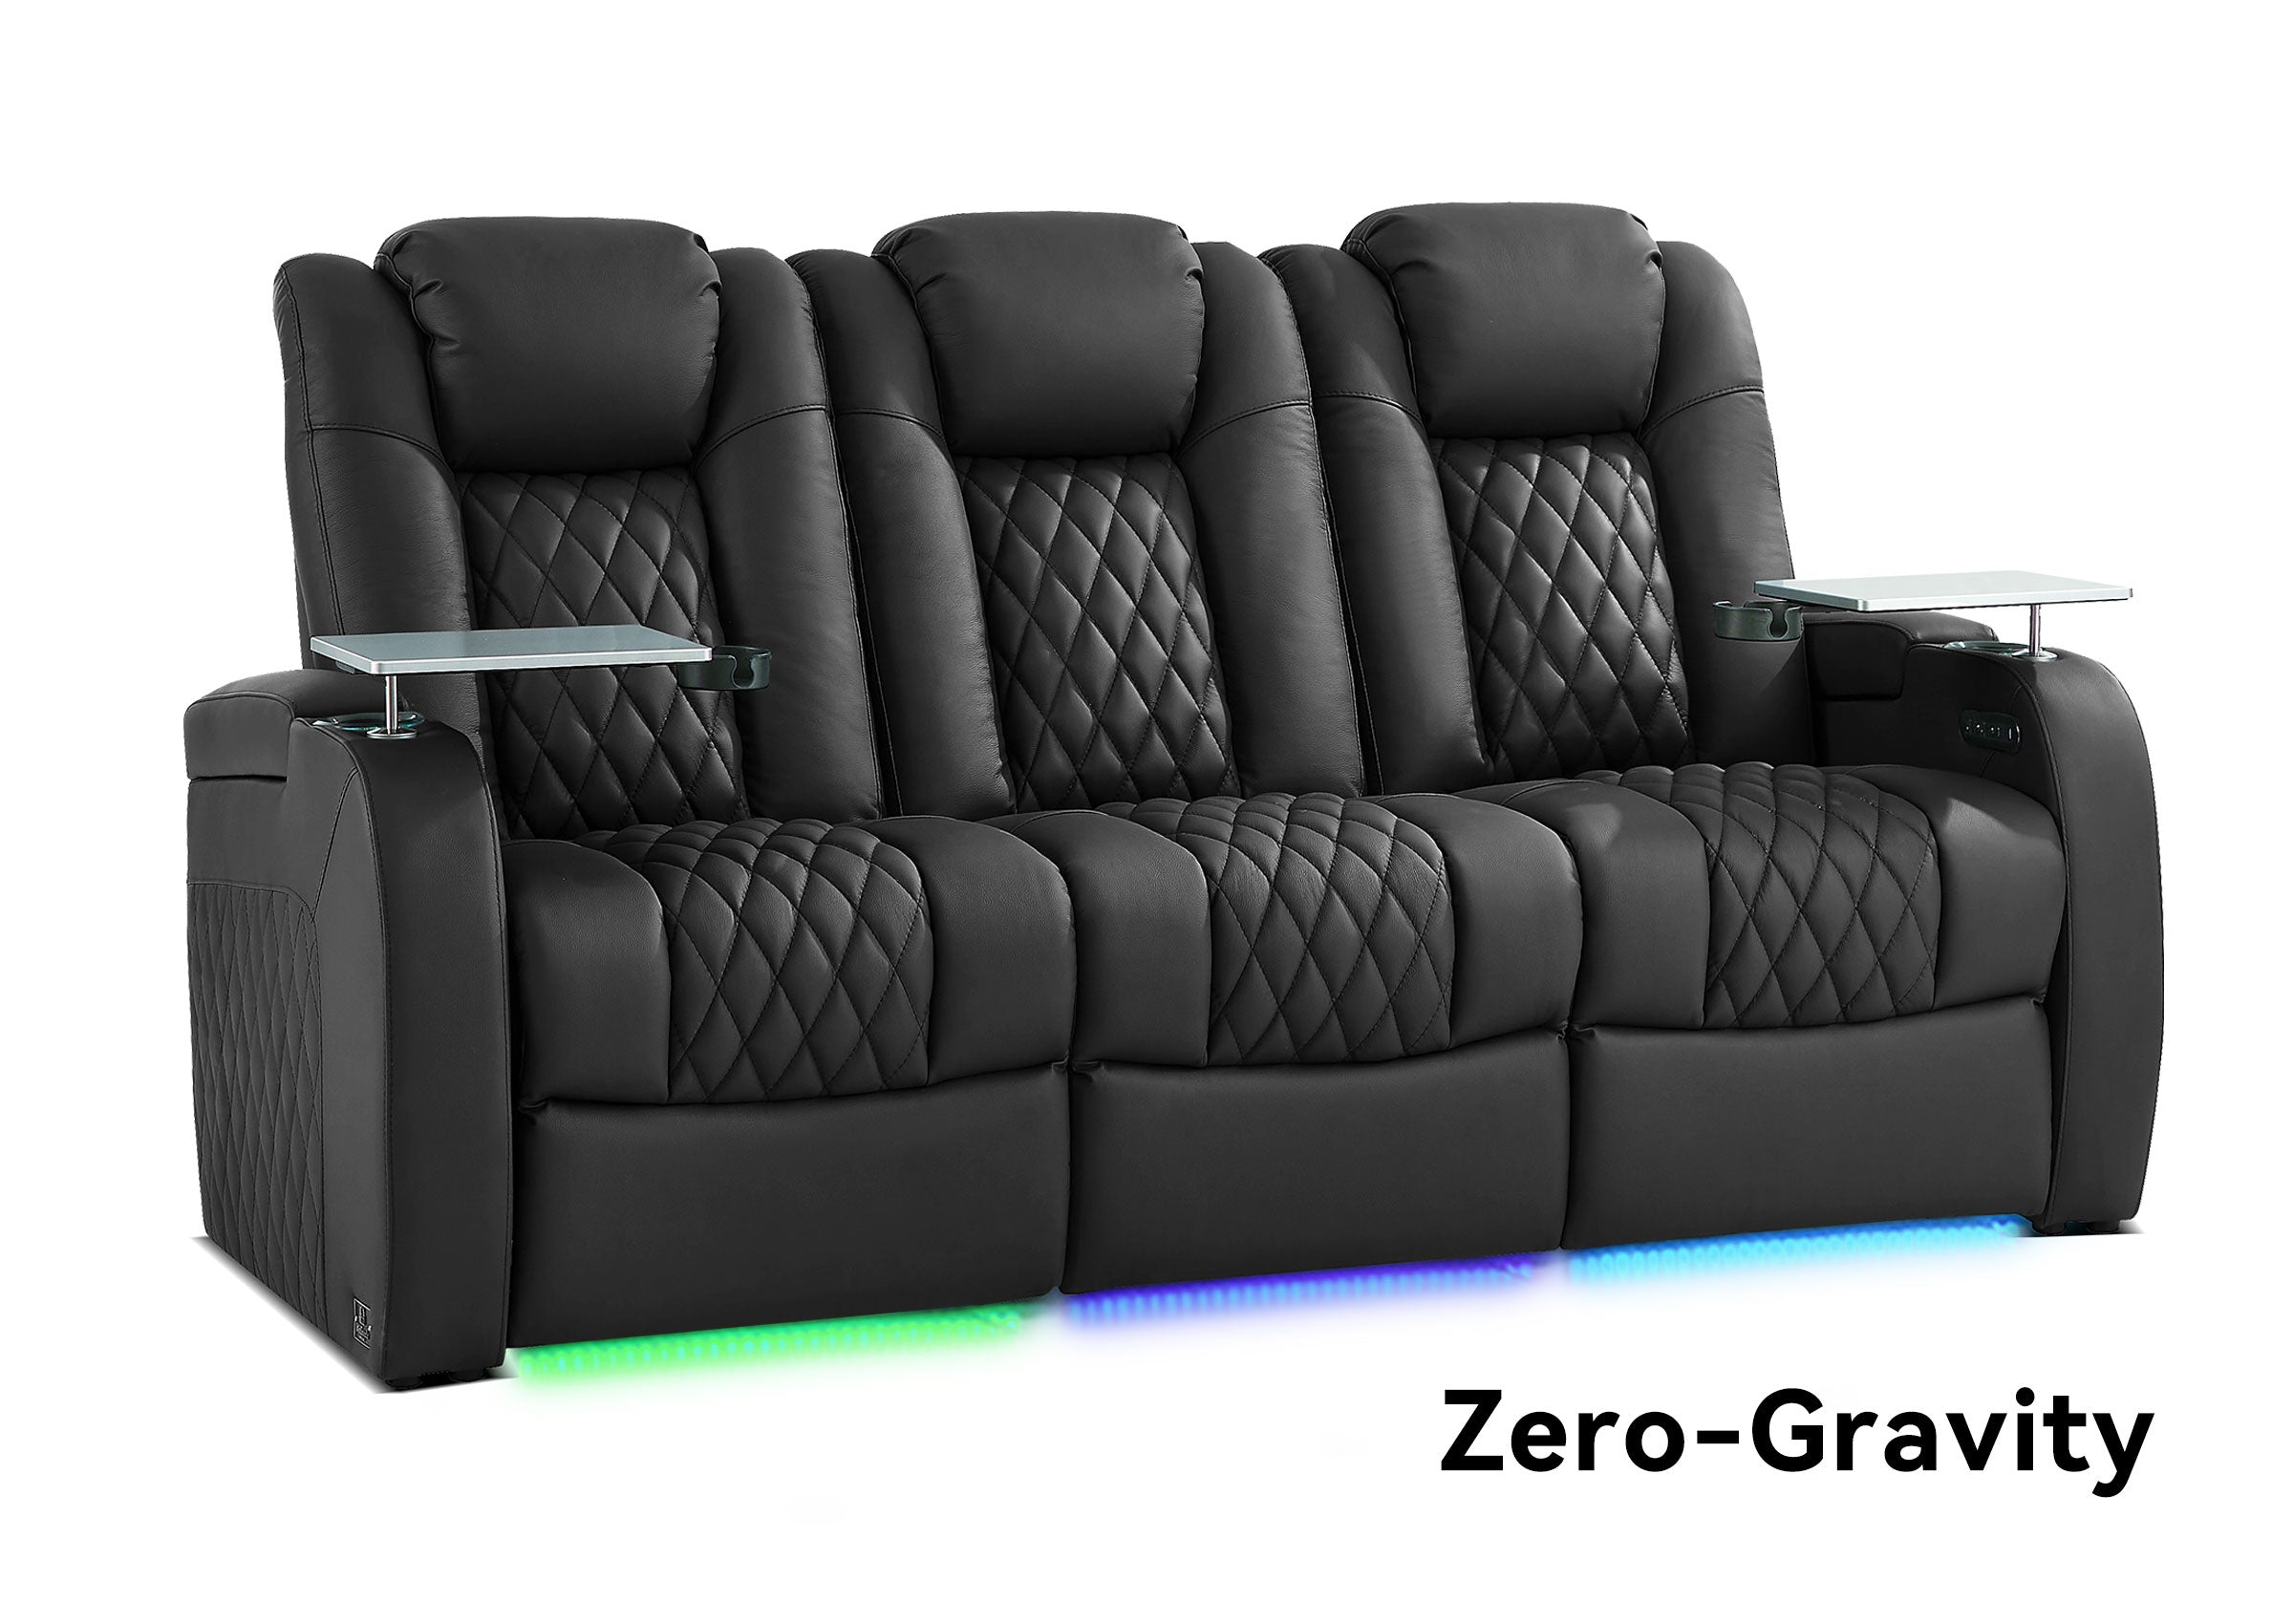


A theater seating plan can look balanced on a drawing and still fail in the room. The usual problem is not style. It is measuring the chair only in its upright position, then discovering too late that the footrest, headrest, aisle, door swing, or second row no longer works once the seating is in use.
For interior designers, builders, and private-theater planners, the safest approach is to treat seating as a set of moving dimensions rather than a single furniture footprint. This guide explains what to collect, what to test on plan, and what to confirm before an order is finalized.
Start with the actual model, not a generic recliner size
Theater seating dimensions vary by configuration, arm style, power functions, and whether the layout includes a loveseat, console, or armless section. A room plan should therefore begin with the specification sheet for the exact model under consideration.
Use the relevant home theater seating collection to narrow the model and configuration first, then plan from that model's dimensions rather than from a generic recliner estimate.
At minimum, record these measurements for every proposed configuration:
- Overall width of the complete row, including both outer arms.
- Overall depth when upright.
- Full depth when the footrest is extended and the chair is fully reclined.
- Height, seat depth, and arm width where they affect sightlines, comfort, or adjacent furniture.
- Required clearance from the wall or other fixed elements.
- Width and location of any console, tray table, cup holder, or storage module that changes the usable footprint.
Do not multiply a single-seat width by the number of seats and call the row complete. Shared arms, consoles, end arms, and modular sections can change the final width substantially.
Plan the room in the order people will use it
A reliable seating layout is easier to create when decisions are made in sequence. Start by fixing the room conditions that cannot move, then place the seating within the remaining usable area.

Map fixed constraints first
Mark walls, doors, windows, columns, HVAC returns, equipment racks, floor outlets, steps, and any built-in cabinetry before choosing a row configuration. A doorway or low bulkhead may matter more than a few extra inches of open wall space.
For a dedicated theater, also identify the screen wall and the main circulation route. In a media room, note whether people must pass behind, beside, or in front of the seating to reach another part of the home.
Set the viewing zone before finalizing the rows
The screen location and intended viewing distance influence where the first row can sit. Once that front-row zone is set, the seating depth, recline clearance, and circulation path determine whether a second row is realistic.
This avoids a common planning mistake: choosing a two-row layout for appearance, then compressing every other part of the room to make it fit.
For the consumer-side sequence of room measurements, viewing distance, and seat count, see the home theater seating layout guide. This project guide starts where that decision process becomes a specification check.
Add the real operating footprint
Place the seating in its upright position first, then draw its full-recline envelope. The operating footprint should include the moving footrest and the space needed behind the chair, not only the frame of the seat.
If the model uses power recline, a powered headrest, or a power lumbar feature, show those positions on the plan when they affect nearby walls, shelves, cabinetry, or people walking through the room. The question is not whether the chair fits in the room; it is whether the room still functions when the chair is fully in use.
Check three clearances separately
Clearance is often discussed as one number, but project planning needs three different checks. Keeping them separate makes the drawing easier to review with a client, contractor, or installer.
| Clearance to check | Why it matters | What to confirm |
|---|---|---|
| Rear recline clearance | Prevents contact with the wall, built-ins, or the next row | The selected model's full-recline depth and manufacturer guidance |
| Row-to-row clearance | Determines whether a second row can recline while people can still move through the room | Both rows in their intended operating positions, plus the circulation route |
| Side-aisle clearance | Determines how guests enter, exit, and reach seats without climbing over furniture | Door swing, wall conditions, steps, and local safety requirements |
Use the product-specific dimensions for the first two checks. For side aisles, residential layouts and commercial projects can have different code, accessibility, and egress requirements. A furniture plan is not a substitute for review by the appropriate architect, contractor, or local authority.
Account for passage when the seats are reclined
An aisle that feels generous beside upright seating can become unusable when the footrests are open. This matters especially in long, narrow rooms, basement theaters, and layouts with a side entry door.
When reviewing circulation, ask practical questions:
- Can a guest reach the far seat without asking everyone in the row to close their footrests?
- Can someone leave during a movie without crossing directly in front of the screen?
- Does the route to the exit stay clear when the seating is reclined?
- Is there a clear way to reach a service panel, equipment closet, or rear door?
If the answer is no, reduce the seat count, switch to a different configuration, move the row, or reconsider whether a sectional or sofa better suits the room. Adding one more seat is rarely worth creating a layout that is frustrating every day.
For rooms with a limited side passage or an awkward footprint, use the narrow home theater layout guide as a scenario-specific companion.
Treat a second row as a sightline and access decision
Two rows can create a polished theater experience, but they introduce more than a platform decision. The rear row needs a usable view of the screen, a comfortable path to the seats, enough overhead clearance, and enough room for the front row to recline.
Before committing to a riser, review the complete section of the room: finished ceiling height, platform construction, step location, screen height, and the eye level of the proposed seats. Do not select a riser height from a generic diagram alone. It should be coordinated with the selected seating, the actual screen position, and the project team responsible for the construction details.
The related home theater riser design guide is a useful companion when a second row is under consideration.
For some rooms, a single well-spaced row with a sofa or movable chairs behind it will work better than a tightly compressed two-row arrangement. That is a design choice, not a compromise.

Use configuration choices to solve room problems
Theater seating is not only a row of identical recliners. The configuration can help solve a room constraint if it is chosen intentionally.
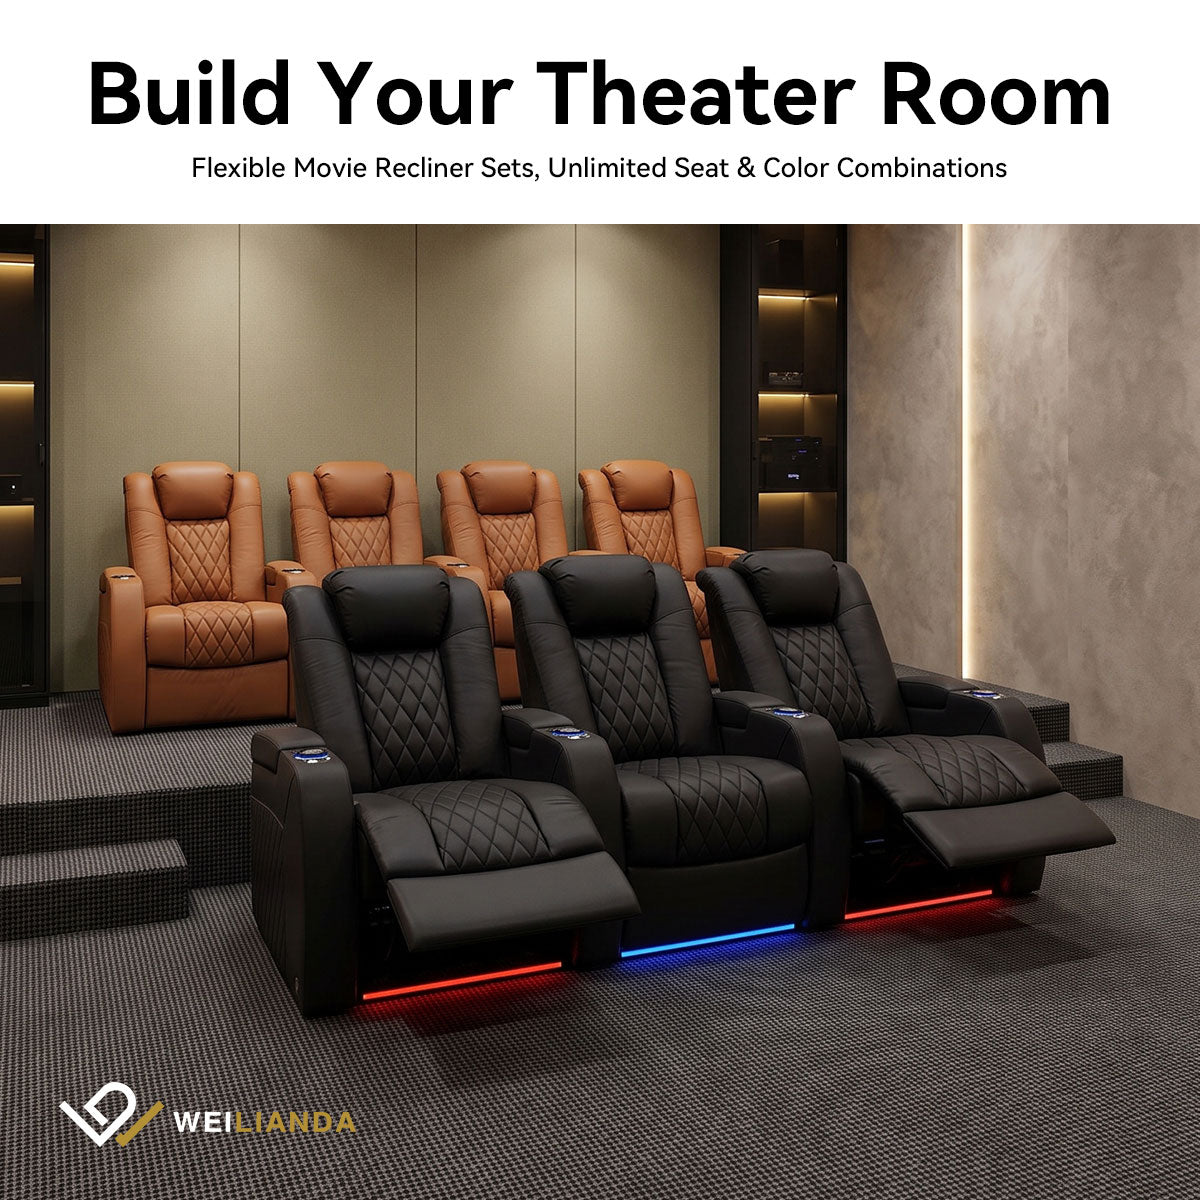
- A loveseat-style arrangement may make sense when two people regularly share the center position and the room needs fewer outer arms.
- An armless or modular section can change the width of a row, but should be reviewed for support, access, and the final composition.
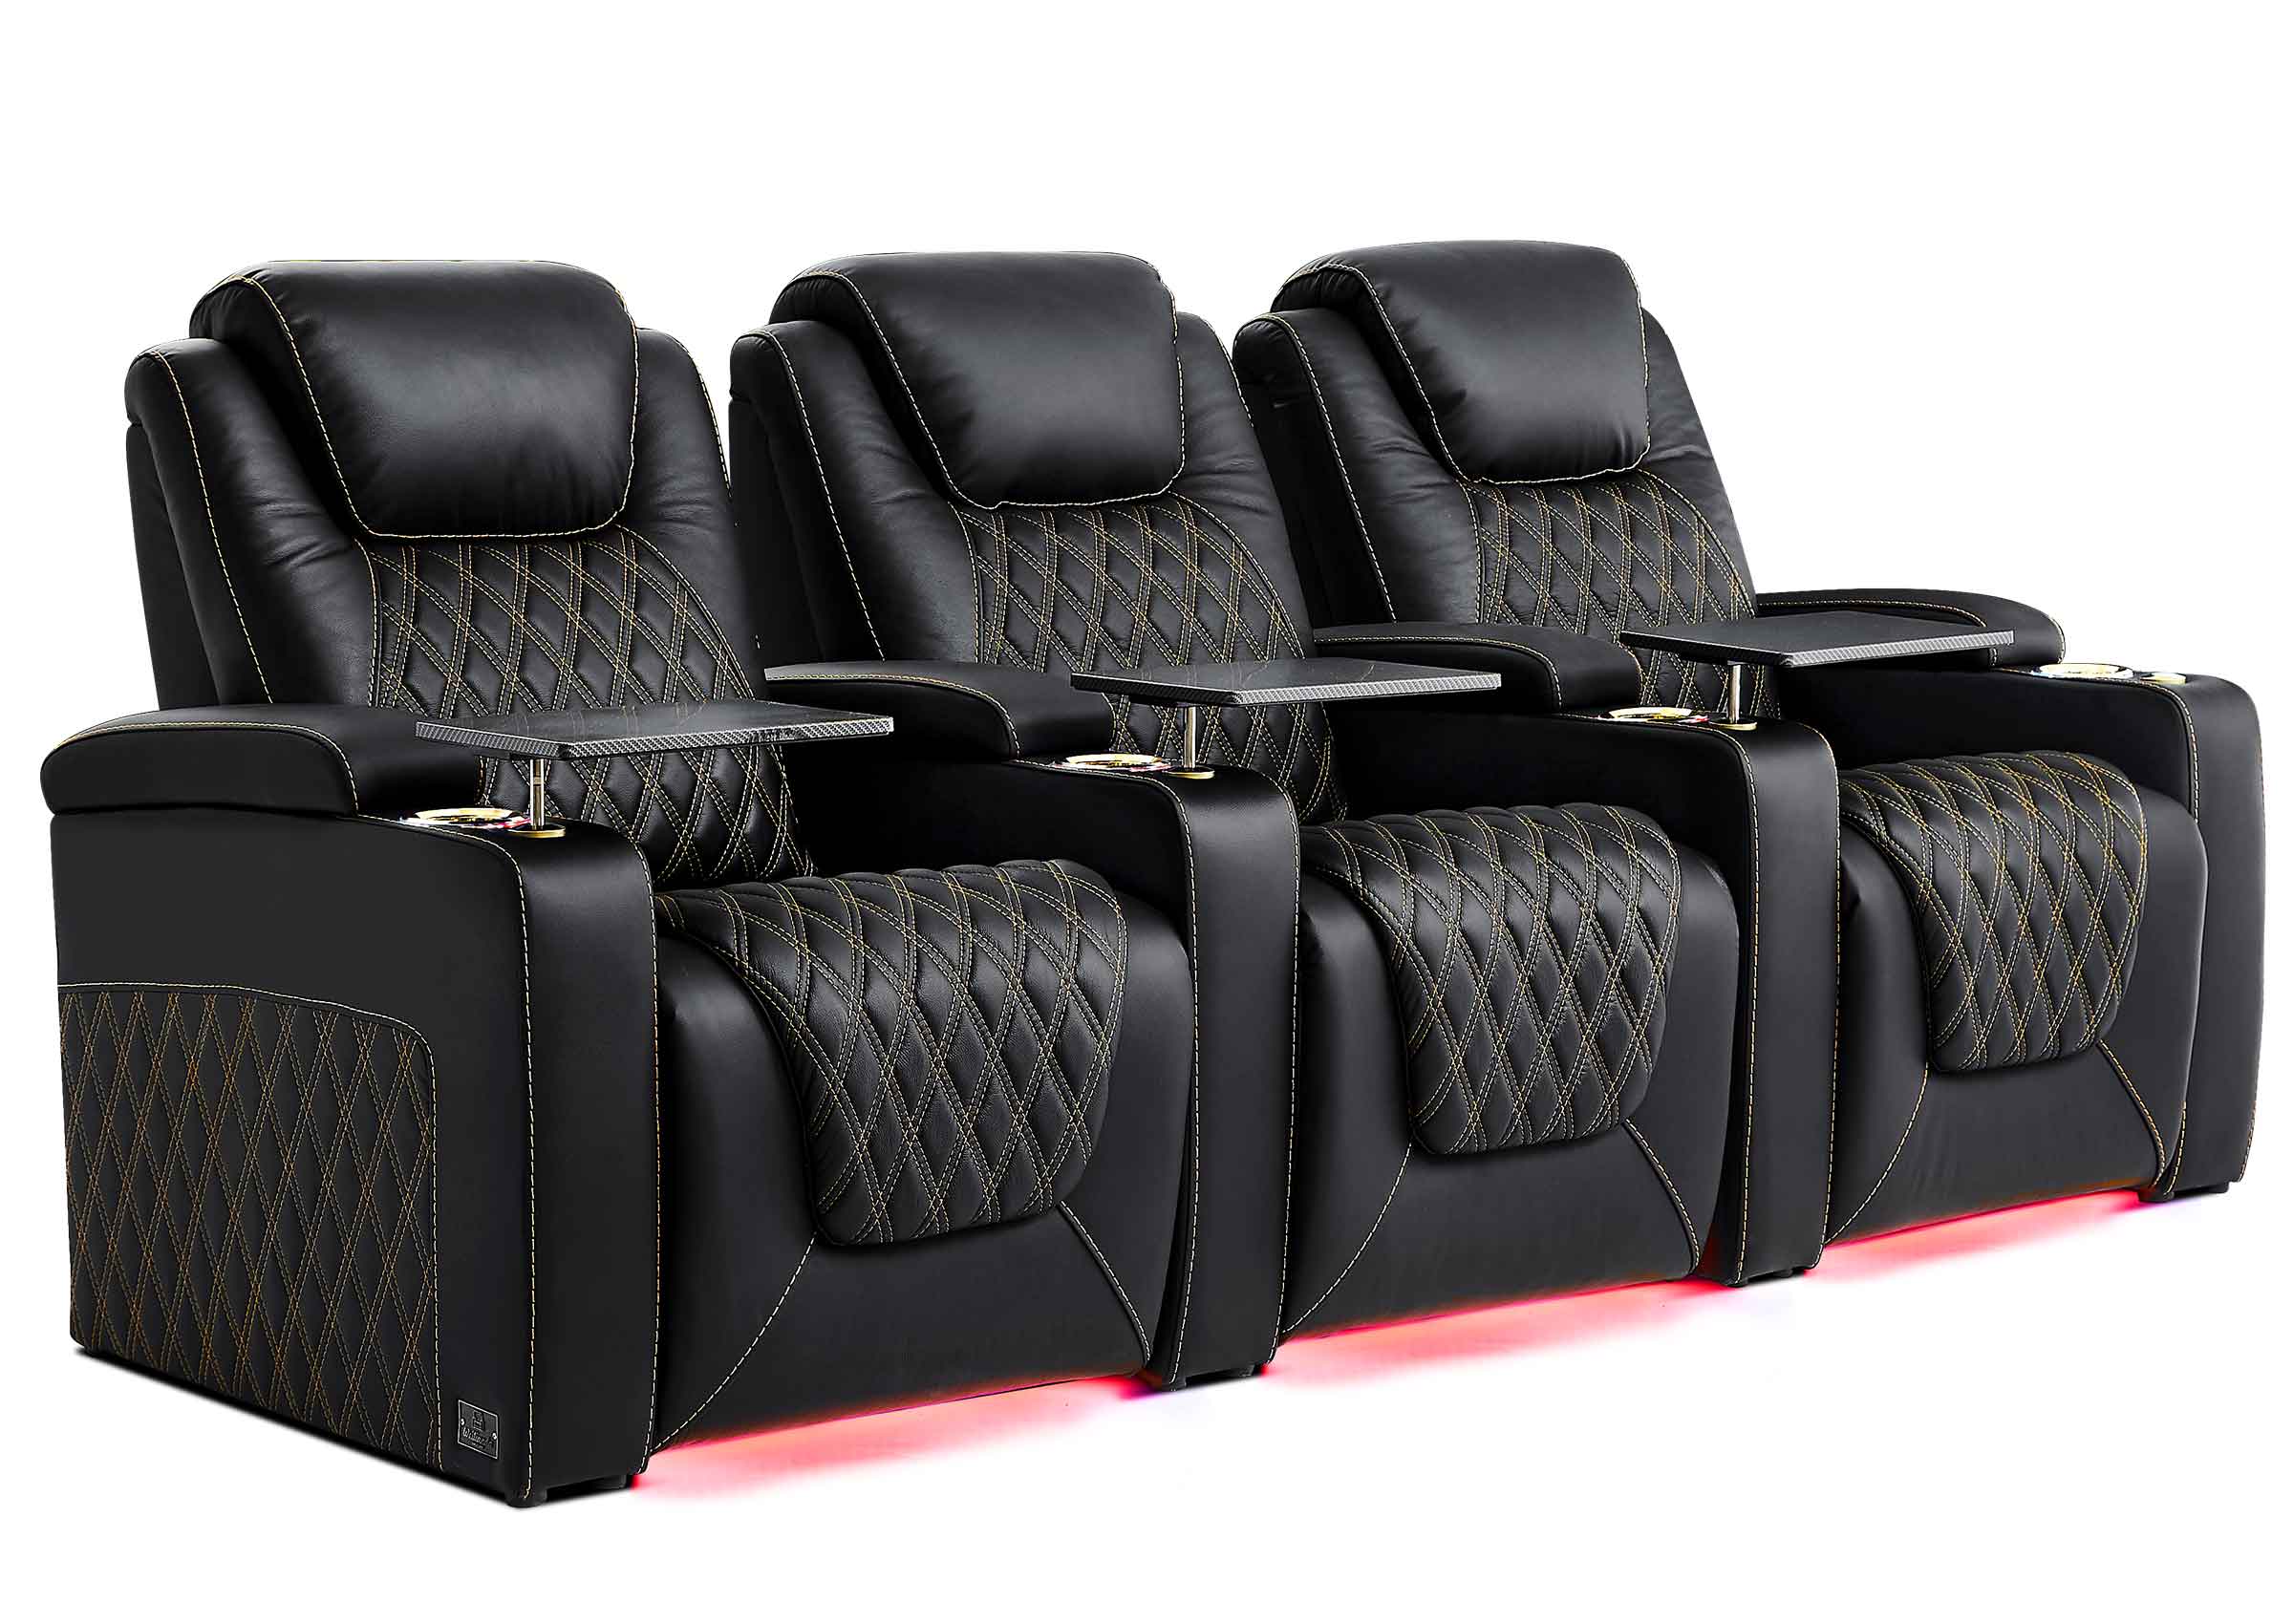
- A console can add daily convenience, yet it also adds width and may change how many seats fit.
- A reclining sofa or sectional may be a better fit for a mixed-use media room where the seating must look and function like living-room furniture.
- In a tight room, reducing features may preserve a more comfortable circulation path than forcing a larger configuration into the plan.
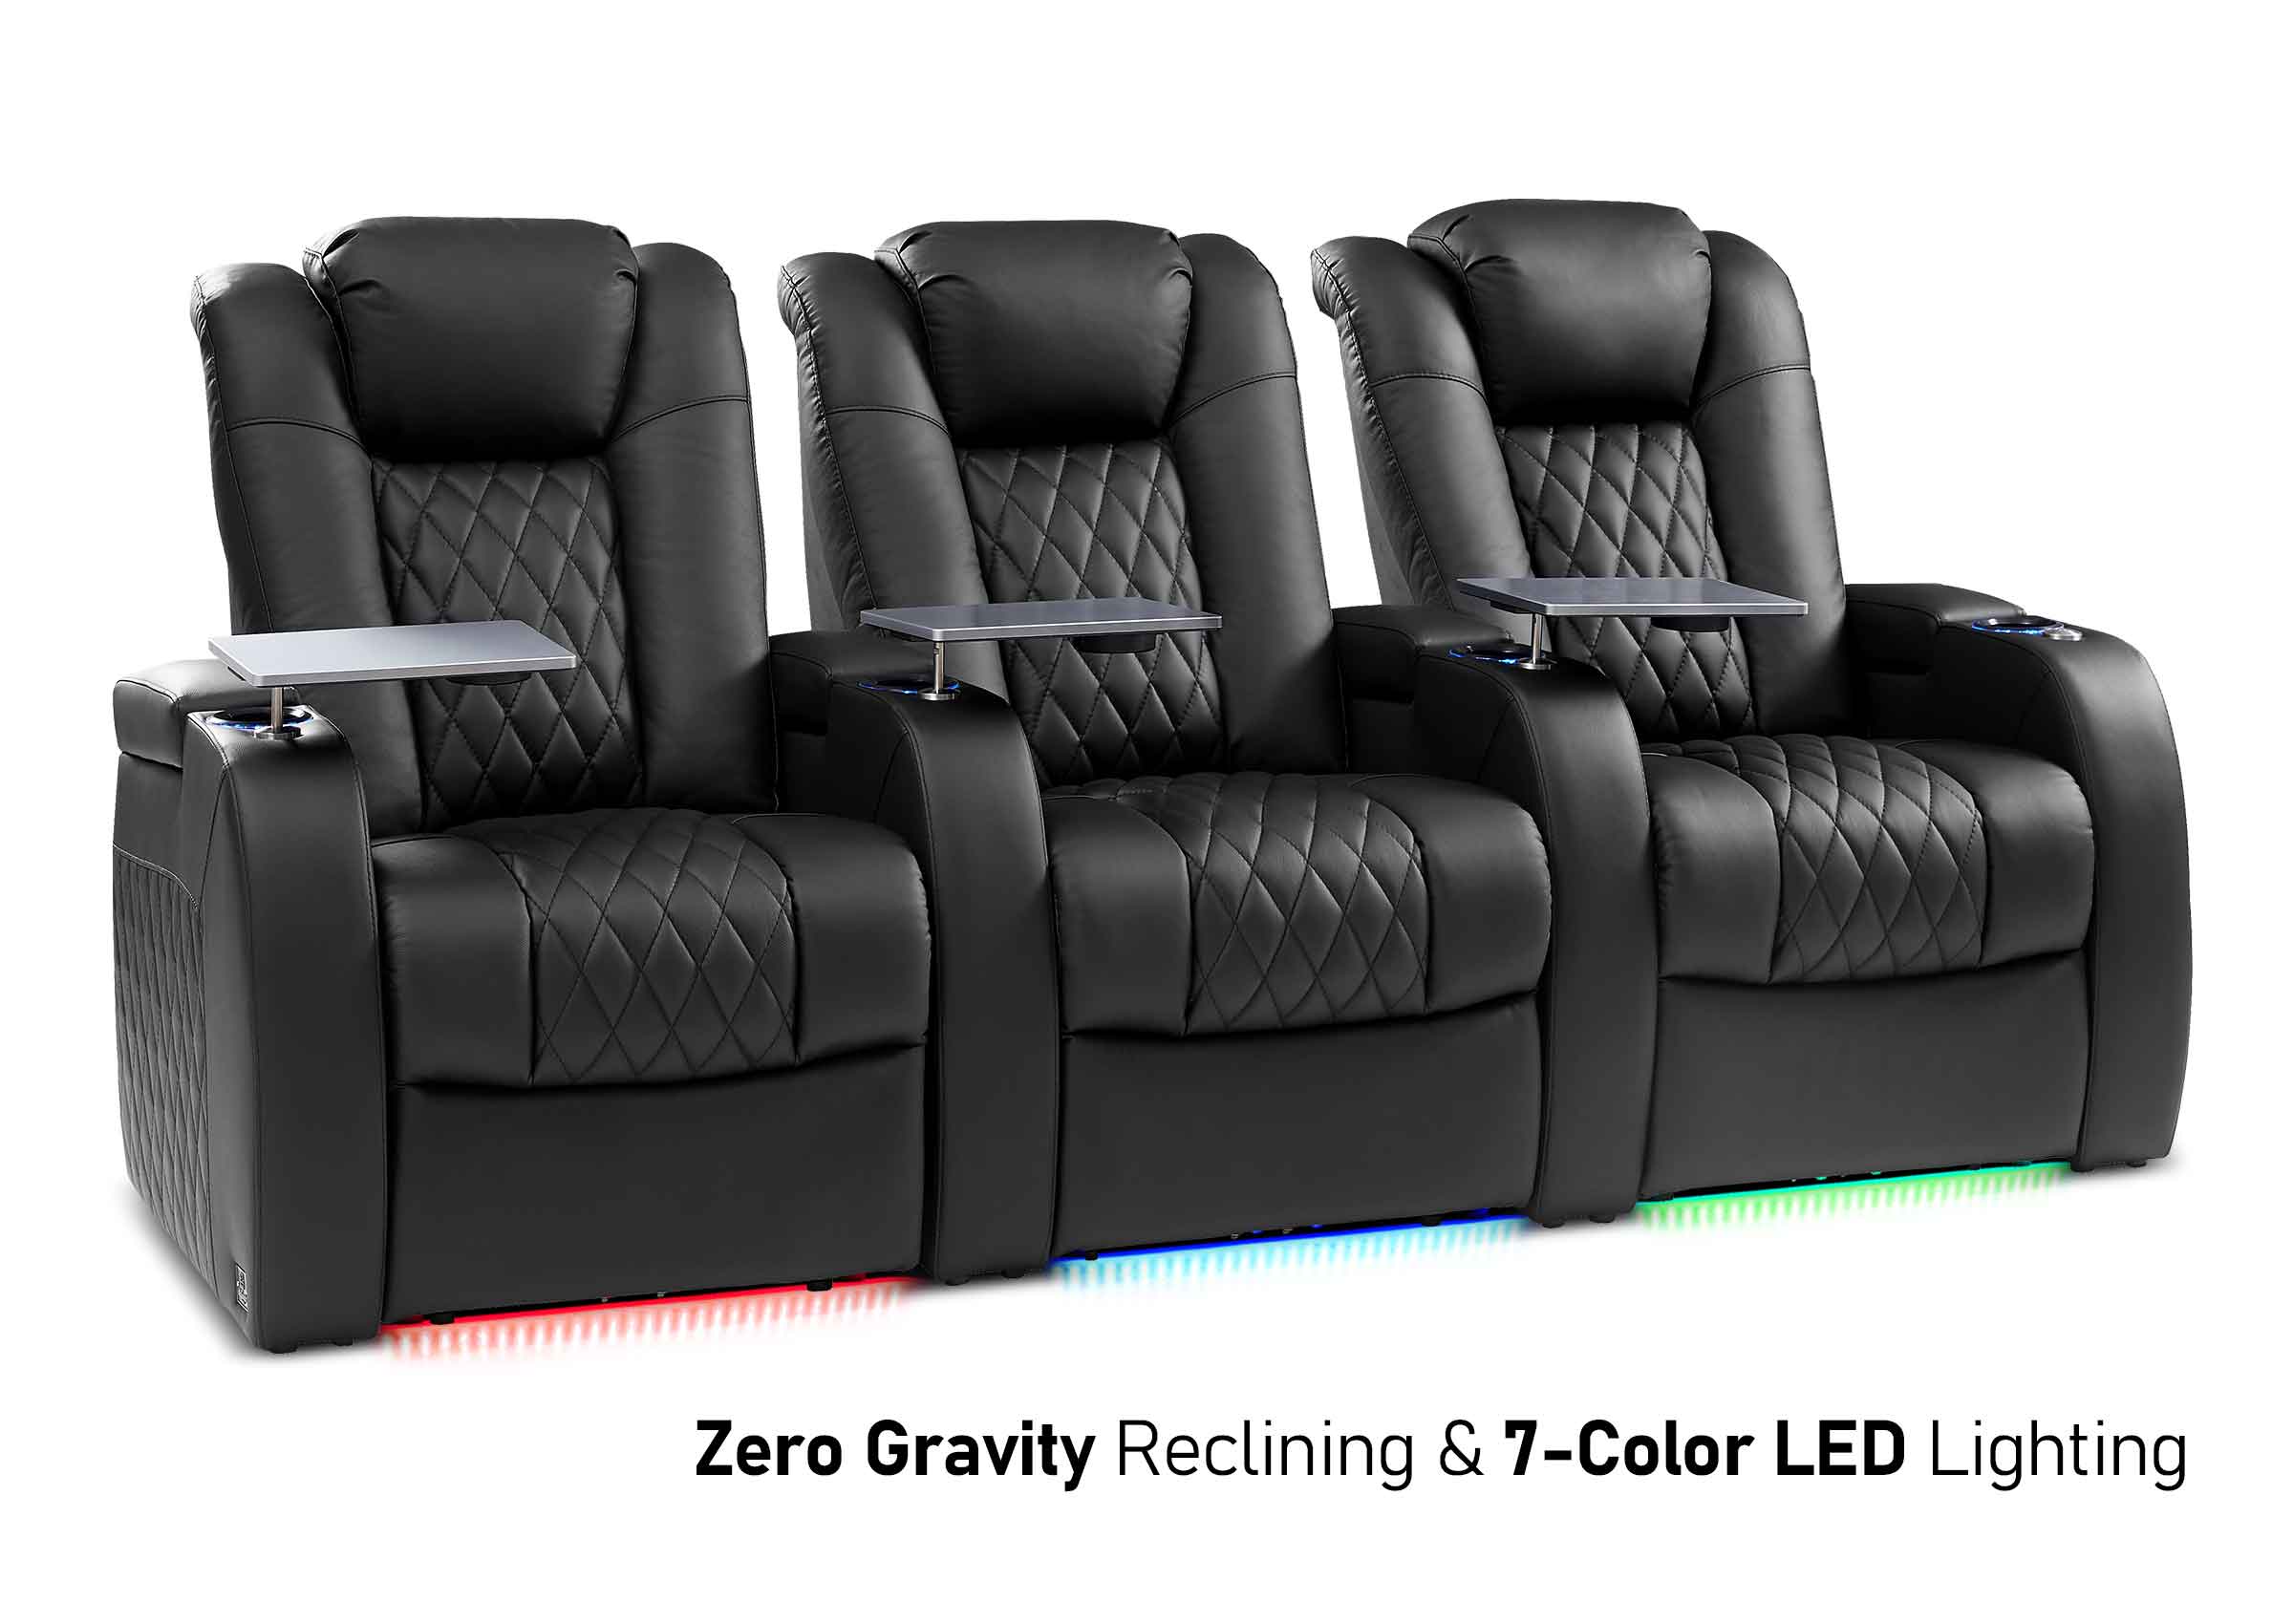
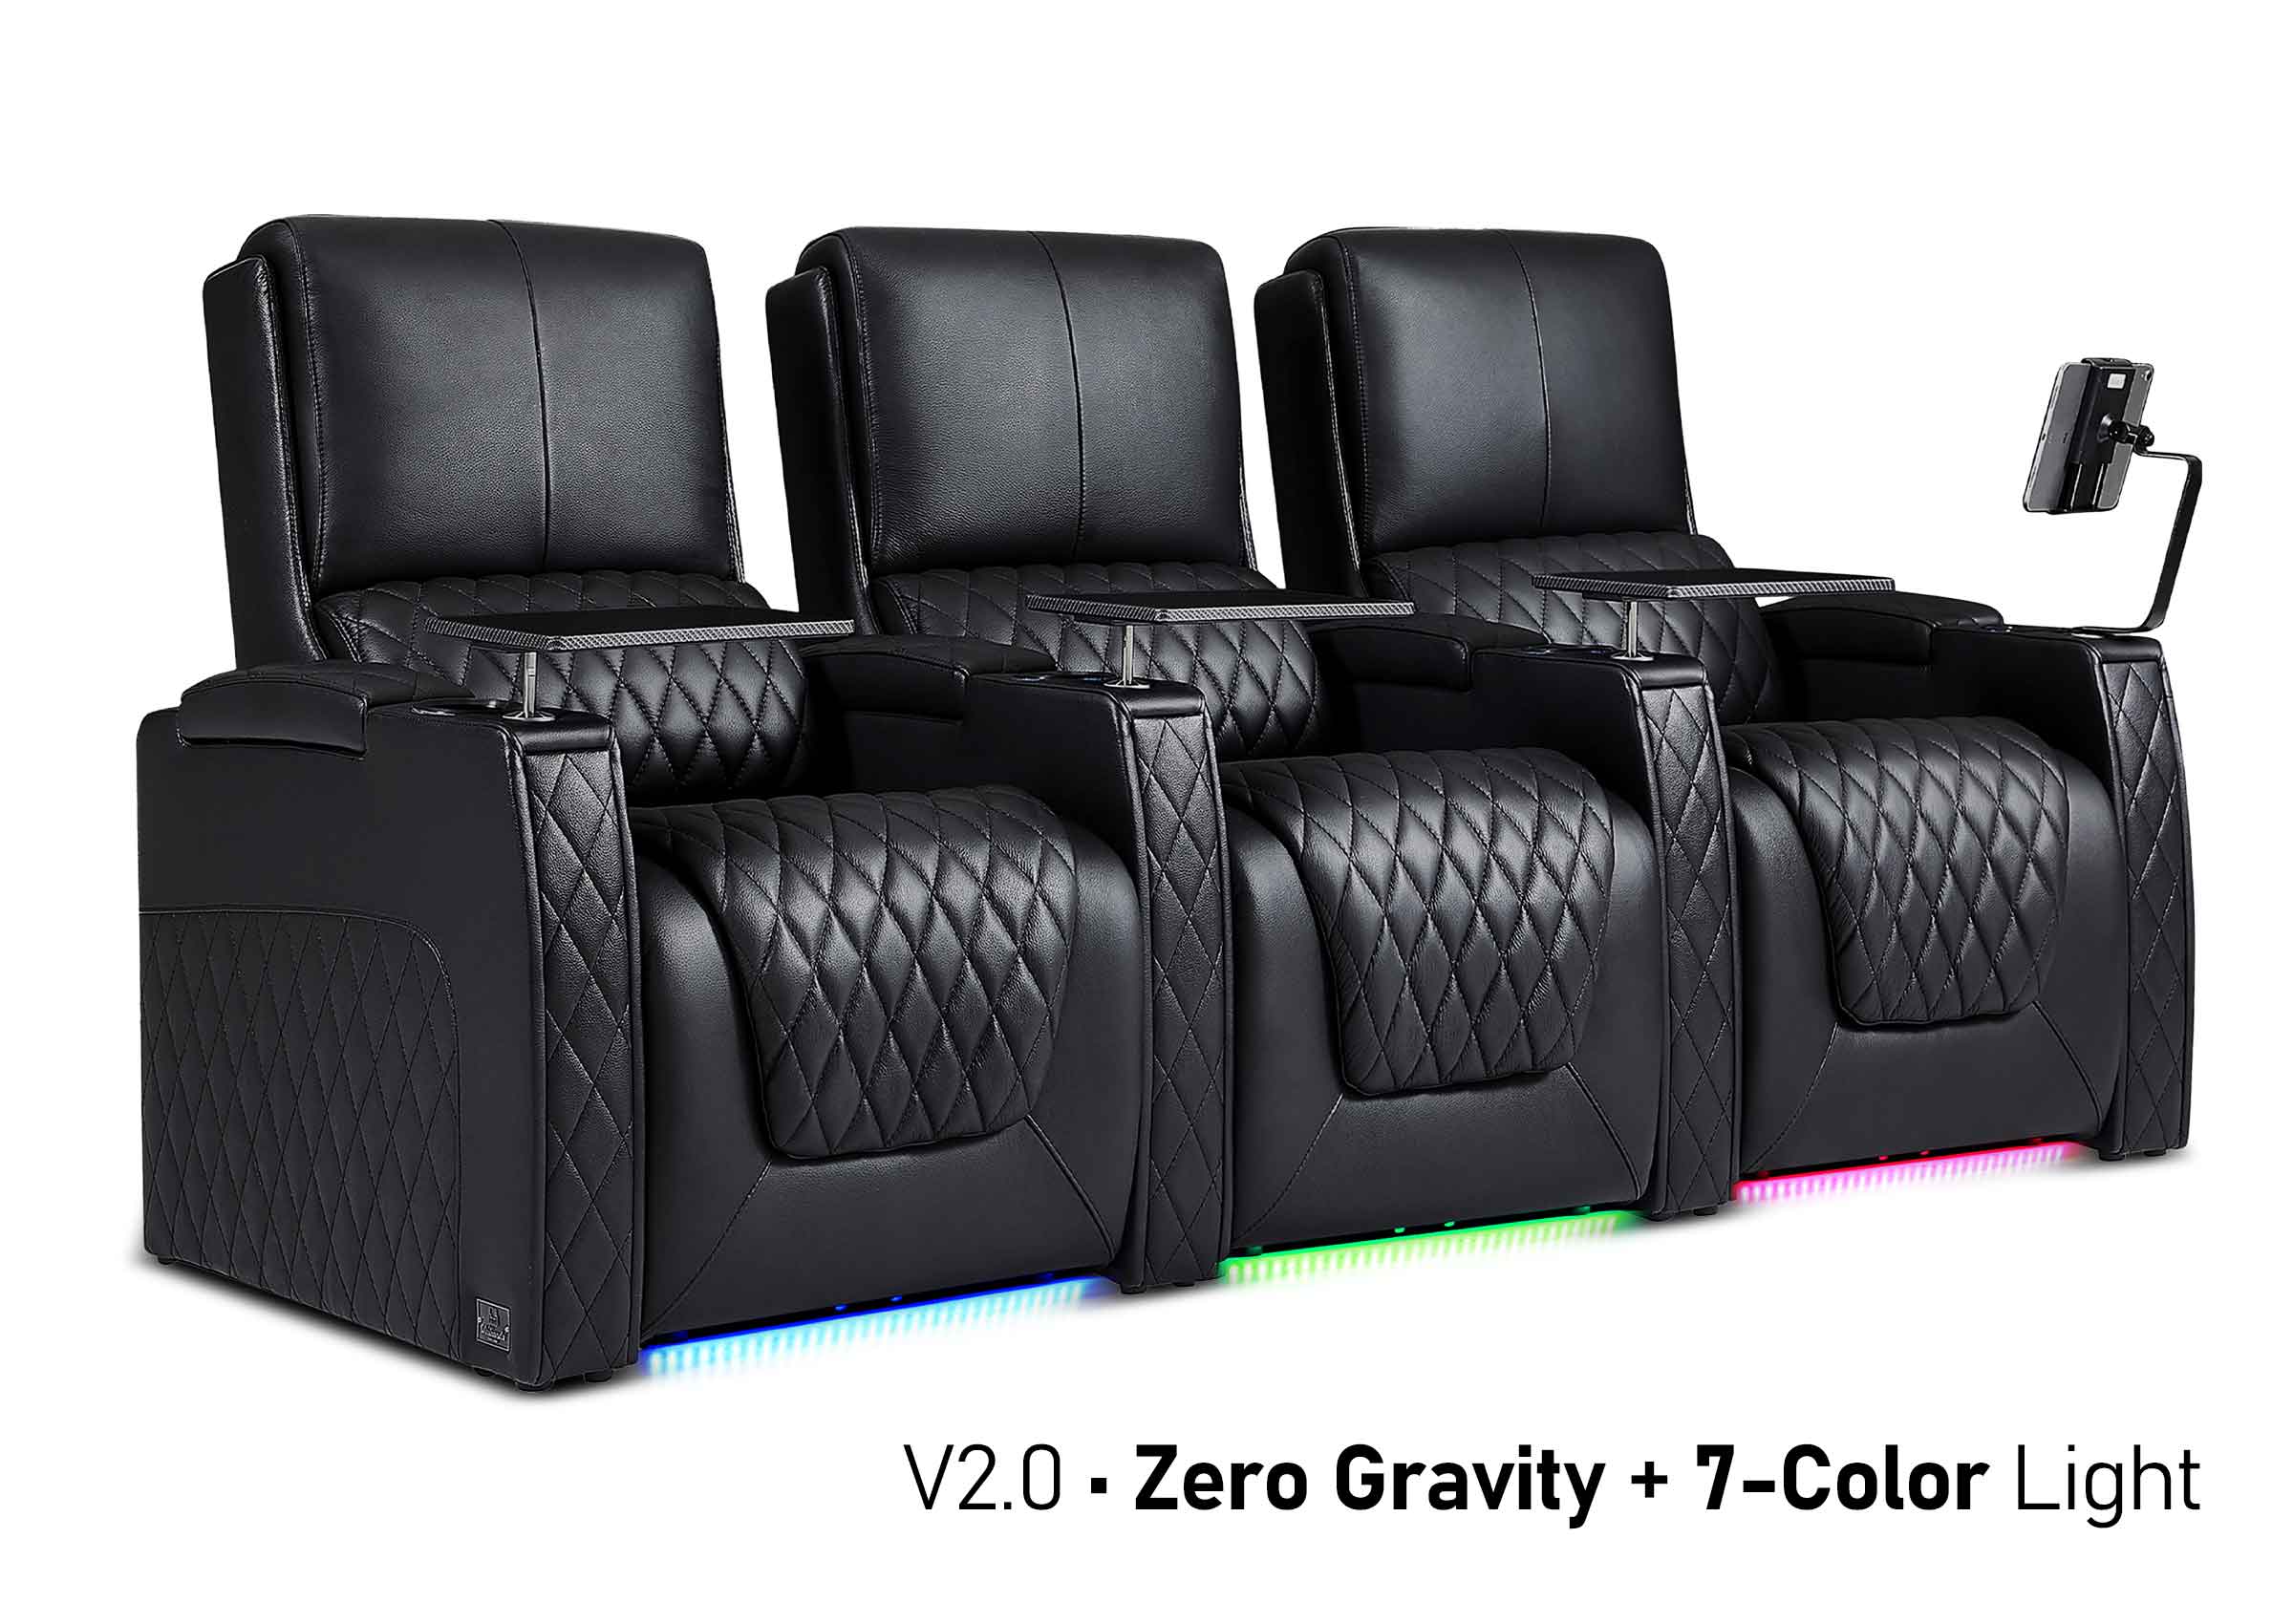
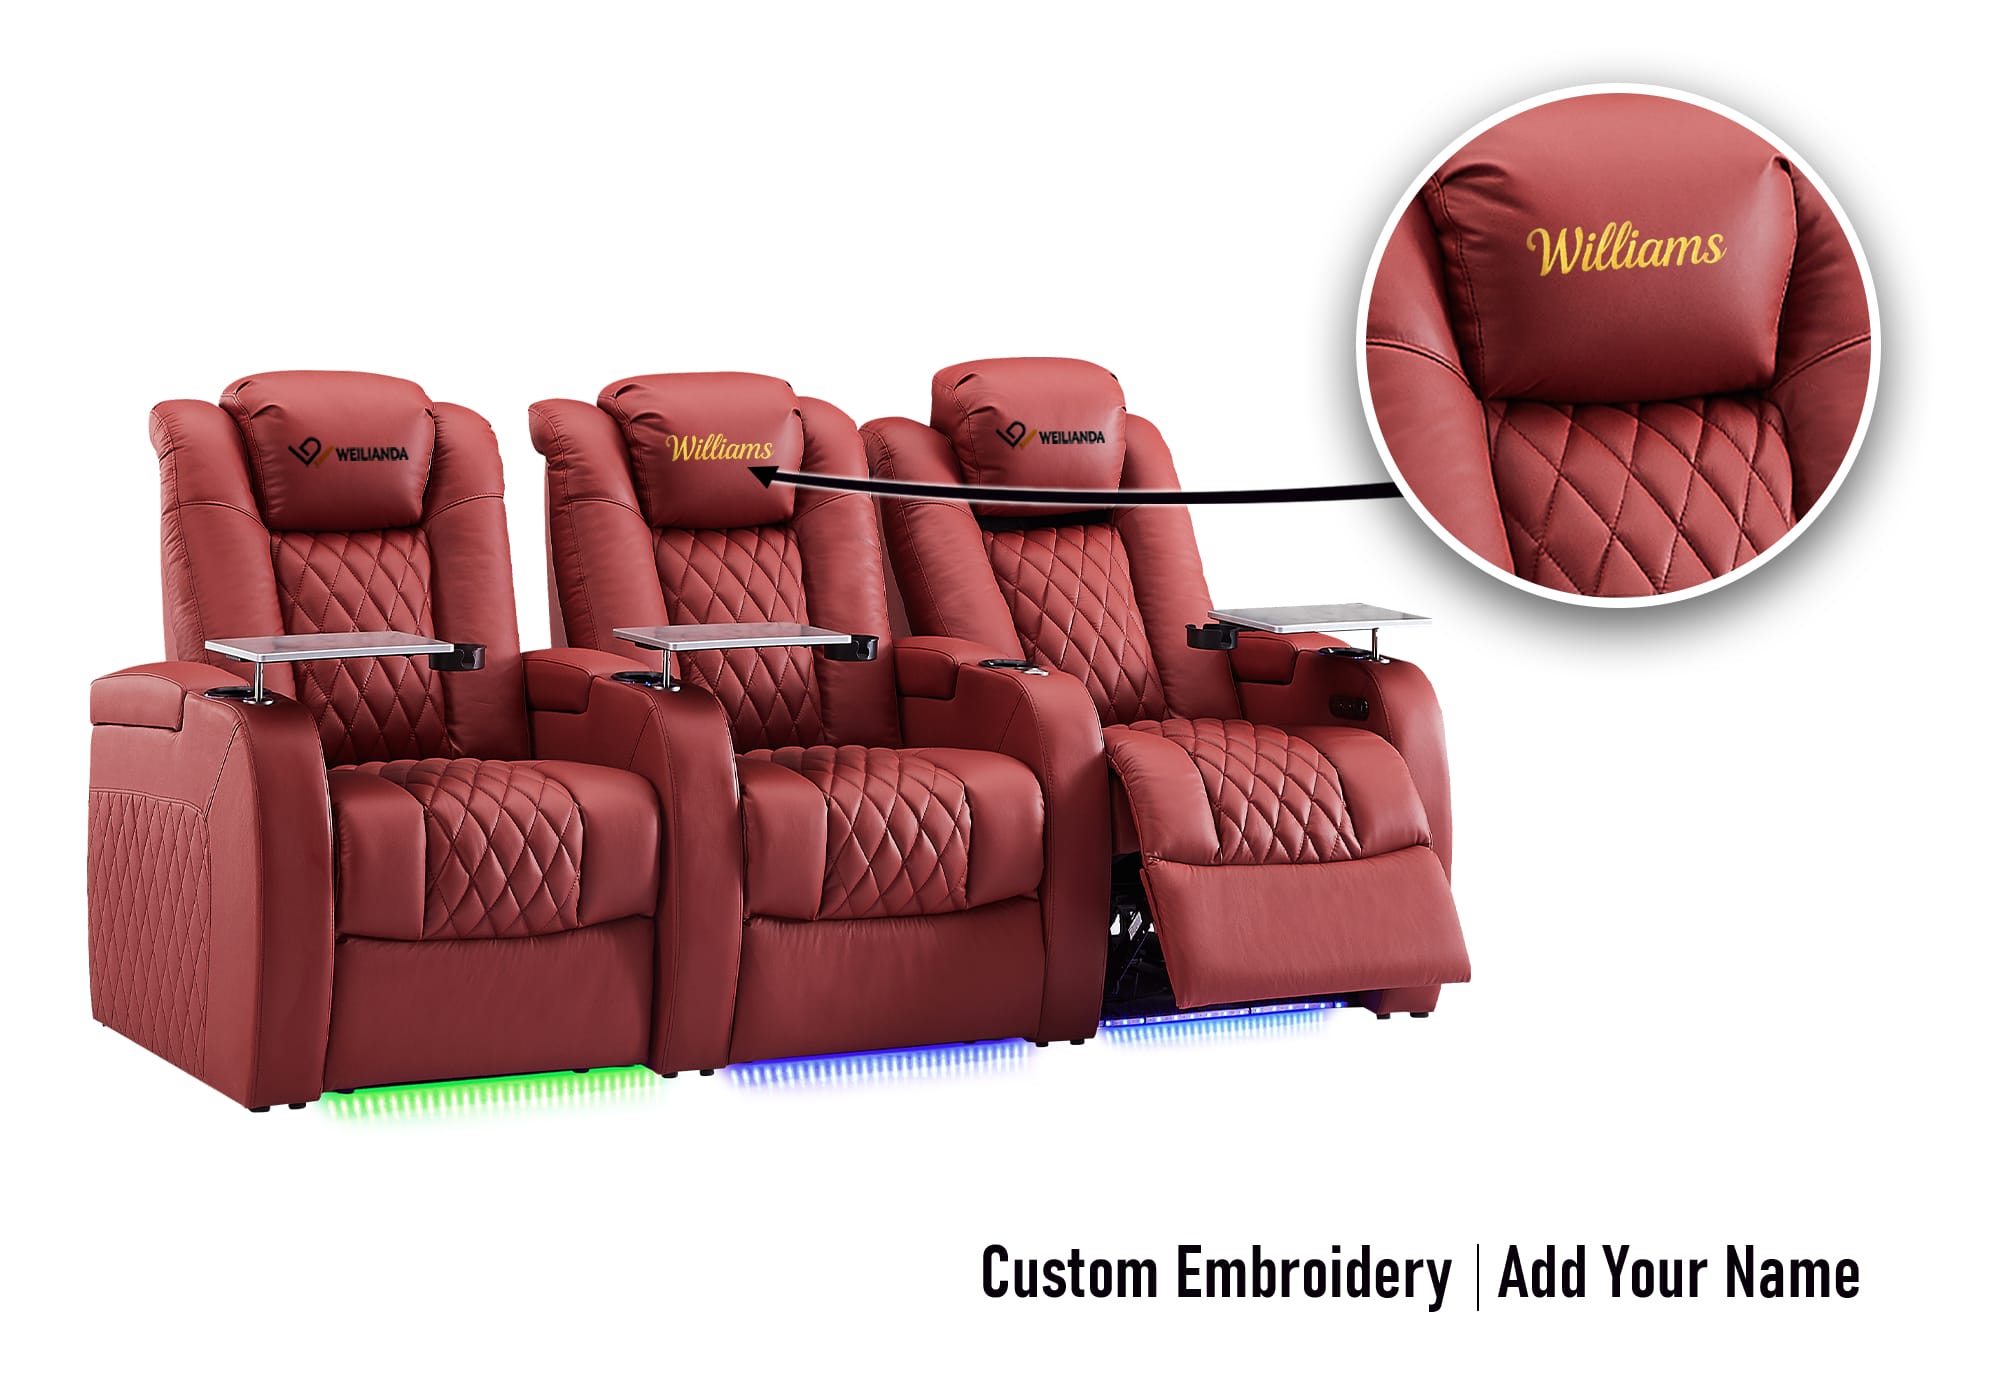
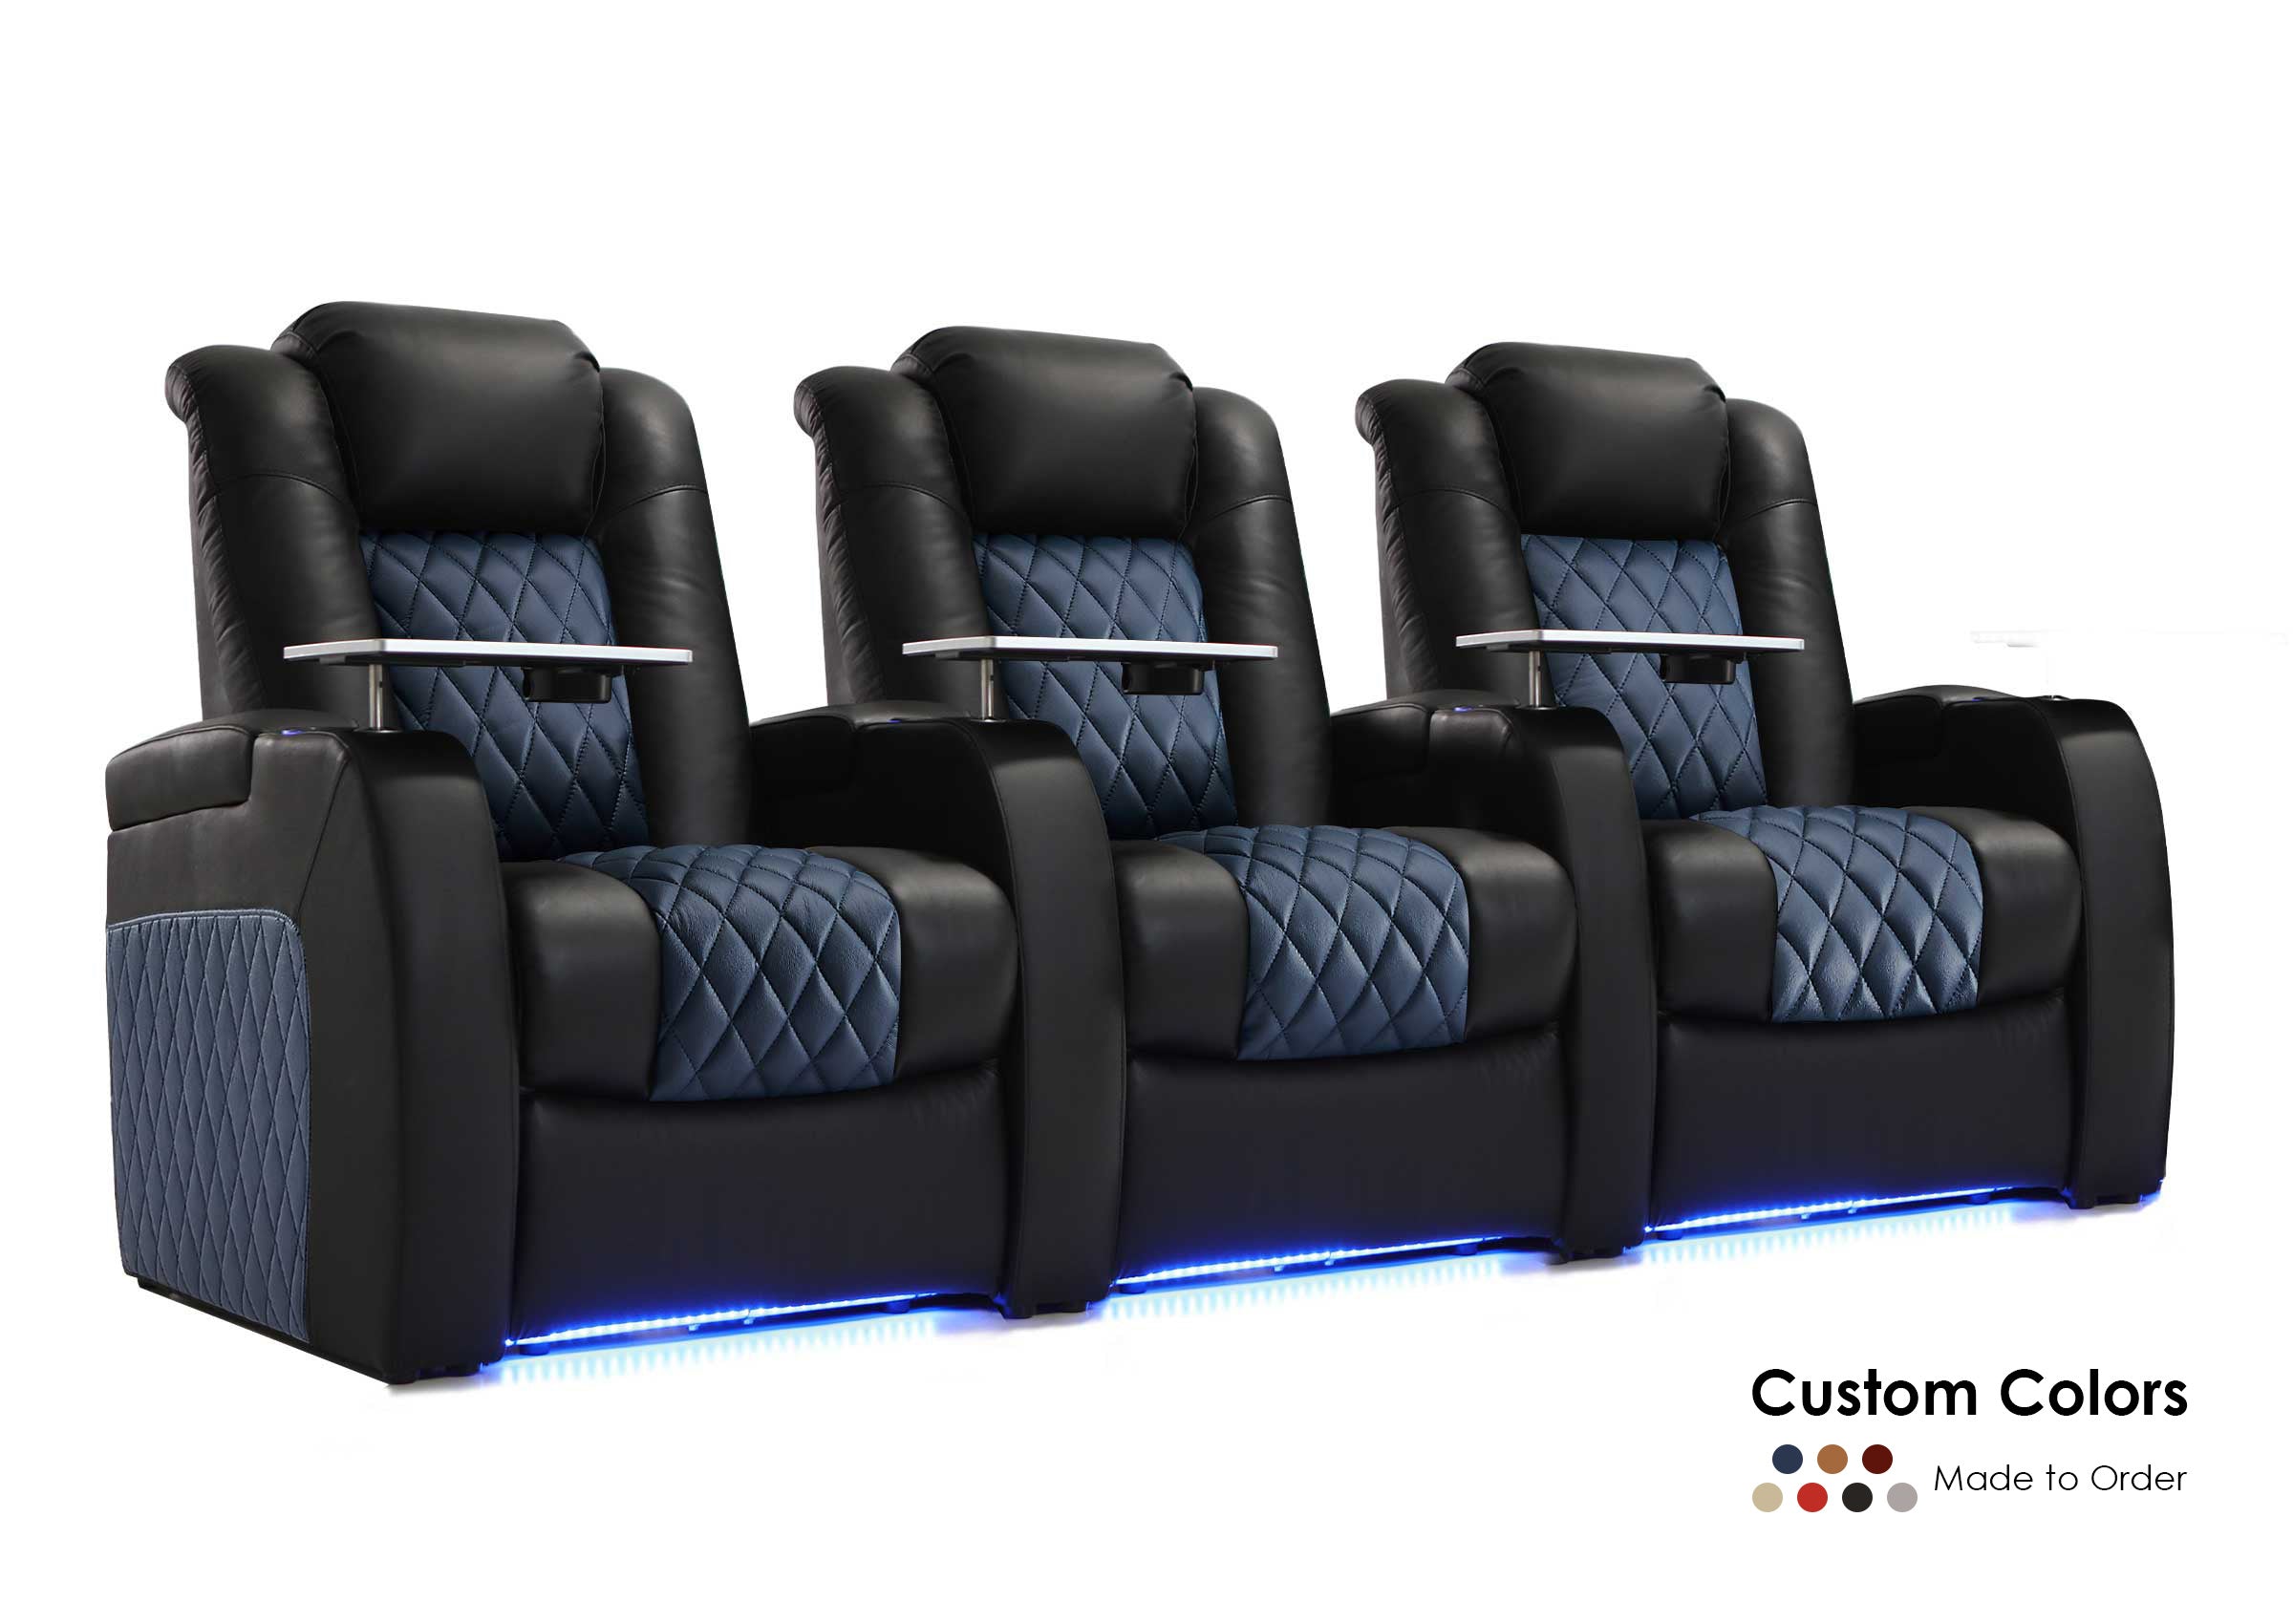
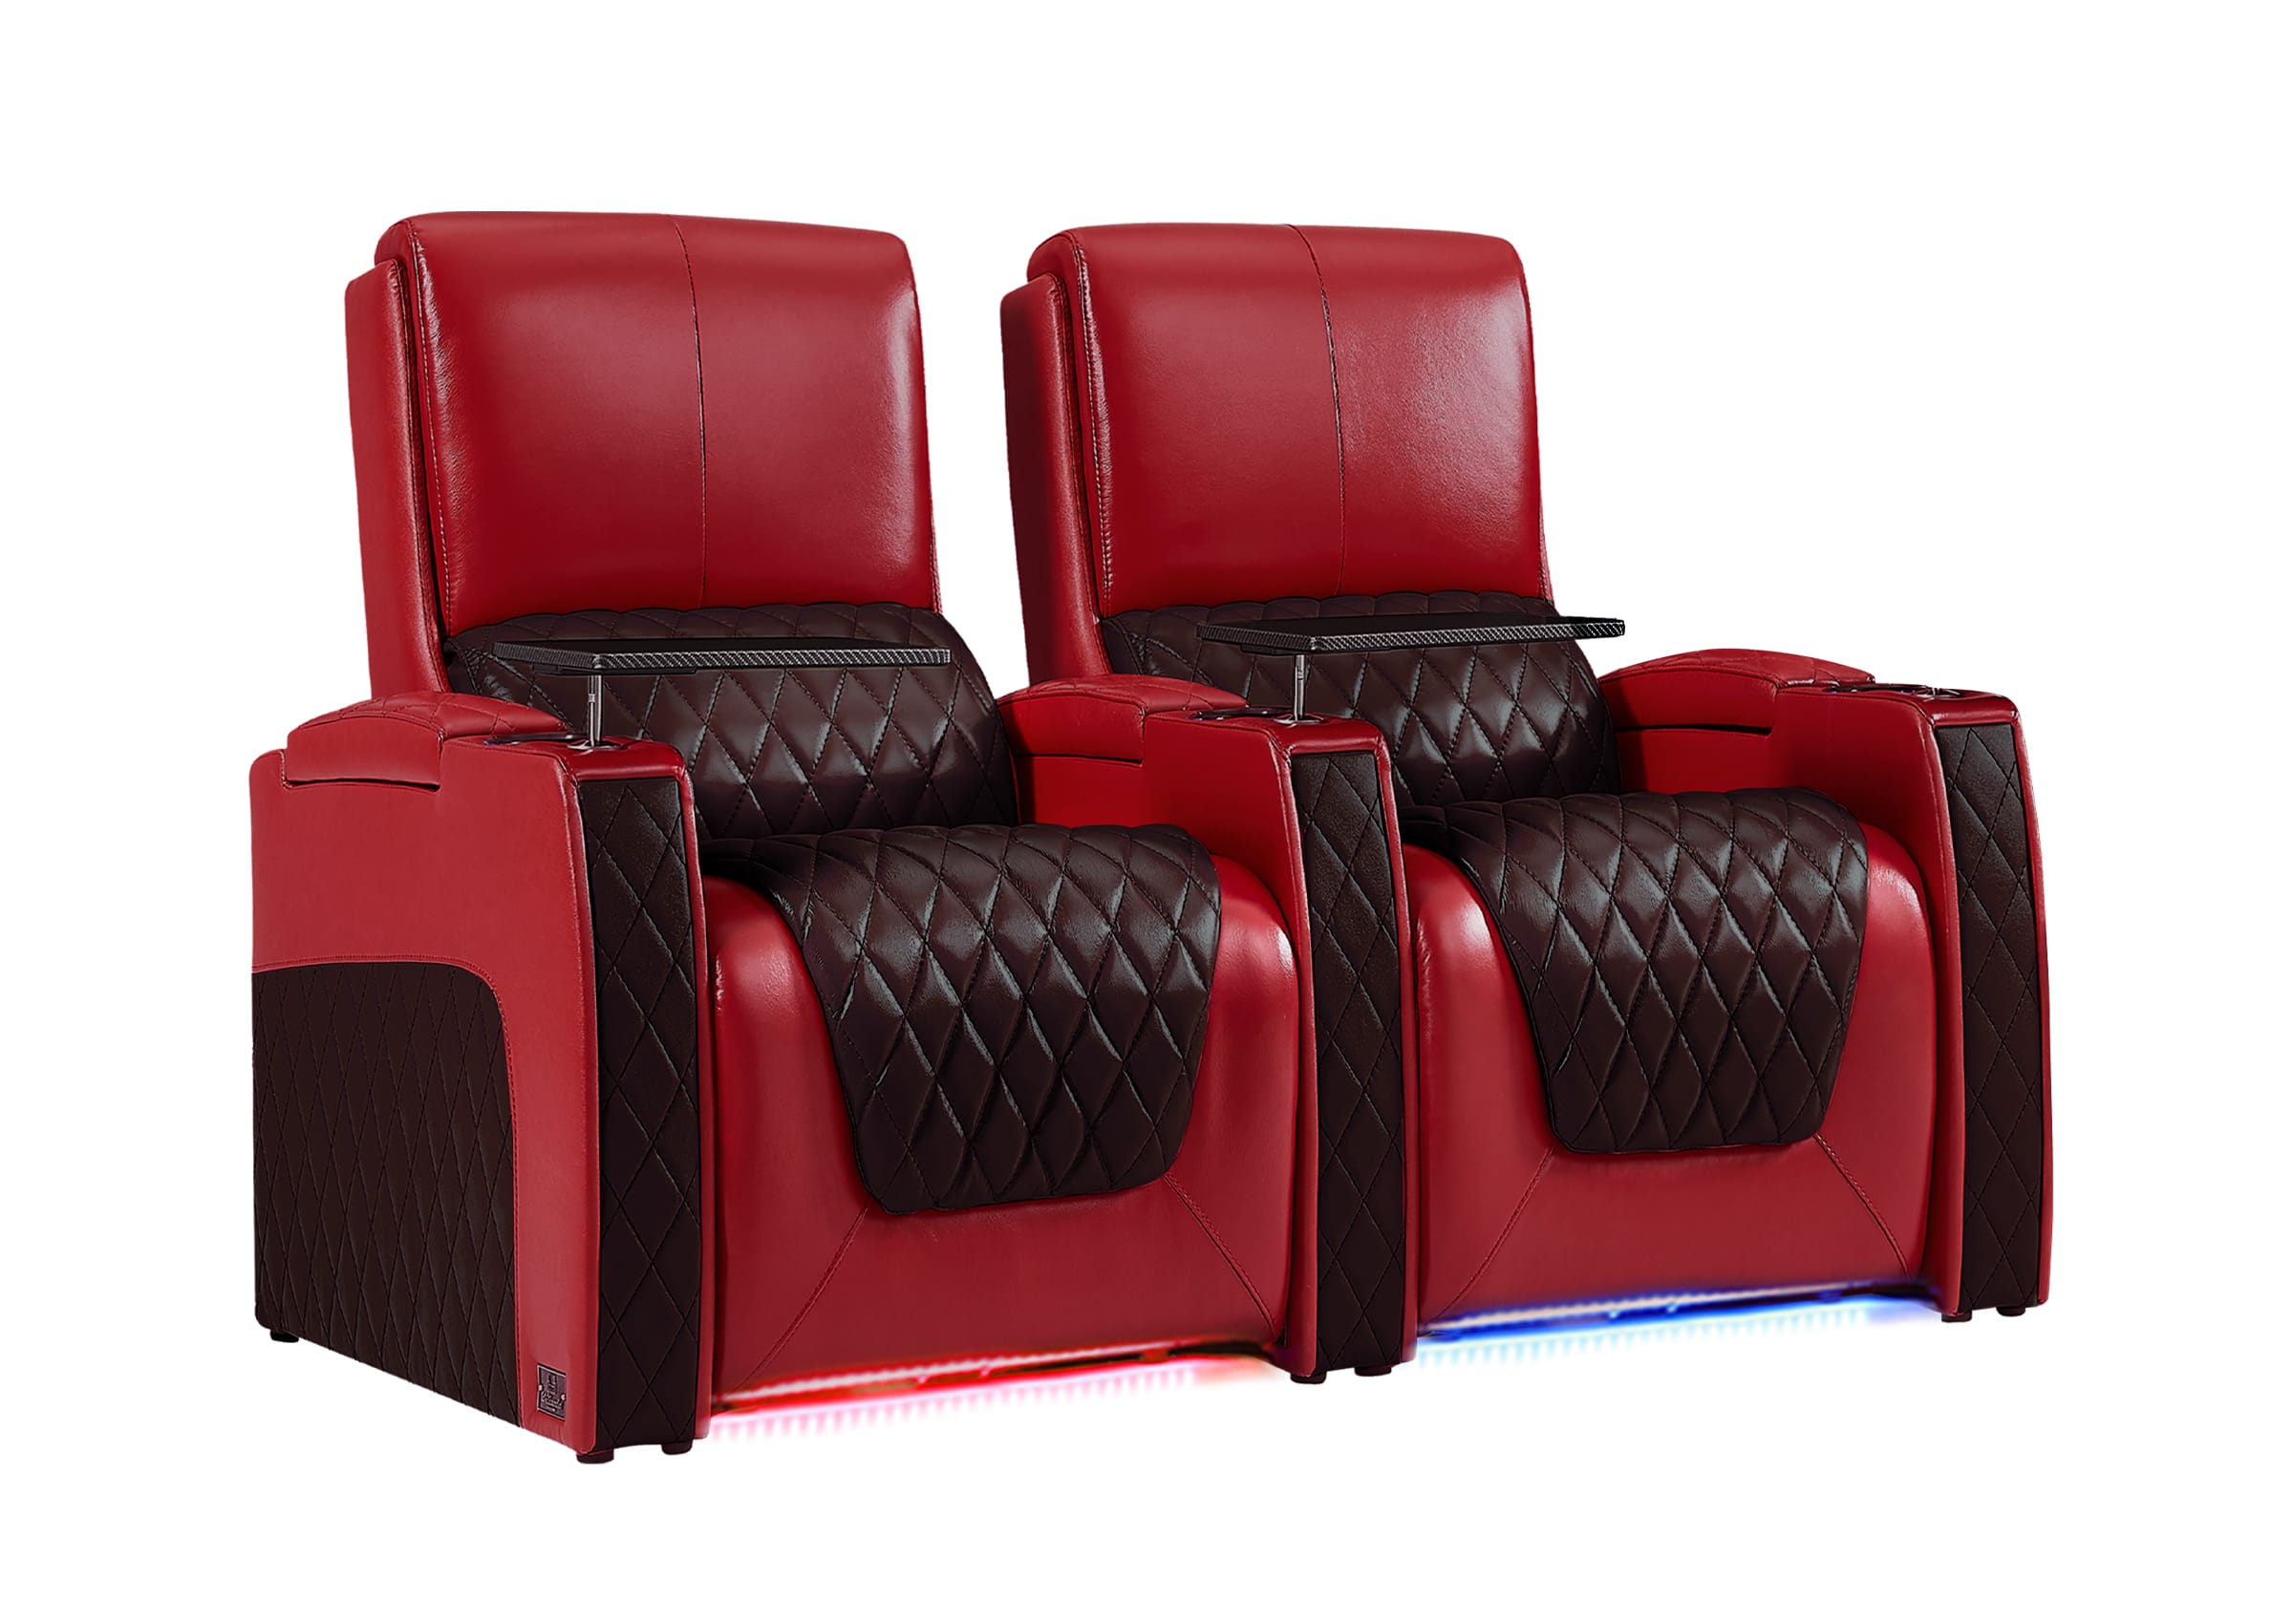
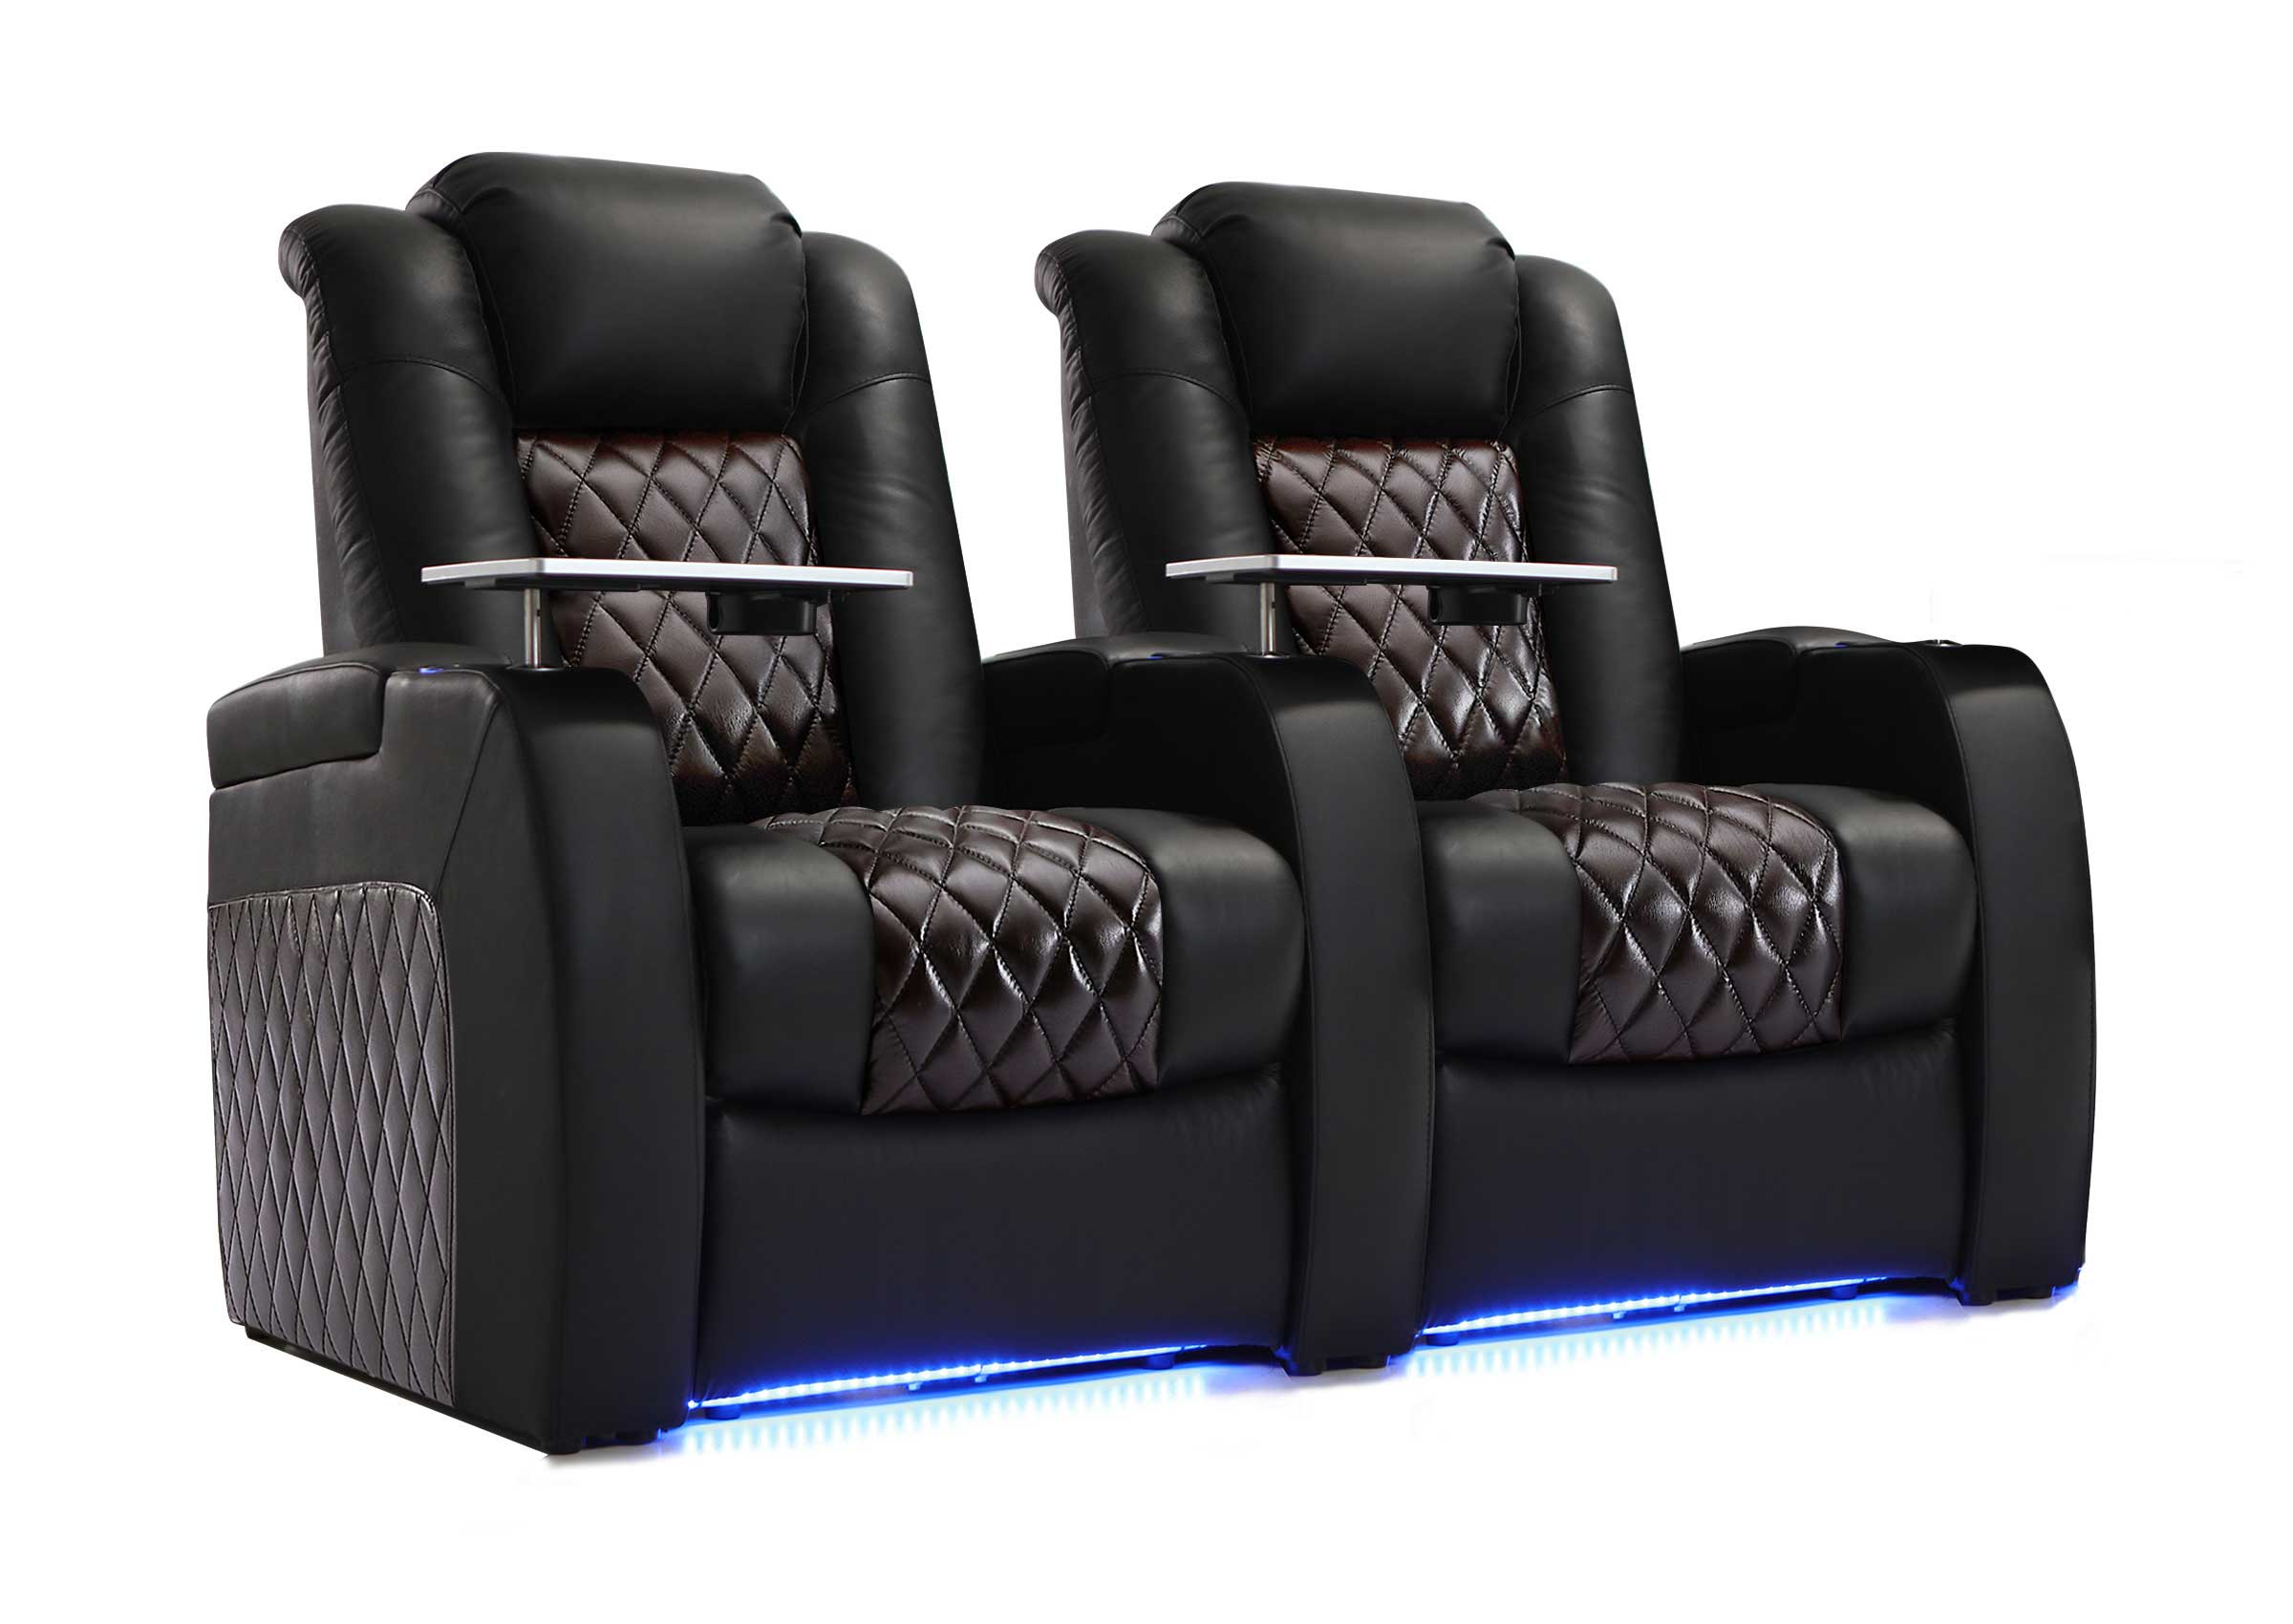
Weilianda seating may include options such as power recline, adjustable headrests, lumbar support, charging functions, storage, cup holders, tray tables, and ambient lighting. Those features should be selected for the project brief, not added automatically. A feature that improves one client's movie-night routine may create an unnecessary width, wiring, or maintenance consideration for another.
Build a measurement package before the order is placed
The most useful project document is a simple measurement package that everyone can review. It does not need to be elaborate, but it should prevent assumptions from being carried from a concept drawing into a furniture order.
Include:
- Finished room width, depth, and ceiling height.
- Door, stair, elevator, hallway, and final installation dimensions.
- Screen wall, screen location, and intended front-row position.
- Seating model and configuration under consideration.
- Upright and full-recline dimensions from the relevant product information.
- Proposed side aisles, row-to-row space, and circulation route.
- Riser or platform details, if applicable.
- Power outlet locations and any equipment or built-ins that affect clearance.
- Delivery and installation access notes.
A layout is ready for purchase only when the seating footprint, the recline envelope, and the delivery path have all been checked. These are separate decisions, and skipping the delivery path can turn an otherwise correct plan into a difficult installation.
Common specification mistakes to avoid
Measuring only the room, not the route into it
A seating configuration may fit perfectly once inside but still be difficult to bring through a doorway, hallway, stairwell, elevator, or final installation area. Review product and packaging dimensions before ordering, and keep this information with the project package.
Designing around a product photo
Photos are helpful for style direction, but they do not reveal the real width, depth, wall clearance, or configuration details. Use specifications and technical drawings for planning decisions.
Assuming every feature applies to every model
Features such as leather upholstery, zero-gravity positioning, lighting, storage, USB charging, or powered adjustments may be available on selected configurations. Verify the exact model instead of carrying a feature list from one product into another specification.
Leaving clearance until the end
If recline clearance and access are checked only after the screen, riser, cabinetry, and row count are fixed, the available solutions become limited. Test the operating footprint early, when a configuration change is still easy.
A better next step for project seating
For a private theater or media-room project, start with the floor plan, the selected seating configuration, and the product-specific dimension sheet. Then test the room in upright and full-recline positions before the order is finalized.
If you are considering a Weilianda configuration, bring the room plan, access measurements, and the model under consideration to the conversation with the support team. This helps keep product selection, room planning, and delivery preparation aligned before the seating is ordered.
FAQs
How do designers calculate home theater seating space?
Start with the finished room dimensions and fixed constraints, then place the exact seating configuration using its upright and full-recline dimensions. Check the screen relationship, row-to-row space, side access, and delivery route before approving the layout.
How much recline clearance does theater seating need?
There is no universal number. Recline clearance depends on the selected model and configuration, so use the product-specific full-recline dimensions and wall-clearance guidance rather than a generic recliner rule.
Can a narrow room still use theater seating?
Often, yes, but the best solution may be a smaller configuration, a single row, a different seating type, or one carefully planned circulation route. The room should be tested with the seats fully reclined, not only in an upright plan.
Should a designer plan the riser before selecting the seating?
The riser and seating should be planned together. The final choice depends on the selected seats, screen position, sightlines, ceiling height, access, and construction details.
What should be confirmed before ordering custom theater seating?
Confirm the room plan, the exact configuration, product-specific dimensions, materials and features, access route, power needs, delivery conditions, and any project-specific requirements. For custom work, the applicable order terms and details should be confirmed before production or shipment.