The difference between a good and great viewing experience often hinges on one crucial factor: your projector setup. As you sit down to enjoy your favorite film or present your latest project, the quality of the image before you speaks volumes. A dim, distorted picture can turn an epic adventure into a frustrating ordeal, while a crisp, vibrant display can make even the simplest scenes come alive. Proper projector configuration isn't just about following a manual – it's about understanding how each element contributes to the final image.
Step 1: Choose the Right Projector
Selecting the ideal projector hinges on two key factors: brightness and resolution.
Brightness: Finding Your Lumen Sweet Spot
Projector brightness, measured in lumens, should align with your room conditions. In a dark home theater, a projector with 1500-2500 lumens will suffice. For rooms with some ambient light, aim for 2500-3500 lumens. Bright spaces or large rooms may require 3500 lumens or more. Remember, adjustable brightness settings are a valuable feature, allowing you to adapt to different viewing scenarios.
Resolution: Clarity Meets Content
Your choice of resolution should reflect your primary use. For most home theaters, 1080p (1920x1080) offers excellent image quality. Cinephiles and gamers might prefer 4K (3840x2160) for ultra-high-definition visuals. Business presentations or casual home use might find WXGA (1280x800) sufficient. Consider future-proofing your purchase with 4K, as ultra-high-definition content is becoming increasingly common.

Step 2: Select the Ideal Screen
Your choice of screen can significantly enhance your projector's performance.
Screen Types and Materials
Fixed frame screens offer the best image quality, ideal for dedicated home theaters. Retractable screens provide flexibility for multi-use spaces, while portable screens suit those who move their setup frequently.
For materials, matte white screens work well in controlled lighting. In rooms with ambient light, consider a gray screen or ambient light rejecting (ALR) material to maintain image contrast and color saturation.
Calculating Optimal Screen Size
Screen size should align with your room dimensions and viewing distance. A good rule of thumb is to choose a screen width about half your viewing distance. For aspect ratio, 16:9 is standard for most modern content, while 4:3 might suit older films or business presentations.
Step 3: Position Your Projector
Proper projector placement is crucial for achieving the best image quality.
Finding the Perfect Throw Distance
The throw distance is the space between your projector and screen. This distance varies depending on your projector's throw ratio and your desired screen size.
Short-throw projectors work well in small rooms, projecting large images from short distances. Standard throw projectors offer more flexibility but require more space.
Adjusting Vertical and Horizontal Placement
Aim to position your projector so that its lens is parallel to the screen and centered both horizontally and vertically. This alignment minimizes the need for keystone correction, which can degrade image quality.
If perfect alignment isn't possible, many projectors offer lens shift features. Horizontal lens shift allows you to offset the projector left or right, while vertical lens shift lets you move the image up or down without moving the projector.
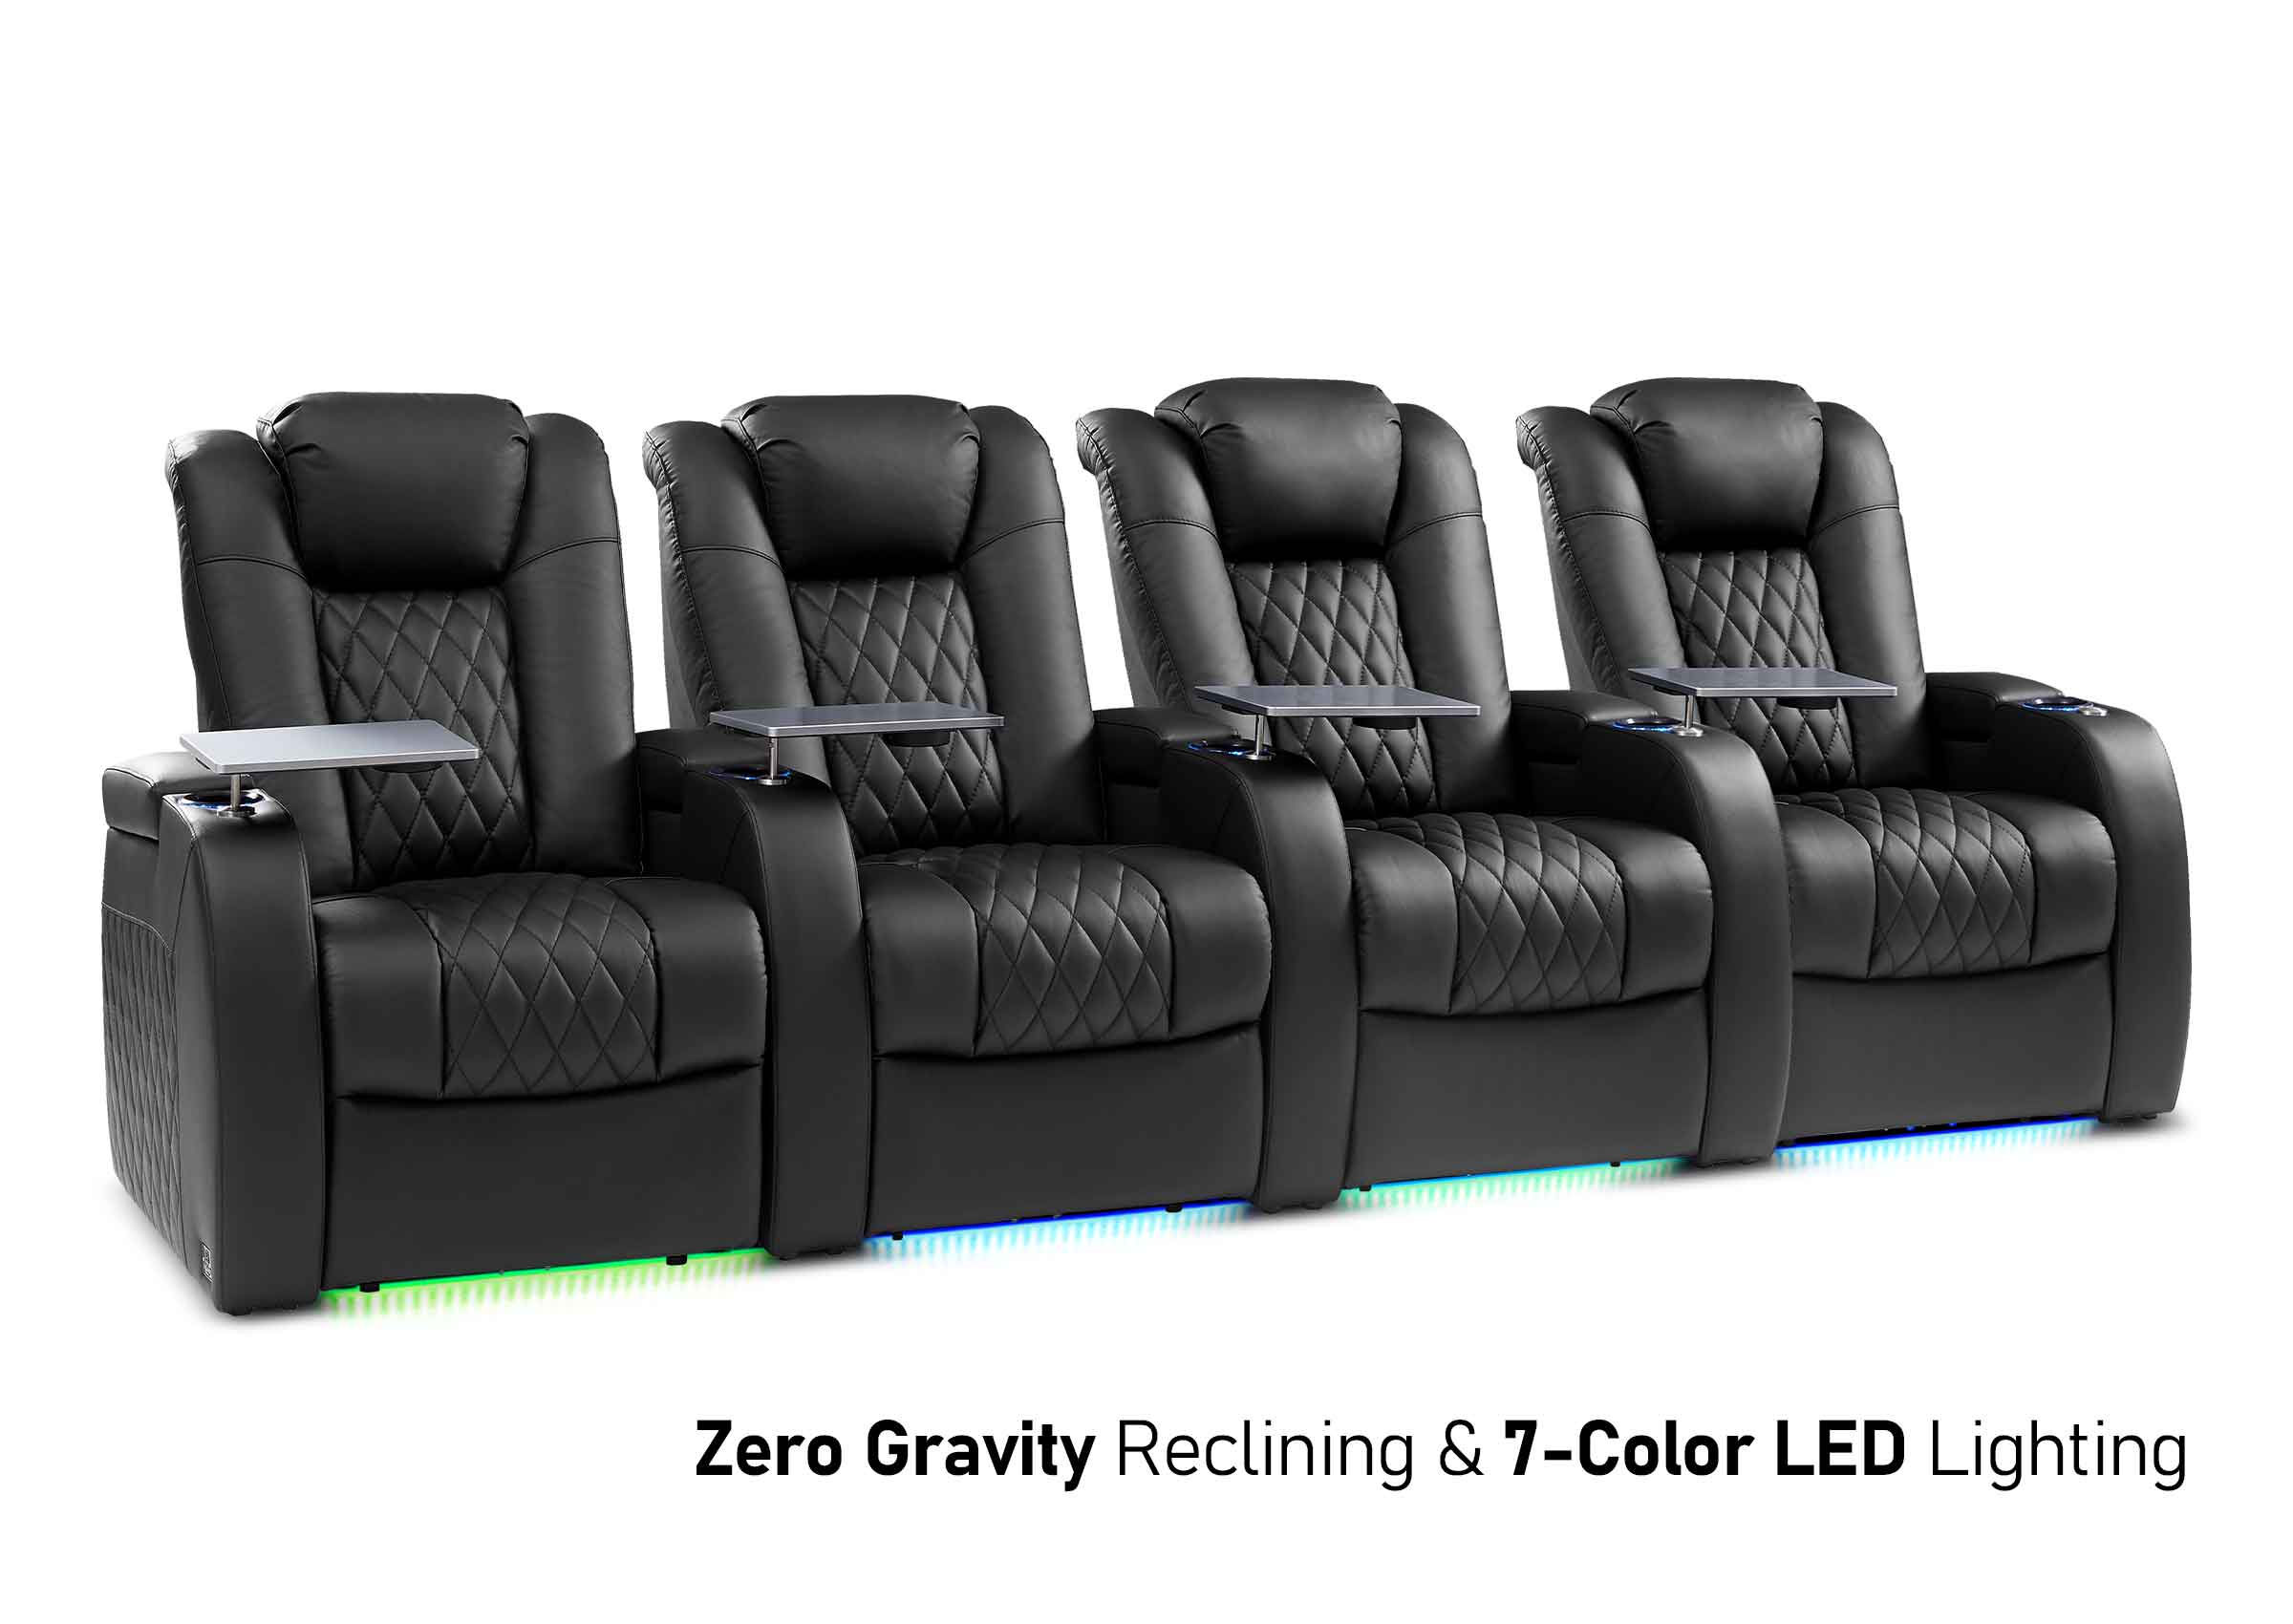
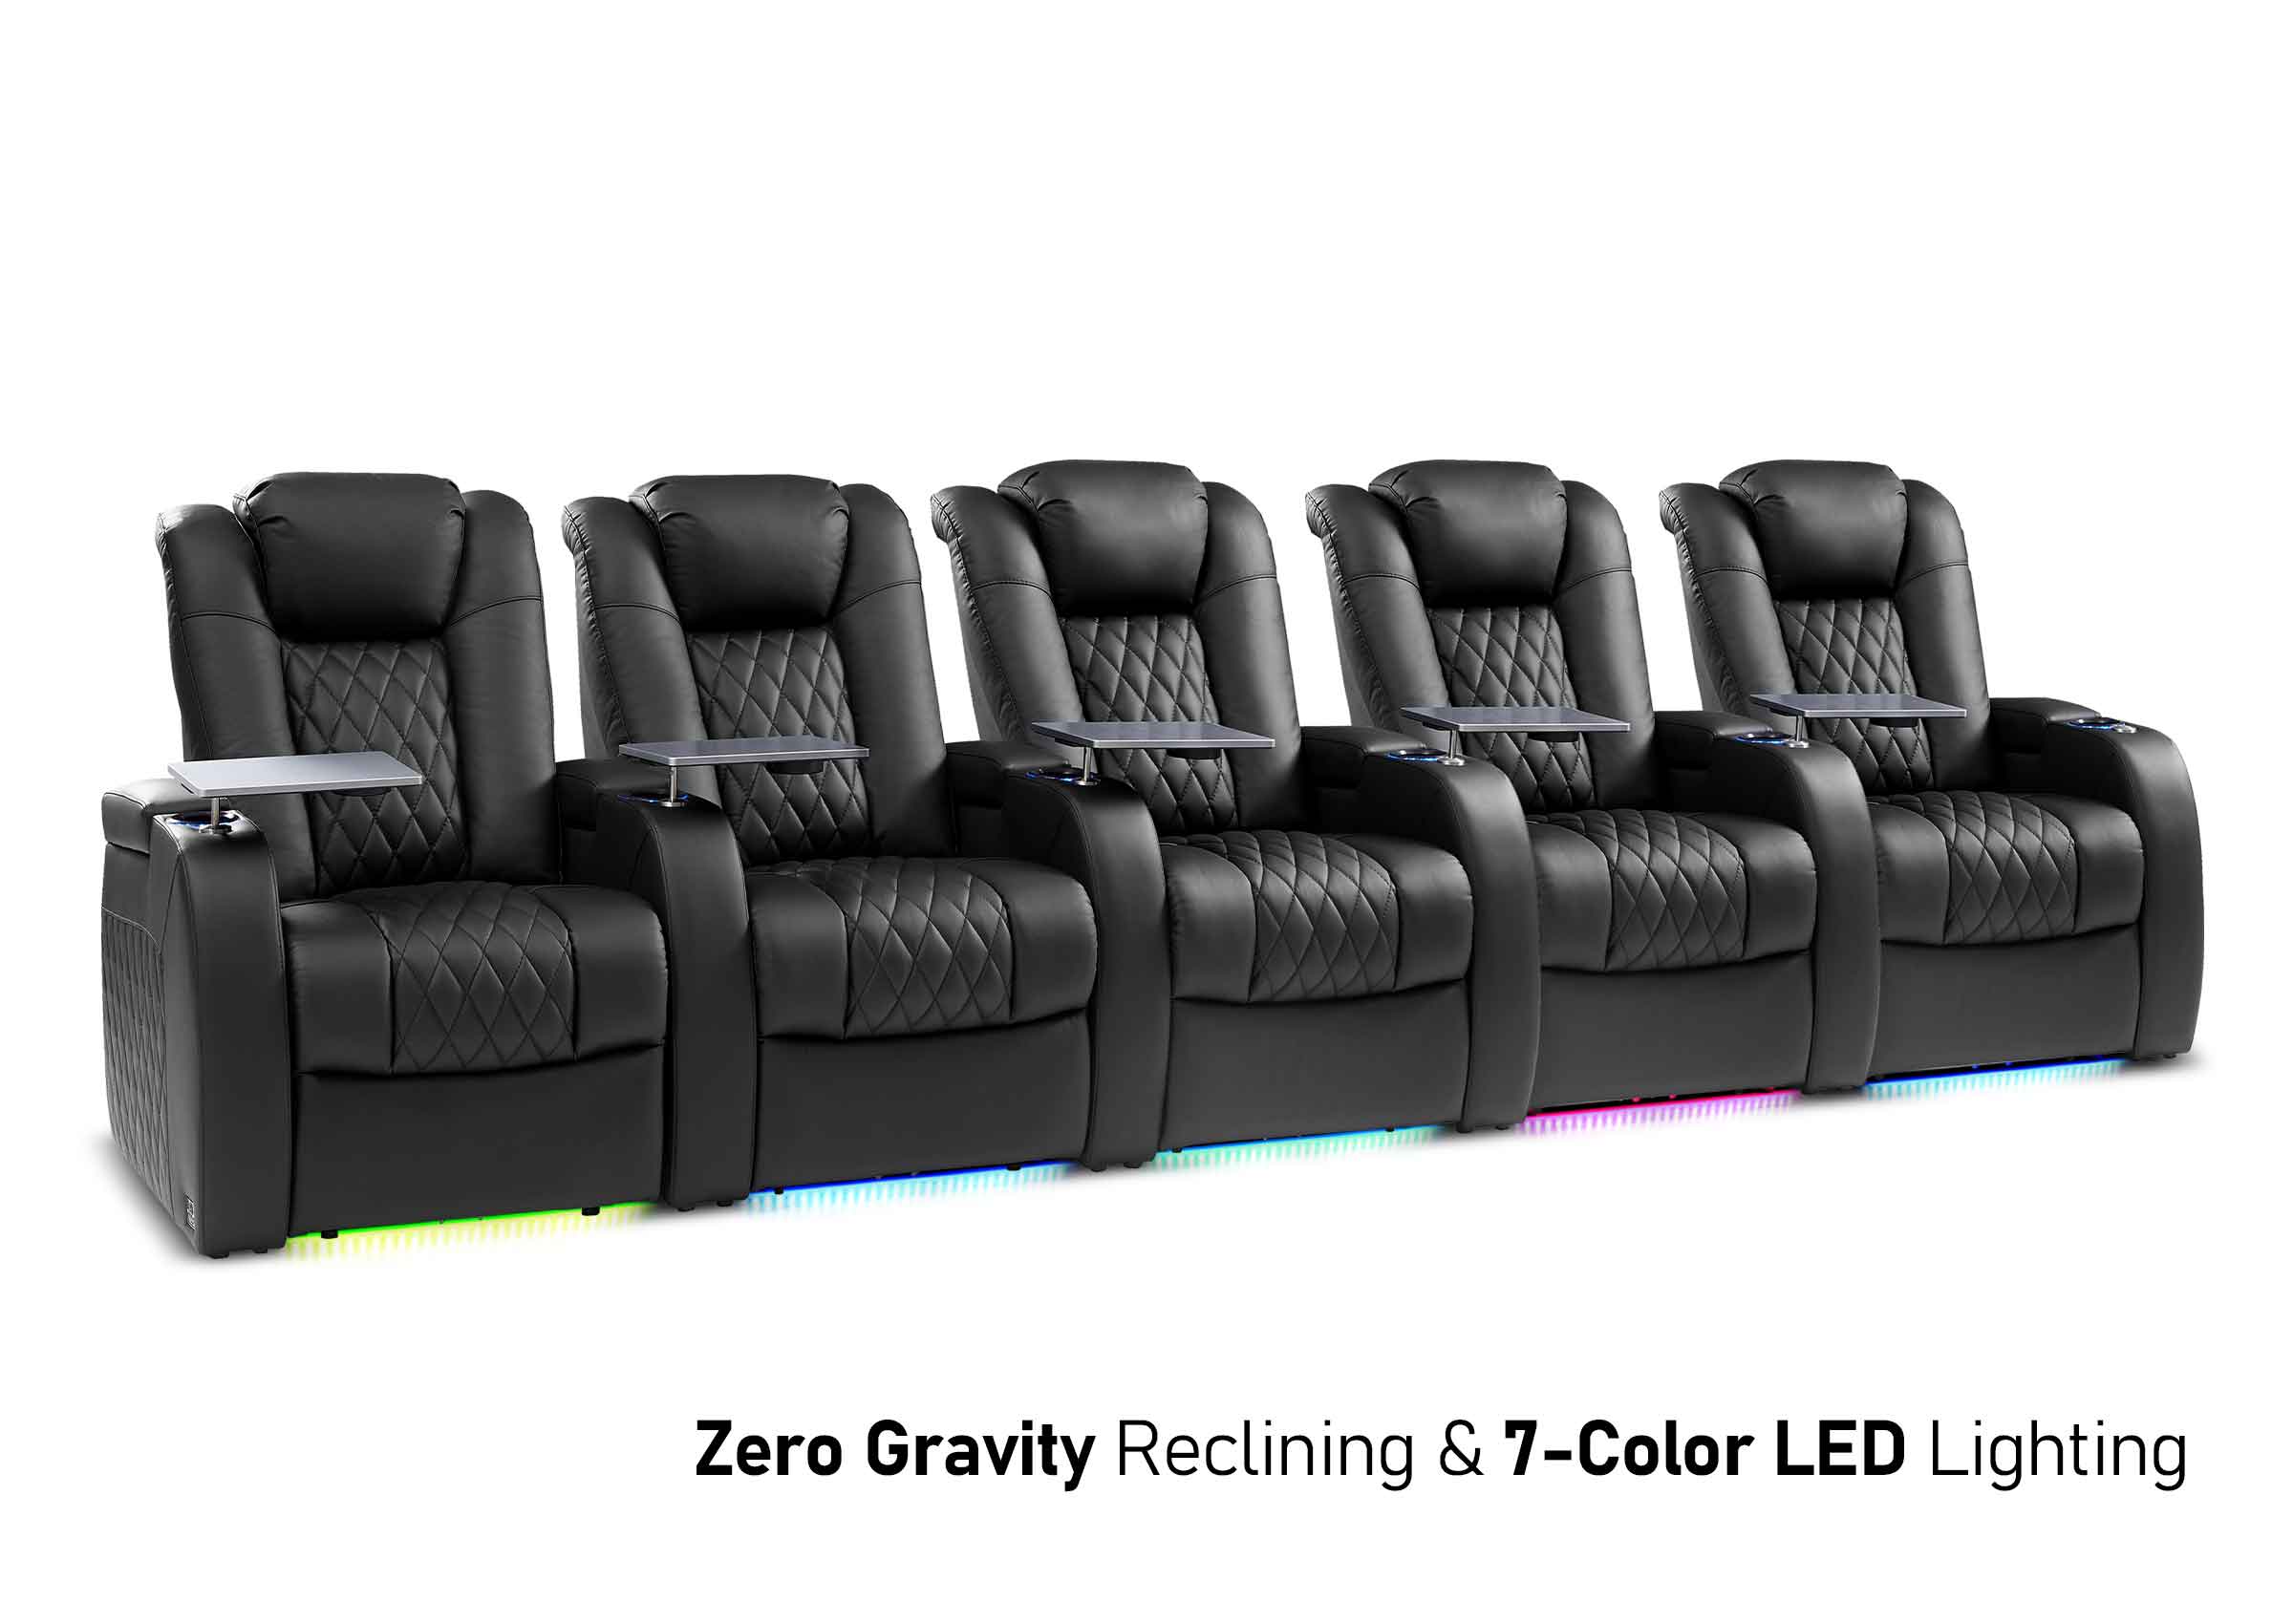
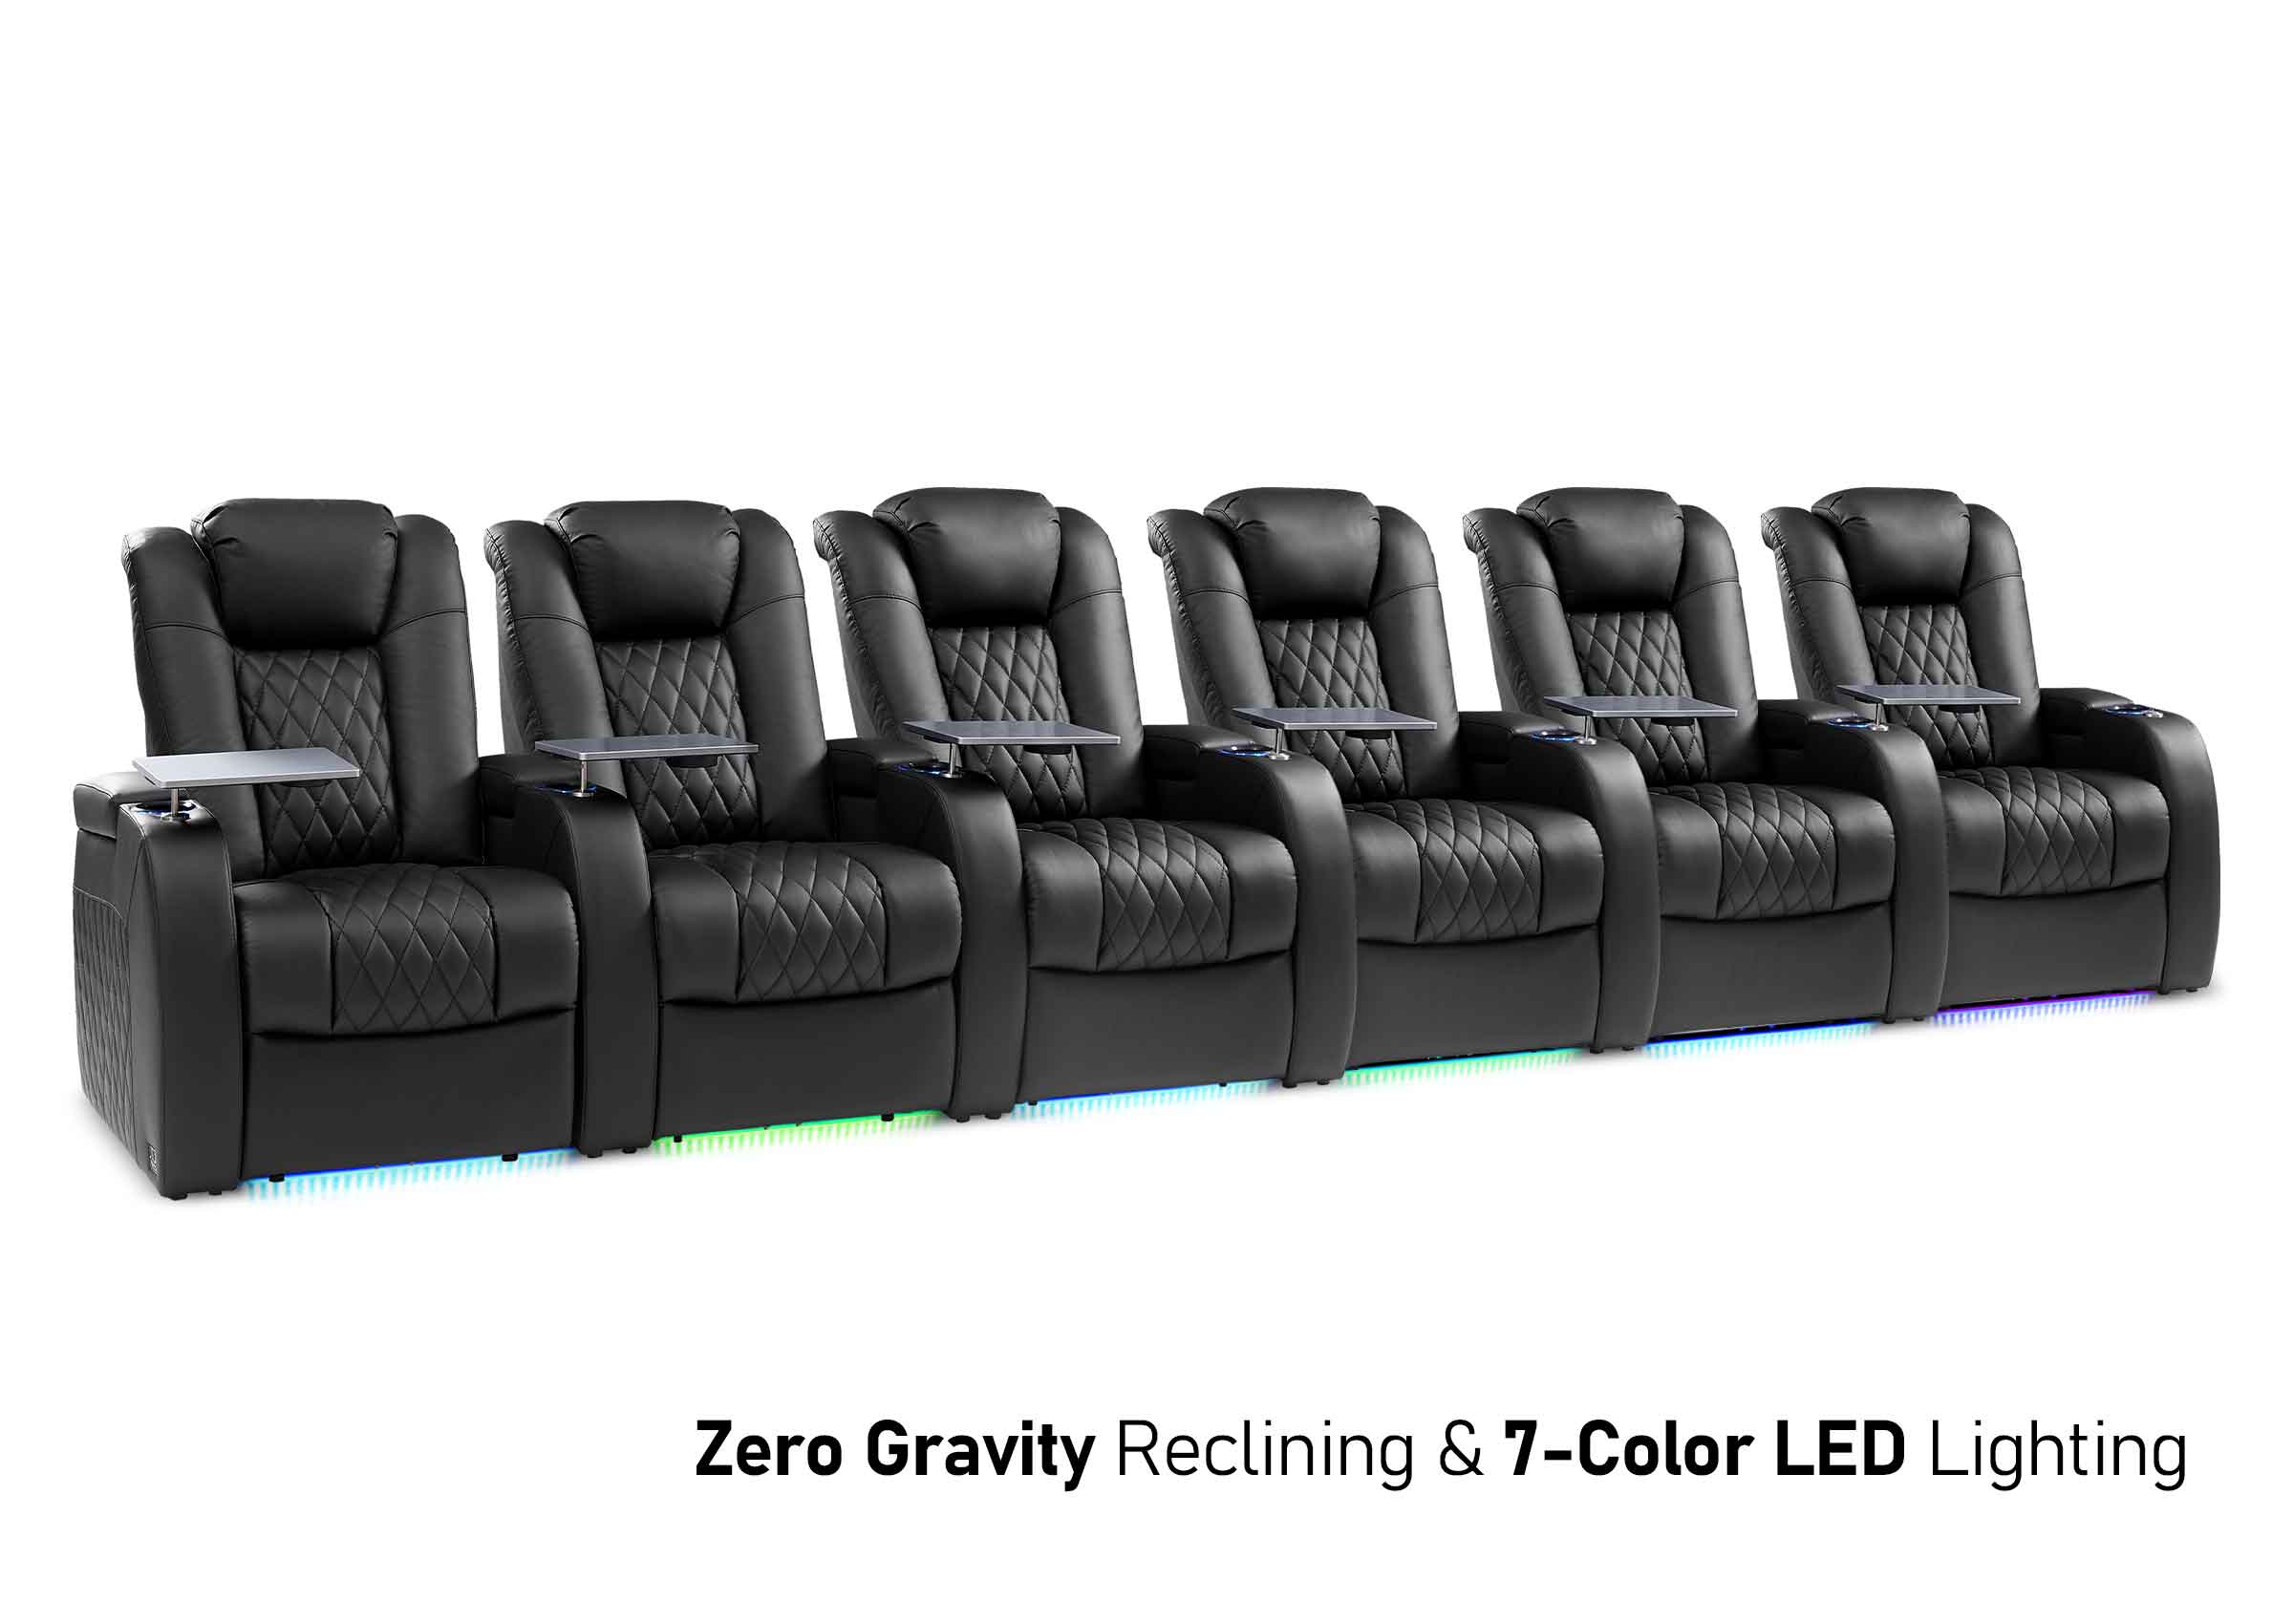
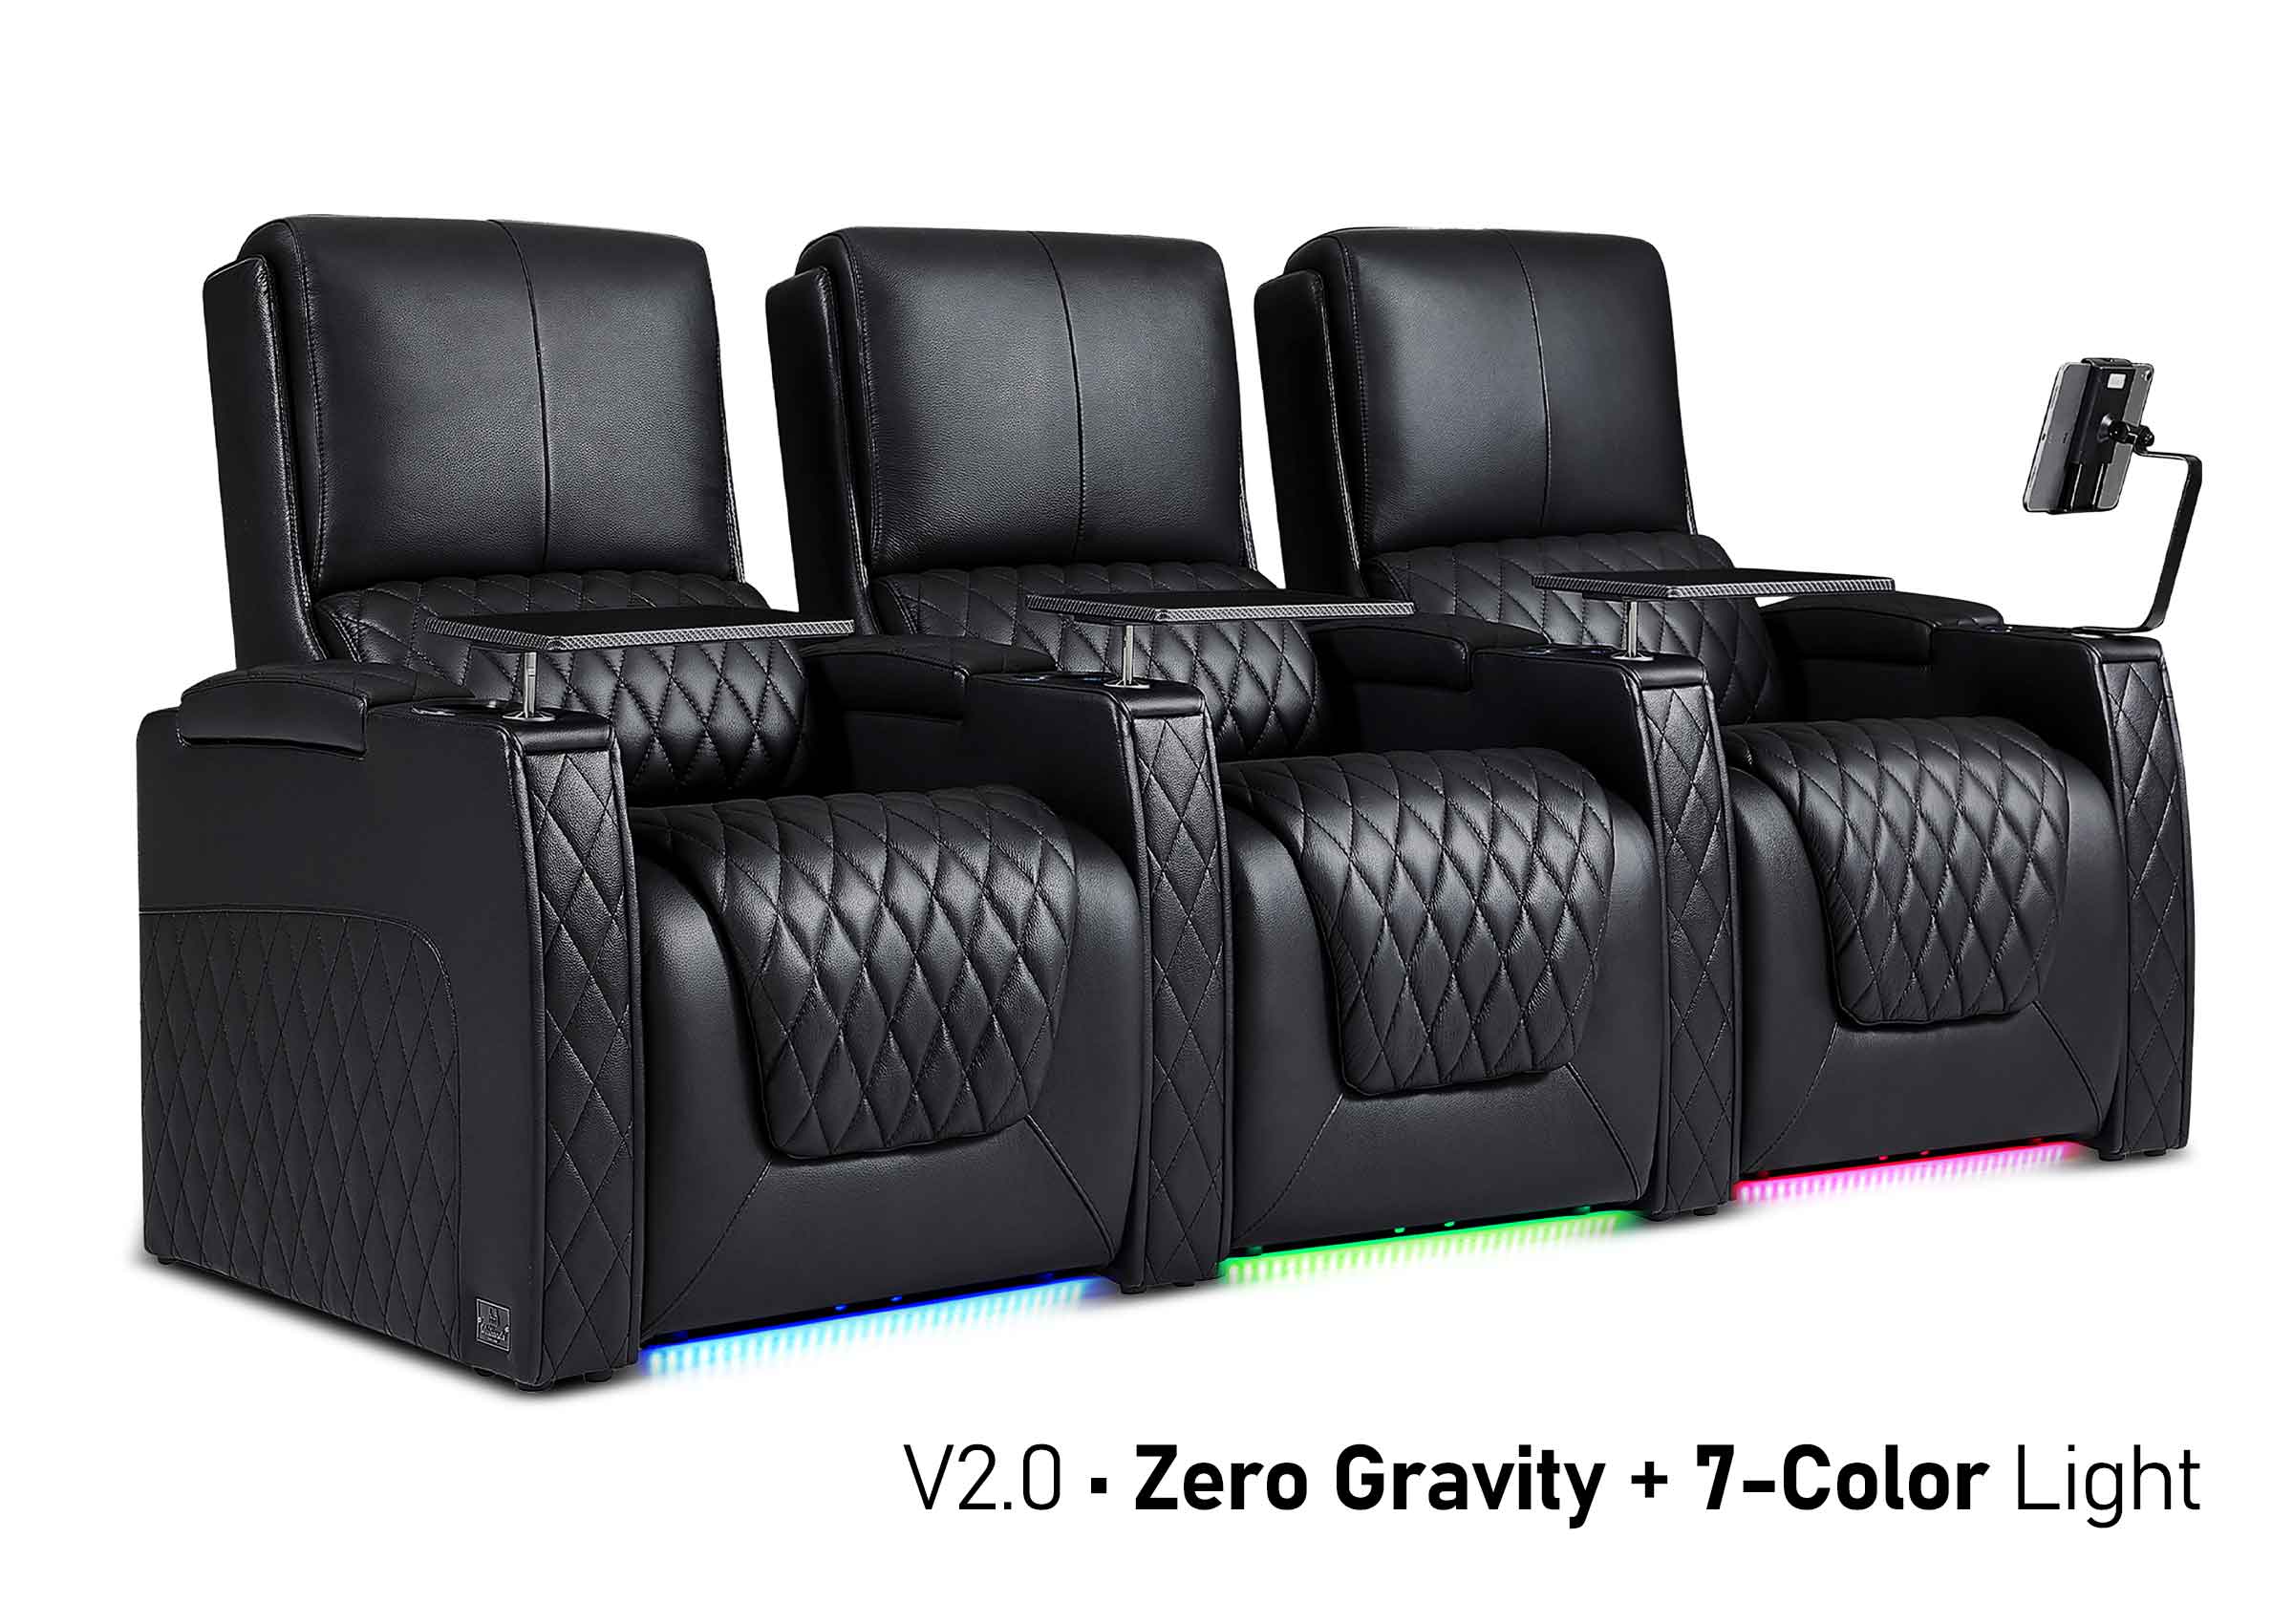
Optimizing Home Seating Distance
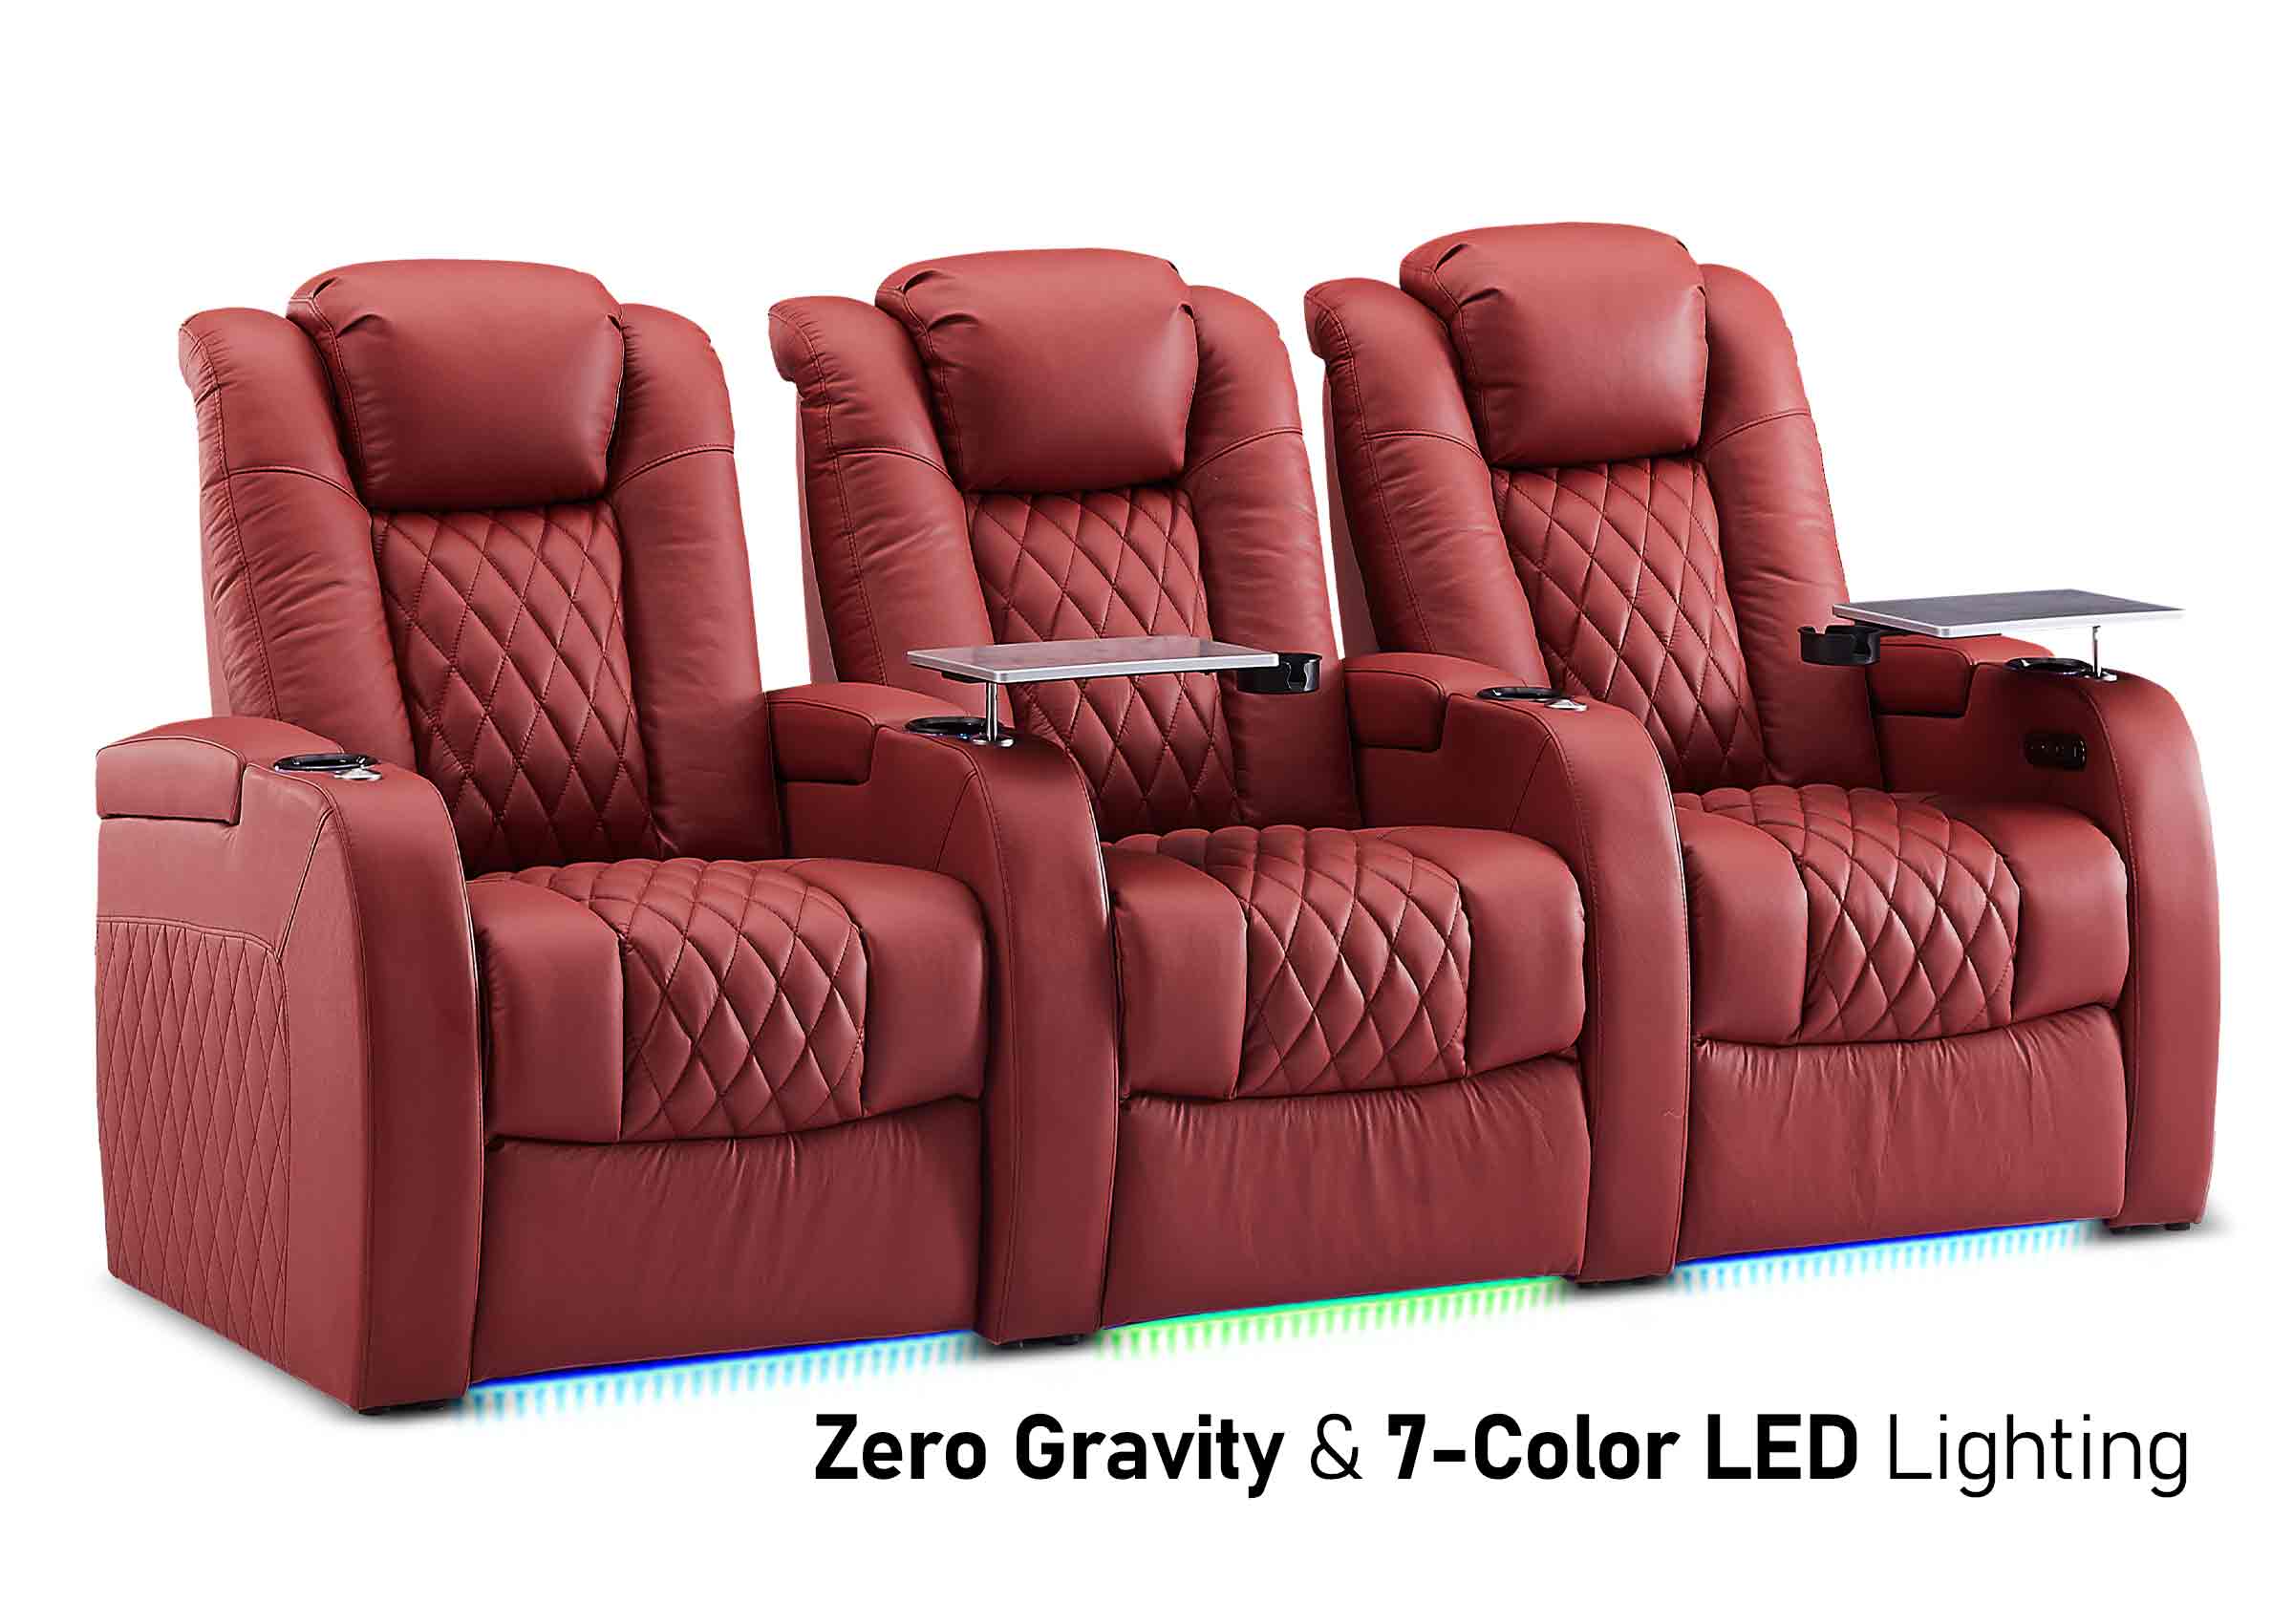
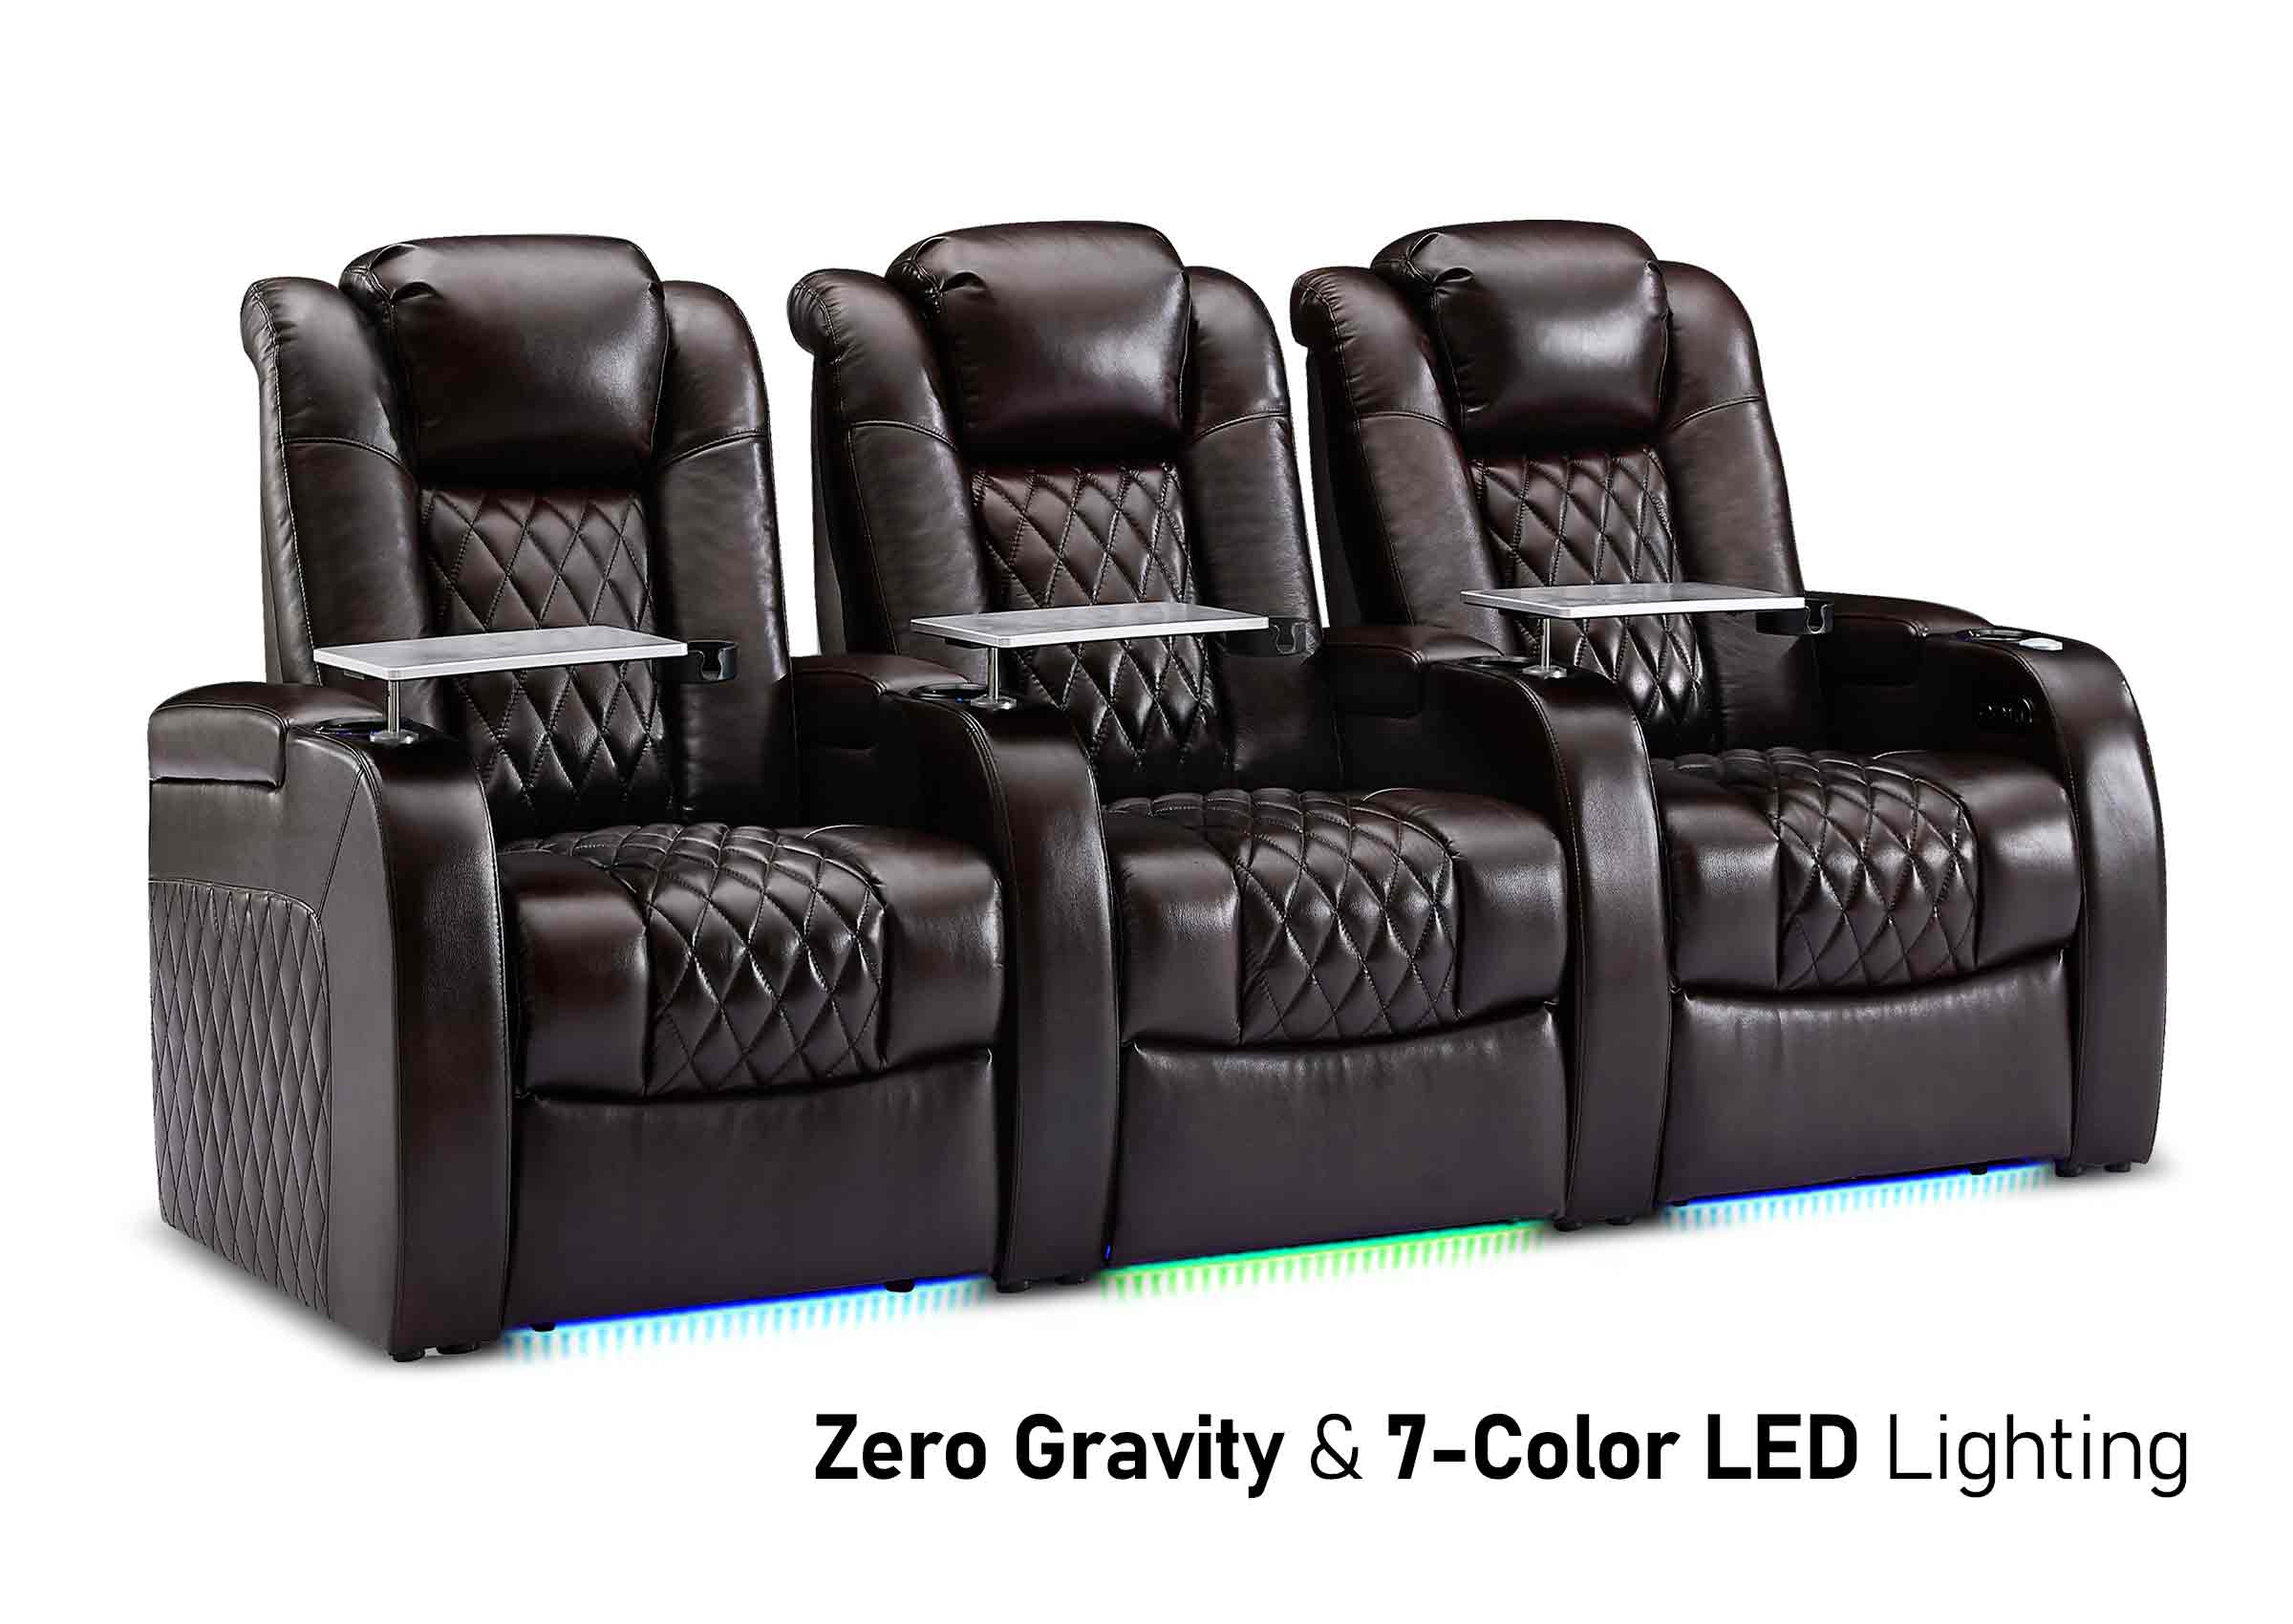
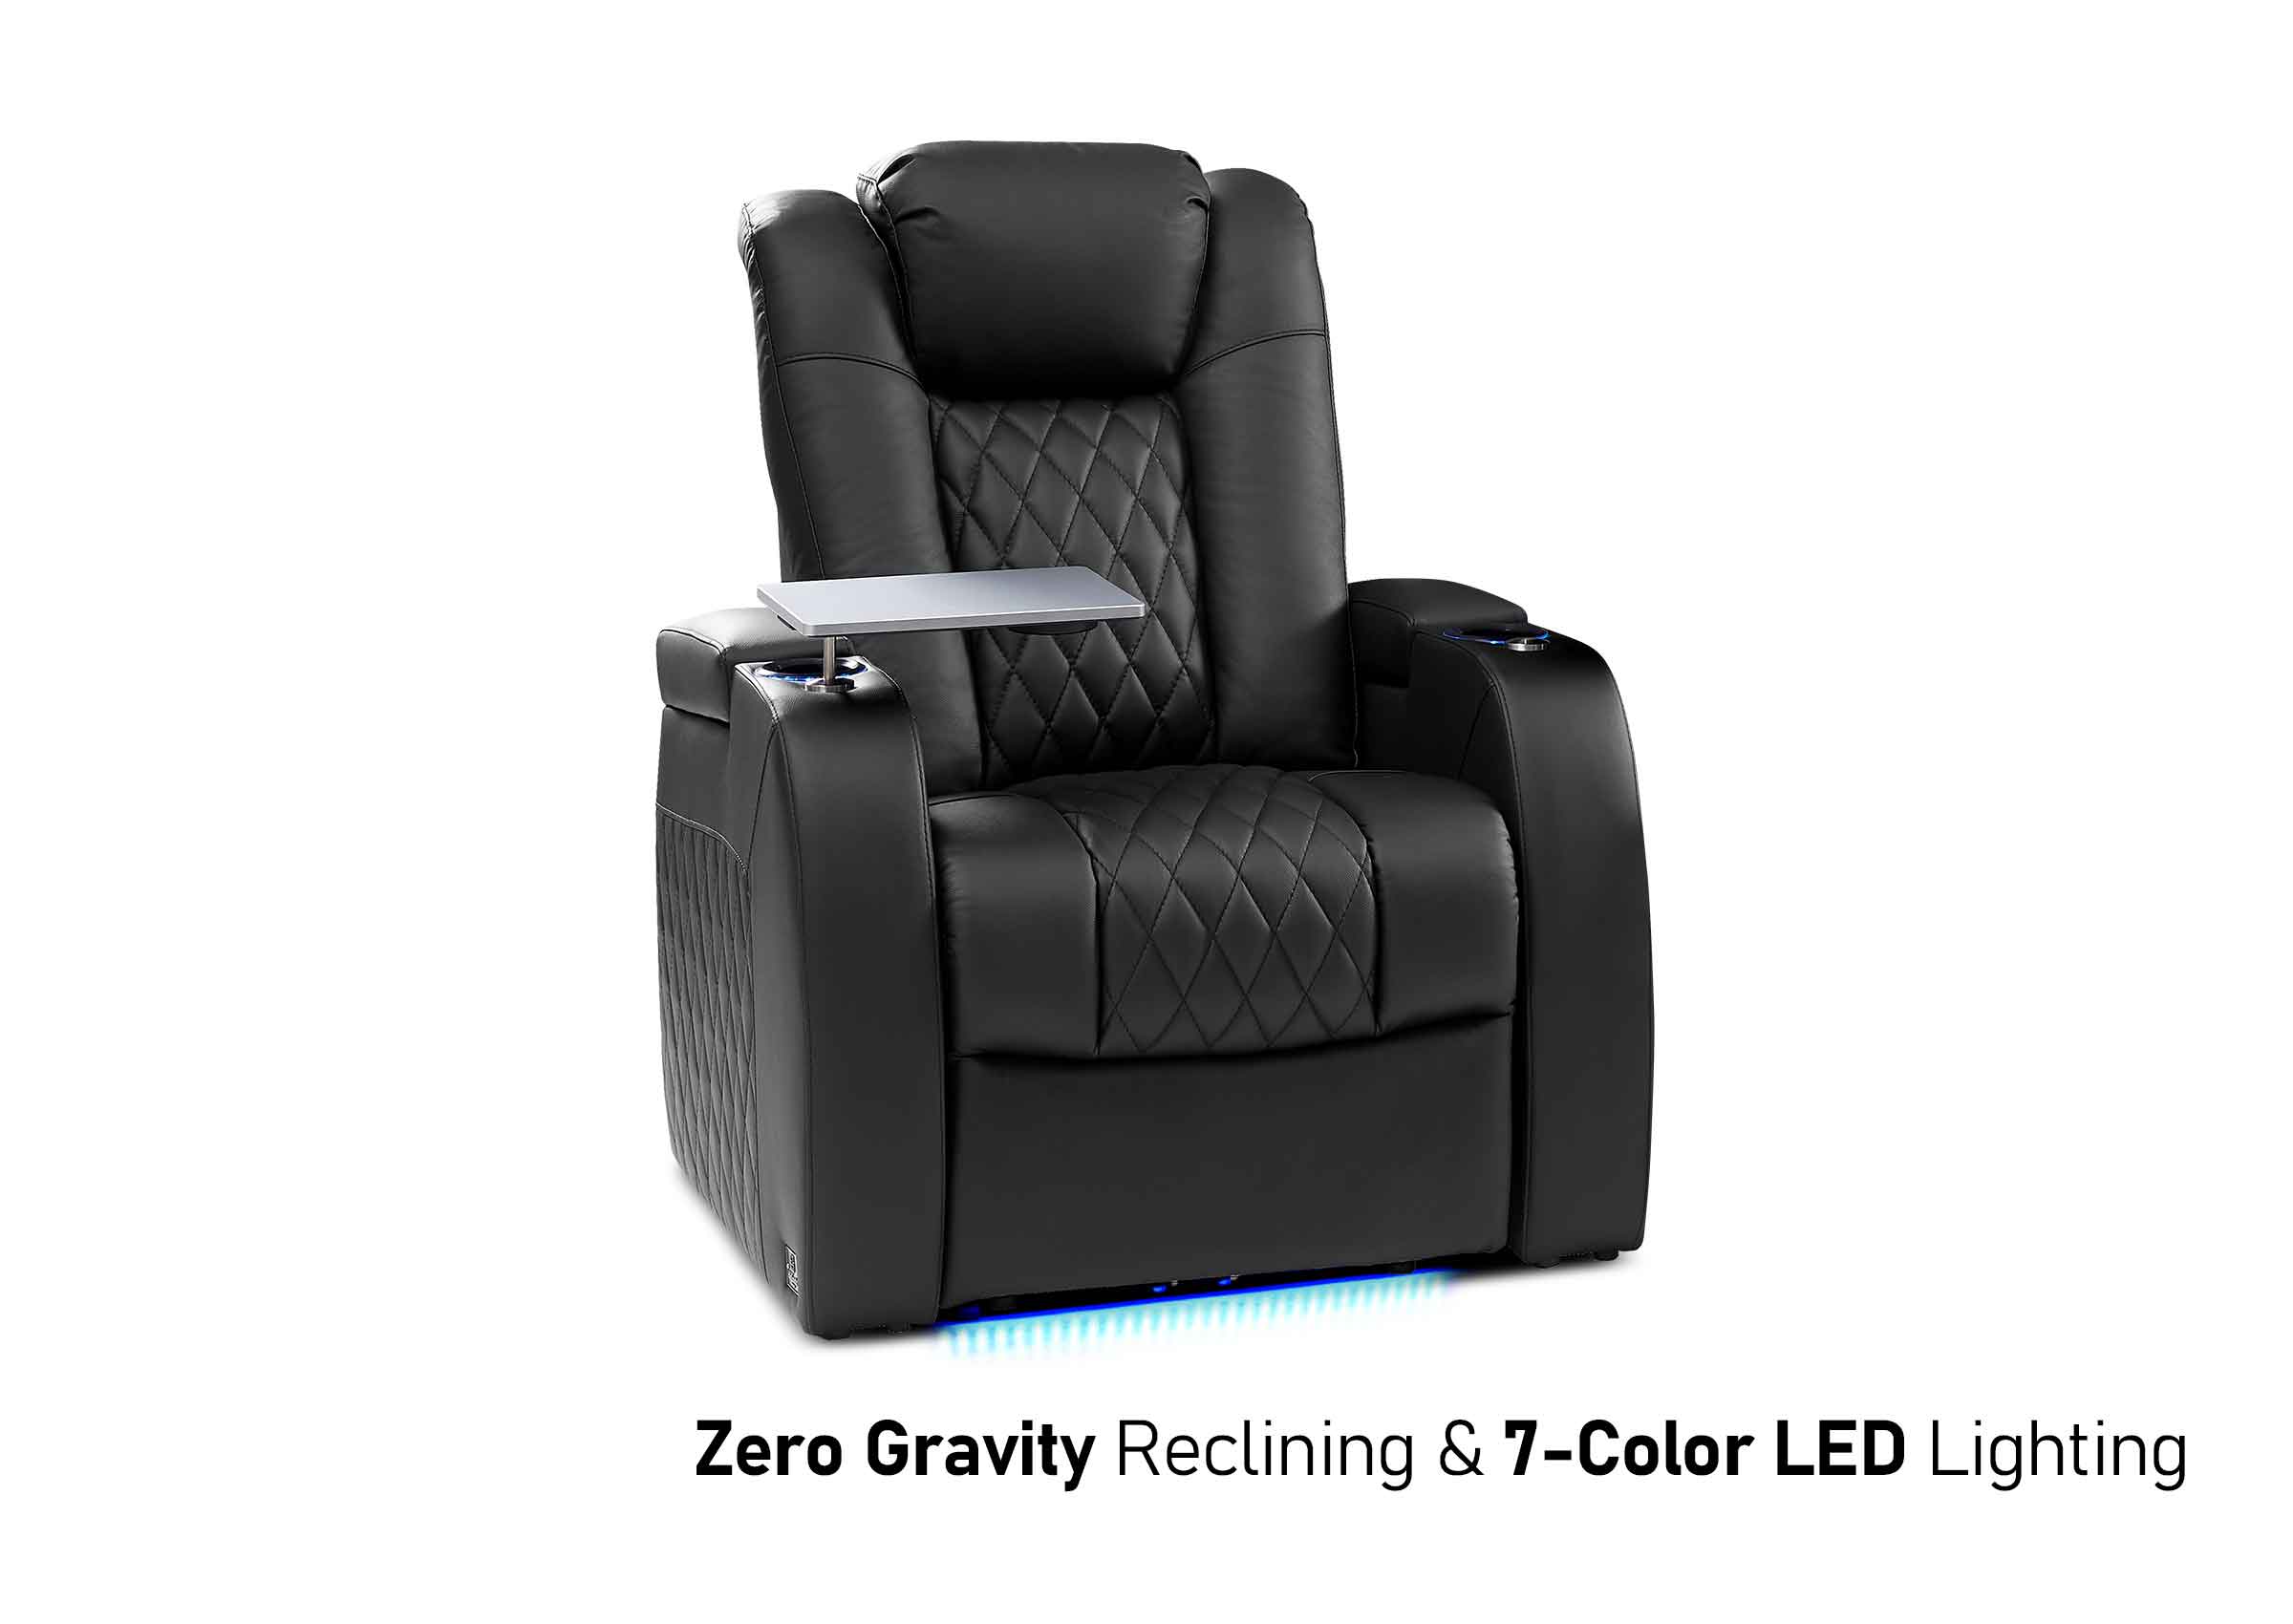
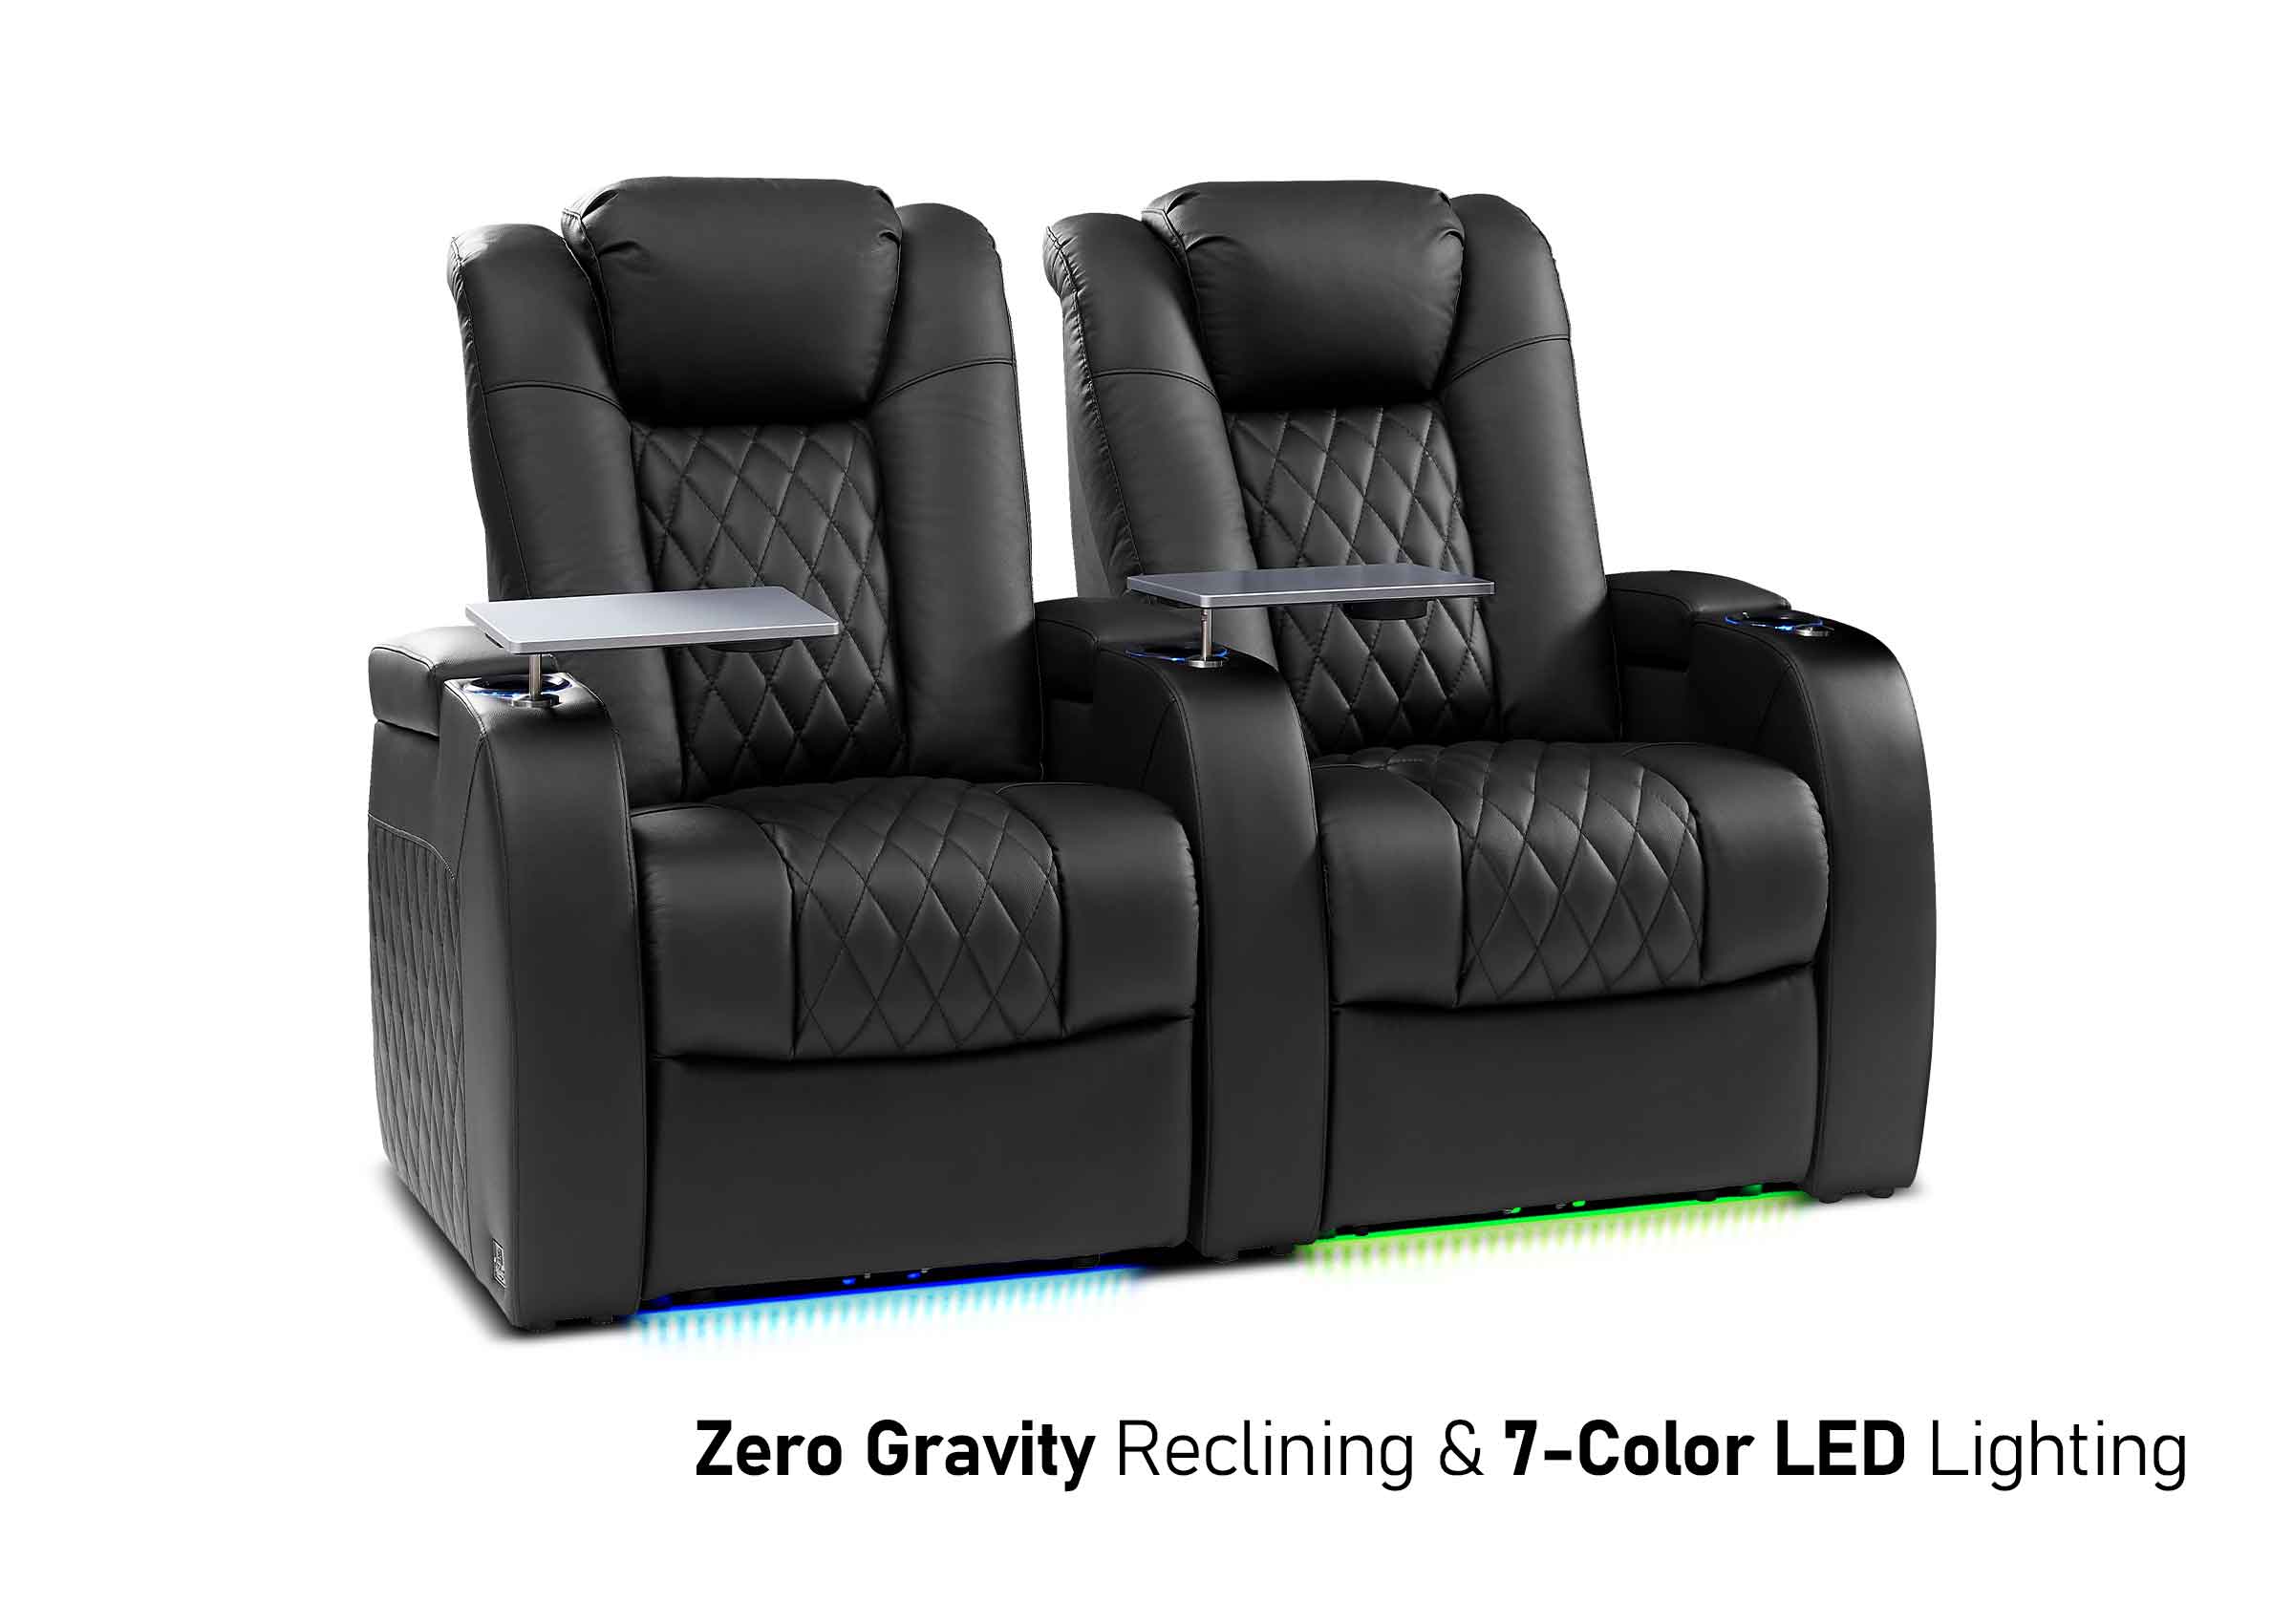
The distance from your home theater seats to the screen is just as important as the projector-to-screen distance. It affects how comfortable you are and how good the image looks to you.
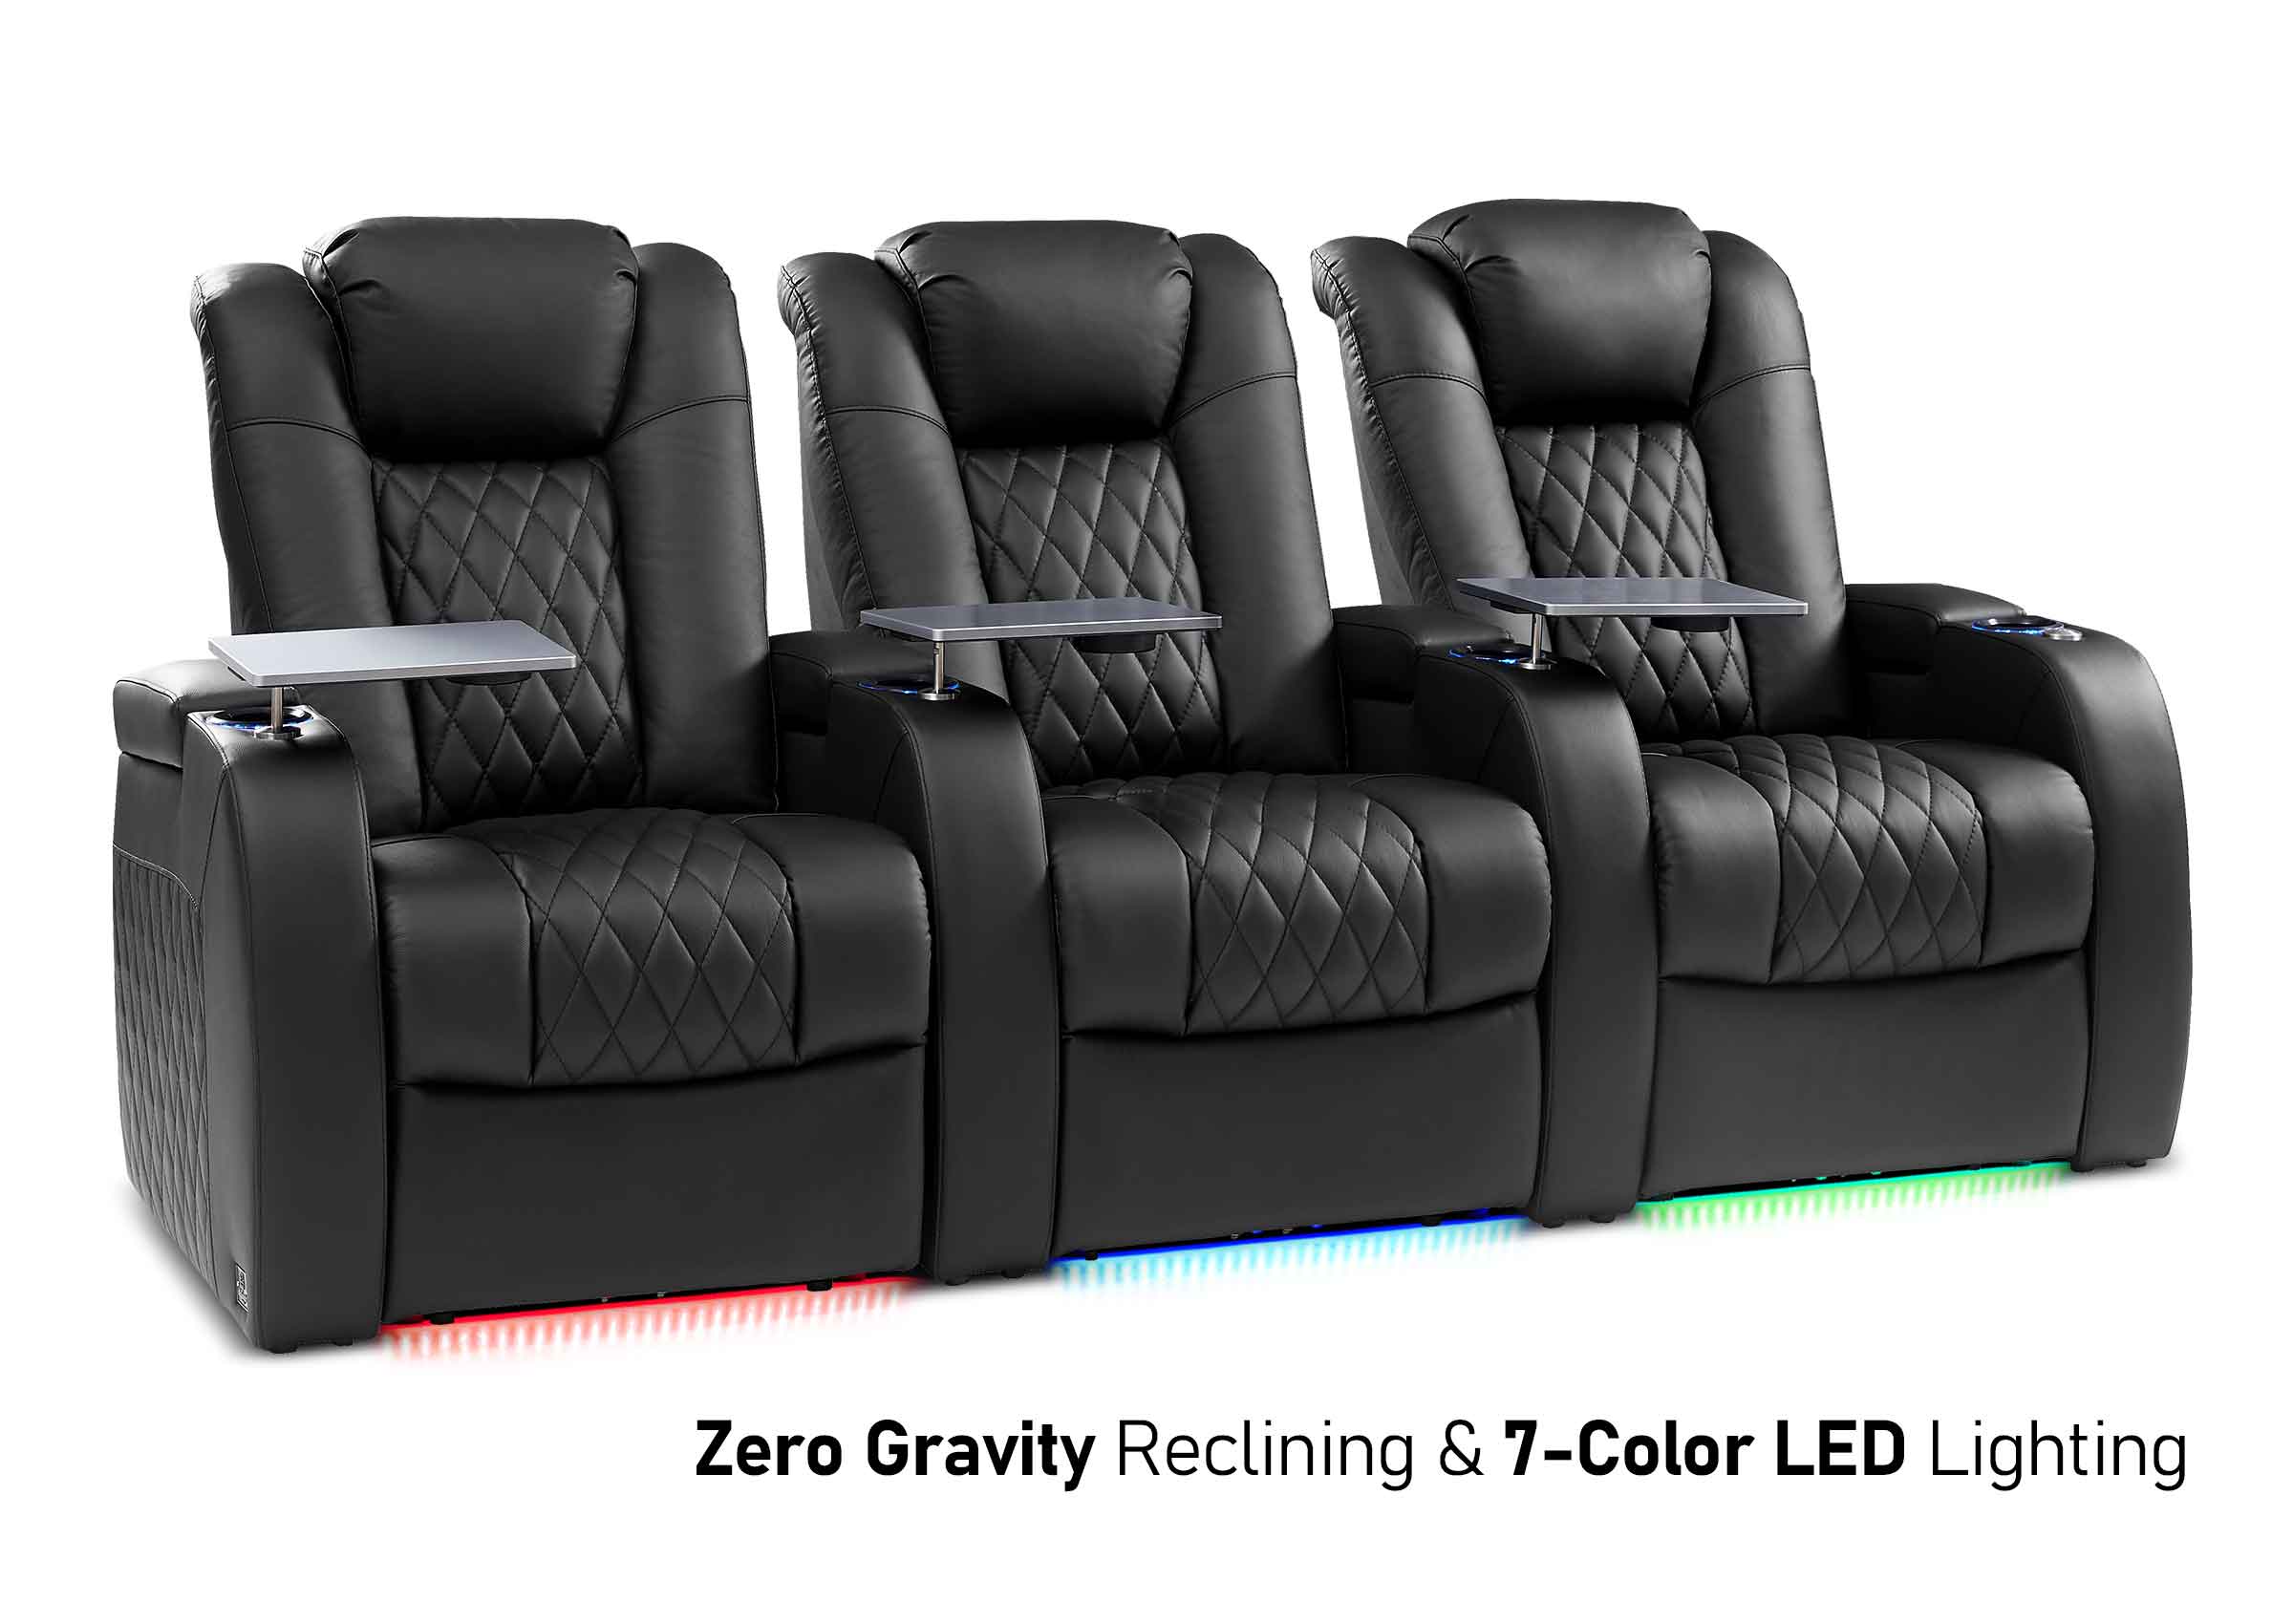
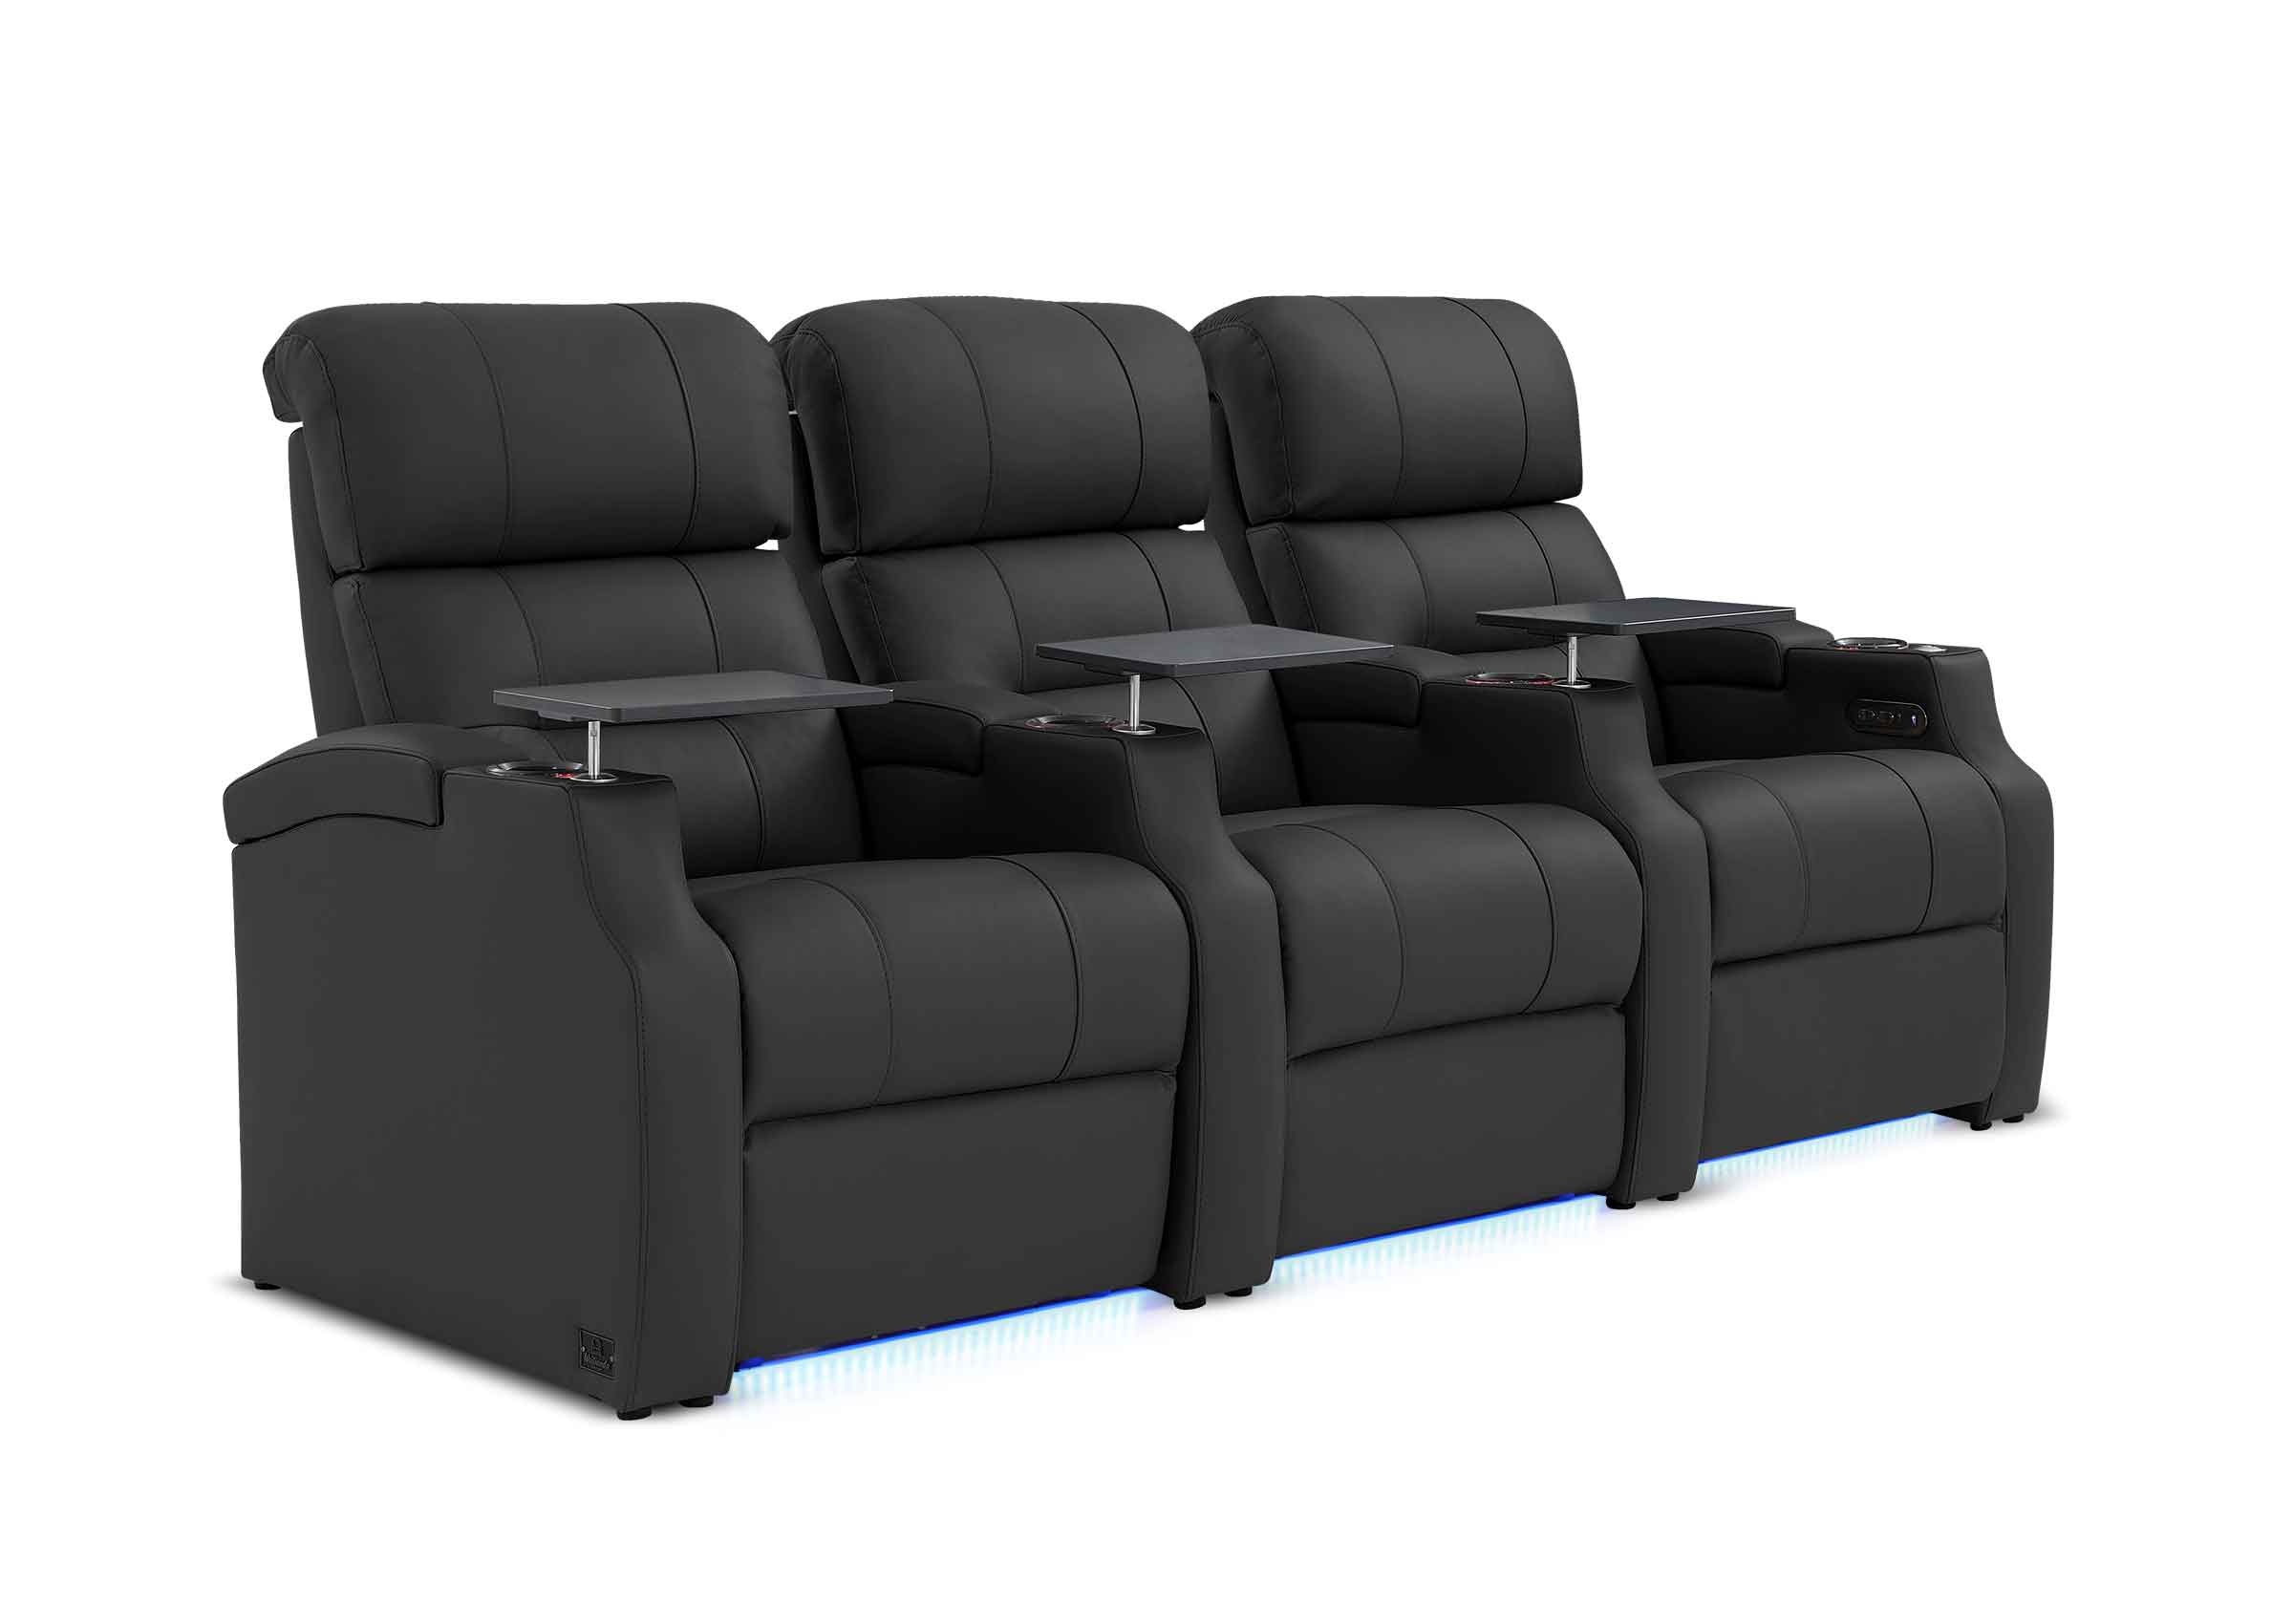
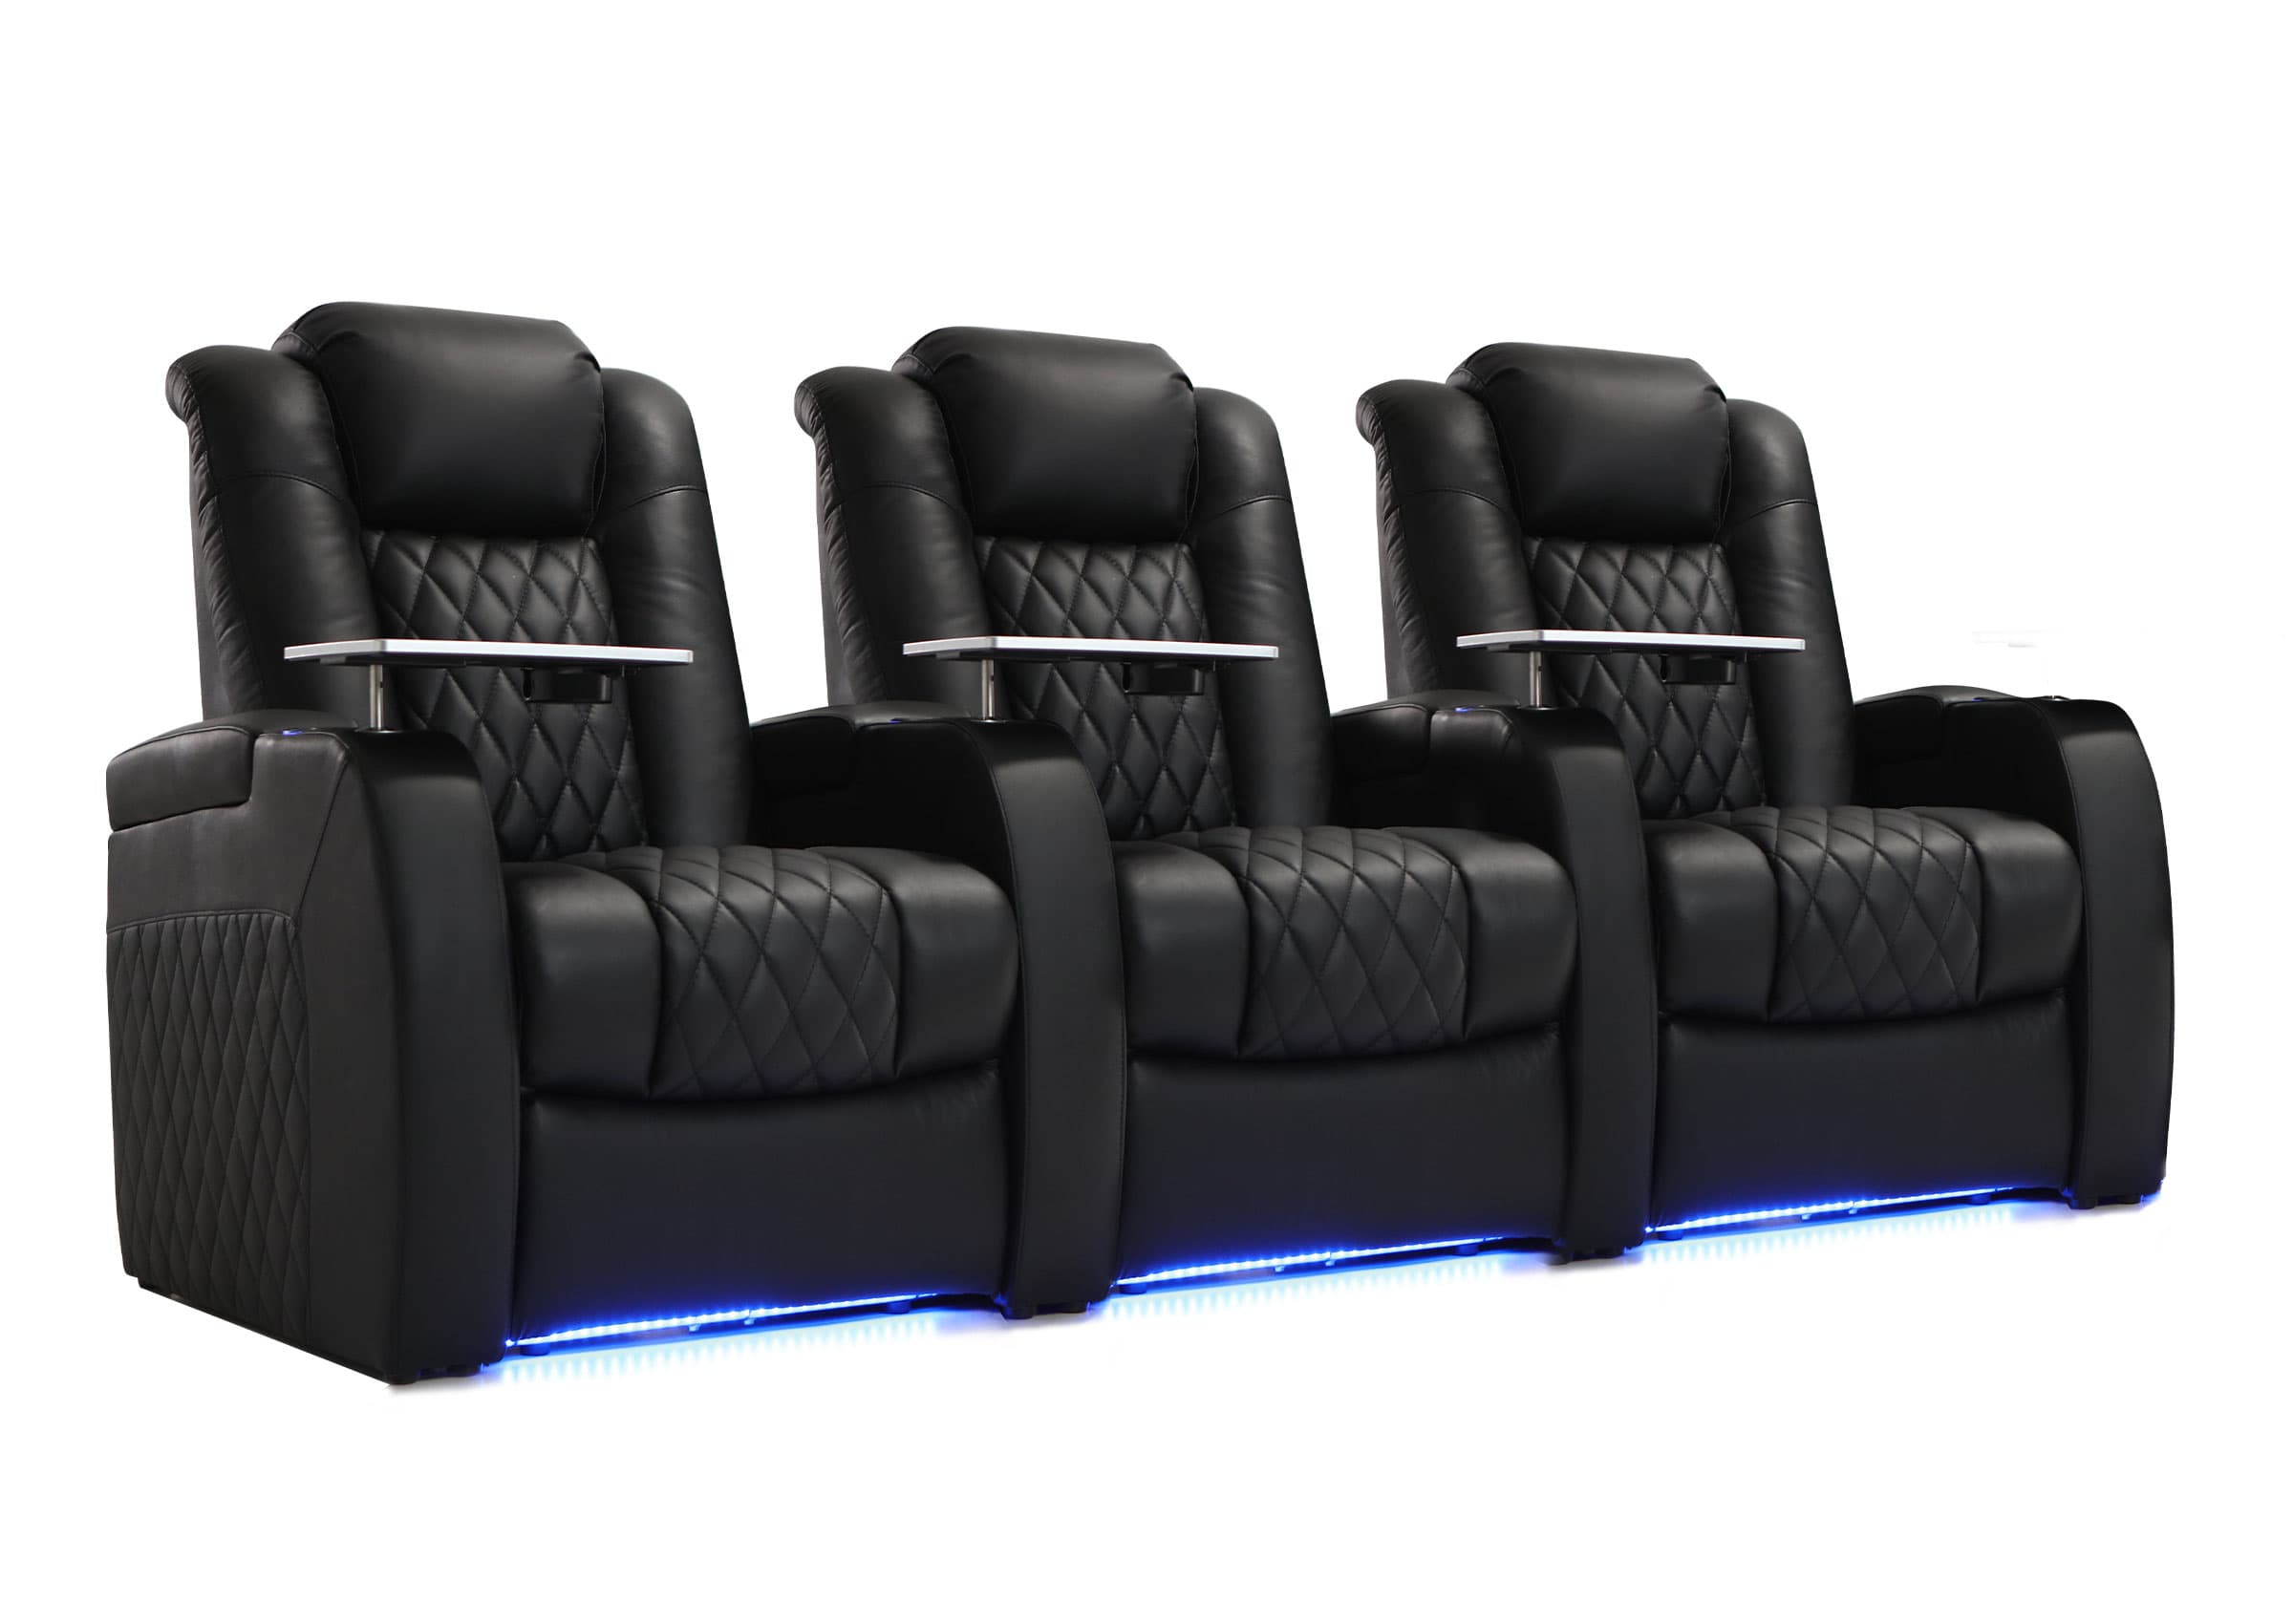
For the best view, sit about 1.5 to 2.5 times the screen width away. So, if your screen is 100 inches wide, try to sit between 12.5 to 20.8 feet from it. This lets you see everything clearly without eye strain. Sitting closer feels more immersive, while sitting farther back is better for seeing high-resolution details. Adjust to what feels best in your room.
Step 4: Secure Proper Mounting and Installation
Proper mounting and installation ensure your projector performs optimally while remaining secure.
Ceiling vs. Shelf Mounting
Ceiling mounts offer a clean, professional look and save space. They're ideal for permanent setups and provide consistent positioning. Ensure your ceiling can support the projector's weight and that you have access to power and input sources.
Ensuring Stability and Safety
Whichever mounting option you choose, stability is paramount. Use mounts designed specifically for your projector model or those with universal compatibility. Follow the manufacturer's instructions carefully during installation.
For ceiling mounts, use appropriate anchors and ensure all connections are tight. With shelf mounting, secure the projector to prevent accidental knocks or vibrations that could affect image quality or damage the unit.
Step 5: Achieve Perfect Focus and Sharpness
A razor-sharp image is crucial for an immersive viewing experience.
Fine-tuning Focus
Start by projecting a focus test pattern or text-heavy image. Most projectors have a focus ring or button for adjustment. Aim for crisp, clear edges across the entire screen, not just the center.
For larger screens, focus on the center first, then check the corners. If you can't get the entire image in focus simultaneously, your projector might not be perfectly aligned with the screen.
Keystone Correction and Lens Shift
If your projector isn't perfectly perpendicular to the screen, you may notice a trapezoidal image. Keystone correction can fix this electronically, but use it sparingly as it can reduce image quality.
Lens shift, if available, is a better option. It allows you to move the image without moving the projector, preserving image quality.

Step 6: Calibrate Brightness and Contrast
Proper brightness and contrast settings are crucial for a vibrant, detailed image.
Balancing Brightness for Ambient Light
Start by adjusting brightness in your typical viewing conditions. Project a scene with both bright and dark areas. Increase brightness until you can see details in dark areas without washing out bright areas.
Setting Contrast for Deep Blacks and Vivid Colors
Contrast determines the difference between the brightest whites and darkest blacks. Begin with a contrast test pattern or a high-contrast image. Increase contrast until whites are bright but not blown out, and blacks are deep without losing shadow detail. Be cautious of setting contrast too high, as this can cause eye strain and loss of detail in bright areas.
Step 7: Optimize Color and Tint
Proper color calibration ensures that your projected images look natural and vivid.
Understanding Color Temperature
Color temperature affects the overall 'warmth' or 'coolness' of your image. Start with your projector's default setting, often labeled as 'Normal' or '6500K'. This setting typically provides a balanced image for most content.
If images appear too blue, lower the color temperature for a warmer look. If they seem too yellow or red, increase it for a cooler appearance. Aim for whites that look crisp and natural without any noticeable color tint.
Using Test Patterns for Accuracy
Many projectors include built-in test patterns, or you can find them online. Use these to fine-tune individual color channels (red, green, and blue) and ensure they're balanced.
Pay attention to skin tones in movies or photos – they're a good indicator of accurate color reproduction. Skin should look natural, neither too red nor too pale.
Step 8: Manage Ambient Light
Controlling ambient light is crucial for achieving the best possible projected image.
Controlling Light in Your Space
Start by identifying and minimizing light sources in your viewing area. Use heavy curtains or blinds on windows to block outside light. Consider using dimmer switches for indoor lighting to easily adjust room brightness. For multi-purpose rooms, think about flexible solutions. Removable blackout panels or motorized blinds can quickly transform a bright room into a dark viewing environment.
Using Specialized Screens
If you can't fully control ambient light, consider using an ambient light rejecting (ALR) screen. These screens are designed to reflect your projector's light while absorbing light from other angles, improving contrast and color saturation in brighter rooms. For extreme situations, ultra short throw (UST) projectors paired with ALR screens can provide a clear image even in well-lit rooms.
Step 9: Sound Integration
Great sound is essential for a truly immersive viewing experience.
Aligning Audio with Visual
Position your speakers to create a soundstage that matches your screen. For a basic setup, place left and right speakers at either side of your screen, angled slightly towards the viewing area. If using a center channel, position it directly above or below the screen's center.
For surround sound, place rear speakers behind or to the sides of your seating area. Ensure they're at ear level when seated for optimal sound dispersion.
Considering Room Acoustics
Room acoustics play a crucial role in sound quality. Hard surfaces can create echoes and distortions. Consider adding soft furnishings, curtains, or acoustic panels to absorb excess sound reflections.
For larger rooms, a sound processor or AV receiver with room correction technology can help optimize audio for your specific space. These systems use microphones to measure and adjust for room acoustics automatically.
Step 10: Regular Maintenance for Longevity
Proper maintenance is key to ensuring your projector continues to deliver high-quality images for years to come.
Cleaning and Replacing Filters
Many projectors have air filters to prevent dust from entering the system. Check your projector's manual for the location of these filters and how often they should be cleaned or replaced.
Typically, you should clean the filters every 100-300 hours of use. Gently vacuum or brush off dust, or wash if the manual allows. Replace filters that are damaged or excessively dirty. Clean filters ensure proper ventilation, preventing overheating and extending your projector's lifespan.
Lamp Care and Replacement
Projector lamps have a finite lifespan, usually measured in hours. Keep track of your lamp usage through the projector's menu system. As the lamp ages, it may become dimmer or change color.
Replace the lamp when it reaches the manufacturer's recommended hour limit, or sooner if you notice significant degradation in image quality. Always use manufacturer-approved replacement lamps and follow safety guidelines during replacement.
Start Your Perfect Home Theater Journey
Setting up your projector is a rewarding process that enhances your viewing experience. By following these ten steps, you'll create a home theater that brings your favorite content to life. Remember, perfection comes with practice. Don't hesitate to experiment with settings as you go. With attention to detail, you'll soon enjoy stunning visuals that rival any cinema experience, right in your own home.


