














A private movie screening at home does not require a dedicated theater or a complicated professional system. You need a room you can control, a reliable way to play the movie, a picture everyone can see, clear sound, comfortable seating, and a short test before the screening begins.
The best setup is not necessarily the most expensive one. It is the one that lets everyone watch the entire movie without glare, blocked sightlines, difficult dialogue, playback interruptions, or uncomfortable seating.
Step 1: What Kind of Home Screening Are You Planning?
Start by deciding whether the screening setup will be permanent or temporary.
A permanent screening room may include a mounted projector, fixed screen, installed speakers, blackout treatments, and dedicated seating. A temporary setup might use a portable projector, blank wall or portable screen, soundbar, and furniture already in the room.
Both approaches can work. The decision affects how much time you should spend on installation, cable management, speaker placement, and room changes. If you are considering a dedicated space, this guide to planning a home movie theater room explains the larger room-design decisions.
Before moving any equipment, answer these questions:
- How many people will be watching?
- Will you use a TV or projector?
- Can the room be darkened?
- Where will everyone sit?
- Will the setup remain in place after the movie?
- Are there enough outlets for the display, audio system, and playback device?
- Can cables be kept away from walking paths?
- Will the movie be streamed or played from a local source?
These answers create a simple screening plan and prevent equipment from being positioned before the room’s practical needs are clear.
Step 2: Which Room Works Best for a Private Movie Screening?
The largest room is not automatically the best screening room. A slightly smaller room with better light control, fewer interruptions, and more comfortable seating may produce a better experience.
Look for a room with:
- A clear wall or suitable location for the display
- Curtains, blinds, or limited direct sunlight
- Enough depth between the screen and seating
- Space for speakers without blocking walkways
- Convenient access to power
- Doors that can reduce outside noise
- Room for viewers to enter and leave safely
A living room is often the easiest choice because the furniture and power connections are already available. A basement or spare bedroom may provide better darkness and sound isolation. Even a bedroom can work for a small private screening if viewers can see the screen comfortably.
Do not judge the room only while standing. Sit in the intended viewing positions and look toward the screen location. This reveals glare, awkward viewing angles, furniture obstructions, and sightline problems that are easy to miss during setup.
Step 3: Should You Use a TV or Projector?
A TV is usually easier for a room with ambient light or for a screening that needs minimal preparation. It provides a bright, consistent picture and normally requires fewer placement adjustments.
A projector can create a larger and more theatrical image, but it requires closer attention to room darkness, projection distance, screen surface, and the path between the projector and screen. For a more detailed comparison, see this guide to choosing a projector or TV for a media room.
Choose a TV when:
- The room cannot become very dark
- You want a fast, reliable setup
- The audience is relatively small
- The available wall space is limited
- The room is also used for everyday television
Choose a projector when:
- A larger image is central to the experience
- You can control most of the room’s light
- The room has enough projection distance
- You have a suitable screen or wall
- The projector can operate without people blocking its beam
If you use a projector, check its manual or manufacturer’s throw-distance calculator before mounting it or choosing a screen size. Projection distance and image size vary by model; there is no single placement rule that works for every projector.
Step 4: How Should You Prepare the Screen or Viewing Surface?

A television only needs a stable position and a clear viewing path. A projector needs a suitable surface.
A dedicated projection screen generally provides a more consistent surface, but a blank wall can work for a simple home screening when it is:
- Smooth and clean
- Light and visually neutral
- Free from frames, switches, shelves, and strong texture
- Large enough for the intended image
- Positioned away from direct light
Test the projector on the wall before buying or mounting anything permanently. Check whether texture, paint sheen, wall color, or visible marks become distracting during bright scenes.
Keep the projector as level and centered as practical. Digital correction can help square the image, but physical positioning should solve as much of the alignment as possible before electronic adjustments are used. If screen size is still uncertain, review how to choose the right home theater screen size for the room and viewing position.
Step 5: How Should You Plan Seating and Sightlines?
Do not treat seating as something to arrange after the screen is finished. Screen position, picture size, speaker placement, and seating should be planned as one system.
Place the primary seats where viewers can look toward the center area of the screen without holding their heads noticeably upward or turning for long periods. Then check the additional seats from the same seated position.
For a small screening, one comfortable row is often better than squeezing in extra chairs. If you need two rows, confirm that the front row will not block the lower part of the screen for viewers behind it.
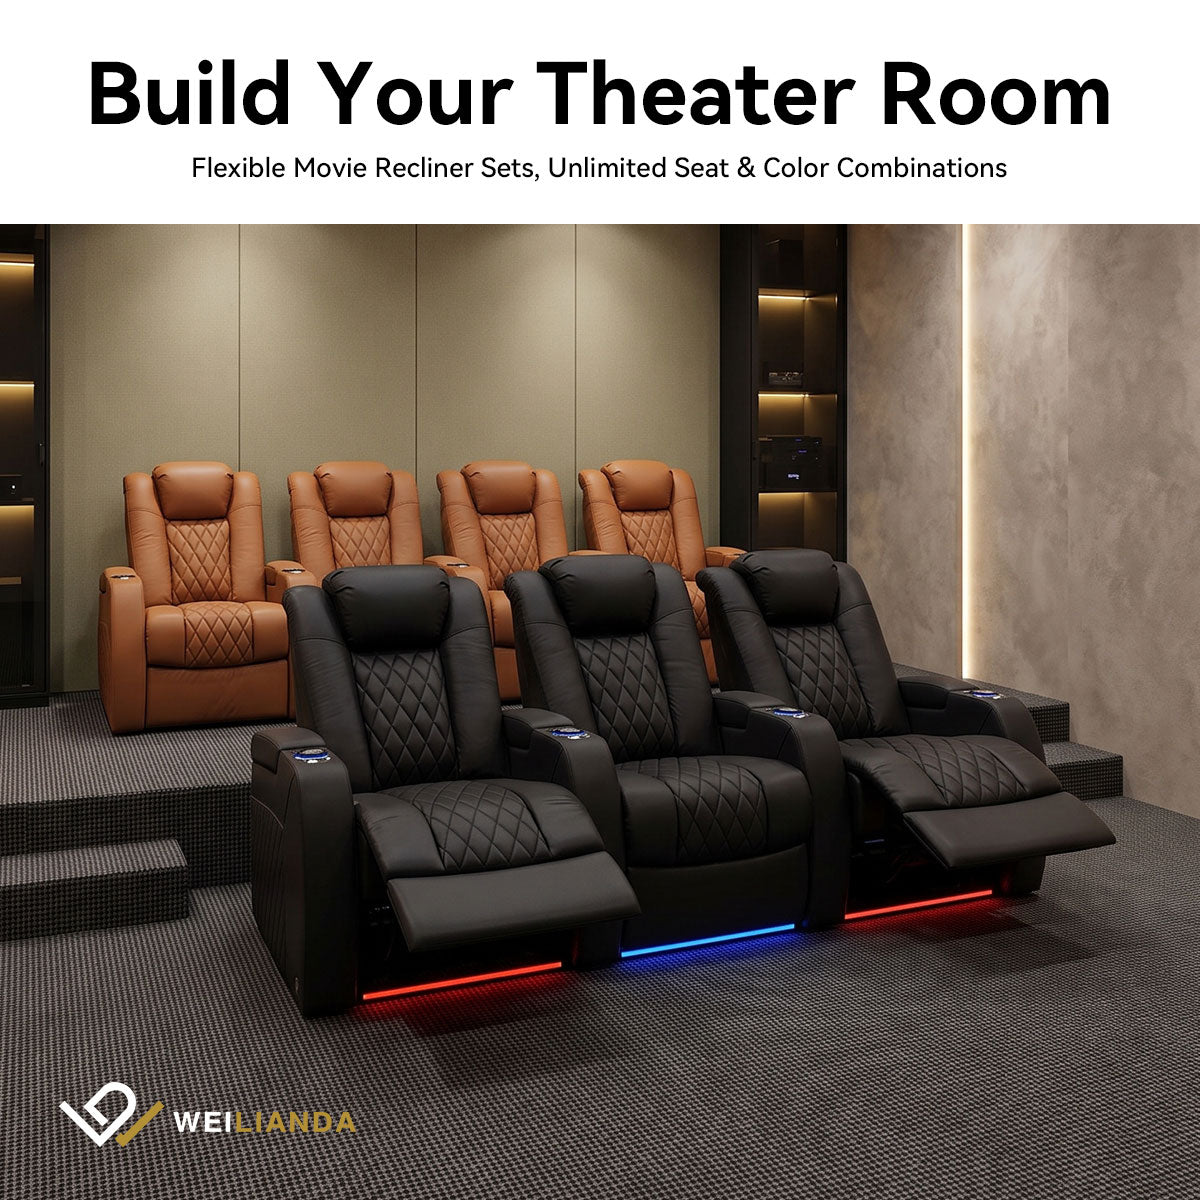
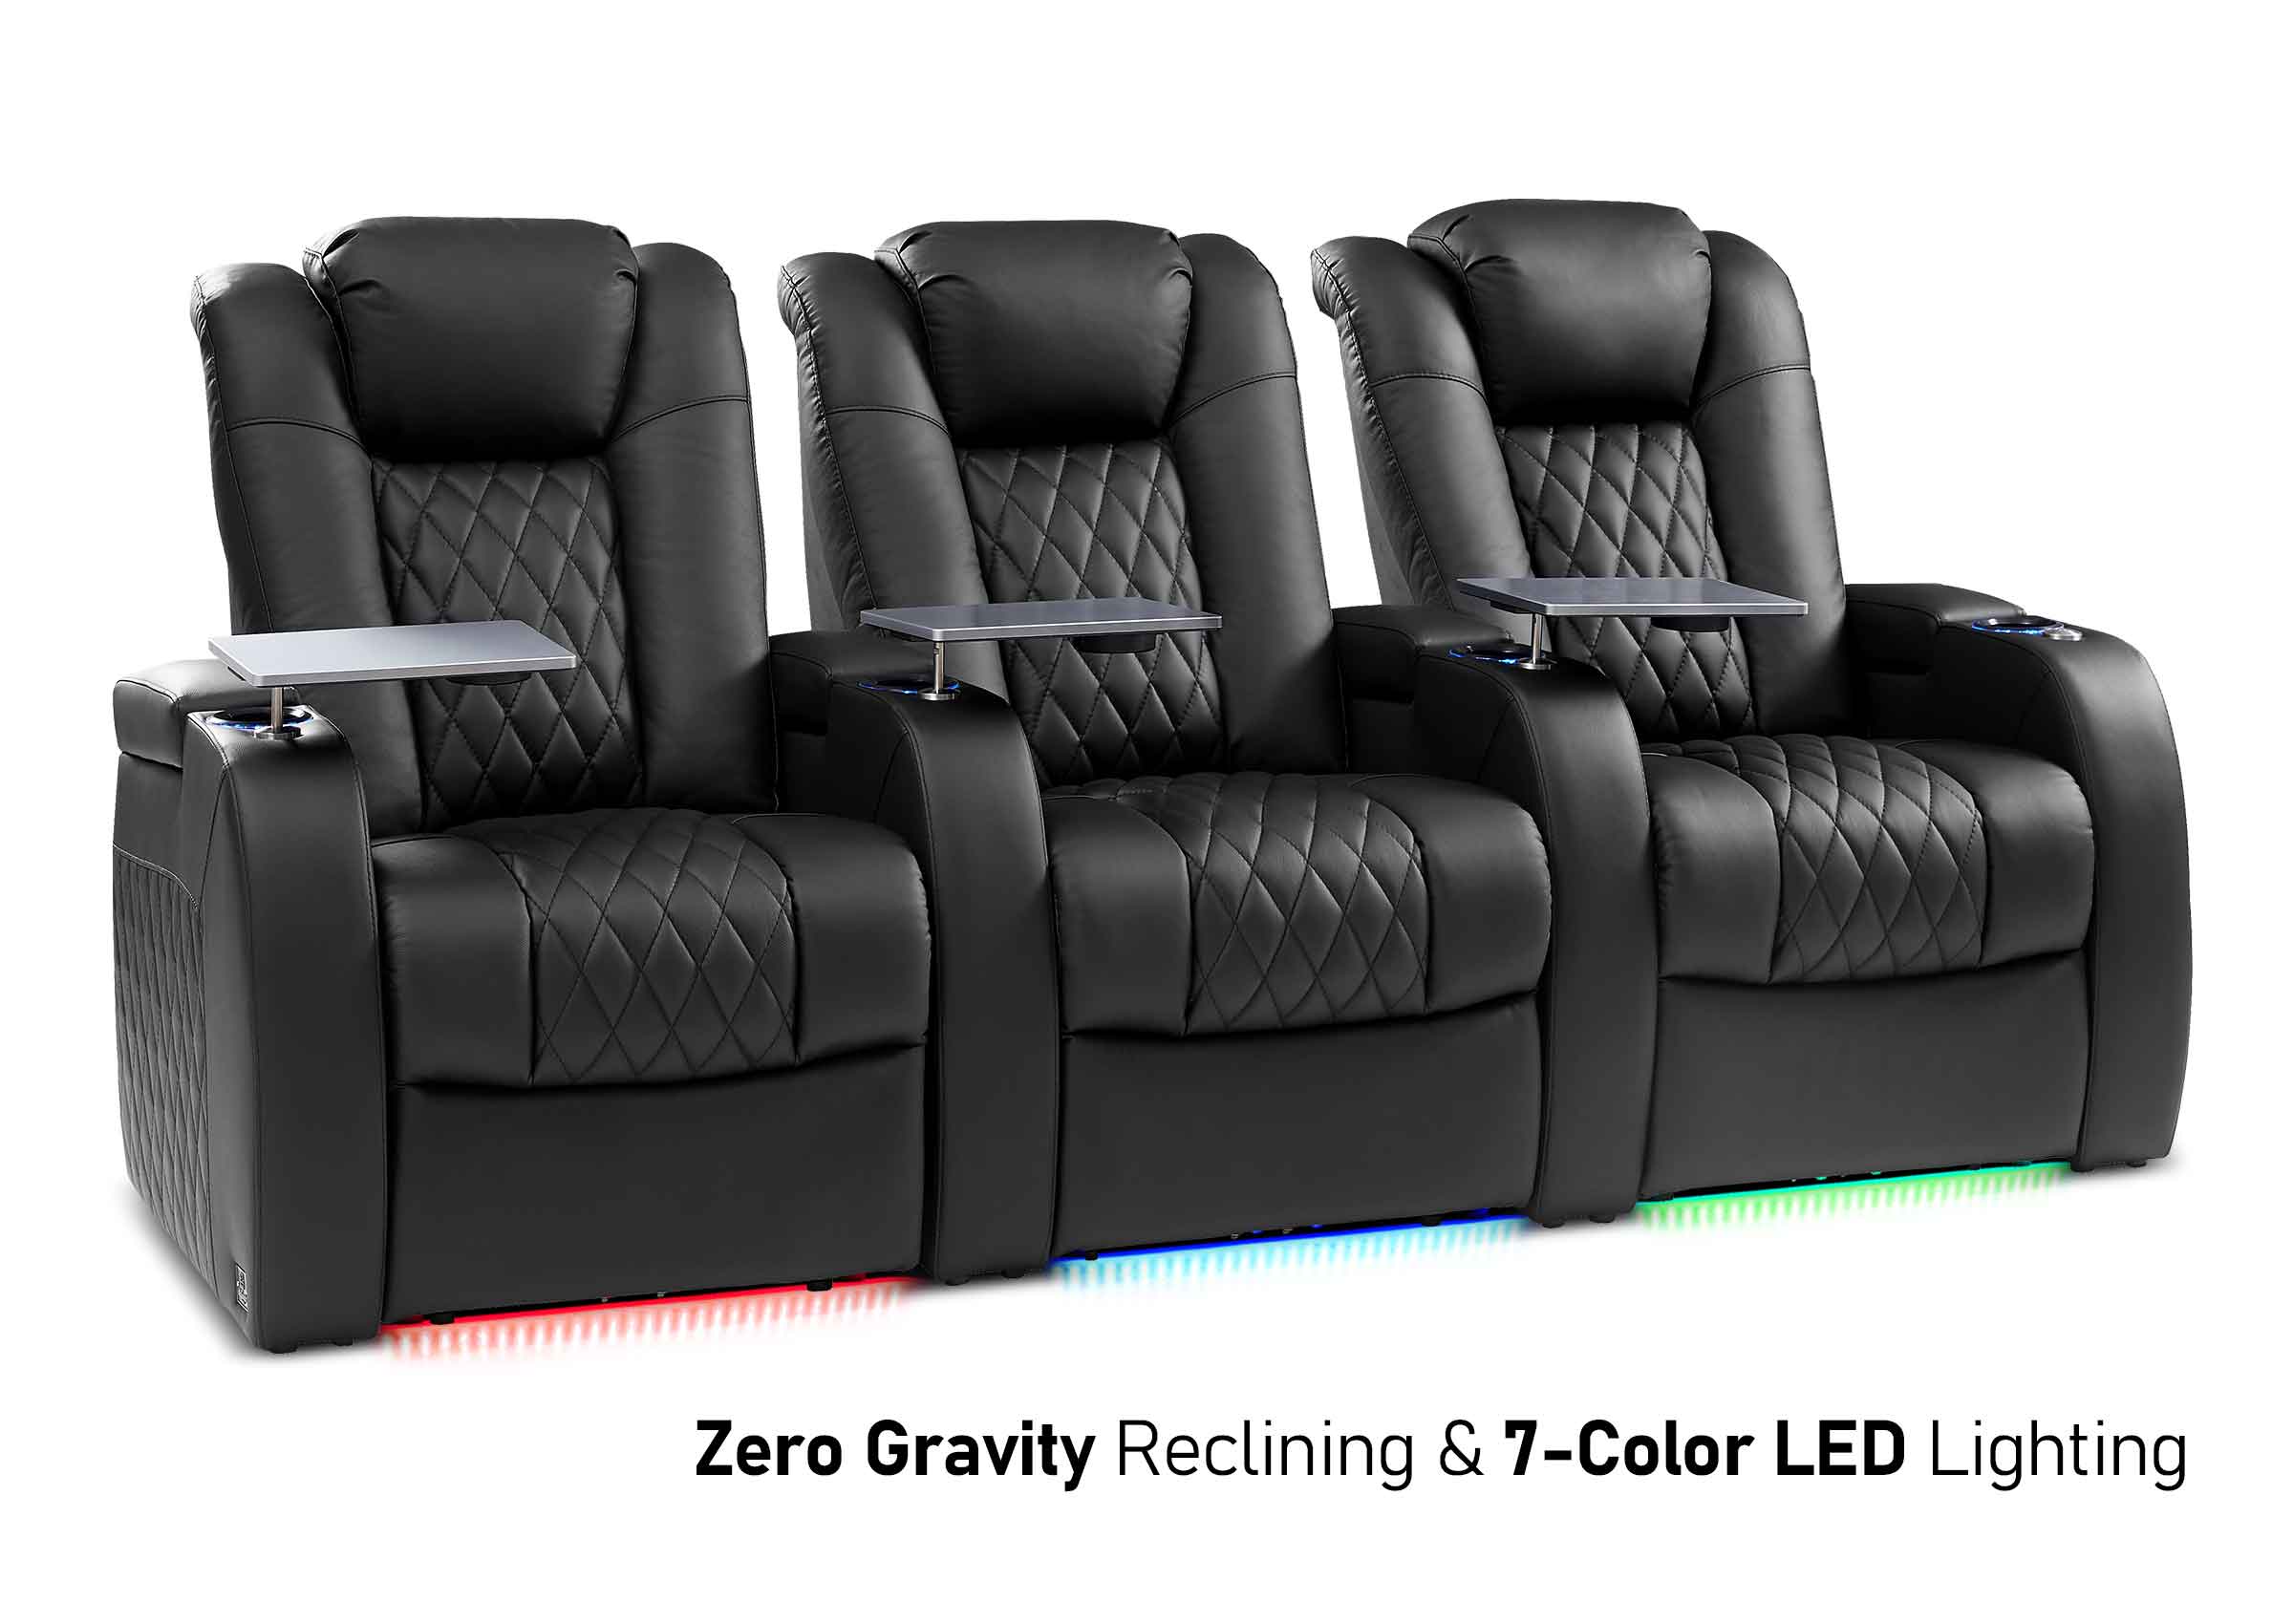
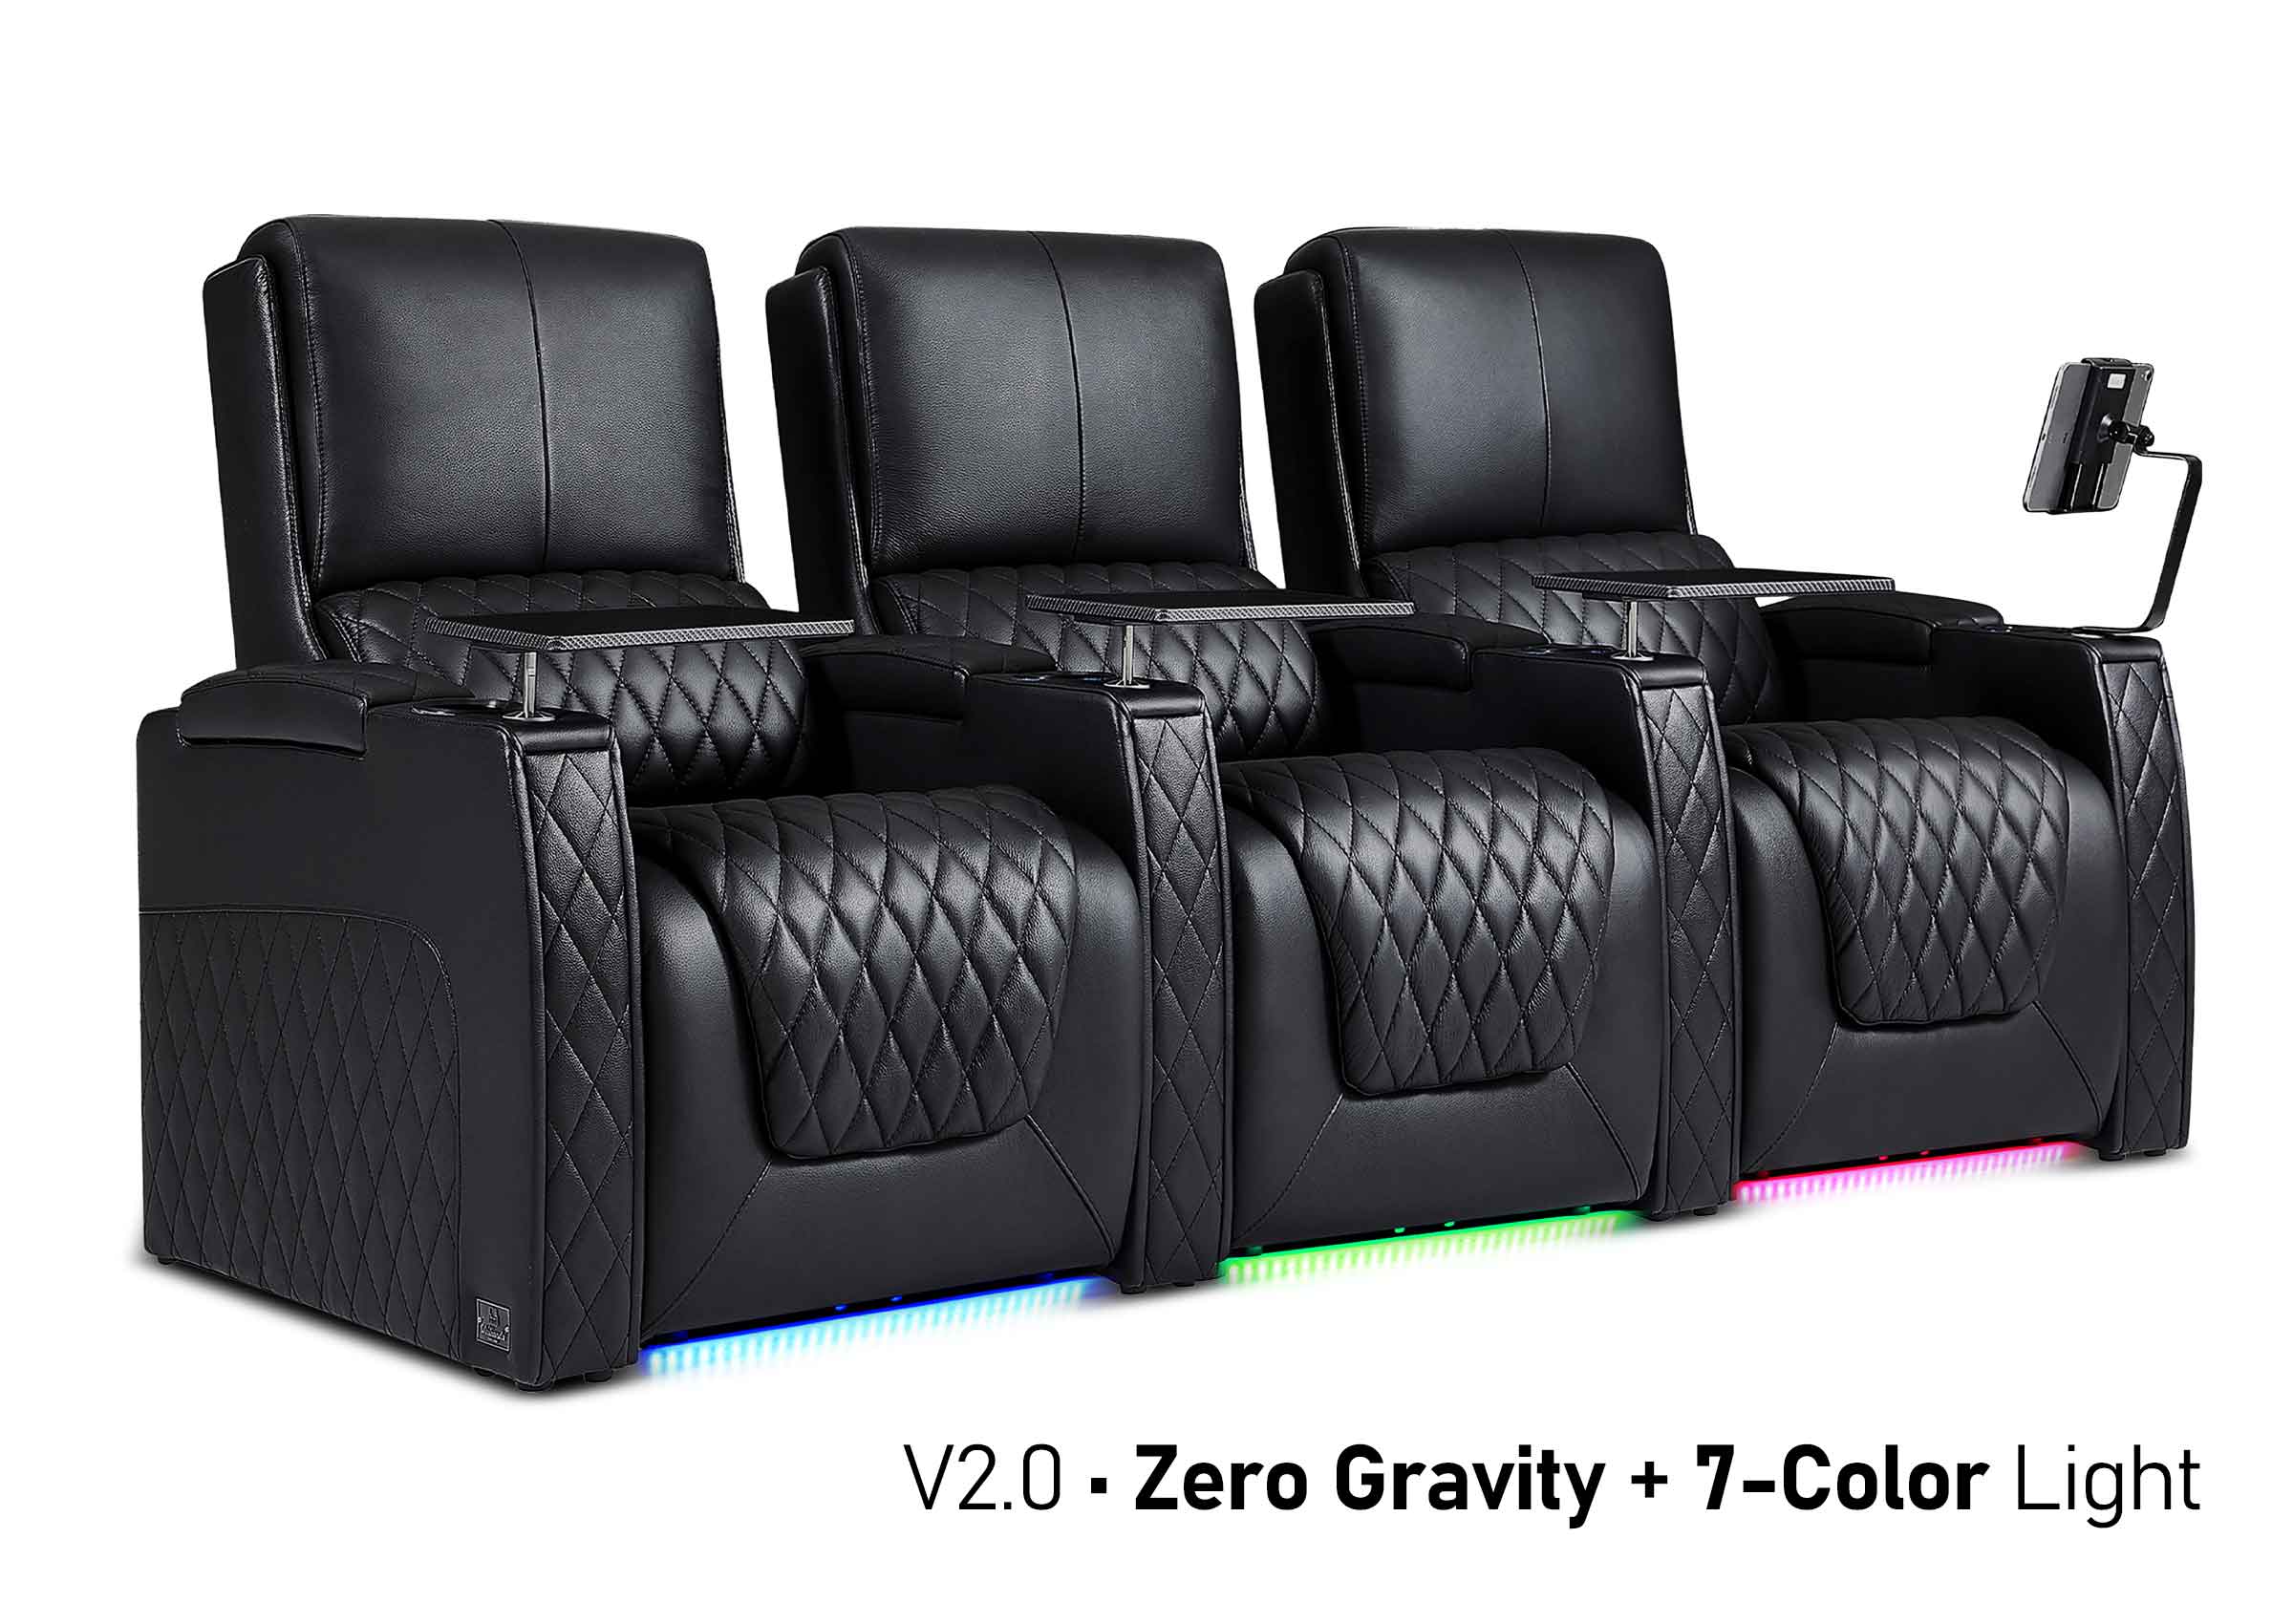
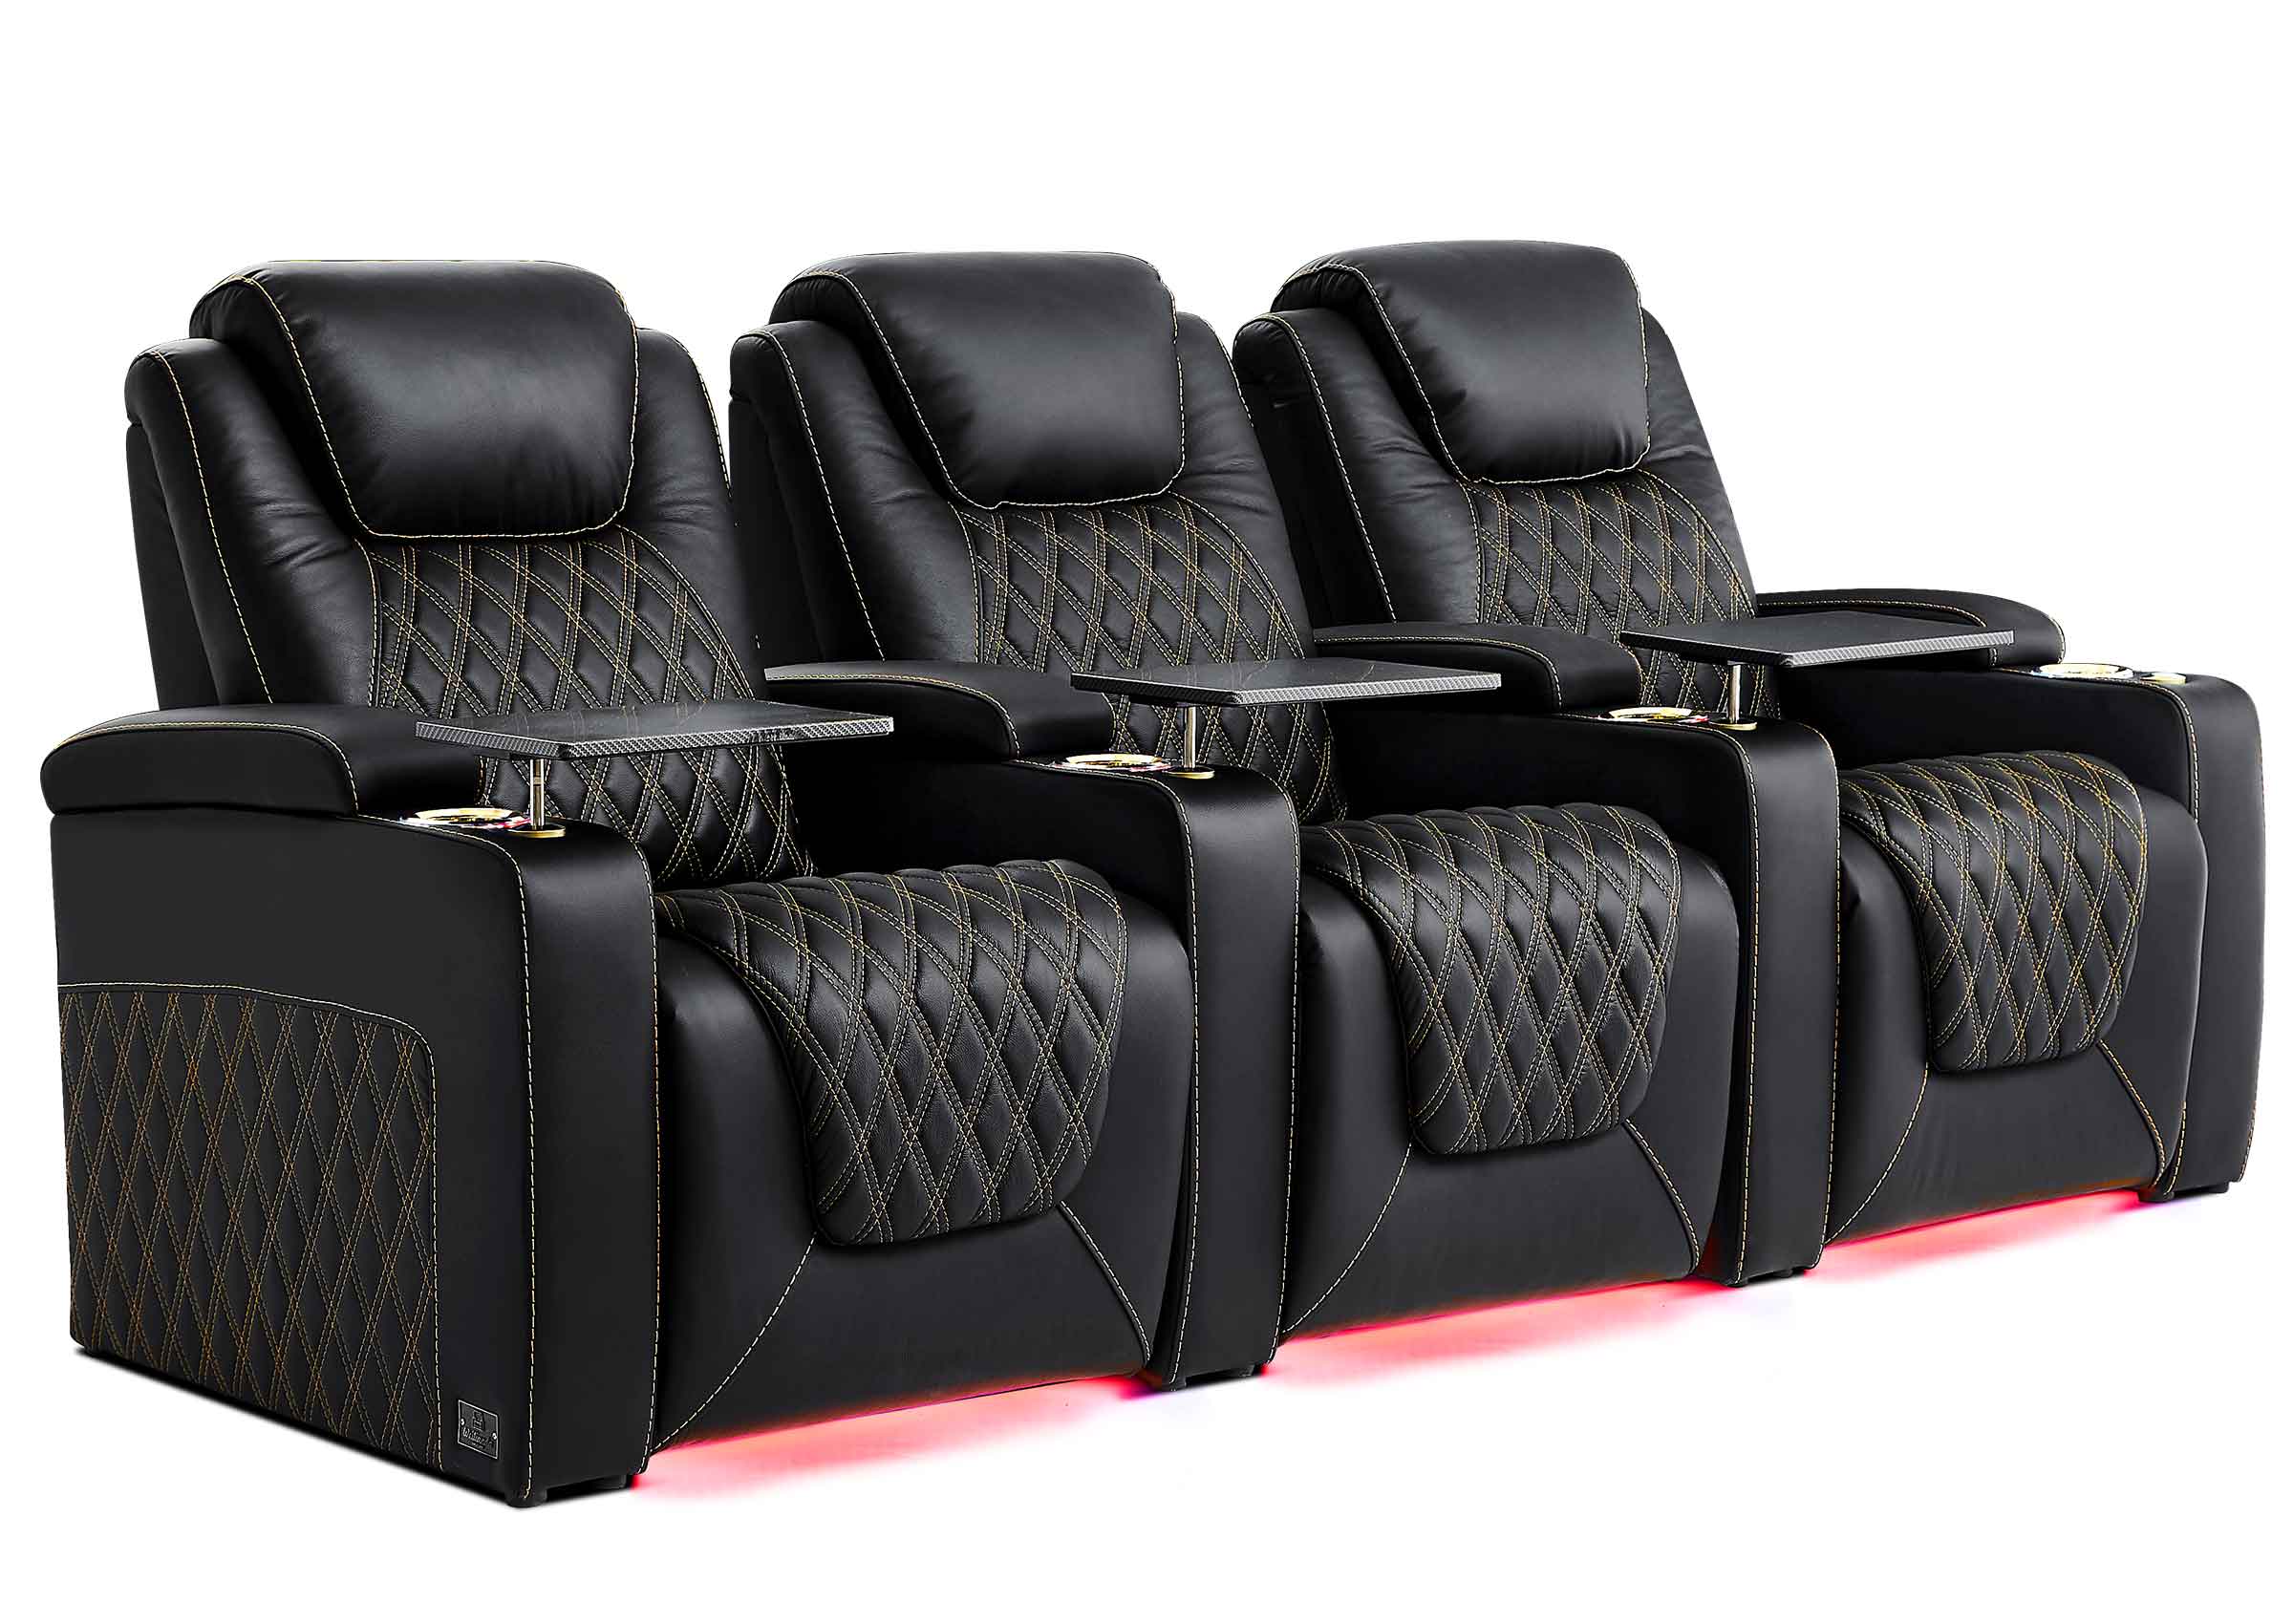
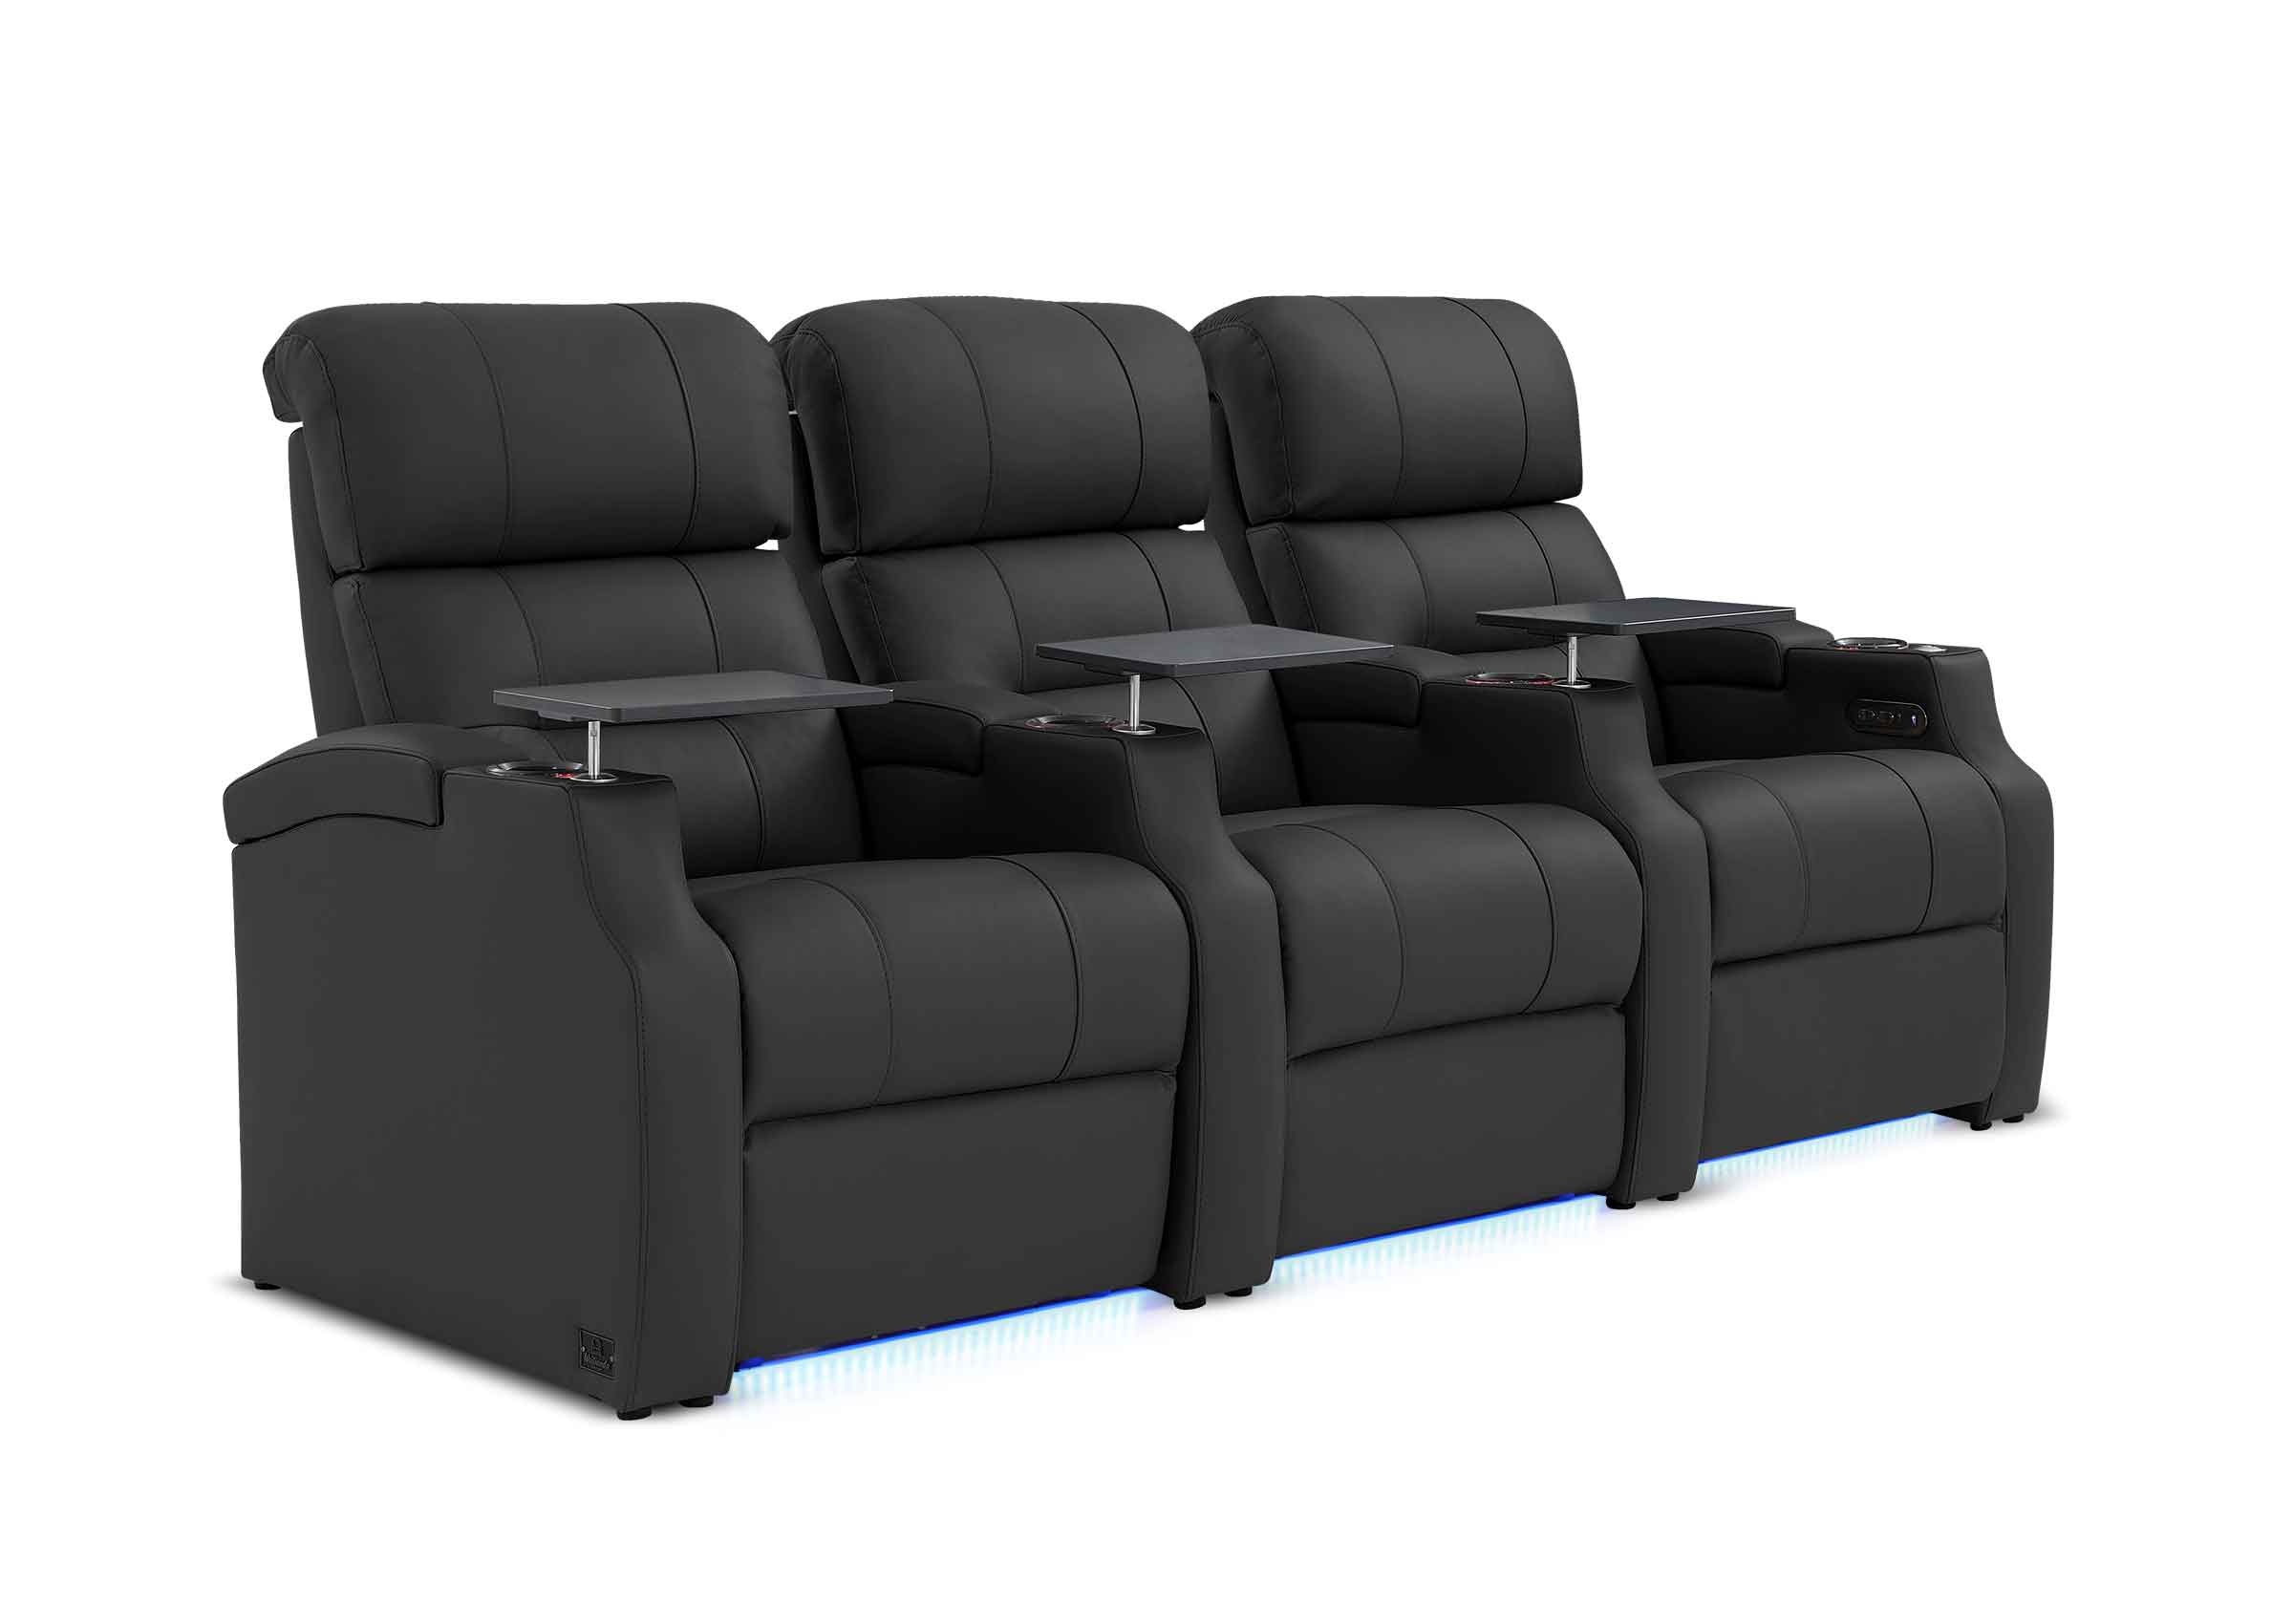
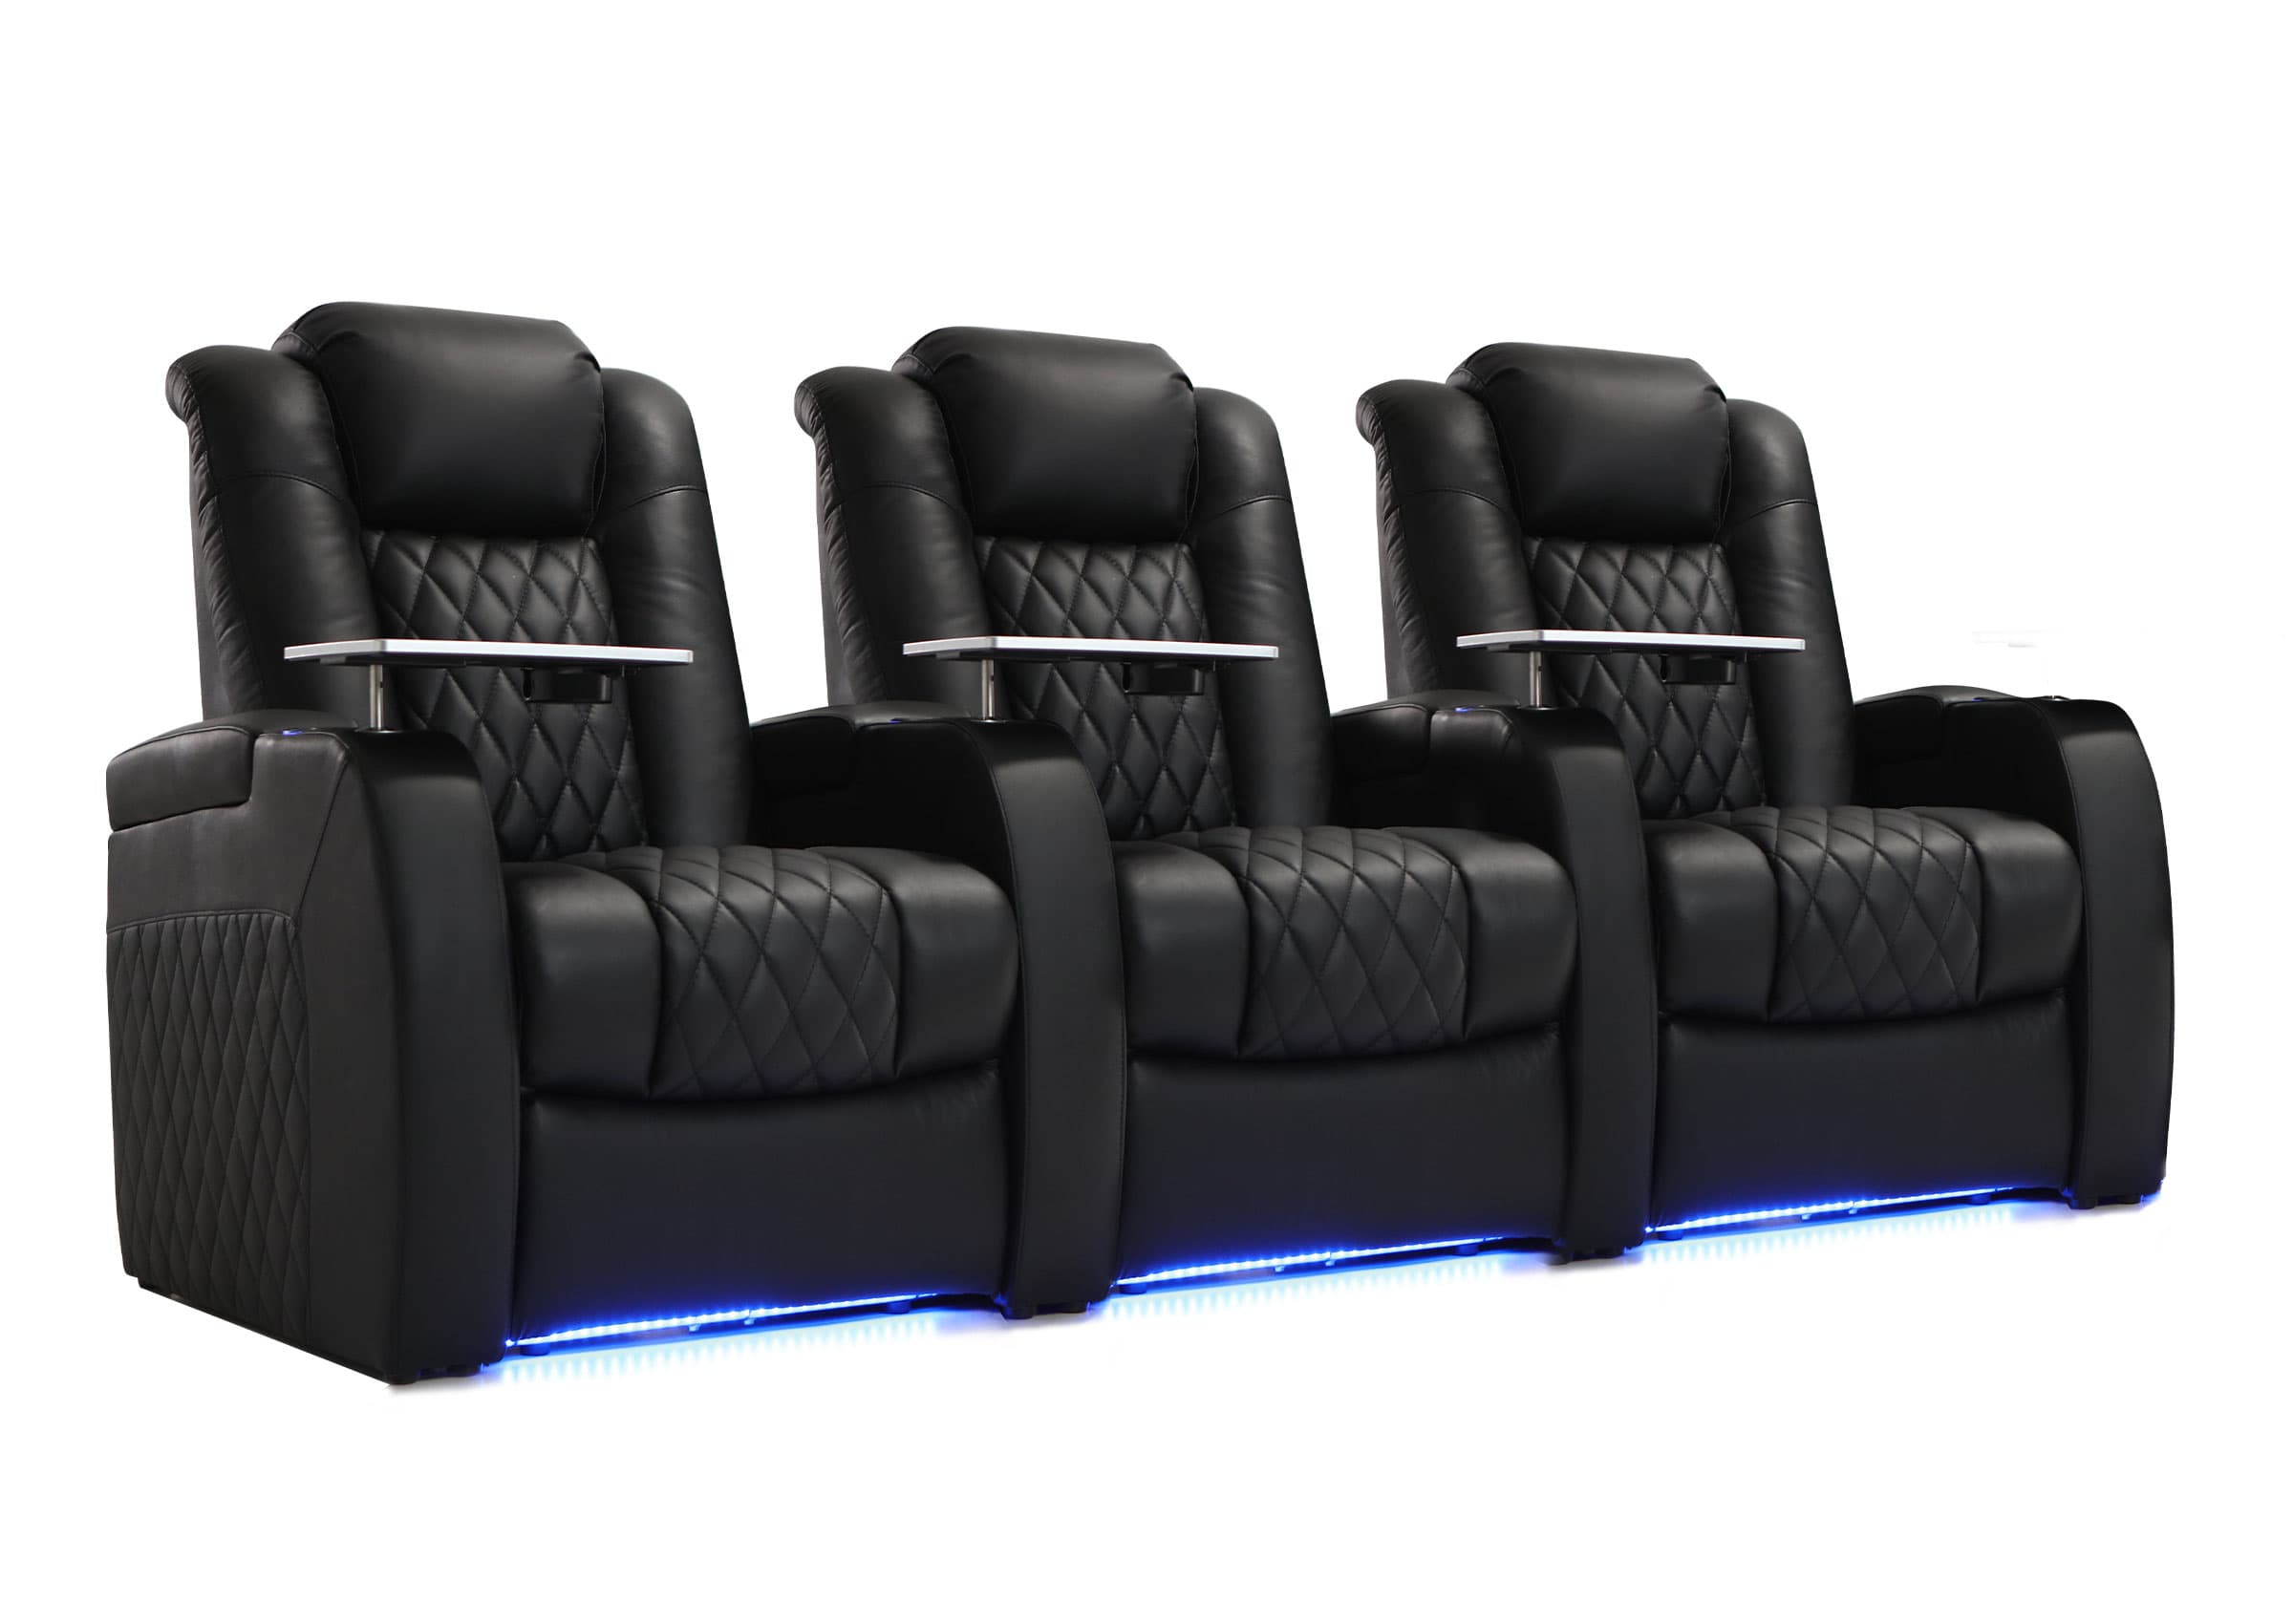
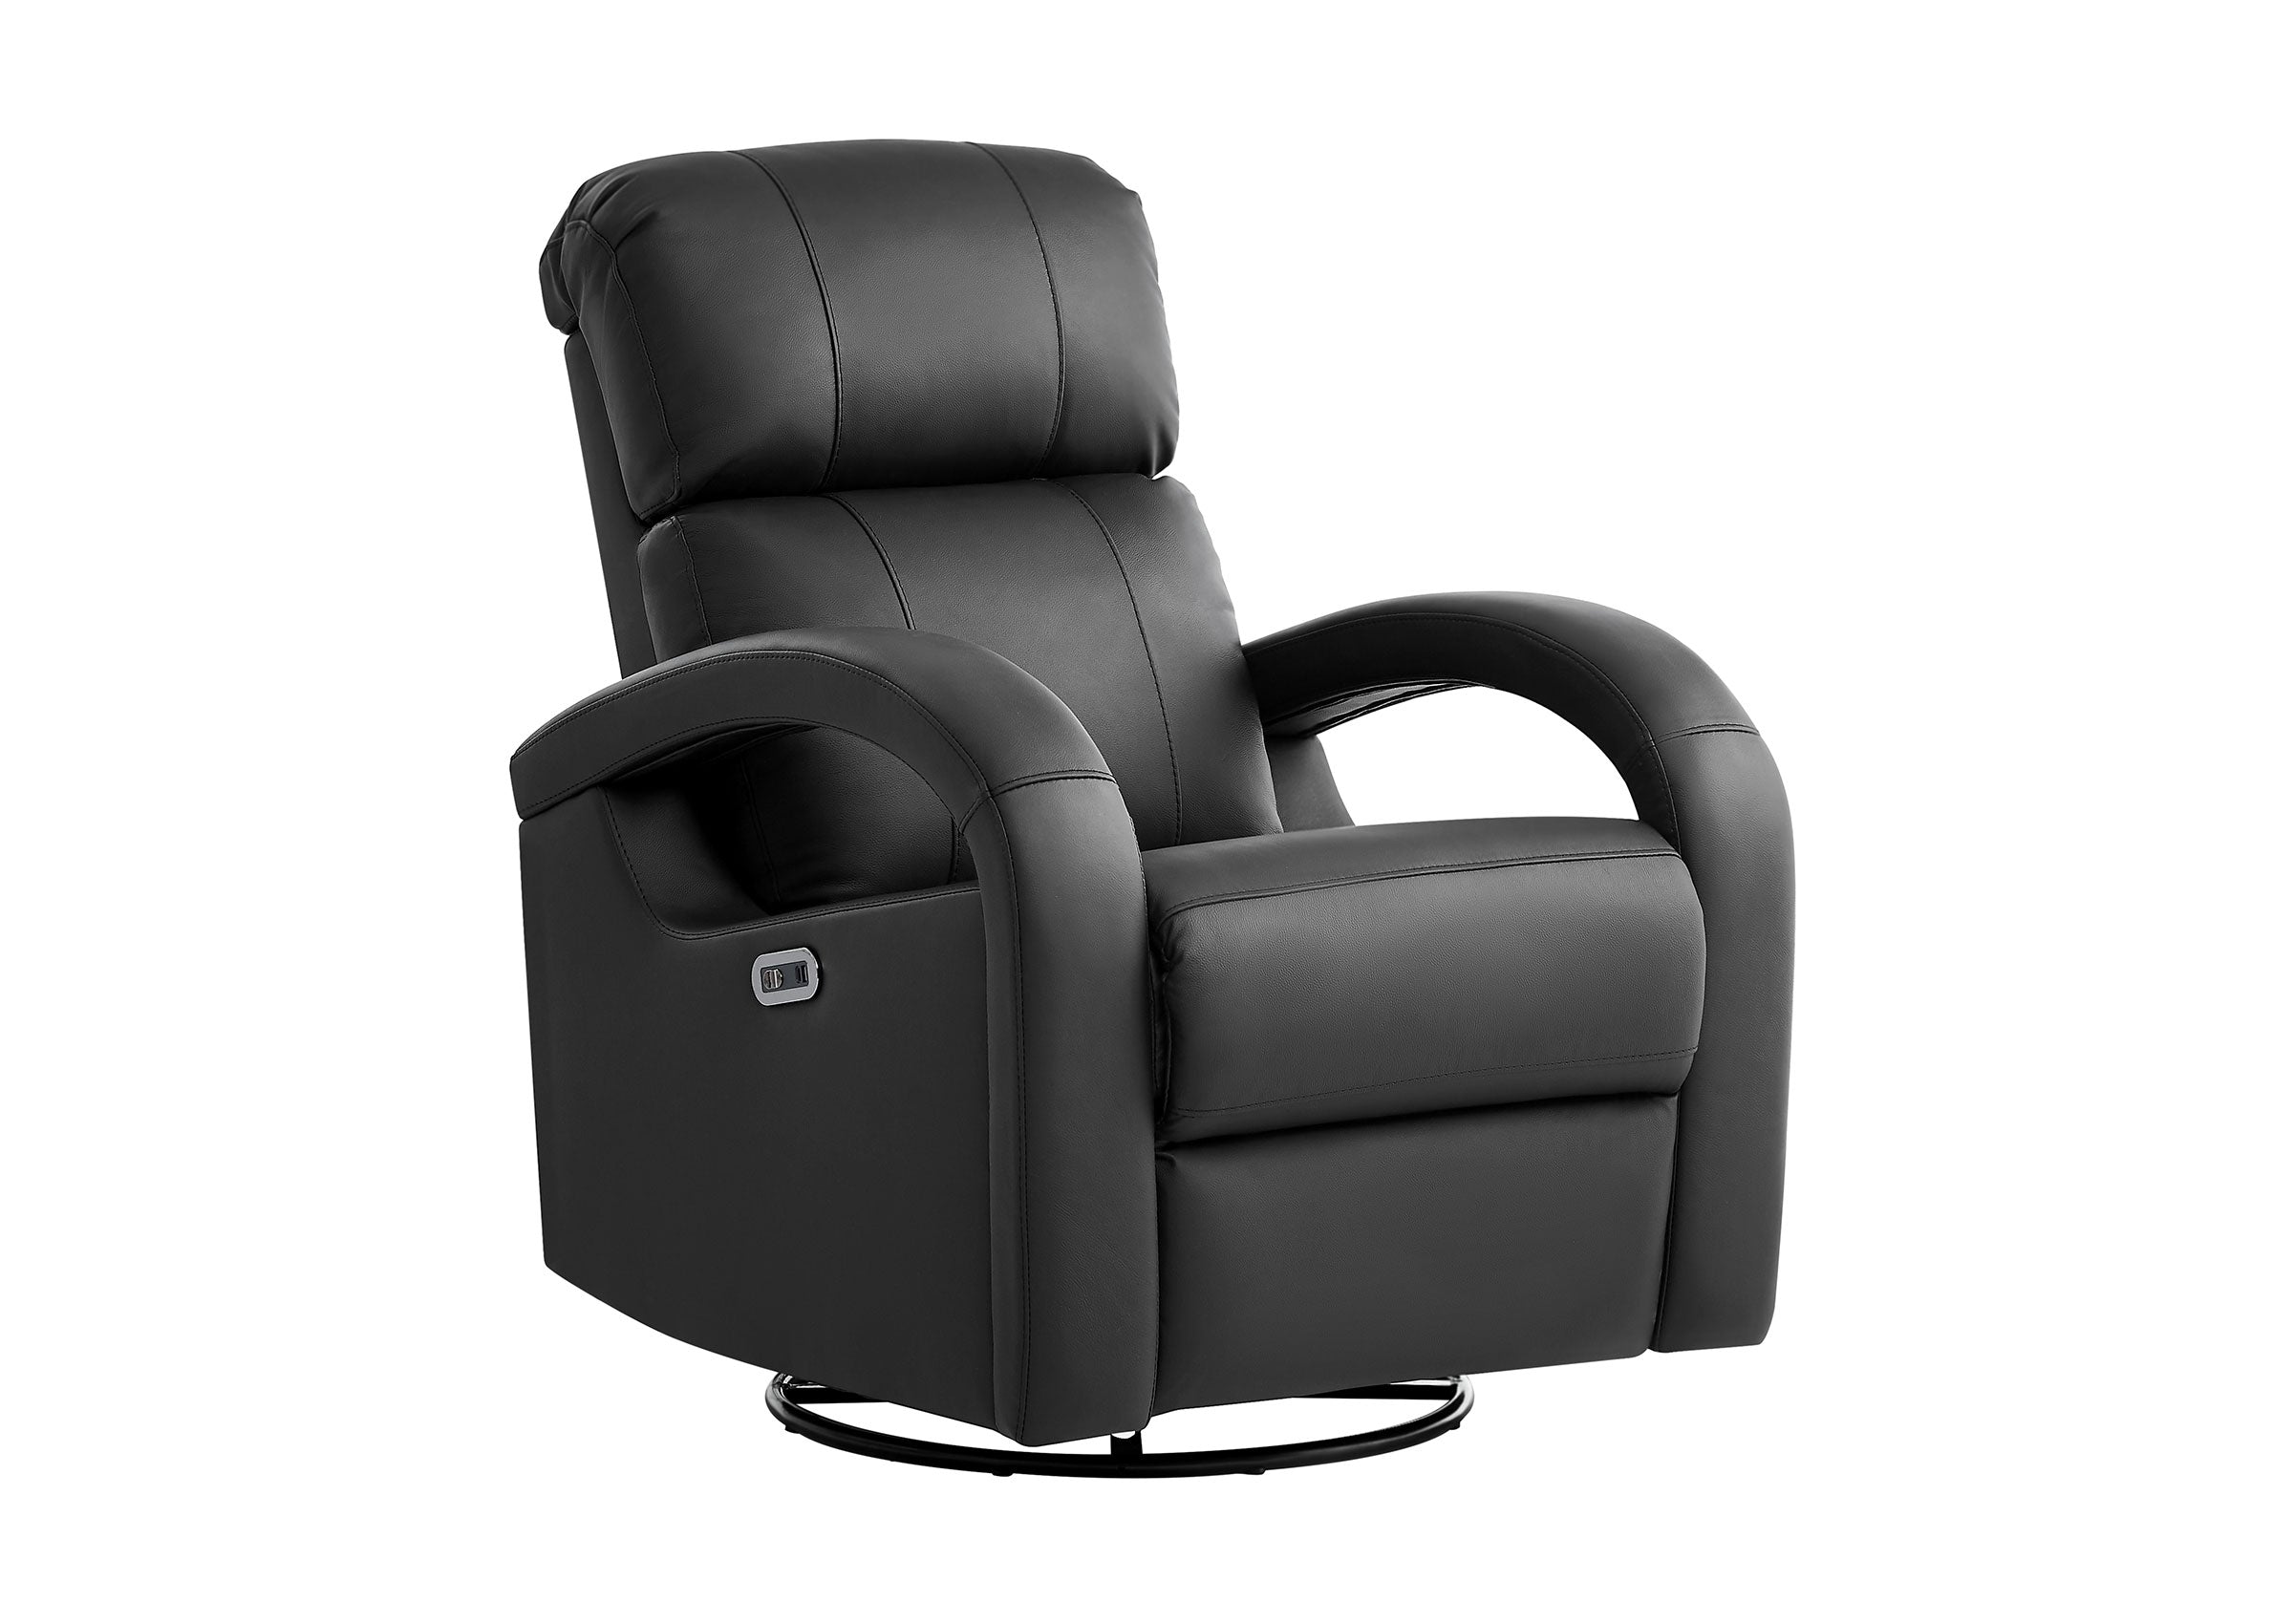
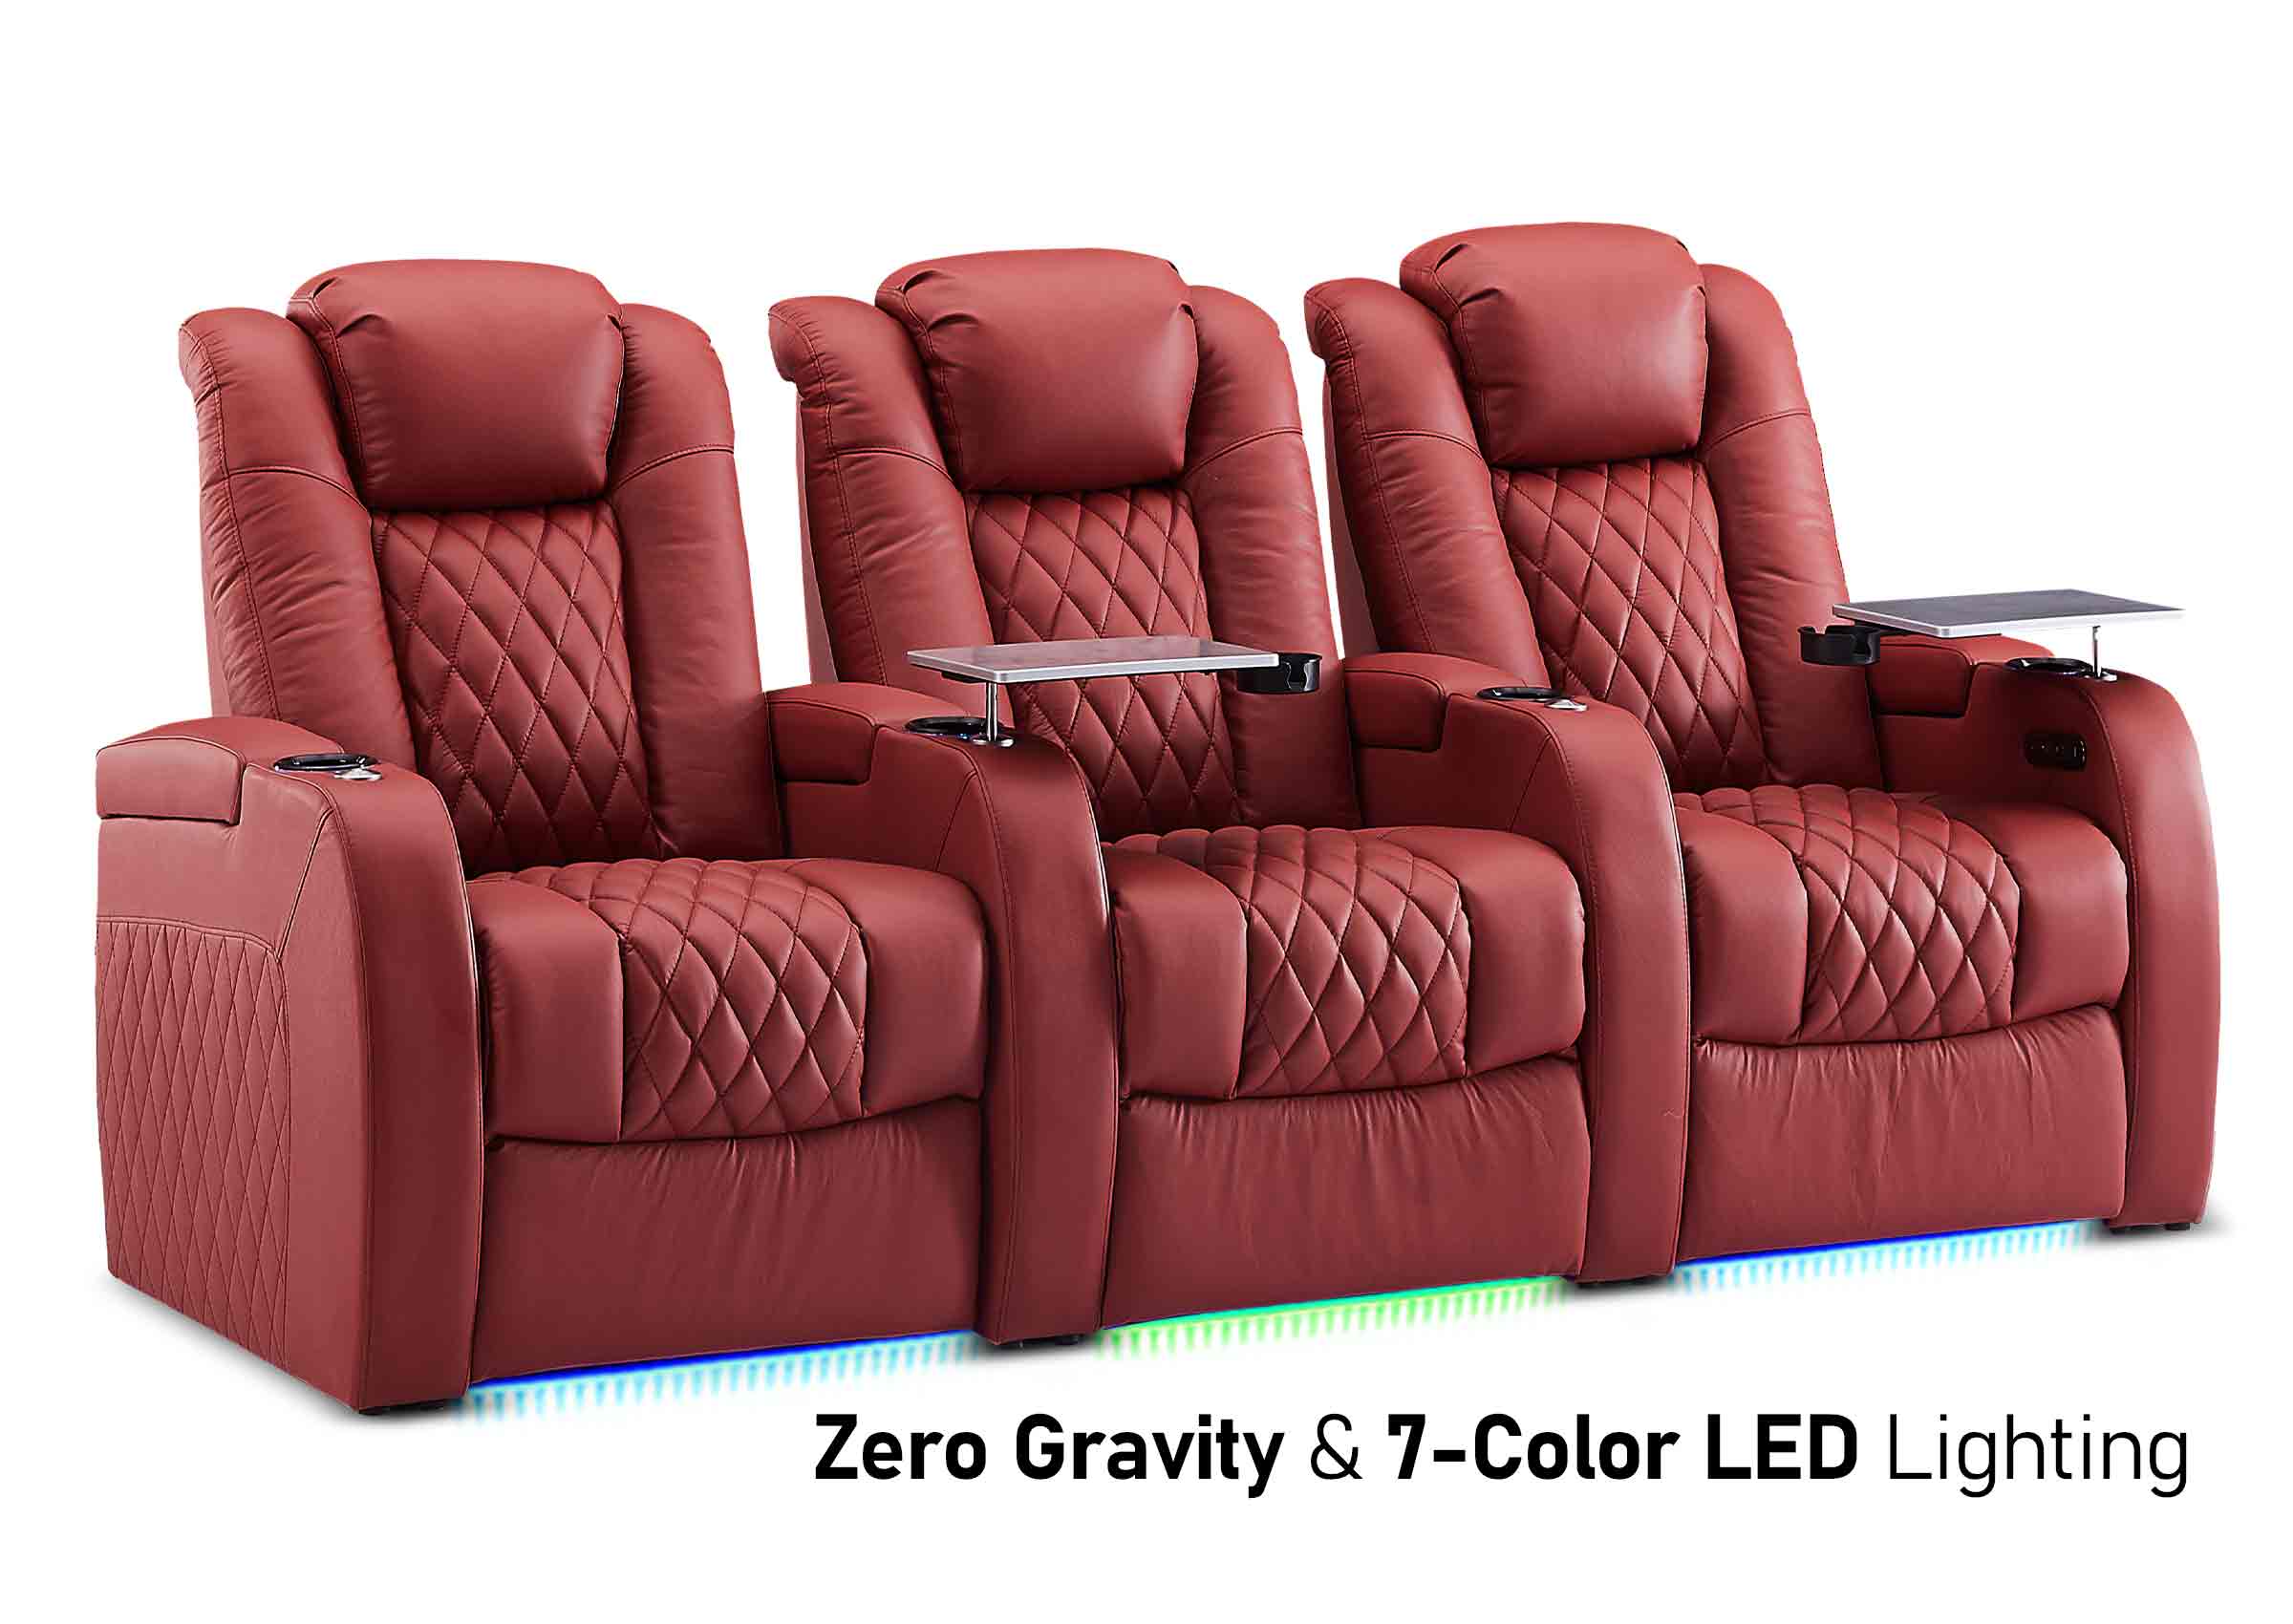
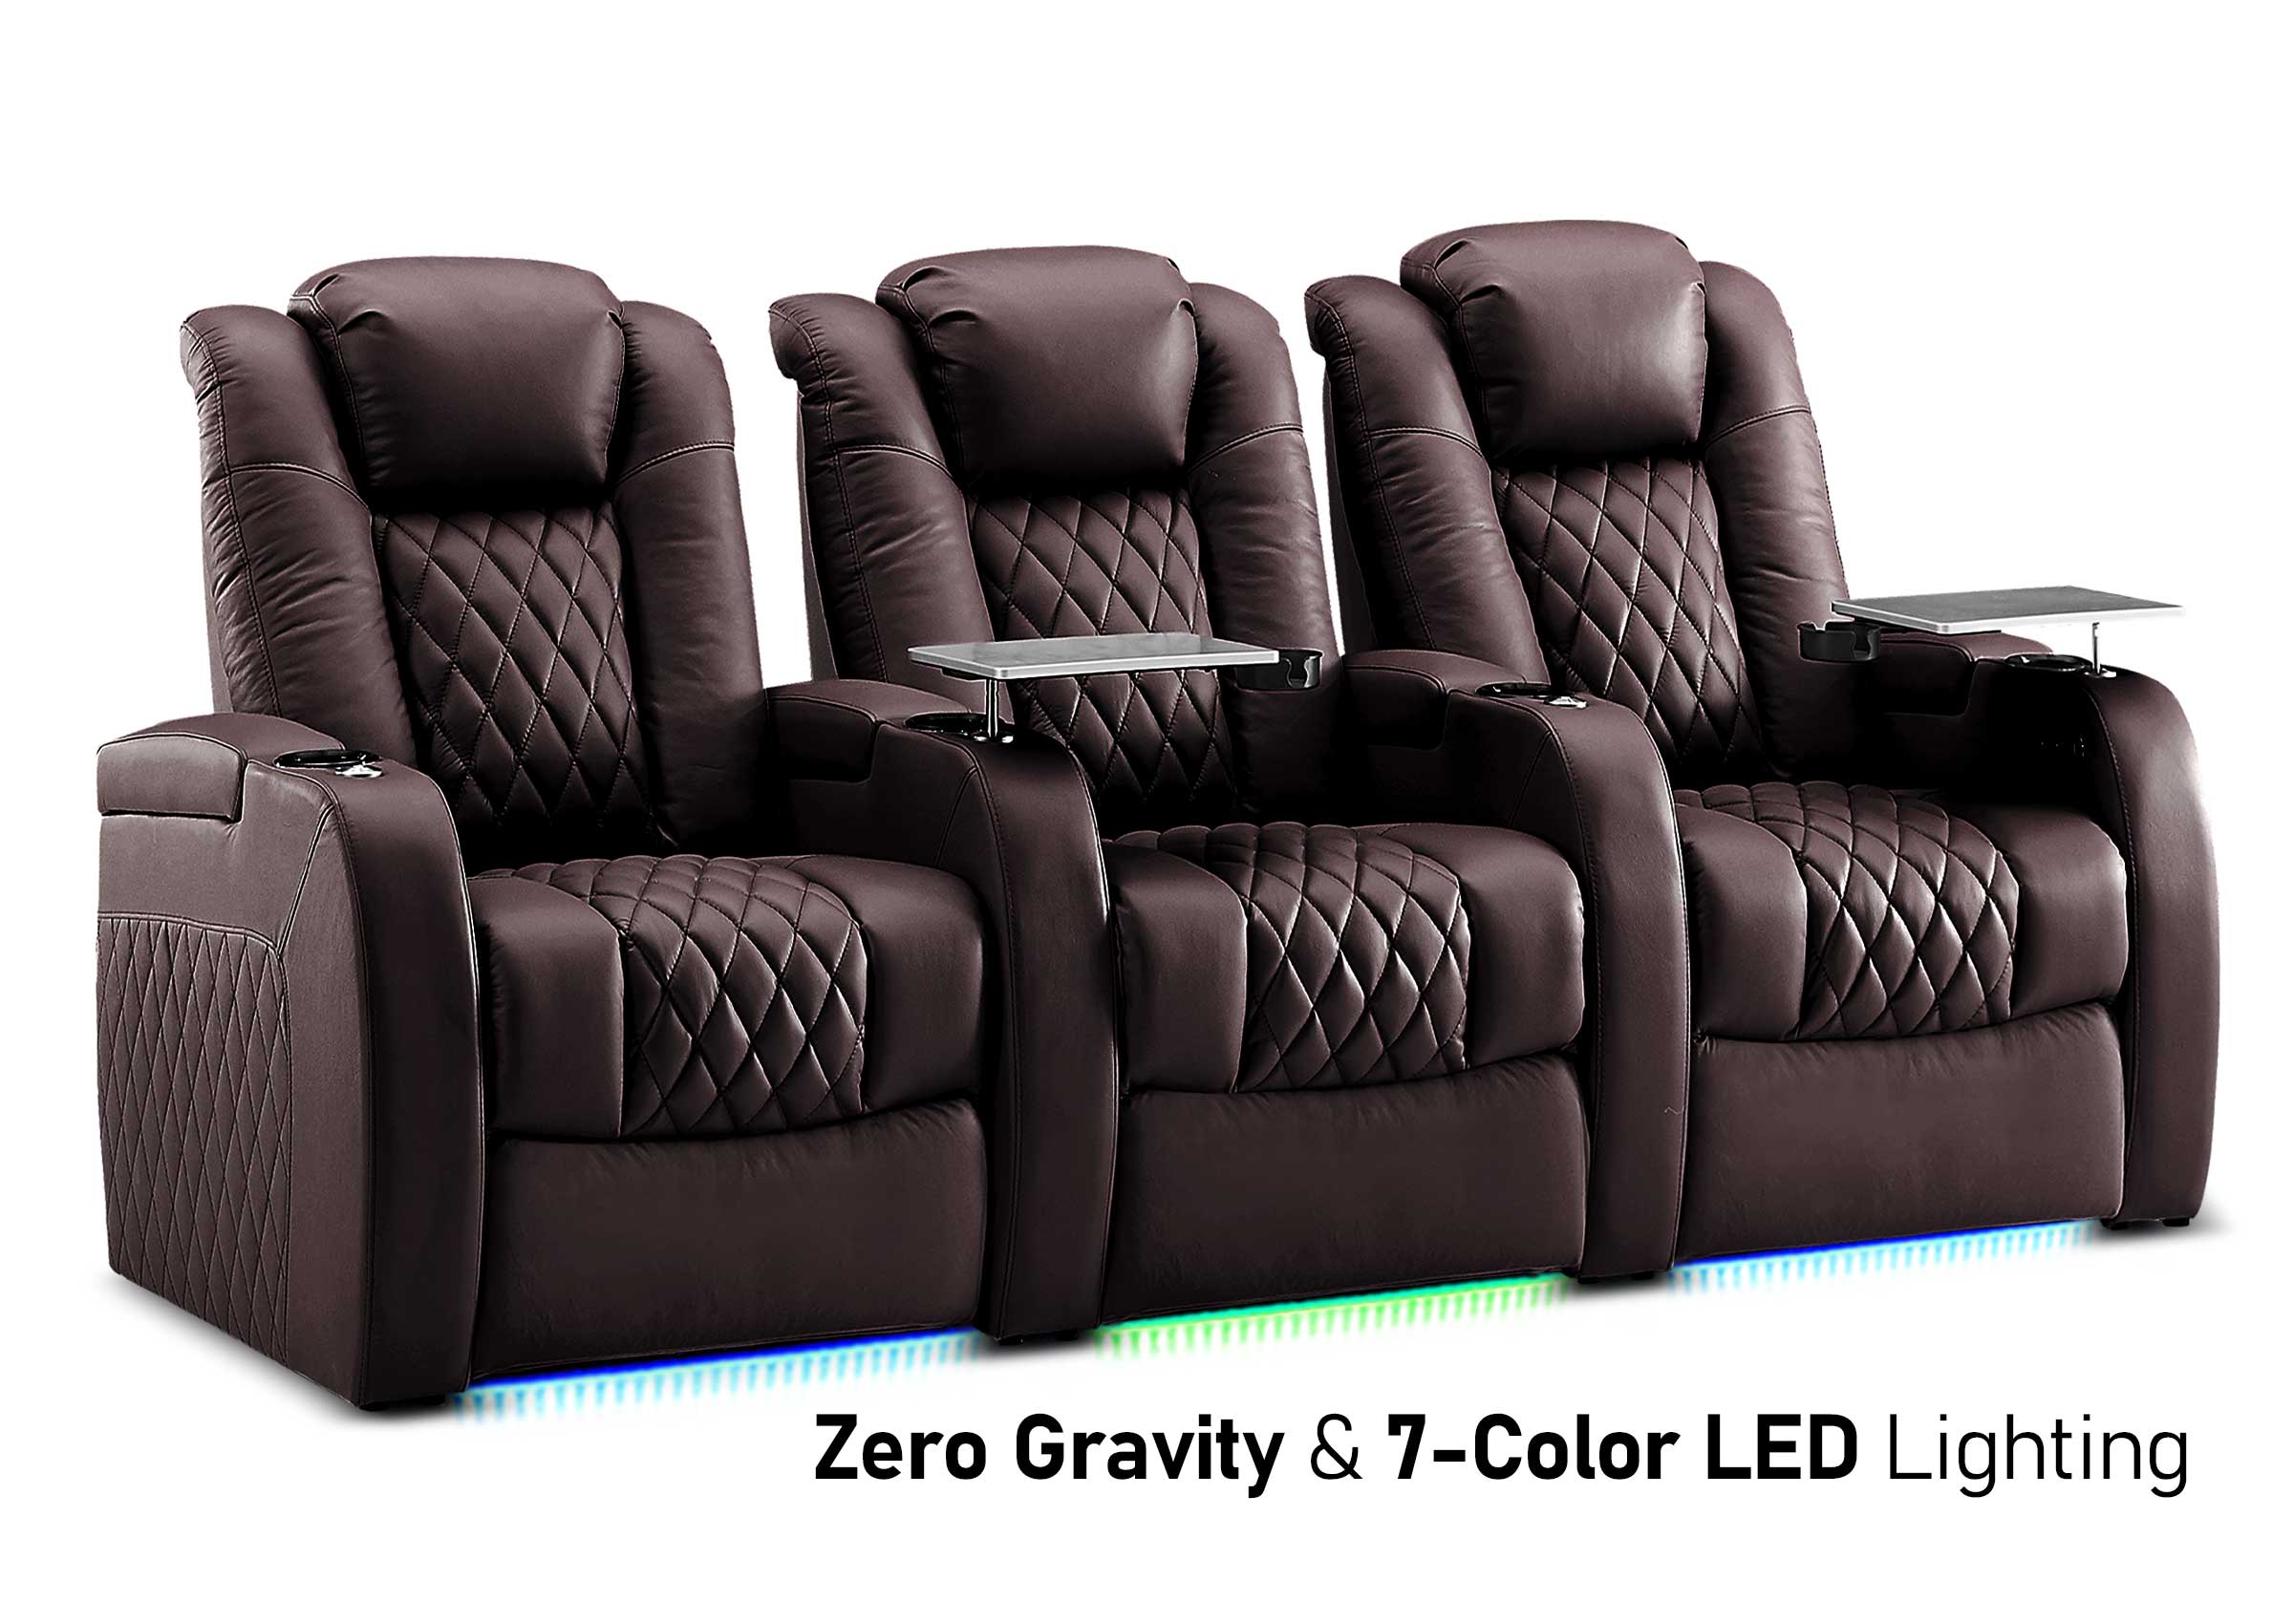
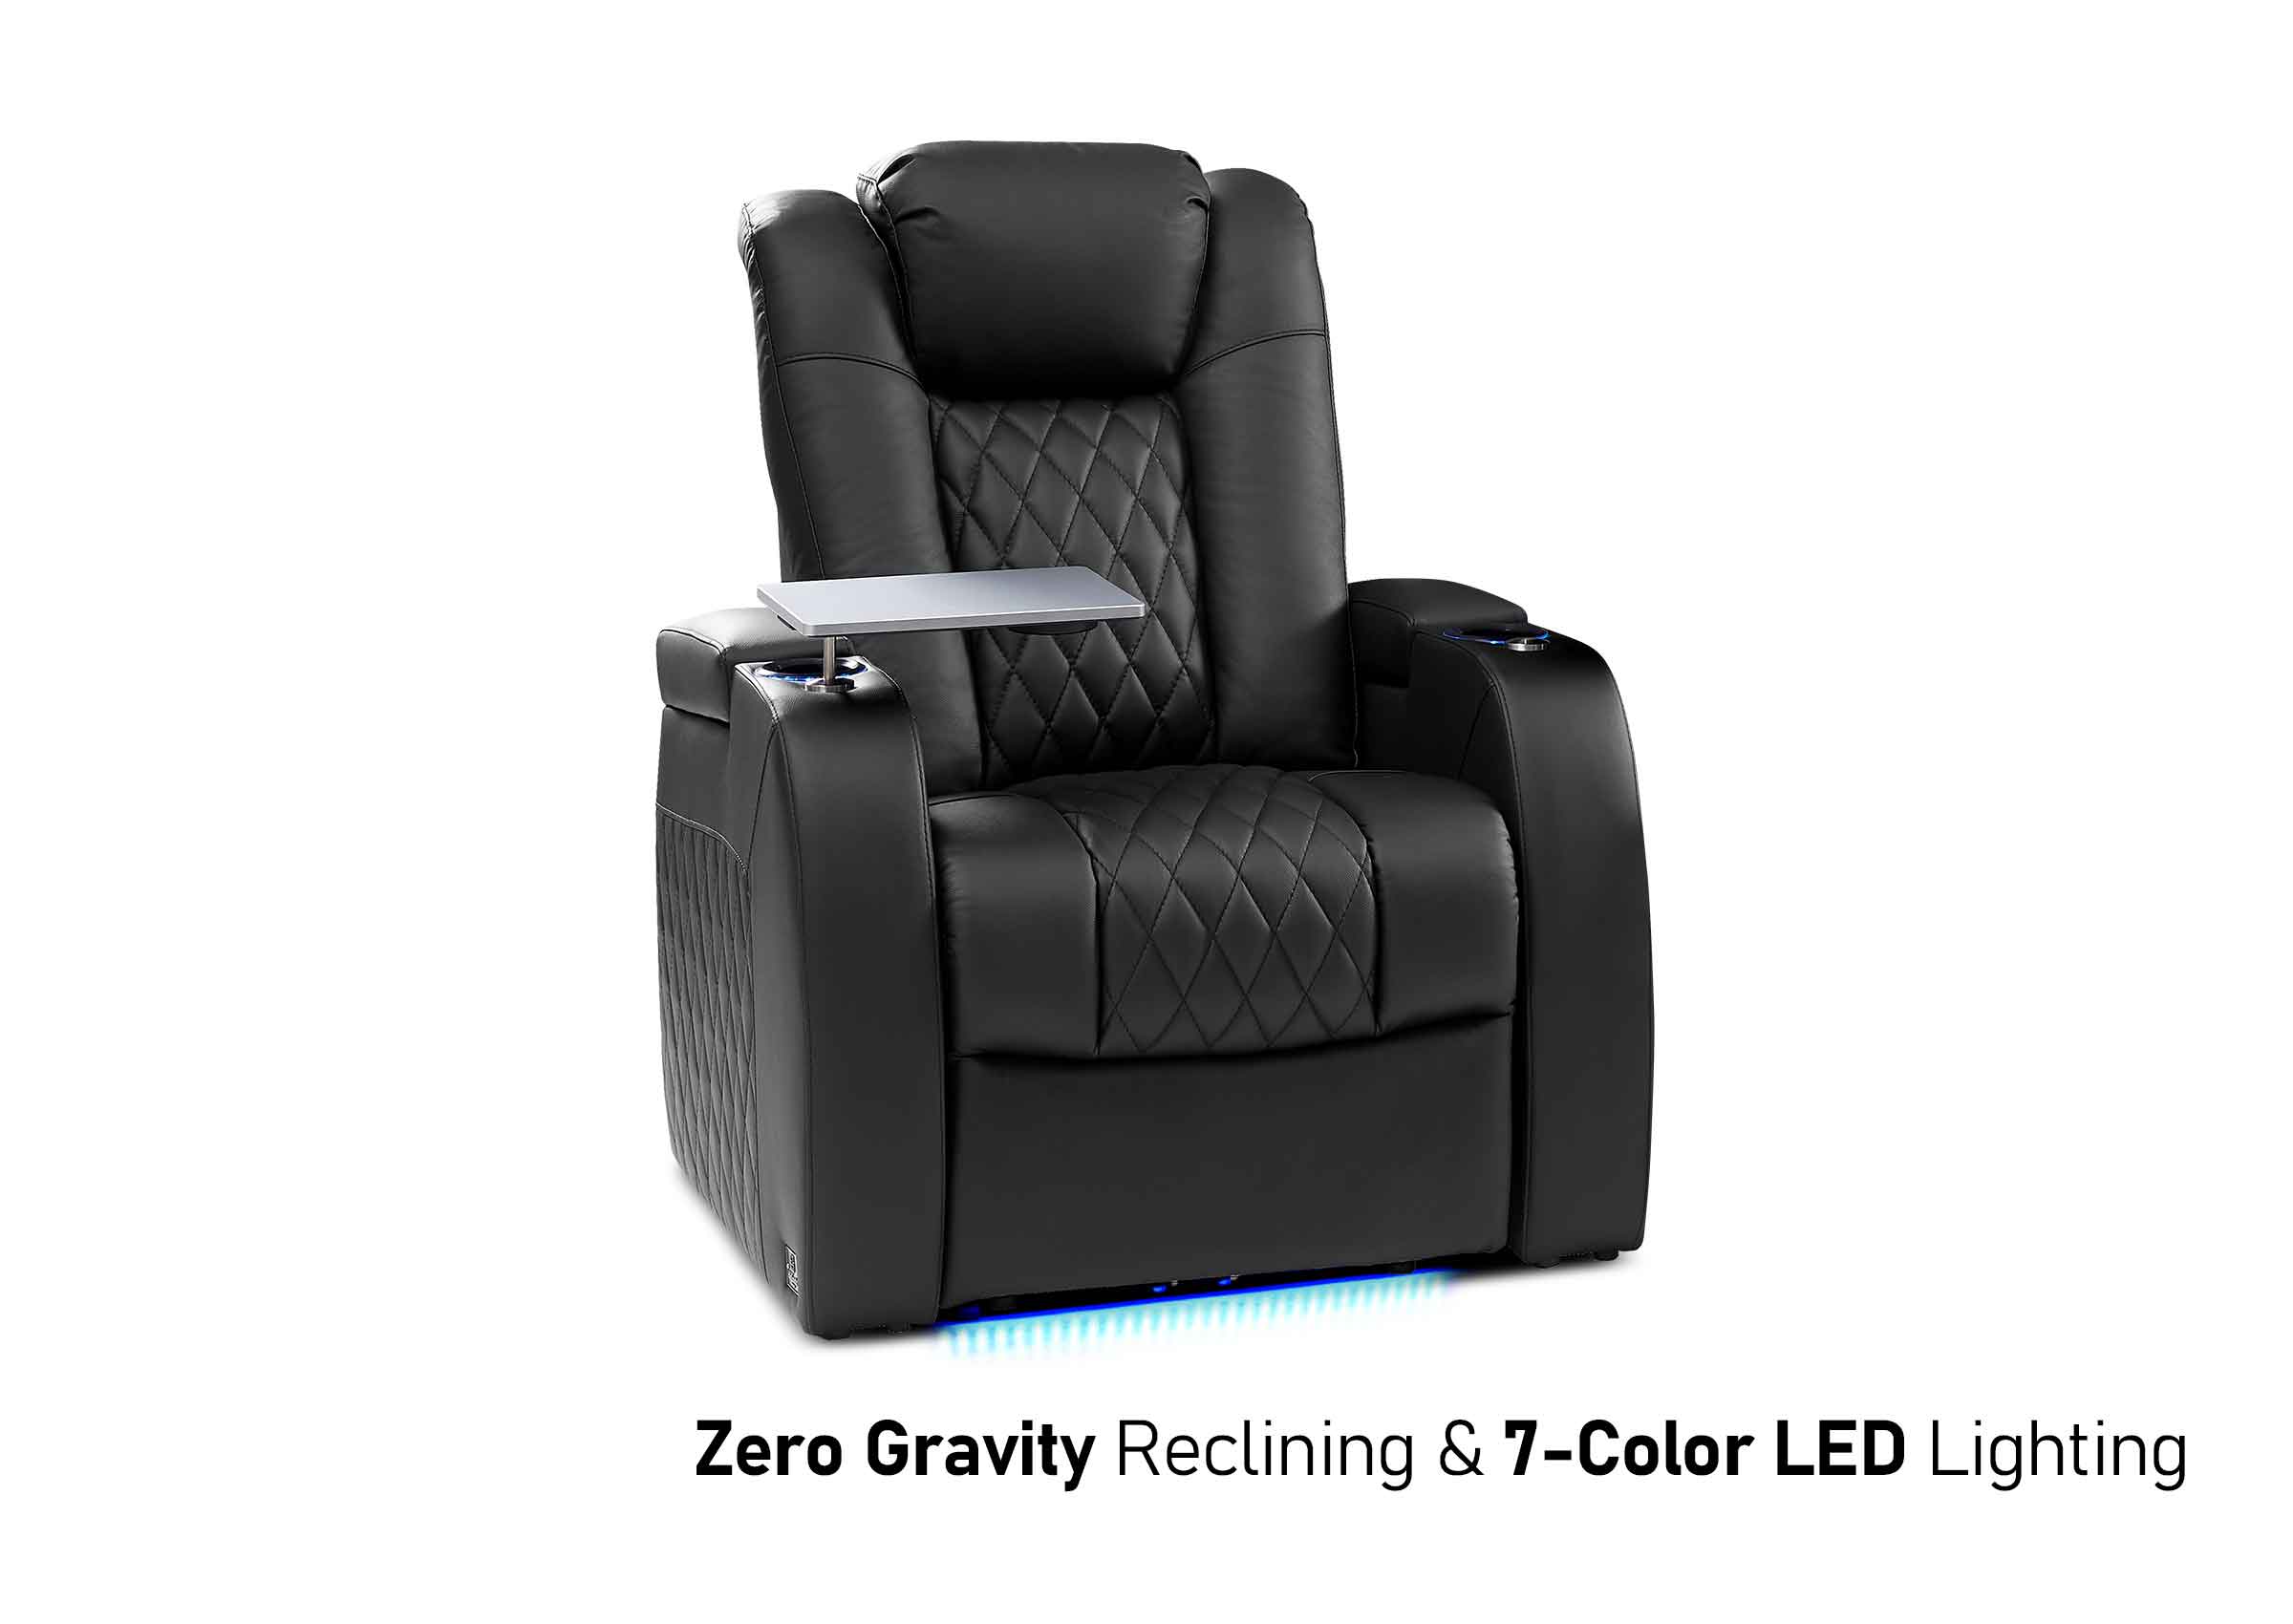
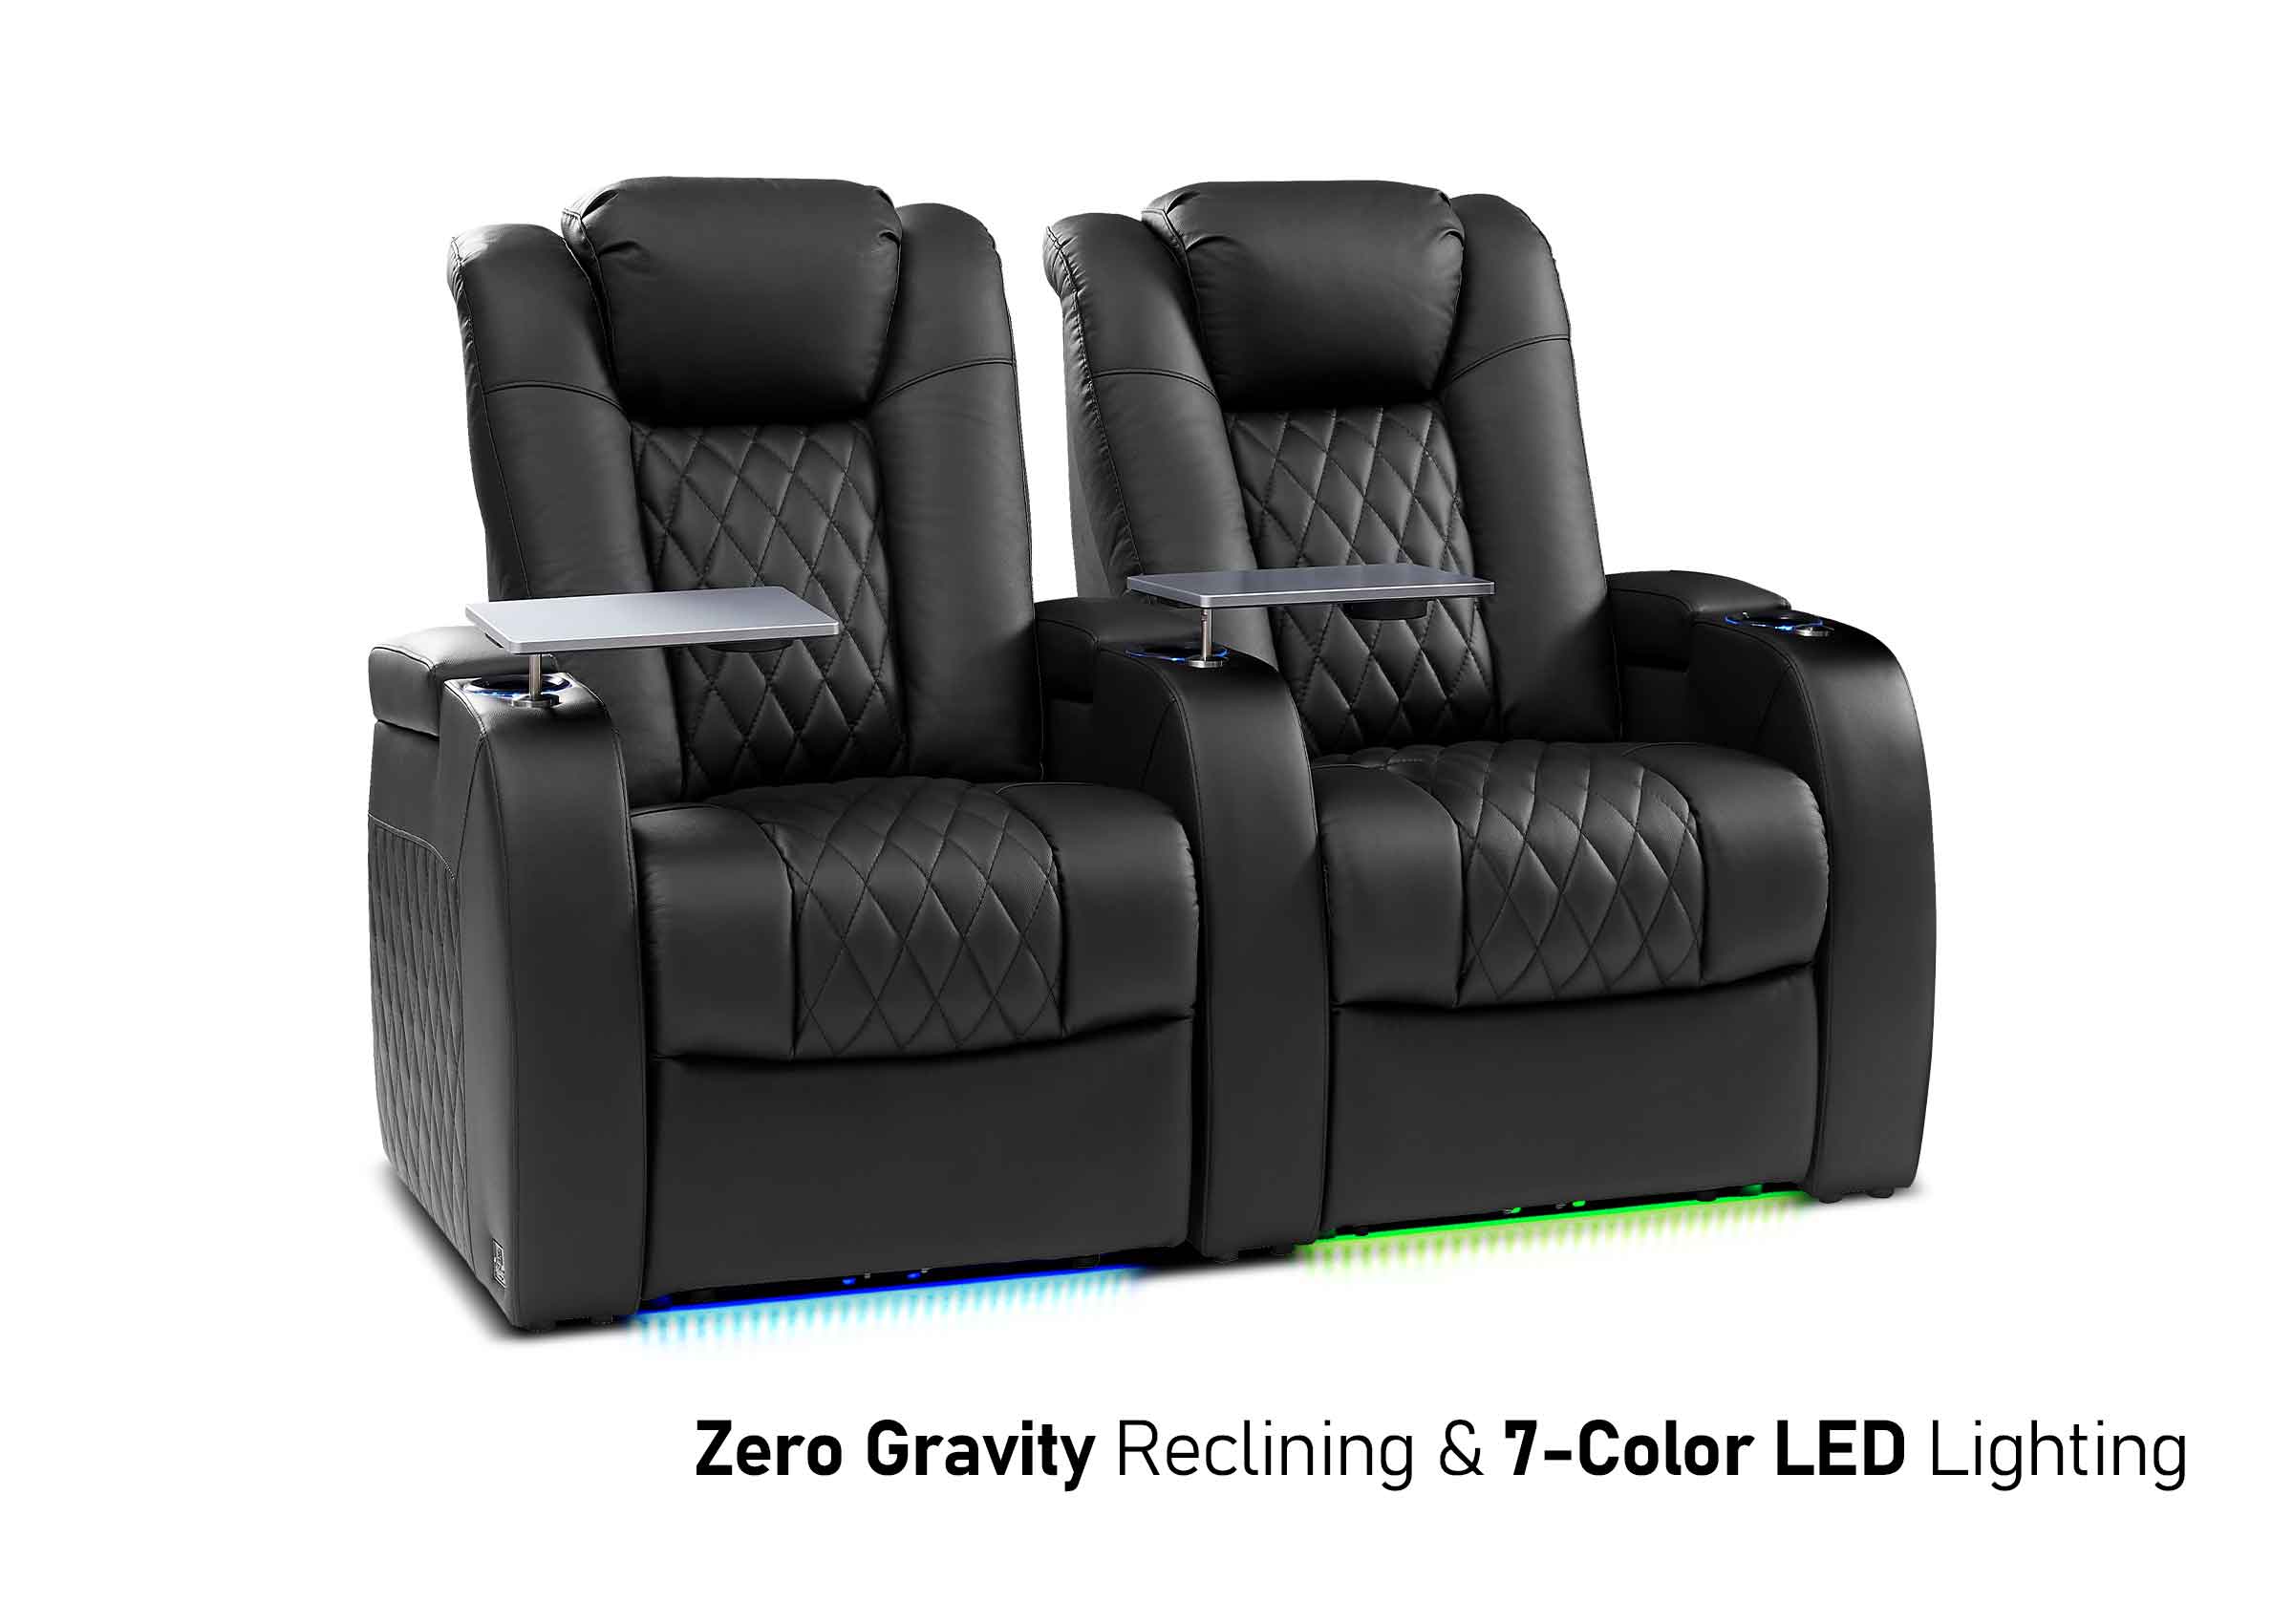
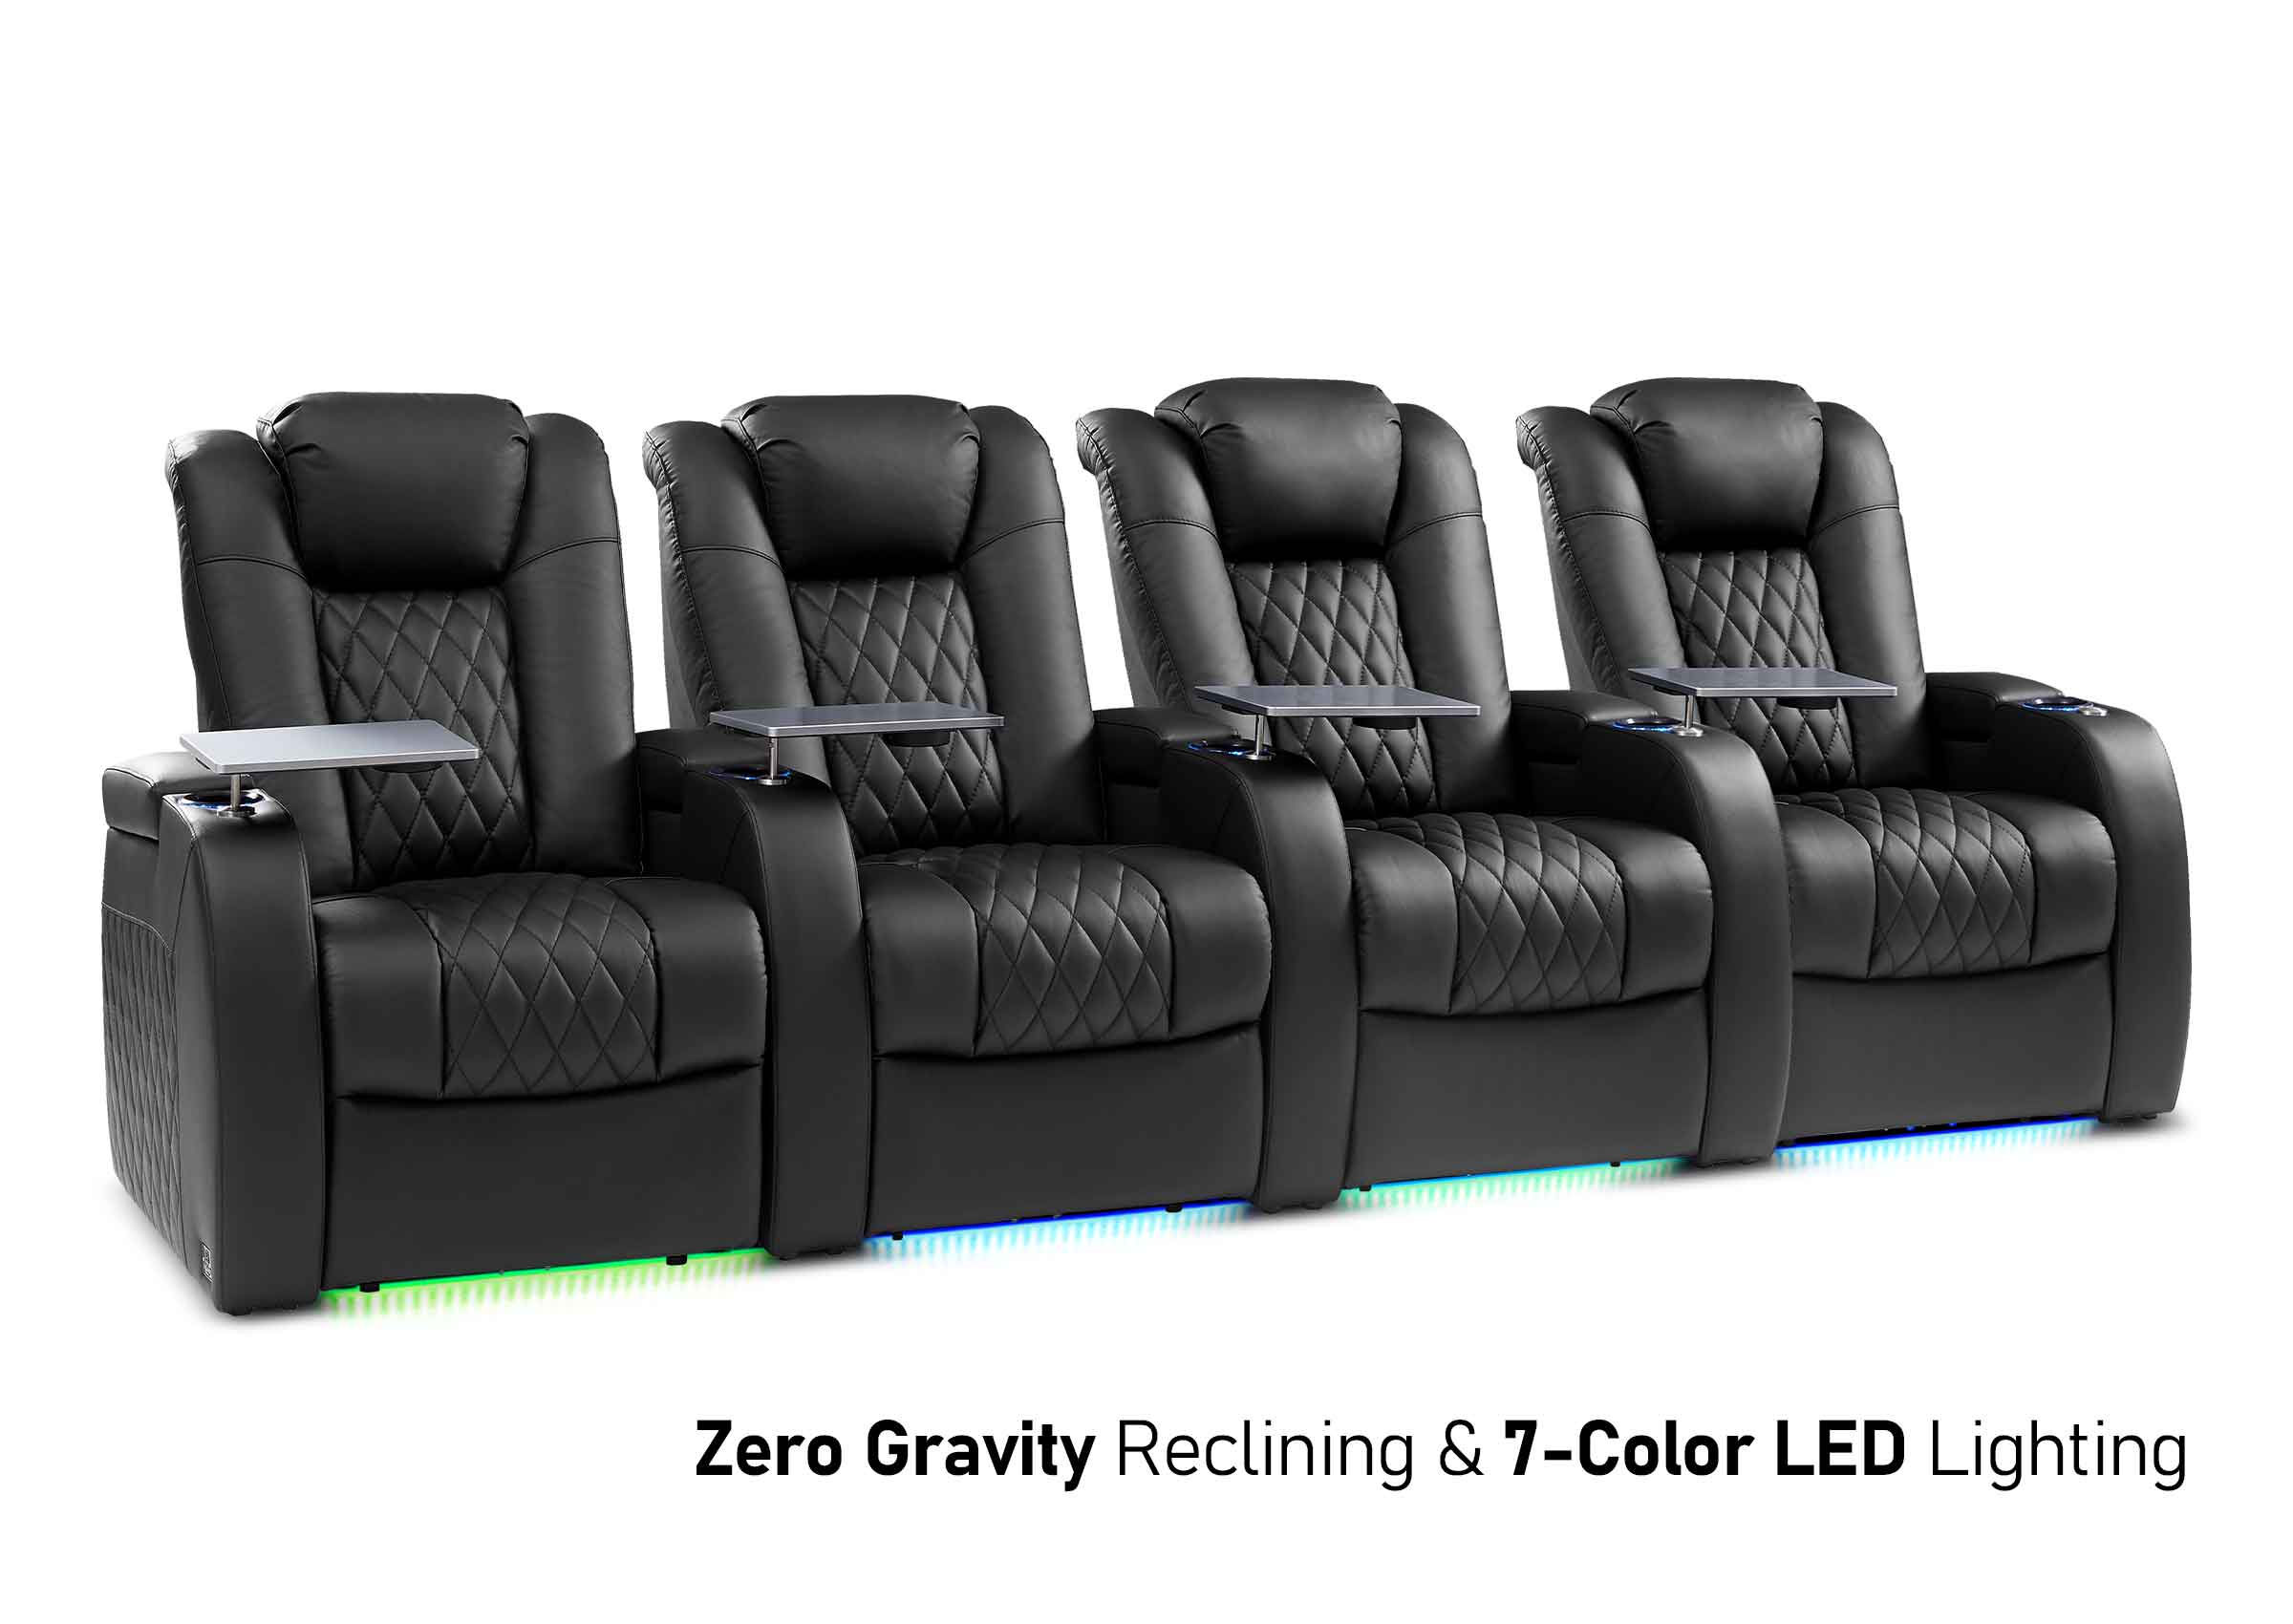
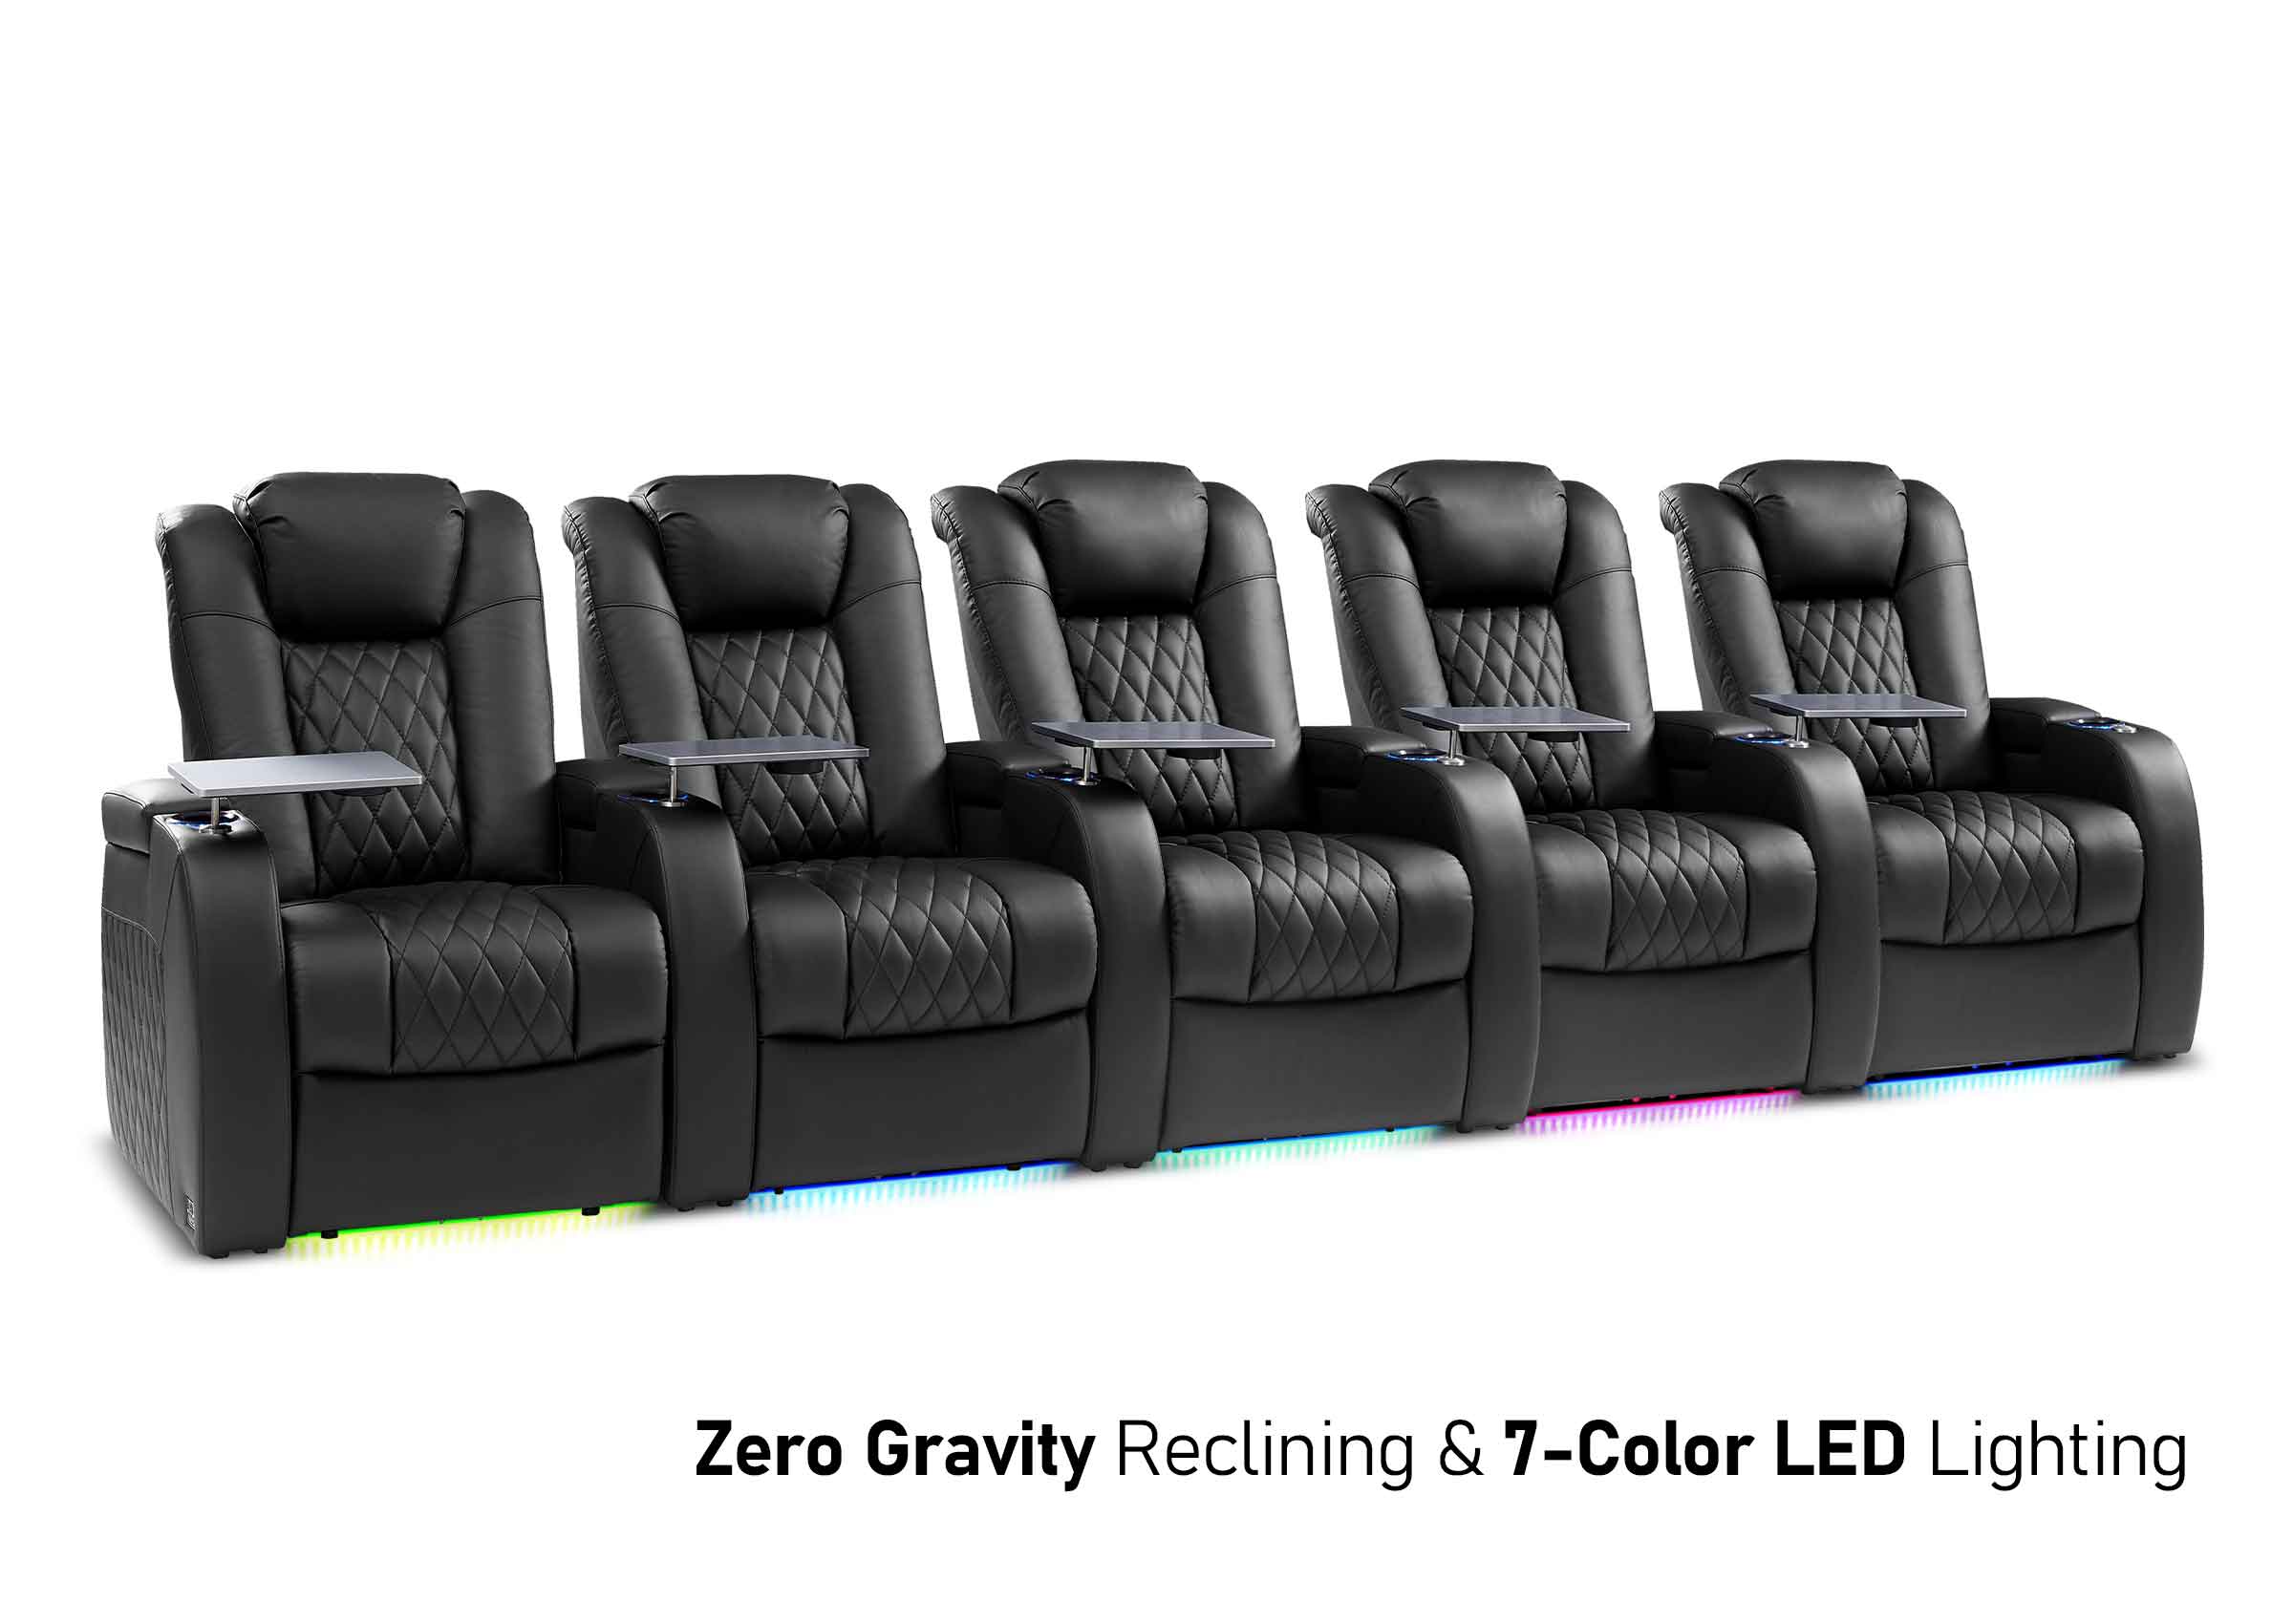
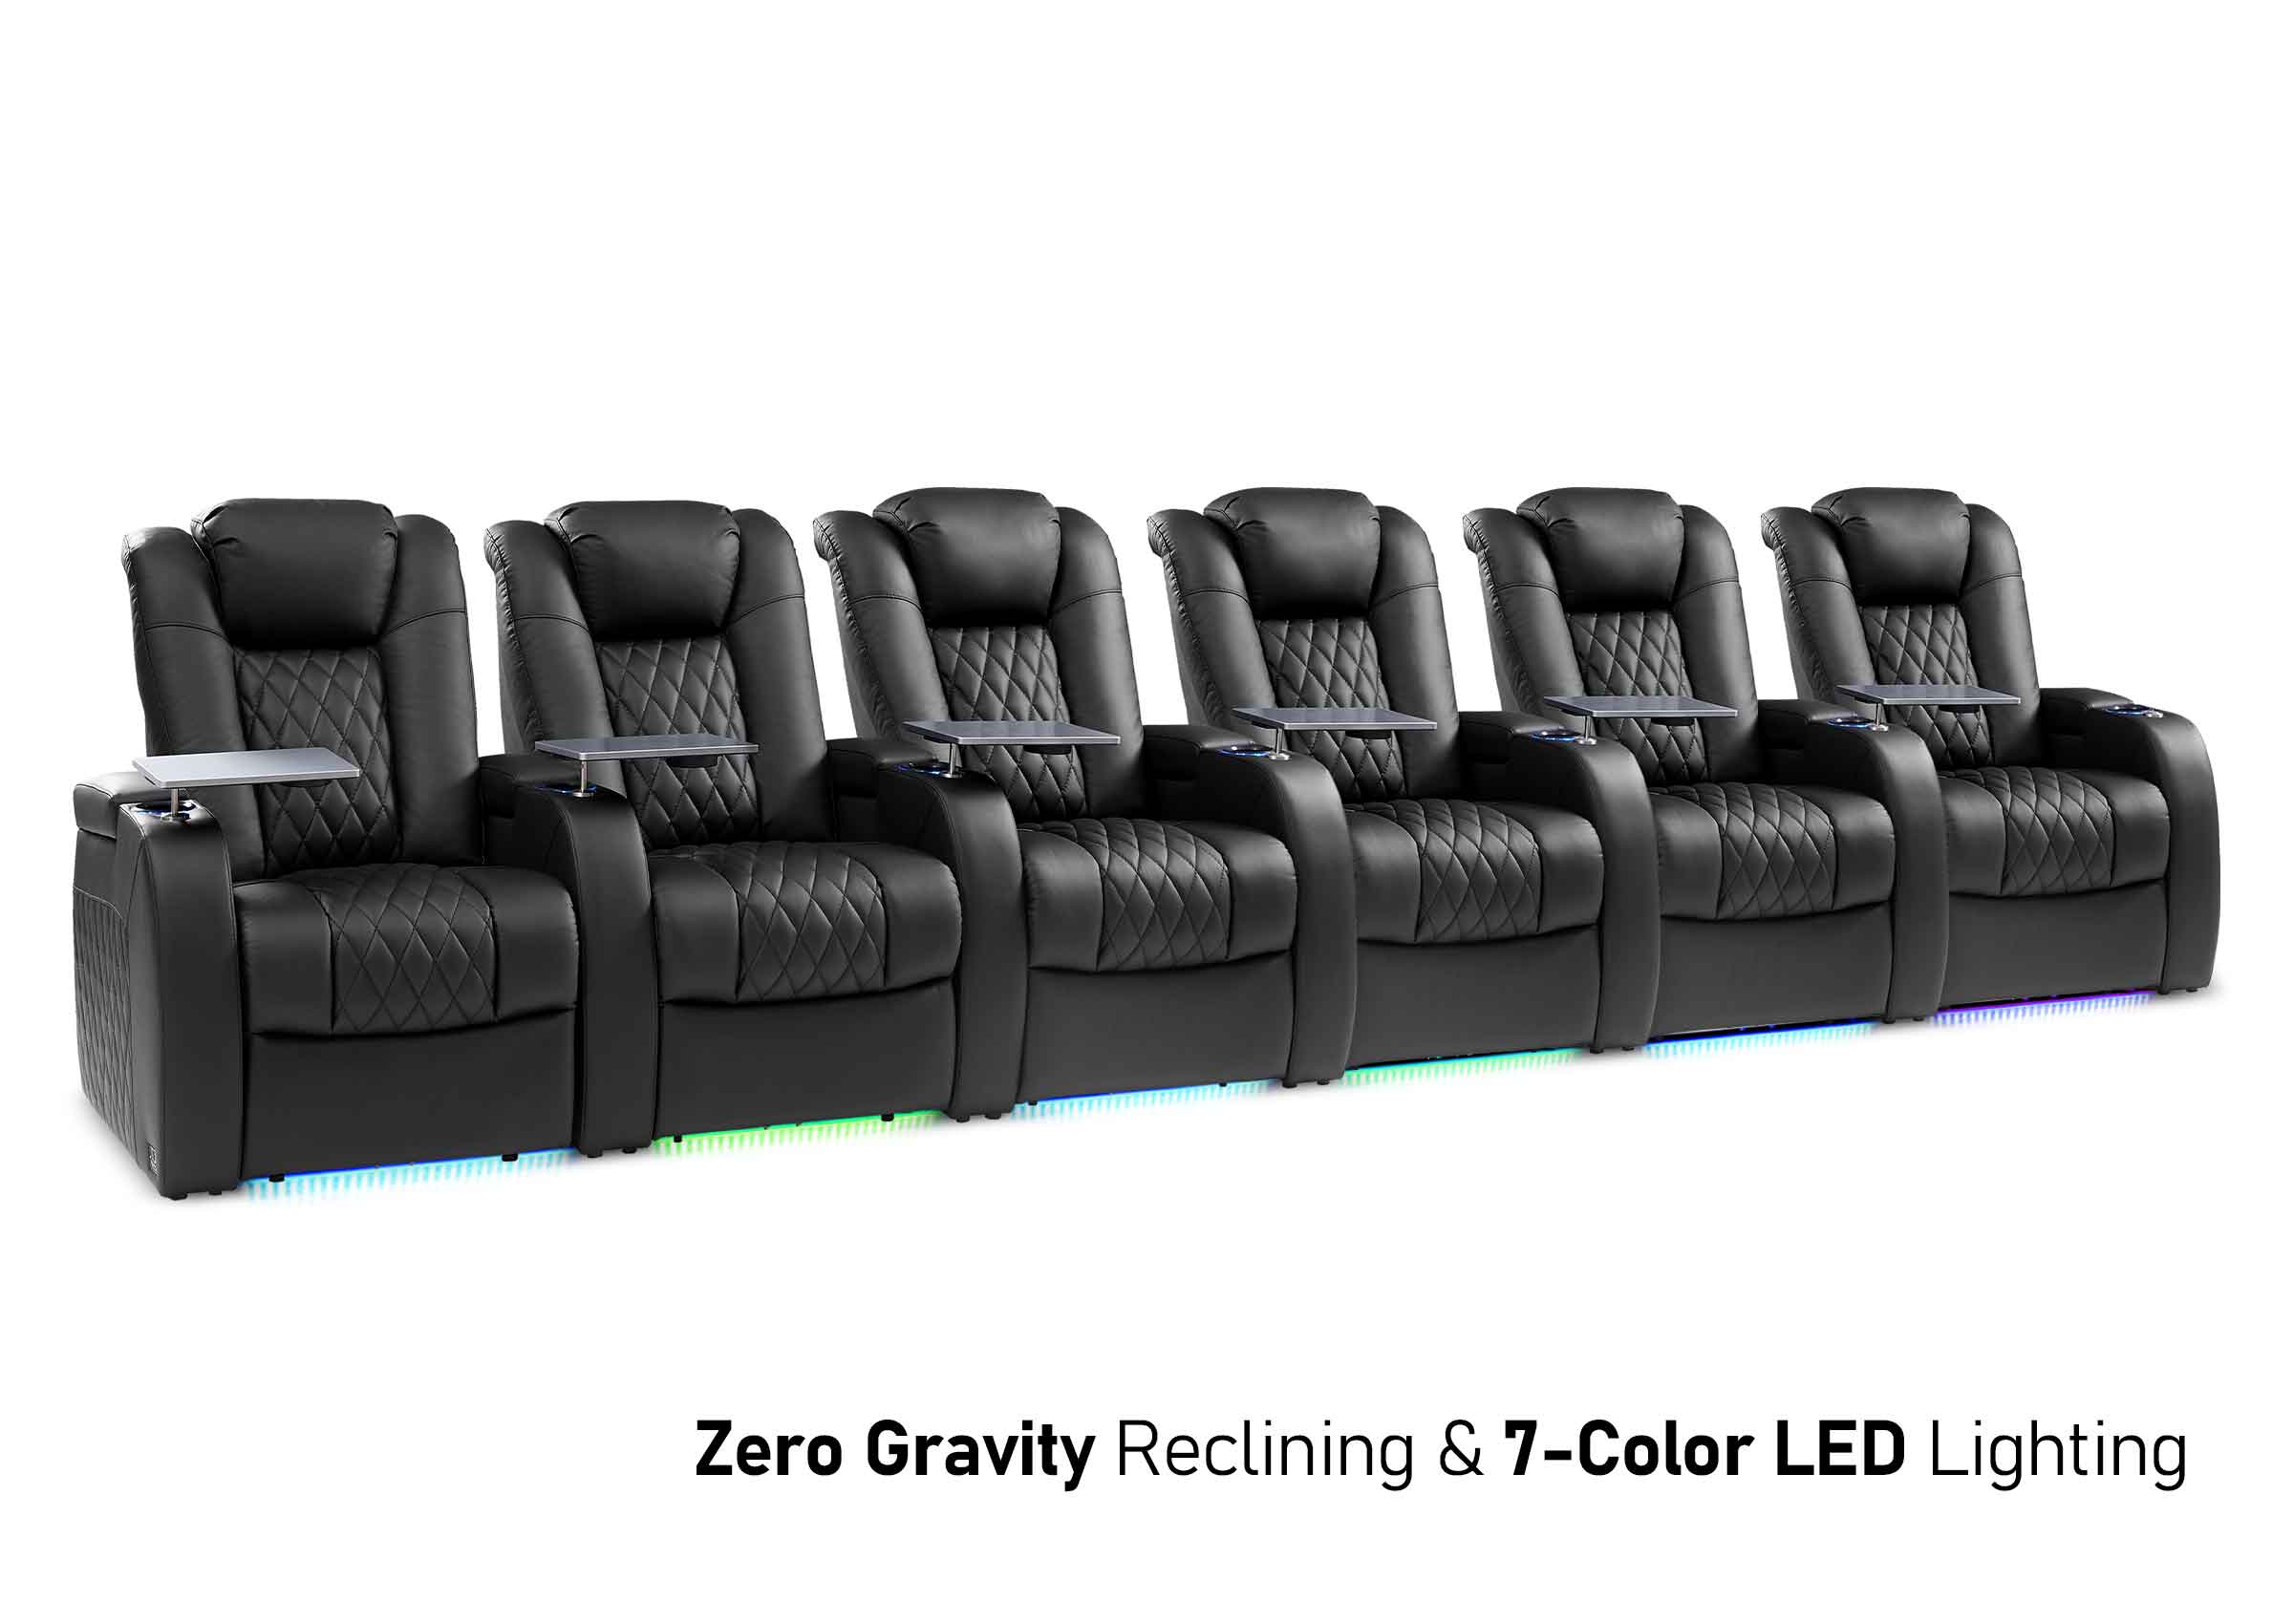
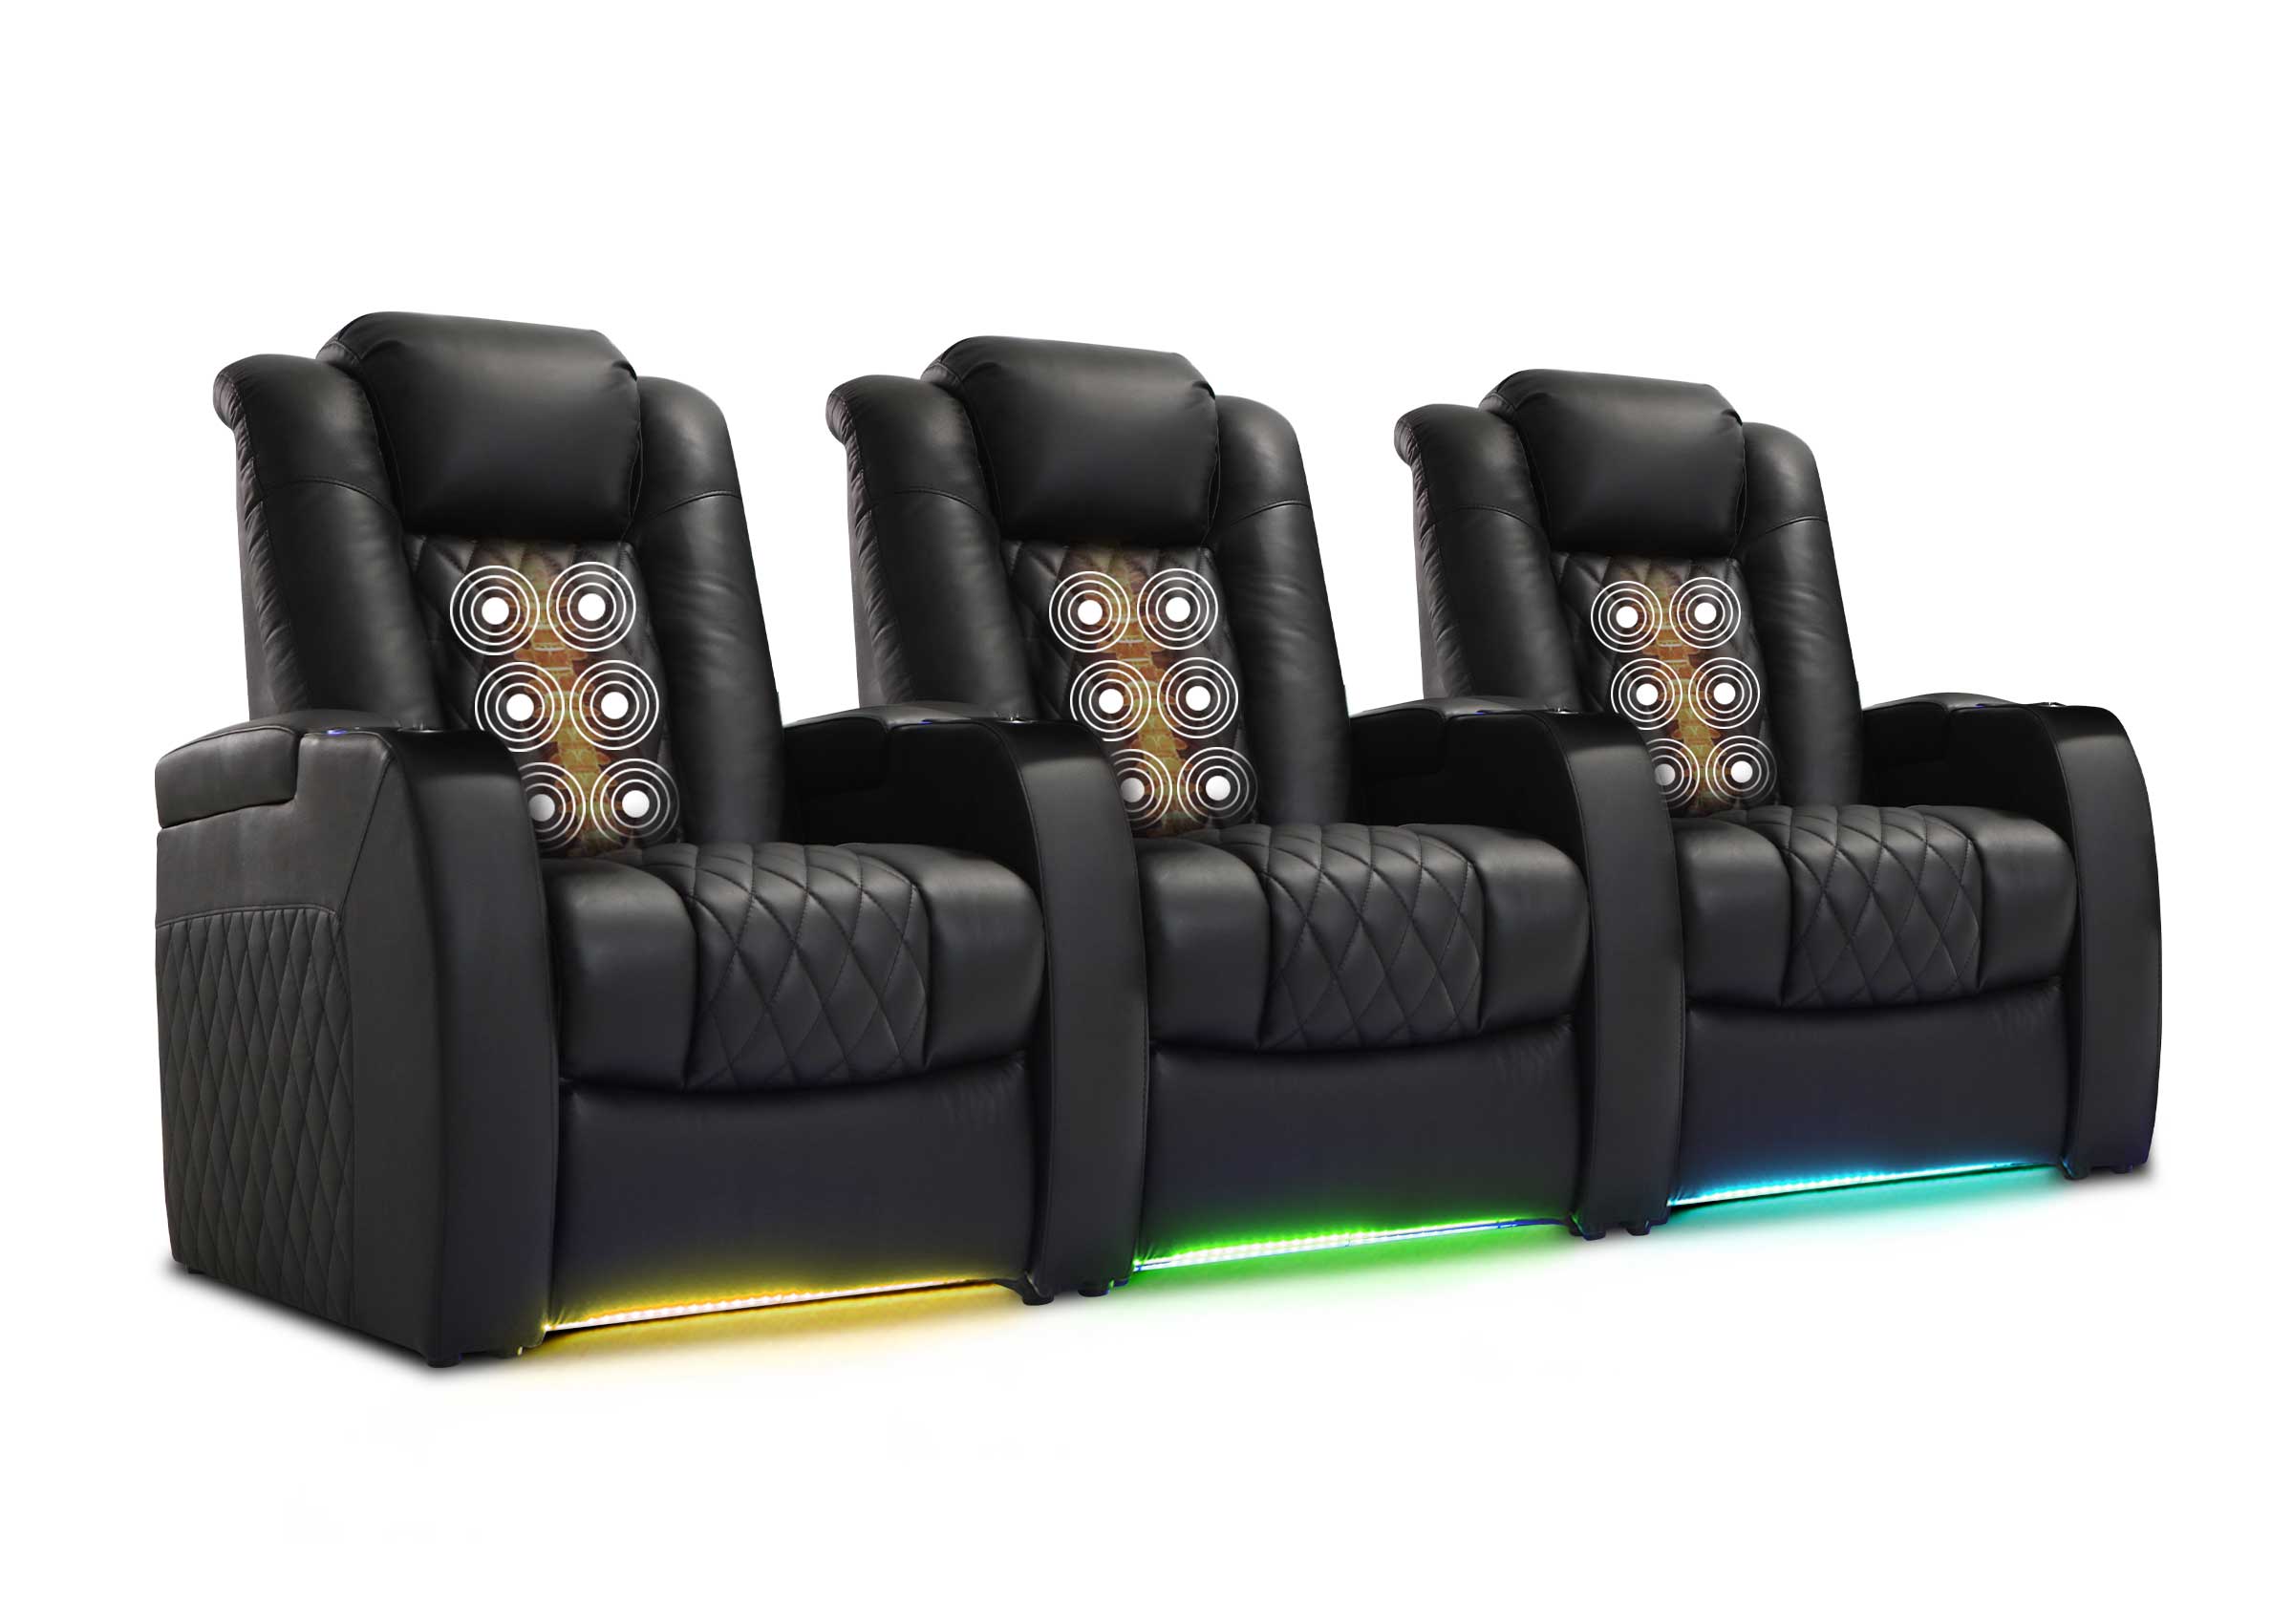
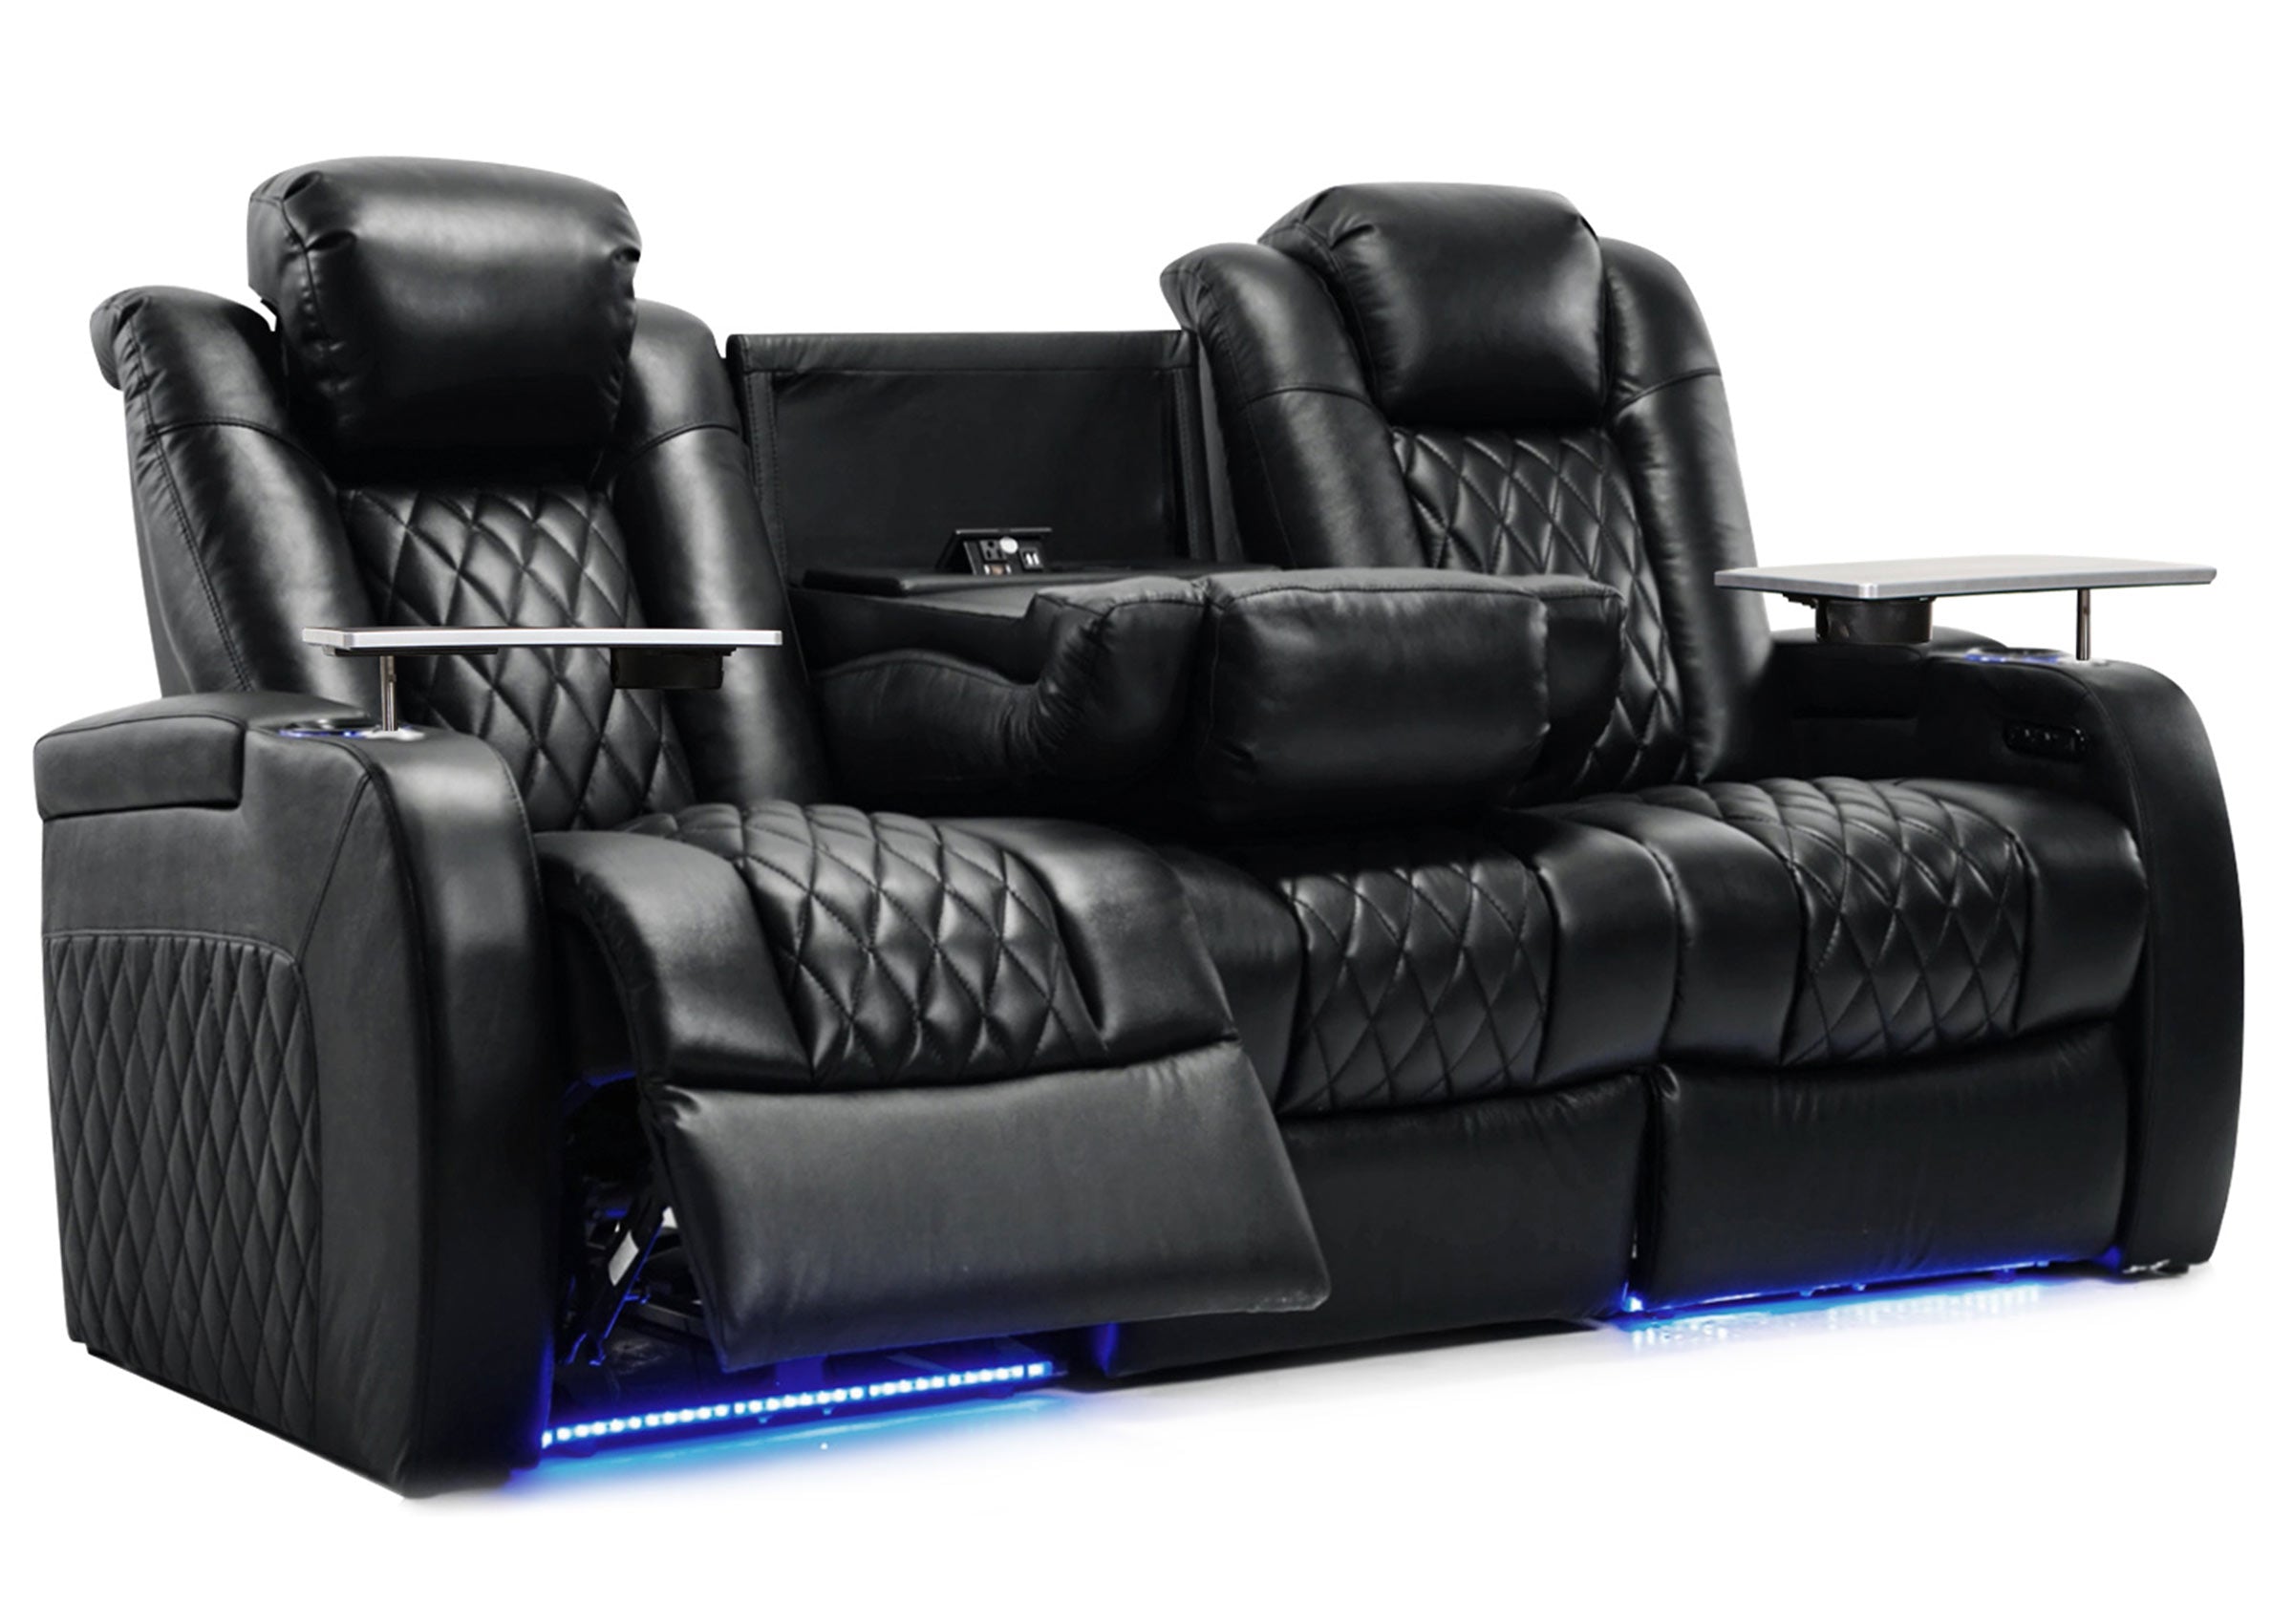
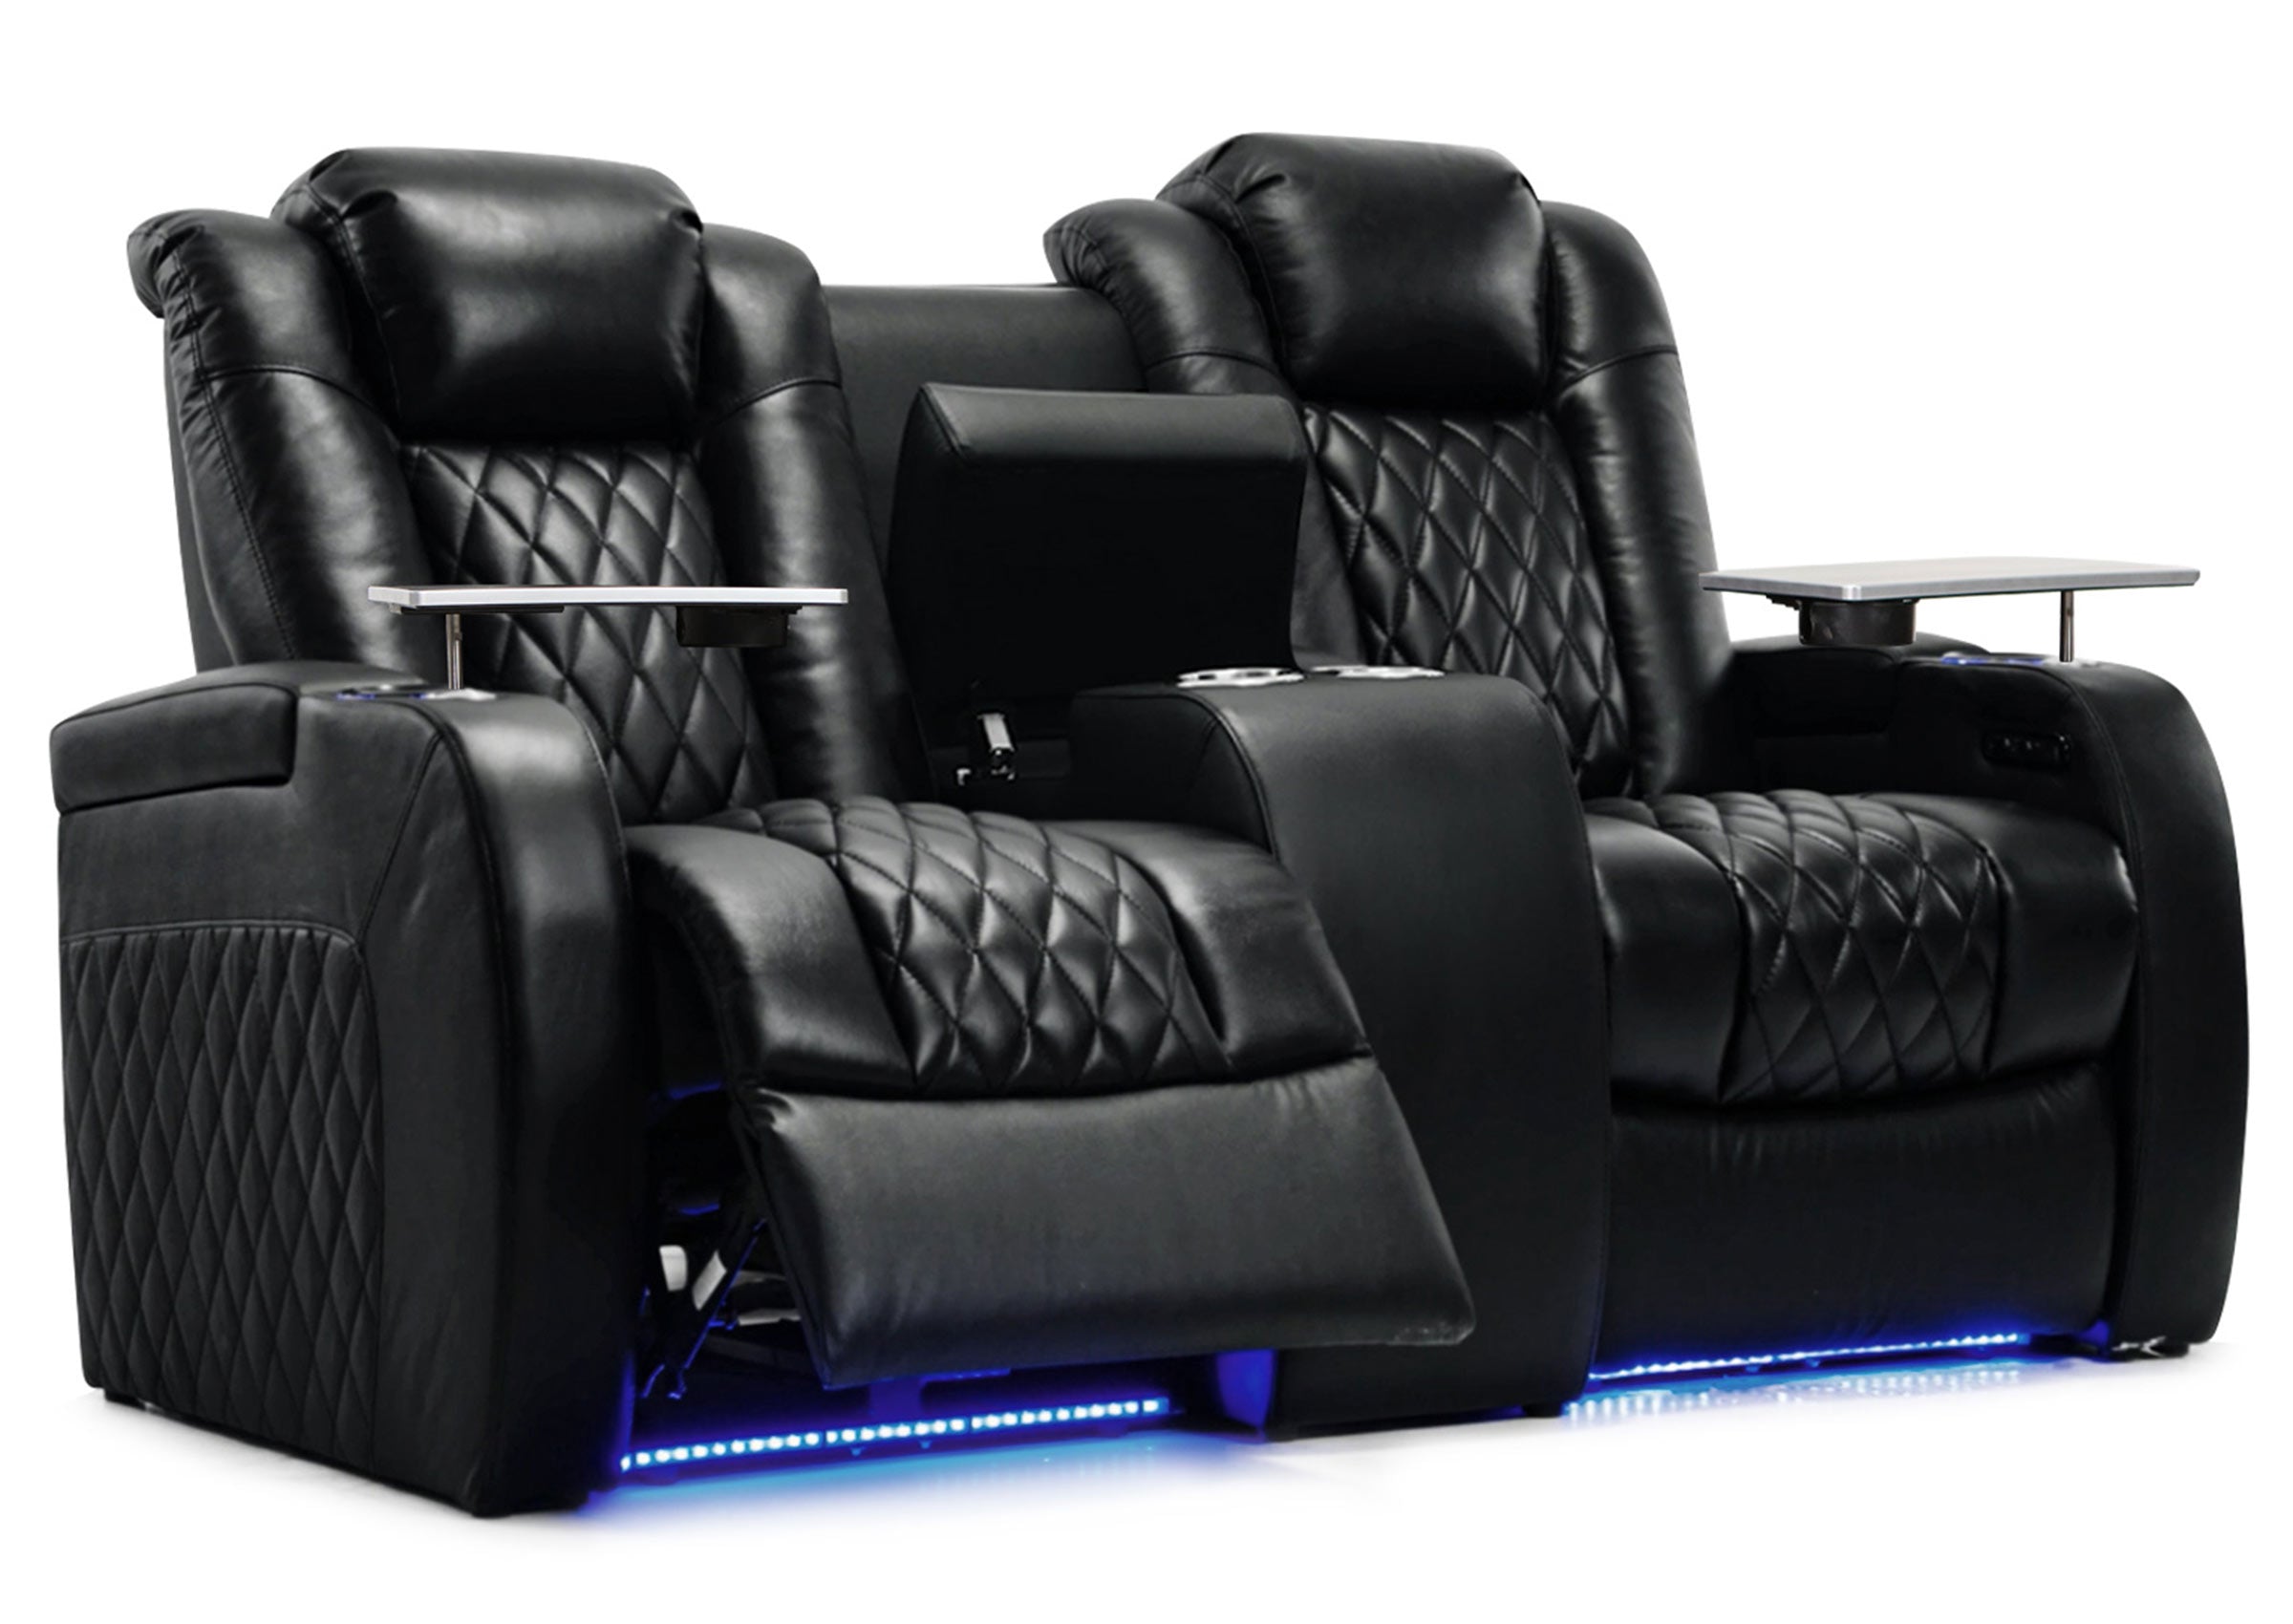
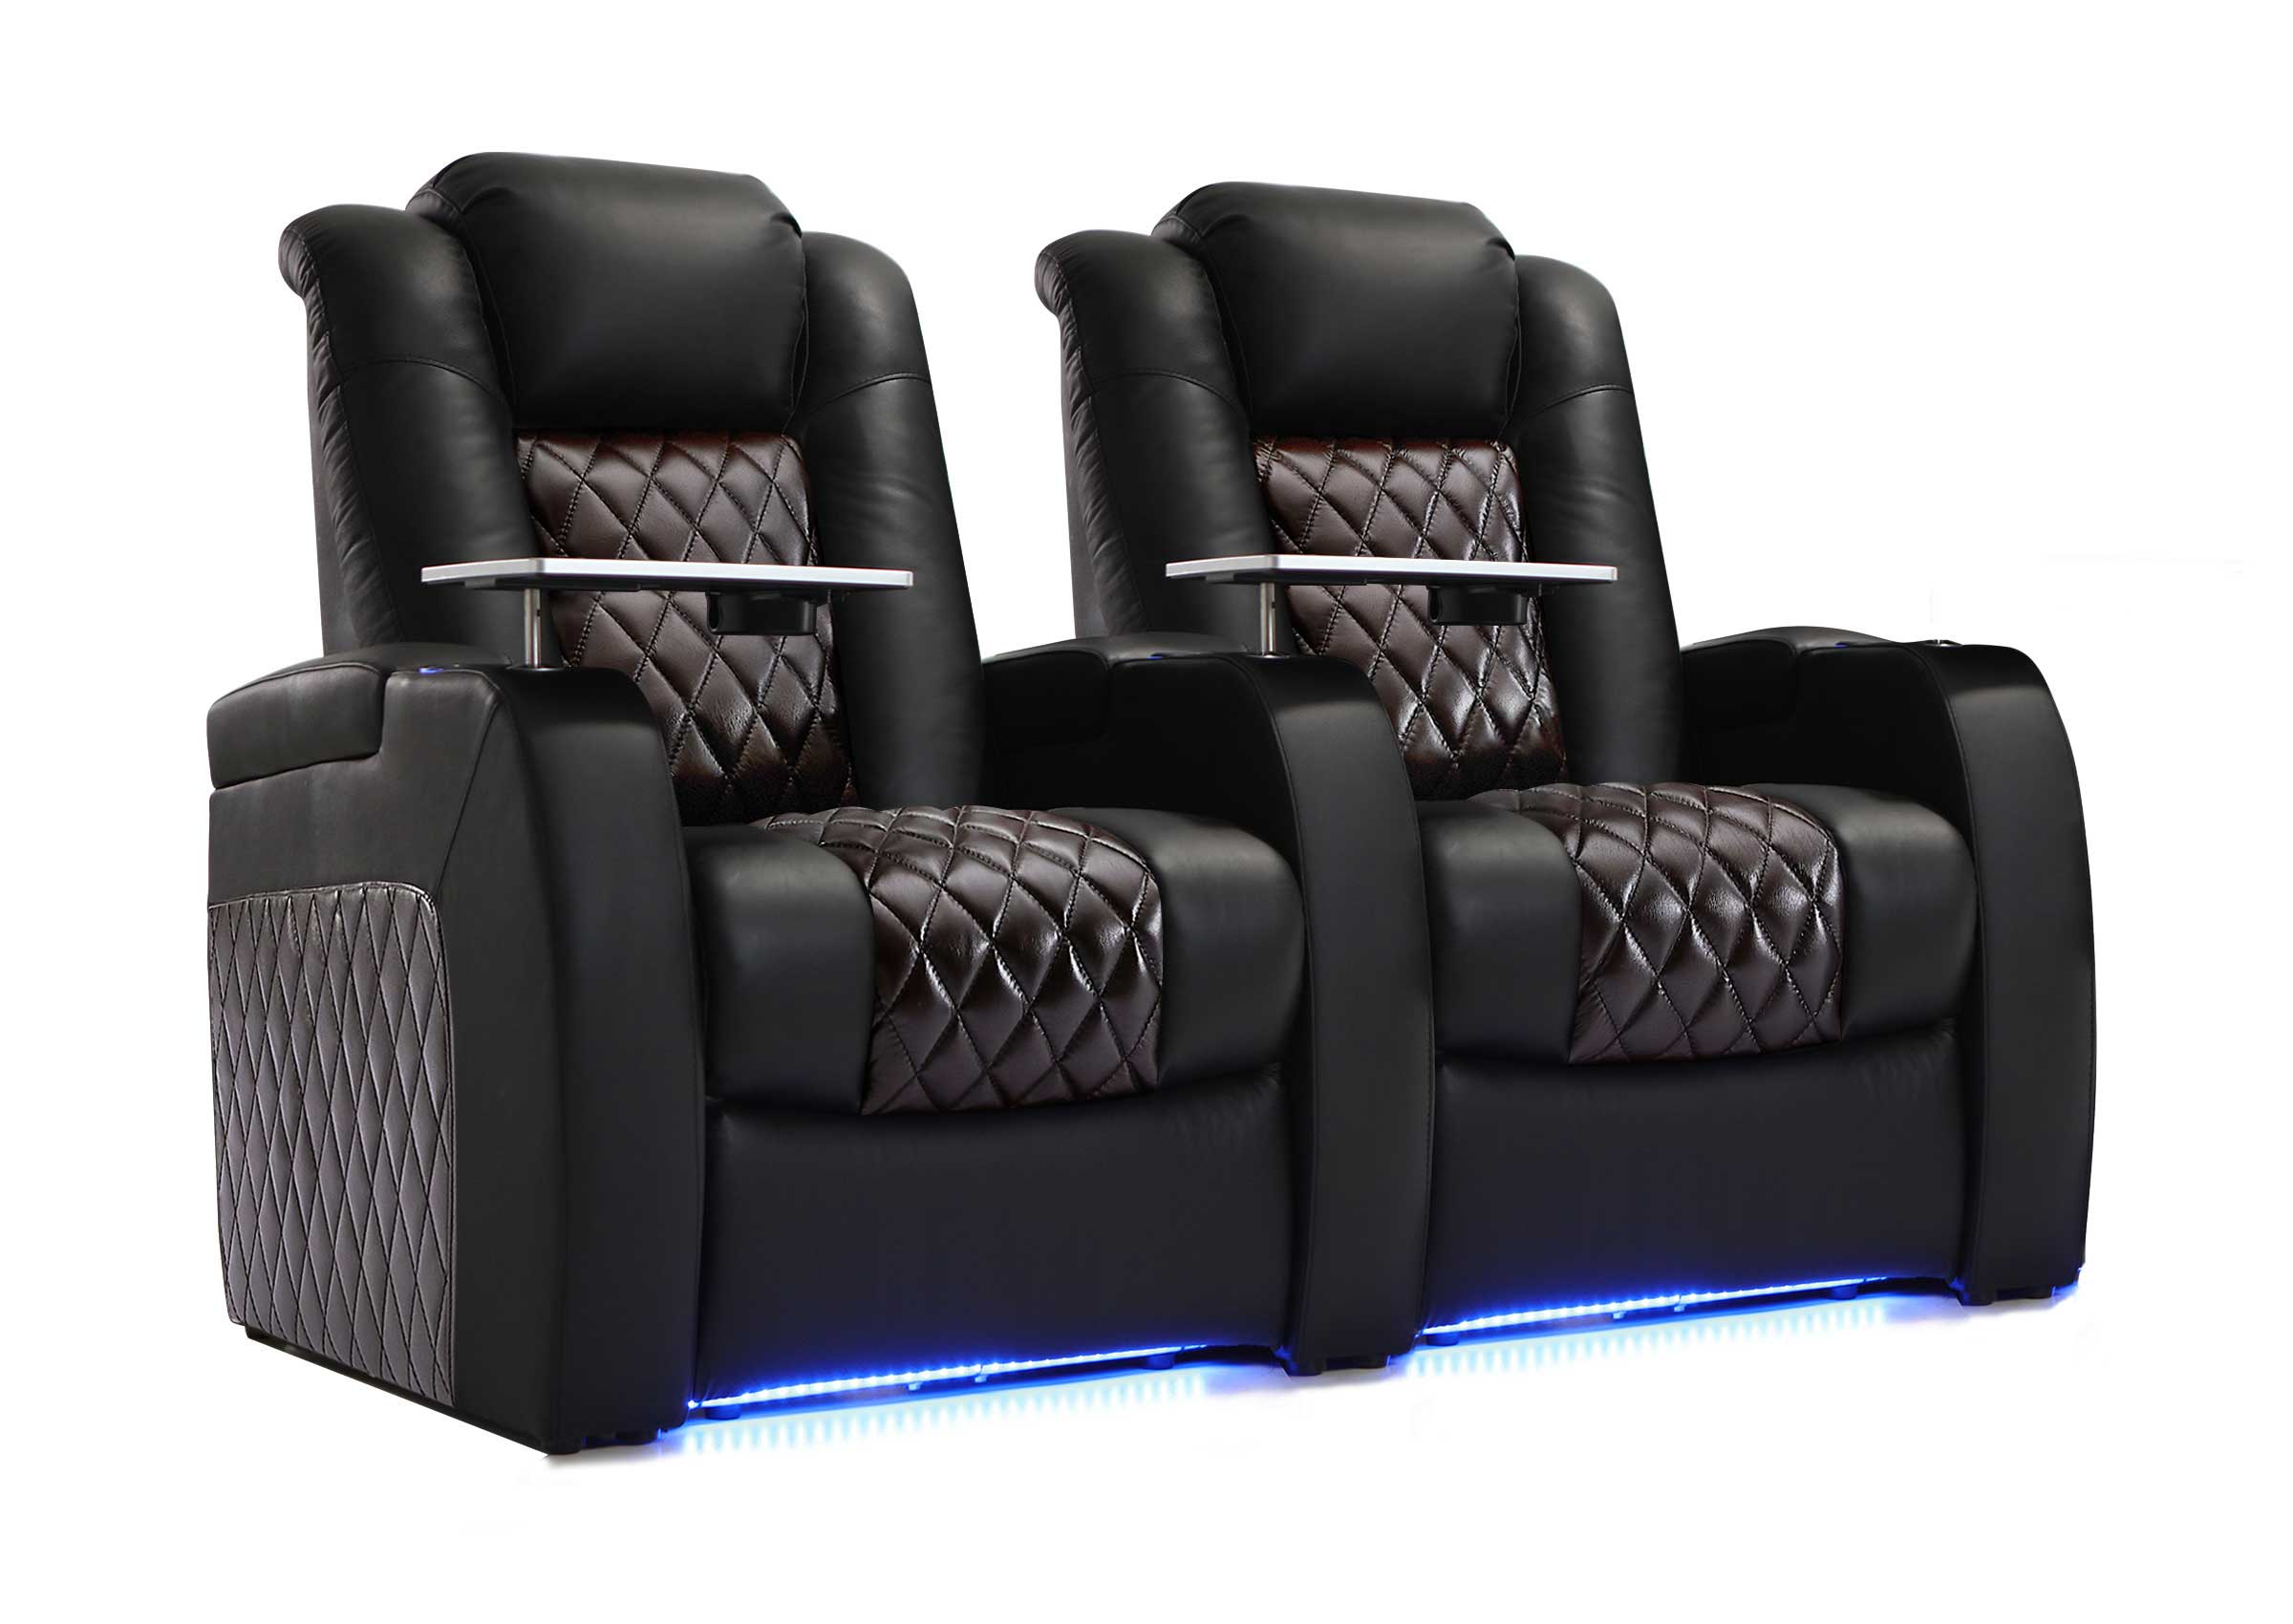
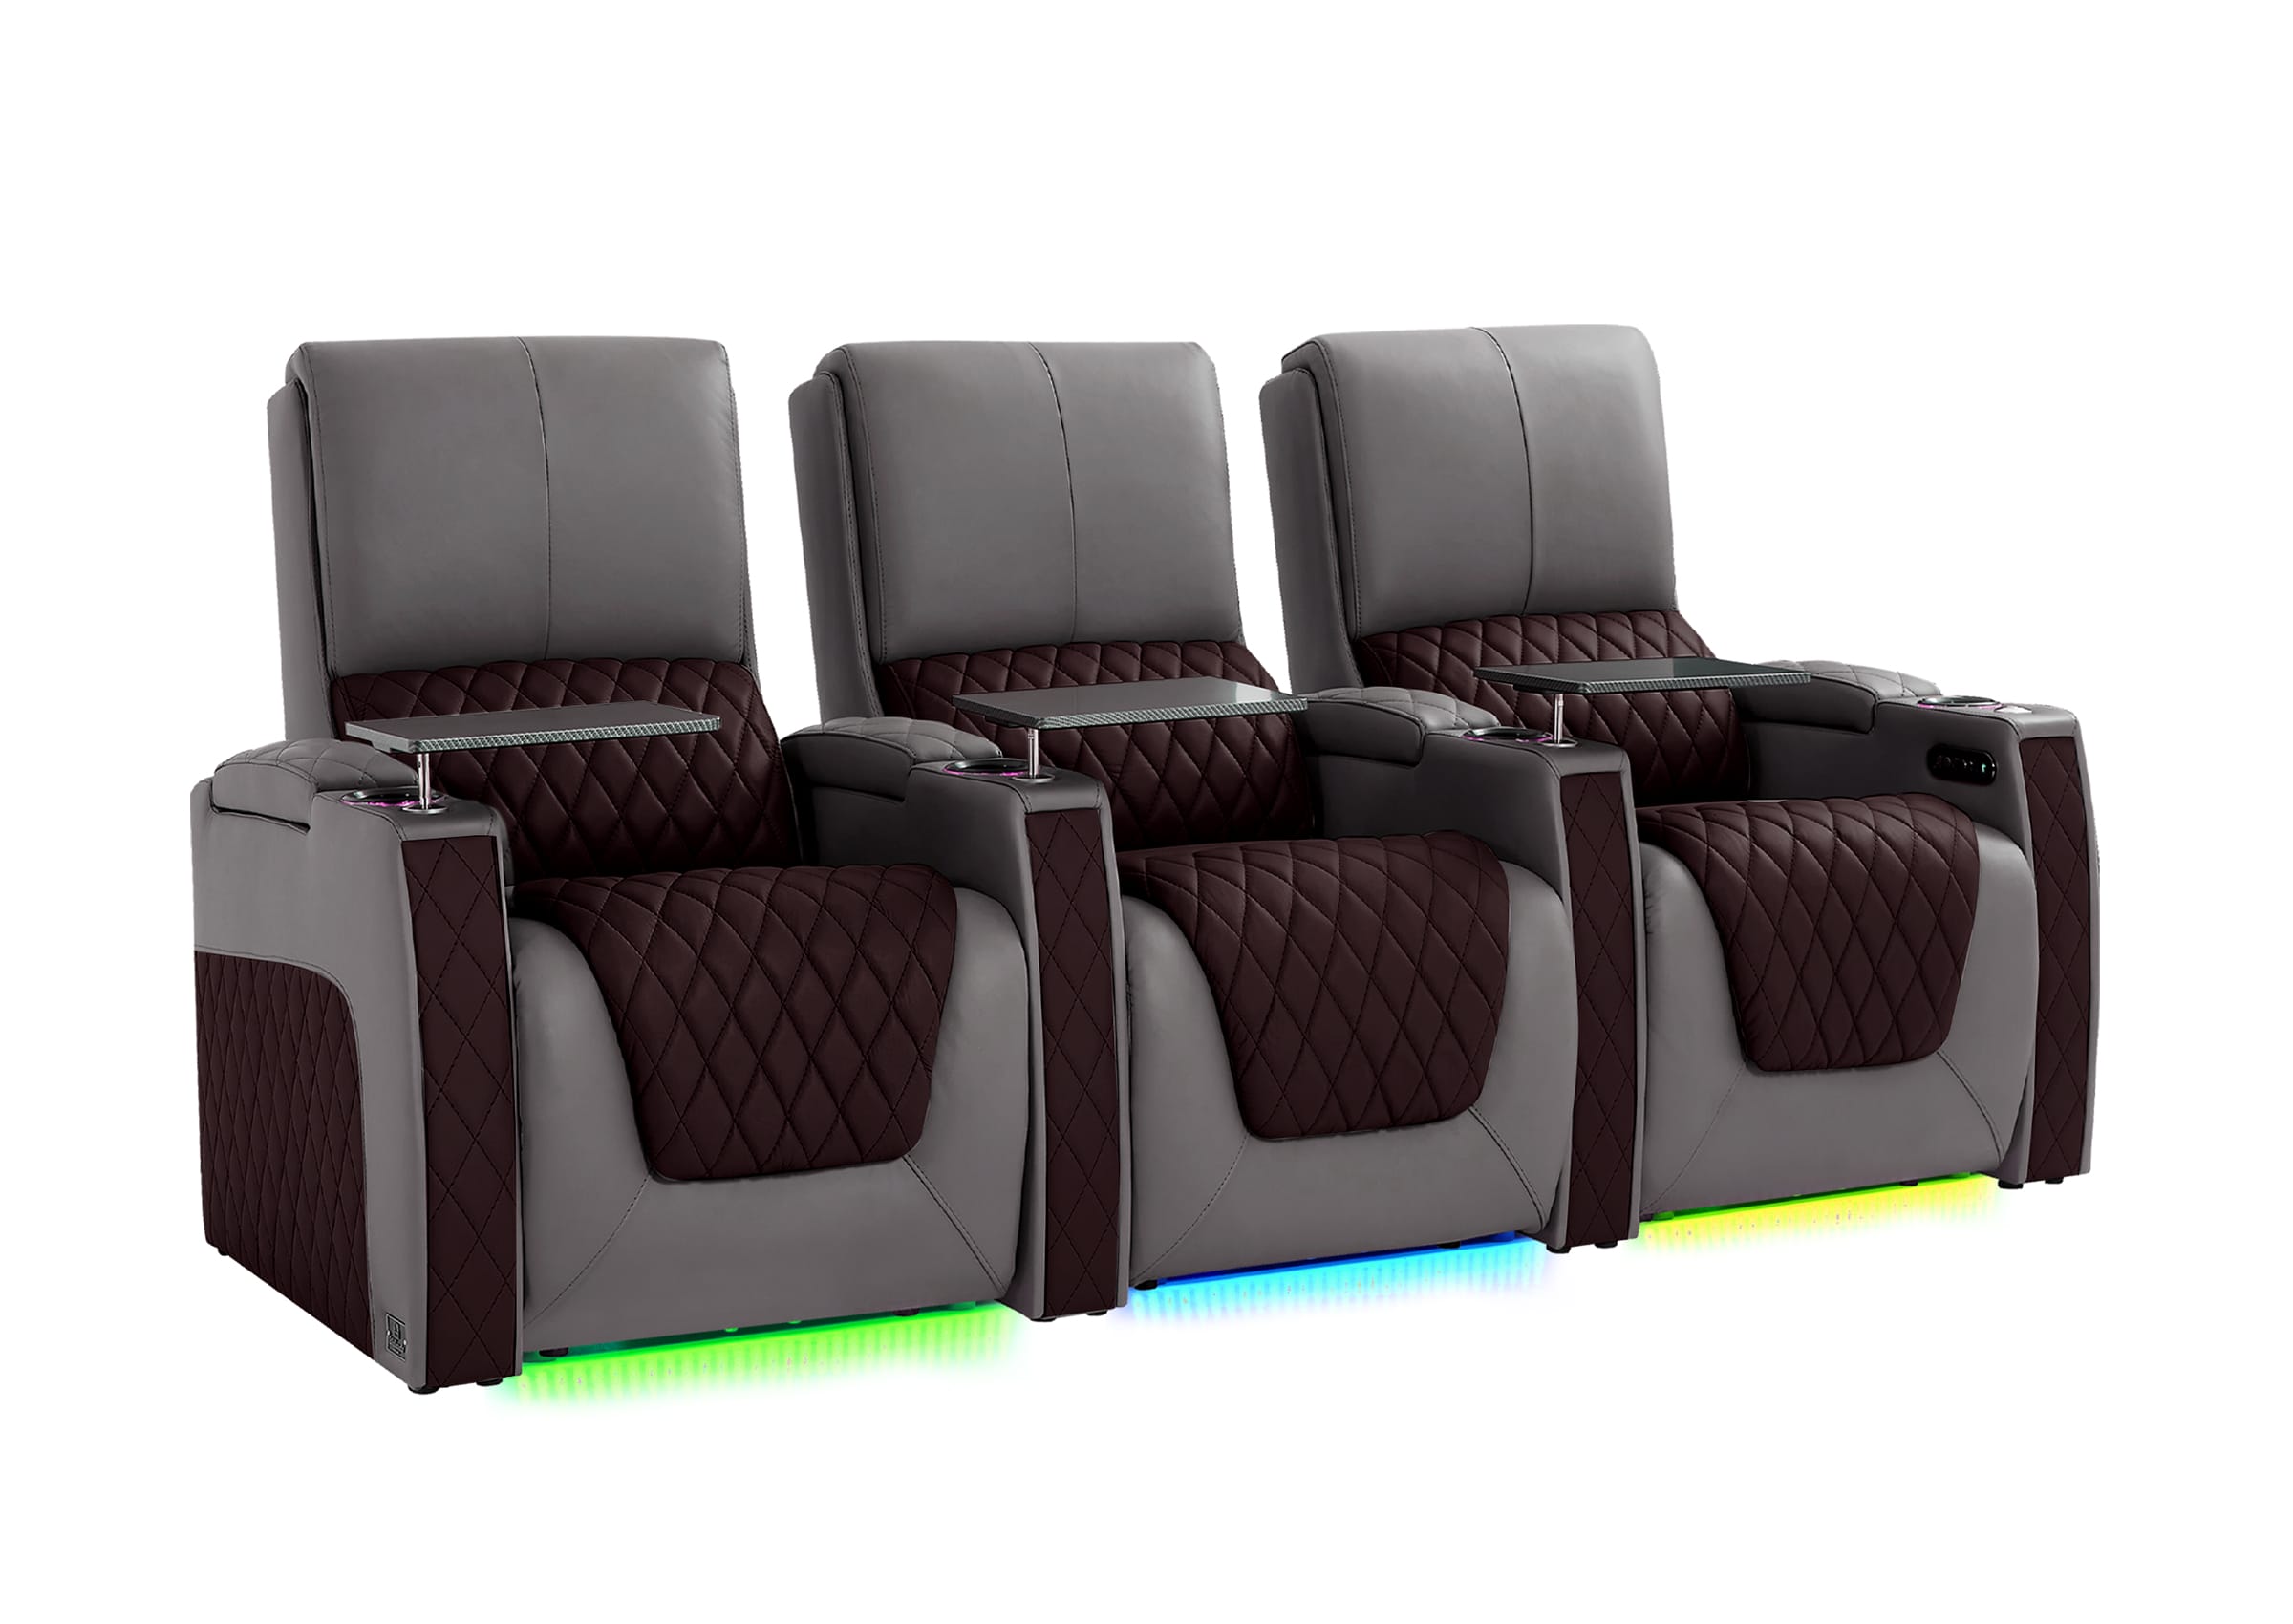
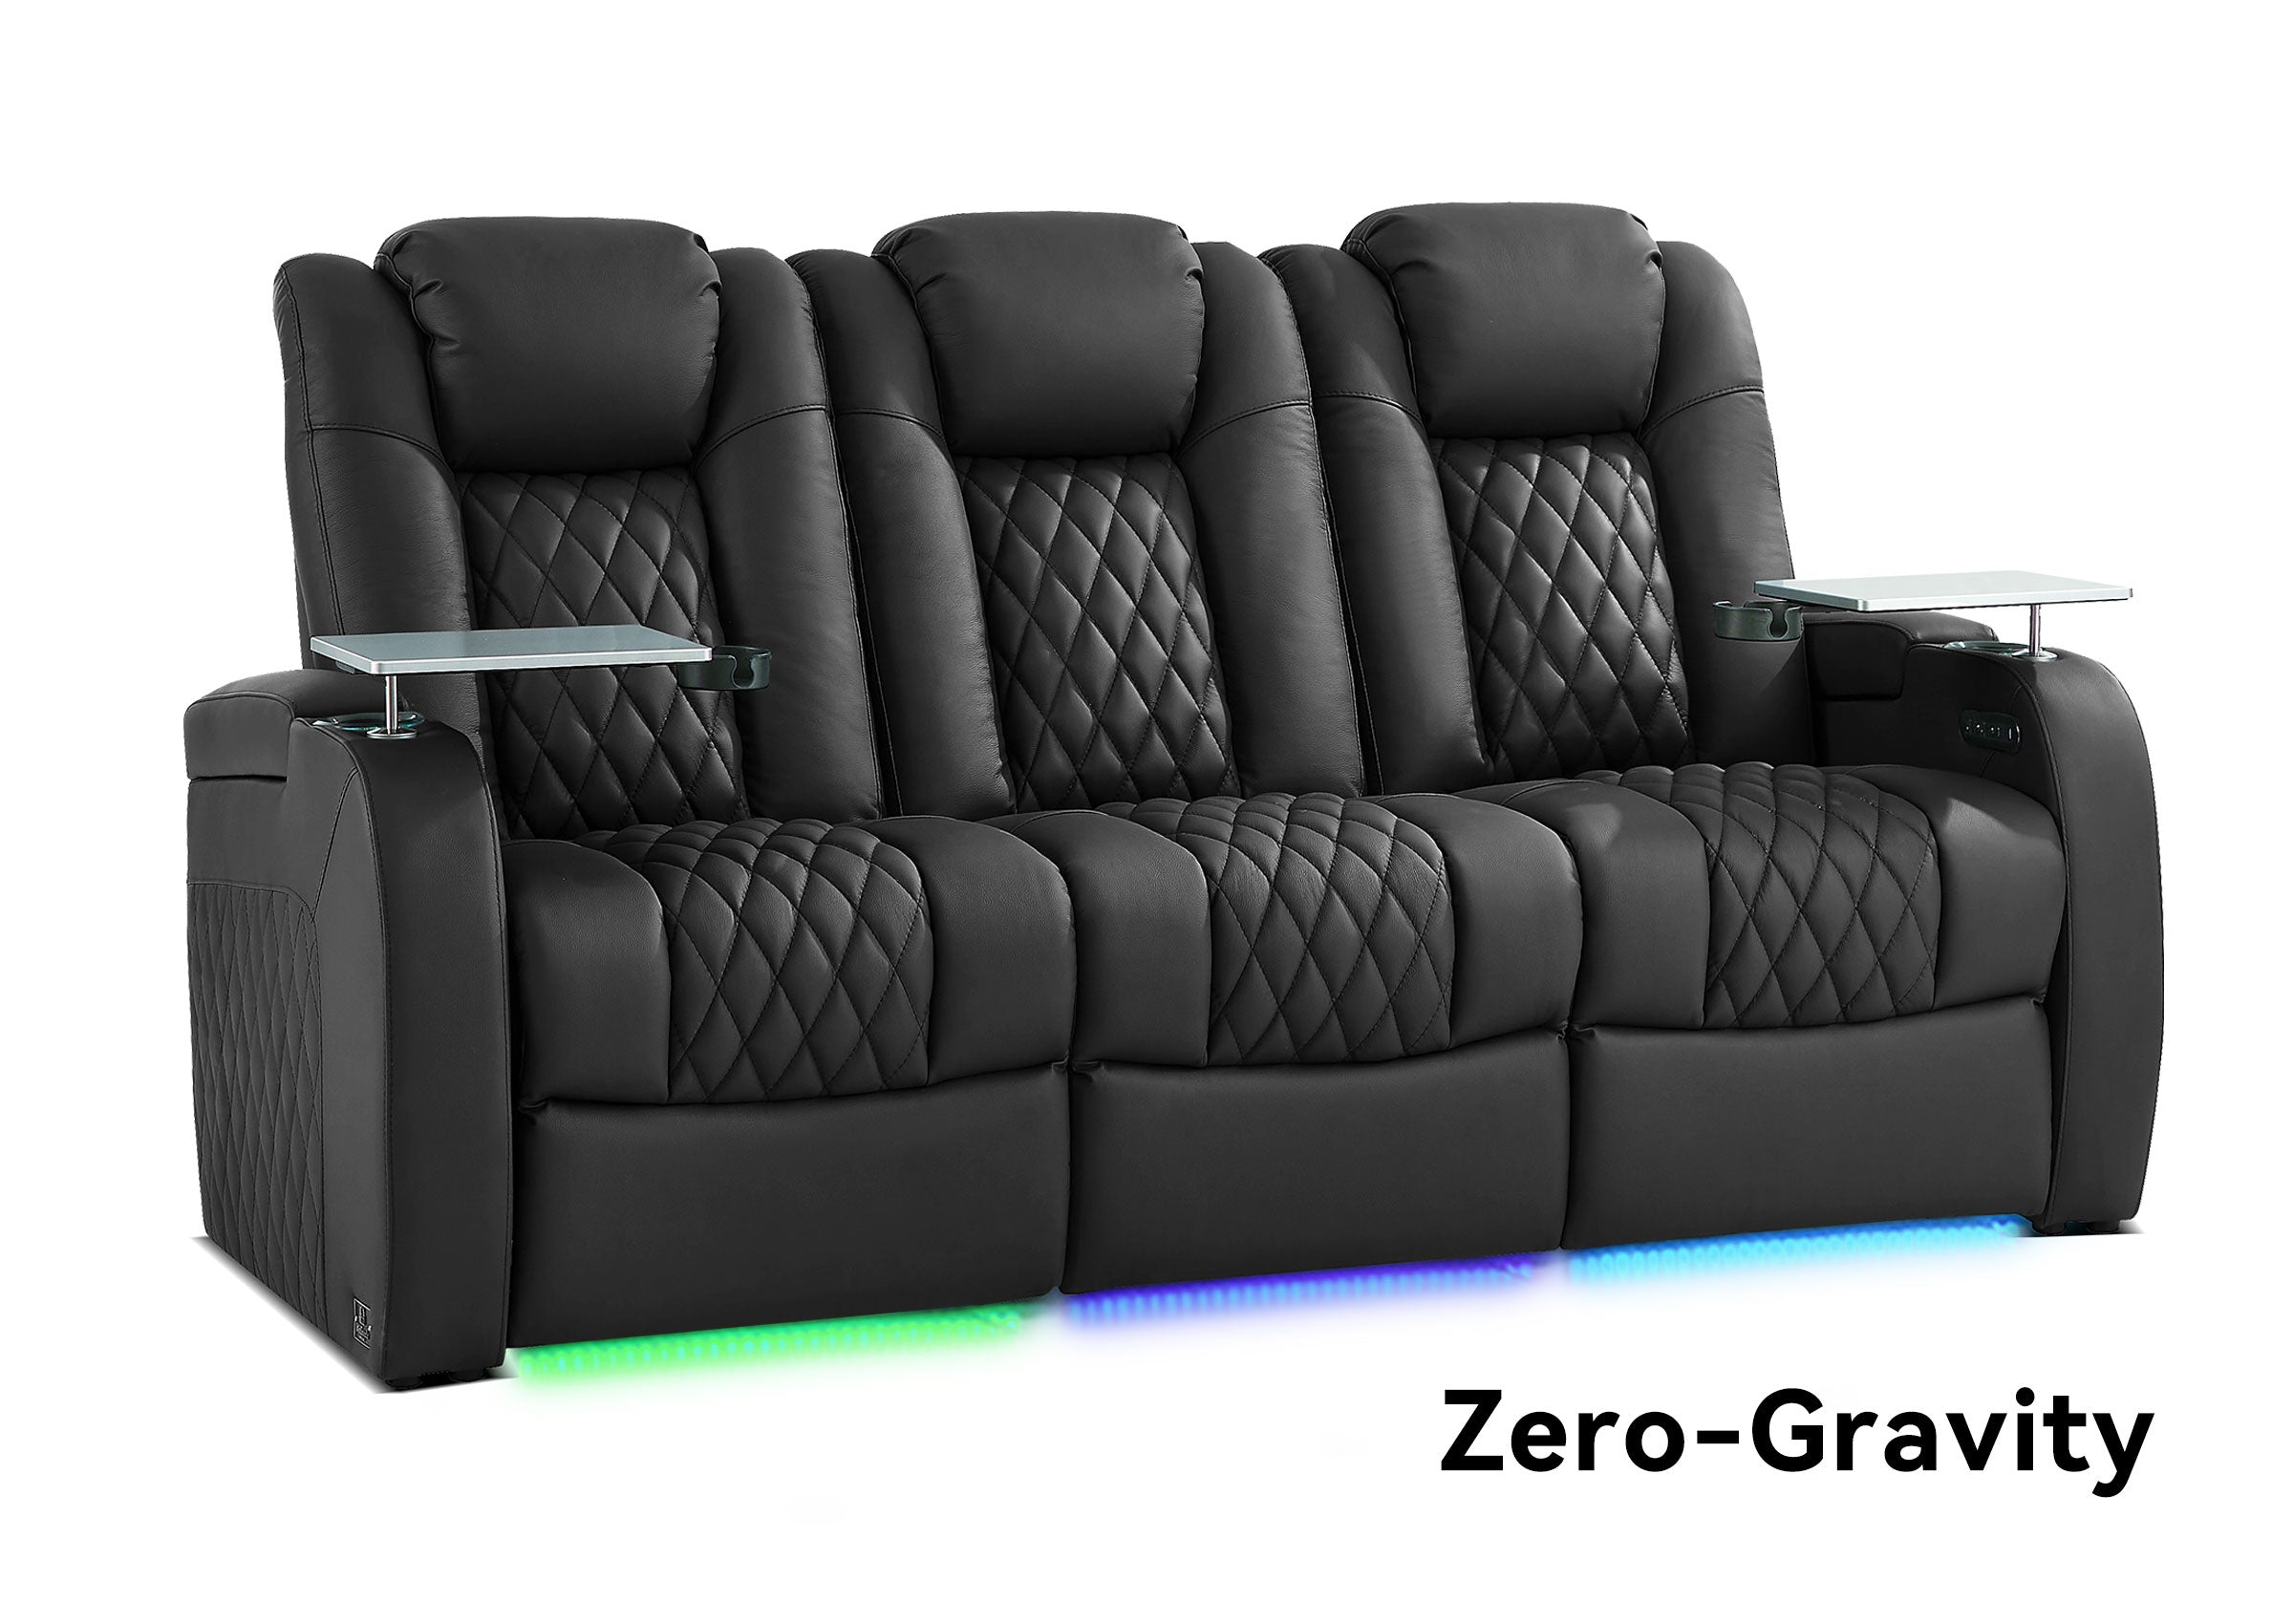
Reclining seats require another check: the view should remain comfortable after the backrest and footrest move. Make sure reclining furniture does not block a walkway, contact the wall, interfere with nearby seats, or extend into loose power and signal cables.
If the projector is behind the audience, stand up and walk through the room while it is running. This shows whether people will interrupt the beam when entering, leaving, or reaching their seats.
BUILD A BETTER VIEWING SPACE
Would More Supportive Seating Improve Your Home Screening?
Once the screen and viewing positions are clear, explore seating options that support your room size, preferred posture, and everyday entertainment habits.
Step 6: How Can You Control Light Without Making the Room Unsafe?
Projectors benefit greatly from controlled light, but a private screening room does not need to become completely black.
Start by blocking the light that reaches the screen directly. Close curtains or blinds, turn off bright ceiling fixtures, and remove lamps that create reflections. If the movie begins before sunset, test the room at the same time of day as the planned screening.
Keep some low-level lighting available for:
- Entering and leaving the room
- Finding drinks or remotes
- Using stairs or raised platforms
- Preventing trips over furniture and cables
Place this light behind or beside the seating when possible, rather than near the screen. Warm, dim light is generally less distracting than a bright lamp in the viewer’s field of vision. For more detailed planning, see this home theater lighting setup guide.
The goal is controlled contrast, not absolute darkness at the expense of safety.
Step 7: How Should You Connect and Test the Movie Source?
Your source might be a streaming device, smart TV app, computer, game console, disc player, or downloaded movie on a compatible device. Use a legally available copy, rental, purchase, or subscription suitable for private home viewing.
Build the signal path in a clear order:
- Connect the playback device.
- Select the correct input on the TV, projector, soundbar, or receiver.
- Confirm that the picture appears.
- Confirm that sound reaches the intended speakers.
- Open the exact app or source you plan to use.
- Play the actual movie or a representative section.
- Test the remote controls from the seating area.
Do not assume that a successful menu screen means the movie will play correctly. Compatibility, account access, audio formats, subtitles, and streaming quality may change when playback begins.
If streaming is unreliable, reduce other heavy network use, move the streaming device closer to the router, use a wired connection when practical, or download the movie in advance when the service allows it.
Step 8: How Can You Make Dialogue Easier to Hear?
A large image cannot compensate for dialogue that is difficult to understand. Start by making voices clear from the main seating positions, then adjust bass and surround effects.
For a simple setup, a soundbar can be easier to install than separate speakers. Position it near the screen so voices appear to come from the picture rather than from the side of the room.
With a surround system, speaker placement should follow the intended listening position and the specific system configuration.
During testing:
- Sit in the actual seats
- Play a scene with quiet conversation
- Check whether voices remain understandable
- Listen for harsh volume changes
- Make sure bass does not overwhelm the dialogue
- Confirm that no speaker is blocked by furniture
- Check that viewers nearest a speaker are not receiving excessive volume
The best test is ordinary conversation, not only an action scene. Explosions can make a system sound impressive while hiding weak dialogue performance.
Step 9: How Should You Adjust the Picture?
Picture adjustments should be made after the room lighting and seating positions are established.
Begin with the display’s Cinema, Movie, Filmmaker, or similarly named picture mode if available. These modes can provide a useful starting point, although the exact result varies by display.
Then check:
- Focus and image sharpness
- Bright and dark scene visibility
- Skin tones
- Subtitle readability
- Image alignment
- Reflections or glare
- Whether viewers can see the full screen
- Whether motion appears natural to you
Avoid changing every advanced setting at once. Make one adjustment, replay the same scene, and decide whether it actually improved the picture.
Save the settings as a screening preset if your display supports separate picture modes. This makes the next private screening easier to start and reduces repeated setup work.
Step 10: How Should You Prepare the Room for a Full-Length Movie?
A technically correct setup may still become uncomfortable during a full-length screening. Prepare the room for the way people will actually use it.
Check:
- Whether seats support a comfortable viewing posture
- Whether viewers can reach drinks without blocking the screen
- Whether charging cables cross walkways
- Whether the room becomes too warm with the door closed
- Whether projector fan noise is noticeable near the audience
- Whether the screen is visible when seats are reclined
- Whether remotes, subtitles, blankets, and lighting controls are easy to reach
- Whether anyone needs a clearer route to the door
Try not to overcrowd the room. Adding another chair may increase capacity, but it can also block a speaker, narrow a walkway, worsen the view, or make the room feel warmer and less comfortable.
For a private screening, comfort and clear sightlines are usually more valuable than fitting in the maximum possible number of viewers.
Step 11: Why Should You Run a Screening Rehearsal?
The most useful final step is a rehearsal from the exact seats you plan to use.
Choose several short scenes that reveal different problems:
- A dark scene for shadow detail
- A bright scene for glare and contrast
- A quiet conversation for dialogue clarity
- A louder scene for volume balance
- A scene with subtitles
- A scene with movement for focus and image stability
Let the system run long enough to reveal connection problems, buffering, heat, fan noise, or automatic sleep settings. Test every remote you will need and confirm that you can pause, change volume, enable subtitles, and resume playback without turning on bright lights.
This rehearsal is more valuable than repeatedly adjusting equipment while standing near the screen. The screening experience should be judged from the audience’s position.

What Should Be on a Home Movie Screening Checklist?
Use this checklist shortly before the screening:
Picture
- Screen or television is clean and unobstructed
- Projector is focused and aligned
- Room light is controlled
- Picture mode is selected
- Subtitles are readable from every seat
Sound
- Correct audio output is selected
- Dialogue is clear
- Volume is comfortable in every seating area
- Speakers are not blocked
- Projector or equipment noise is not distracting
Playback
- The correct movie and version are ready
- Account access has been confirmed
- The exact movie has been tested
- Internet connection is stable
- A downloaded or alternative source is available when practical
- Remotes have working batteries
Room
- Every viewer has an unobstructed view
- Recliners can move safely
- Walkways and exits remain clear
- Loose cables are secured
- Low-level lighting is available
- Room temperature and ventilation are comfortable
Saving this checklist can make future screenings faster because you will not need to rebuild the process from memory.
What Are the Most Common Home Screening Problems?
Why Does the Projector Image Look Washed Out?
Reduce light falling on the screen, close window coverings, and turn off nearby lamps. If the room must remain bright, a TV may be more suitable than a conventional projector setup.
Why Do People Keep Blocking the Projector?
Move the projector higher, reposition it behind the main walking path, or change how viewers enter the room. Test the path while the projector is running before the movie begins.
Why Is Dialogue Difficult to Understand?
Check the audio output, reduce excessive bass, and confirm that the center channel or soundbar is not blocked. If the system offers dialogue enhancement, test it with a conversation scene rather than assuming the strongest setting is best.
Why Does the Movie Buffer During Playback?
Pause other high-bandwidth activity, check the network connection, restart the playback device, or use a wired connection when possible. Download the movie in advance if the platform and device support offline playback.
Why Are the Picture and Sound Out of Sync?
Restart the source and audio equipment, check for audio-delay settings, and simplify the connection path temporarily. Test whether the problem occurs in one app, one movie, or every source before changing the entire system.
Why Does the Room Feel Uncomfortable Halfway Through the Movie?
Reduce crowding, improve ventilation, adjust the seating position, and make frequently used items easier to reach. Comfort problems are often caused by room planning rather than the display or sound system.
Frequently Asked Questions
Can You Set Up a Movie Screening Without a Projector?
Yes. A large television, clear external audio, controlled lighting, and comfortable seating can produce an excellent private screening. A projector creates a larger image, but it is not a requirement.
Can You Use a Blank Wall as a Movie Screen?
A smooth, clean, neutral wall can work for an occasional screening. Test it first because texture, paint sheen, color, and wall fixtures may affect the picture. A dedicated screen becomes more valuable when projection will be used regularly.
Do You Need Surround Sound for a Home Screening?
No. A well-positioned soundbar or simple stereo system can be sufficient for a smaller room. Prioritize clear dialogue and balanced volume before adding more speakers.
How Dark Should the Room Be?
The screen should be protected from direct and reflected light, especially when using a projector. Keep enough low-level lighting for safe movement, particularly near steps, cables, and exits.
What Should You Test Before the Movie Starts?
Test the exact movie, picture, sound, subtitles, internet connection, remotes, seating views, lighting, and room temperature. A short rehearsal from the audience’s seats can reveal most problems before they interrupt the screening.
How Can You Make Future Home Screenings Easier?
A successful movie screening at home comes from coordinating the room, picture, sound, playback, and seating—not from buying the greatest number of components.
Once the setup works, record the settings and positions that mattered: projector location, picture mode, volume level, lighting arrangement, seating positions, subtitle preferences, and cable connections. That simple screening plan turns a one-time experiment into an experience you can repeat without starting over.
If comfortable seating is part of your next improvement, explore Weilianda’s home theater seating collection. For product guidance or help identifying seating options for your room, contact Weilianda Support or email leon@weiliandahome.com.