





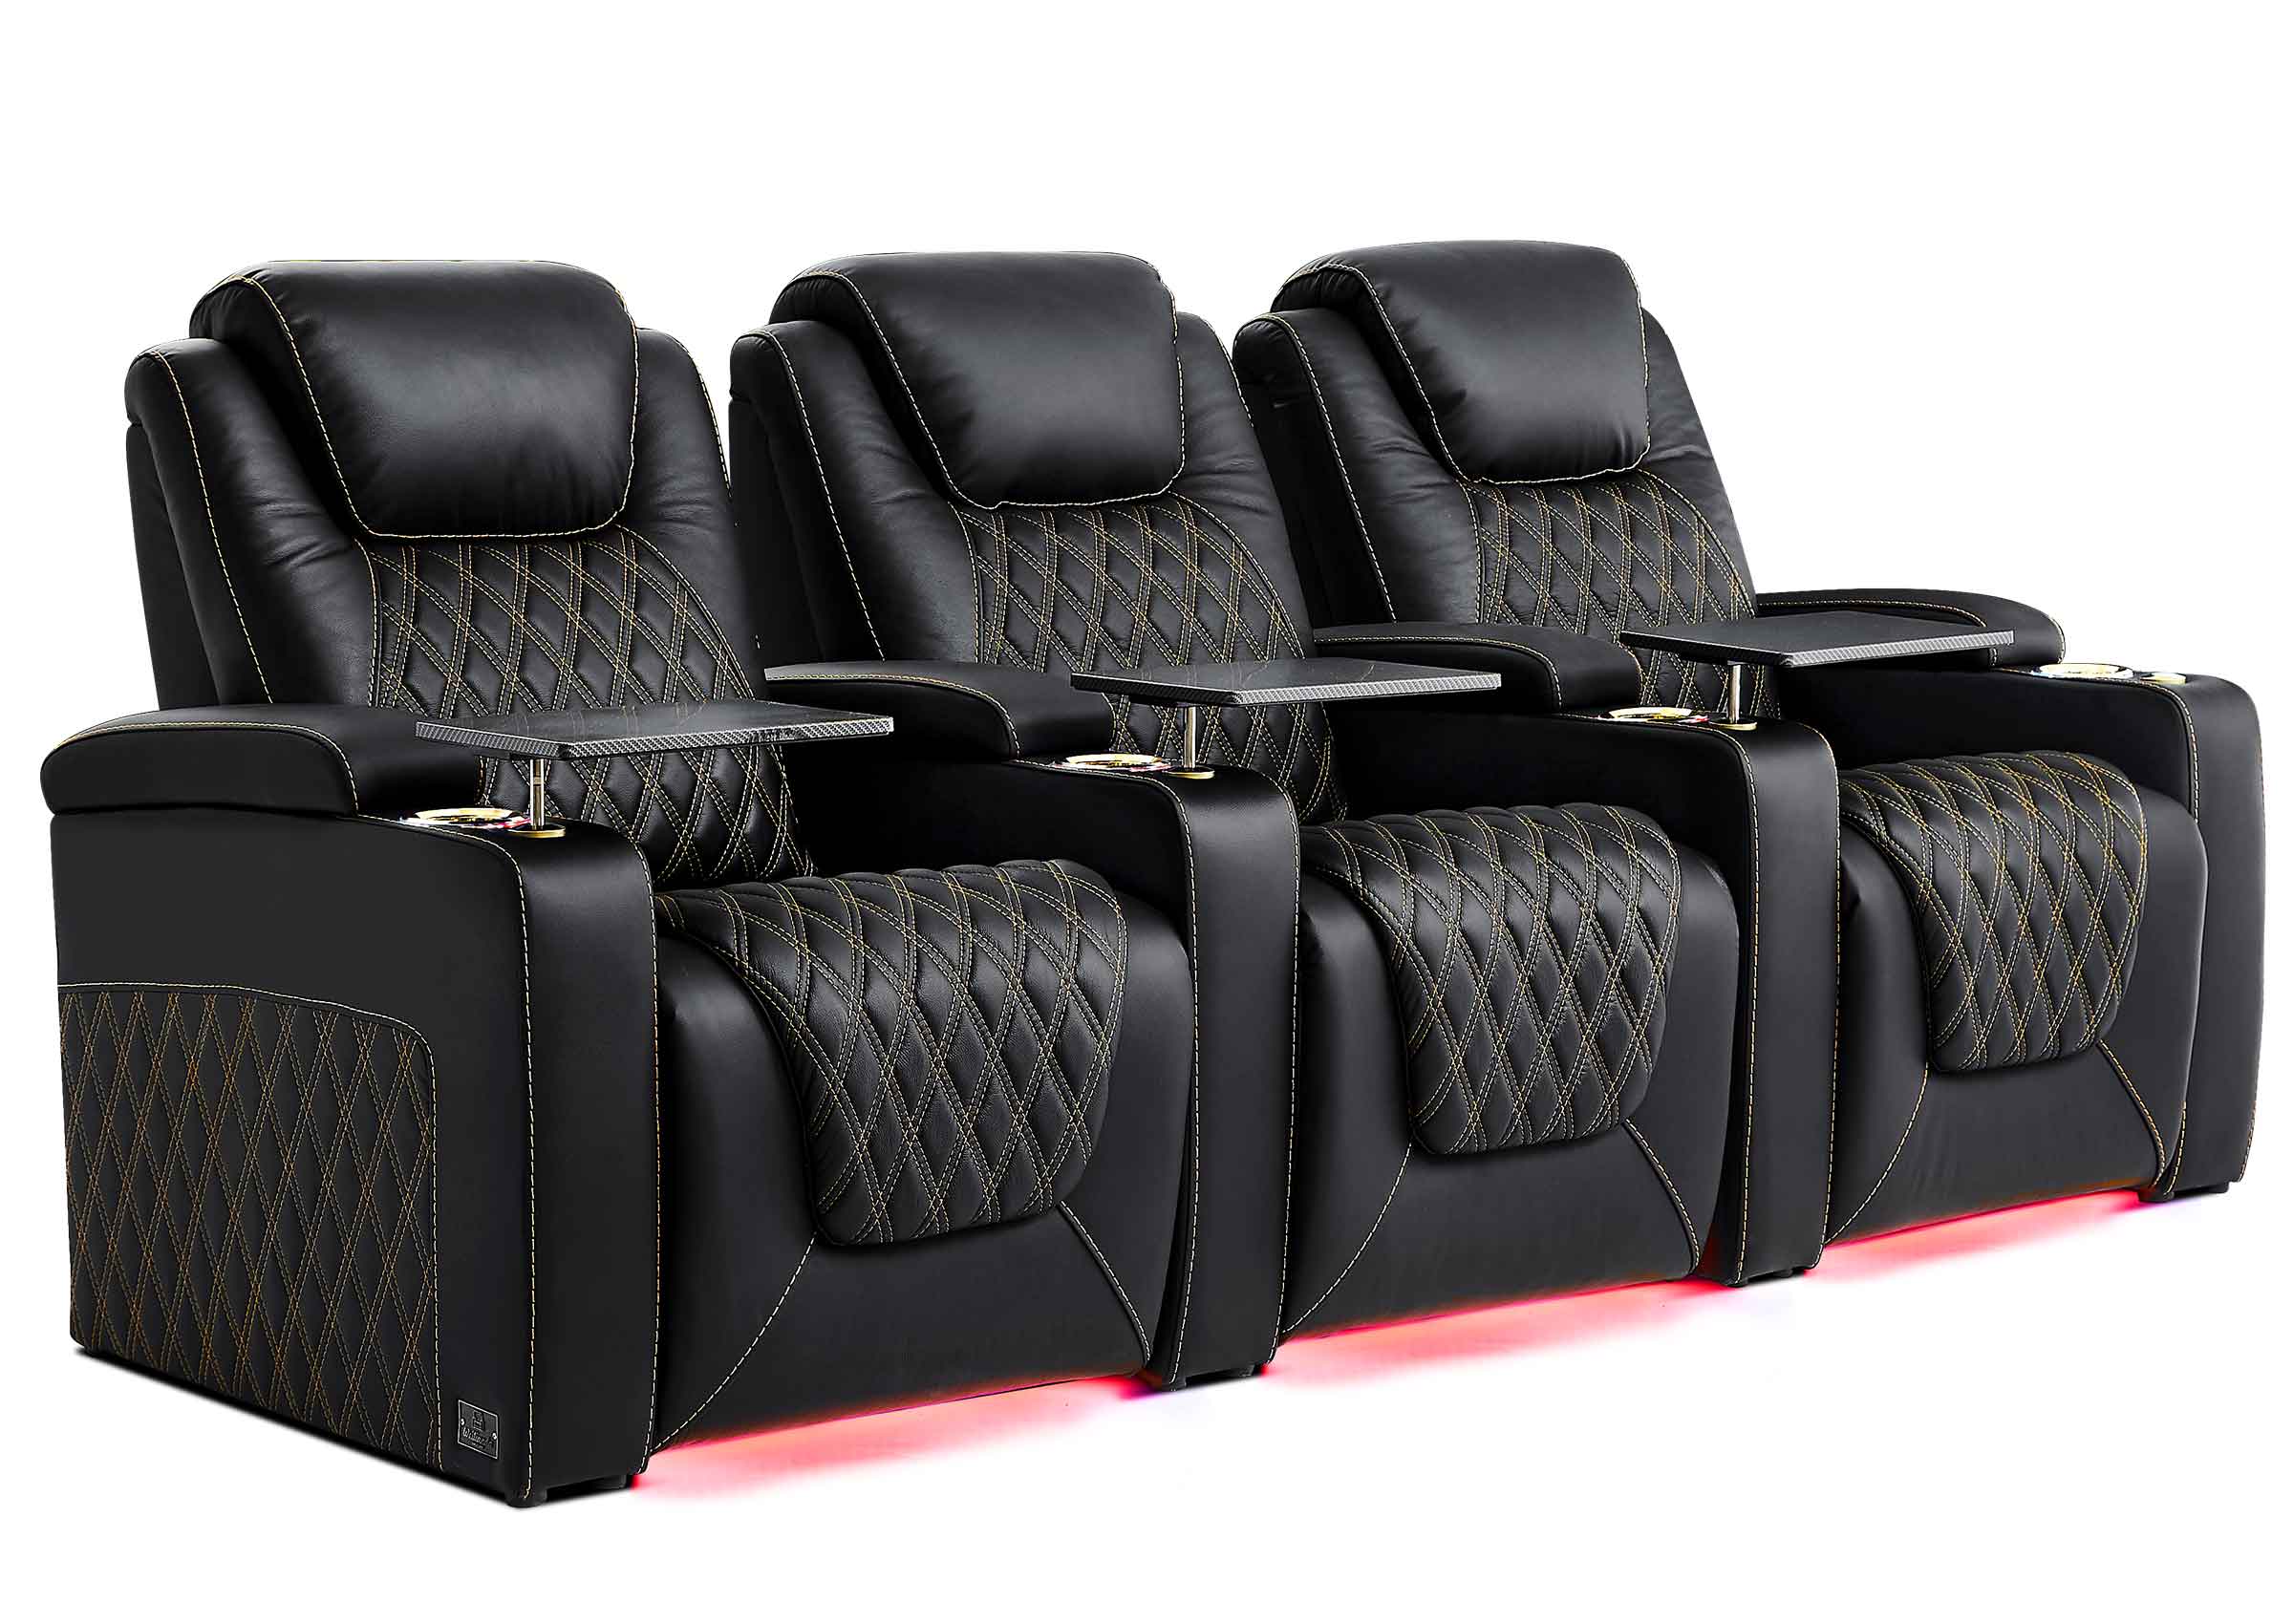





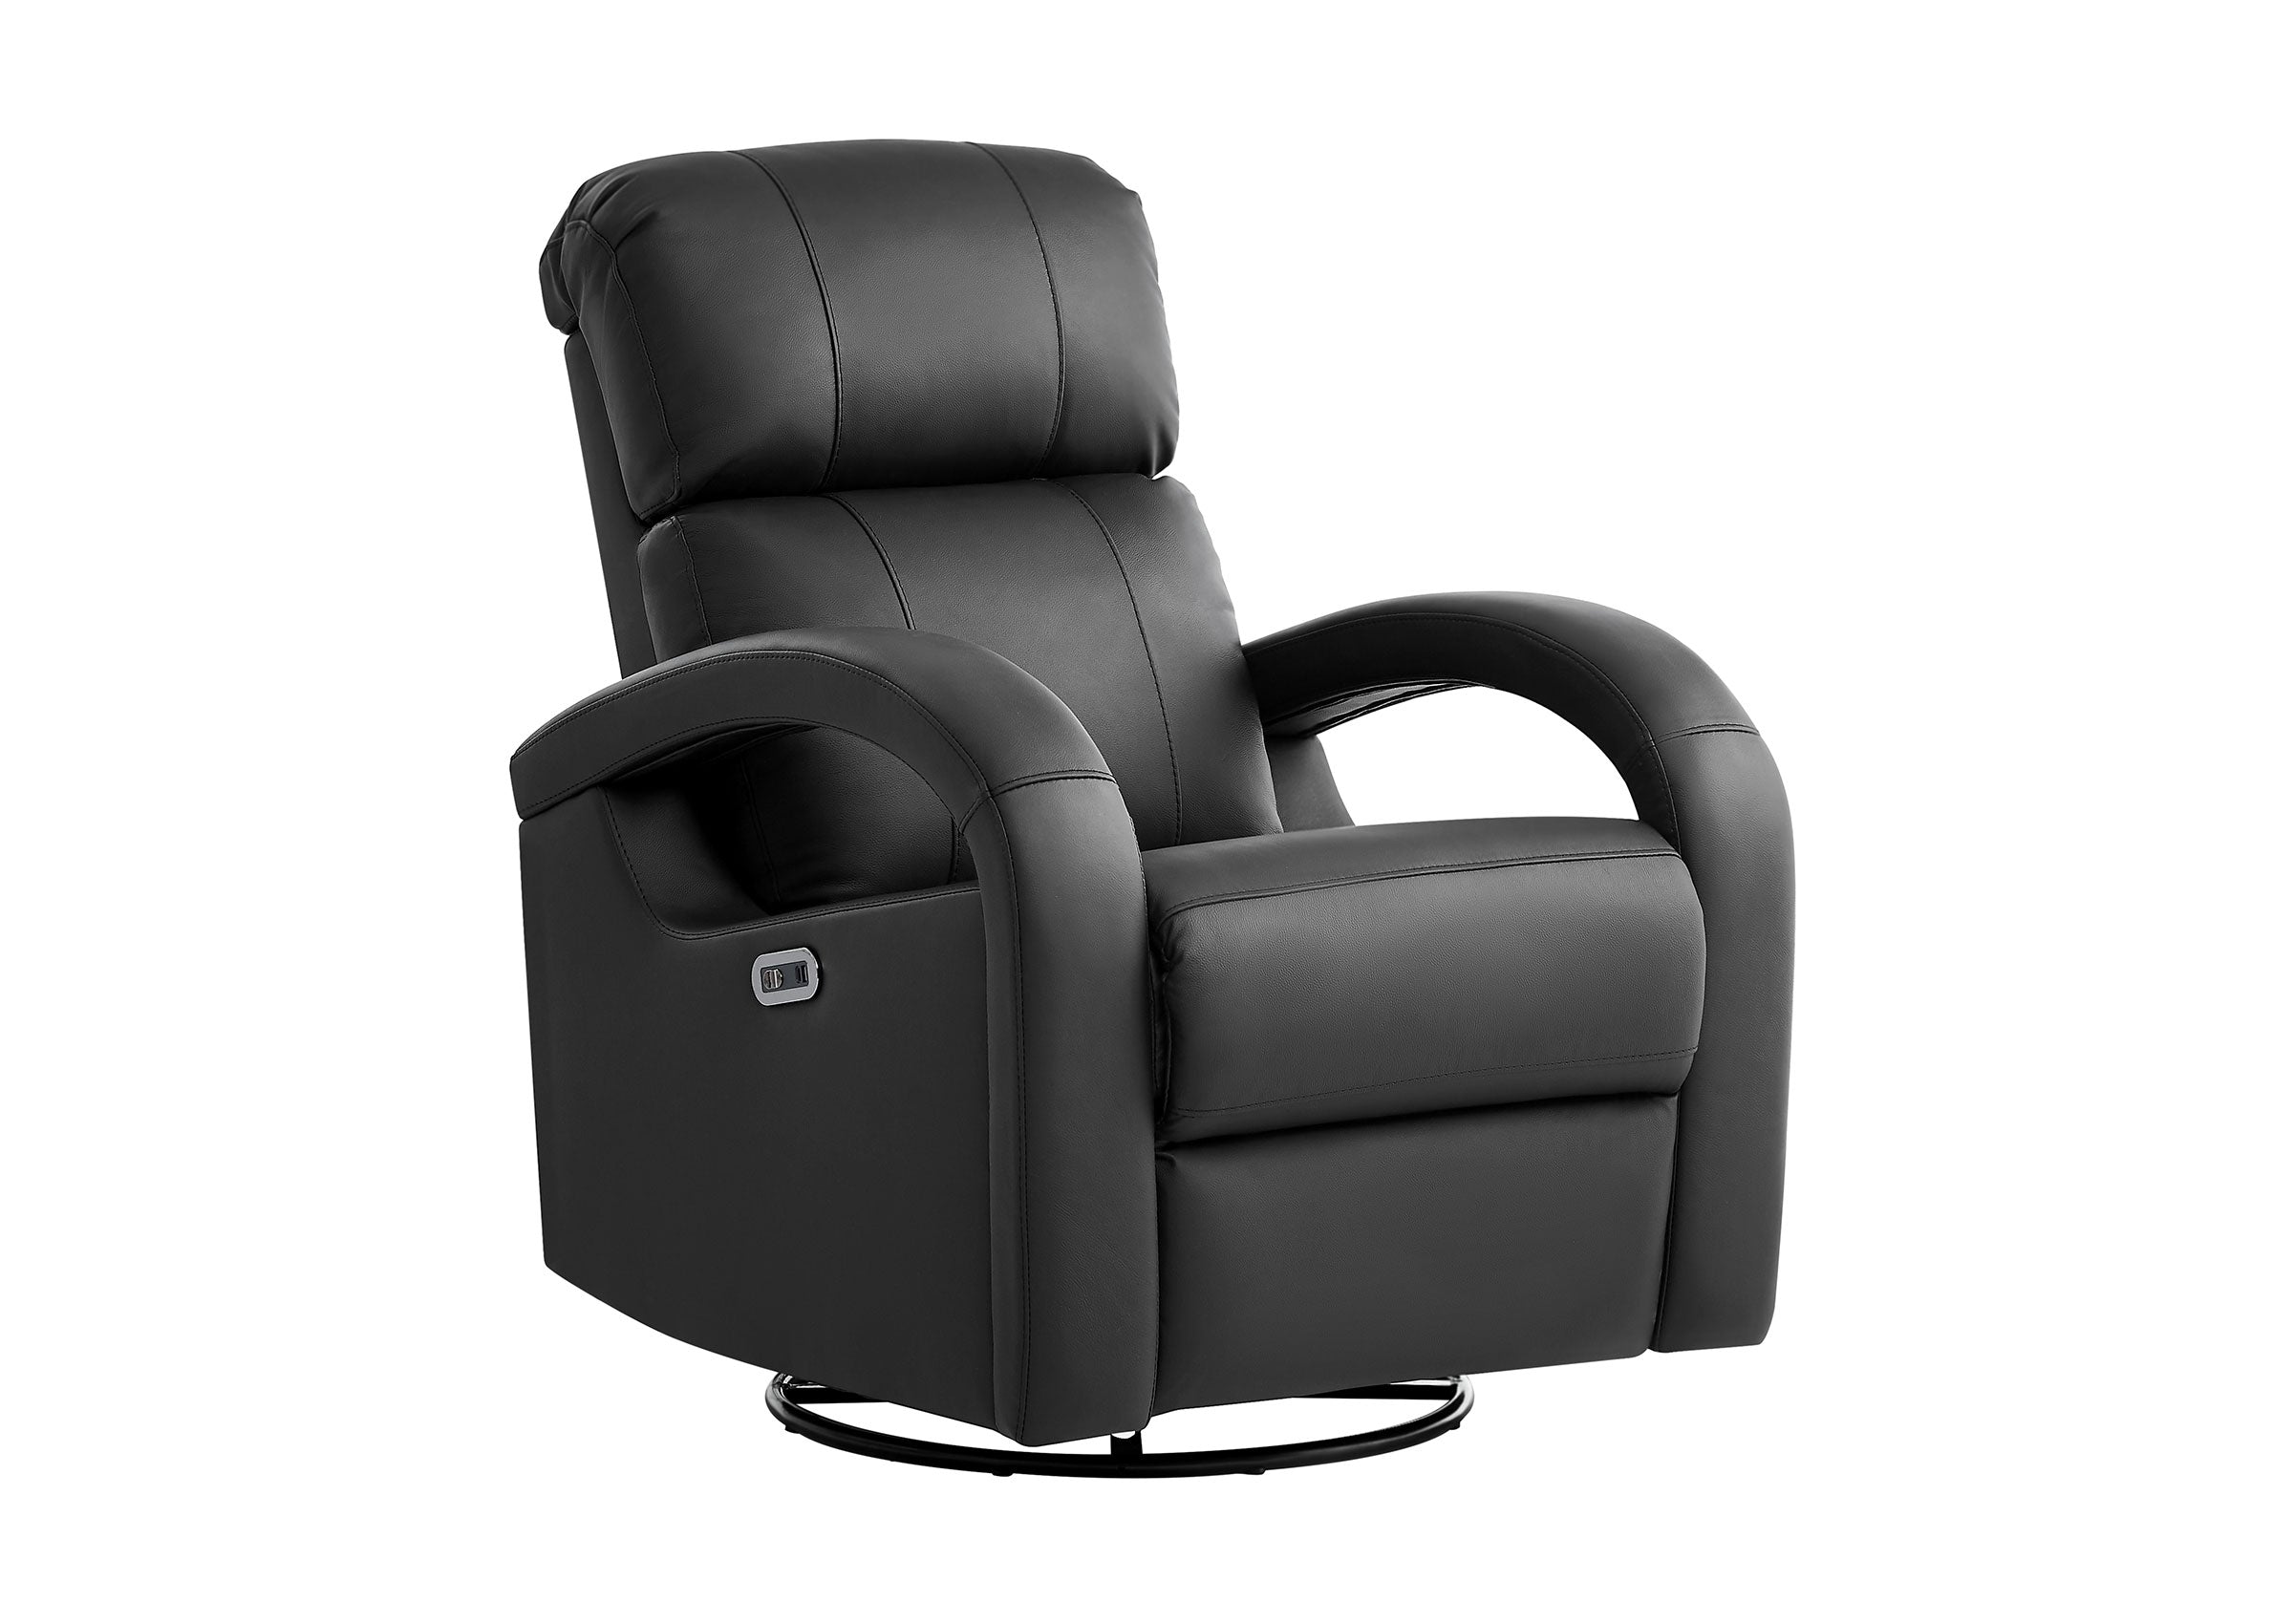





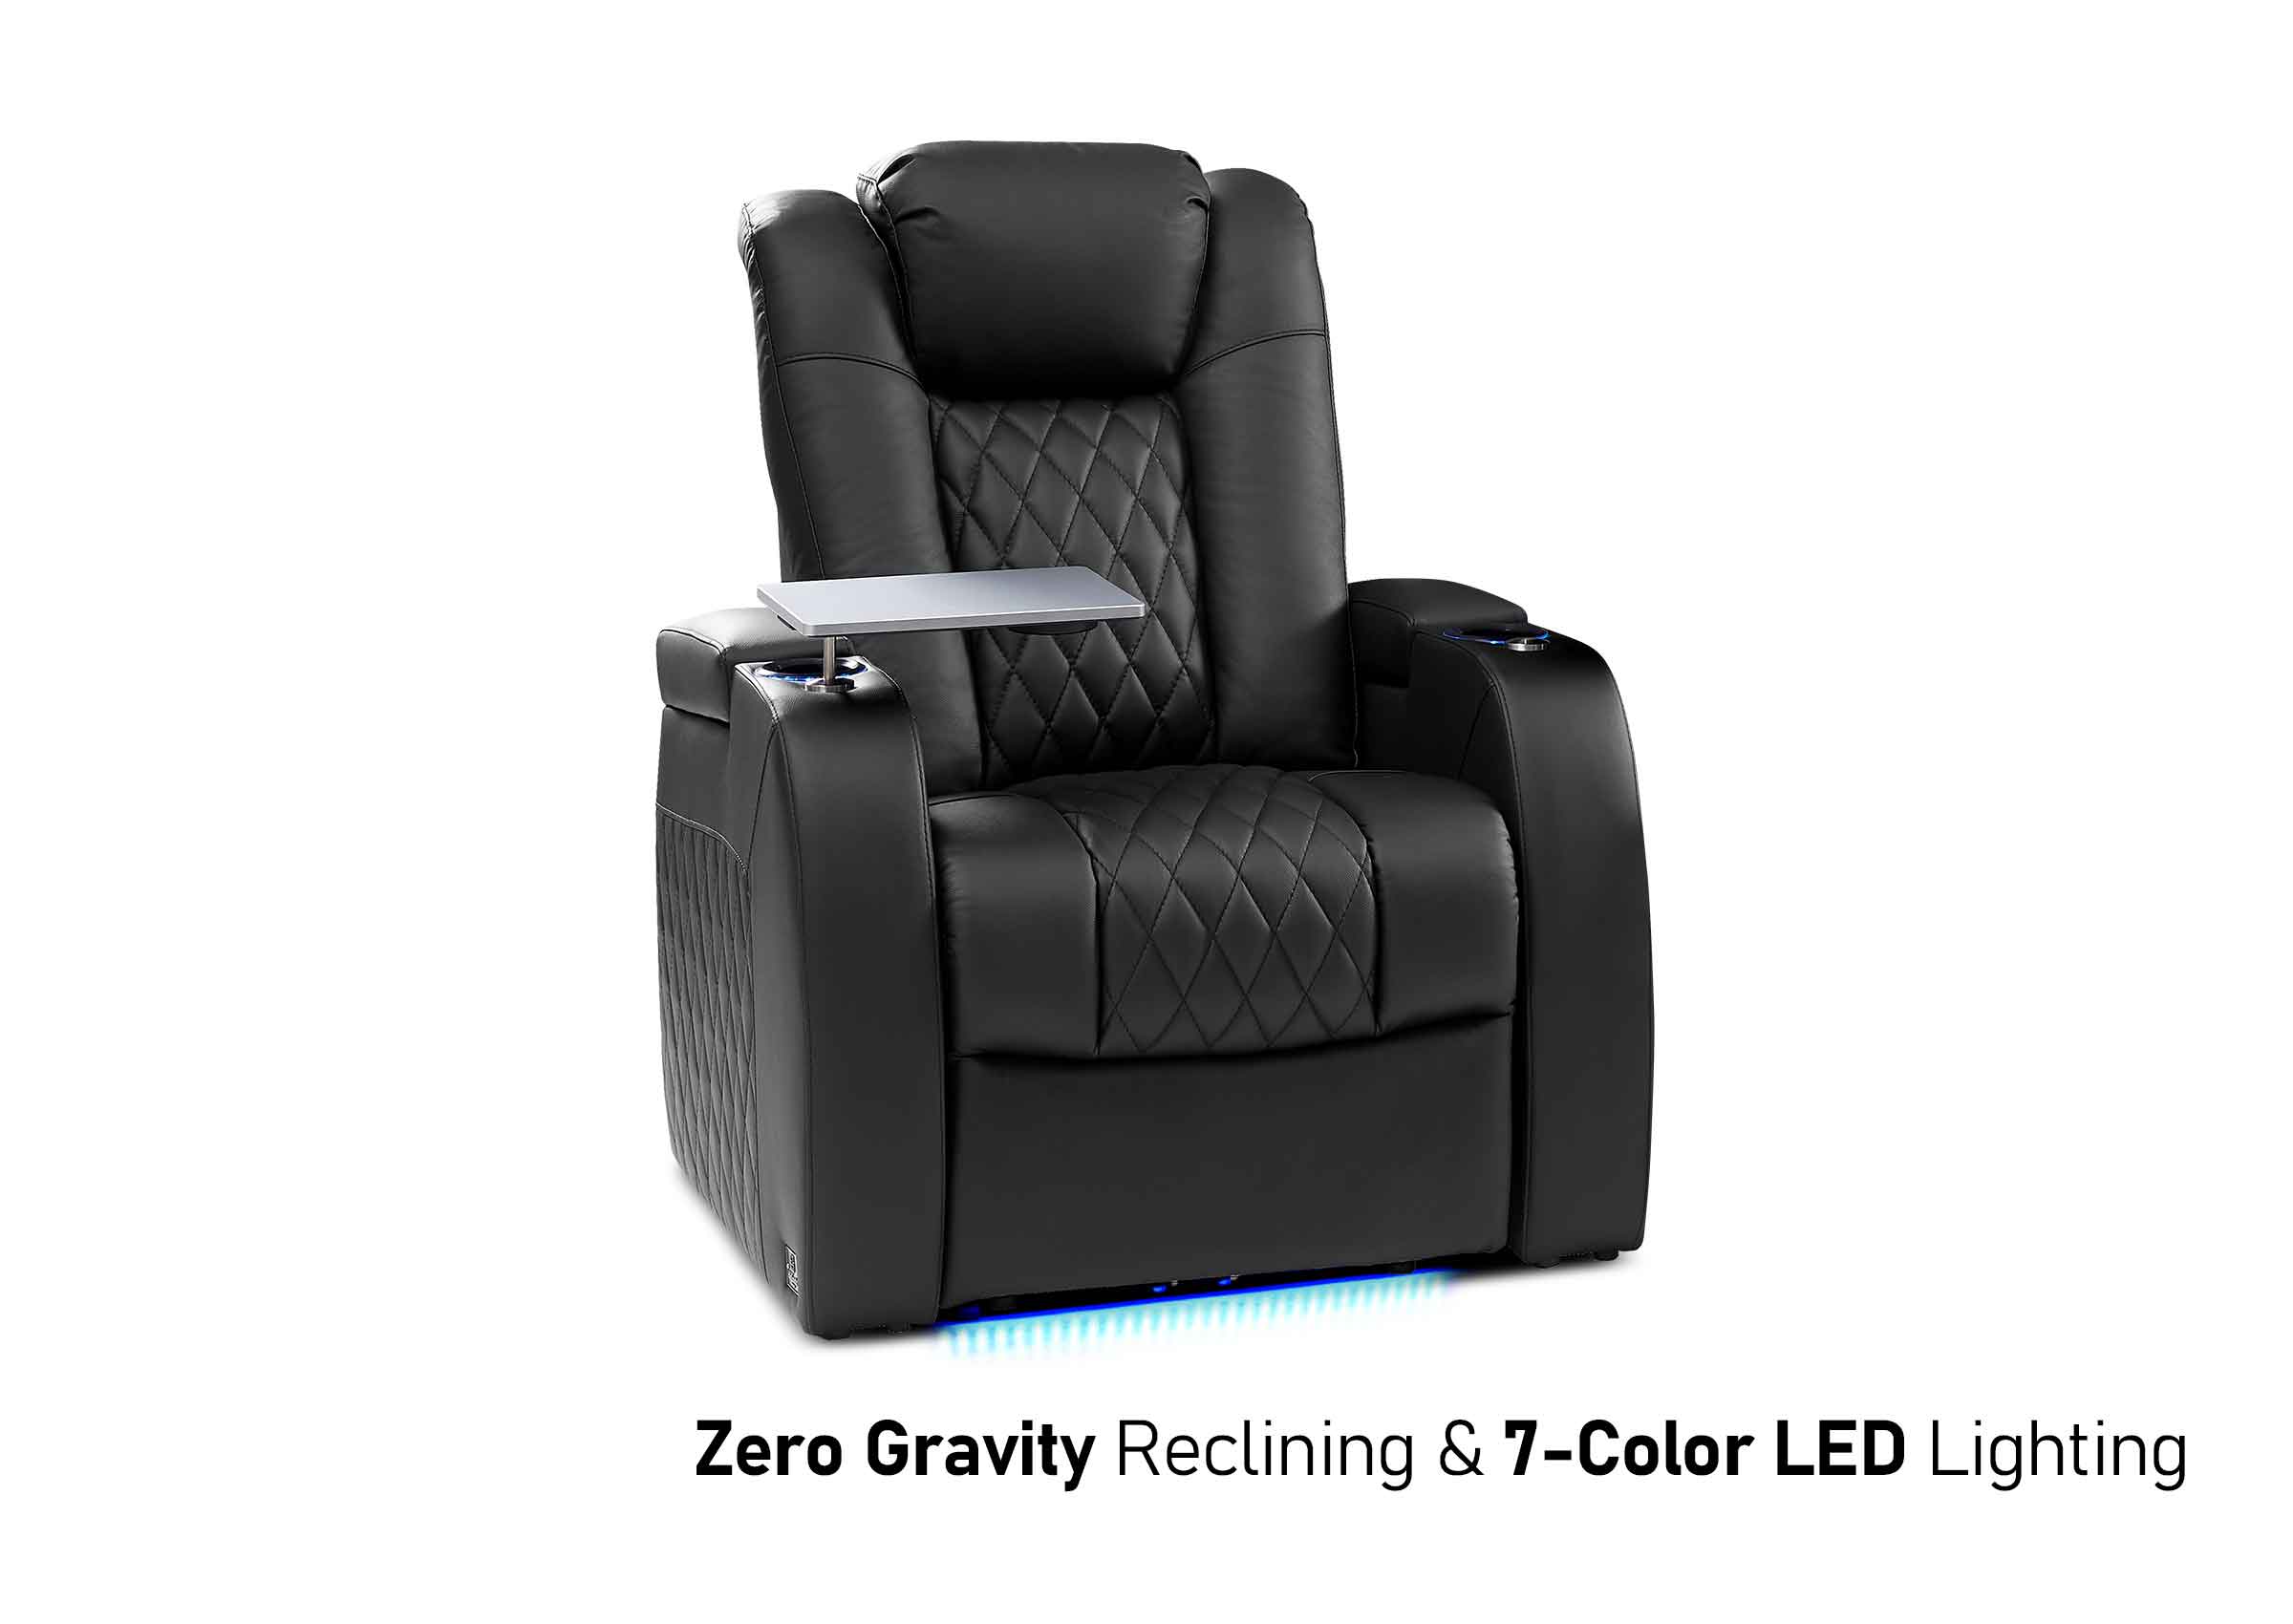




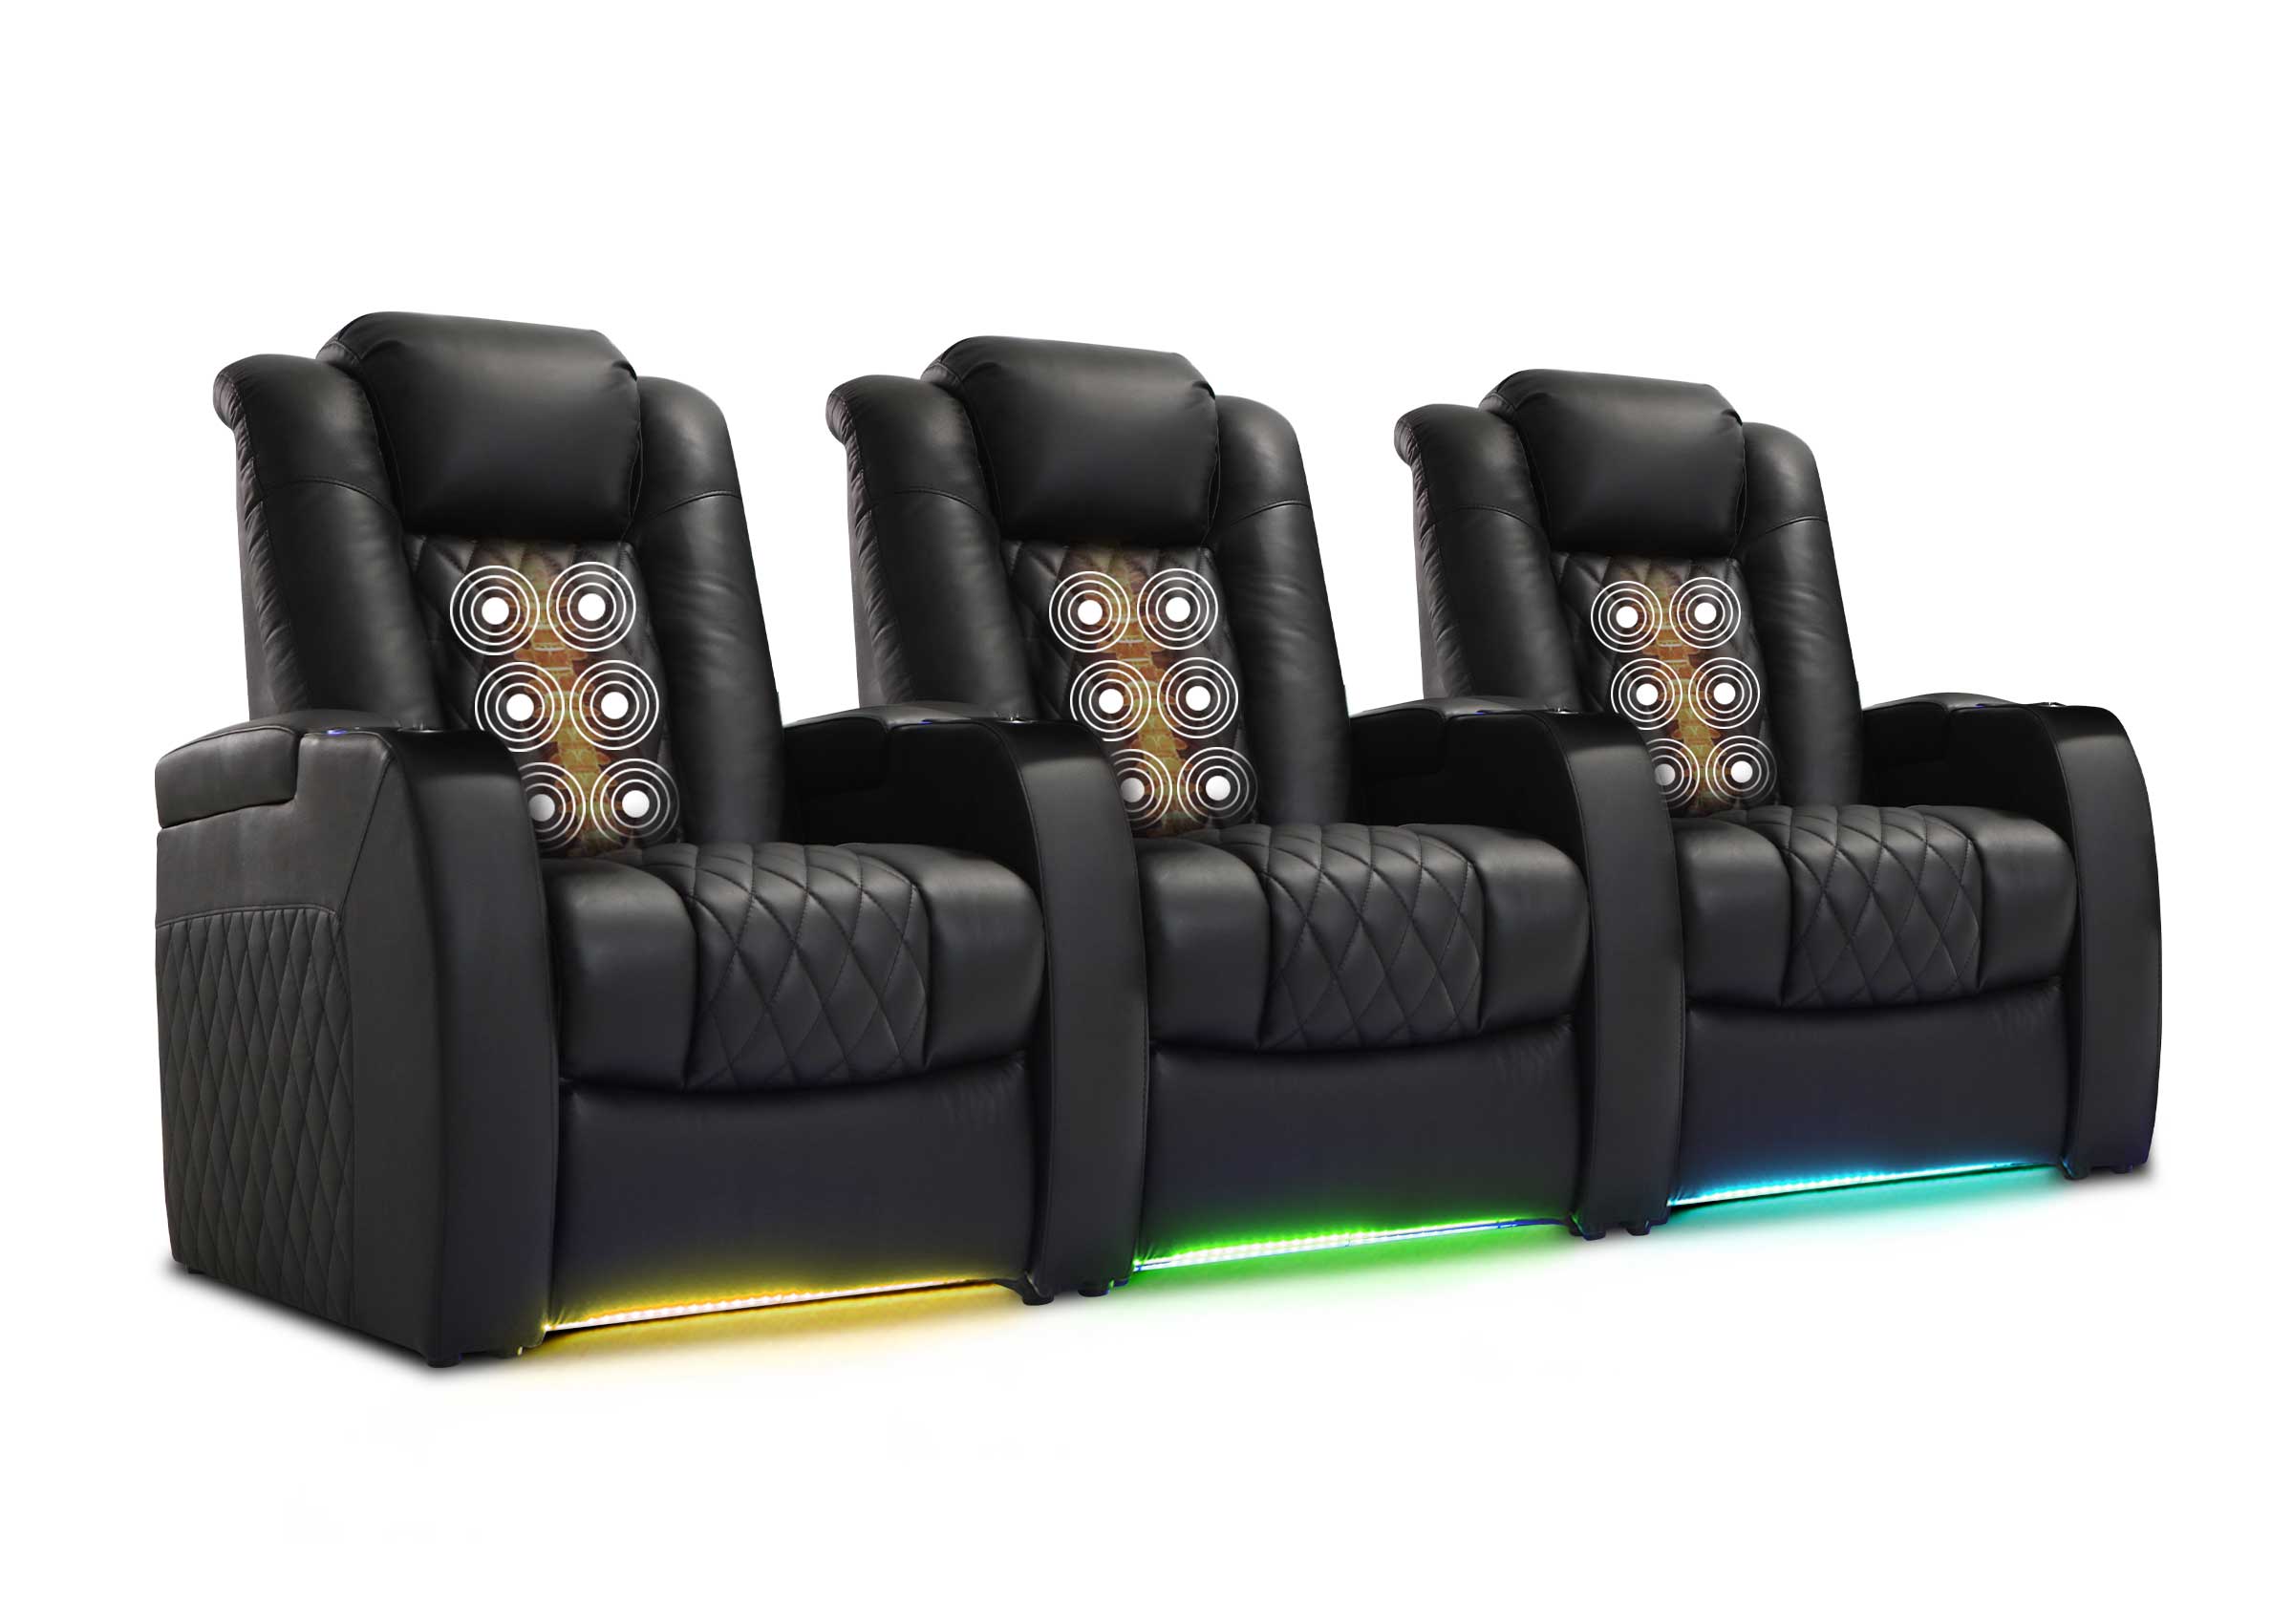

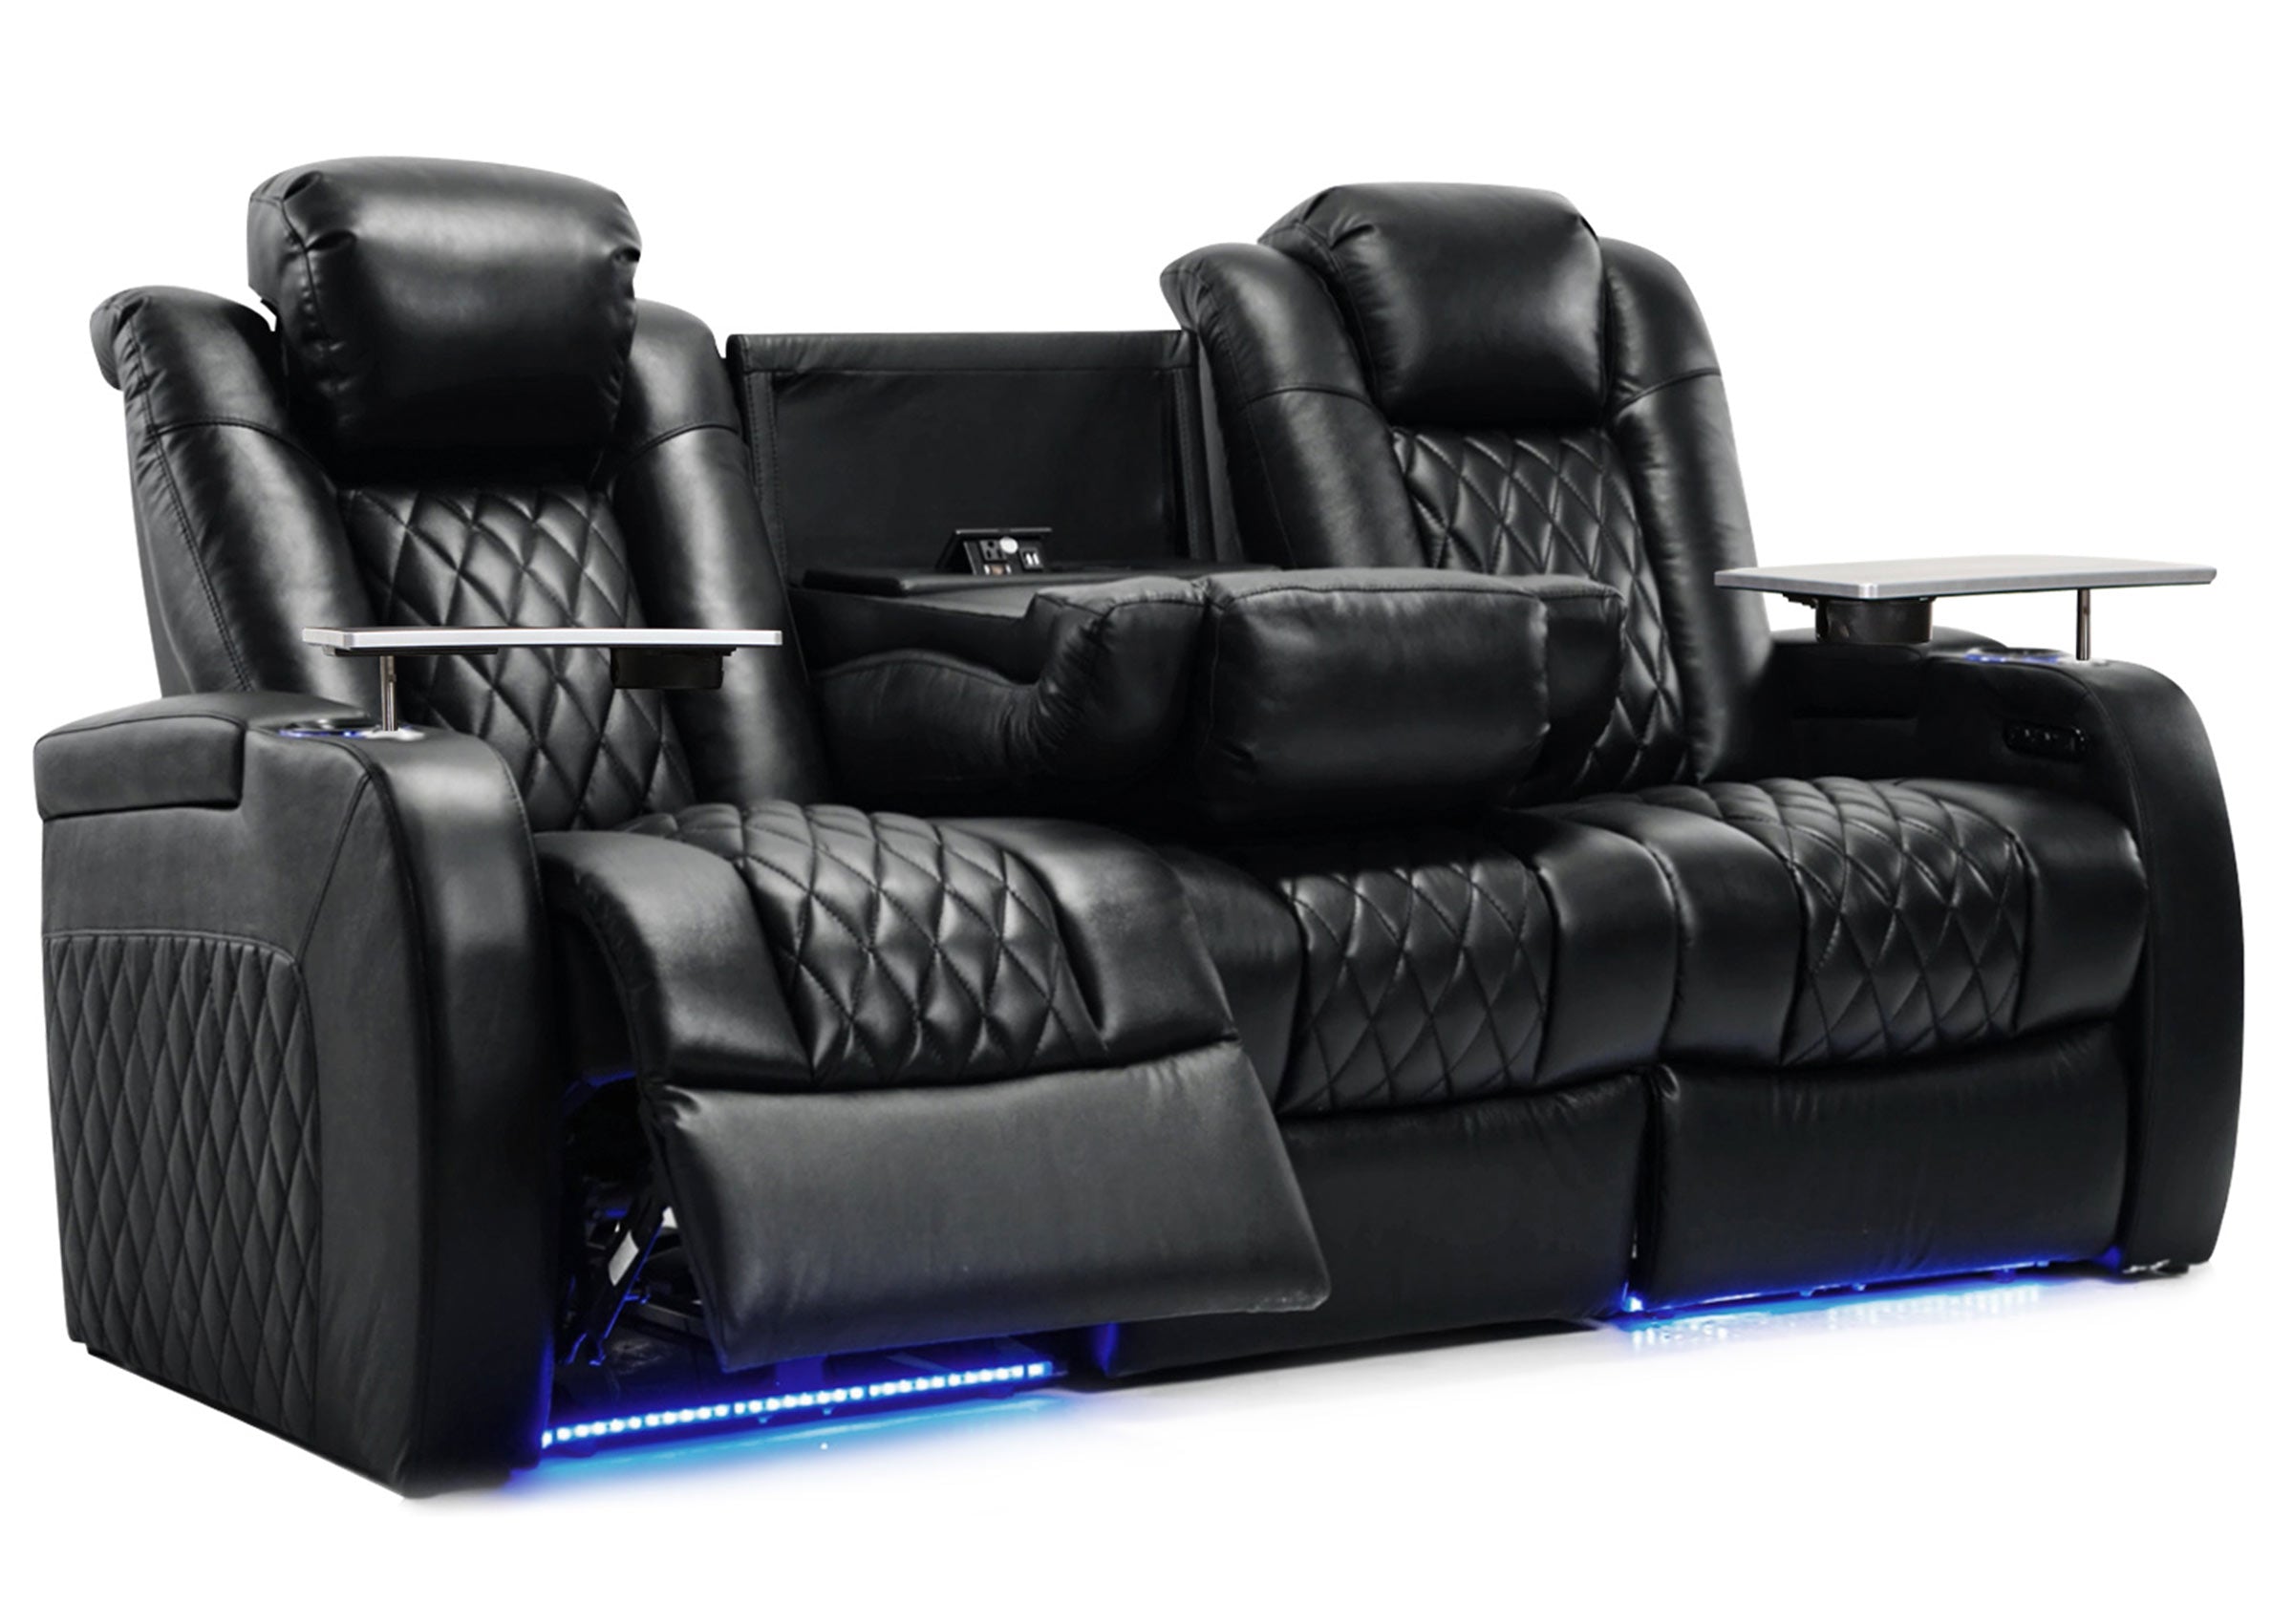
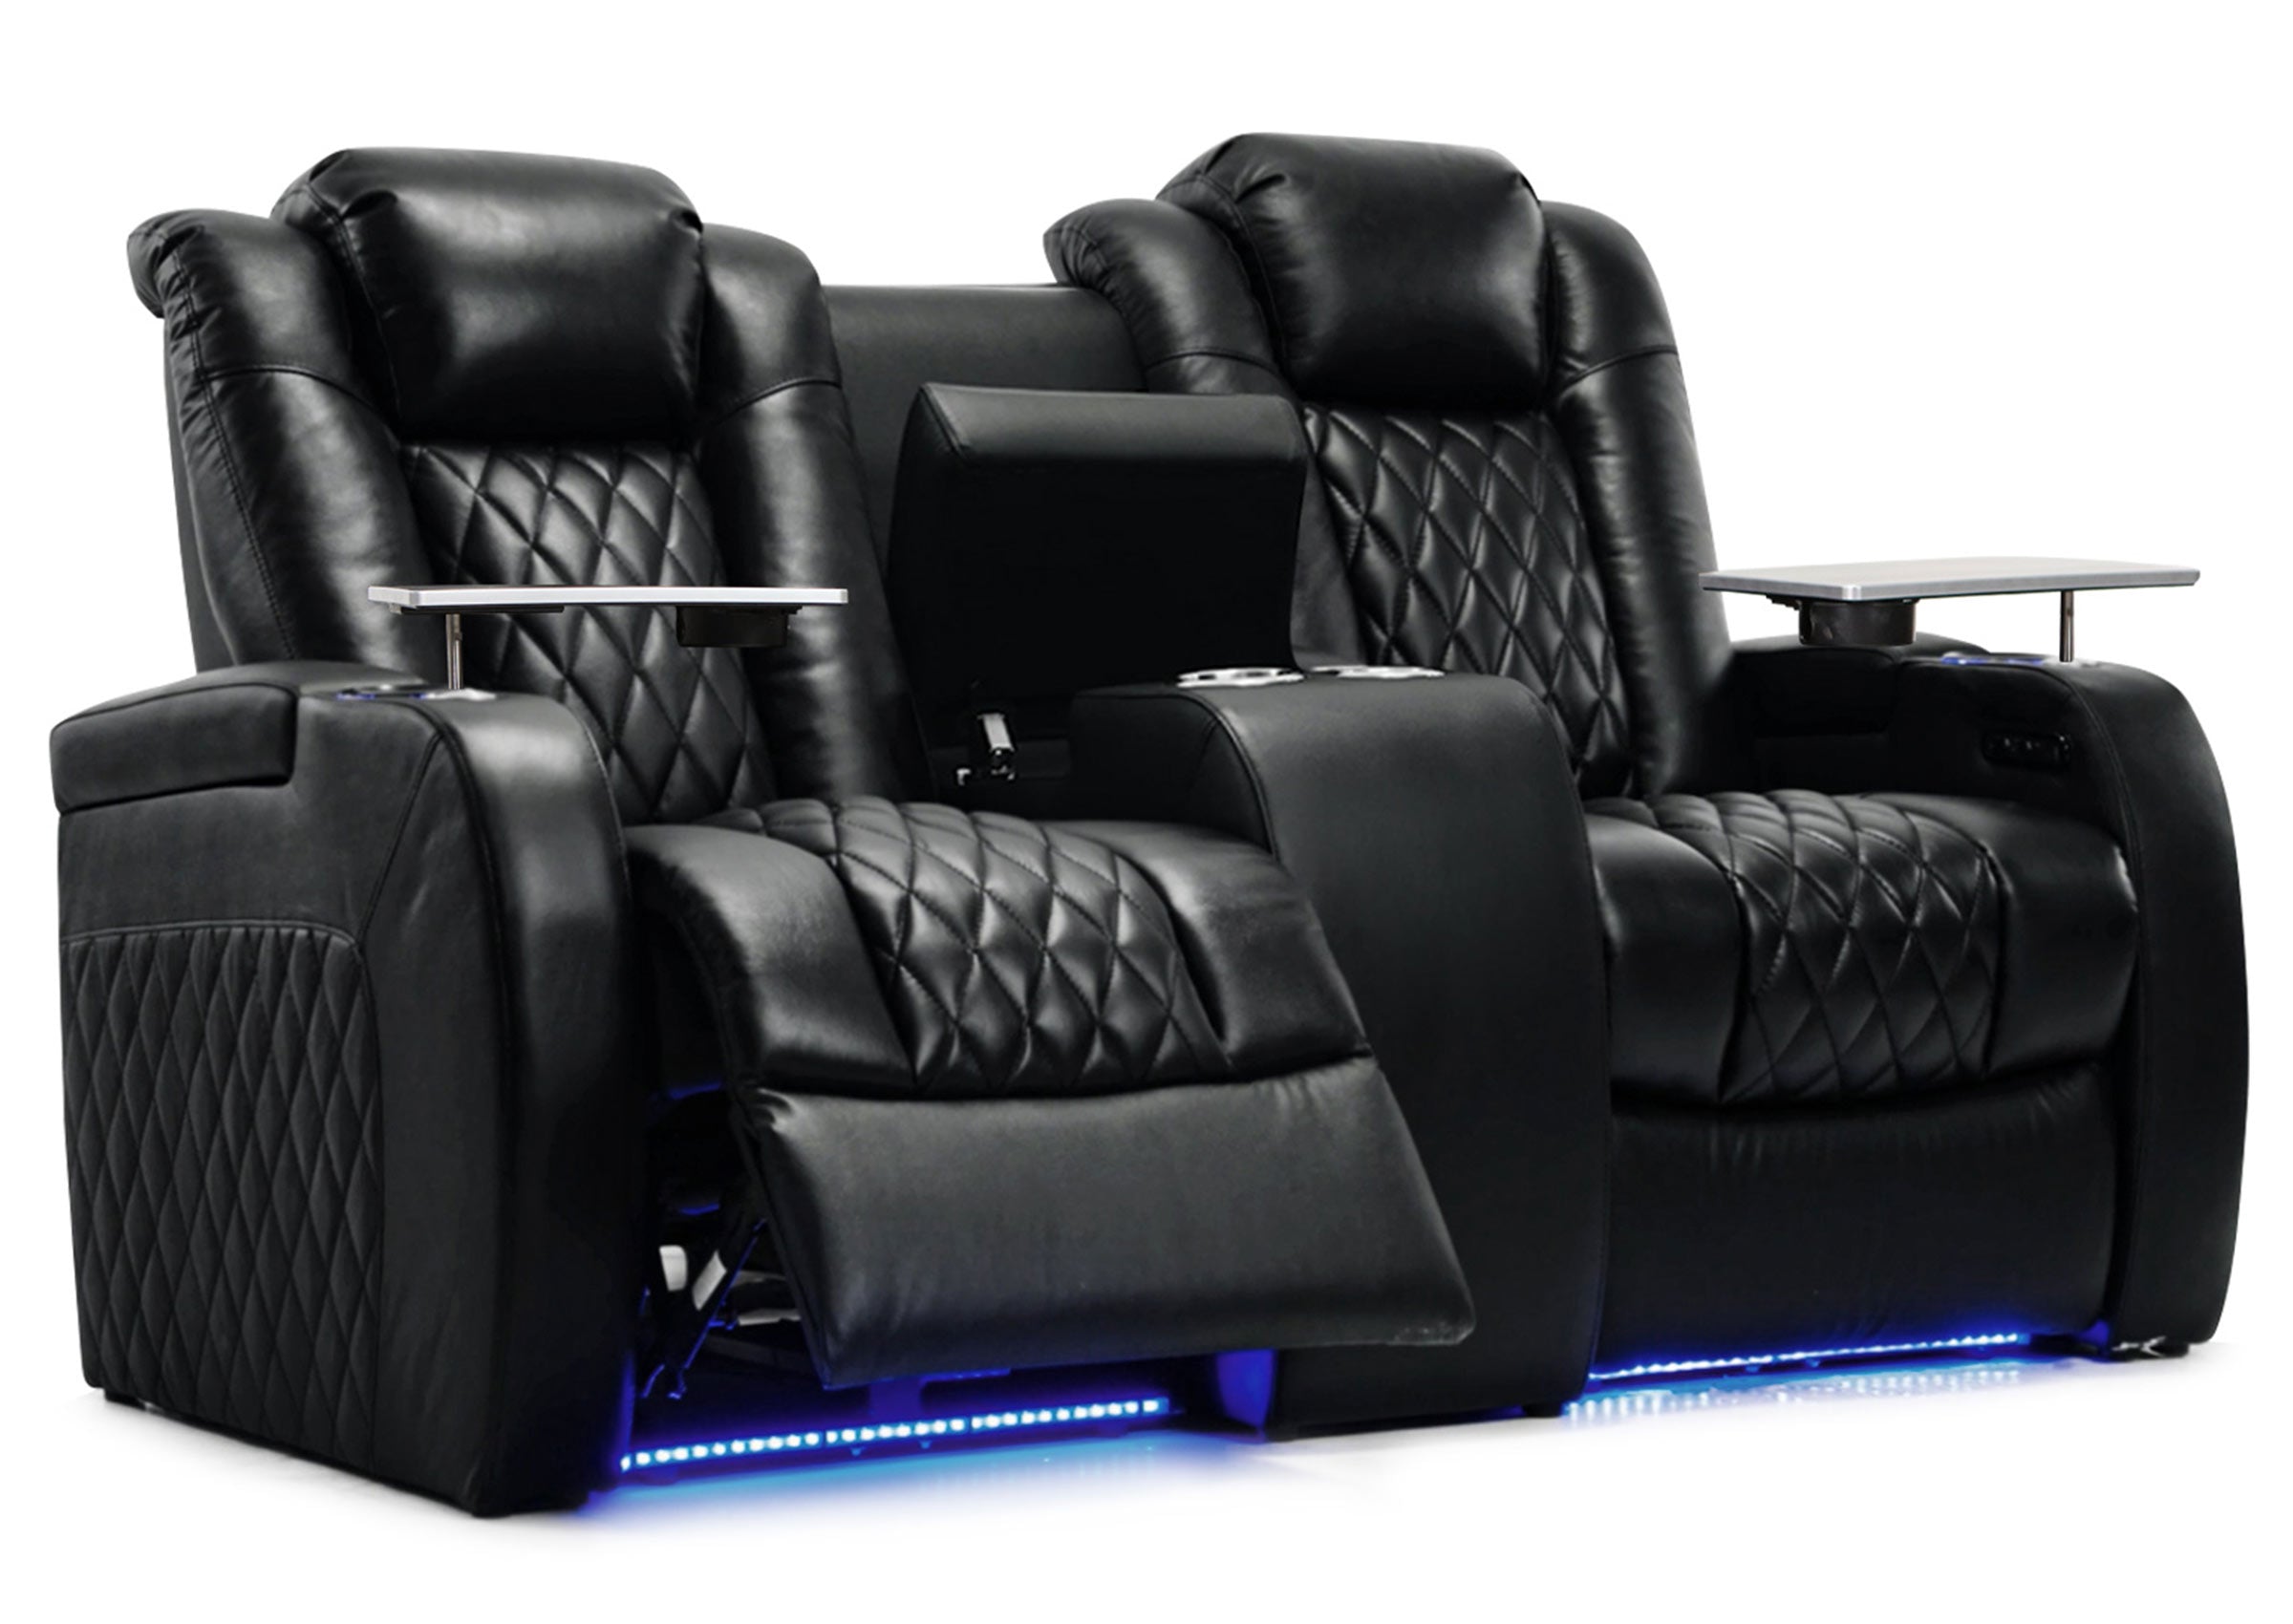

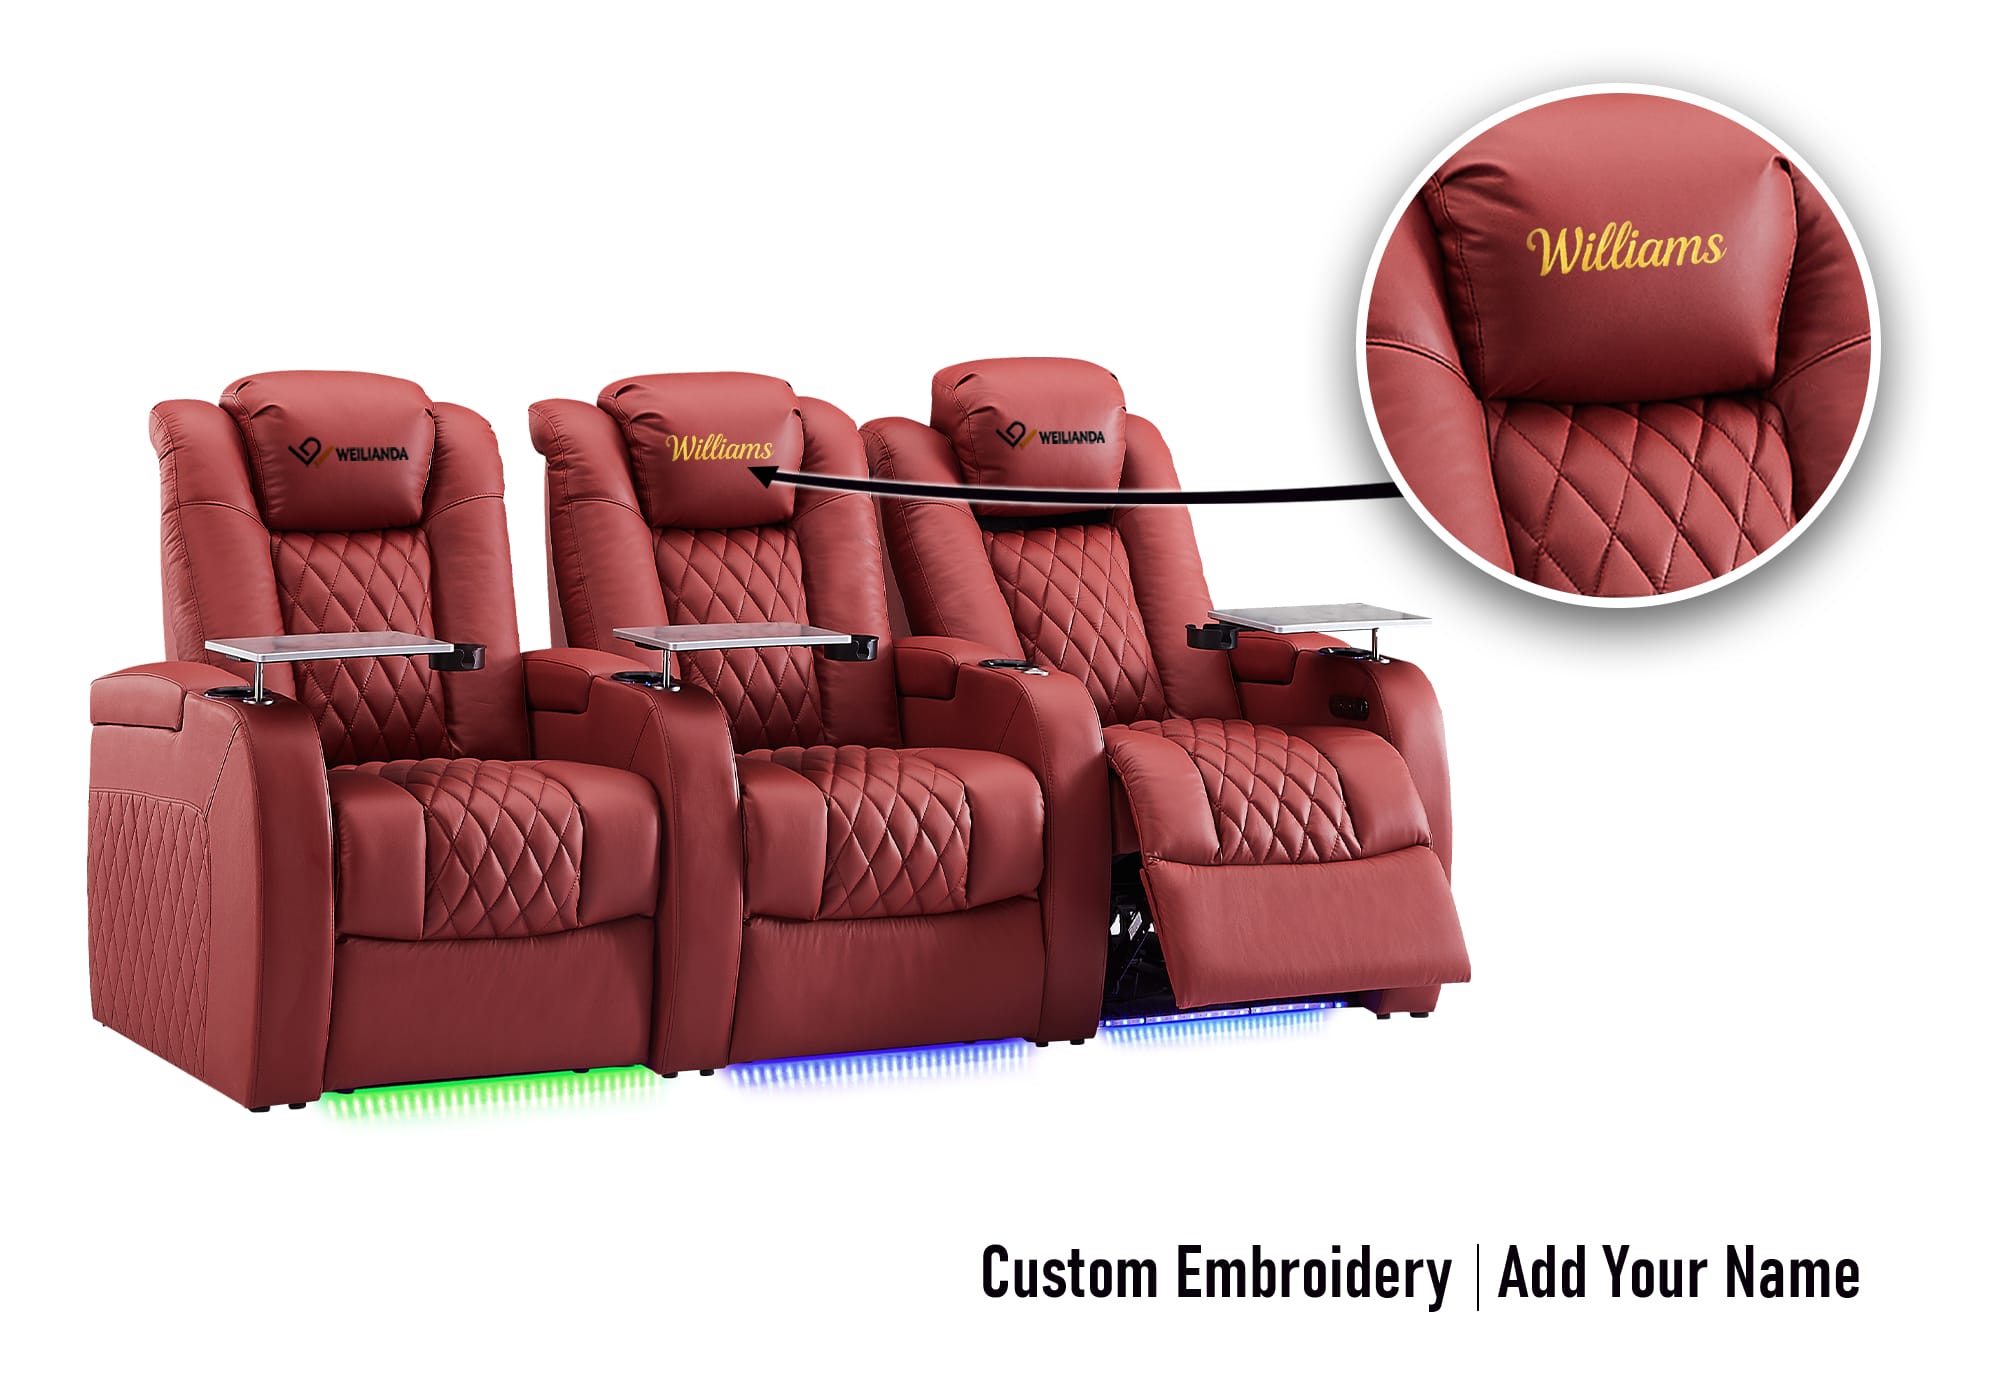



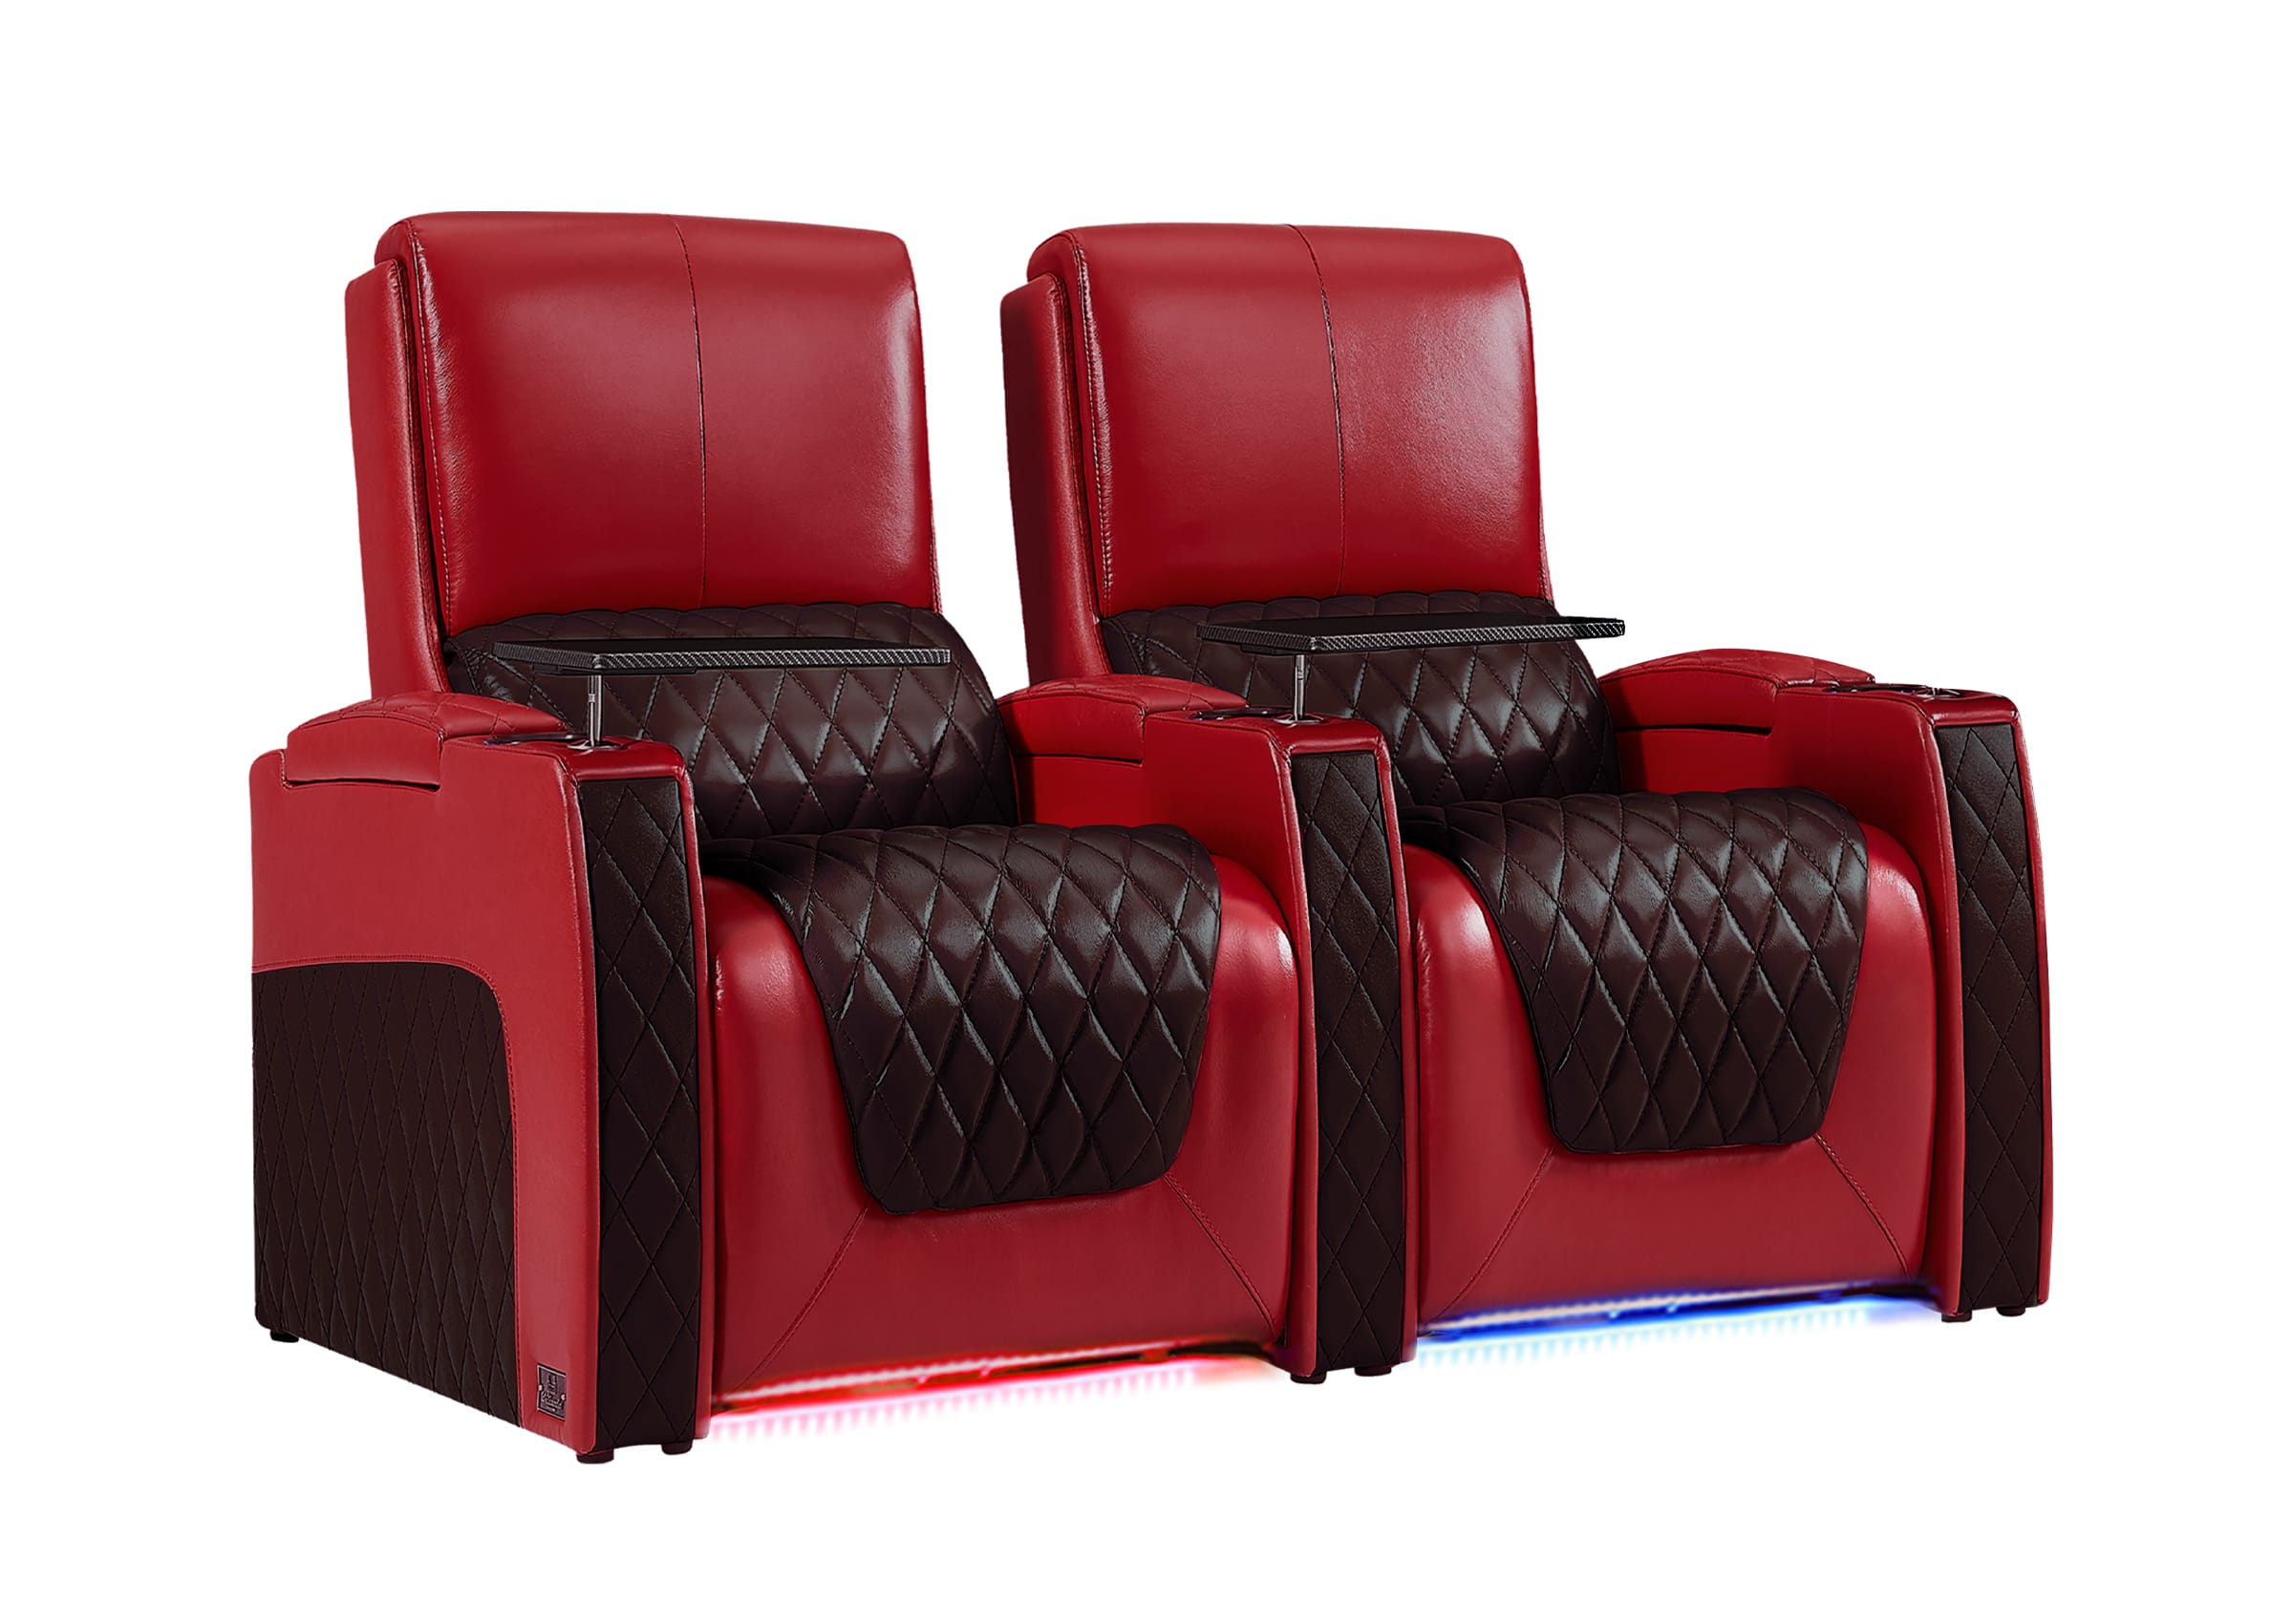
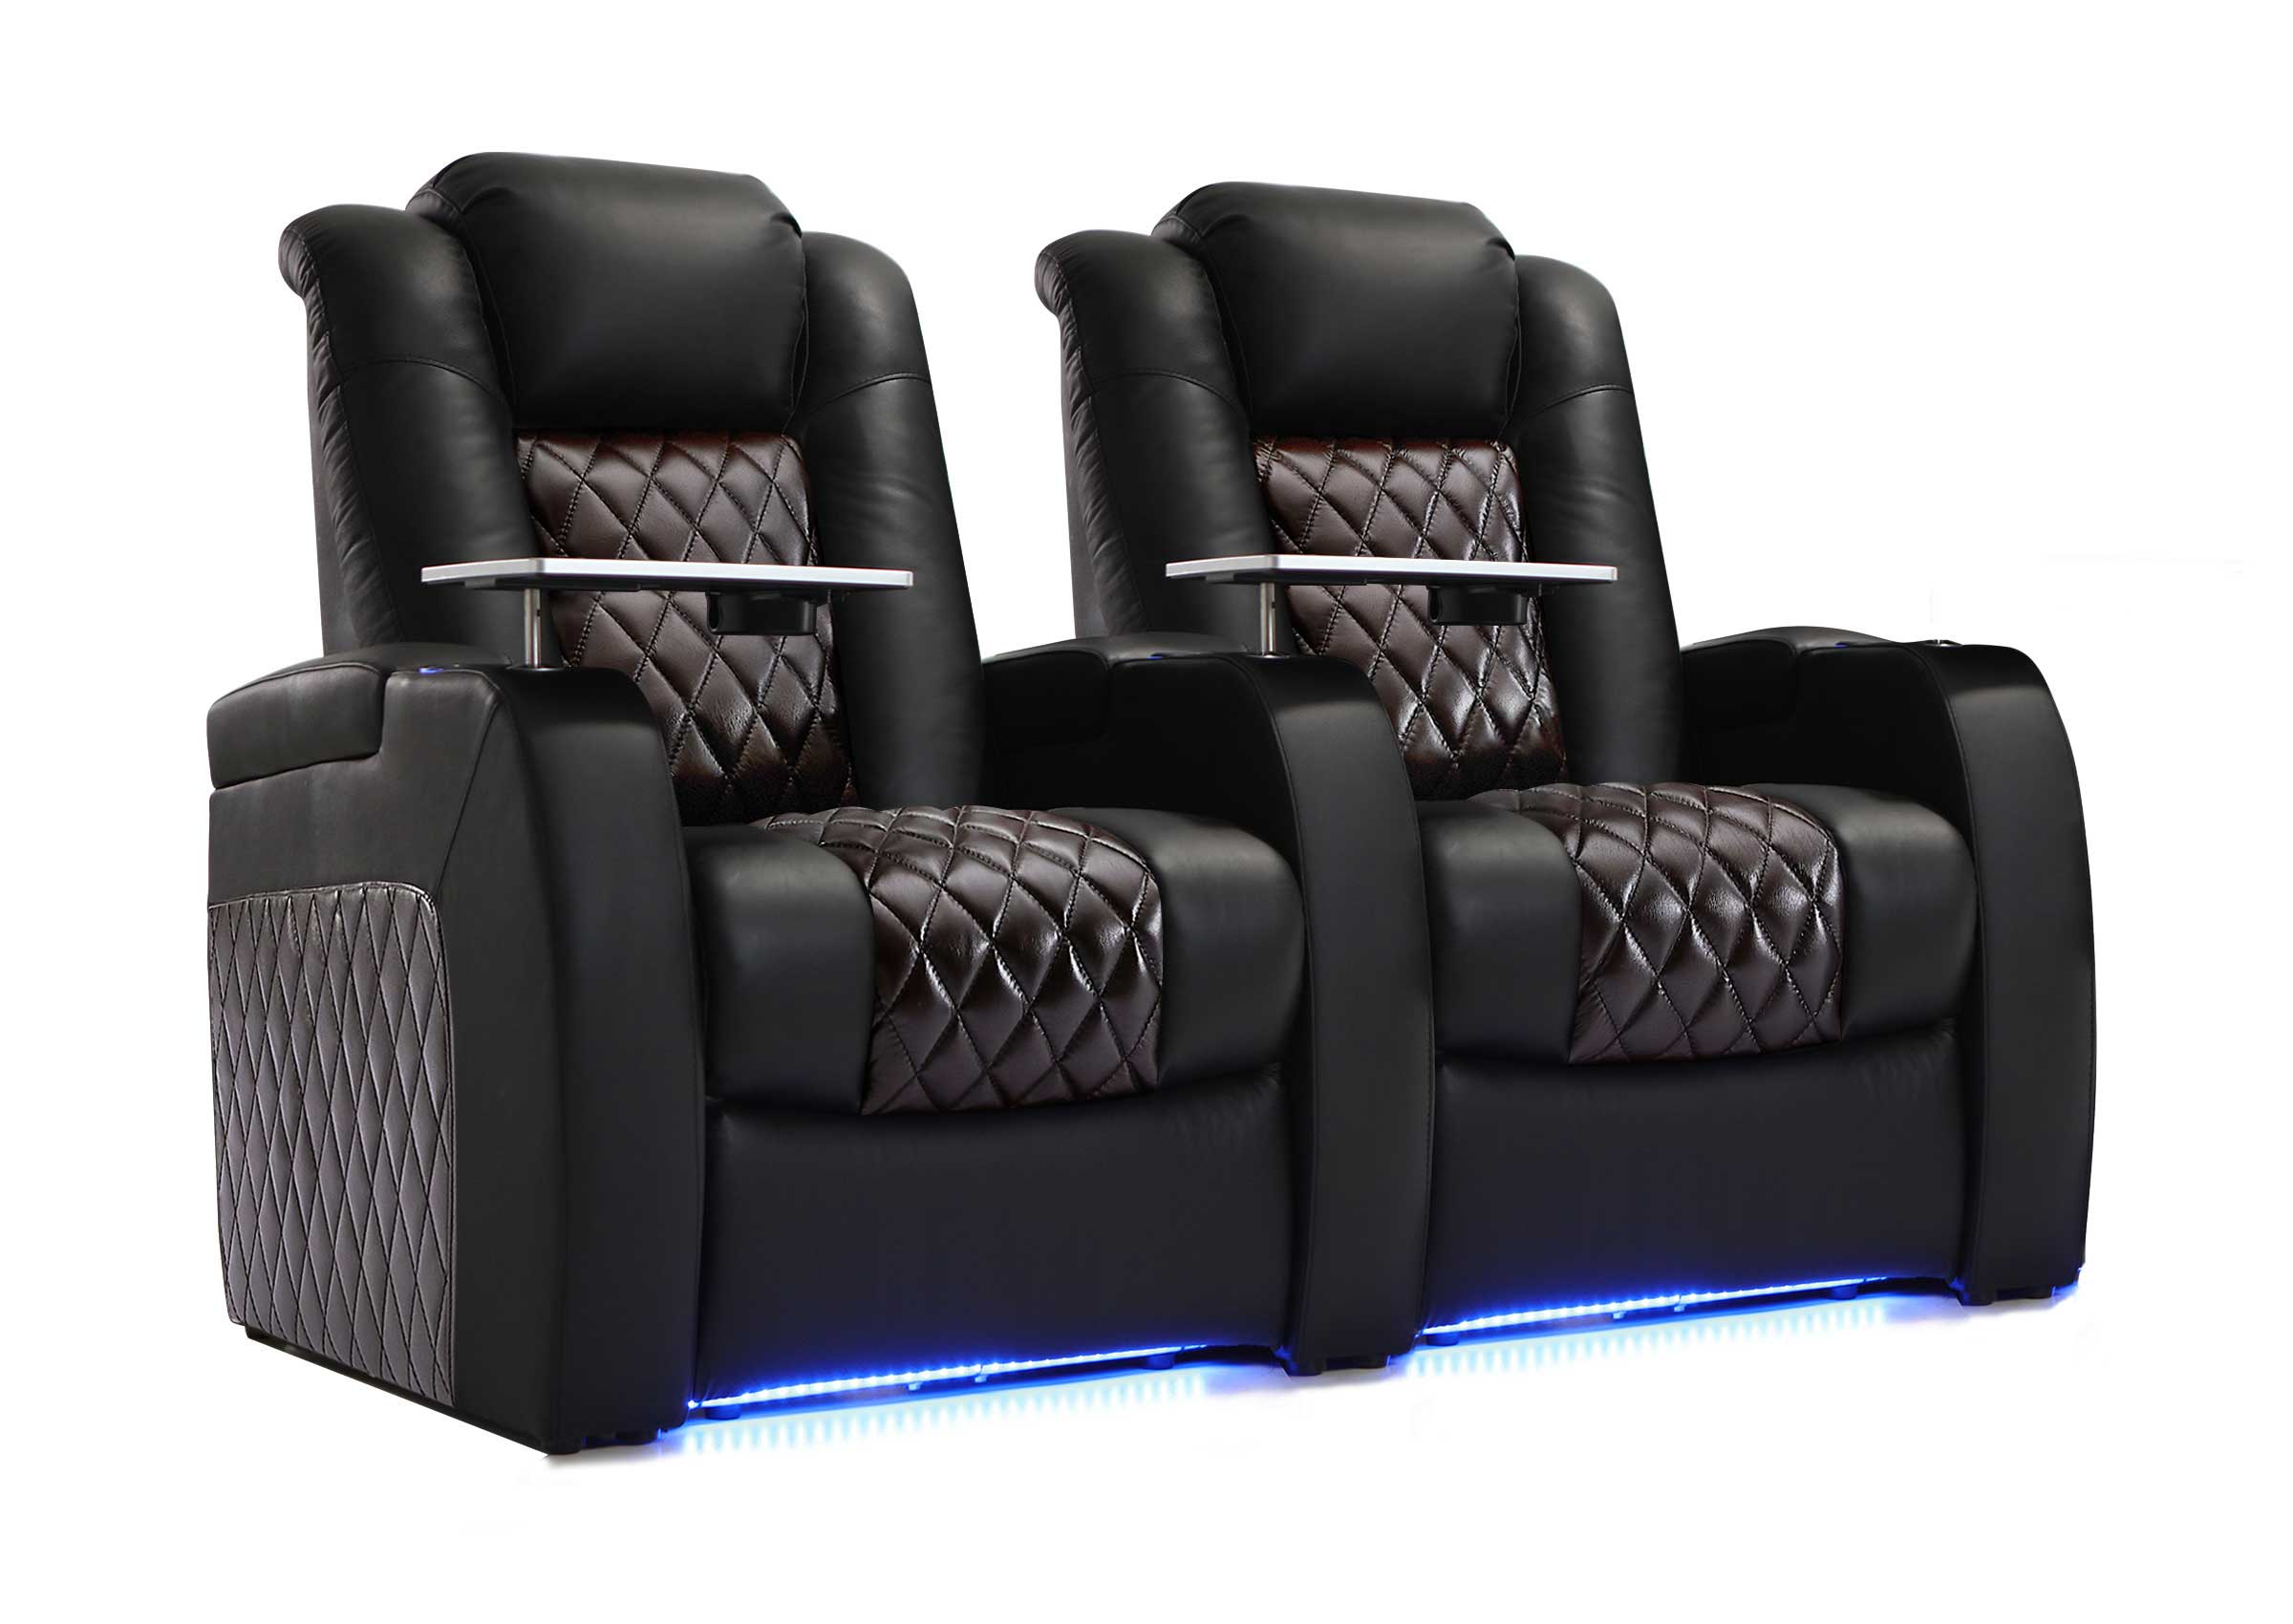

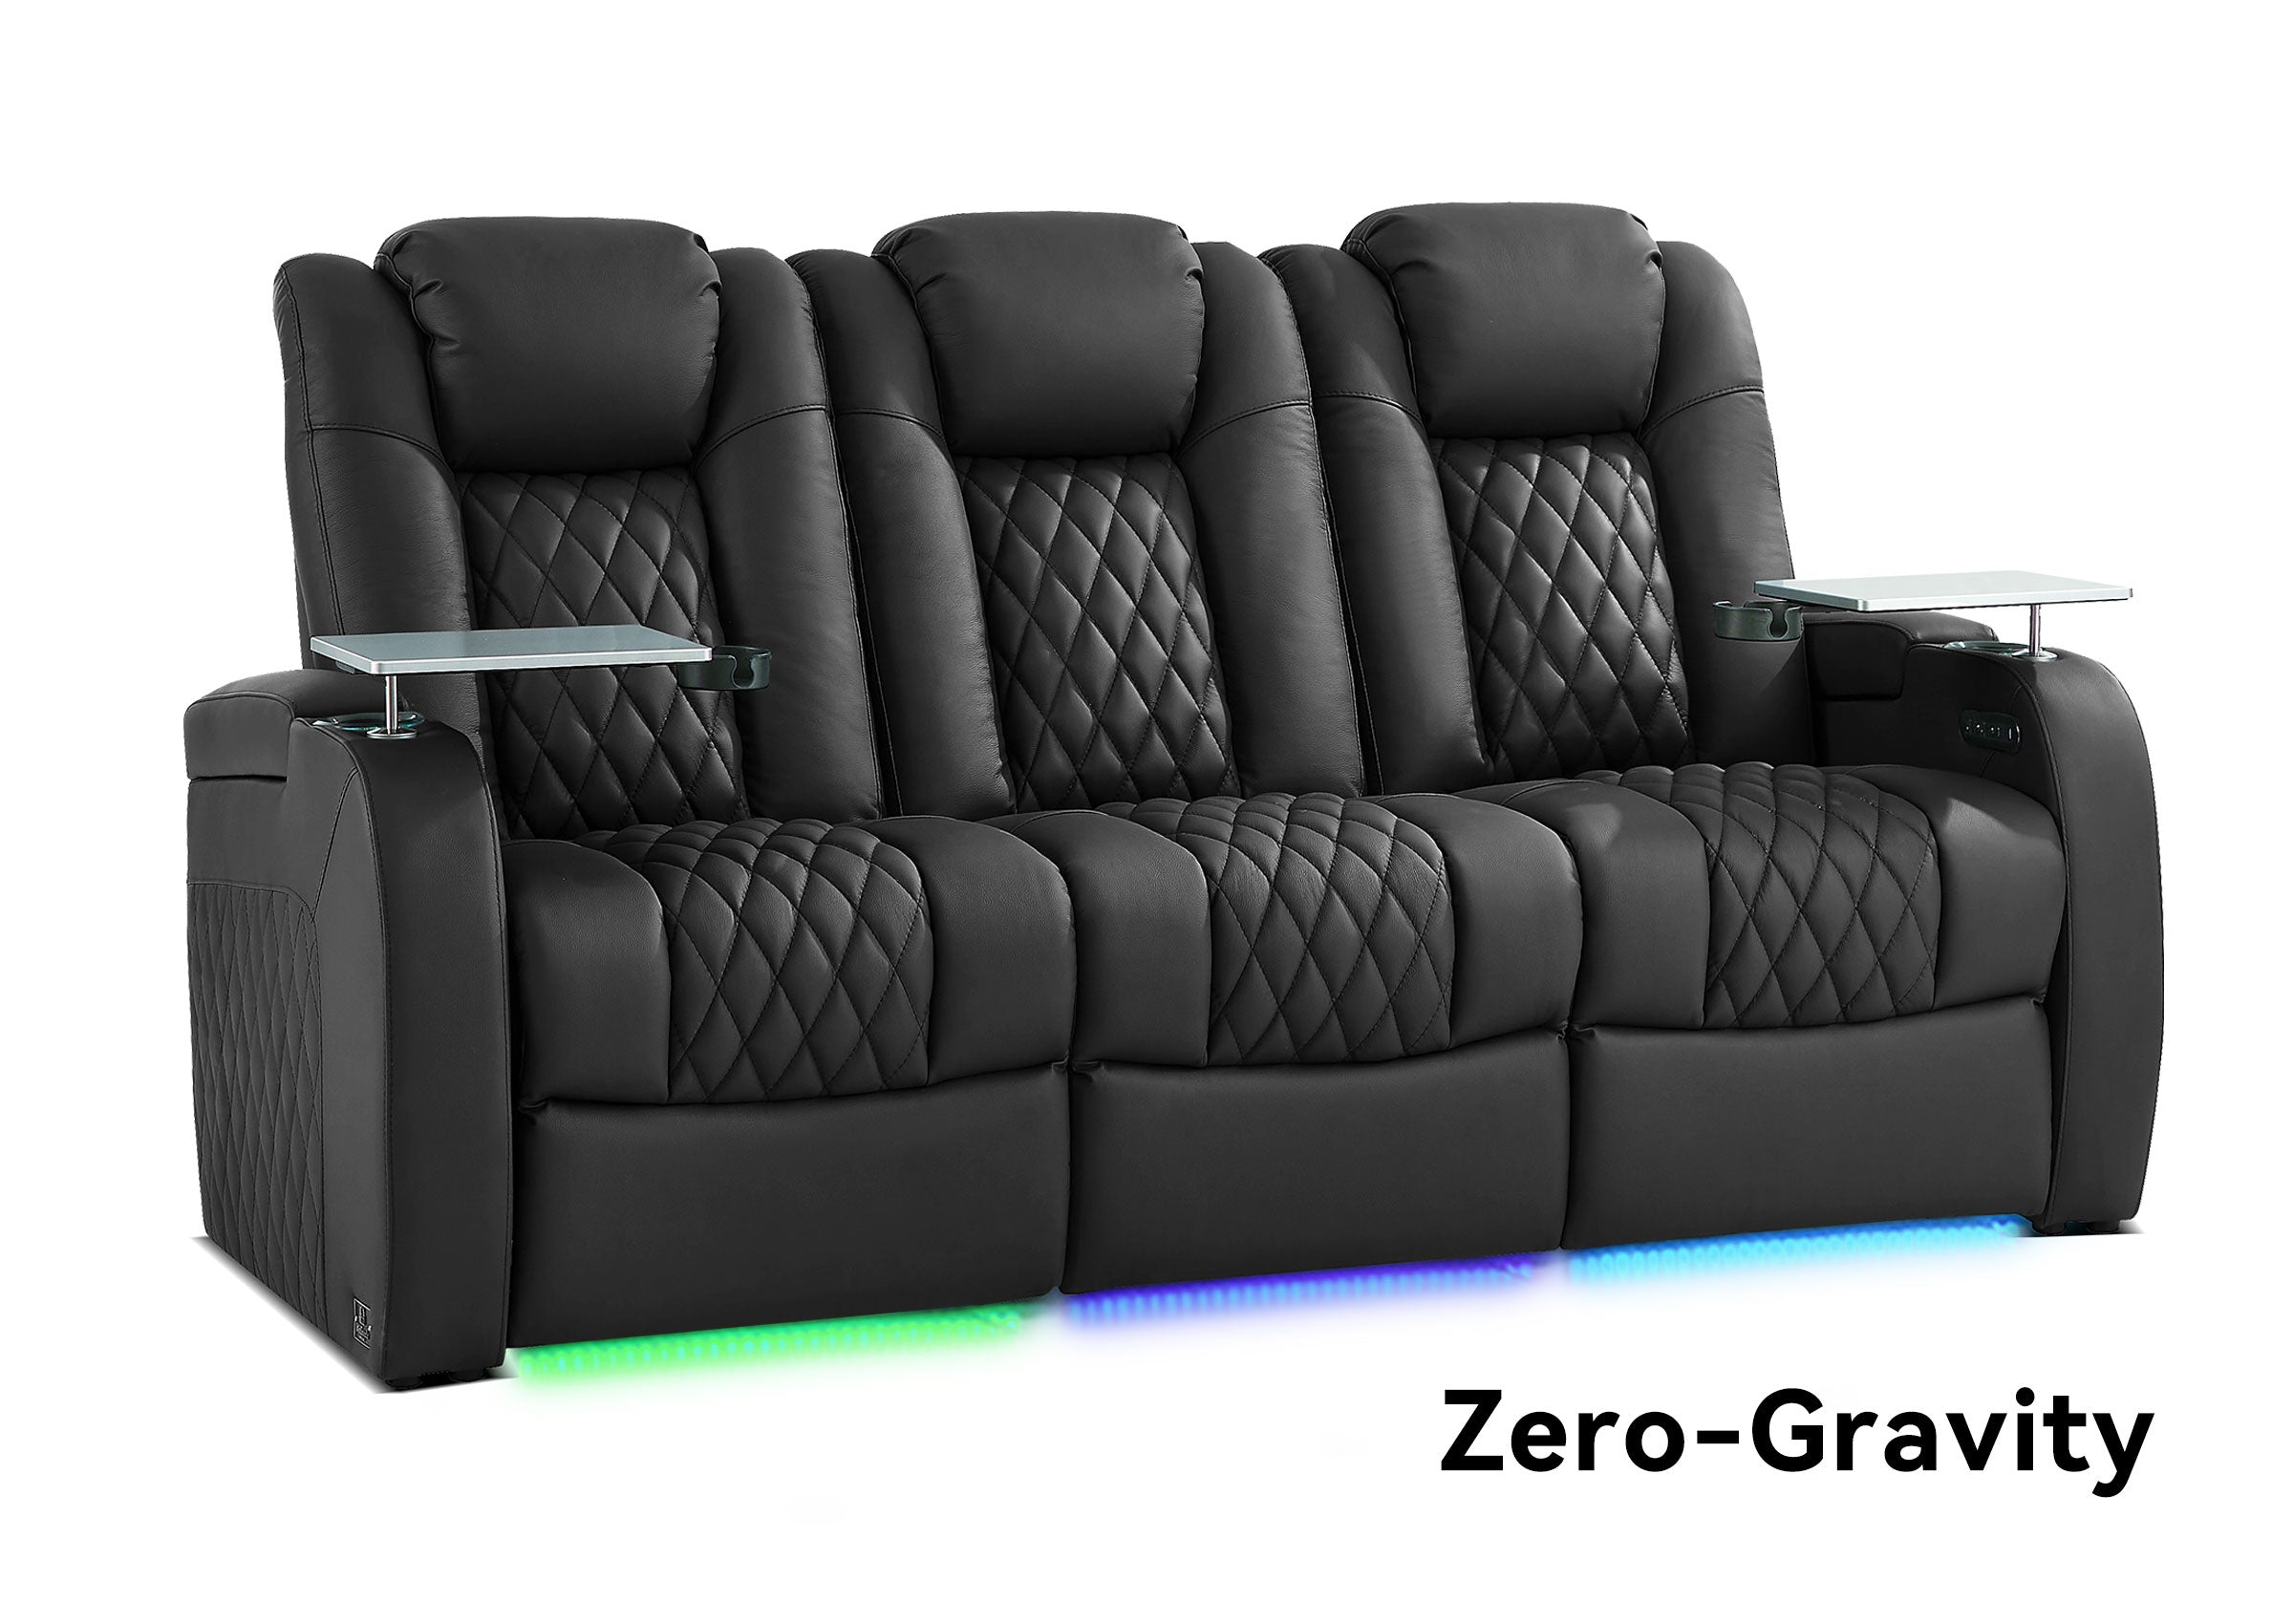


To clean a leather recliner, remove loose dust first, then treat surface dirt with a cleaner and method approved for the upholstery finish. For a power recliner, disconnect its power sources as directed in the manual before cleaning, and keep liquids away from controls, charging ports, and wiring. The right approach depends on both what the surface is made of and where the dirt has collected.
A few crumbs in a footrest fold, a sticky drink on an armrest, and a dark headrest patch are different cleaning jobs. Use the routine below for dust and surface soil; switch to professional advice when a stain has penetrated the upholstery or the finish is deteriorating.
Which Parts of Your Recliner Can You Clean the Same Way?
Start with the care label, owner's manual, or upholstery specification. “Genuine leather” and “top-grain leather” do not identify the surface treatment or tell you which cleaner is suitable. Check the seat, back, sides, and footrest separately if the chair uses a leather-match construction.
- Protected or pigmented leather: Use the furniture maker's approved cleaner. A lightly damp cloth may be suitable for routine wiping when the care instructions allow it; avoid soaking the surface or seams.
- Aniline or semi-aniline leather: Check the exact finish and approved care system. Do not automatically apply a protected-leather routine. Absorbent aniline leather is particularly vulnerable to liquid marks, and cleaning may not remove a stain that has soaked in. Geist's aniline care guidance explains these limits.
- Suede or nubuck: Use the specified brush and care products for that material. Skip the smooth-leather damp-wiping routine unless the manufacturer explicitly permits it.
- PU, vinyl, bonded leather, or other synthetic surfaces: Confirm the construction and use products approved for its coating. A conditioner intended for natural leather is not automatically suitable. For example, Geist's PU/bicast guidance warns about conventional oil- and wax-based care on PU coatings.
Plastic trim, metal cupholders, fabric pocket linings, and electrical controls need their own instructions. When the material or finish is unknown, remove dry dust and ask the manufacturer before wet cleaning. Do not use a water-drop test on a visible panel to guess the leather type.
Choose the Right Cleaning Path
For everyday dust, lint, and crumbs, begin with dry cleaning. You may not need a liquid cleaner at all.
For a fresh spill or removable surface grime, blot the spill promptly and follow the approved spot-cleaning method after testing it in a hidden area.
For an absorbed stain, persistent odor, peeling surface, or damaged electrical area, stop treating the chair as a routine cleaning job. More cleaner does not necessarily reach the source, and harder scrubbing can change the finish before the original problem improves.
Prepare a Power Recliner Before Cleaning
Gather clean, soft, lint-free cloths, a vacuum with a soft brush attachment, and any cleaner approved for your upholstery. Keep a separate dry cloth for the control area so a cloth carrying cleaner is not reused near buttons or ports.
Clear the chair of remotes, charging cables, cups, and stored items. Check the manual for the permitted cleaning position and access method. Some chairs must be returned upright before disconnecting power; do not assume every footrest should be left extended.
If the manual permits repositioning to expose a fold, do that before cleaning and only with hands, tools, pets, and children clear of the mechanism. Then unplug the chair and disconnect an optional battery only as the model's instructions direct. A chair with a battery may still move after the wall plug is removed. The Kravet Comfort Recliner manual, for example, requires removal of its optional battery before cleaning.
Do not reach beneath an unsupported footrest, tip a heavy chair alone, or detach panels to reach crumbs. Inaccessible debris or a trapped object needs the manufacturer's access instructions.
Follow This Recliner Cleaning Map
Use these six areas to check the chair from top to bottom. Features vary by model; skip any area your recliner does not have.

A — Headrest and upper back. Lift dry dust with a soft cloth. Check for hair-product residue and dark patches before applying anything. Clean removable surface soil with the approved upholstery method; do not try to scrub a persistent oil shadow back to its original color.
B — Armrests and seat cushion. Remove grit before wiping. Pay attention to the armrest tops and the seat edges where skin, snacks, and clothing make contact. Keep a dirty cloth from carrying oil or cleaner onto adjoining panels.
C — Seat-to-back gaps and stitched seams. Use a soft brush attachment to lift crumbs from accessible gaps. If a crevice tool is permitted, keep its hard edge from scraping the finish. Do not stretch seams open or push the nozzle toward concealed wires.
D — Footrest surface and folds. Clean only the surfaces you can reach safely in the position allowed by the manual. Lift dry debris from visible folds first. Keep any approved damp cleaning on the upholstery, away from hinges, linkages, and the underside mechanism. Never sit or stand on the footrest to reach another area.
E — Cupholders and storage areas. Empty these before wiping. Remove and wash a liner only if it is designed to come out and its instructions allow washing. A fixed or illuminated cupholder should not be flooded. Use the approved method for its finish, then dry it; avoid letting liquid run into the rim, nearby seams, or hidden electronics. Vacuum a fabric-lined storage compartment according to its care instructions rather than using leather cleaner throughout it.
F — Buttons, charging ports, and exposed electrical areas. With power disconnected, use a dry, soft cloth for accessible exterior surfaces. Do not spray the panel, drip cleaner around button edges, insert a wet swab into a port, or open a control housing. The Kravet manual specifically prohibits liquids and spray cleaners on electrical components; follow your chair's instructions if they are stricter.
The useful distinction is between a washable removable accessory, a surface that permits controlled wiping, and an electrical opening that must stay dry. Being next to leather does not make all three suitable for leather cleaner.
LEATHER CARE GUIDANCE
Unsure Which Cleaning Method Fits Your Recliner?
Review the leather care guide for general material precautions, or contact Weilianda with your model details and care-label photos before choosing a cleaner.
How to Clean the Leather Upholstery Step by Step
After dry debris is gone, use this sequence only if the upholstery instructions permit the selected cleaner and method.
- Test a hidden area of the same material and finish. Follow the product's application instructions and let the test dry before judging it. Check for color transfer, darkening, a new sheen, roughness, or tackiness. A test on a synthetic back panel does not establish compatibility with a leather seat.
- Apply the cleaner as directed. For a cloth-applied product, put the specified amount on the cloth rather than spraying the chair. If damp wiping is permitted, wring the cloth thoroughly so it does not drip. Do not improvise a dilution for a product intended to be used another way.
- Work gently on one upholstery section. Lift soil without aggressive rubbing, keeping liquid away from seams and the control area. Follow the care system's guidance on whether to treat a spot or work across a whole panel; a small wet patch on absorbent leather can leave a mark.
- Remove residue only as instructed. Some products require a follow-up wipe; others do not. Avoid repeated wet passes to chase foam or a stubborn stain.
- Allow the chair to dry naturally. Keep it away from concentrated heat and direct sun. Apply a protection product or conditioner only if recommended for that finish, using its specified amount and timing.
Conditioning is not a universal final step. Adding more product to a chair that already feels greasy or sticky can make it harder to assess what is happening.

What Should You Do About Spills and Stubborn Marks?
For a fresh drink spill, lift away solids and blot liquid with a clean, absorbent cloth rather than rubbing it across the panel. Once the excess is removed, follow the material's approved spot-cleaning instructions. La-Z-Boy's leather care guidance likewise emphasizes prompt blotting and professional help for difficult stains; its specific cleaning recipe is not a universal prescription for other brands.
If liquid reaches buttons, a charging port, the power supply, or wiring, stop using the chair. Disconnect power only if it is safe to do so, and contact the manufacturer or an authorized technician. A dry-looking exterior does not establish that the electrical area is safe to reconnect.
A dark headrest or armrest mark that remains after approved surface cleaning may involve absorbed body oil or finish damage. Leather Magic's headrest restoration example includes removing absorbed oil and restoring the finish, illustrating why this can become a restoration job.
Persistent stickiness, peeling, cracking, or upholstery color transferring to the cloth are reasons to stop and seek advice. Likewise, pet odor that remains after surface cleaning may come from seams or filling. Do not assume a general pet cleaner is compatible with leather, or soak the chair to reach an unknown source.
Keep the Recliner Cleaner Between Full Cleanings
A brief dry wipe or gentle vacuum pass when dust and crumbs appear can reduce the need for heavier cleaning. Check the headrest, armrests, and footrest folds during that pass, and handle spills promptly. Use the furniture maker's schedule for deeper cleaning and protection rather than applying conditioner every time you dust.
Avoid household mixtures, disinfecting wipes, alcohol, bleach, abrasive pads, and oil treatments unless the upholstery maker specifically approves the exact product. Do not use steam or a spray-extraction machine as a shortcut without explicit approval for both the upholstery and the powered chair.
Before reconnecting power after routine cleaning, remove cloths and tools, check that accessible surfaces are dry, and make sure nothing obstructs the mechanism. Follow the manual's reconnection procedure. If liquid may have entered an electrical component, get service advice first.
For a Weilianda recliner, contact Weilianda Support or after-sales support if you cannot confirm the upholstery or safe cleaning access. Include the model or order details, photos of the affected area and care label, and the names of products already used. That gives the support team a clearer starting point than another round of trial-and-error cleaning.
For questions before choosing a Weilianda recliner, contact leon@weiliandahome.com. For cleaning concerns about a chair you already own, use the after-sales contact above.