



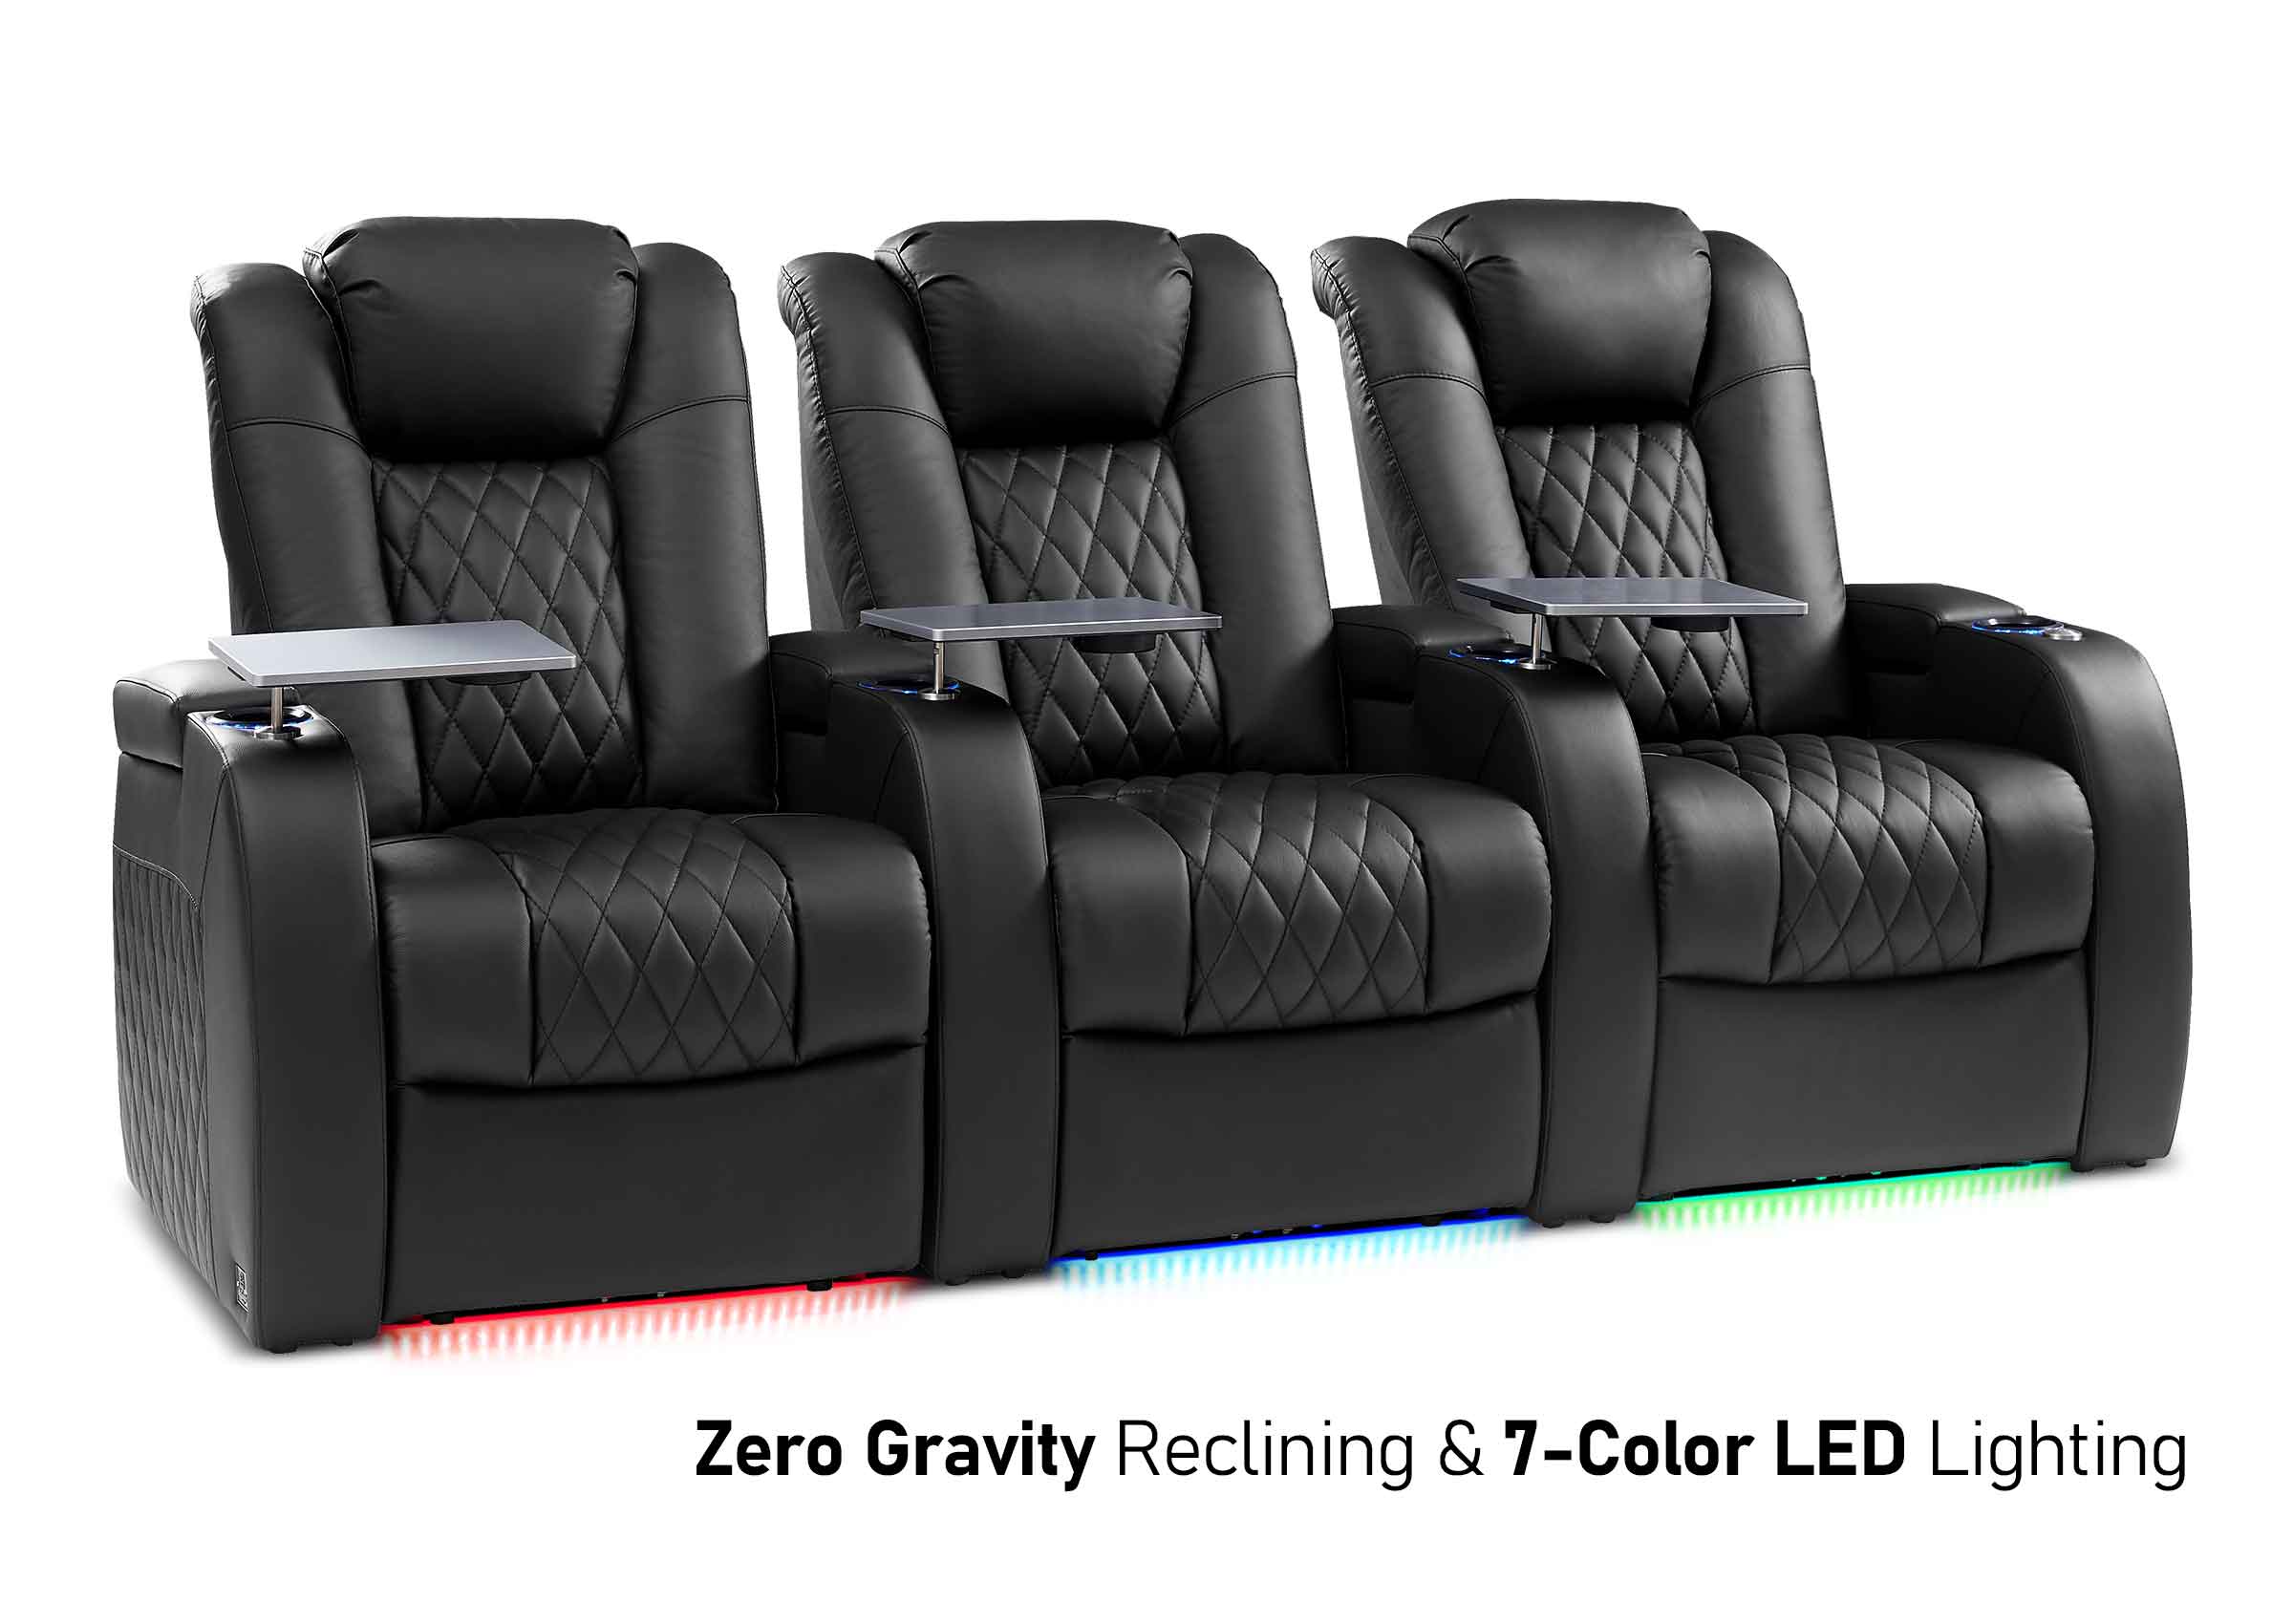
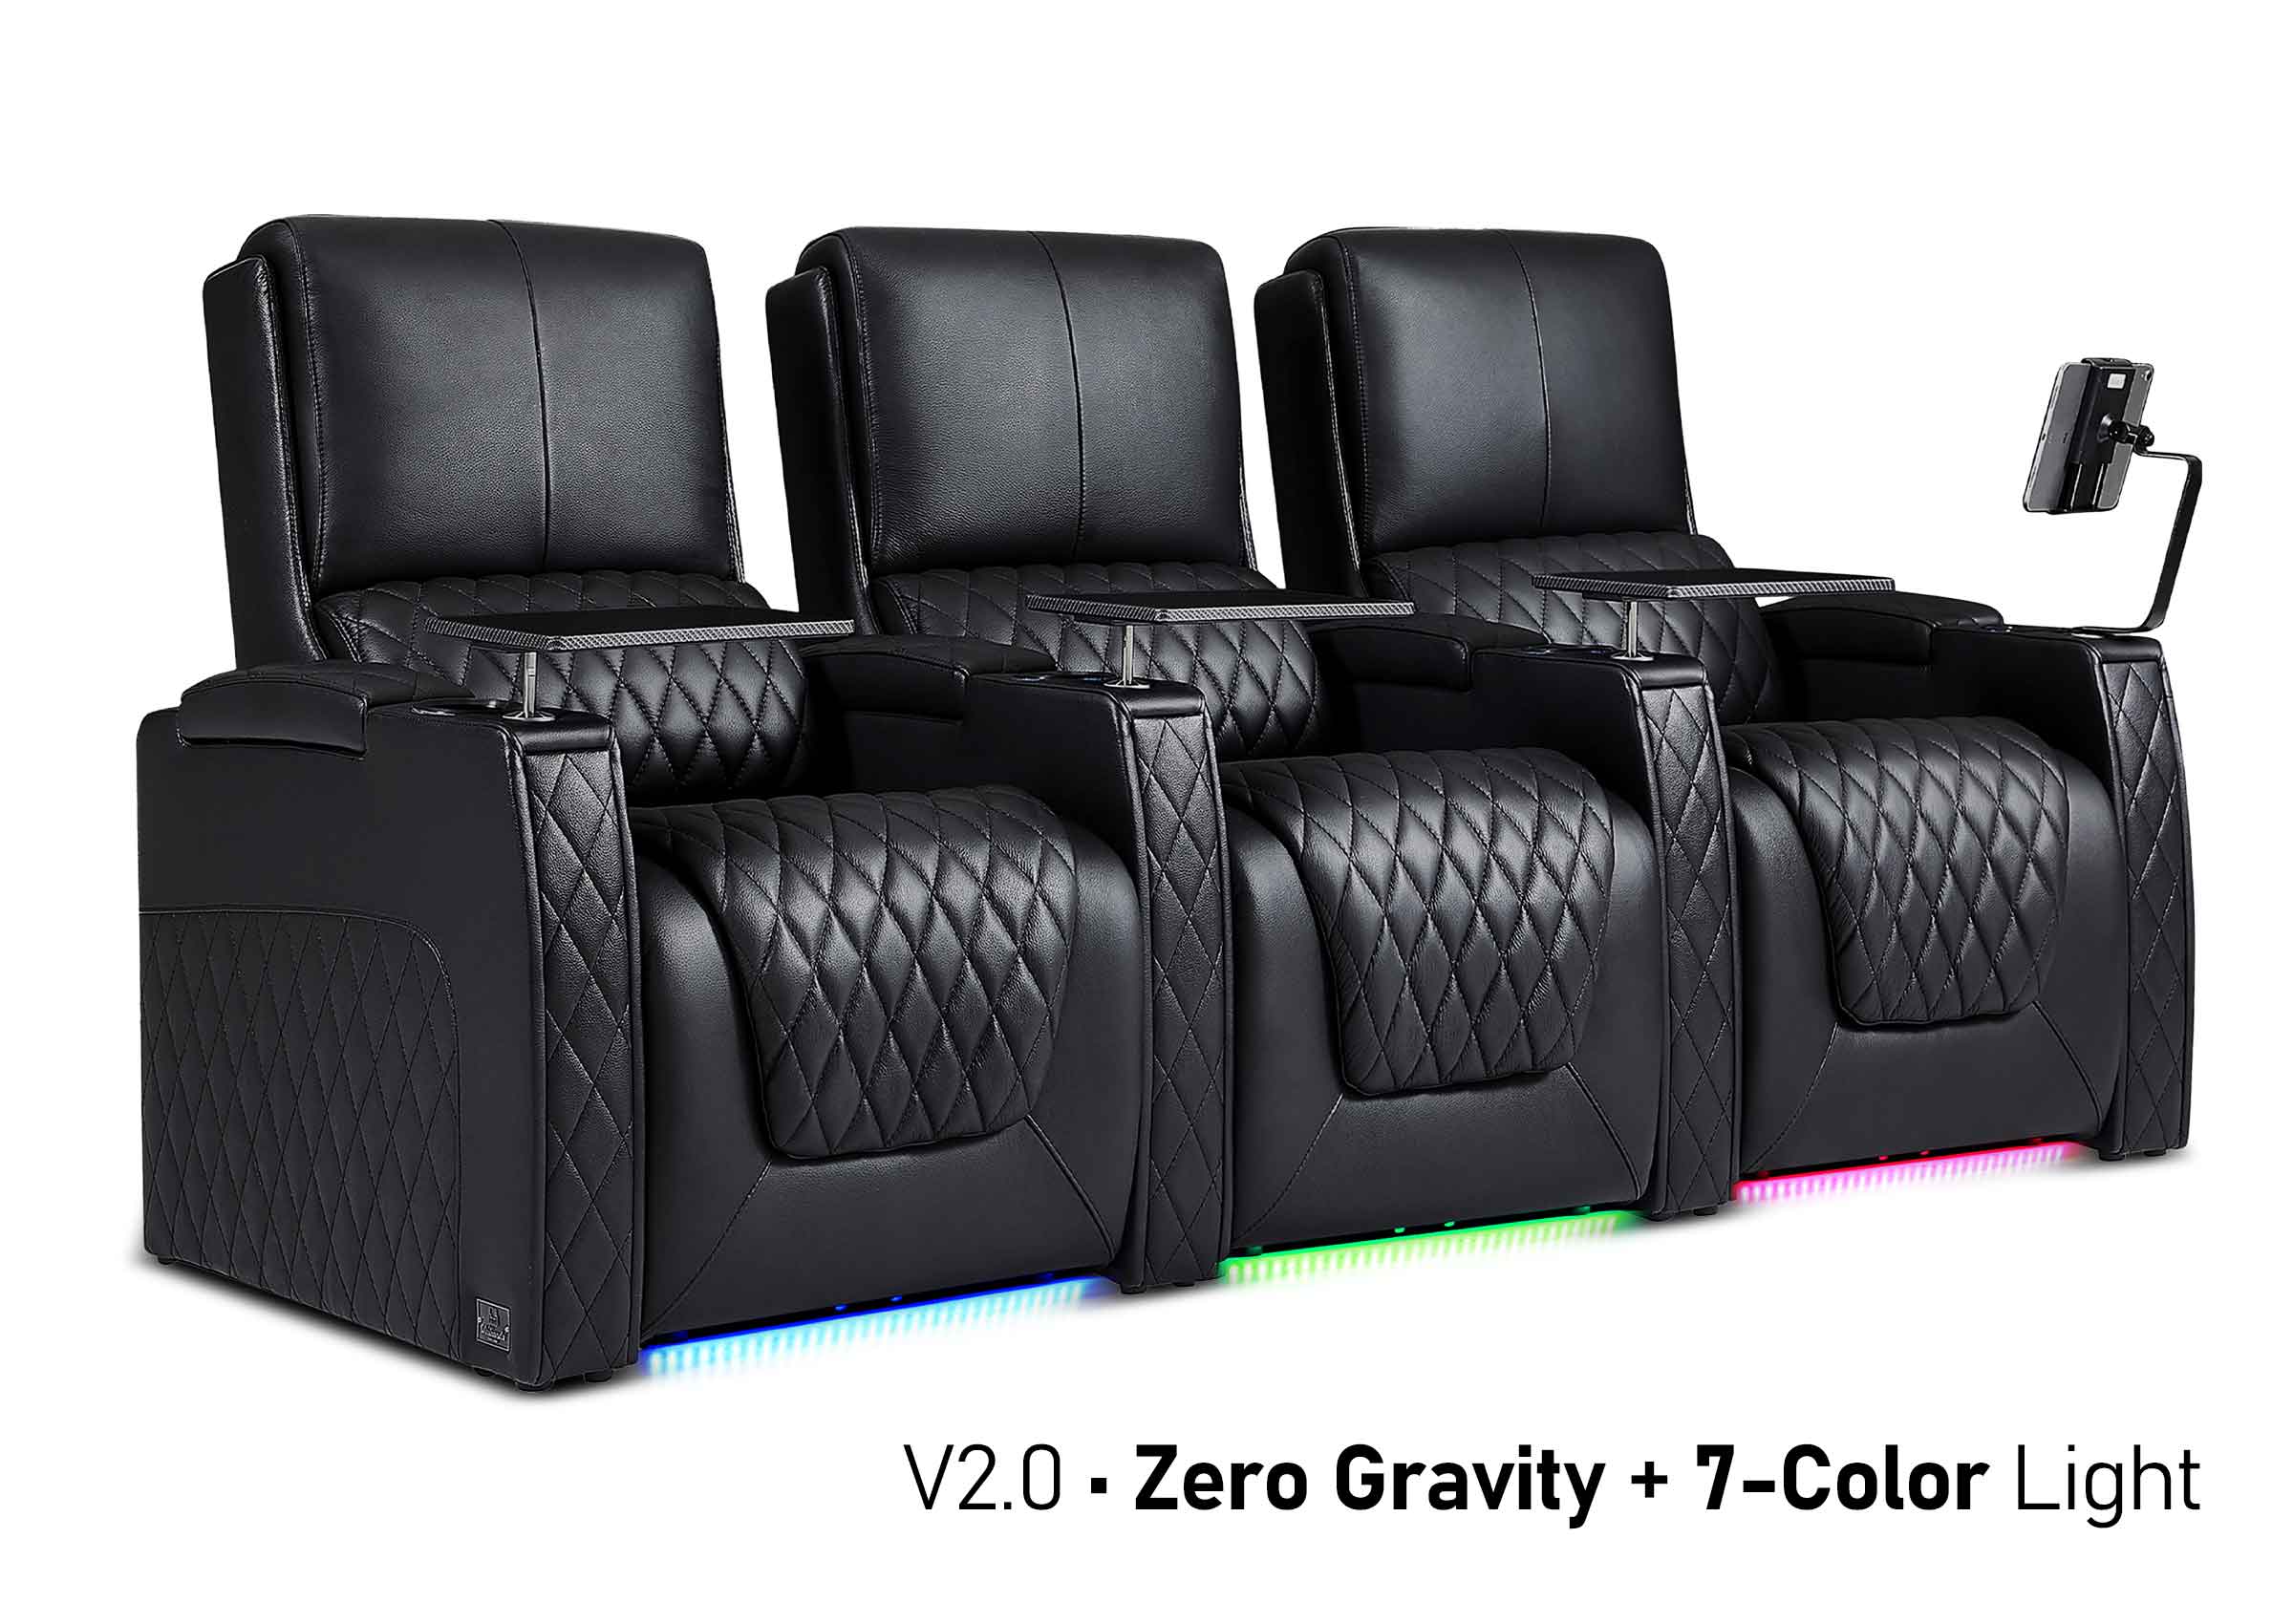
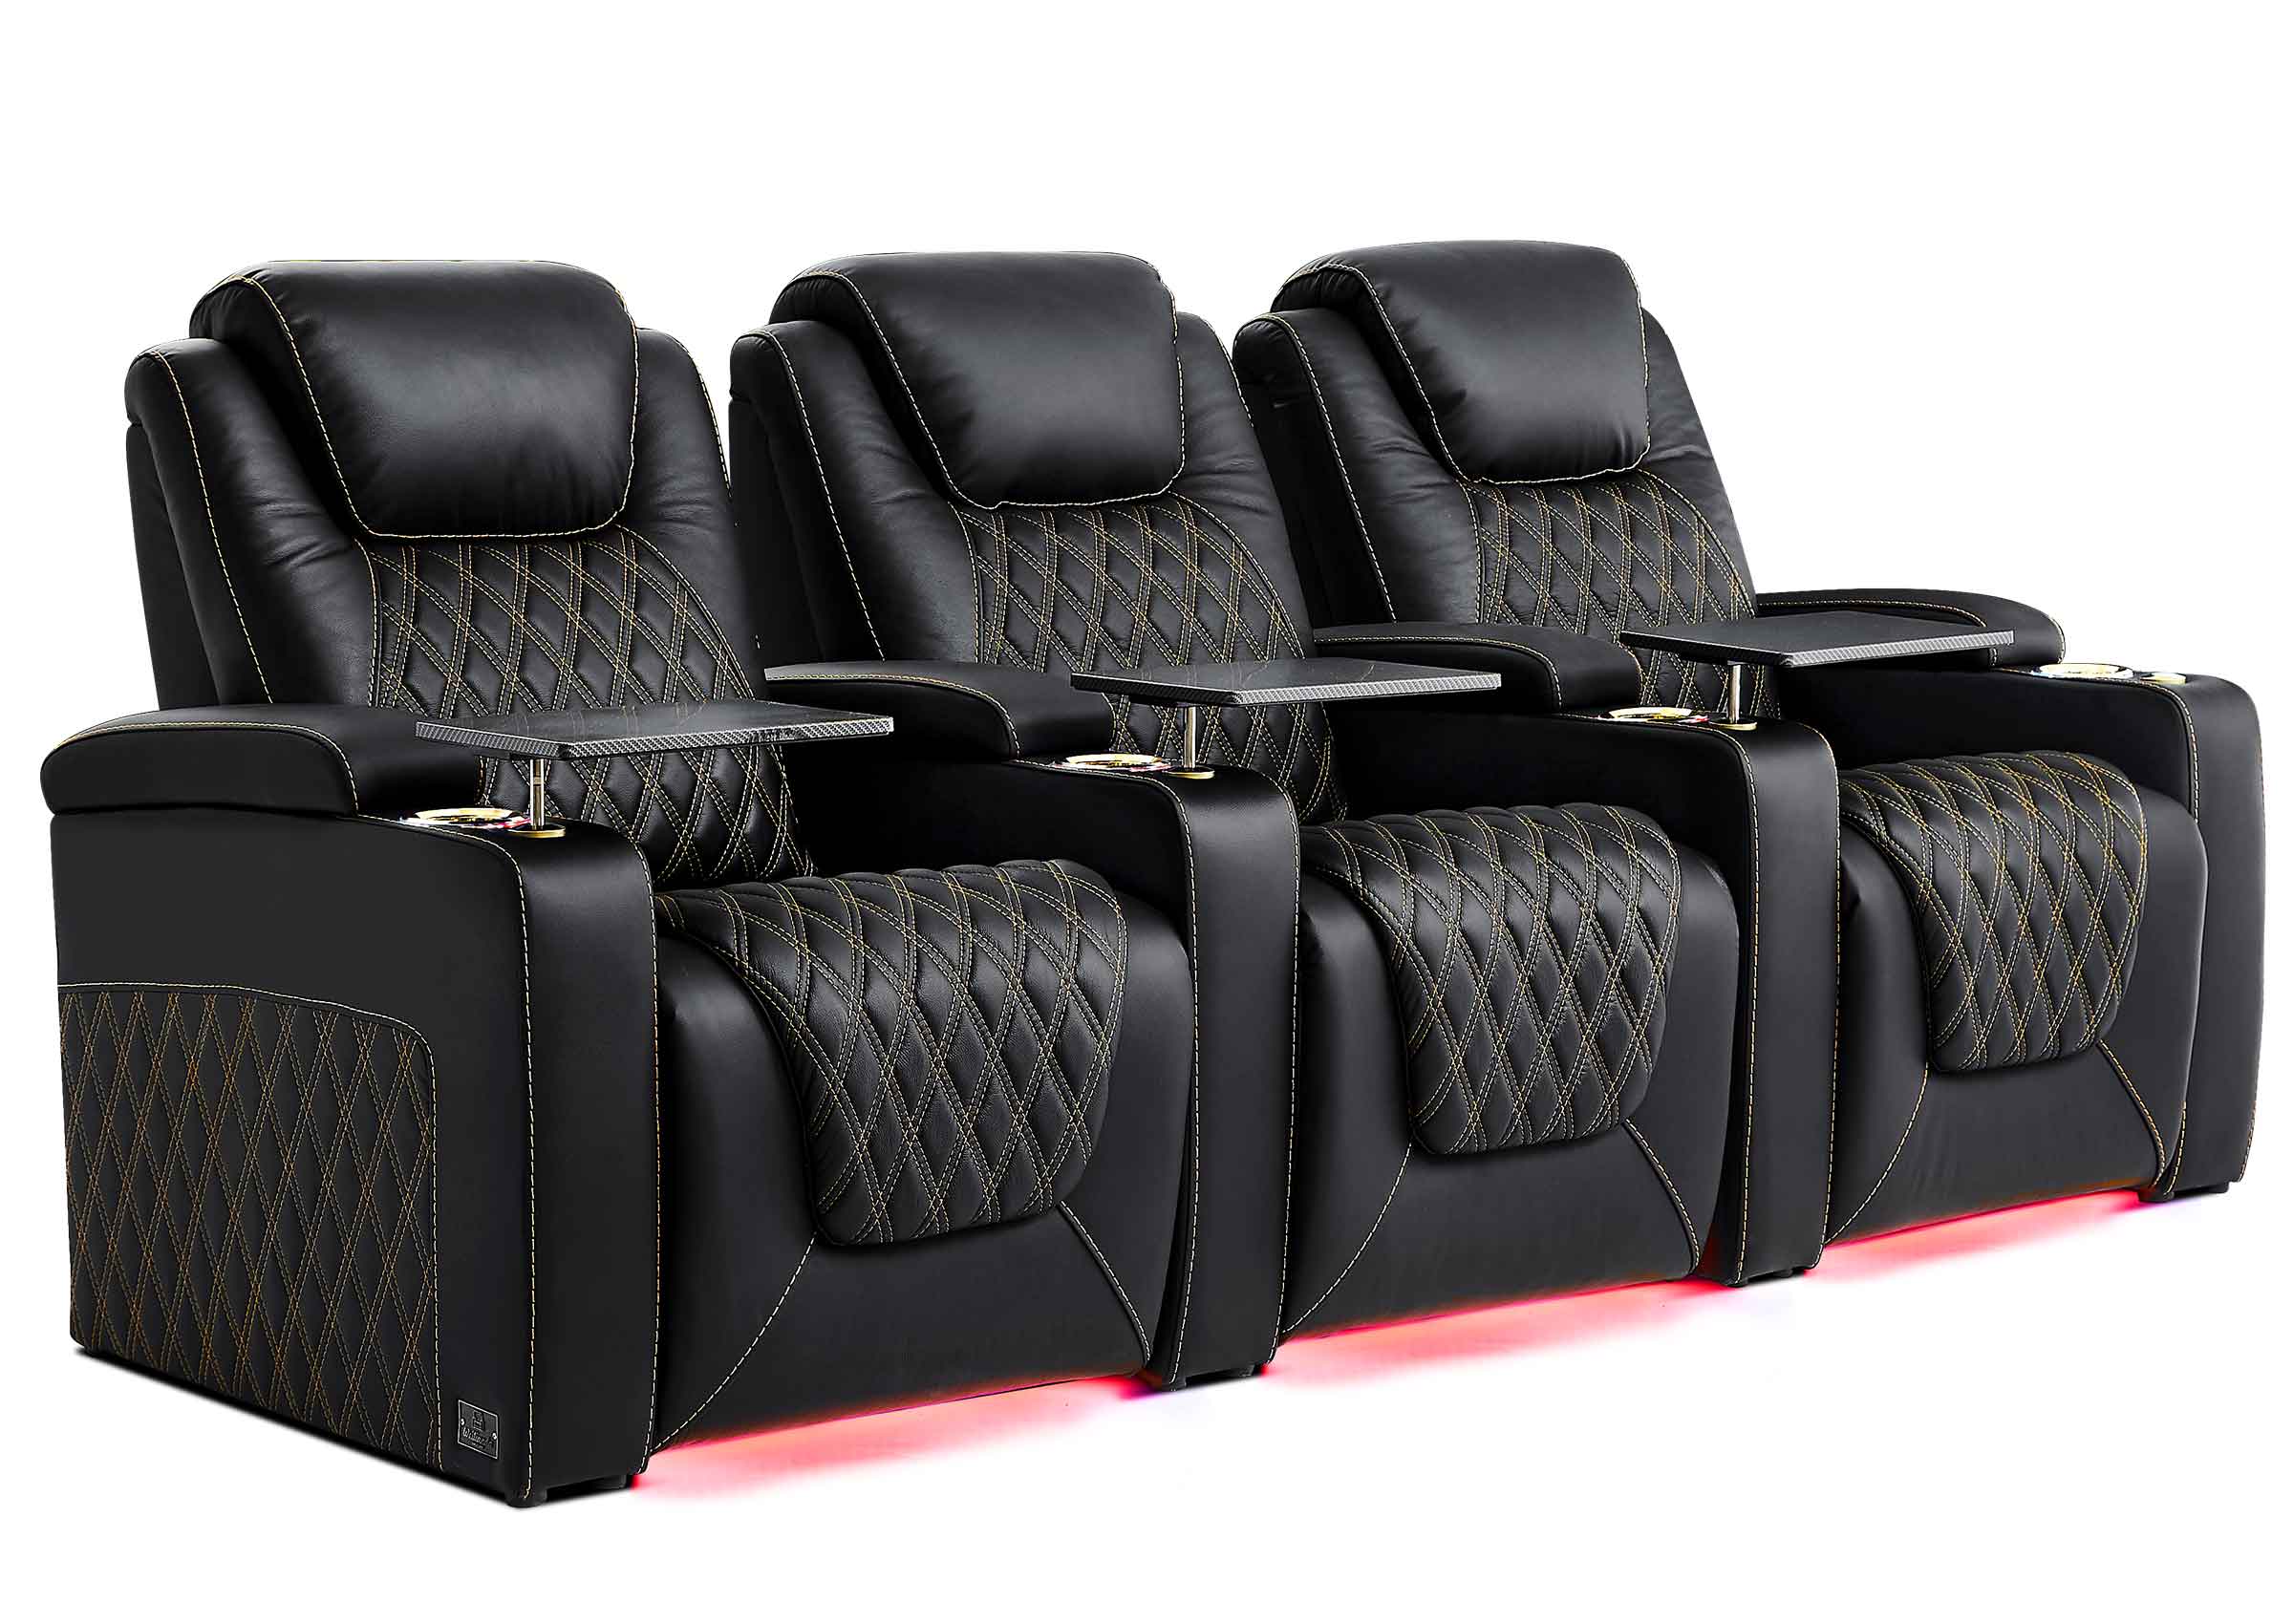
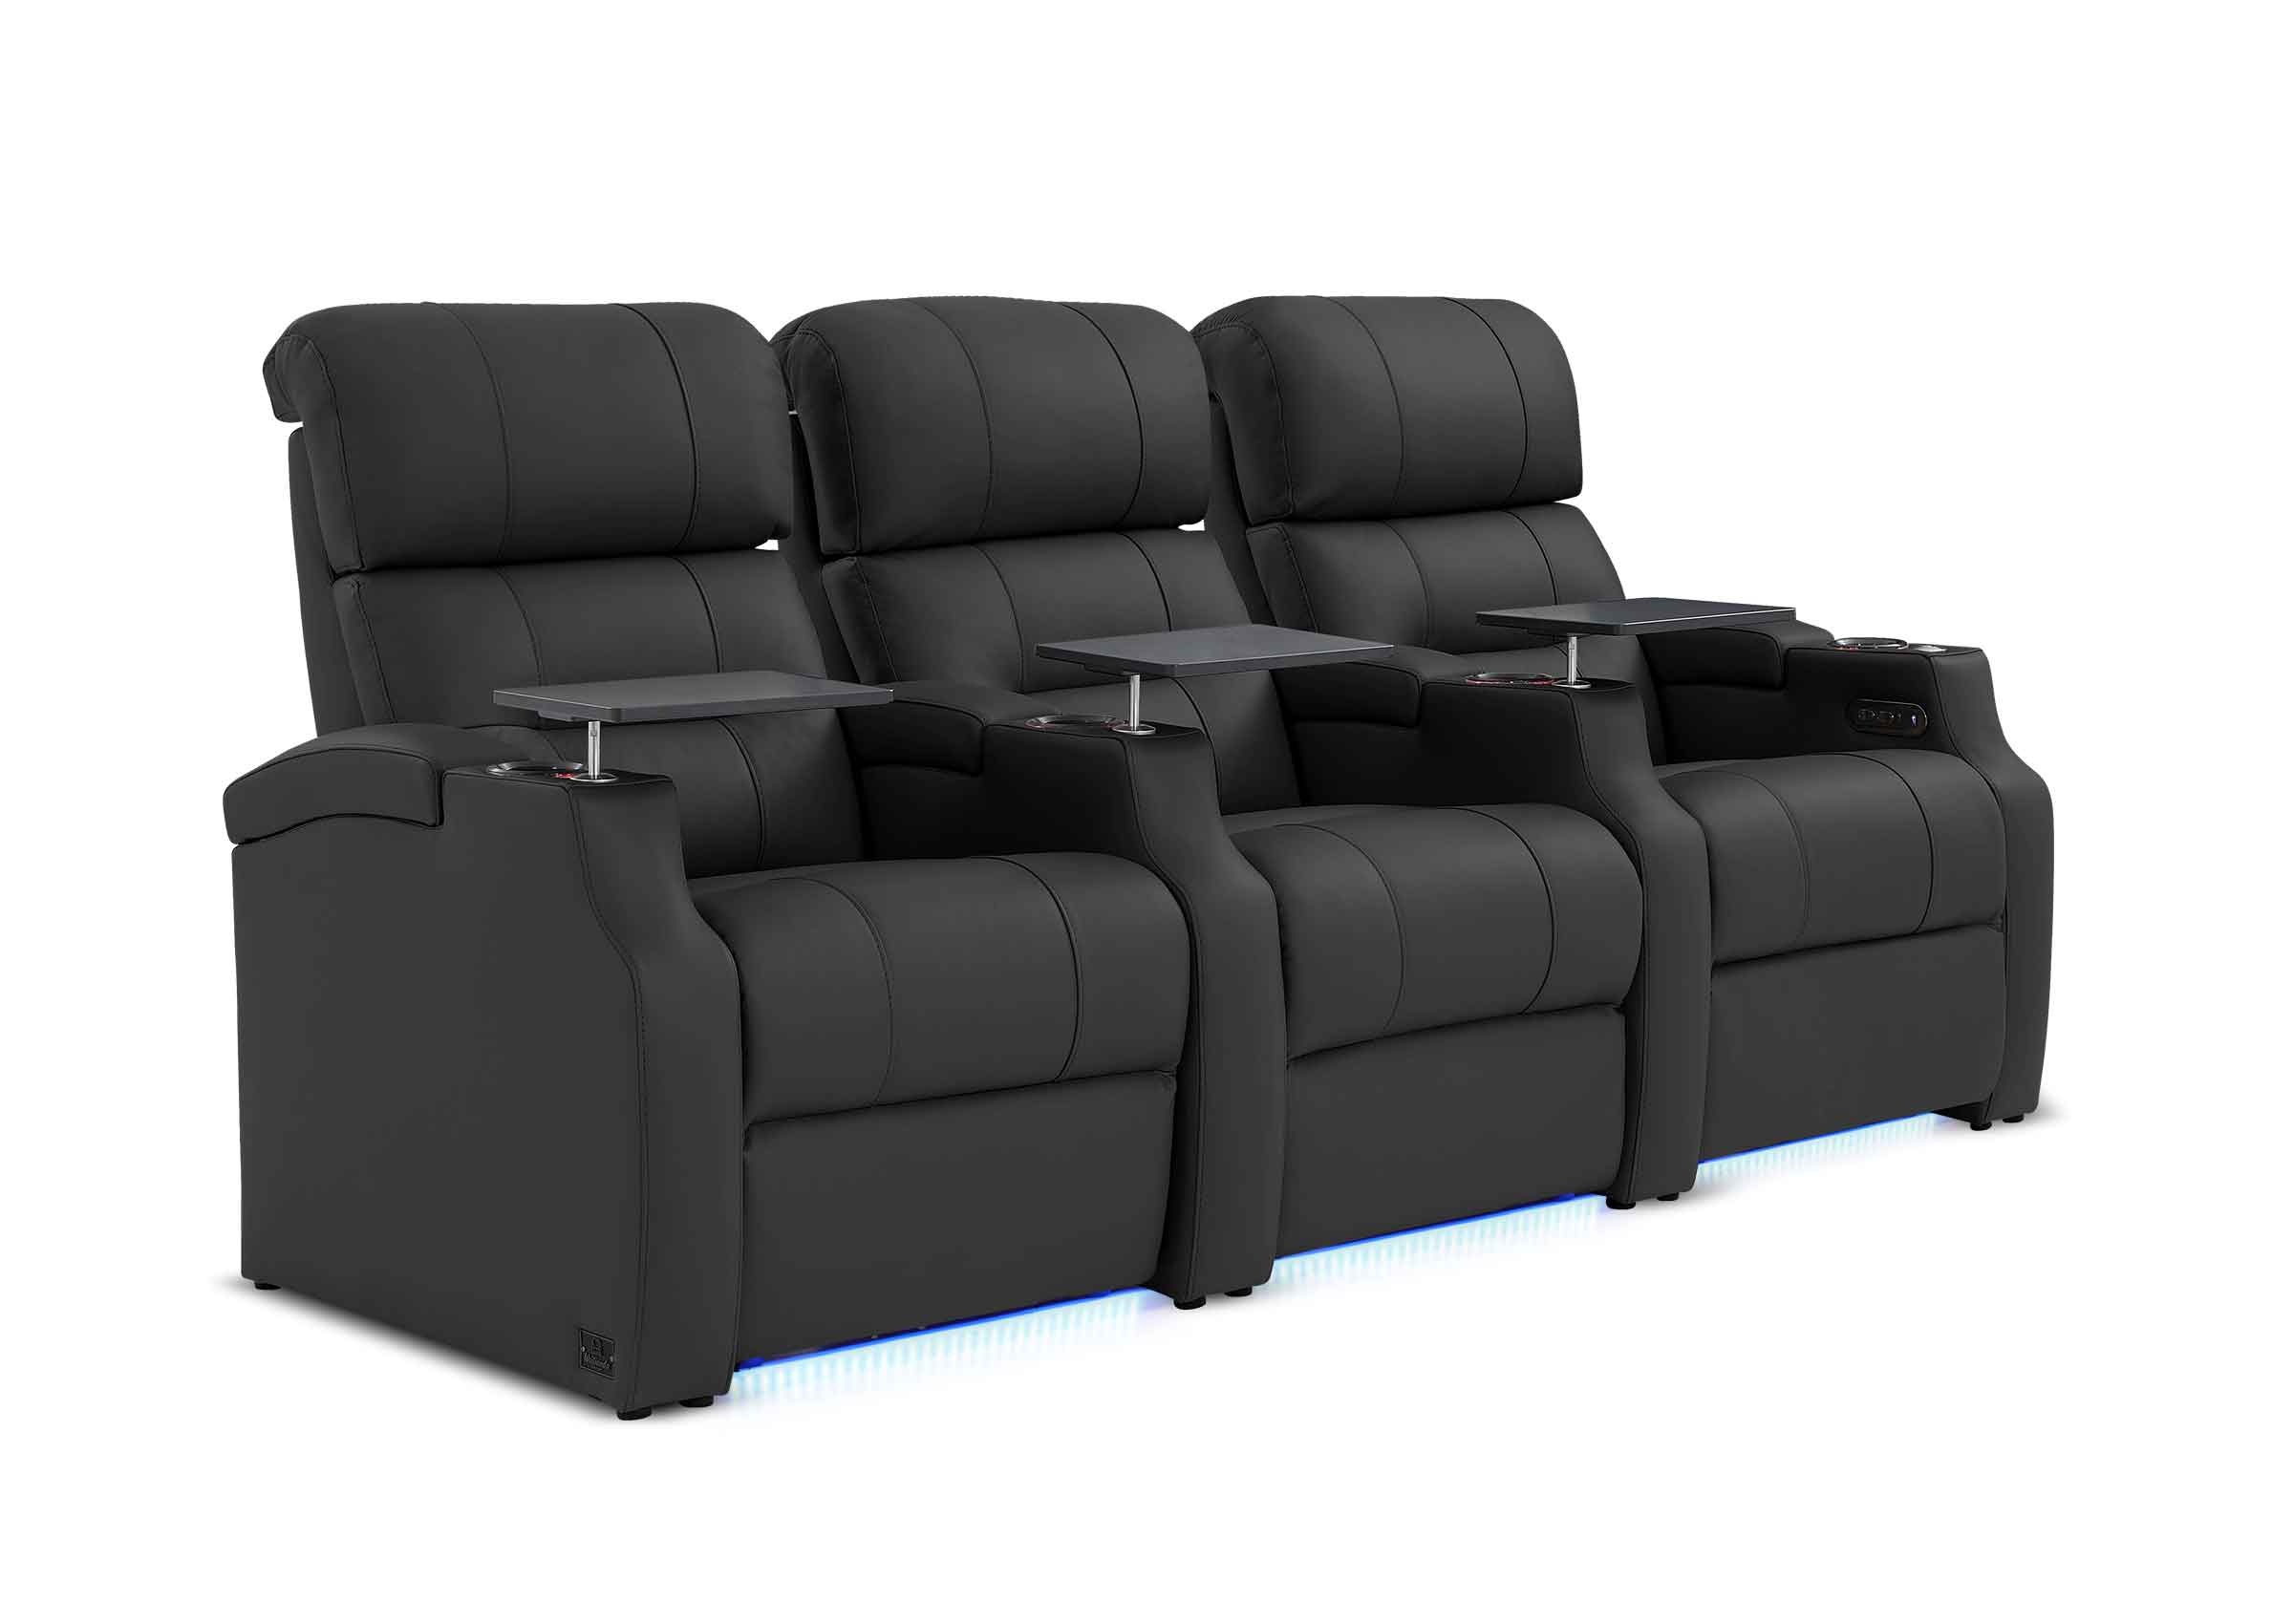
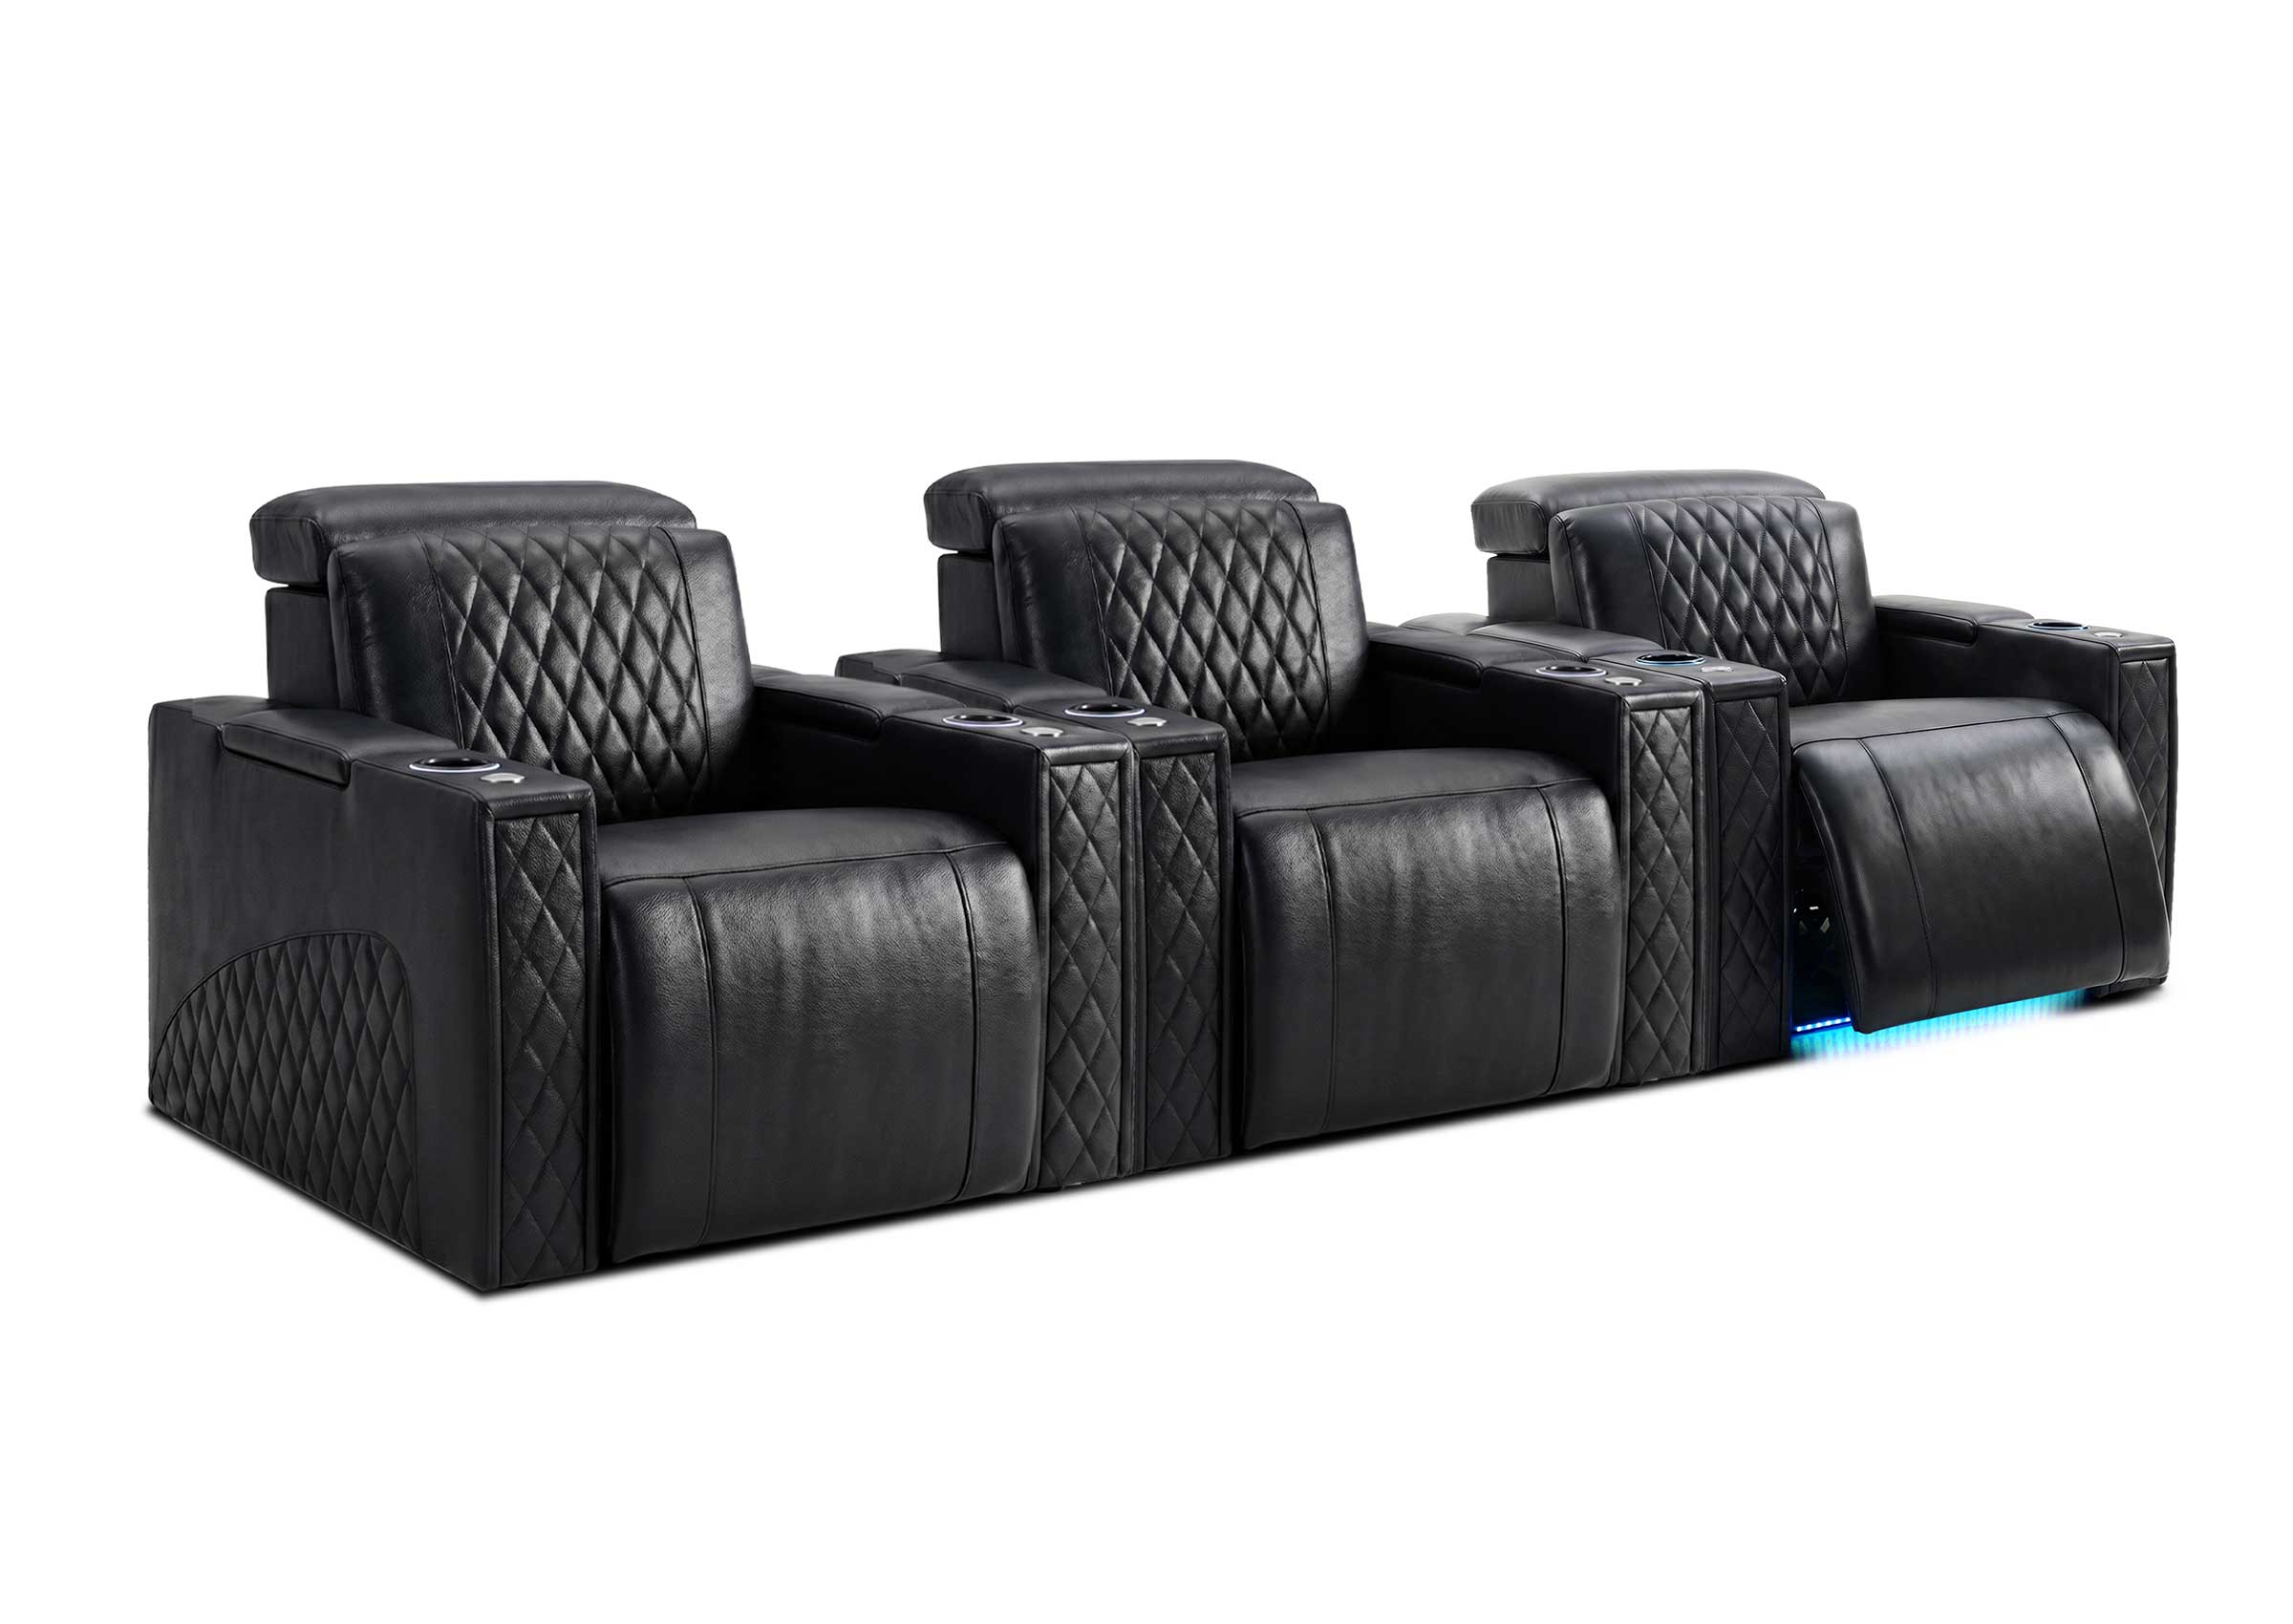

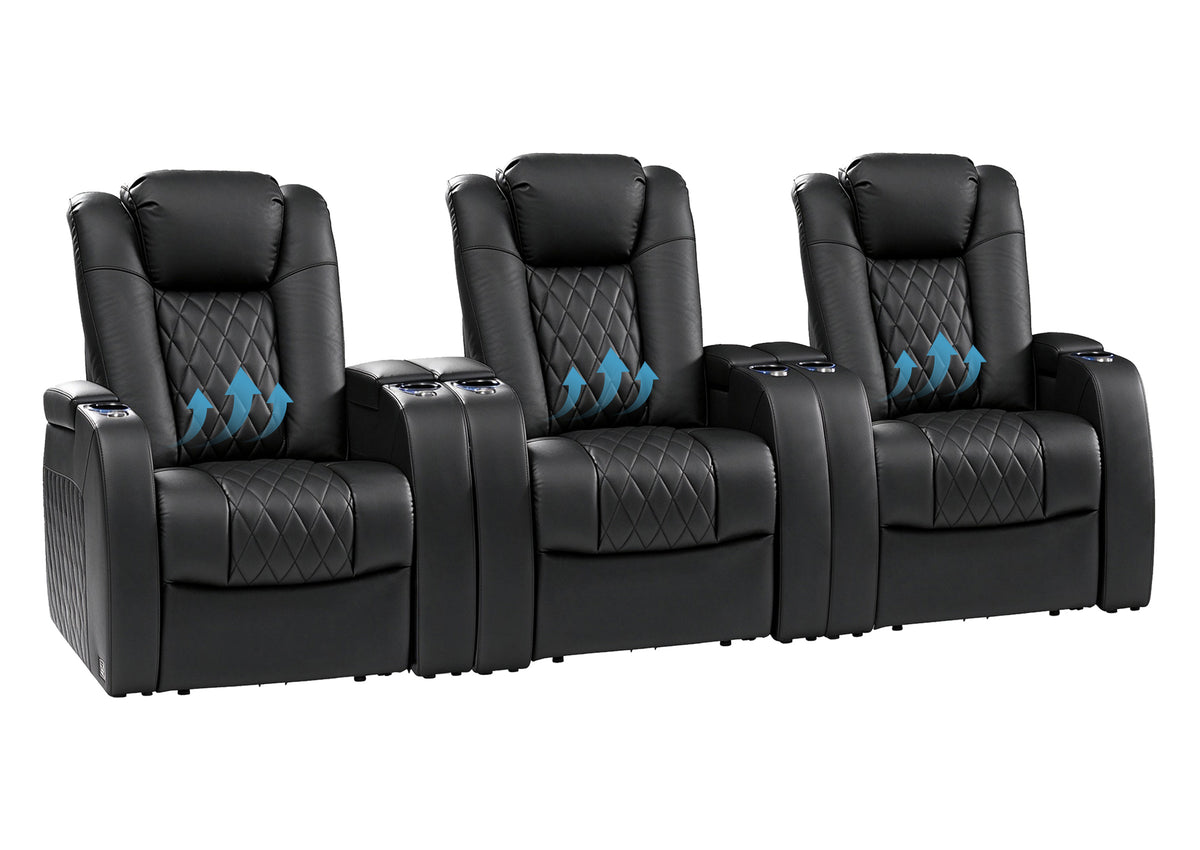
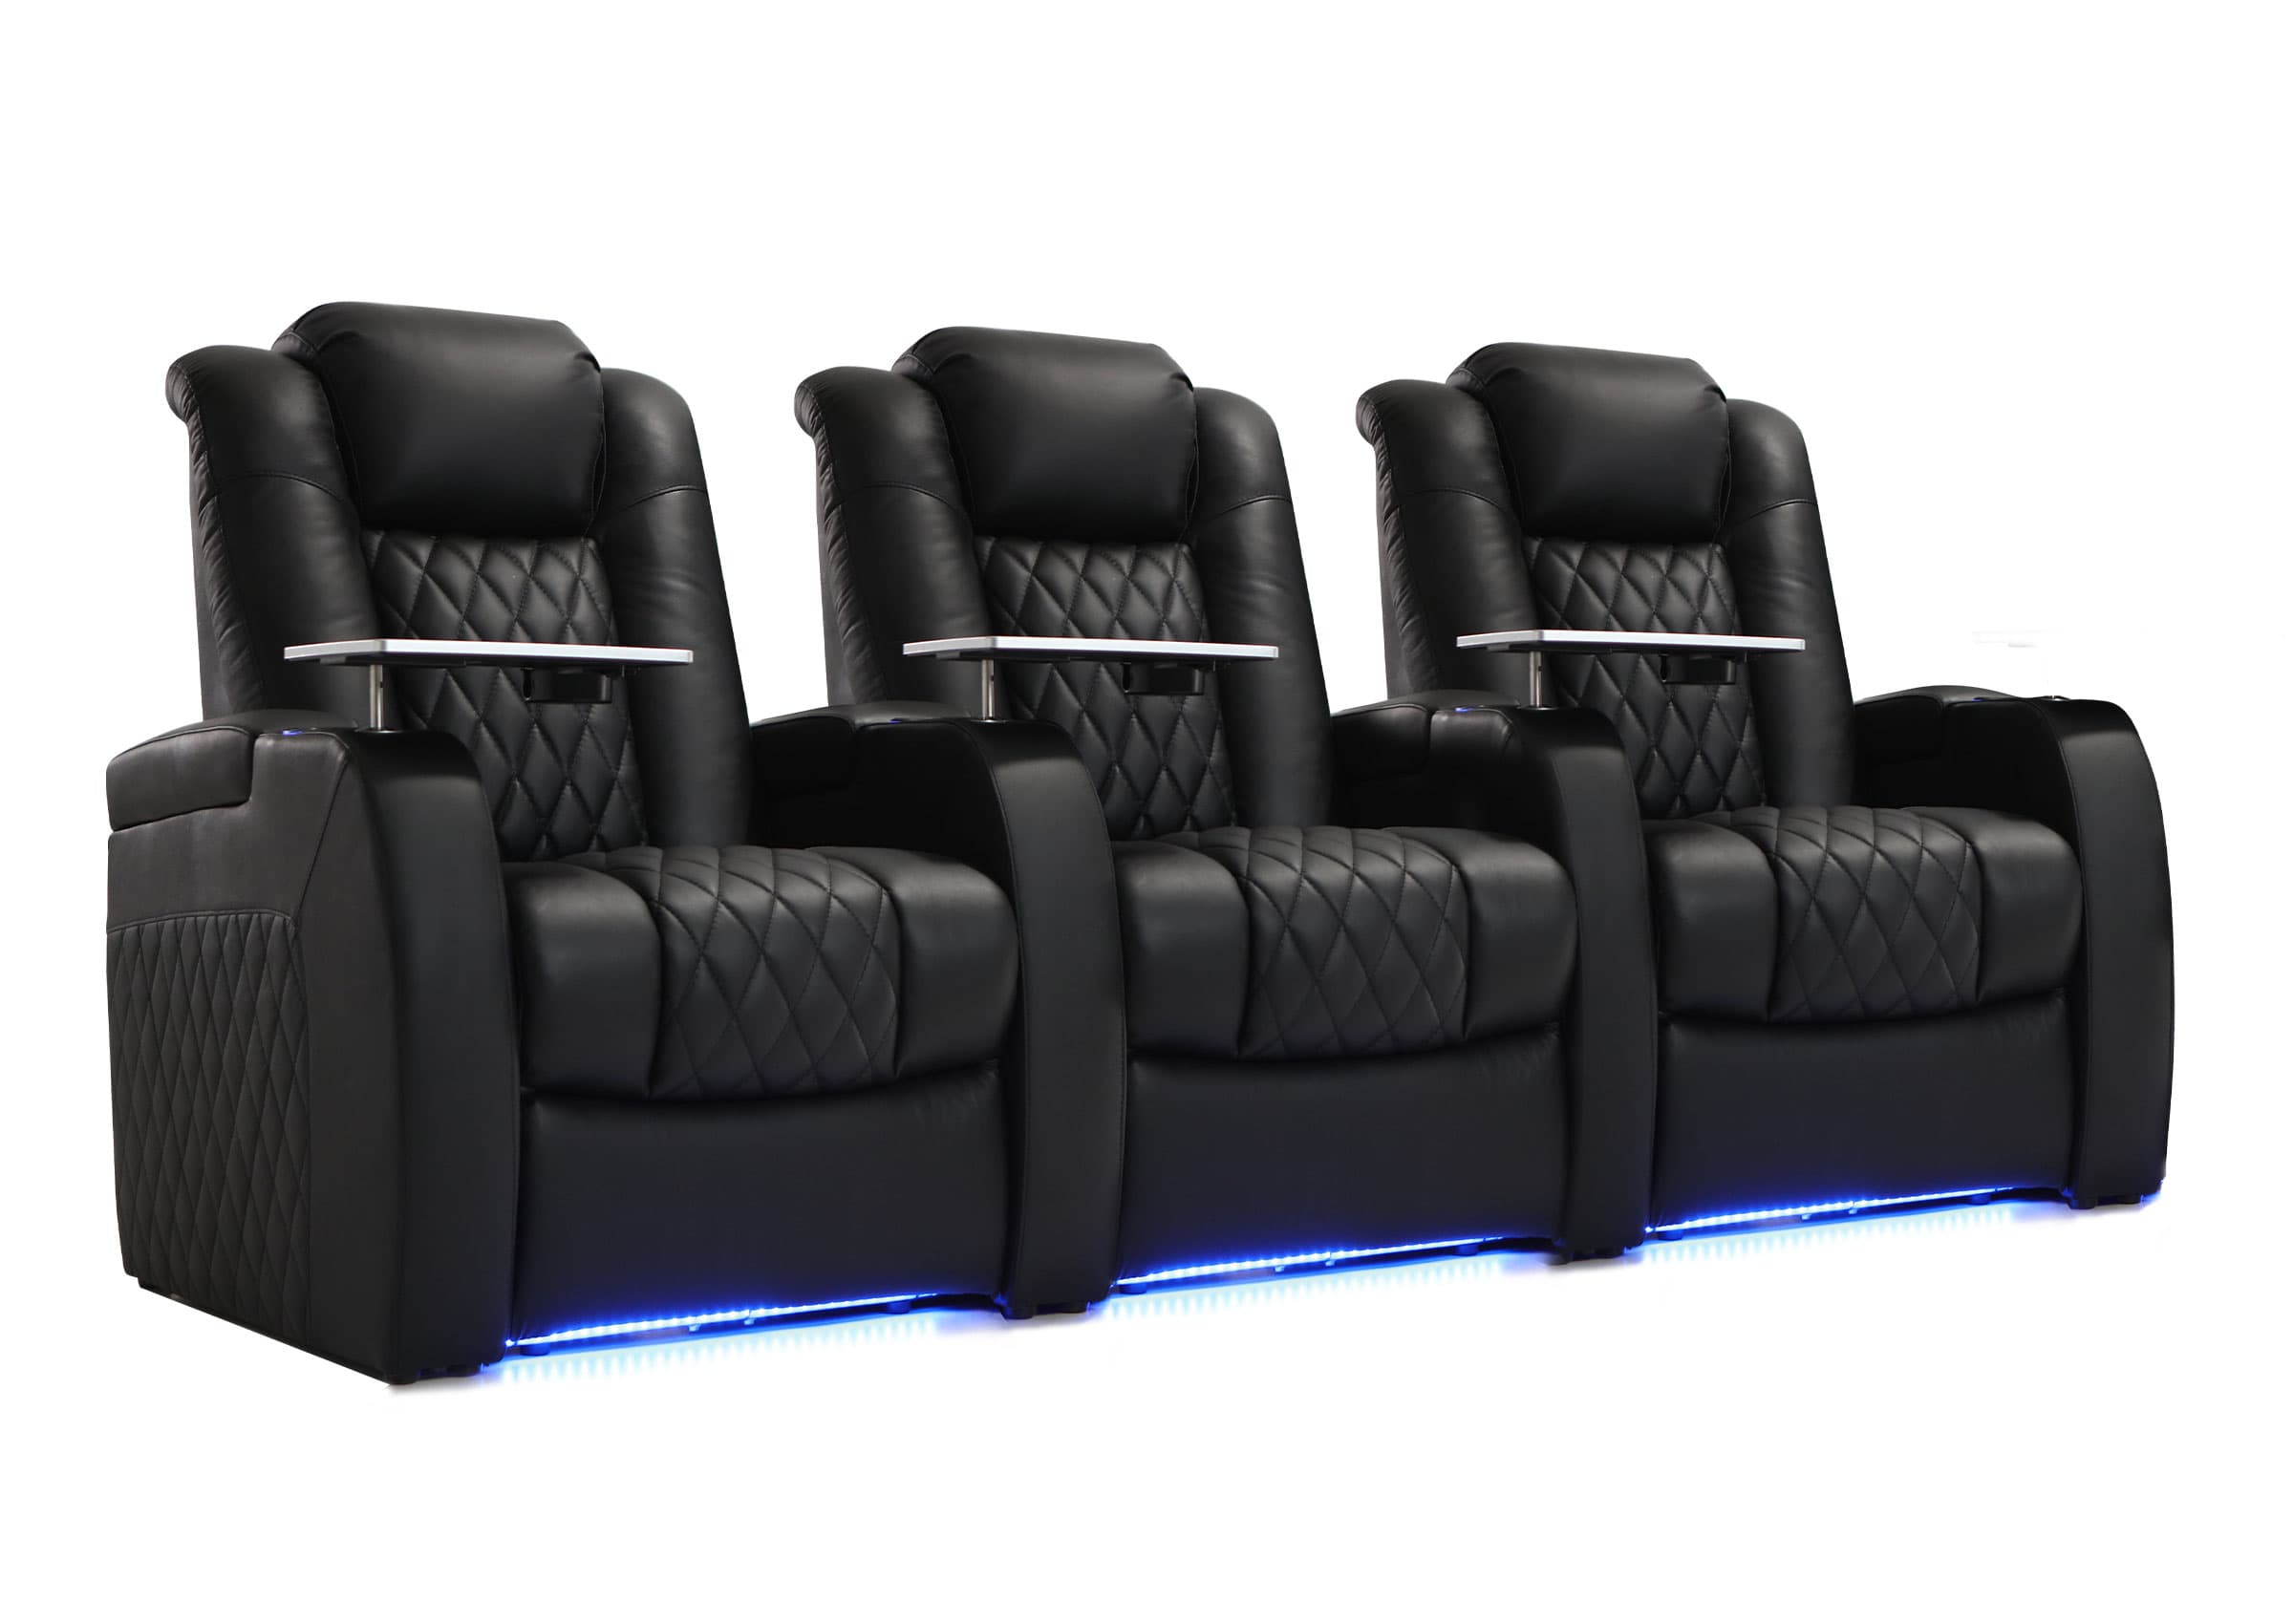
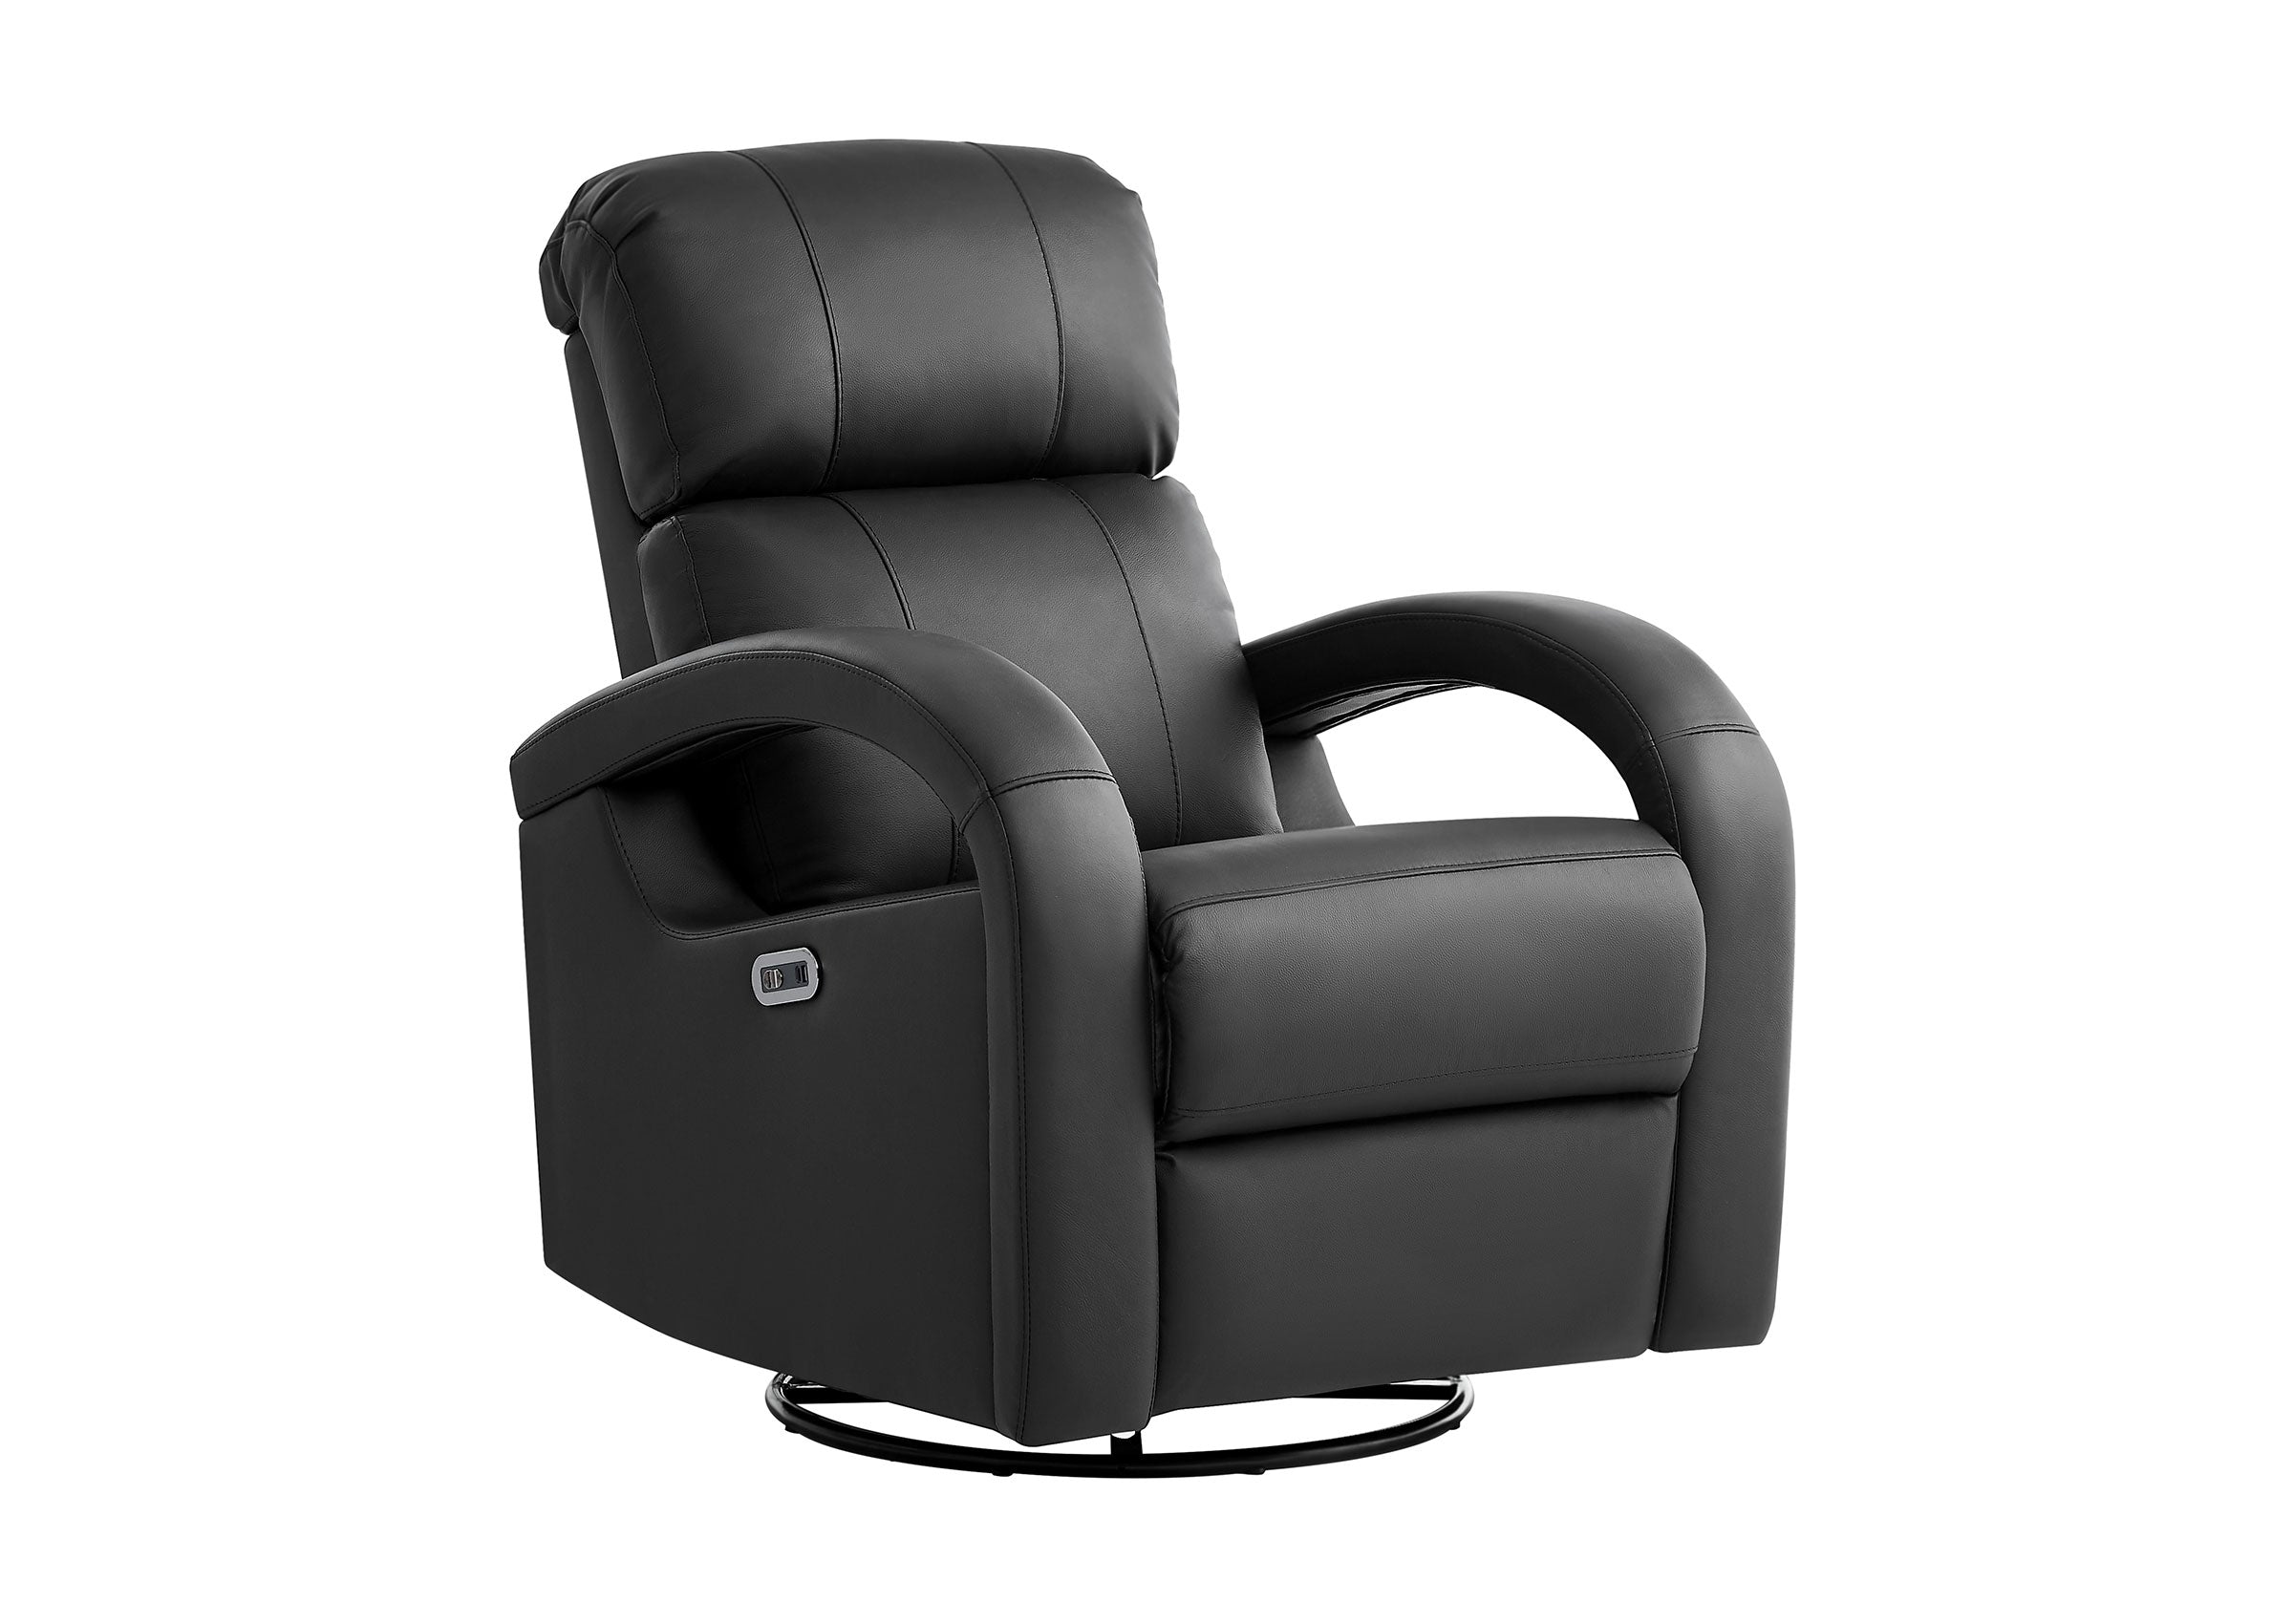

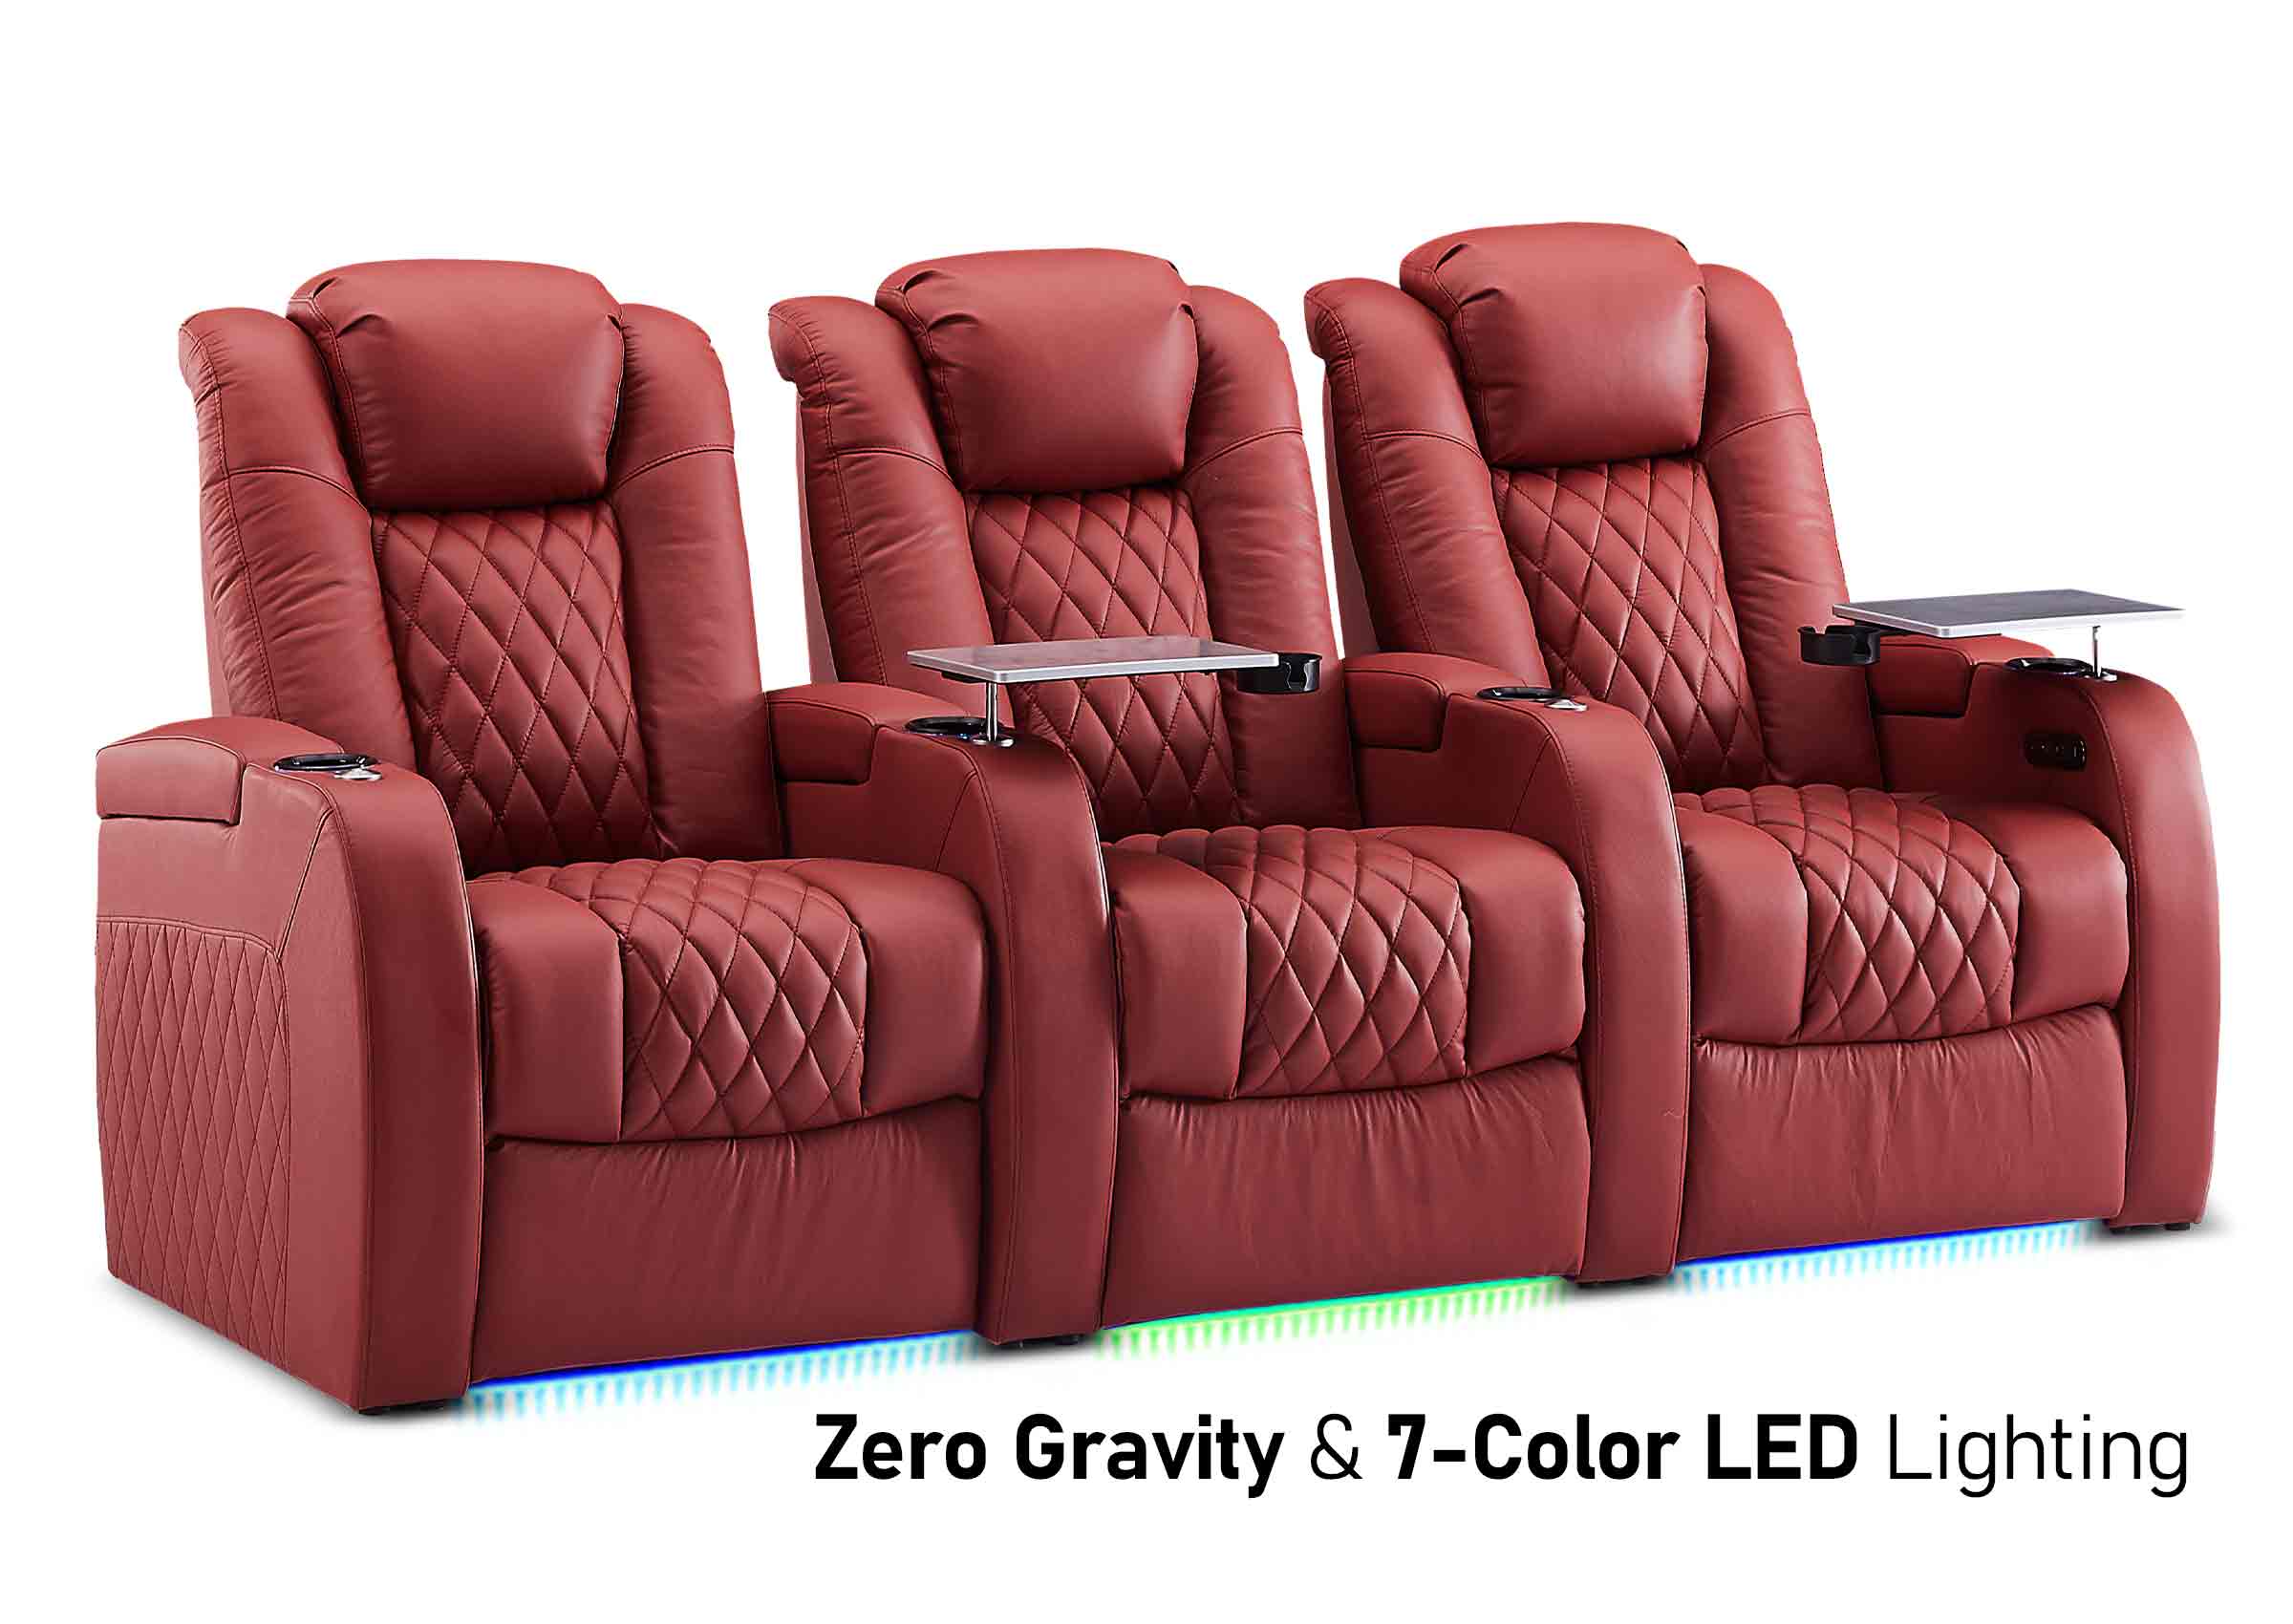

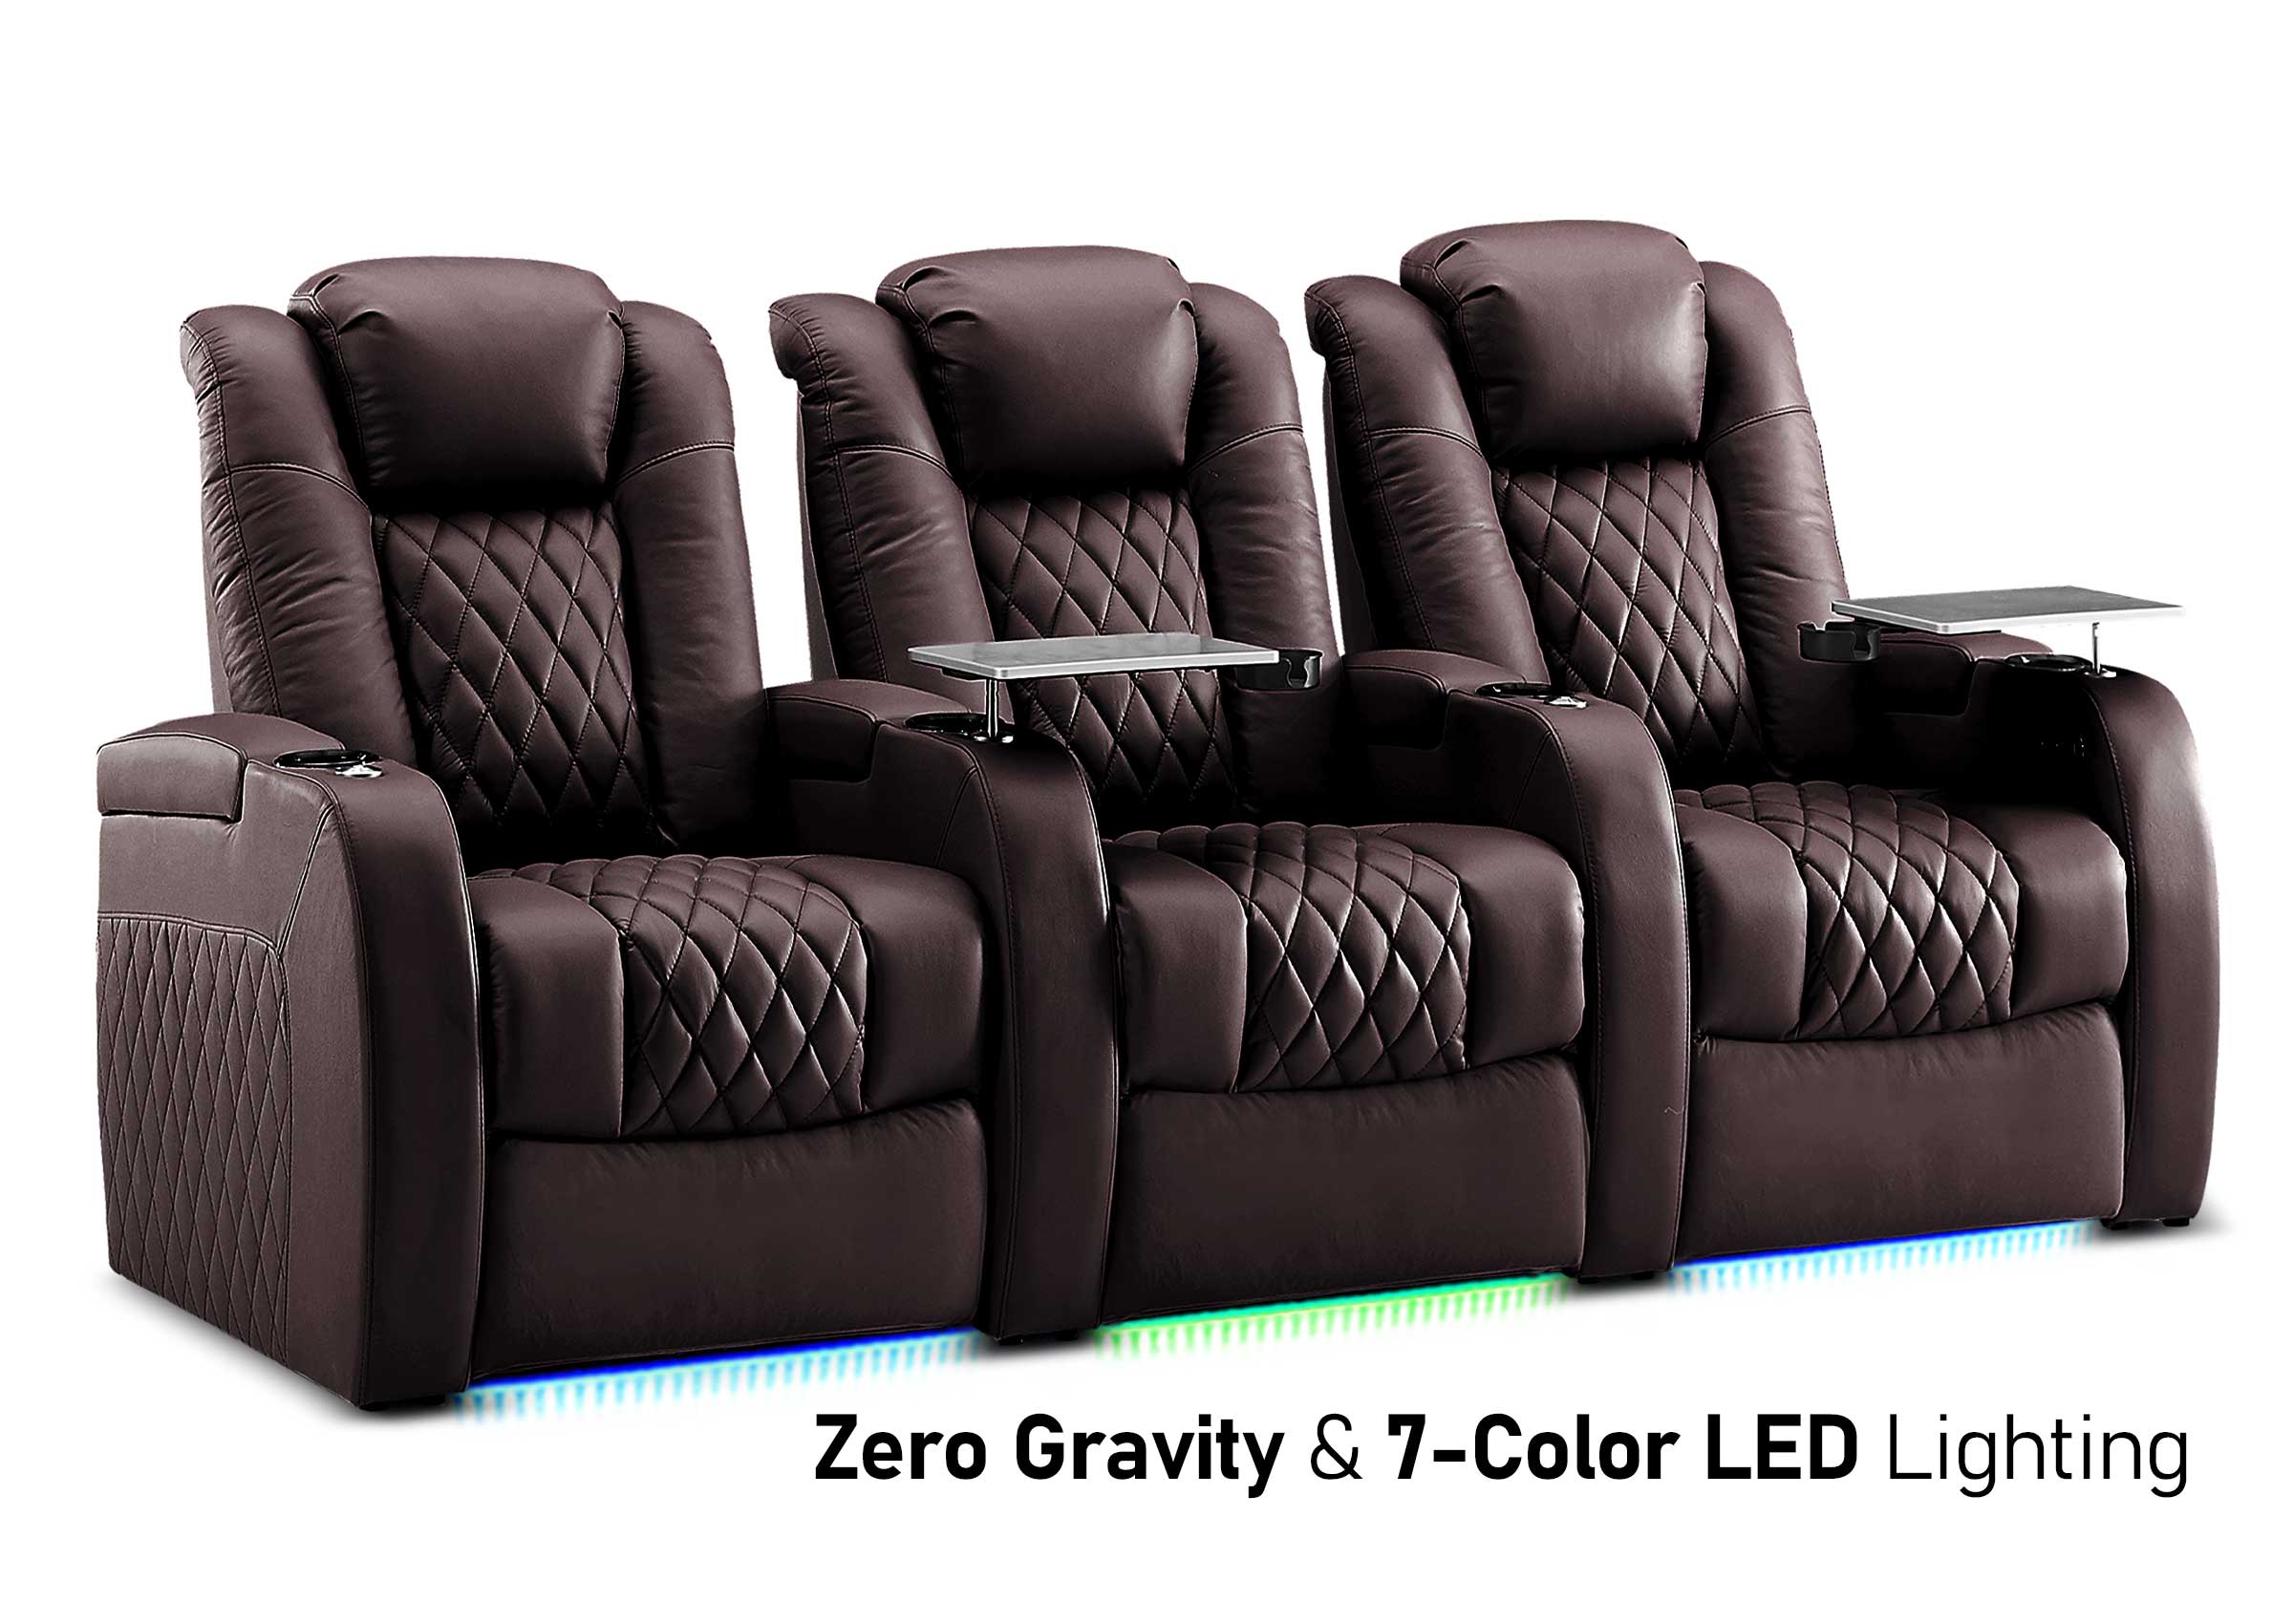

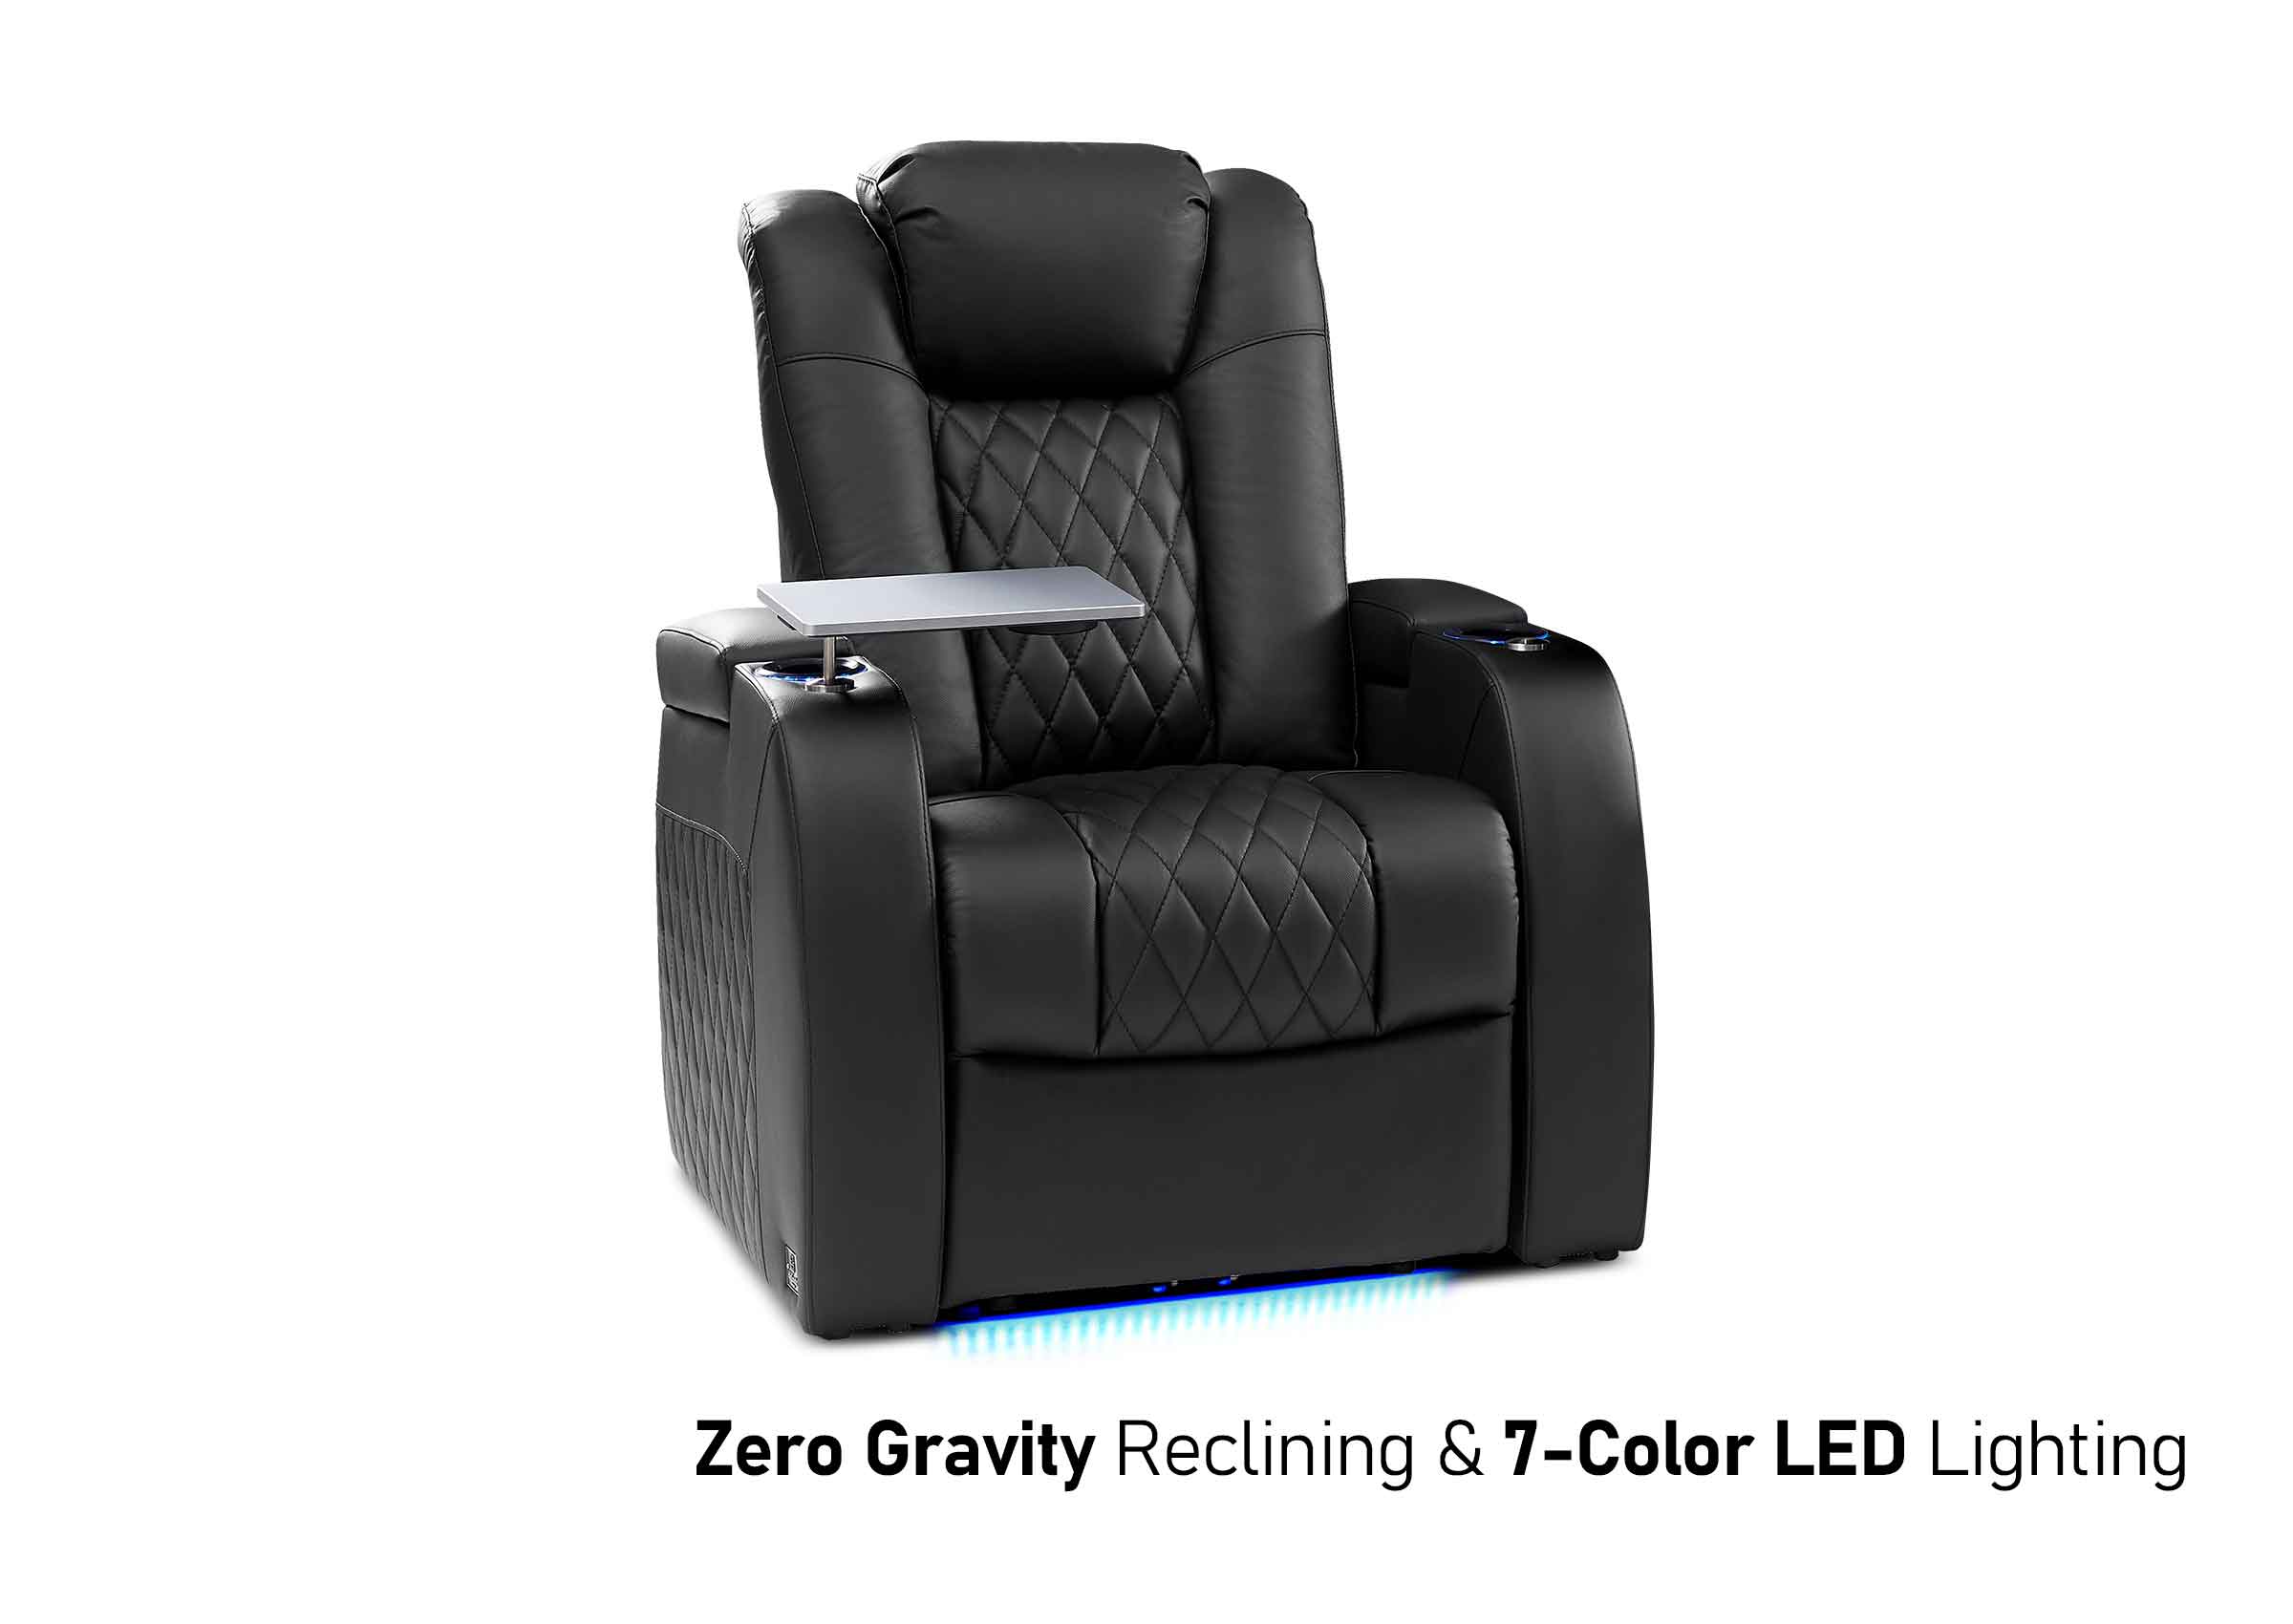
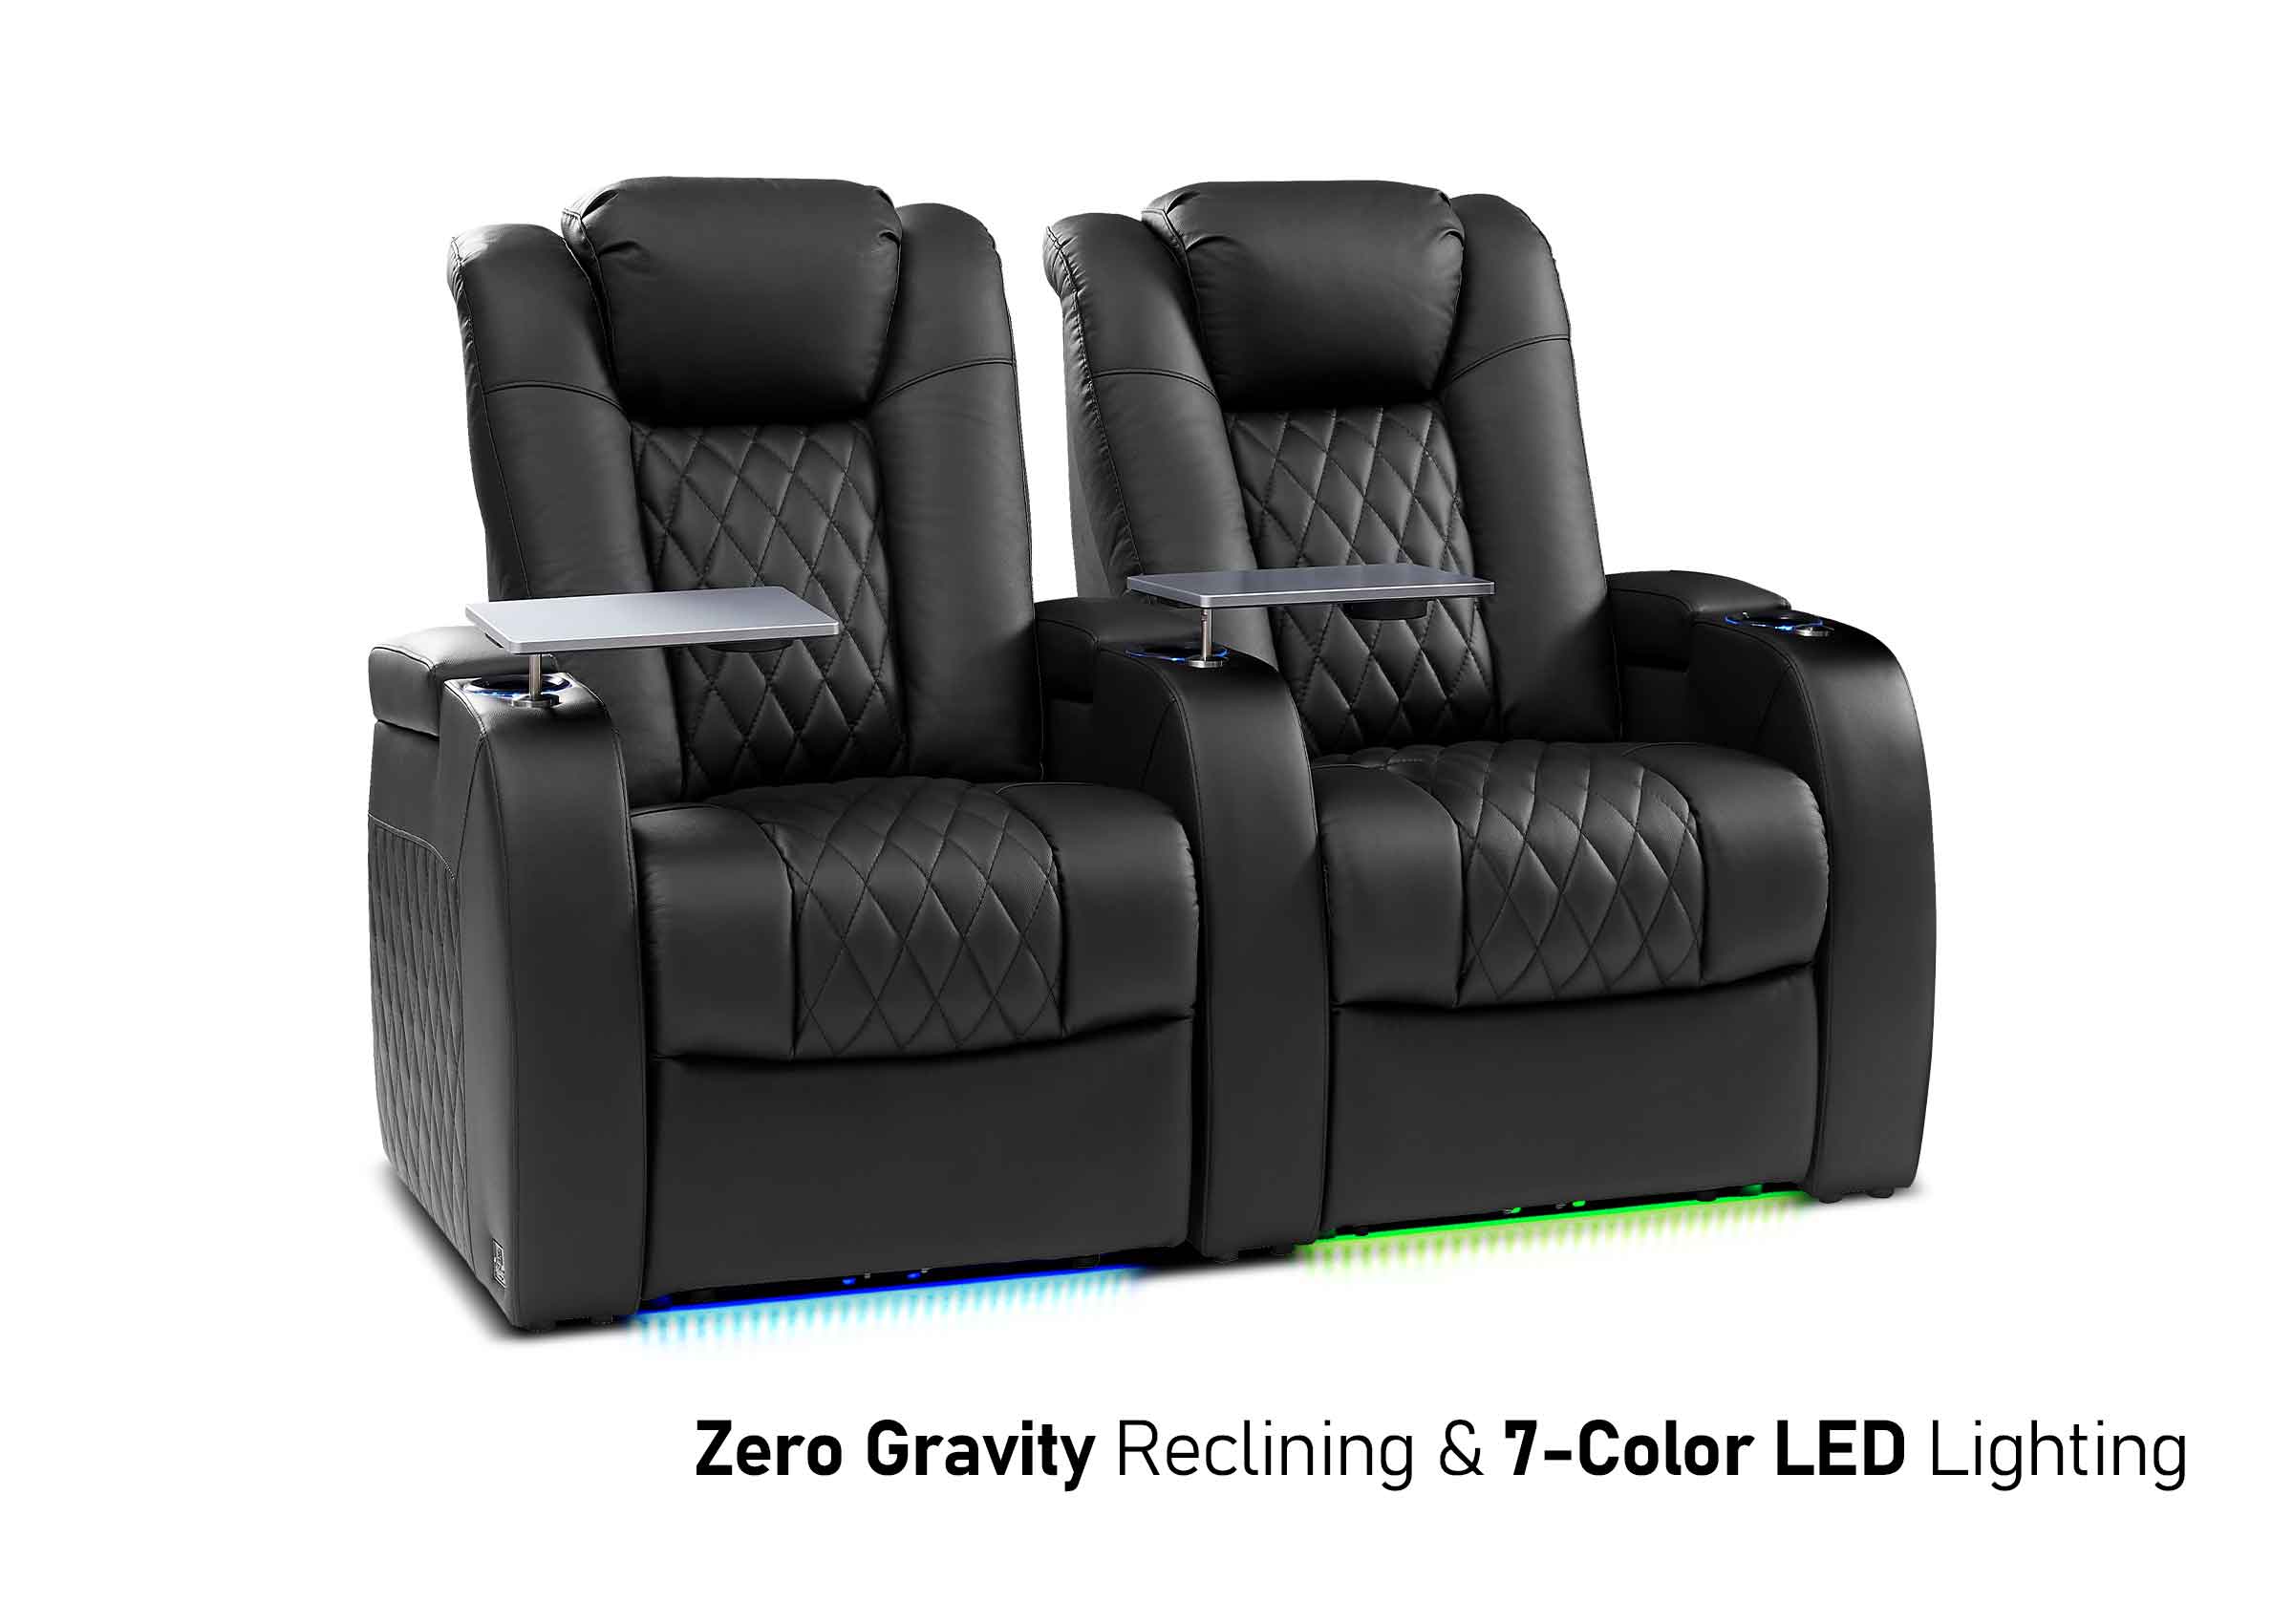
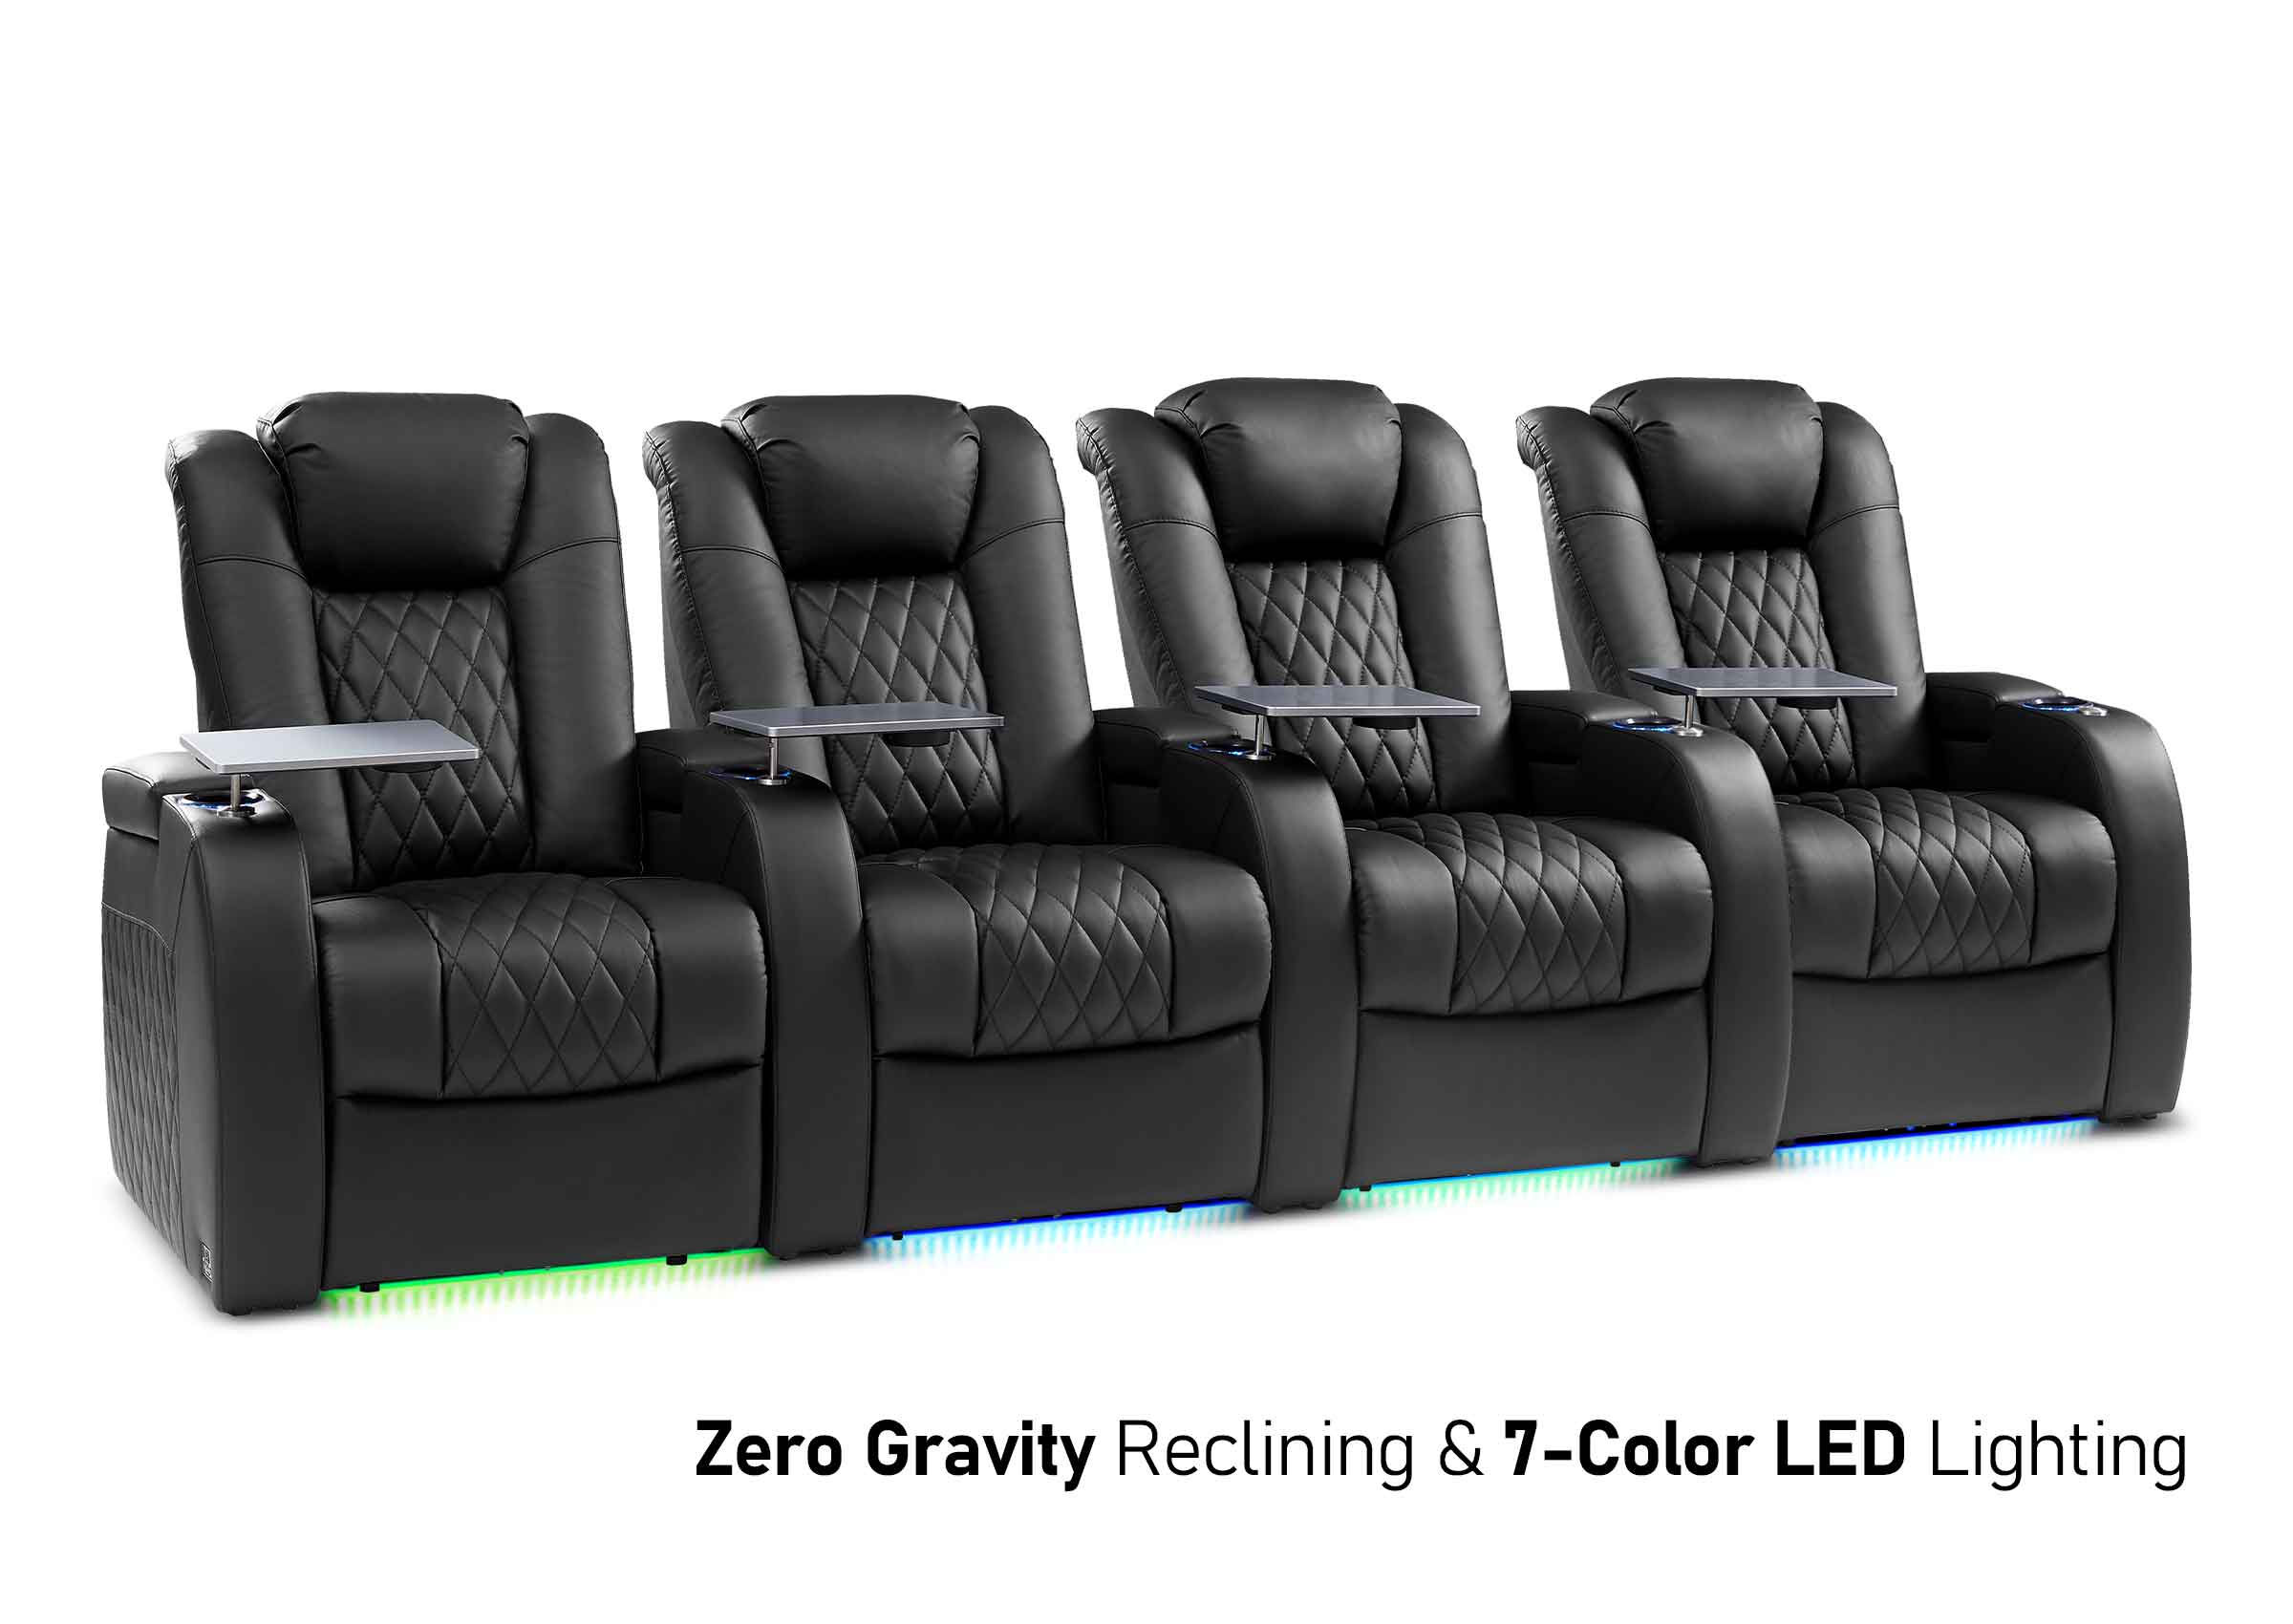
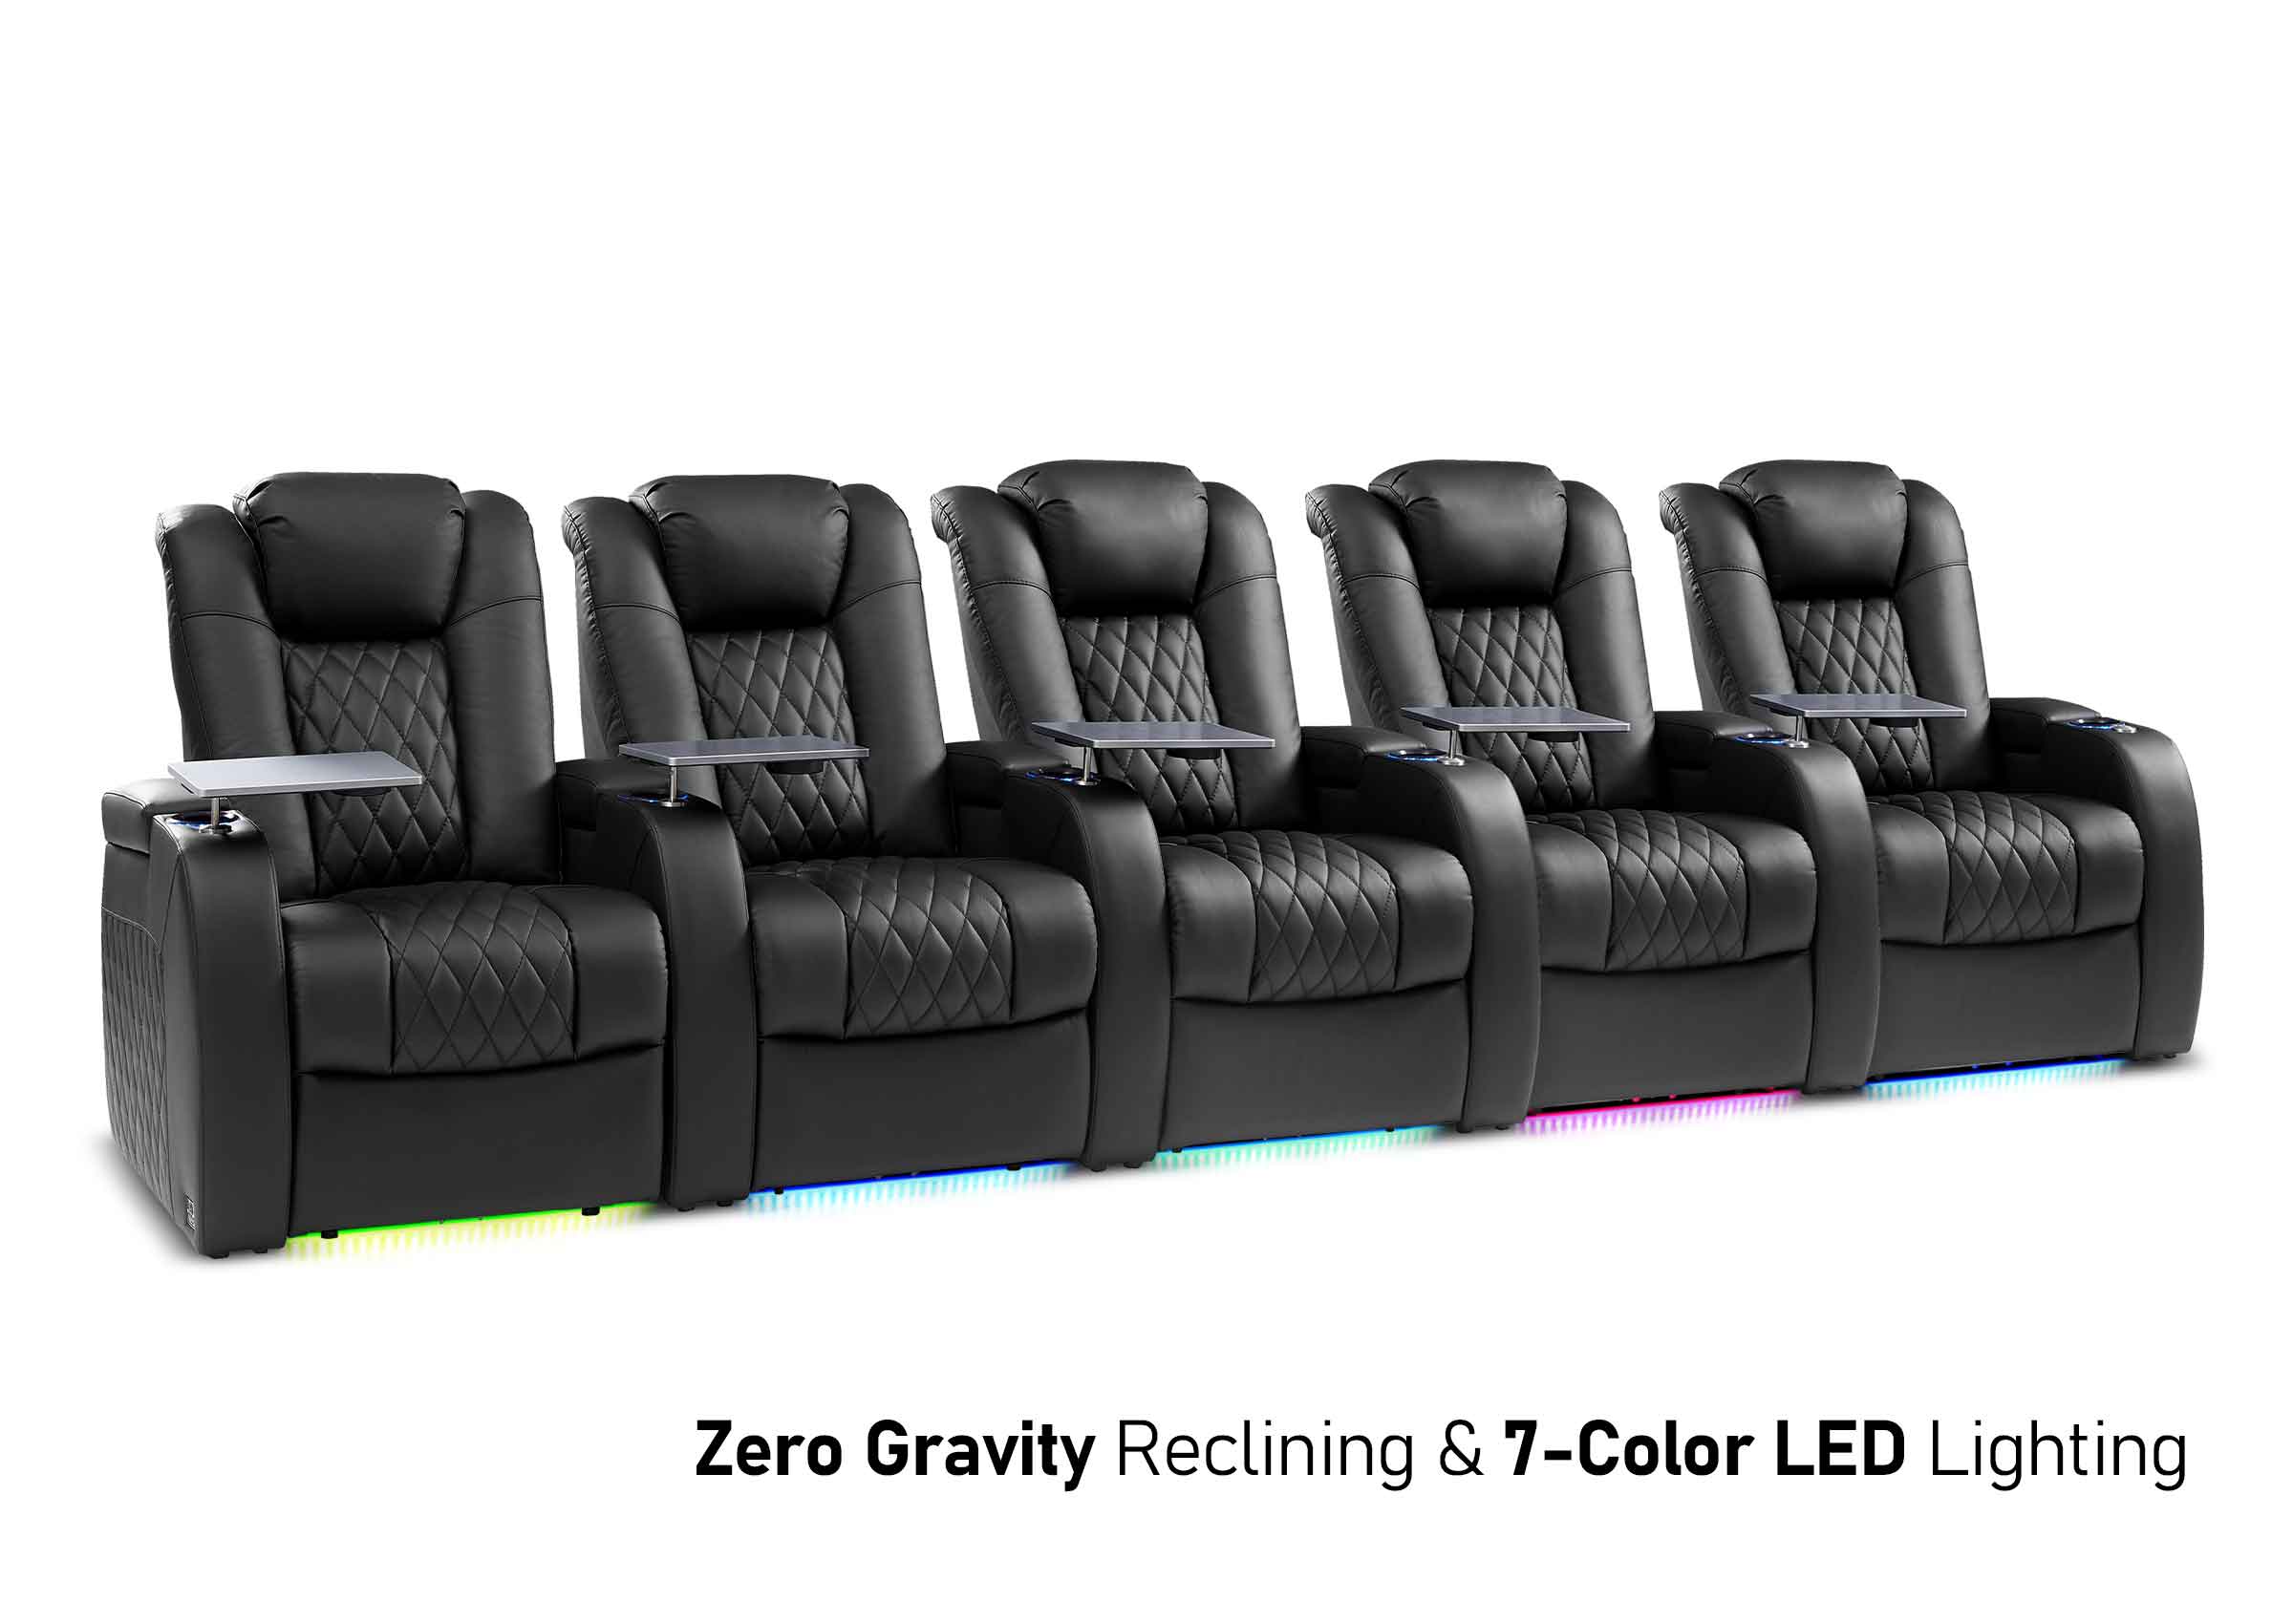
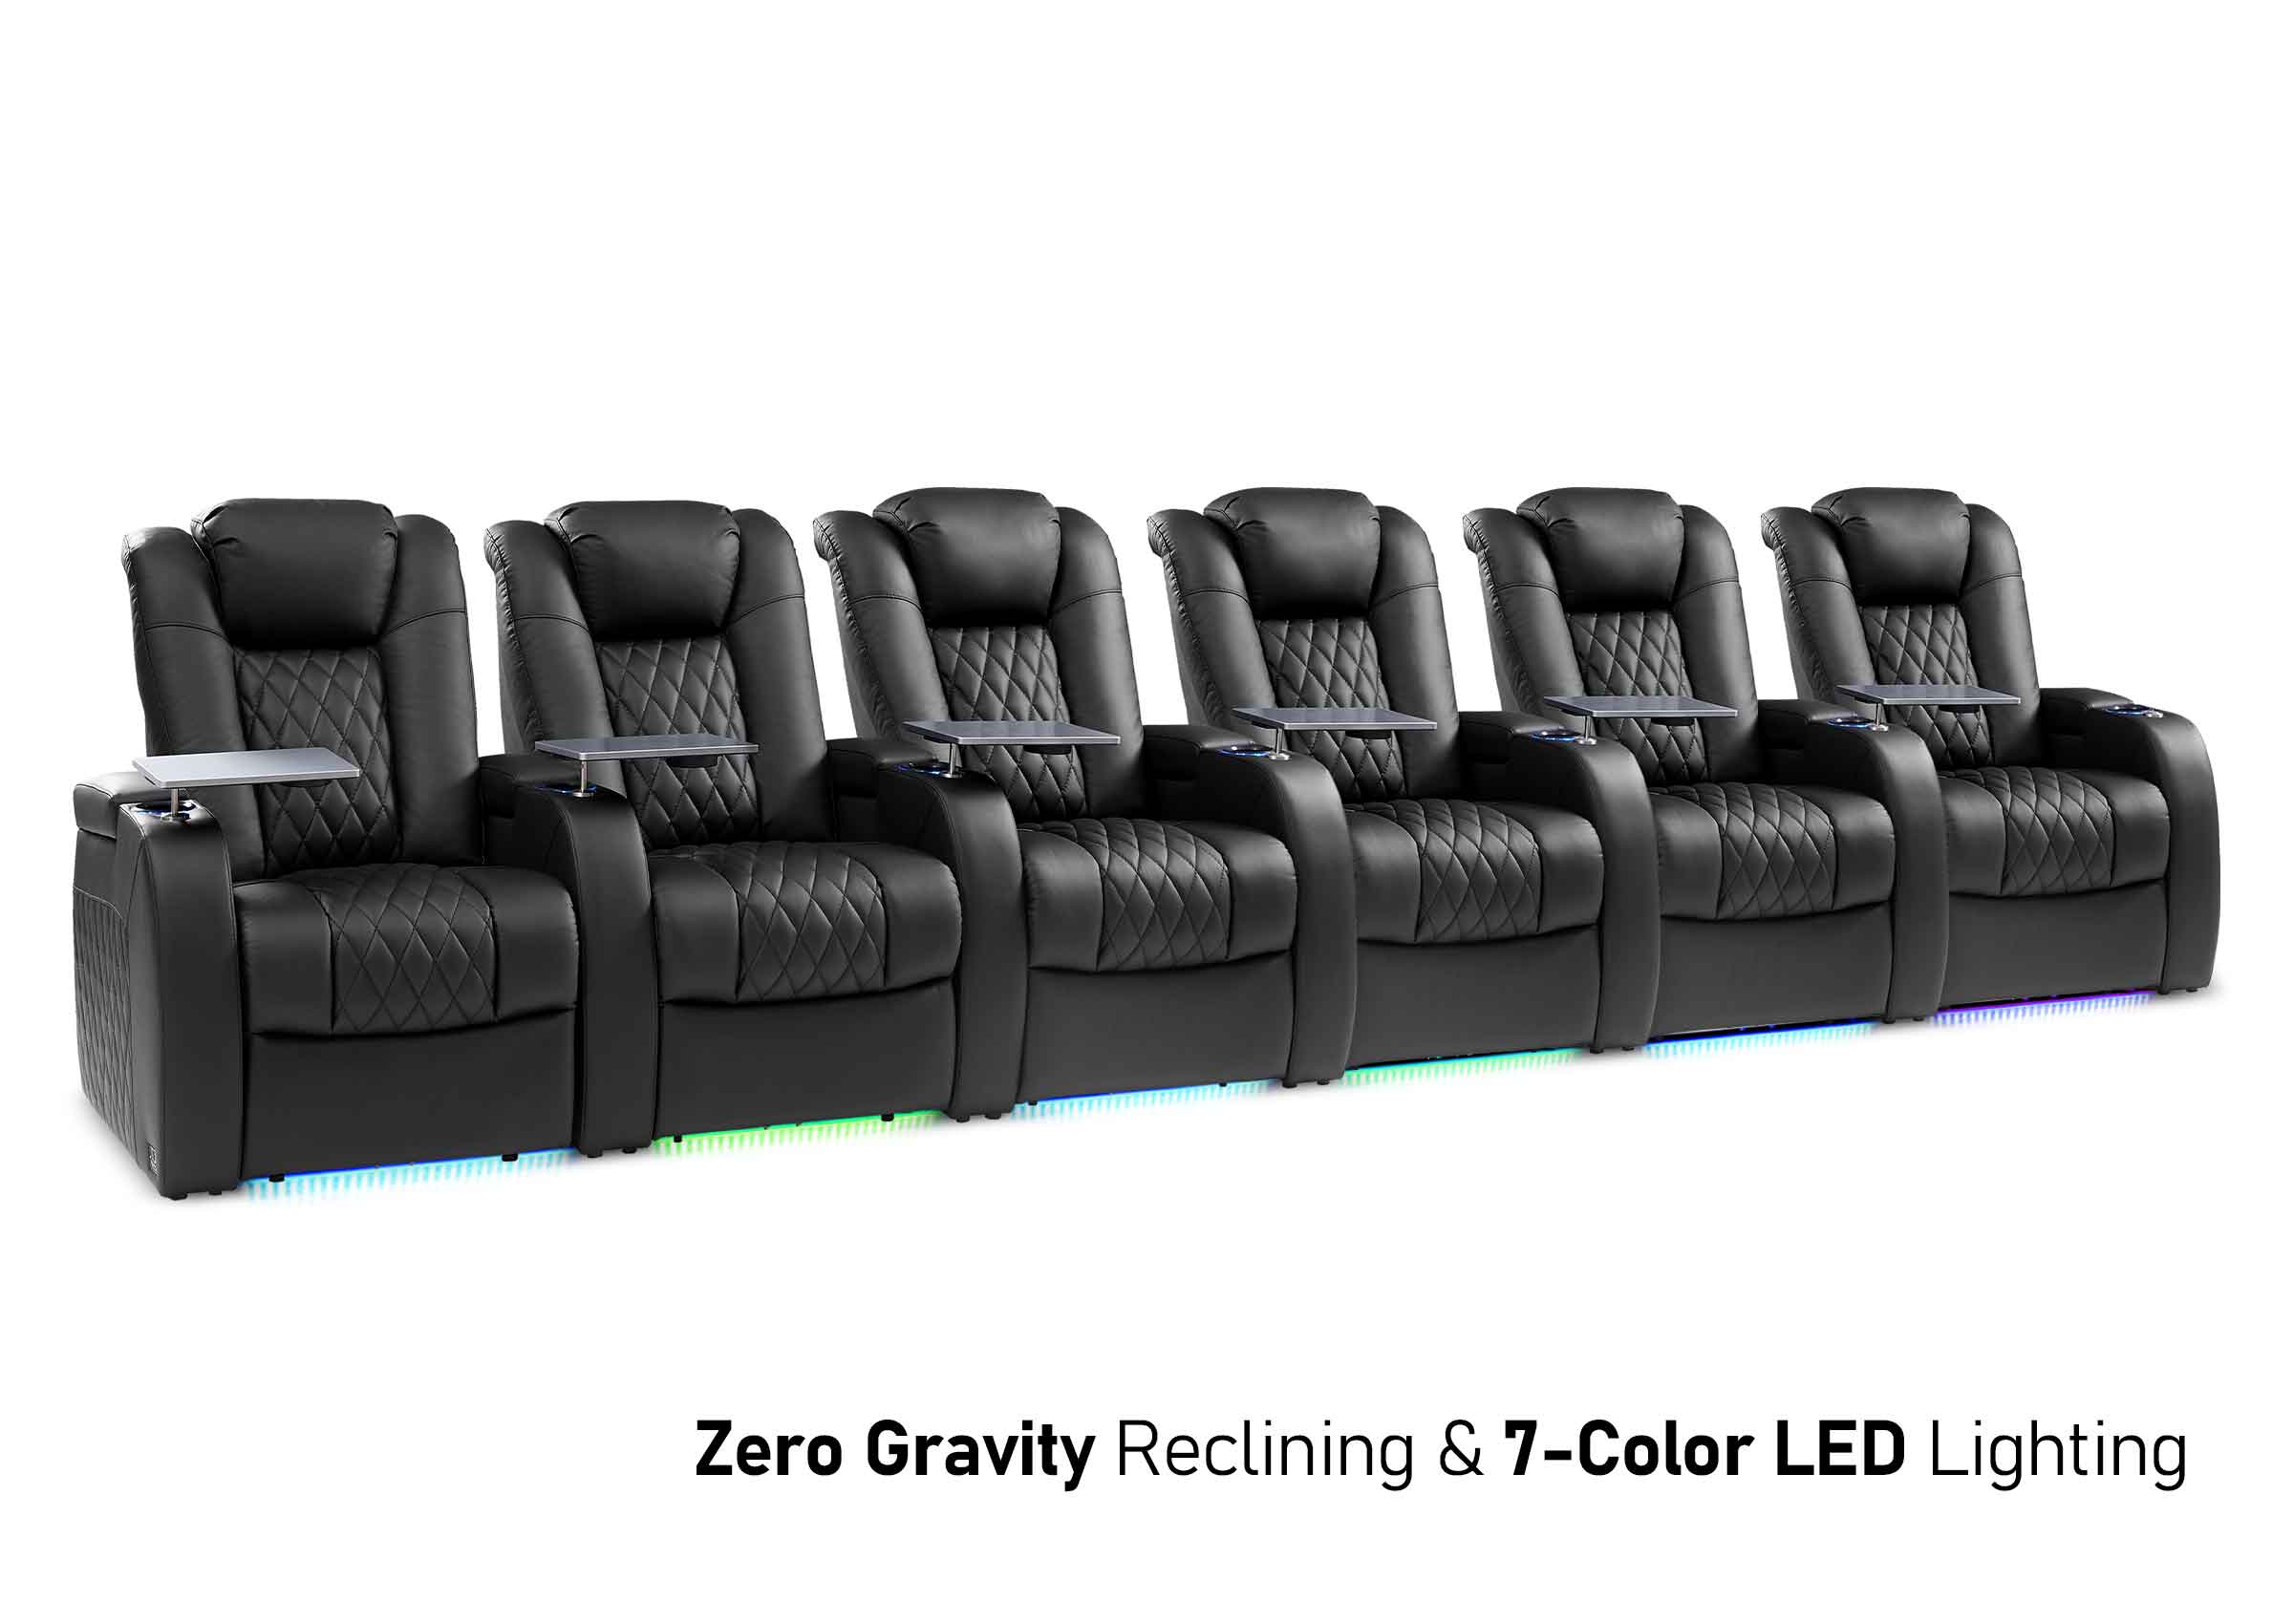
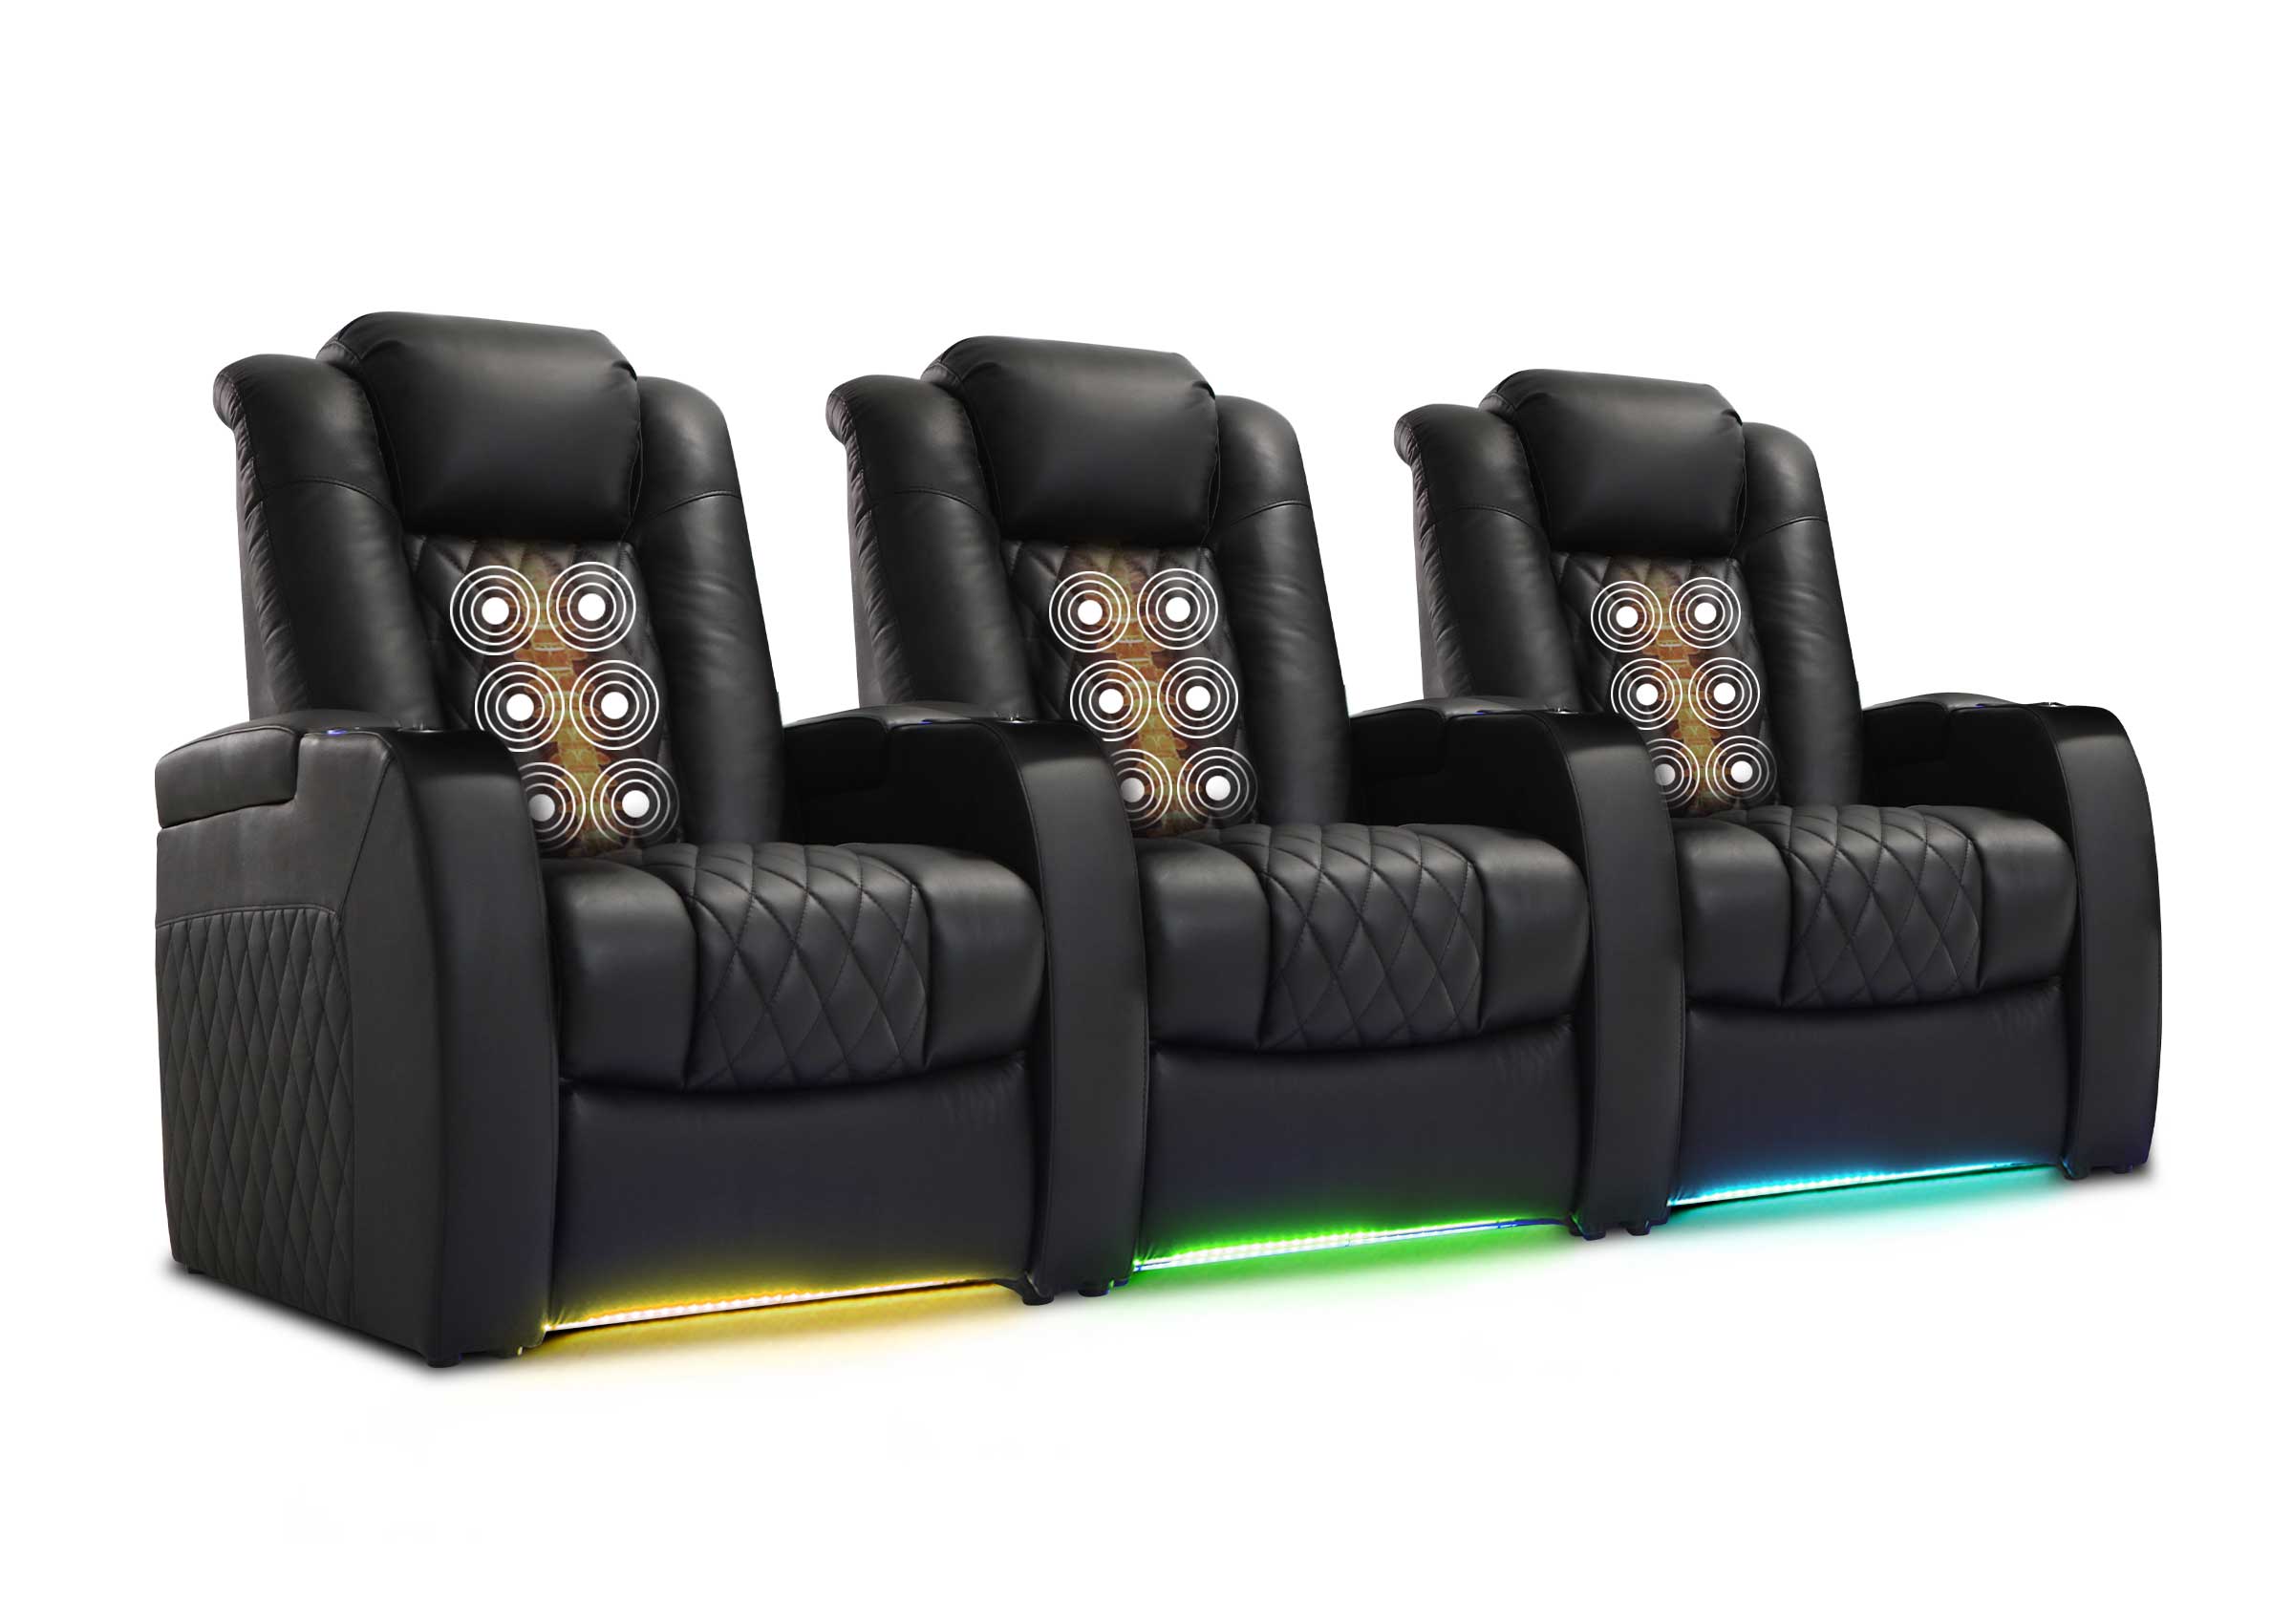

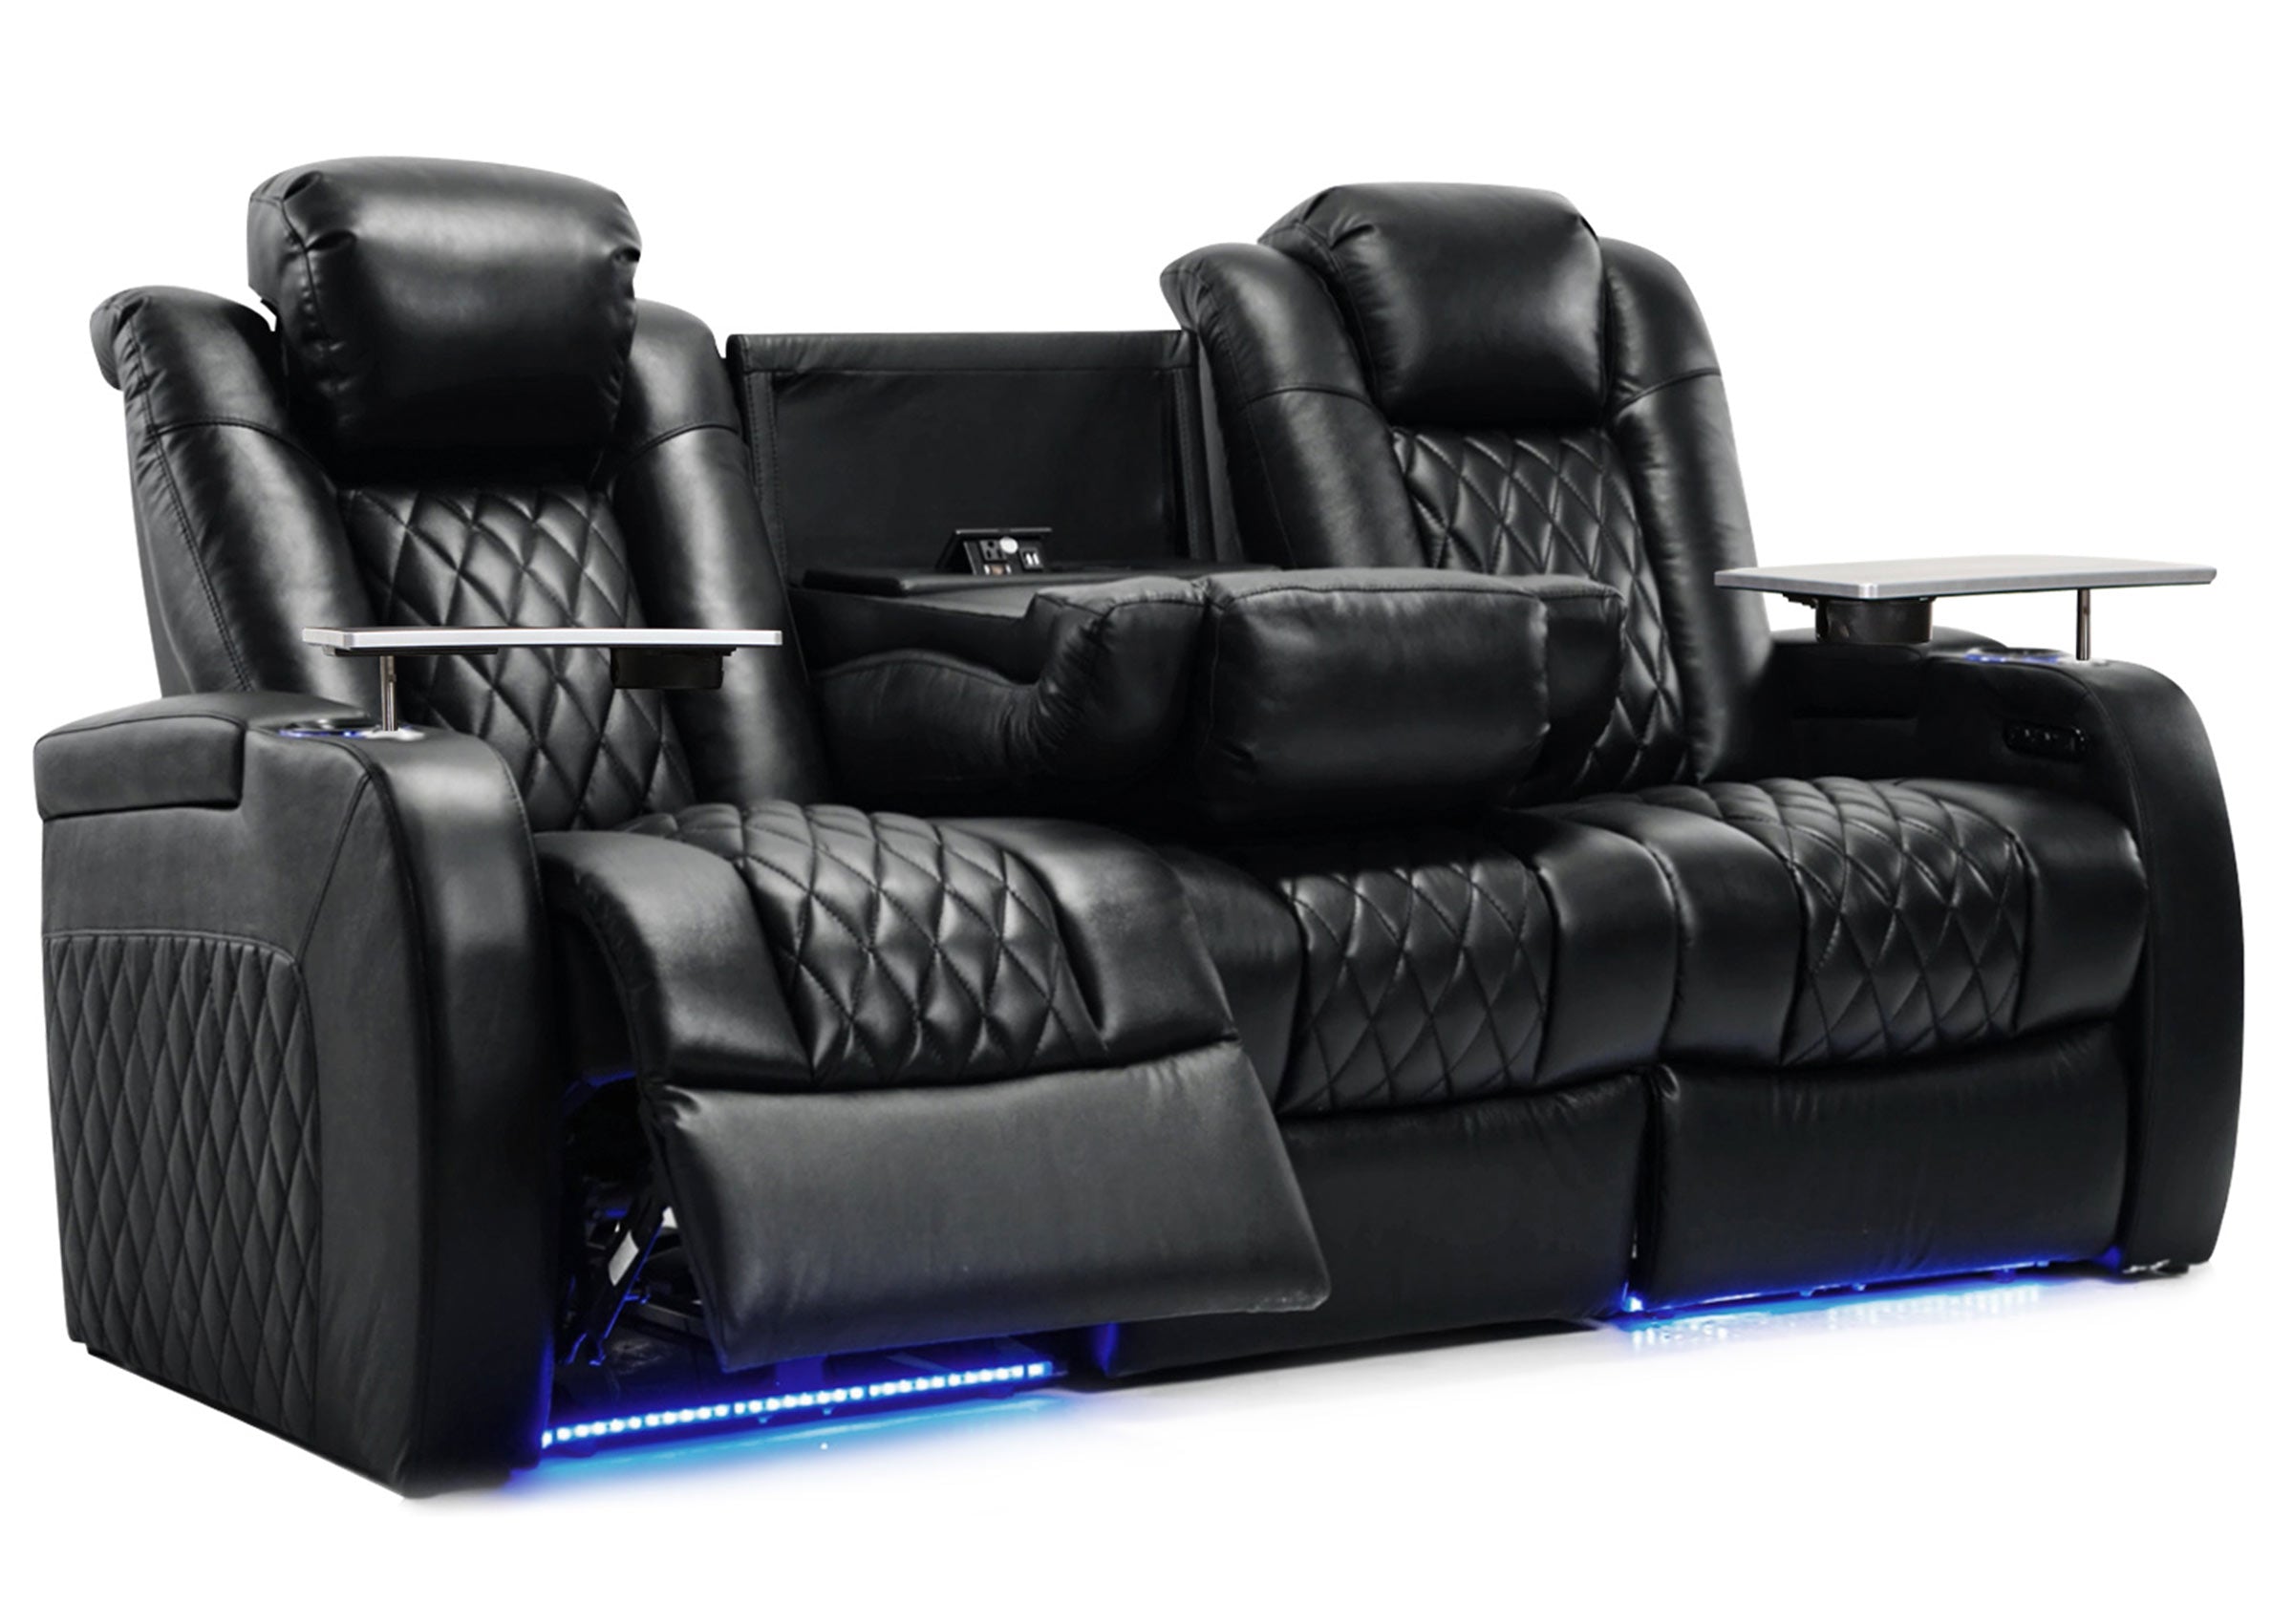
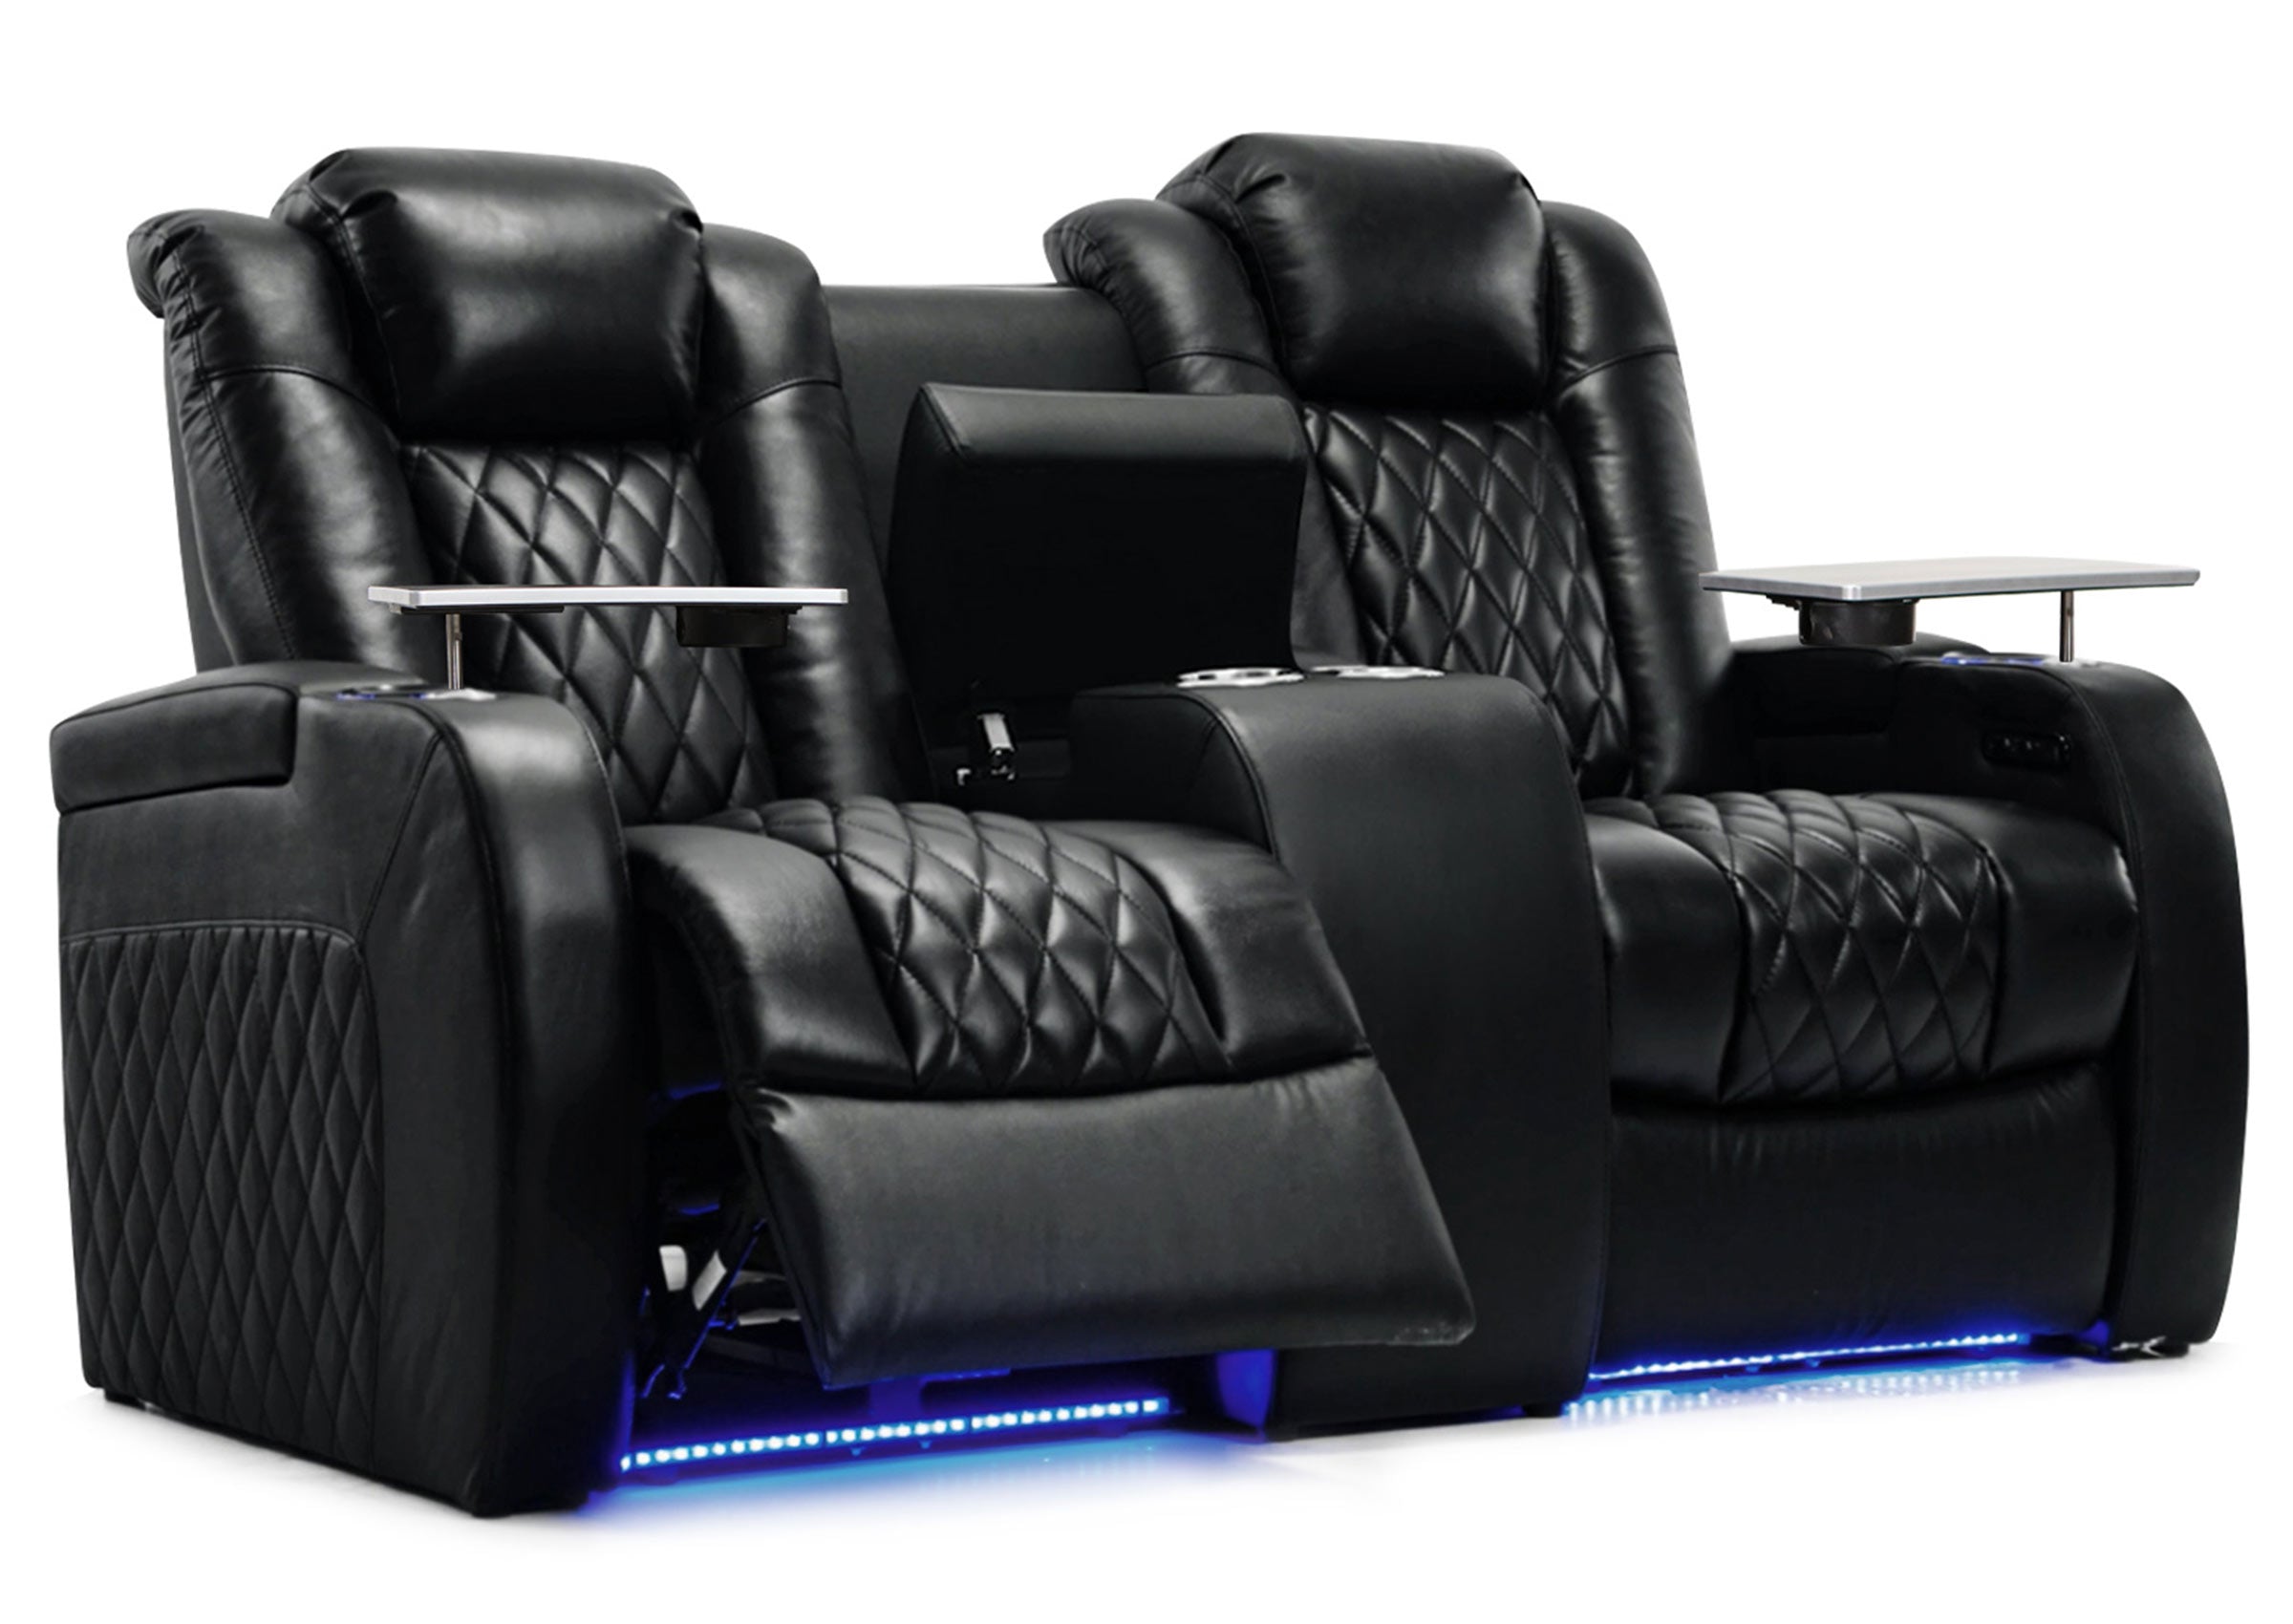



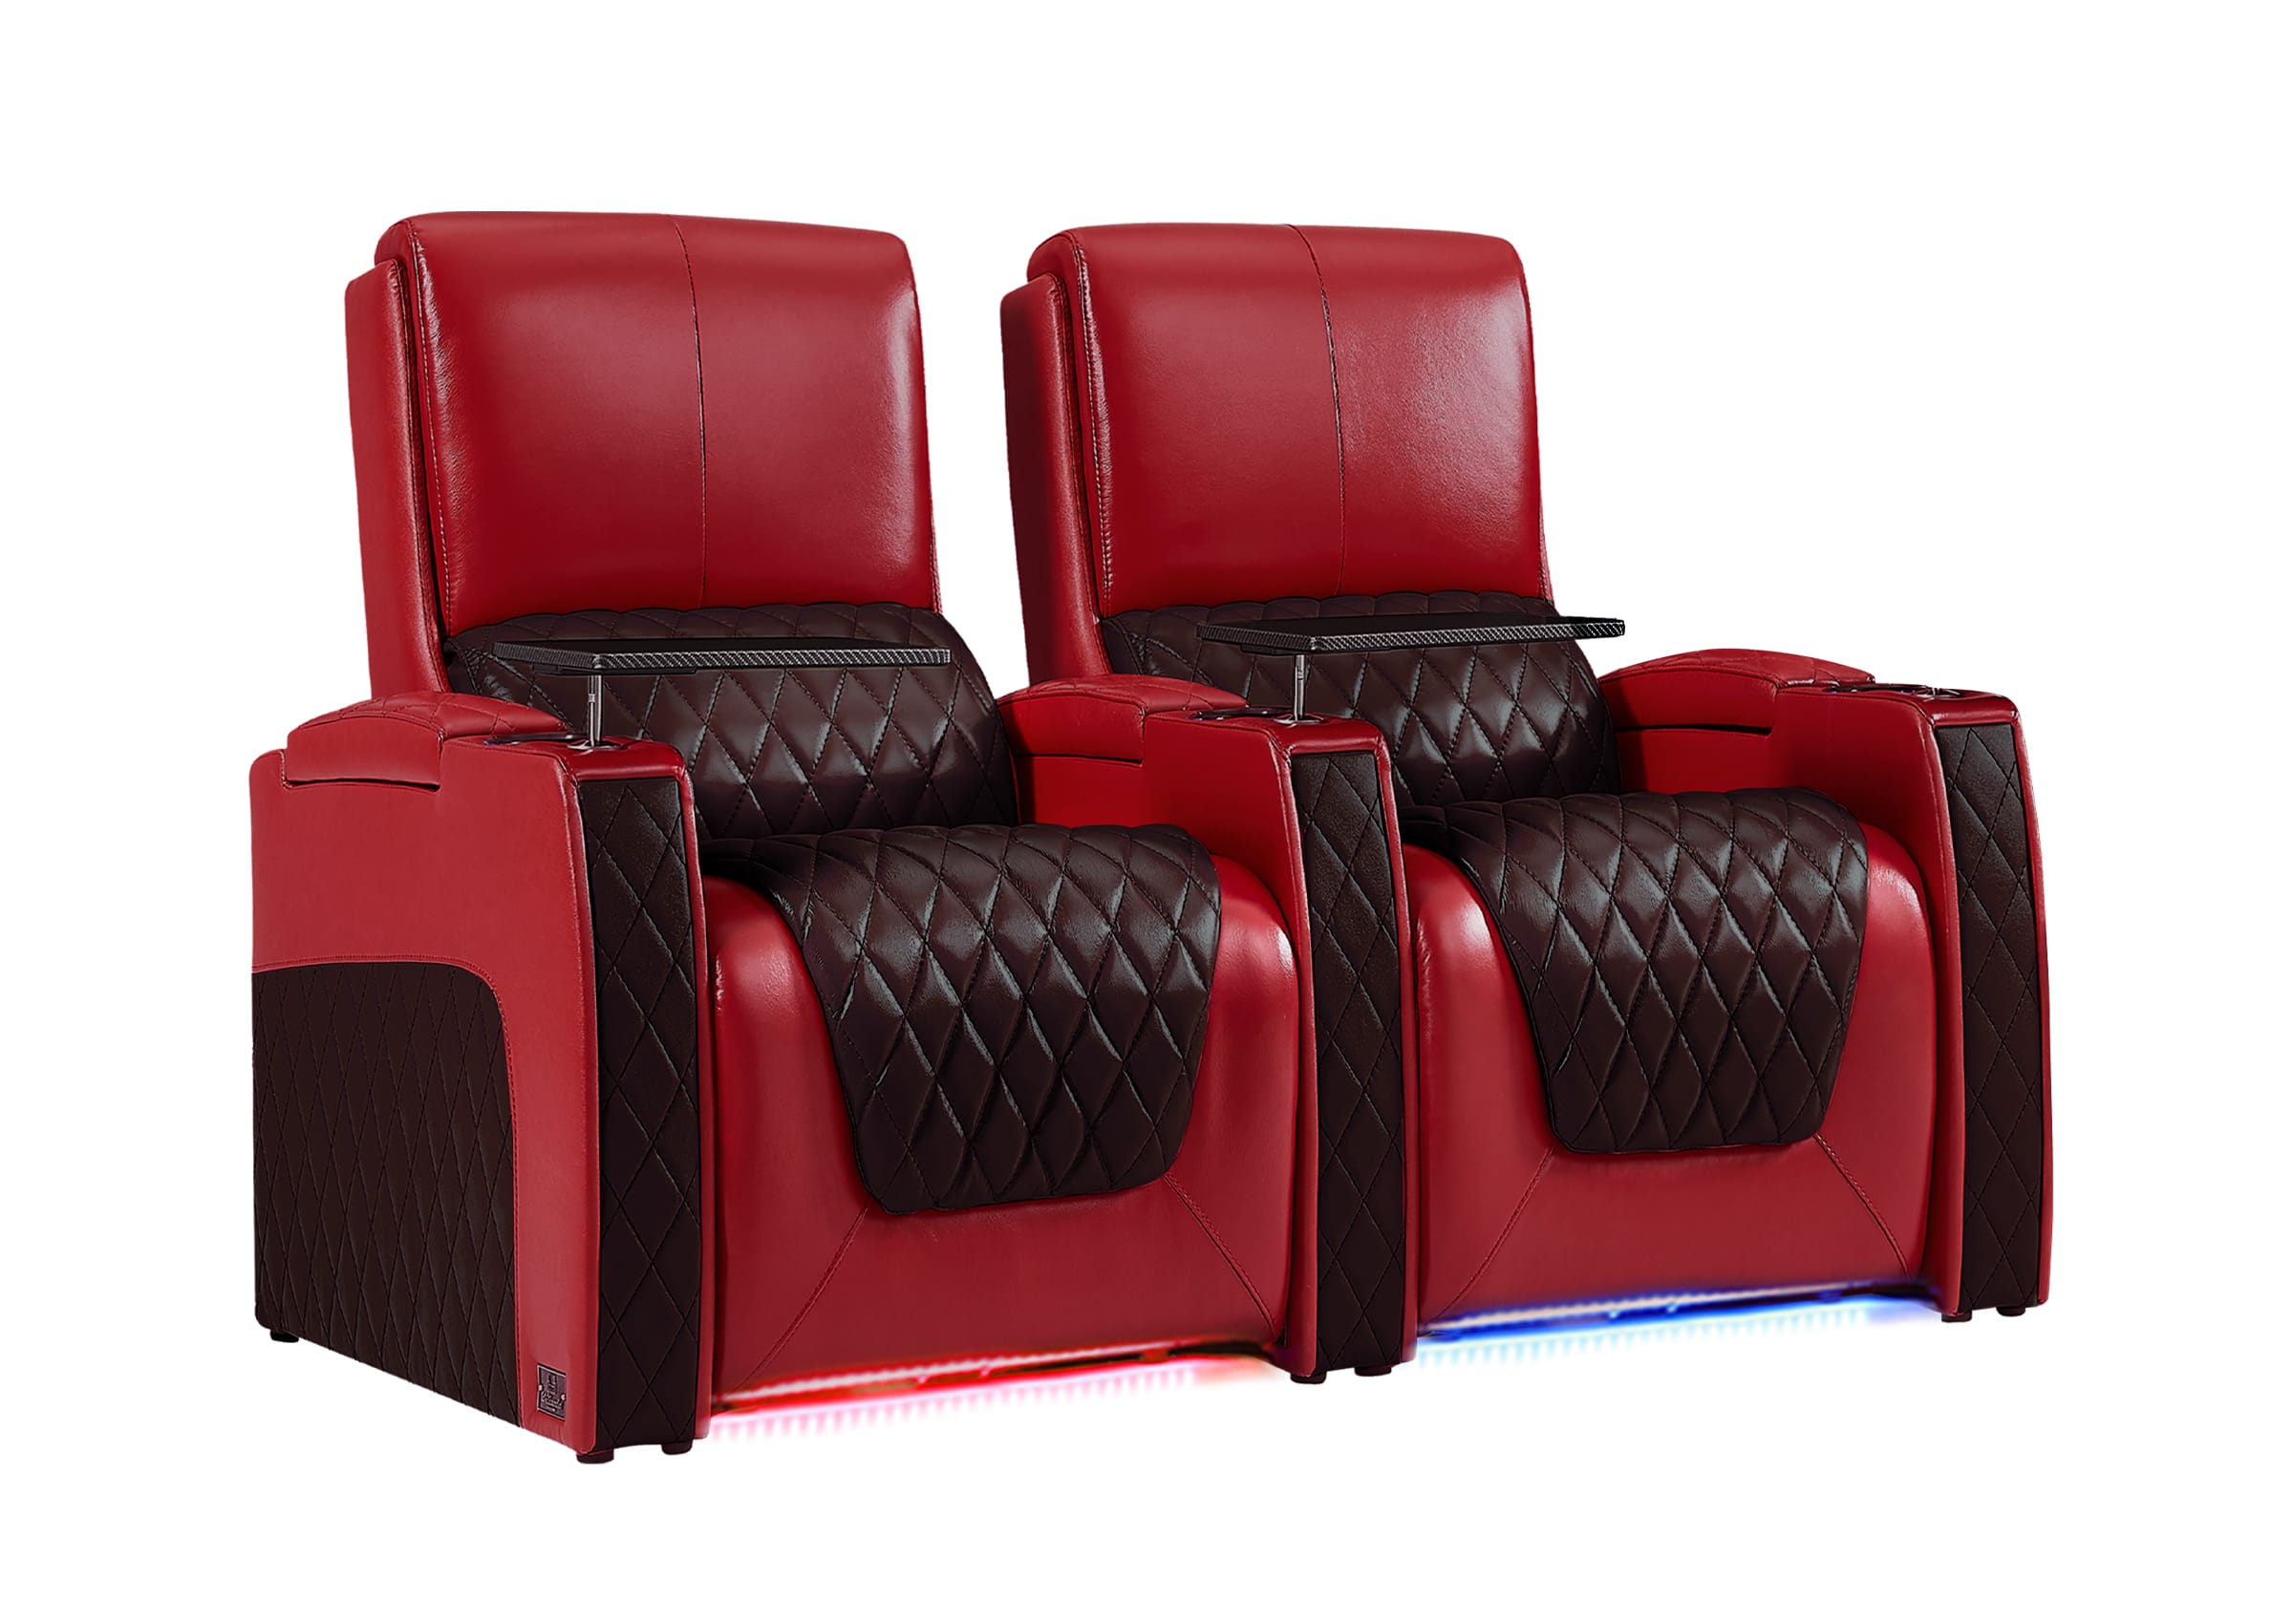
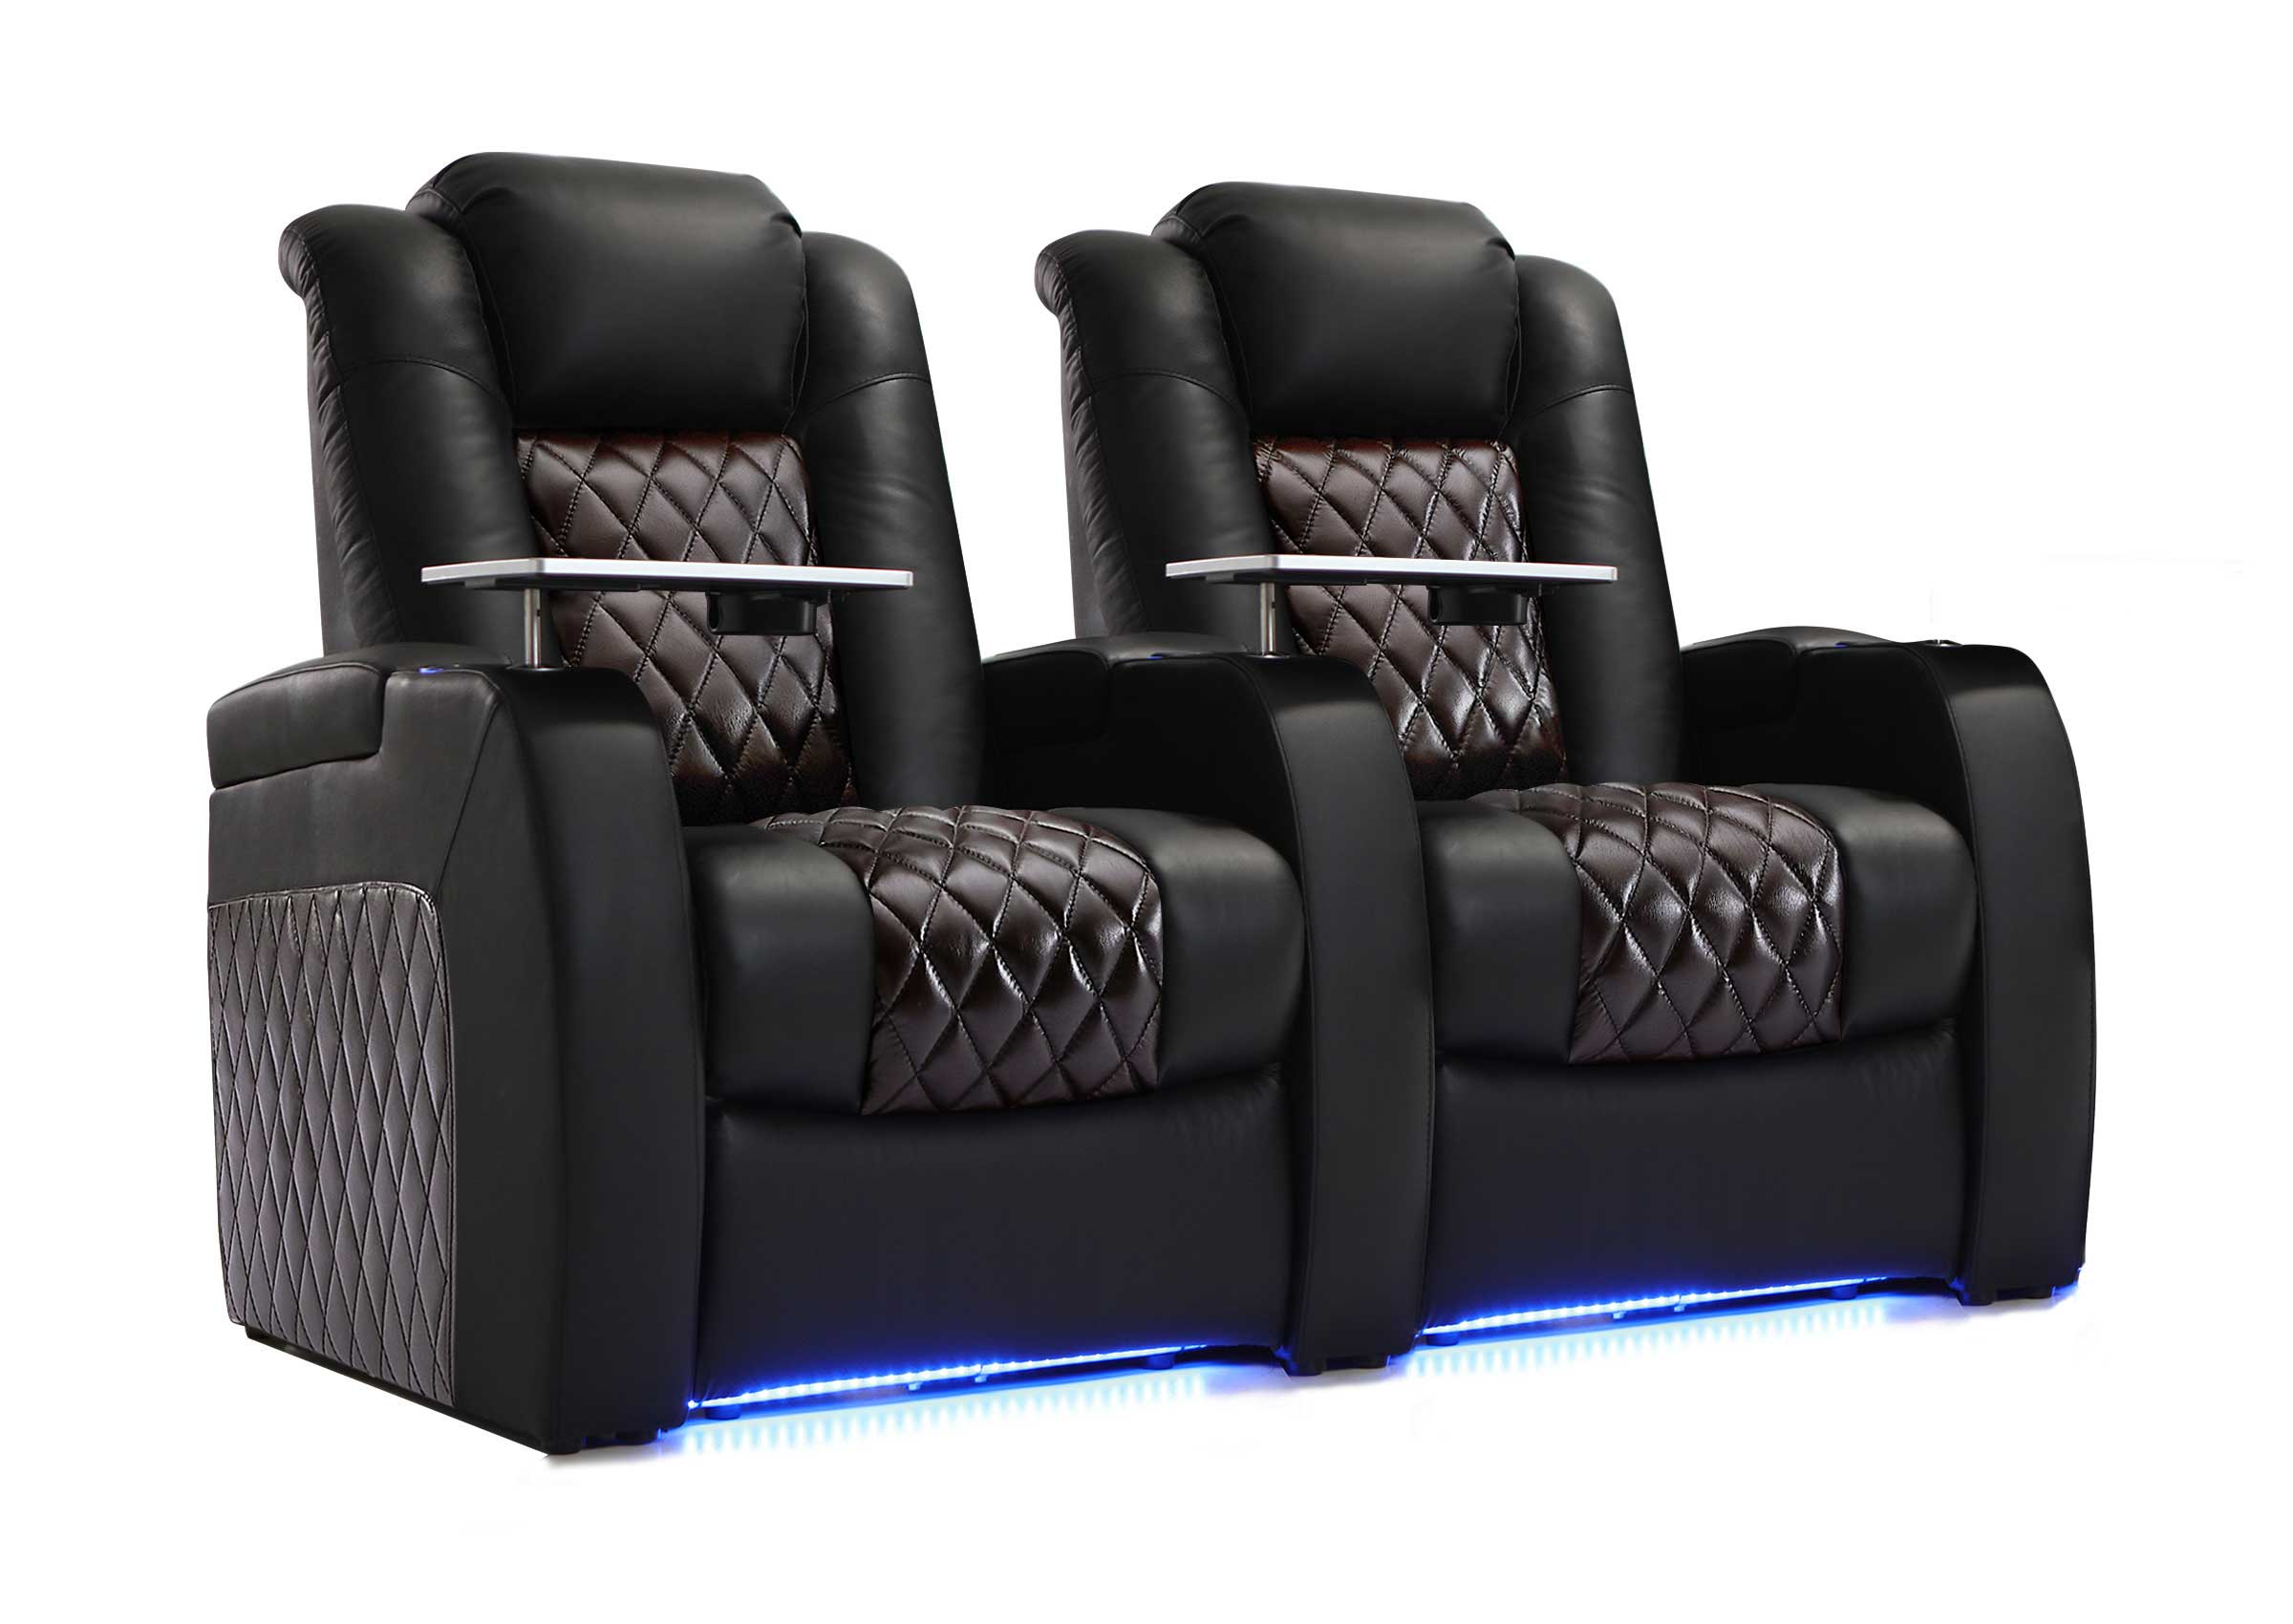
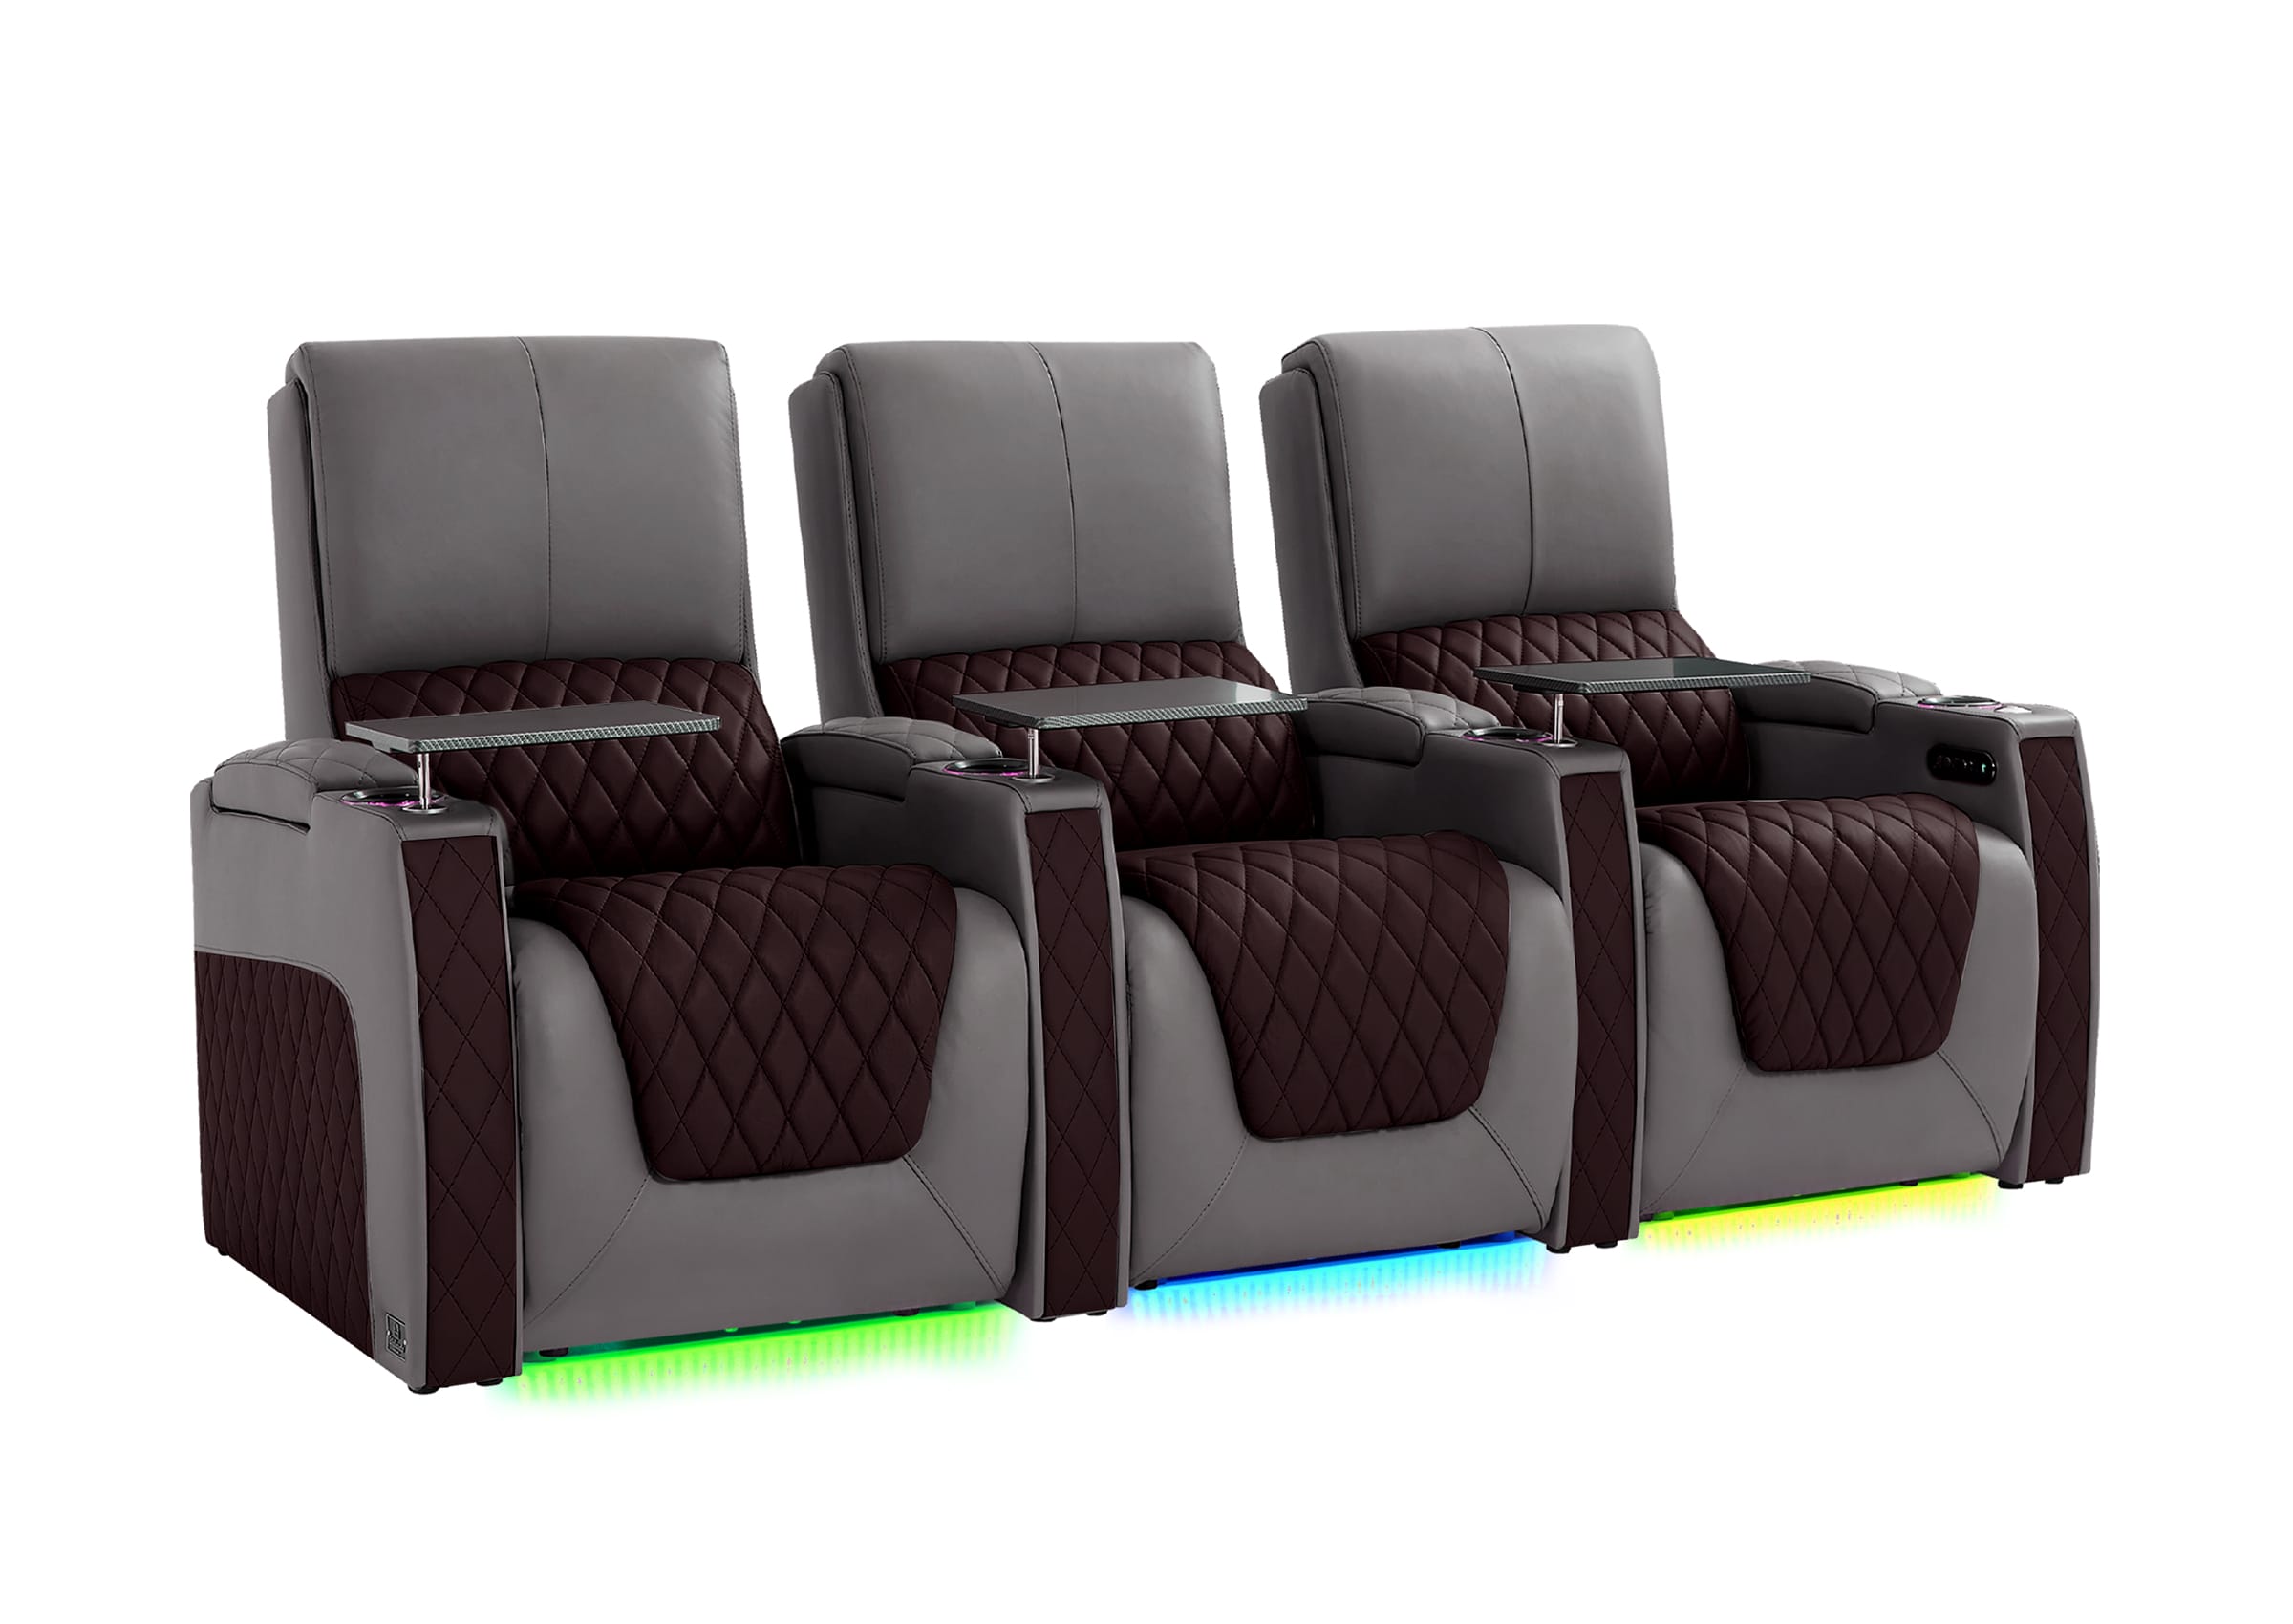
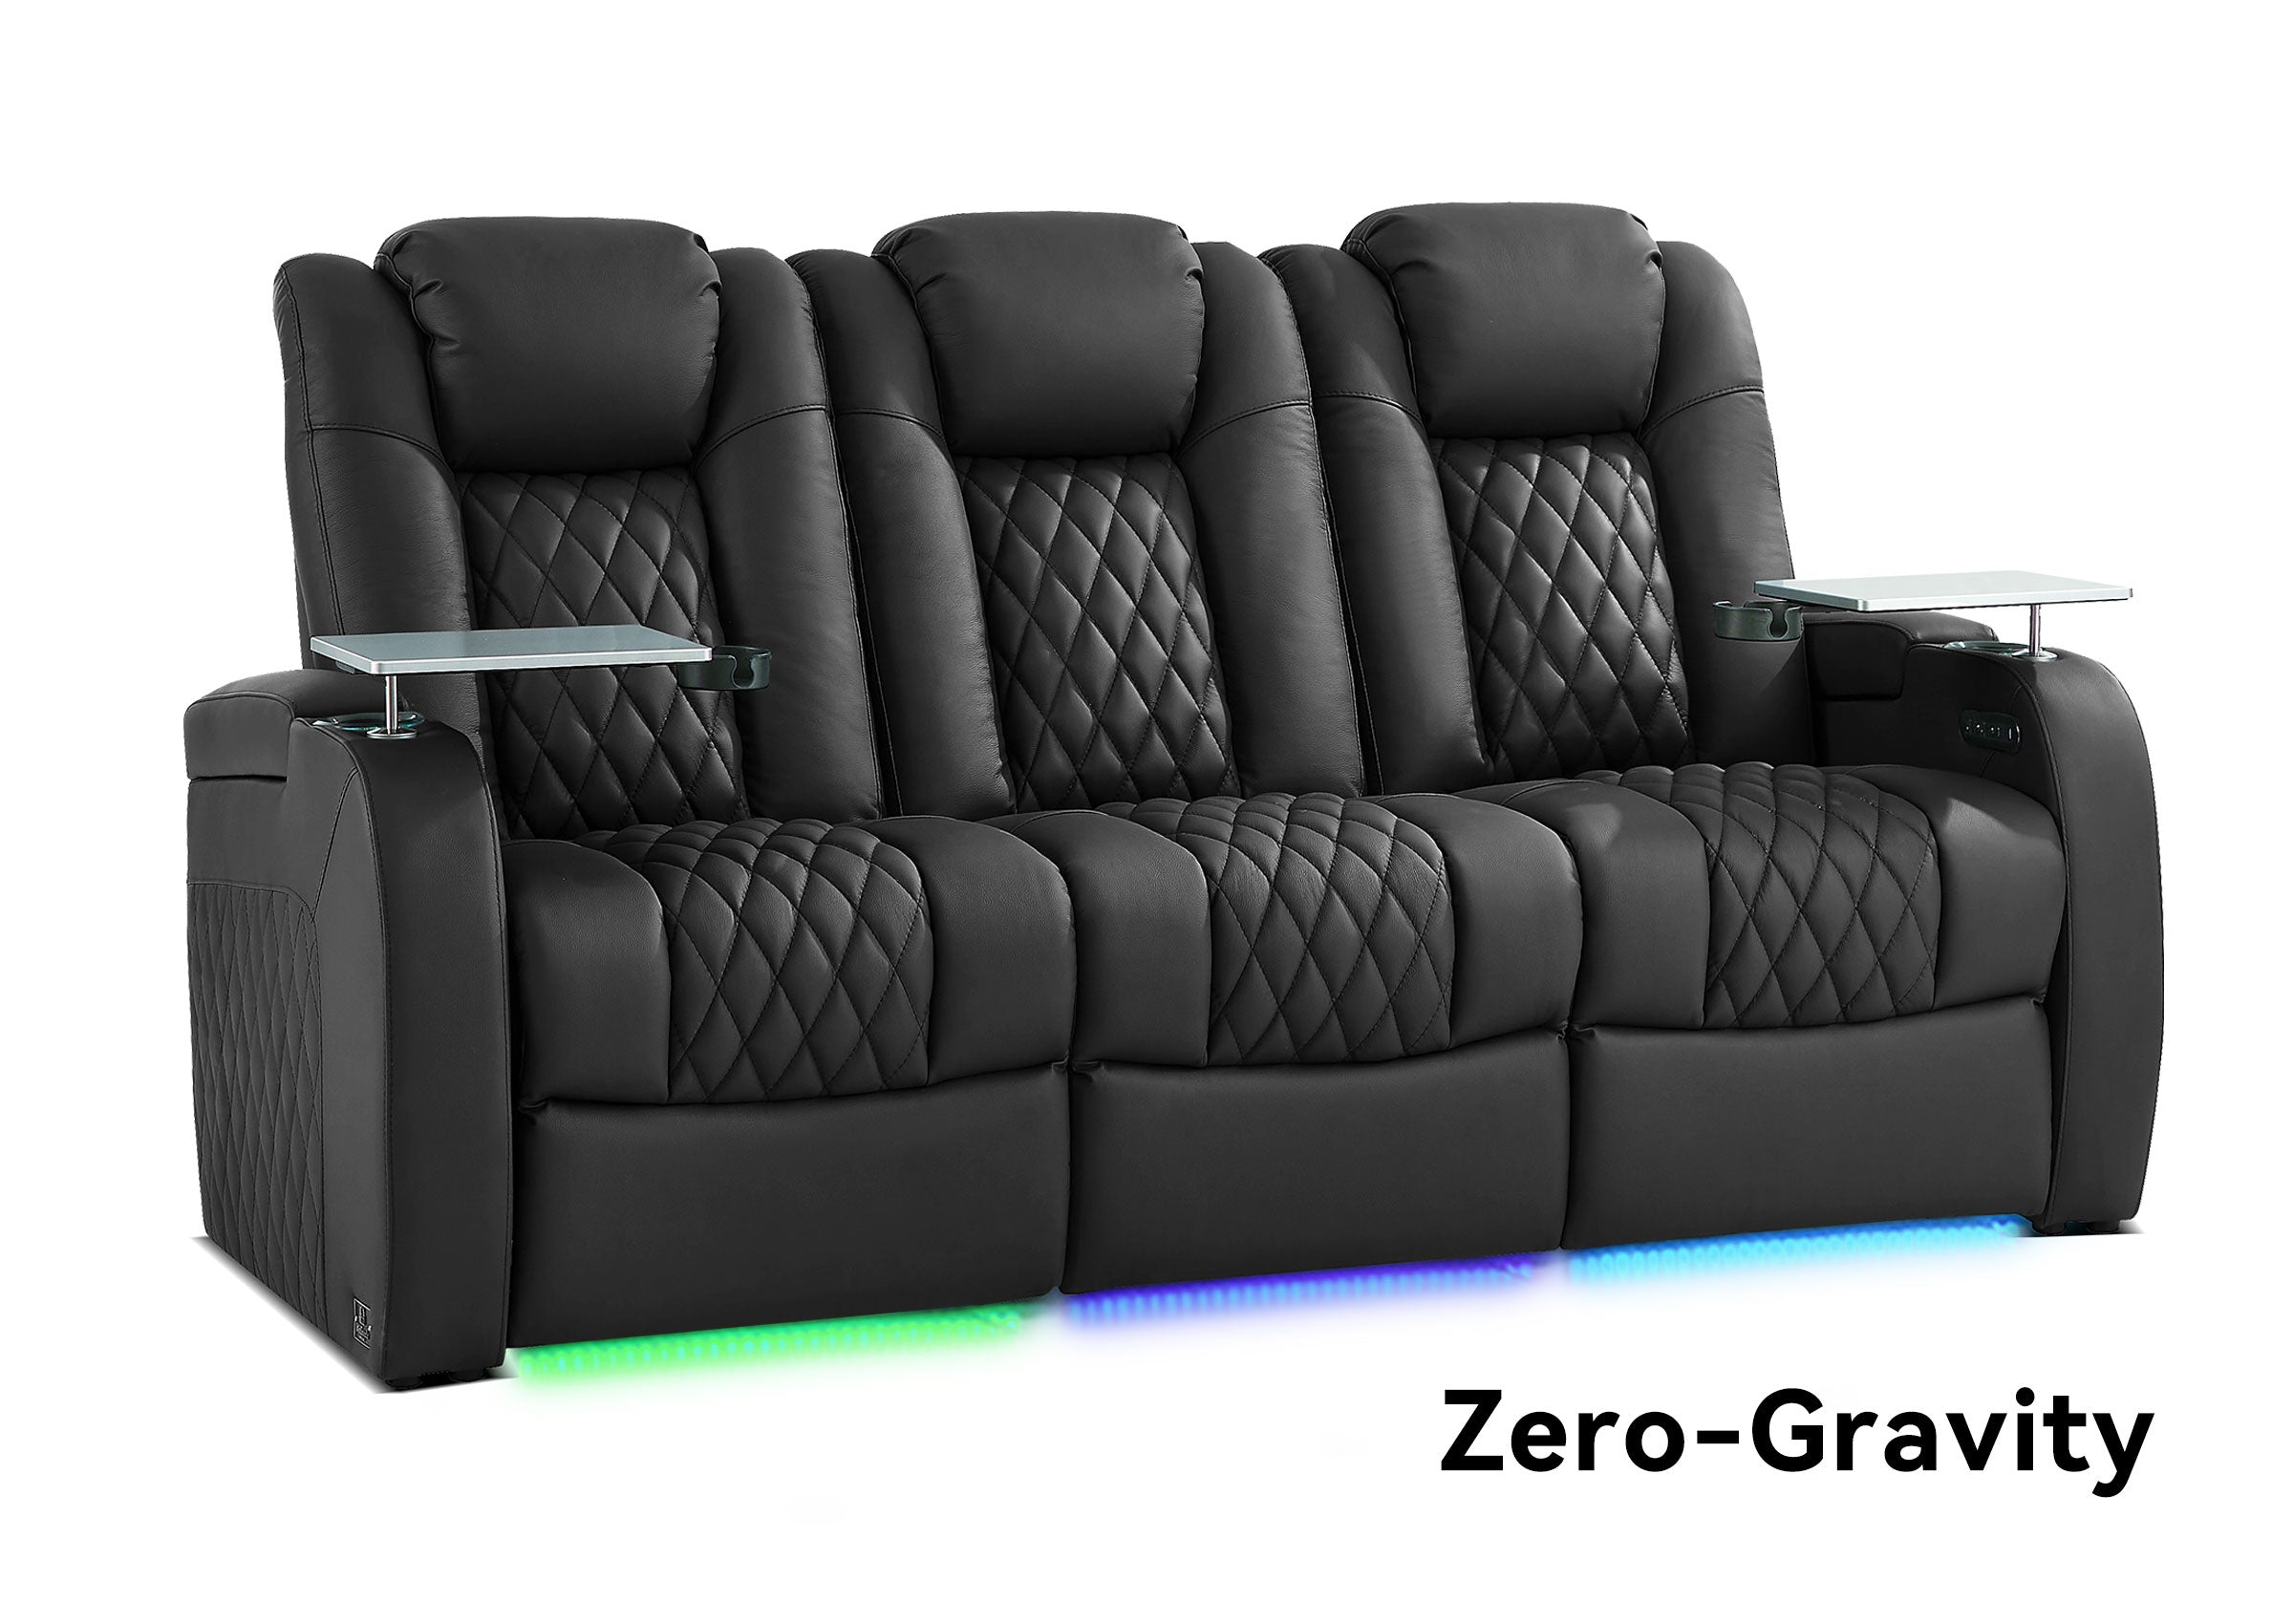


Crumbs rarely stay where they first land in home theater seating. Popcorn, pet hair, dust, and small objects can move from the seat crease into module gaps, around the footrest, and eventually underneath the recliner.
That is why cleaning theater seating is not only about the upholstery material. For hard-to-reach areas, clean by where debris travels—starting at the seat and working downward—while treating powered and moving areas differently from ordinary sofa gaps.
Why Does Dirt Build Up Differently in Home Theater Seating?
A regular sofa may have cushion seams and a space underneath. Home theater seating can add several more collection points:
- Deep seat and backrest seams
- Gaps between connected modules
- Cup holders
- Armrest storage
- Tray areas
- Footrest edges
- Reclining gaps
- Controls, cables, and powered components
- The floor beneath and behind the row
These areas are not isolated.
A popcorn crumb that disappears beside the seat cushion may shift farther downward as people sit, stand, recline, and close the footrest.
A useful way to picture the path is:
Seat crease → side or module gap → lower reclining area → floor underneath
Pet hair behaves differently because it tends to cling to stitching and upholstery before collecting deeper in the seating.
This is why wiping the visible surface can make a theater row look clean while leaving much of the hidden debris untouched.
Before You Reach Between the Seats, Make the Recliner Safe to Clean
The basic rule is simple:
Position the recliner first. Clean around the mechanism second.
If you need the footrest or another powered section in a particular position to expose an area, move the seat before placing your hand, vacuum nozzle, brush, or cloth near the opening.
Once the area is accessible, disconnect the recliner from power before cleaning close to moving components, wiring, or hidden mechanical areas.
For manual recliners, use the same principle: finish moving the chair before reaching near linkage or footrest components.
You generally should not disassemble a seating row just because a vacuum cannot reach one spot. Connected modules, backs, and other components should only be separated when the instructions for that specific seating configuration allow it.
Use This Cleaning Order
For most hard-to-reach areas:
Position → Power Off → Remove Dry Debris → Clean Hard Surfaces → Handle Upholstery Last
Dry debris comes first for a reason. Starting with a damp cloth can turn crumbs and dust into residue that sticks more easily to seams, stitching, and cup-holder edges.
The Five-Zone Theater Seat Cleaning Check
Instead of reaching into every gap at once, work through the seating from top to bottom.
| Zone | What Usually Collects There | Start With | Avoid |
|---|---|---|---|
| 1. Seat seams and creases | Crumbs, dust, pet hair | Soft brush + vacuum | Pushing debris deeper |
| 2. Seat and module gaps | Hair, crumbs, coins, small objects | Crevice tool + flashlight | Forcing modules apart |
| 3. Cup holders, storage, trays | Crumbs, dust, sticky residue | Dry debris first, then wipe | Spraying liquid into controls or ports |
| 4. Footrest and reclining gaps | Hair, crumbs, lost objects | Position seat, disconnect power, inspect | Reaching into moving parts |
| 5. Under and behind the seating | Dust, hair, debris that fell through | Low-profile or extended vacuum tool | Dragging or tipping powered seating unnecessarily |

This sequence also helps when something seems to have disappeared.
If you cannot find it in one zone, check the next zone down before assuming it is trapped inside the chair.
How Do You Remove Crumbs Without Pushing Them Deeper?
Crumbs are easiest to remove while they are still dry and loose.
Start at the highest visible point rather than immediately pushing a crevice tool deep into the seat.
Inspect the seat crease and stitching first. Hold the vacuum nozzle close to the debris, then use a soft detailing brush to guide crumbs toward the suction.
A useful rule is:
Bring the debris toward the vacuum instead of pushing the vacuum toward the debris.

Work downward:
- Vacuum the visible seat surface.
- Follow stitching and seams.
- Check the seat-to-back gap.
- Inspect the side or module gap.
- Check the lower area afterward.
If a crumb disappears beyond the visible seam, use a flashlight before inserting anything deeper.
A narrow vacuum attachment is usually safer and more useful than improvising with a screwdriver, knife, wire hanger, or other rigid object.
How Do You Get Pet Hair Out of Seat Gaps and Stitching?
Pet hair often needs a slightly different approach because it clings instead of simply falling.
Start with a soft brush or upholstery-safe vacuum attachment on exposed areas.
For deeper seams, use short brush strokes that loosen the hair toward the vacuum nozzle rather than brushing back and forth across the gap.
Then follow the likely collection path:
- Back edge of the seat
- Sides of each module
- Around the footrest
- Under the front edge
- Floor beneath the seating
If pets regularly use the theater seats, the hidden areas underneath may collect much more hair than the visible upholstery suggests.
The goal is not to reach as far into the chair as possible. It is to follow the hair from the areas where it clings to the areas where loose material eventually settles.
How Should You Clean Cup Holders, Storage, and Tray Areas?
These areas often contain both dry crumbs and sticky residue, so order matters.
Vacuum loose debris first, especially around:
- Cup-holder rims
- Storage corners
- Tray attachment points
- Small seams around hard-surface inserts
Then wipe accessible hard surfaces with a soft cloth appropriate for the material.
For sticky residue, apply cleaner to the cloth rather than spraying directly into the seating.
Take extra care around:
- Power controls
- USB or charging ports
- Light controls
- Seams between hard surfaces and upholstery
A cup holder is a hard surface. The upholstery surrounding it may require completely different care.
Do not assume one cleaner belongs on both.
If the remaining problem is a stain, body oil, or residue on leather or fabric, the job has shifted from hidden-area cleaning to upholstery care.
How Do You Clean Around the Footrest and Reclining Mechanism?
This is where cleaning theater seating differs most from cleaning an ordinary couch.
First determine whether the debris is actually accessible.
If crumbs or hair are sitting on an exposed edge, floor surface, or another clearly reachable area, position the recliner so you can see the area, disconnect power, and vacuum it carefully.
Do not push a nozzle, brush, or other object deep into a mechanical opening simply because you can see something farther inside.
The important distinction is between:
Debris near the mechanism
and
an object trapped in the mechanism.
Loose crumbs near an exposed edge are usually still a cleaning problem.
A coin, toy, remote, cable, or other hard object caught beside moving linkage or a powered component may not be.
If retrieving it requires putting your hand or a tool into the movement path, stop.

KEEP YOUR SEATING EASY TO LIVE WITH
Comparing Theater Seating for Everyday Use?
Cleaning is only one part of long-term ownership. If you are comparing seating for a media room or home theater, explore current seating options—or use our leather cleaning guide when the problem is on the upholstery surface rather than inside a hidden gap.
What Should You Do If Something Falls Inside the Recliner?
Use the object and its location—not just whether you can see it—to decide what happens next.
| What Fell Inside | What to Do |
|---|---|
| Crumbs or pet hair | Vacuum them if they are visible and safely accessible. |
| A loose coin or small object | Remove it only if it is resting in an accessible, nonmoving area. |
| A phone, remote, or toy near moving parts | Stop operating the recliner until its position is clear. |
| An object trapped near linkage or a powered component | Do not repeatedly recline the seat to try to free it. |
| A trapped or damaged cable | Do not pull, splice, reroute, or modify the wiring. |
| Liquid in a hidden powered area | Stop using the powered function and disconnect power when safe to do so. |
The boundary is simple:
If retrieval requires entering a moving or electrical area rather than cleaning an exposed area, stop treating it as routine cleaning.
Repeatedly opening and closing the recliner is especially risky when a hard object may be trapped. Something that was only difficult to reach can become wedged between moving components.
How Do You Clean Between Connected Theater Seats?
Connected seating modules create a frustrating gap: narrow enough to collect debris, but often too tight for a hand or regular vacuum head.
Start from above with a crevice attachment.
Use a flashlight to determine whether the debris is:
- Near the top of the gap
- Caught beside upholstery
- Already on the floor
- Near a connector, cable, or mechanism
Do not pull connected seats apart just to gain cleaning access unless the seating instructions allow the modules to be disconnected that way.
If debris has already reached the floor, approaching it from the front, back, or underneath with a low-profile vacuum attachment may be easier than disturbing the seating row.
Changing the cleaning angle is usually safer than changing the seating configuration.
How Should You Clean Under and Behind Home Theater Seating?
Treat underneath the row as the final collection zone.
This is where you may find:
- Crumbs that passed through upper gaps
- Pet hair
- Dust
- Small wrappers
- Coins
- Lost accessories
A flashlight and low-profile or extended vacuum attachment can often handle most of this without moving the seating.
If the seating does need to move, disconnect power first and pay attention to:
- Power cords
- Connected modules
- Floor surfaces
- Cable tension
- The weight and stability of the configuration
Do not drag a powered recliner while cables remain connected, and do not tip one onto its side simply to reach dust unless the product instructions specifically call for that procedure.
A difficult patch of debris is rarely worth creating a damaged connector, scratched floor, or unstable seating module.
What Should You Avoid When Cleaning Hidden Recliner Areas?
Most problems become harder when access is forced.
- Reaching near the mechanism while the recliner is moving
- Operating the chair while a hand or tool is inside a gap
- Repeatedly cycling the seat when an object may be trapped
- Spraying cleaner into controls, charging ports, seams, or mechanical openings
- Using metal tools to fish for debris
- Pulling connected modules apart without checking how they attach
- Moving powered seating while cords are still connected
- Tipping or partially disassembling a recliner for routine cleaning
- Turning an inaccessible object into a DIY mechanism repair
A cleaning job should remove debris without changing how the seat is assembled or how the mechanism operates.
If the issue has moved beyond cleaning and into a mechanical problem, our recliner repair DIY vs. professional guide can help you decide what kind of next step is more appropriate.
When Is It a Leather-Care Problem Instead of a Gap-Cleaning Problem?
Once loose debris is gone, look at what remains.
If the problem is now a spill, body oil, stain, mark, or residue on the upholstery itself, the cleaning task has changed.
At that point, use the care method appropriate for the specific upholstery material. For leather surfaces, see our leather couch cleaning guide rather than extending a hidden-gap cleaning method onto the upholstery.
Do not continue with the cleaner simply because it worked on a cup holder or tray.
Leather conditioning, stain treatment, cracking prevention, and full upholstery cleaning are separate maintenance tasks.
A simple distinction is:
If it is loose and hidden, remove it by location.
If it is attached to the upholstery surface, clean it by material.
Do You Need a Fixed Deep-Cleaning Schedule?
Not necessarily.
Hidden-area cleaning depends heavily on how the room is used. A theater where people regularly eat snacks and pets use the seats will need attention more often than a room used occasionally without food.
For these areas, event-triggered cleaning is often more practical than relying only on a calendar.
Take a quick look:
- After snack-heavy movie nights
- After children eat in the room
- After pets spend time on the seats
- Immediately after something is dropped
- After a spill
- When you can hear or see debris near the footrest
Most checks do not need to become a full deep clean.
A flashlight, a quick pass along the seams, and a look around the cup holders can catch debris before it travels farther into the seating.
Quick Reference: Follow the Debris Downward
When you need to check the seats later, use this order:
1. Seat seams
Look for visible crumbs and hair.
2. Seat and module gaps
Use a flashlight and crevice tool.
3. Cup holders and storage
Remove dry debris before wiping.
4. Footrest and reclining areas
Position the seat first, then disconnect power before cleaning near moving parts.
5. Under the seating
Check where loose debris may have fallen through.
If the problem changes from loose debris to a trapped object, moving mechanism, damaged wire, or hidden electrical area, routine cleaning should stop.
The Best Cleaning Habit Is to Follow the Debris
When something disappears between home theater seats, do not immediately pull modules apart or reach deep into the recliner.
Follow the likely path:
seams → seat gaps → module gaps → cup-holder and storage edges → footrest area → underneath the seating
Remove dry debris before adding moisture. Position the recliner before reaching near it. Disconnect power before cleaning around powered moving areas.
And when an object enters the mechanism rather than an accessible cleaning area, know when to stop.
That approach does more than make the visible seat look clean. It helps you clean where movie-night mess actually goes without turning a few crumbs into an upholstery, electrical, or reclining-mechanism problem.
Need Help With a Trapped Object or Powered Recliner Area?
If you are cleaning a Weilianda recliner and an object is trapped near moving parts, wiring, or a powered component—or you are unsure whether an area is intended to be user-accessible—stop operating the seat and confirm the next step before forcing access.
Visit Weilianda Support or email leon@weiliandahome.com. If possible, include your product information, a clear photo or short video of the area, and a description of what happened so the issue can be understood before you continue.