



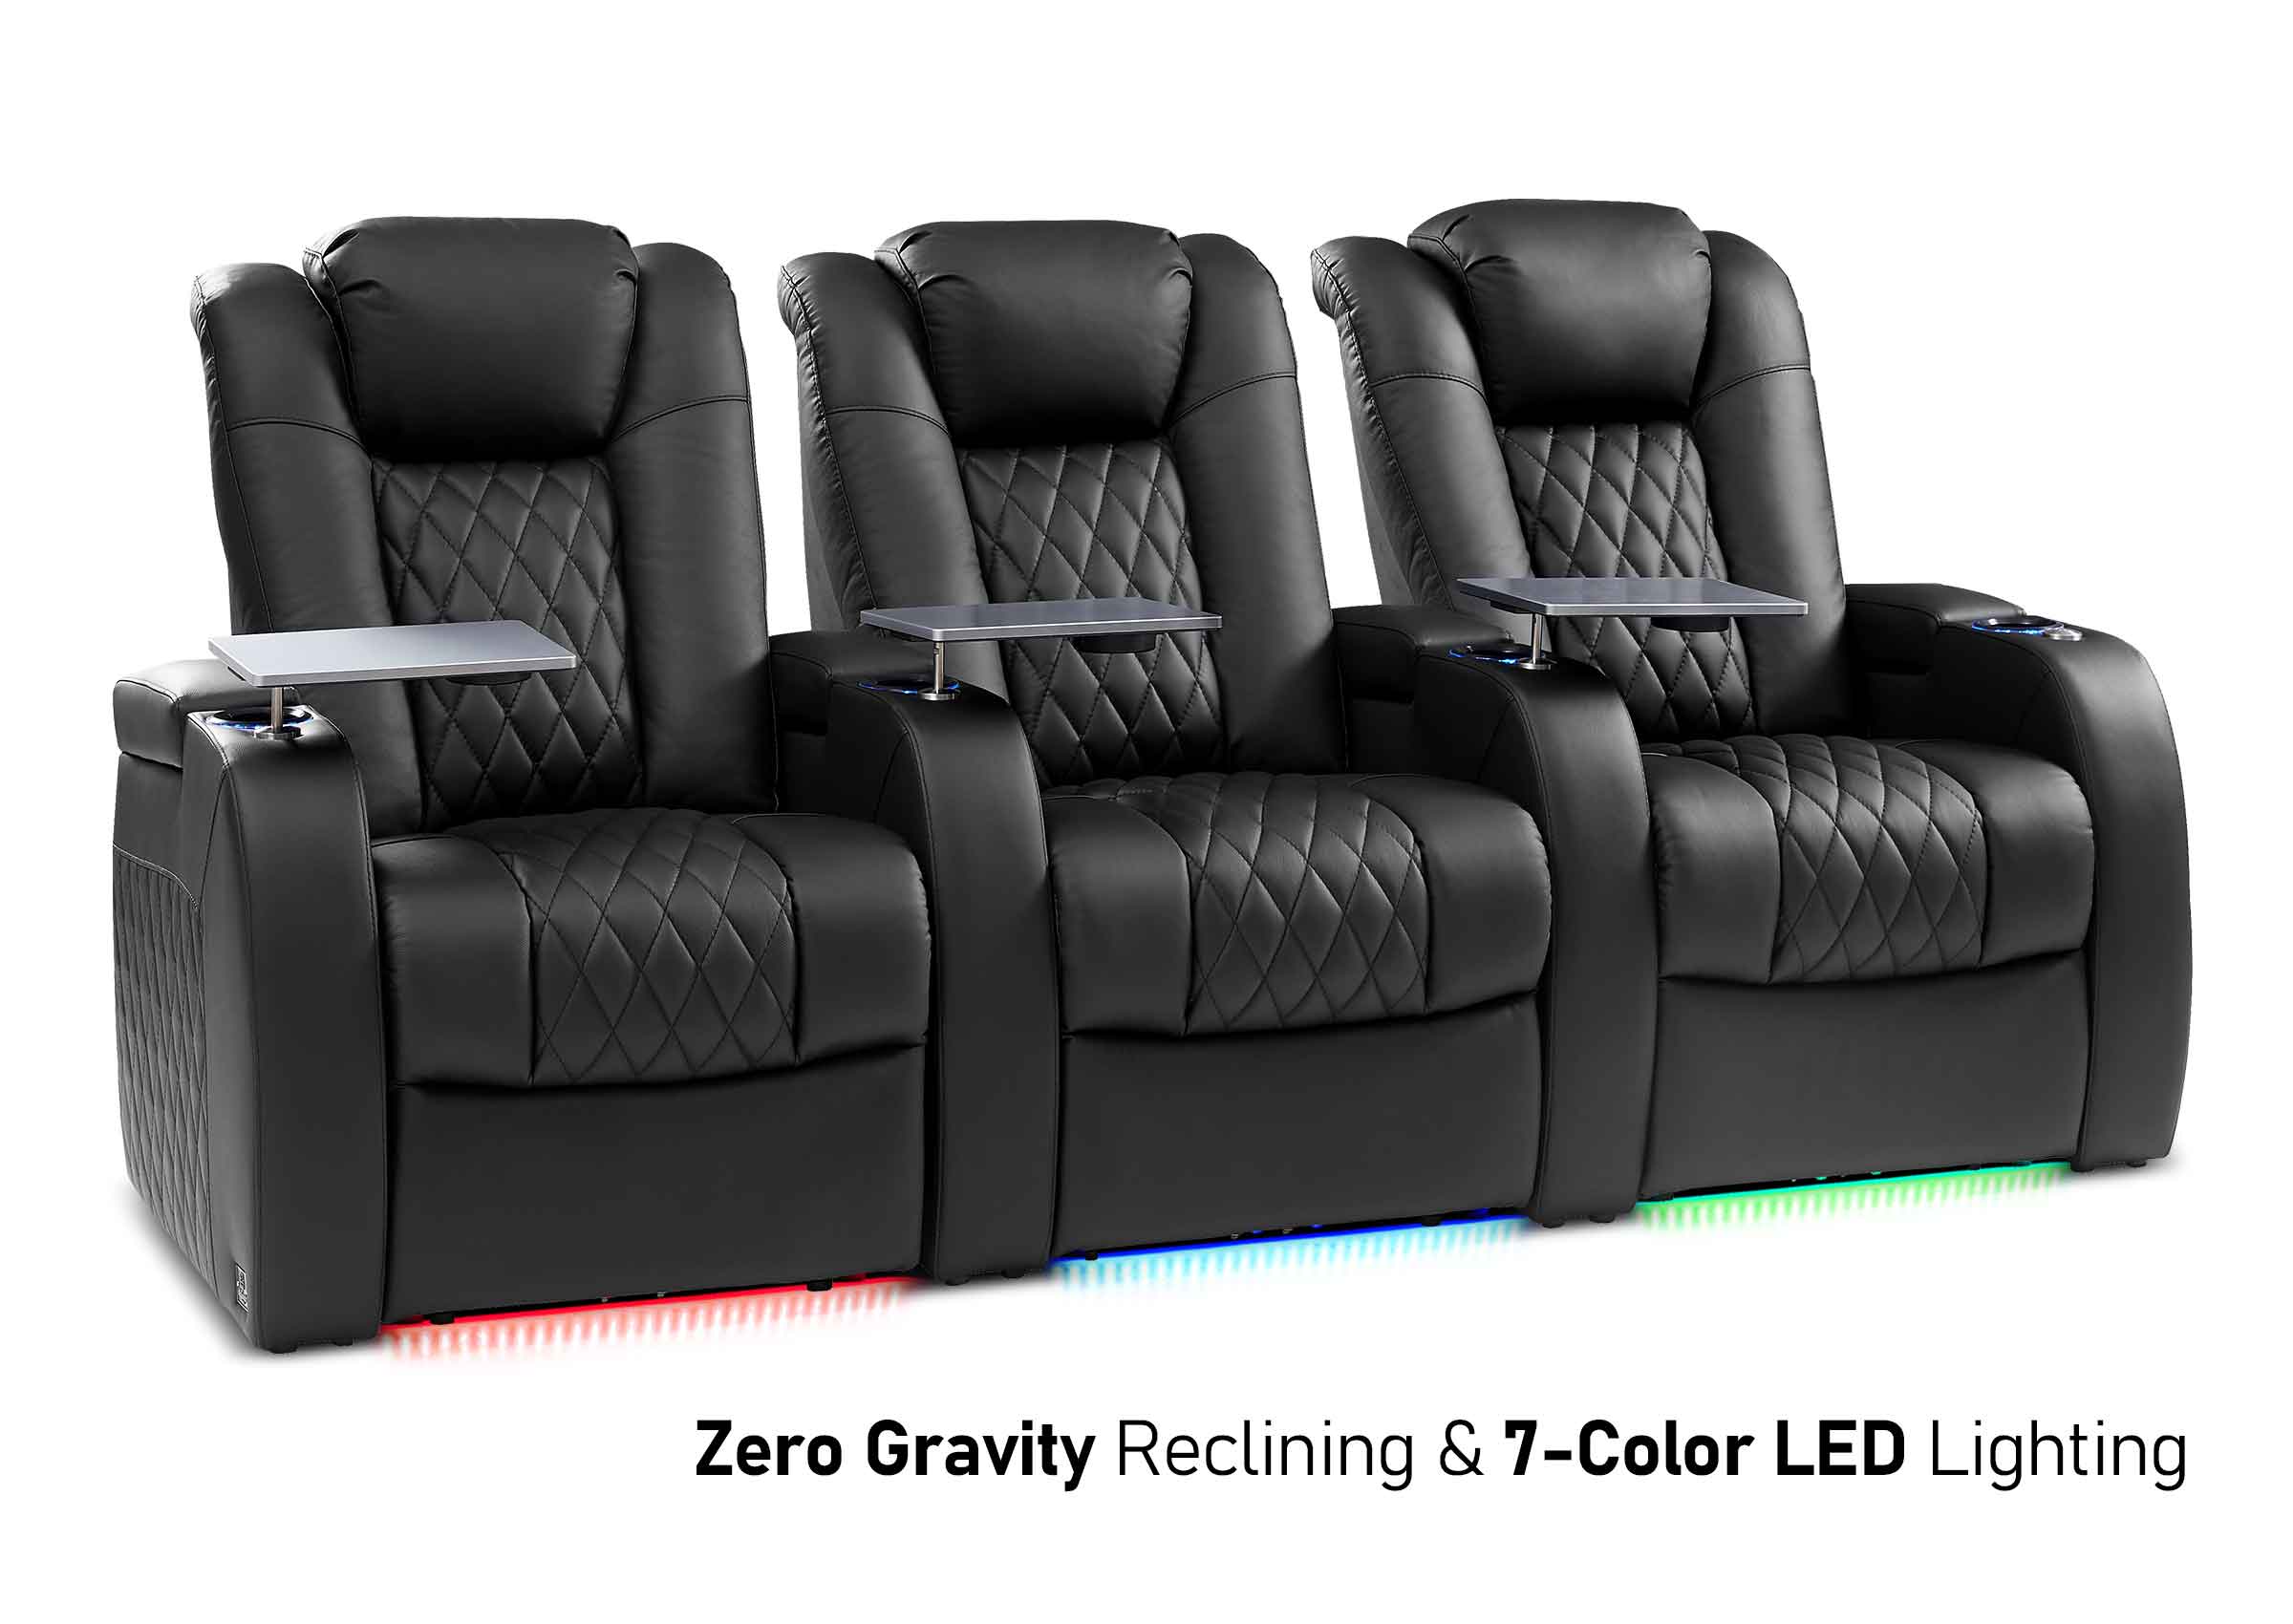
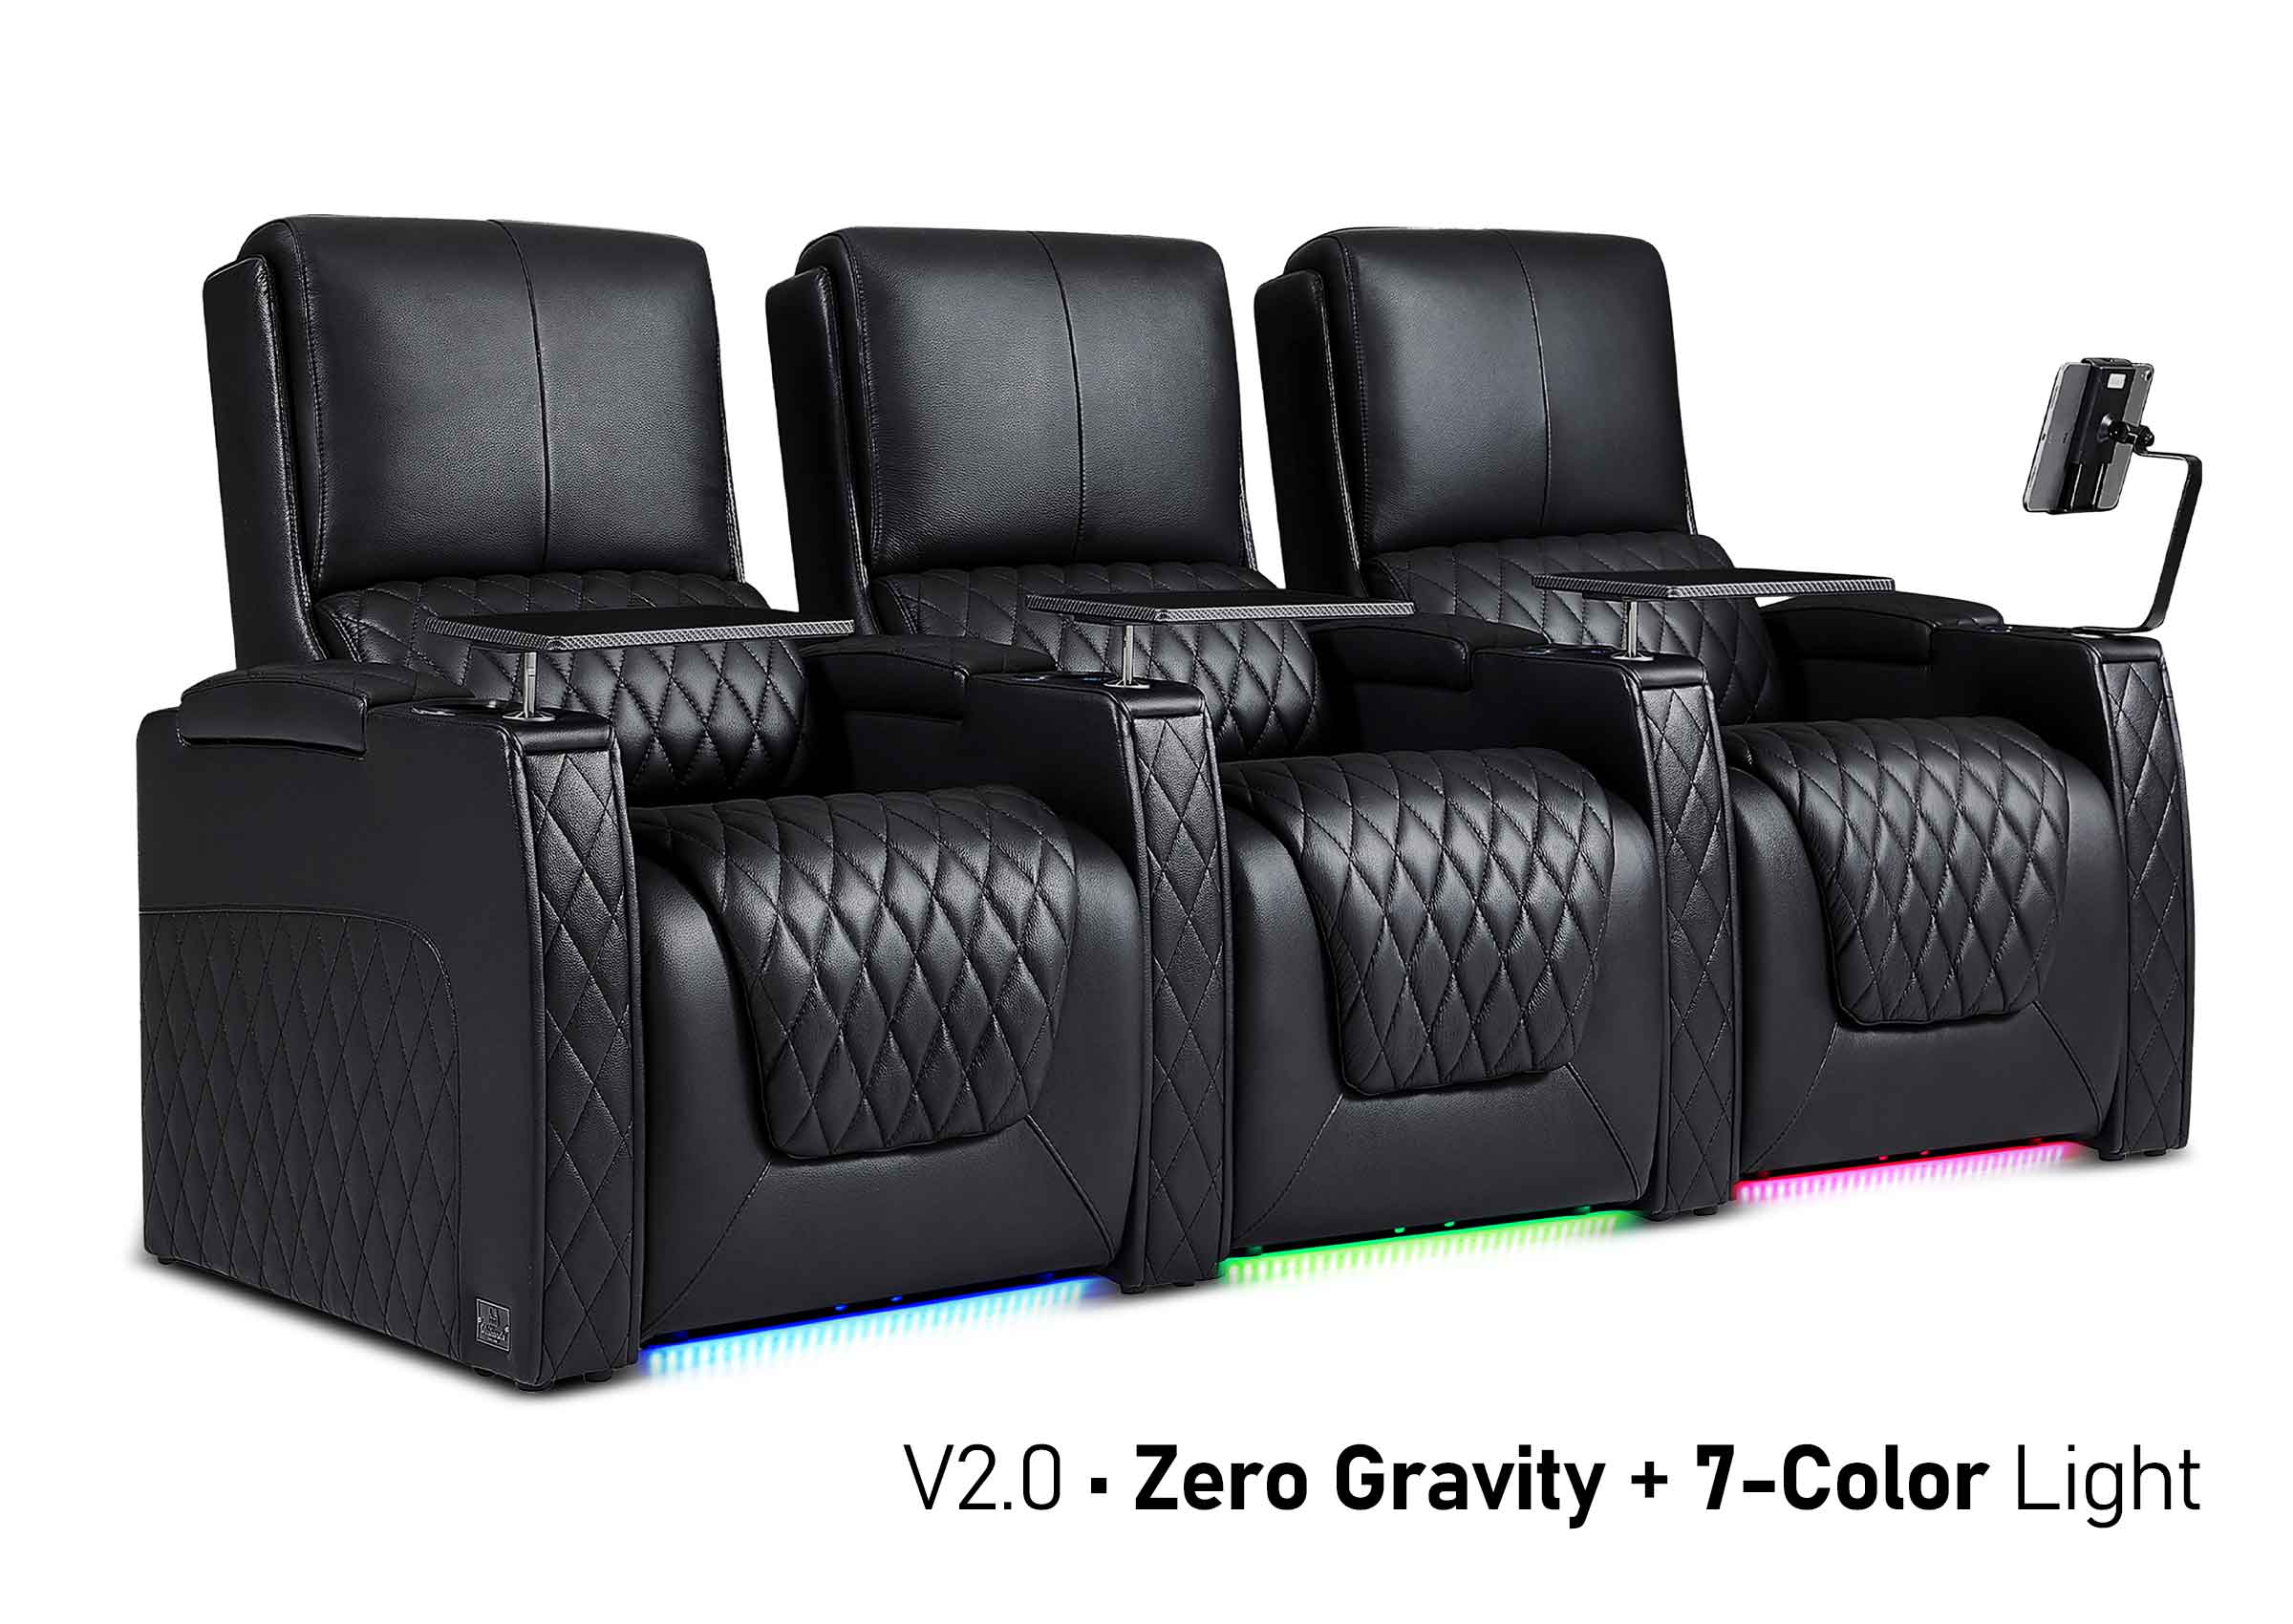
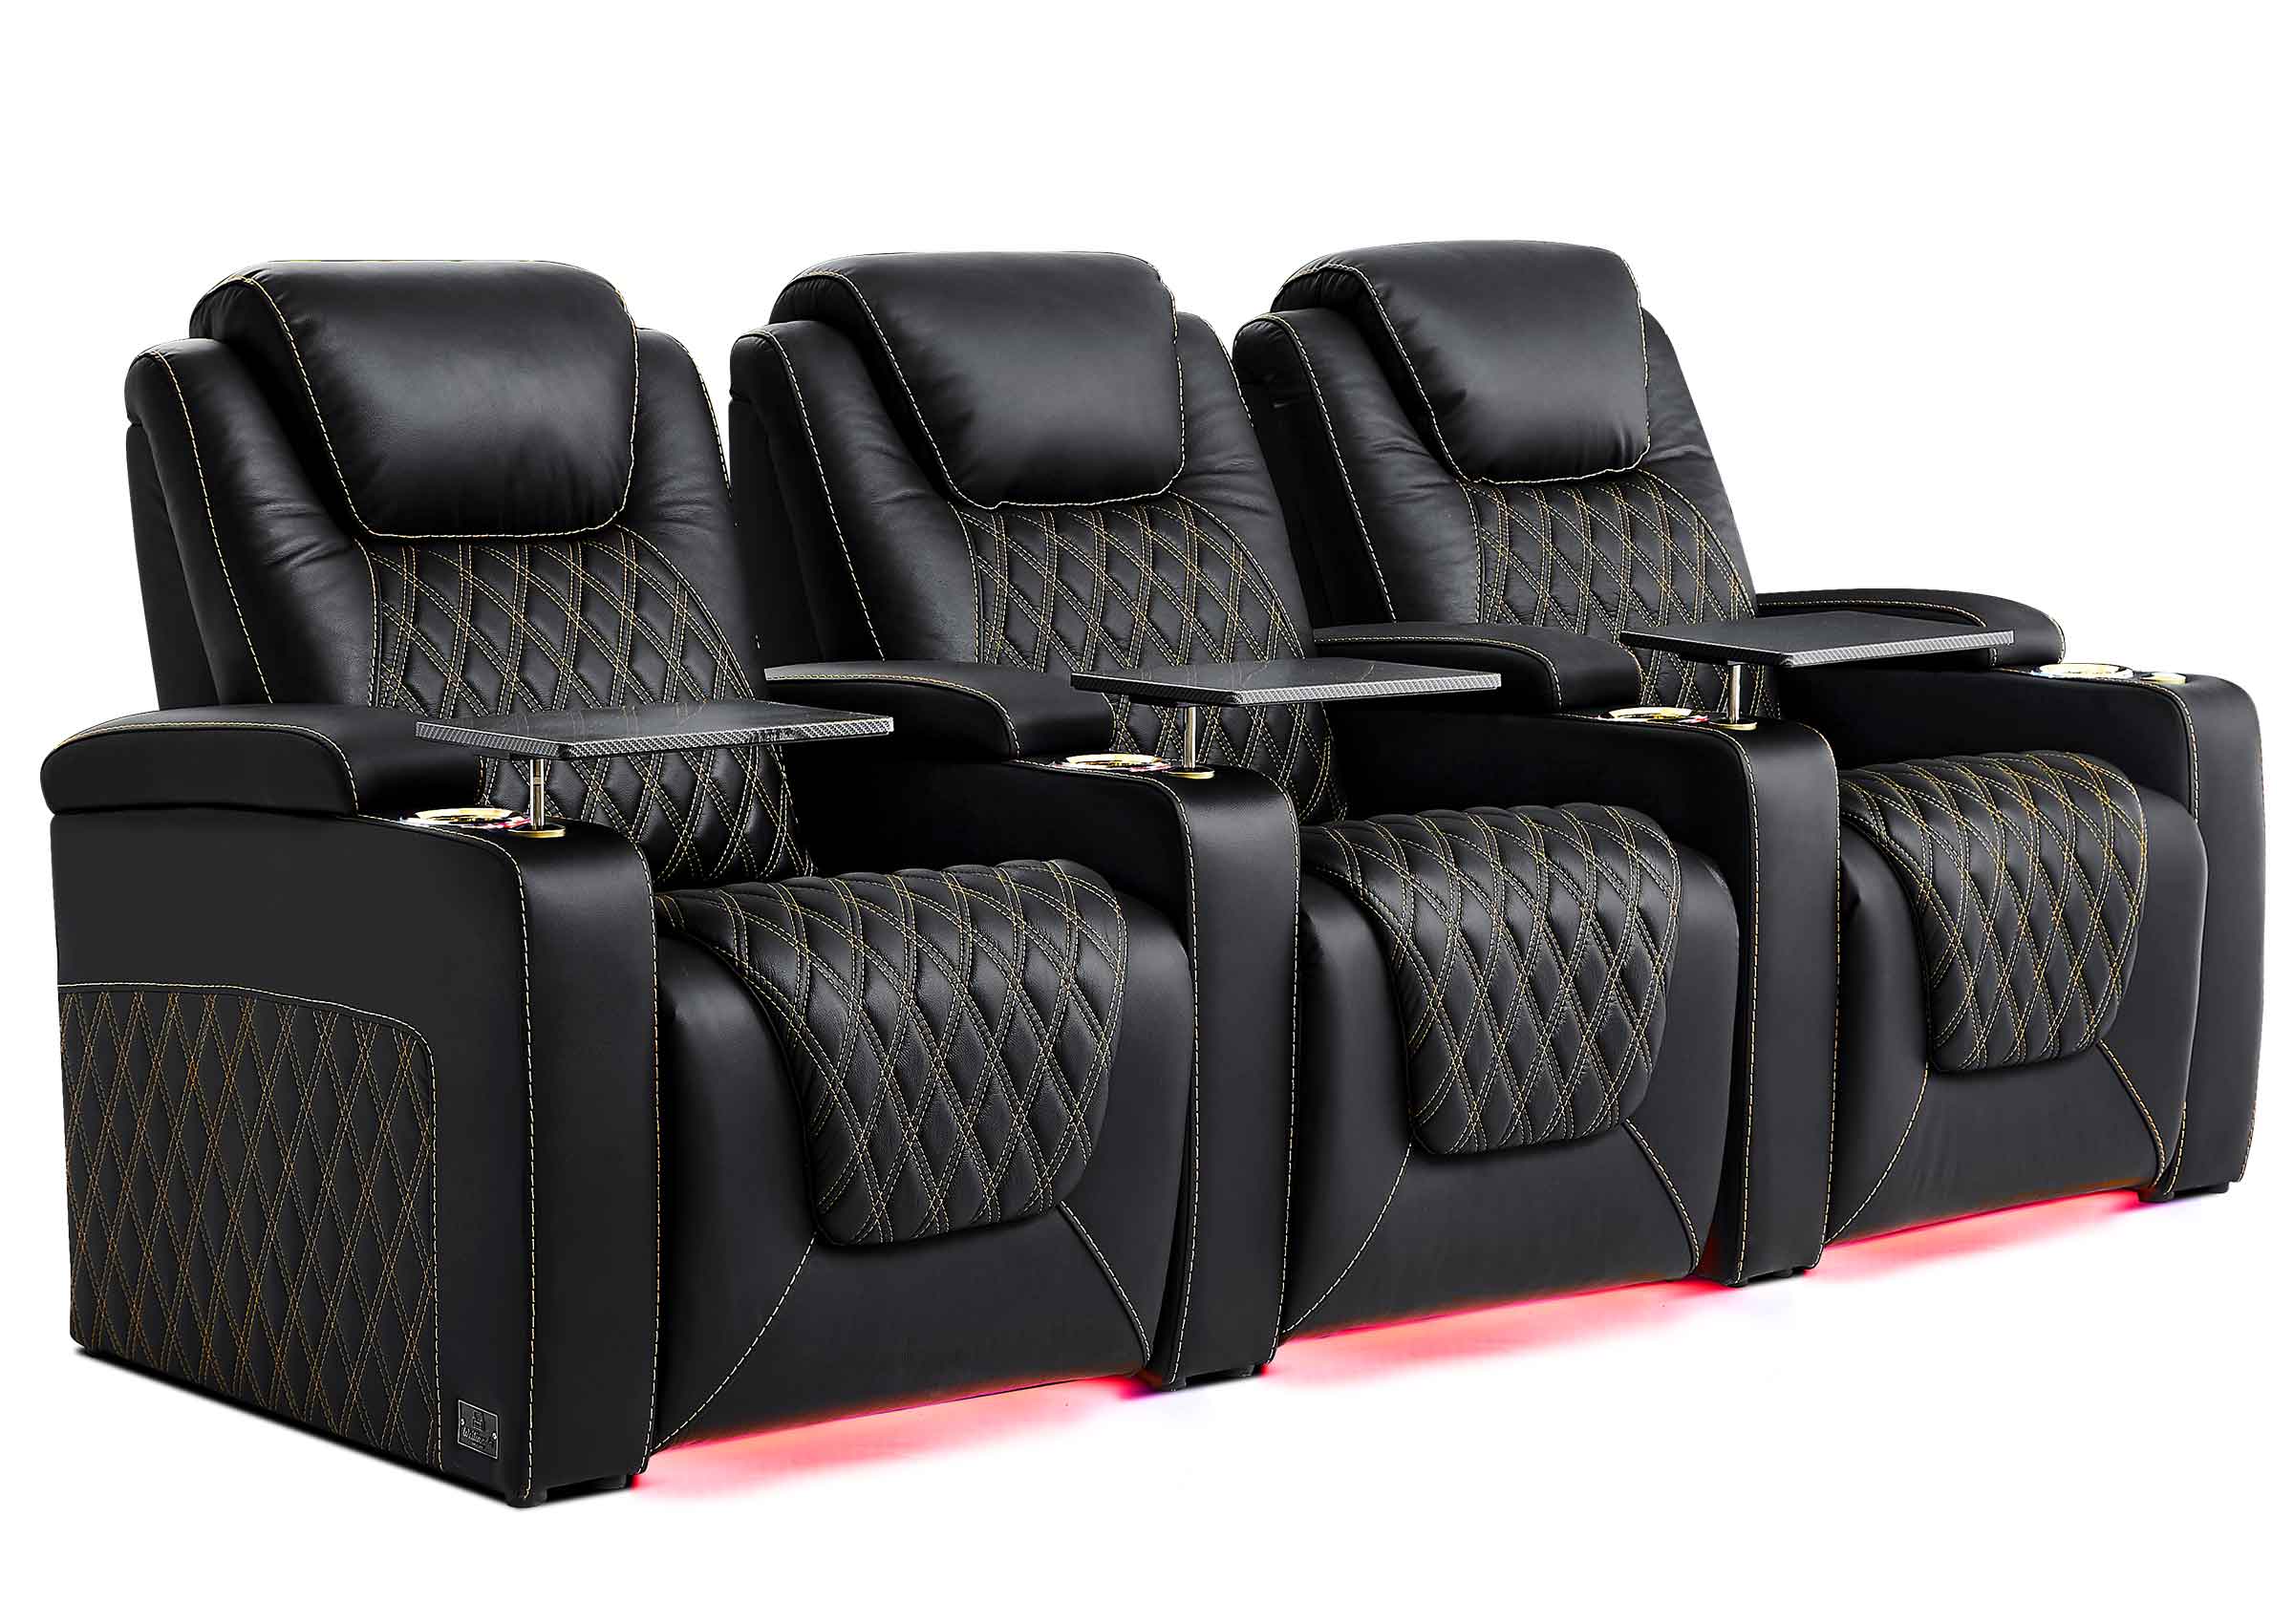
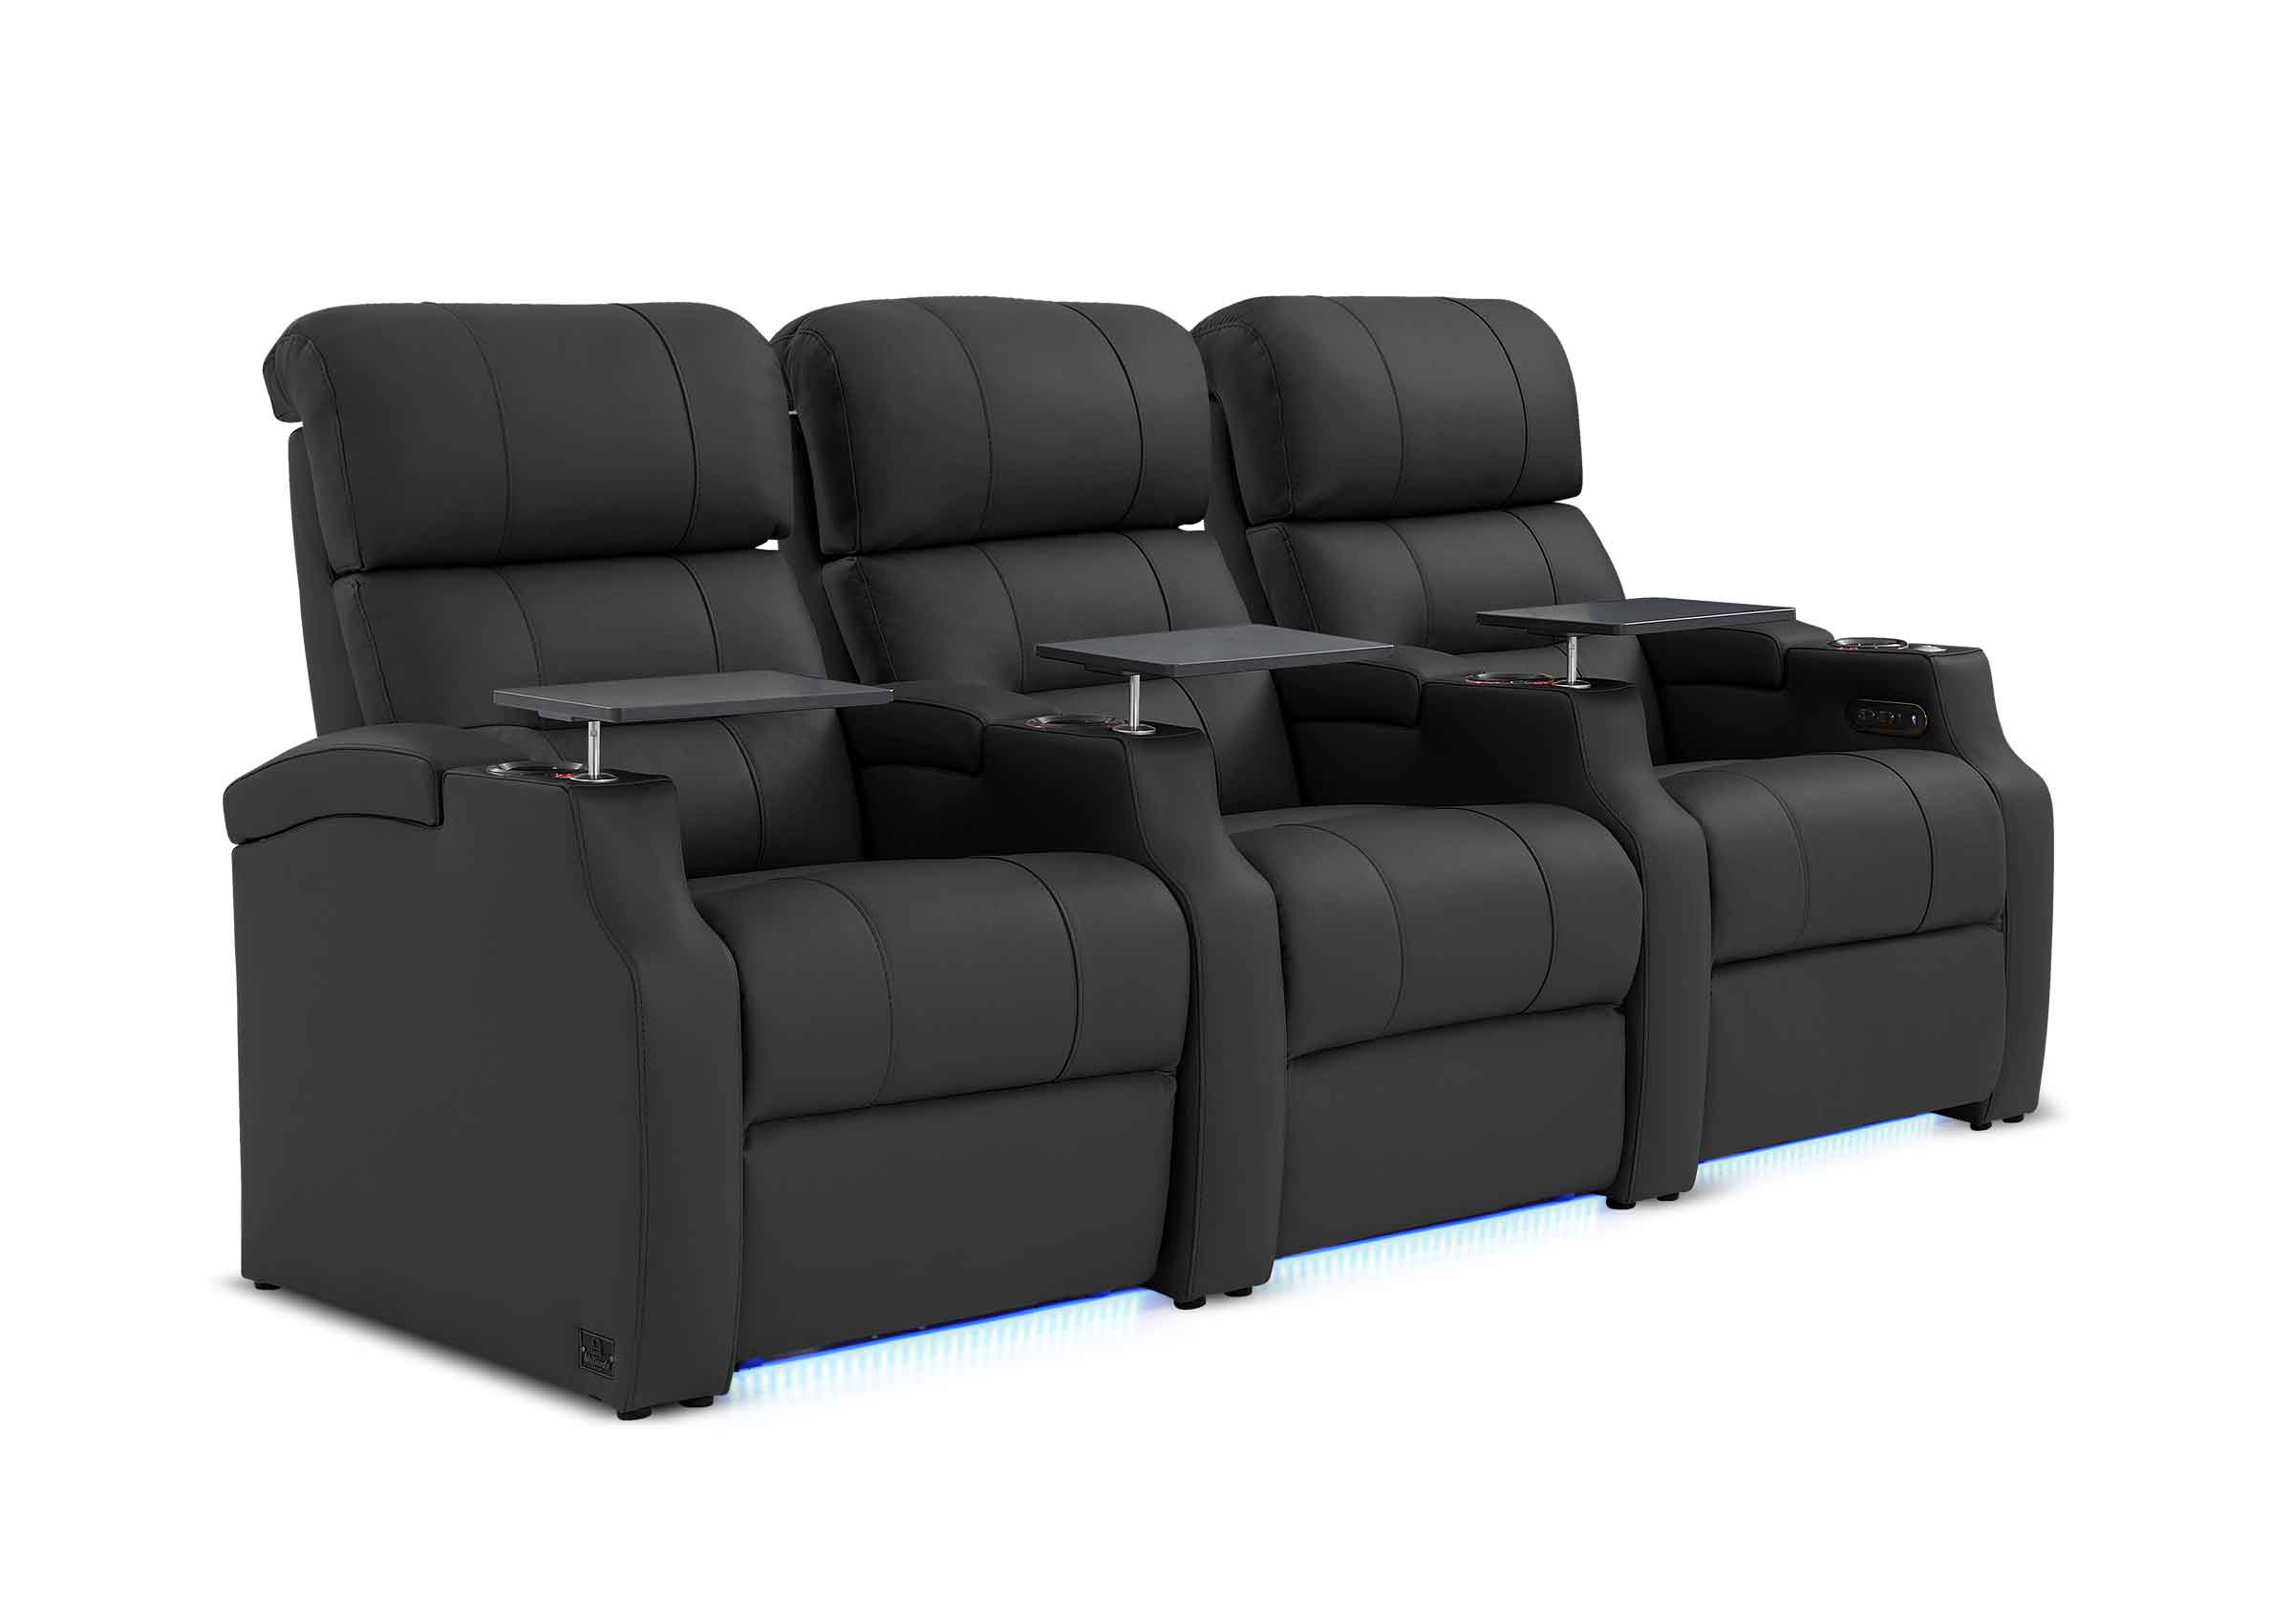


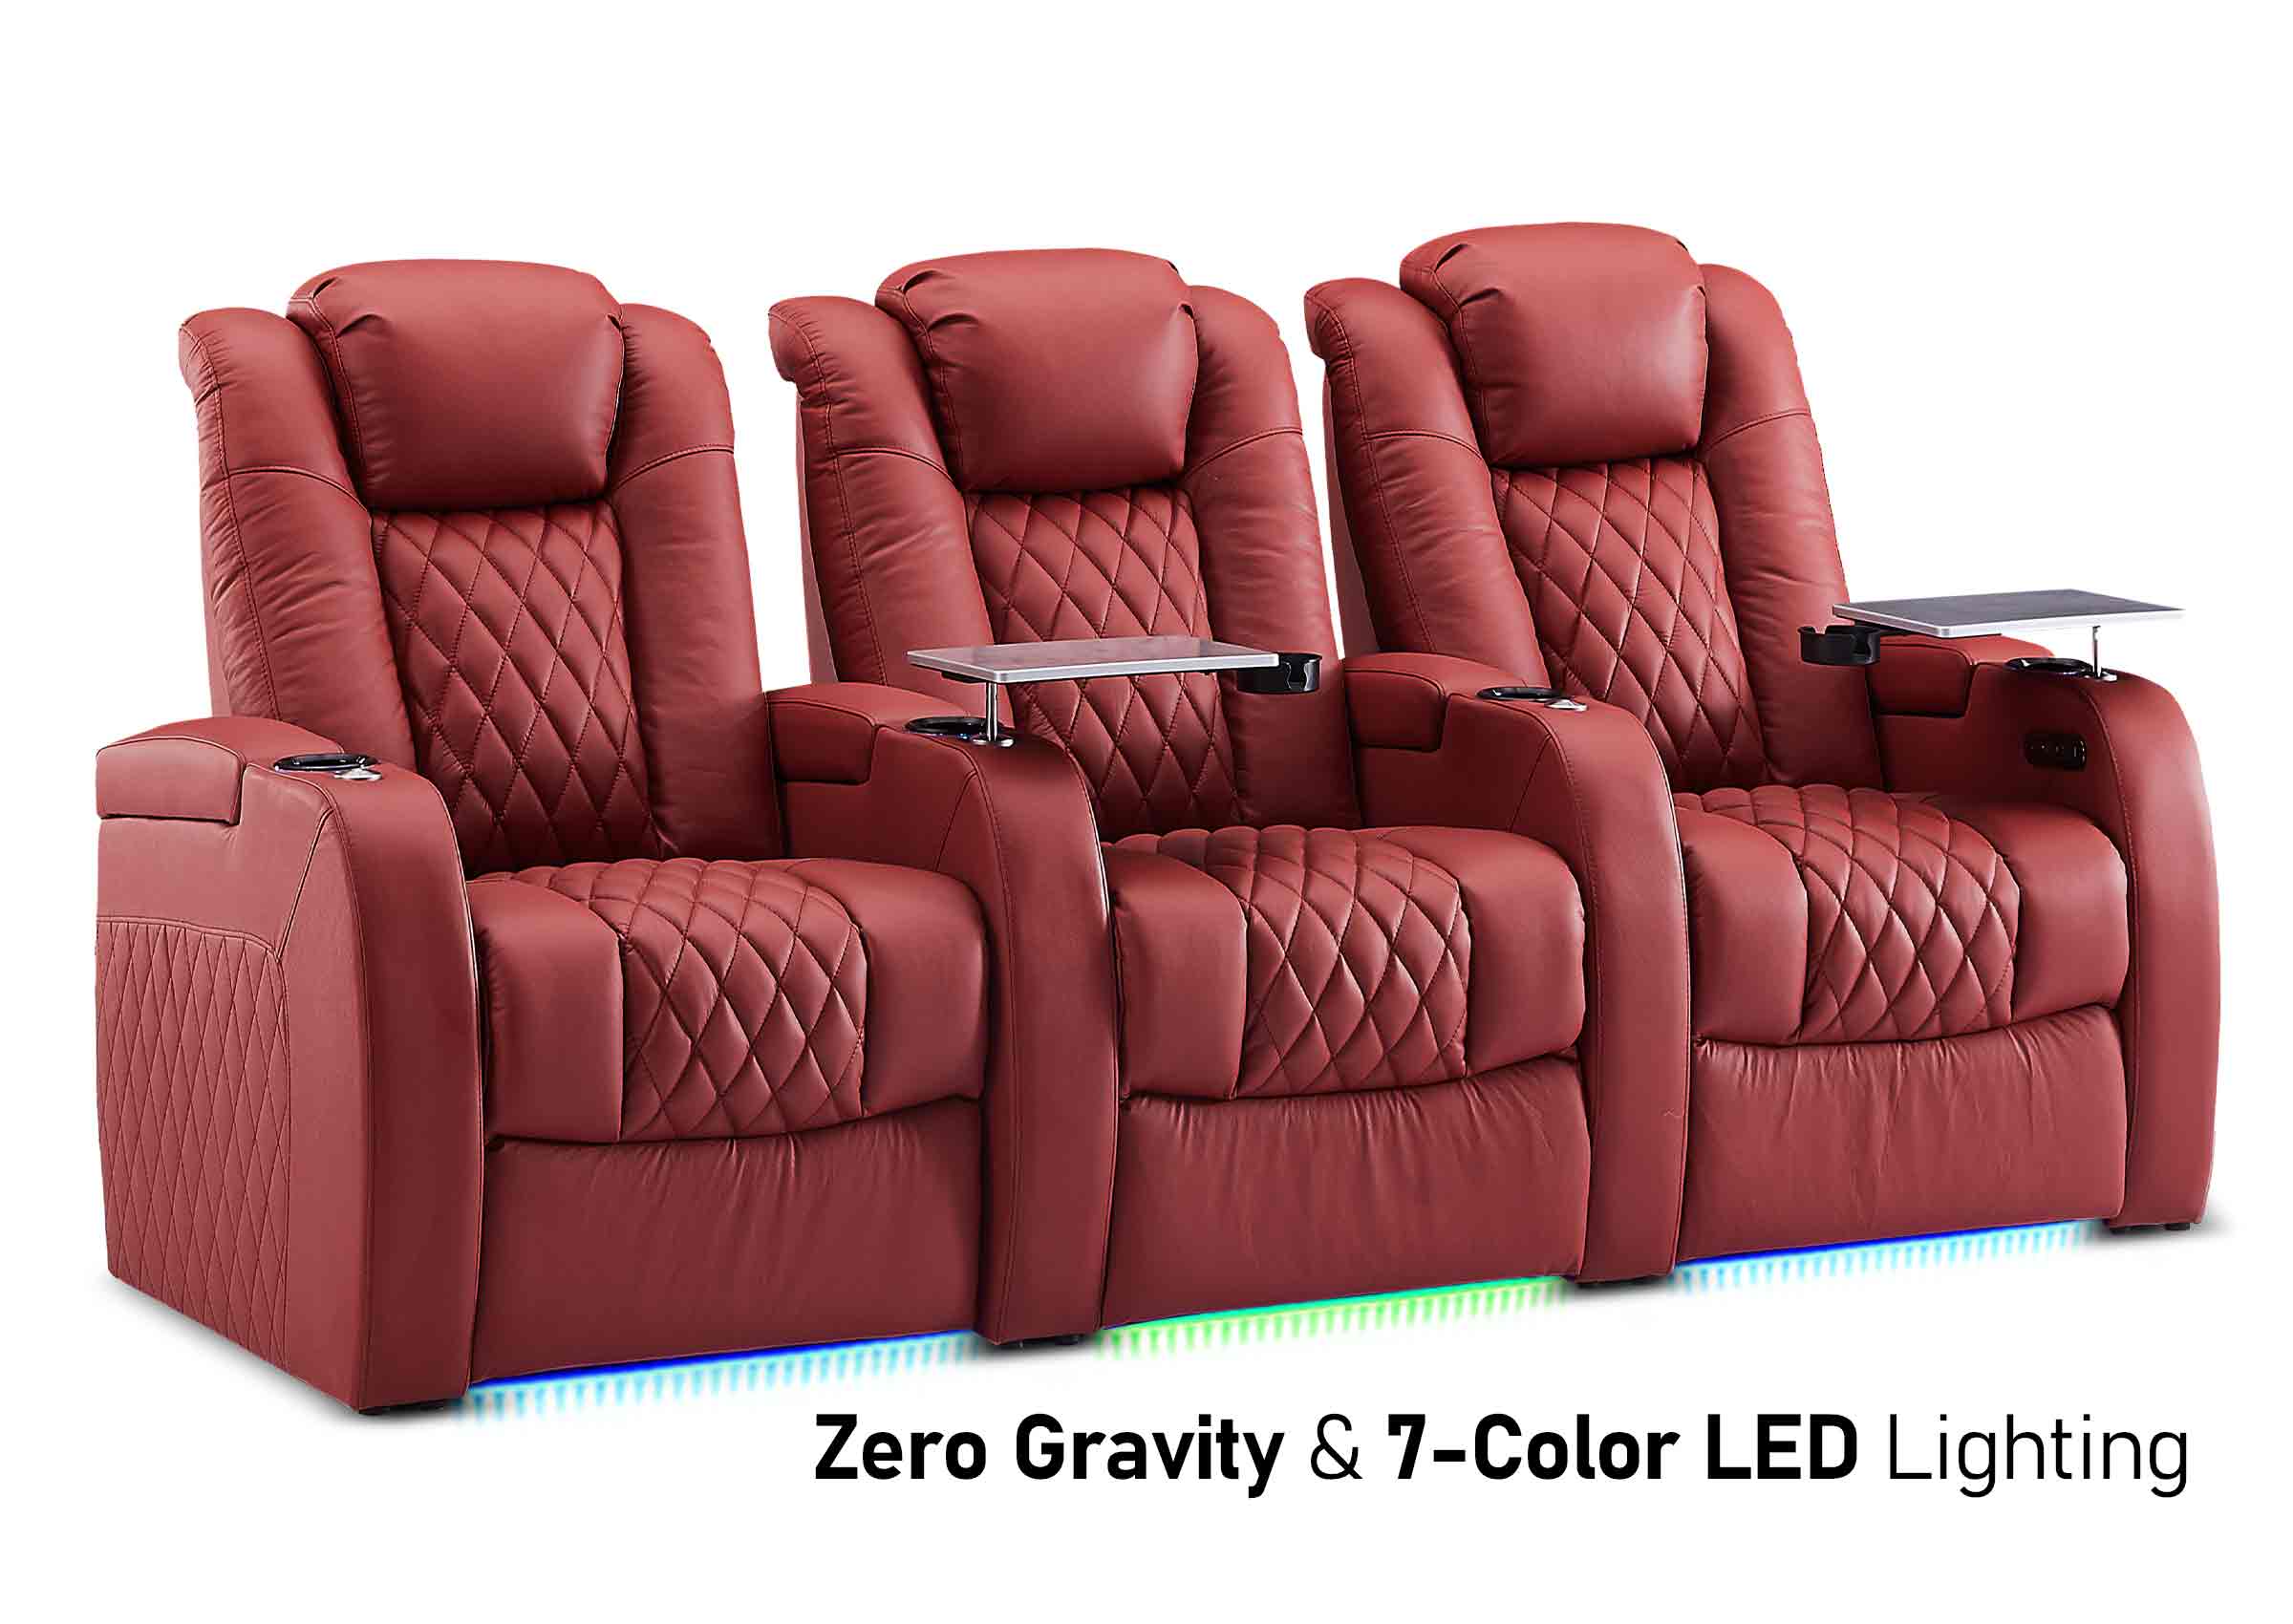
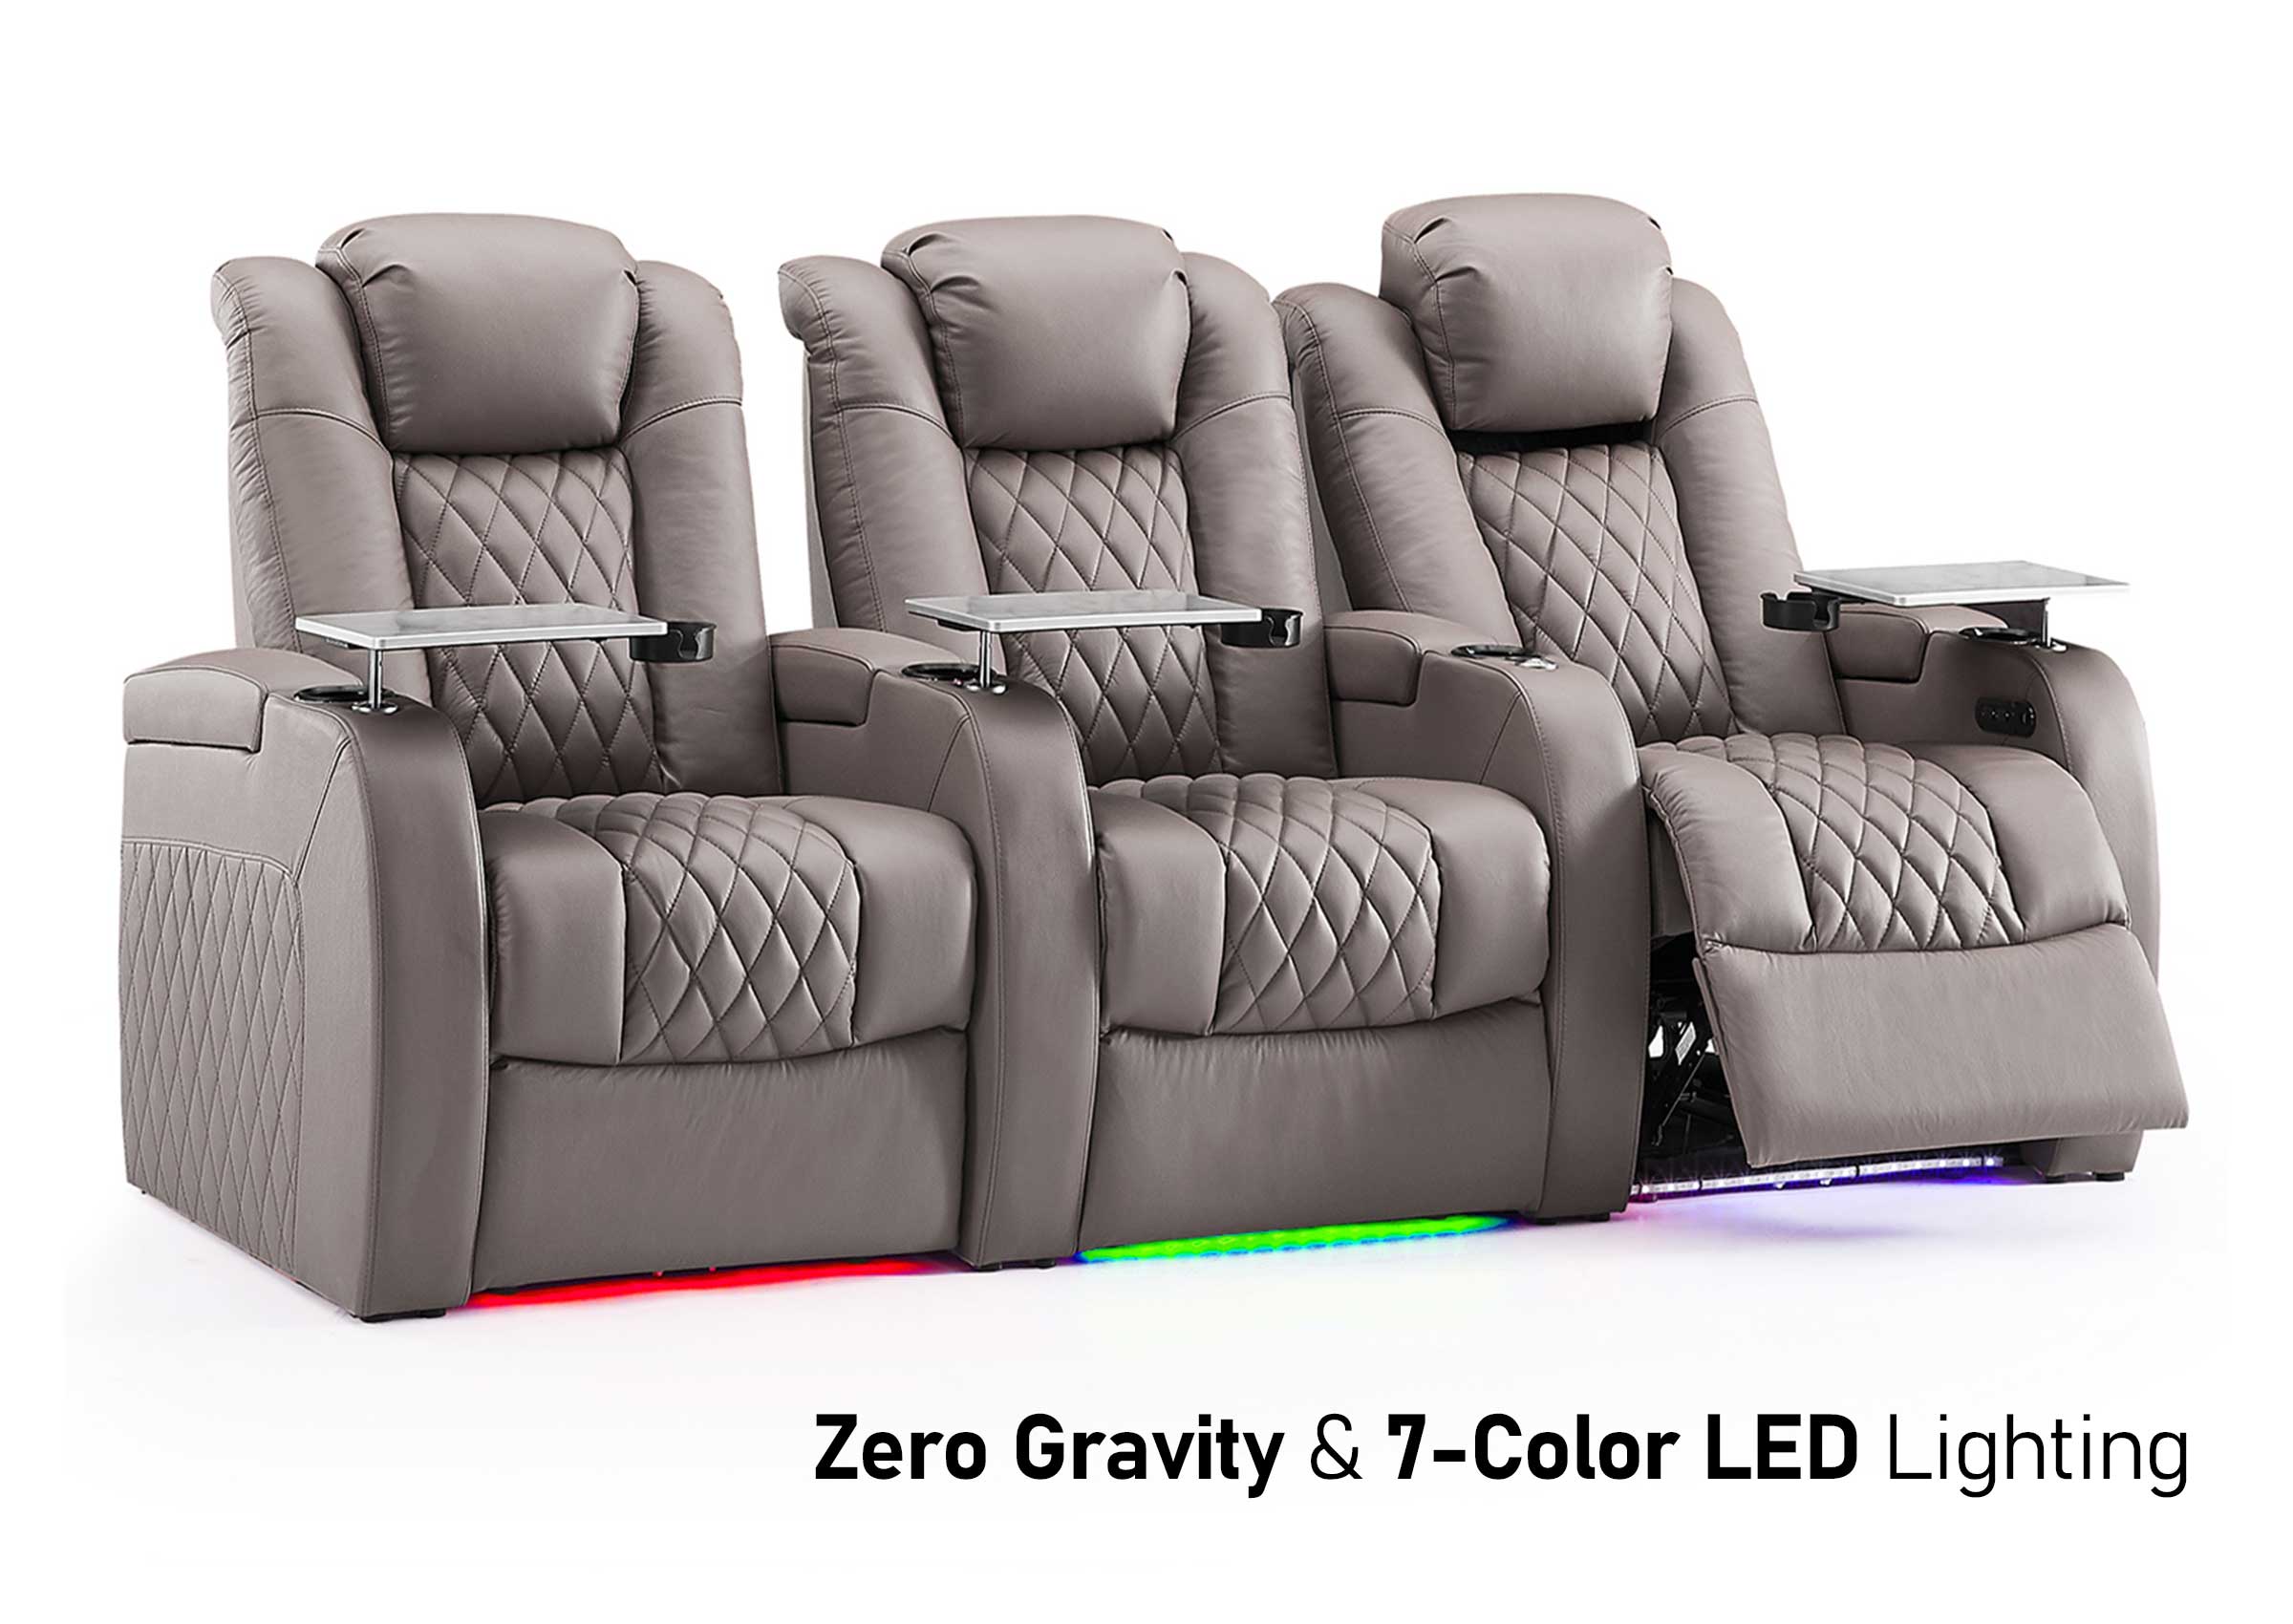
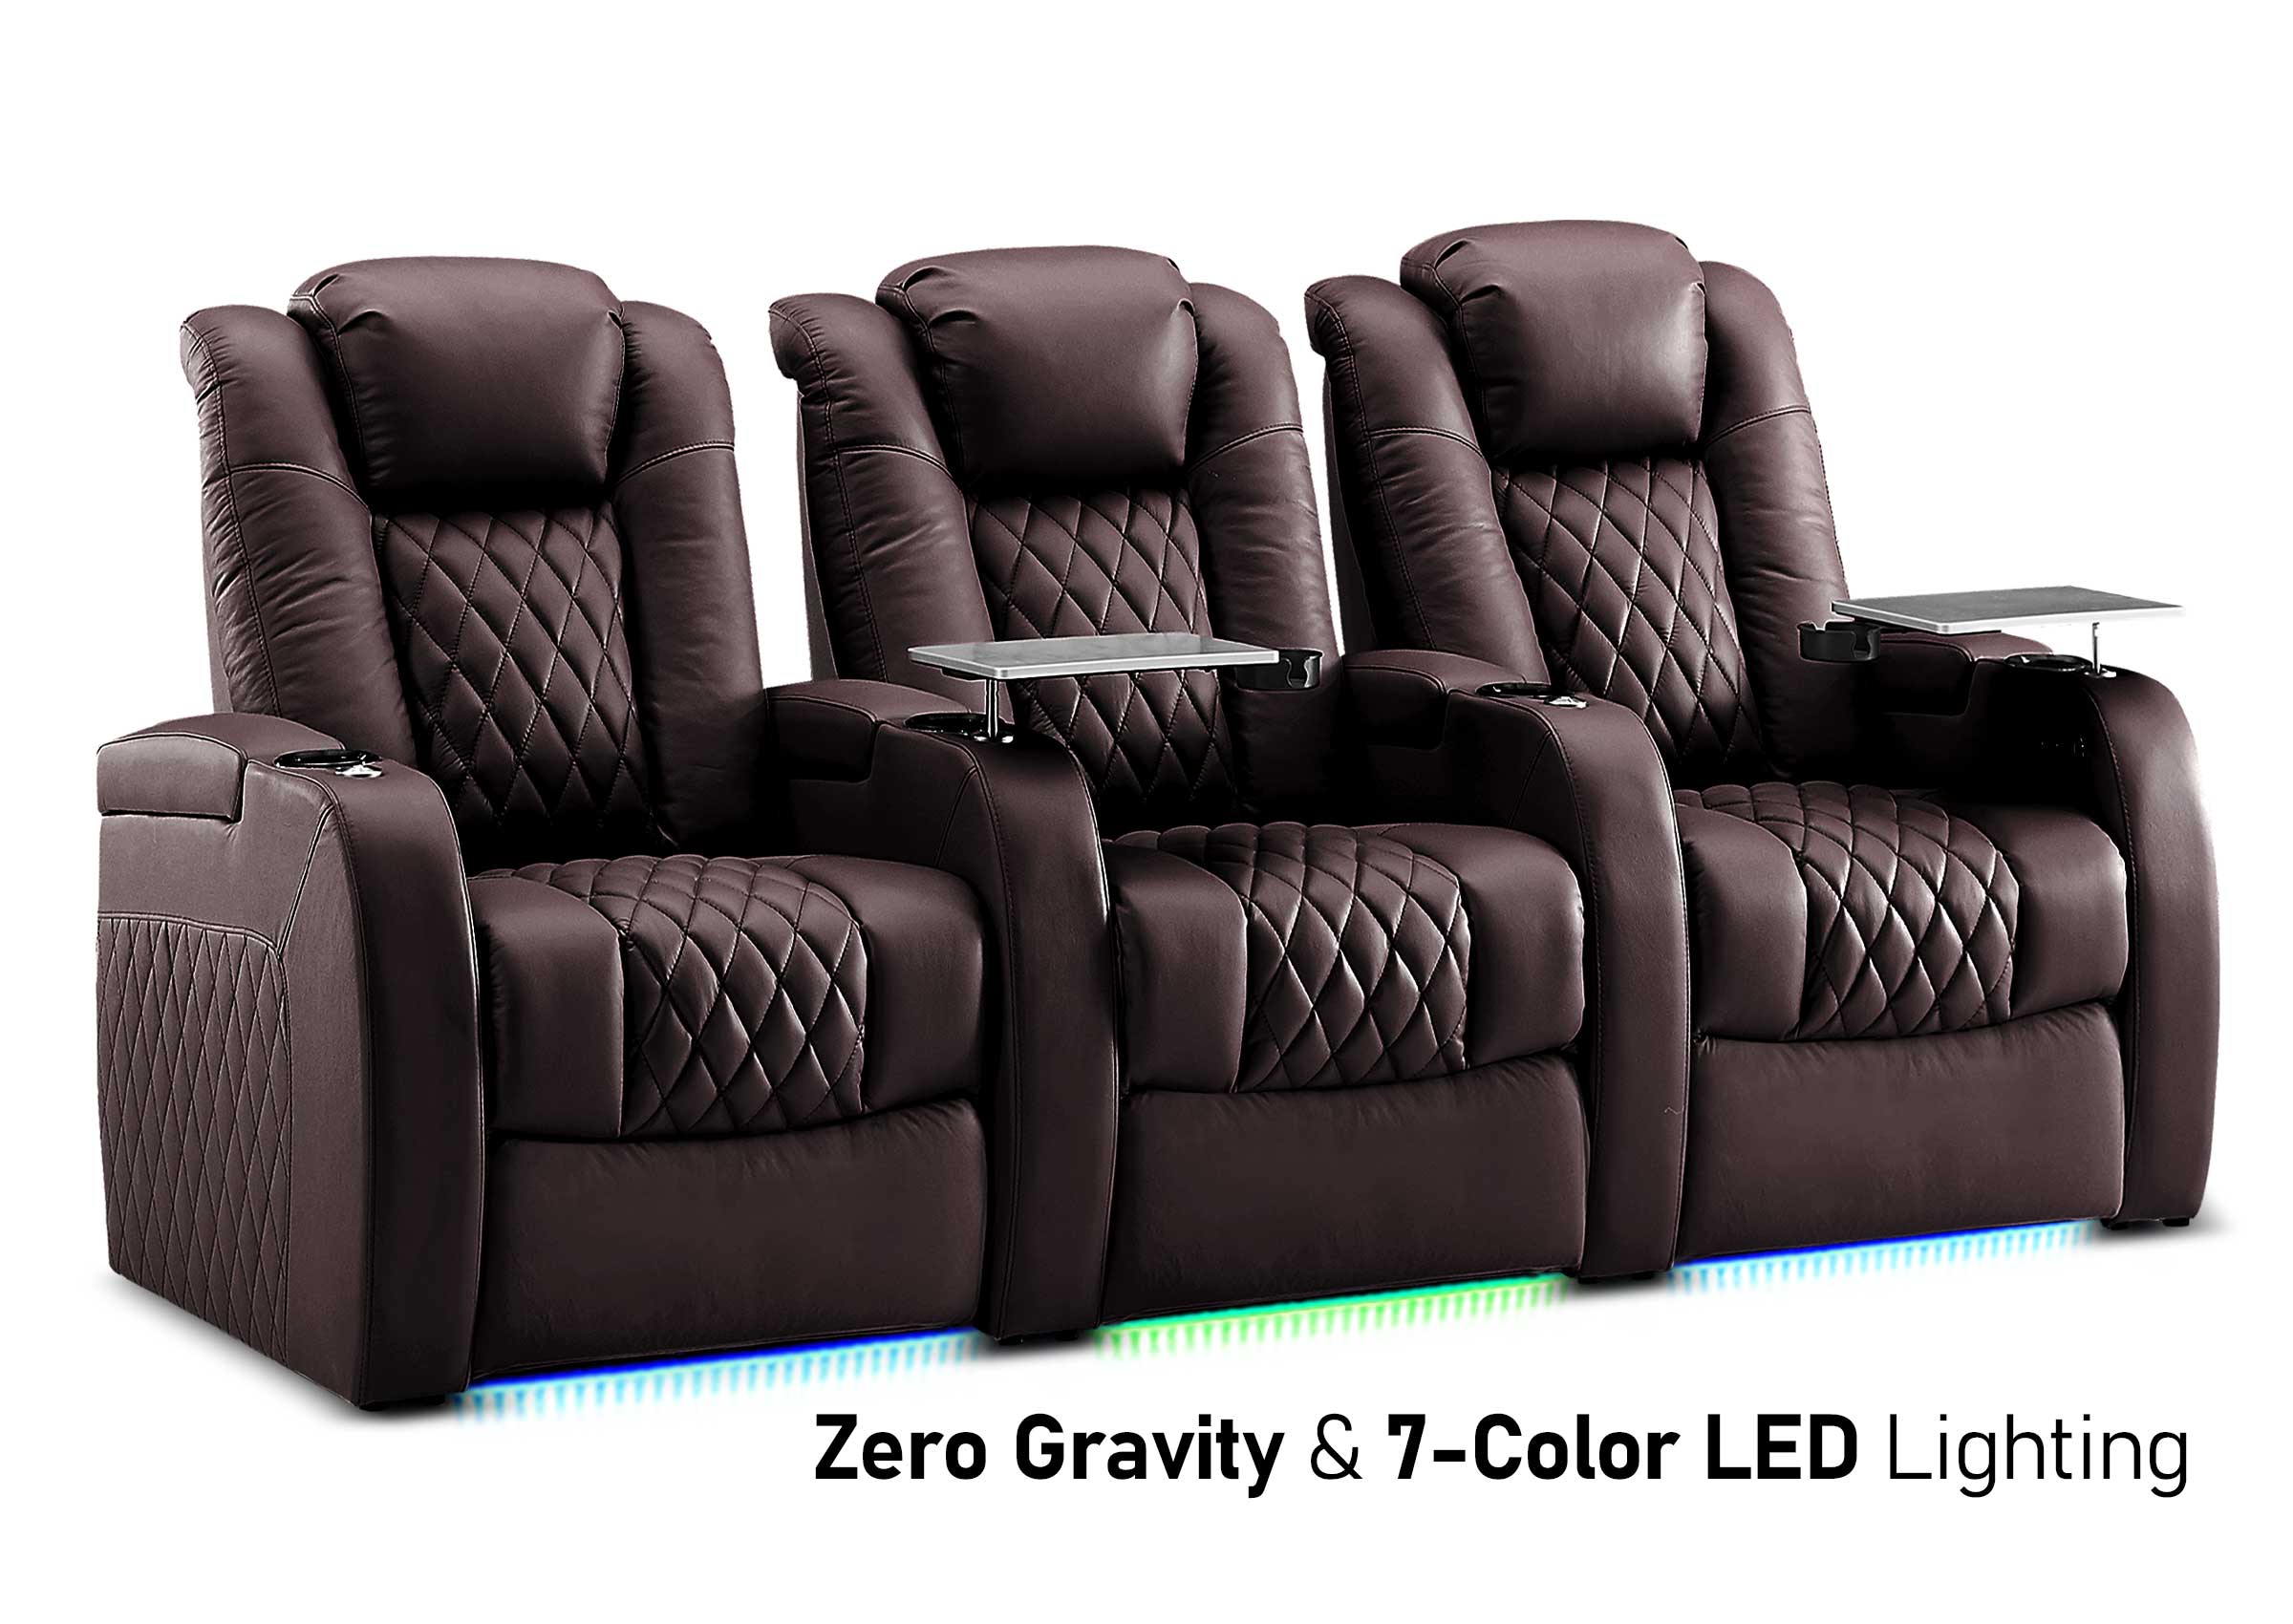

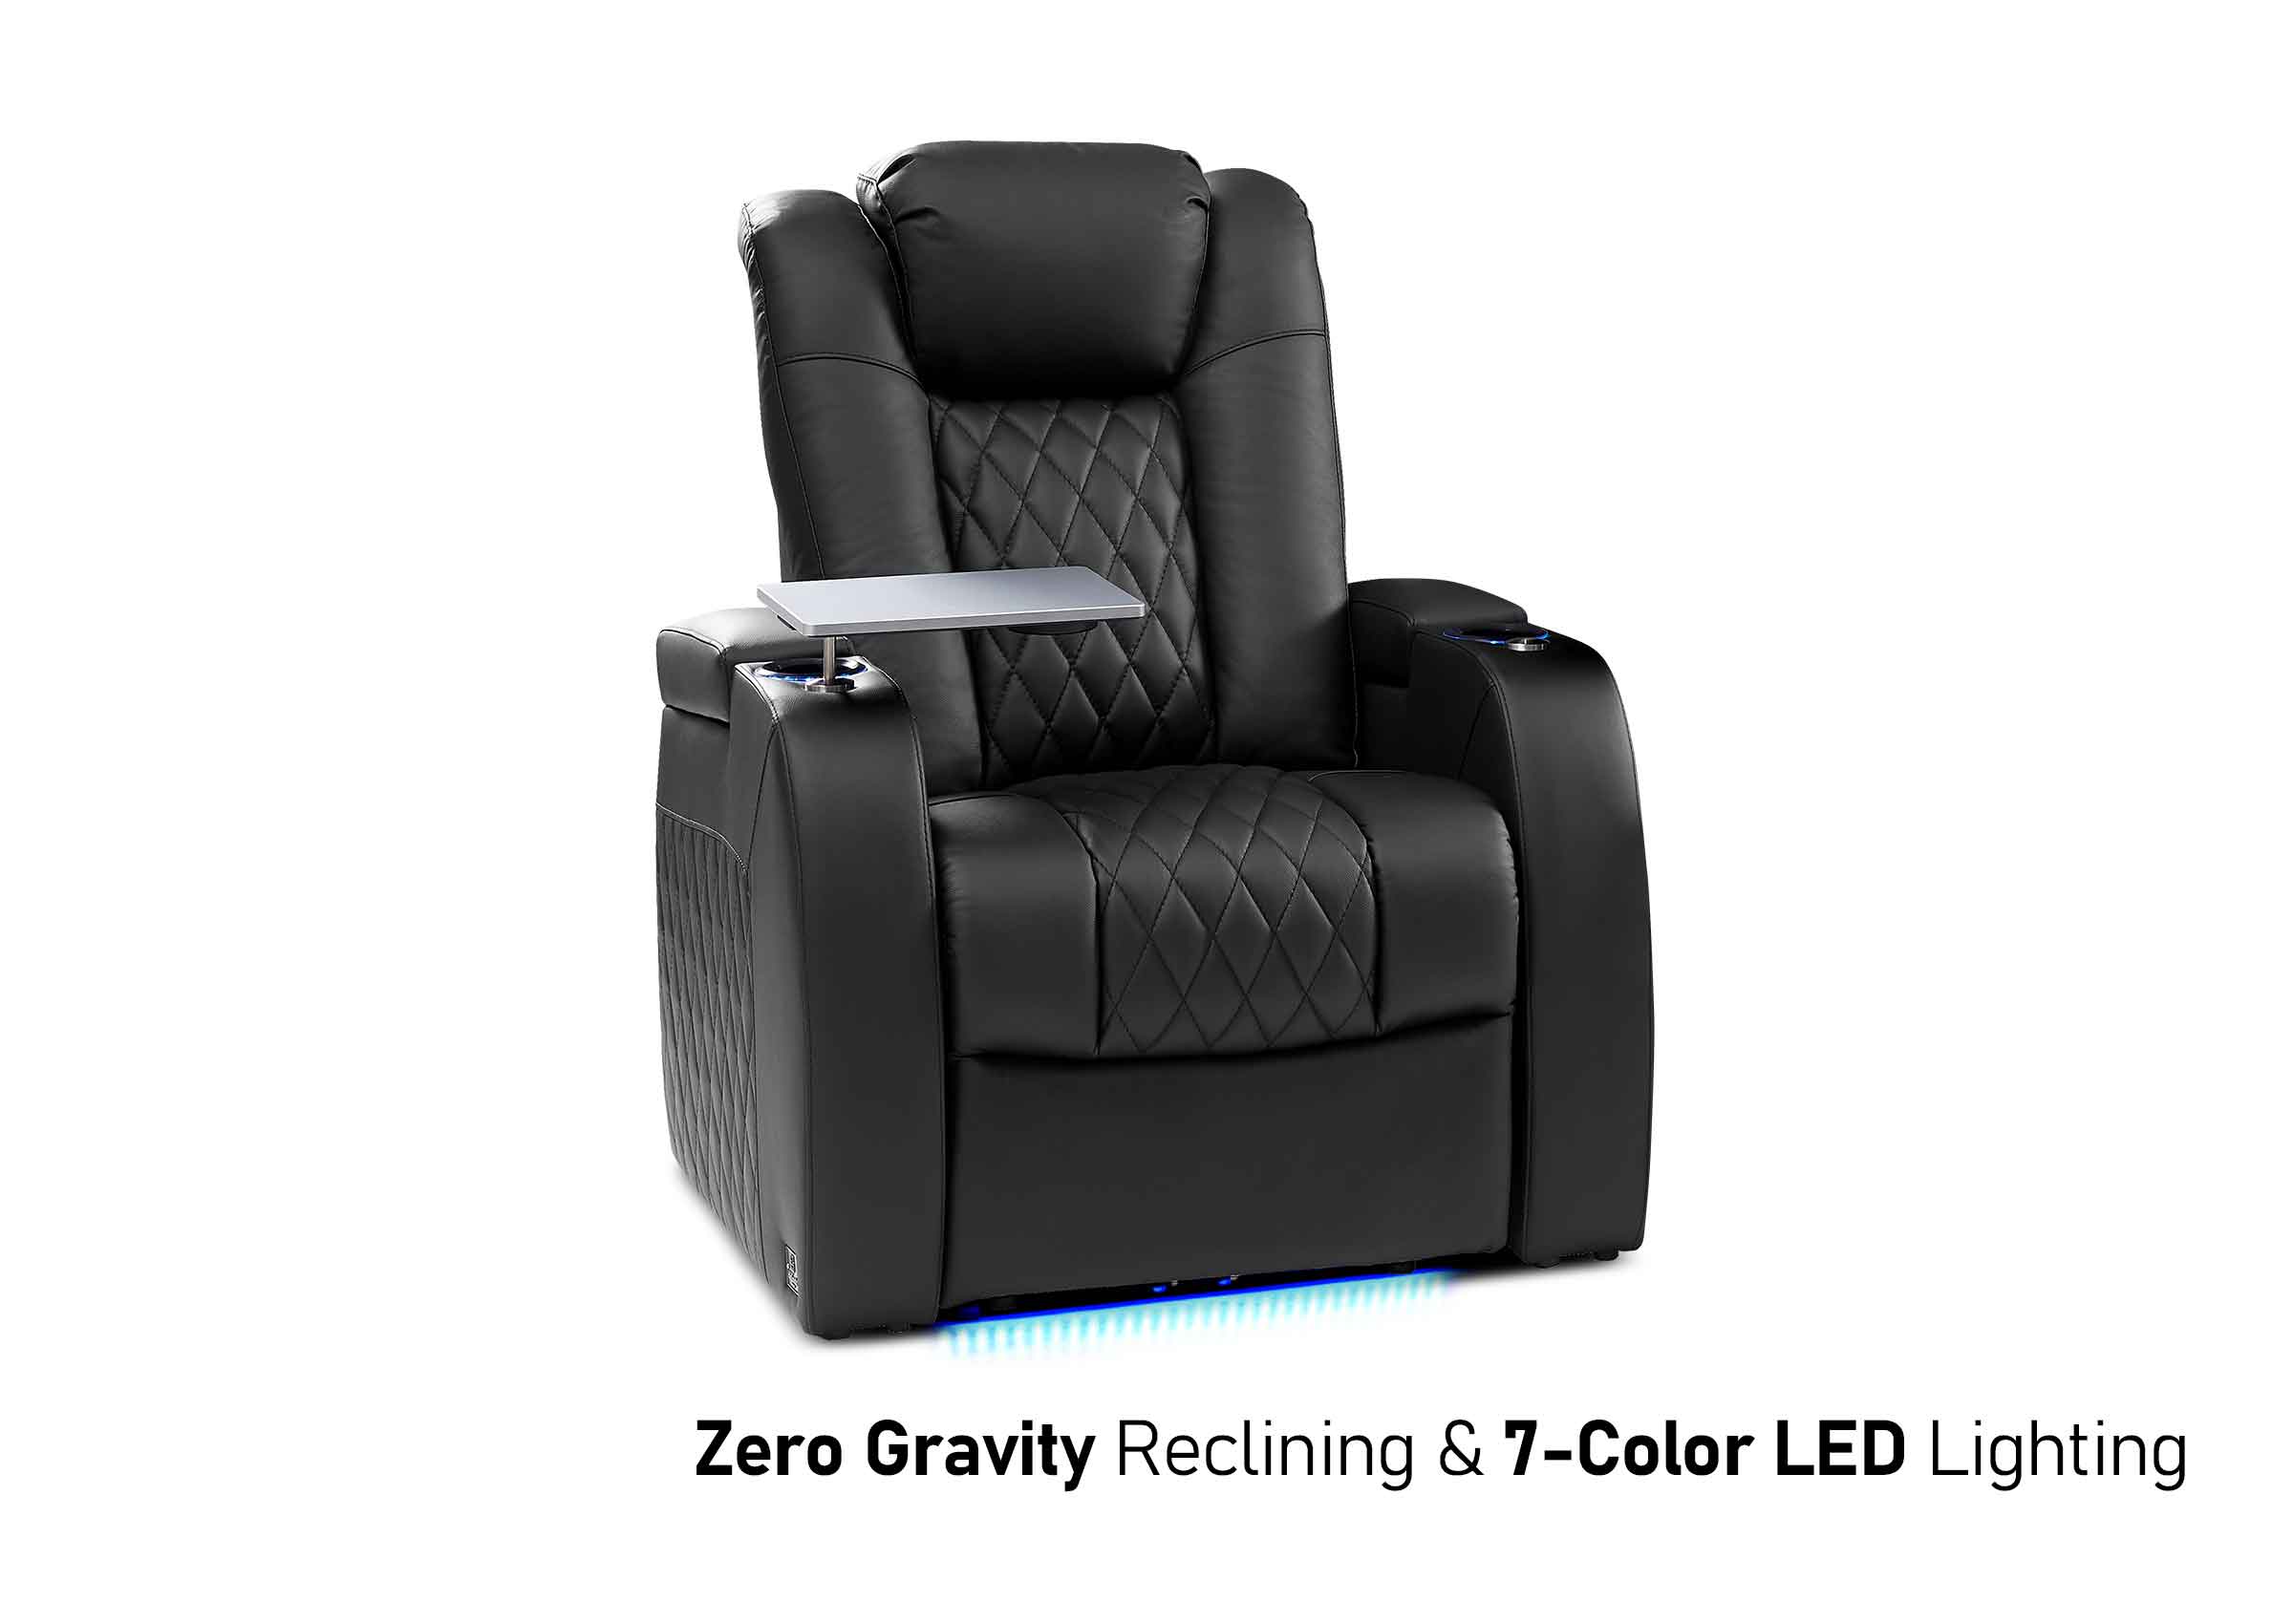
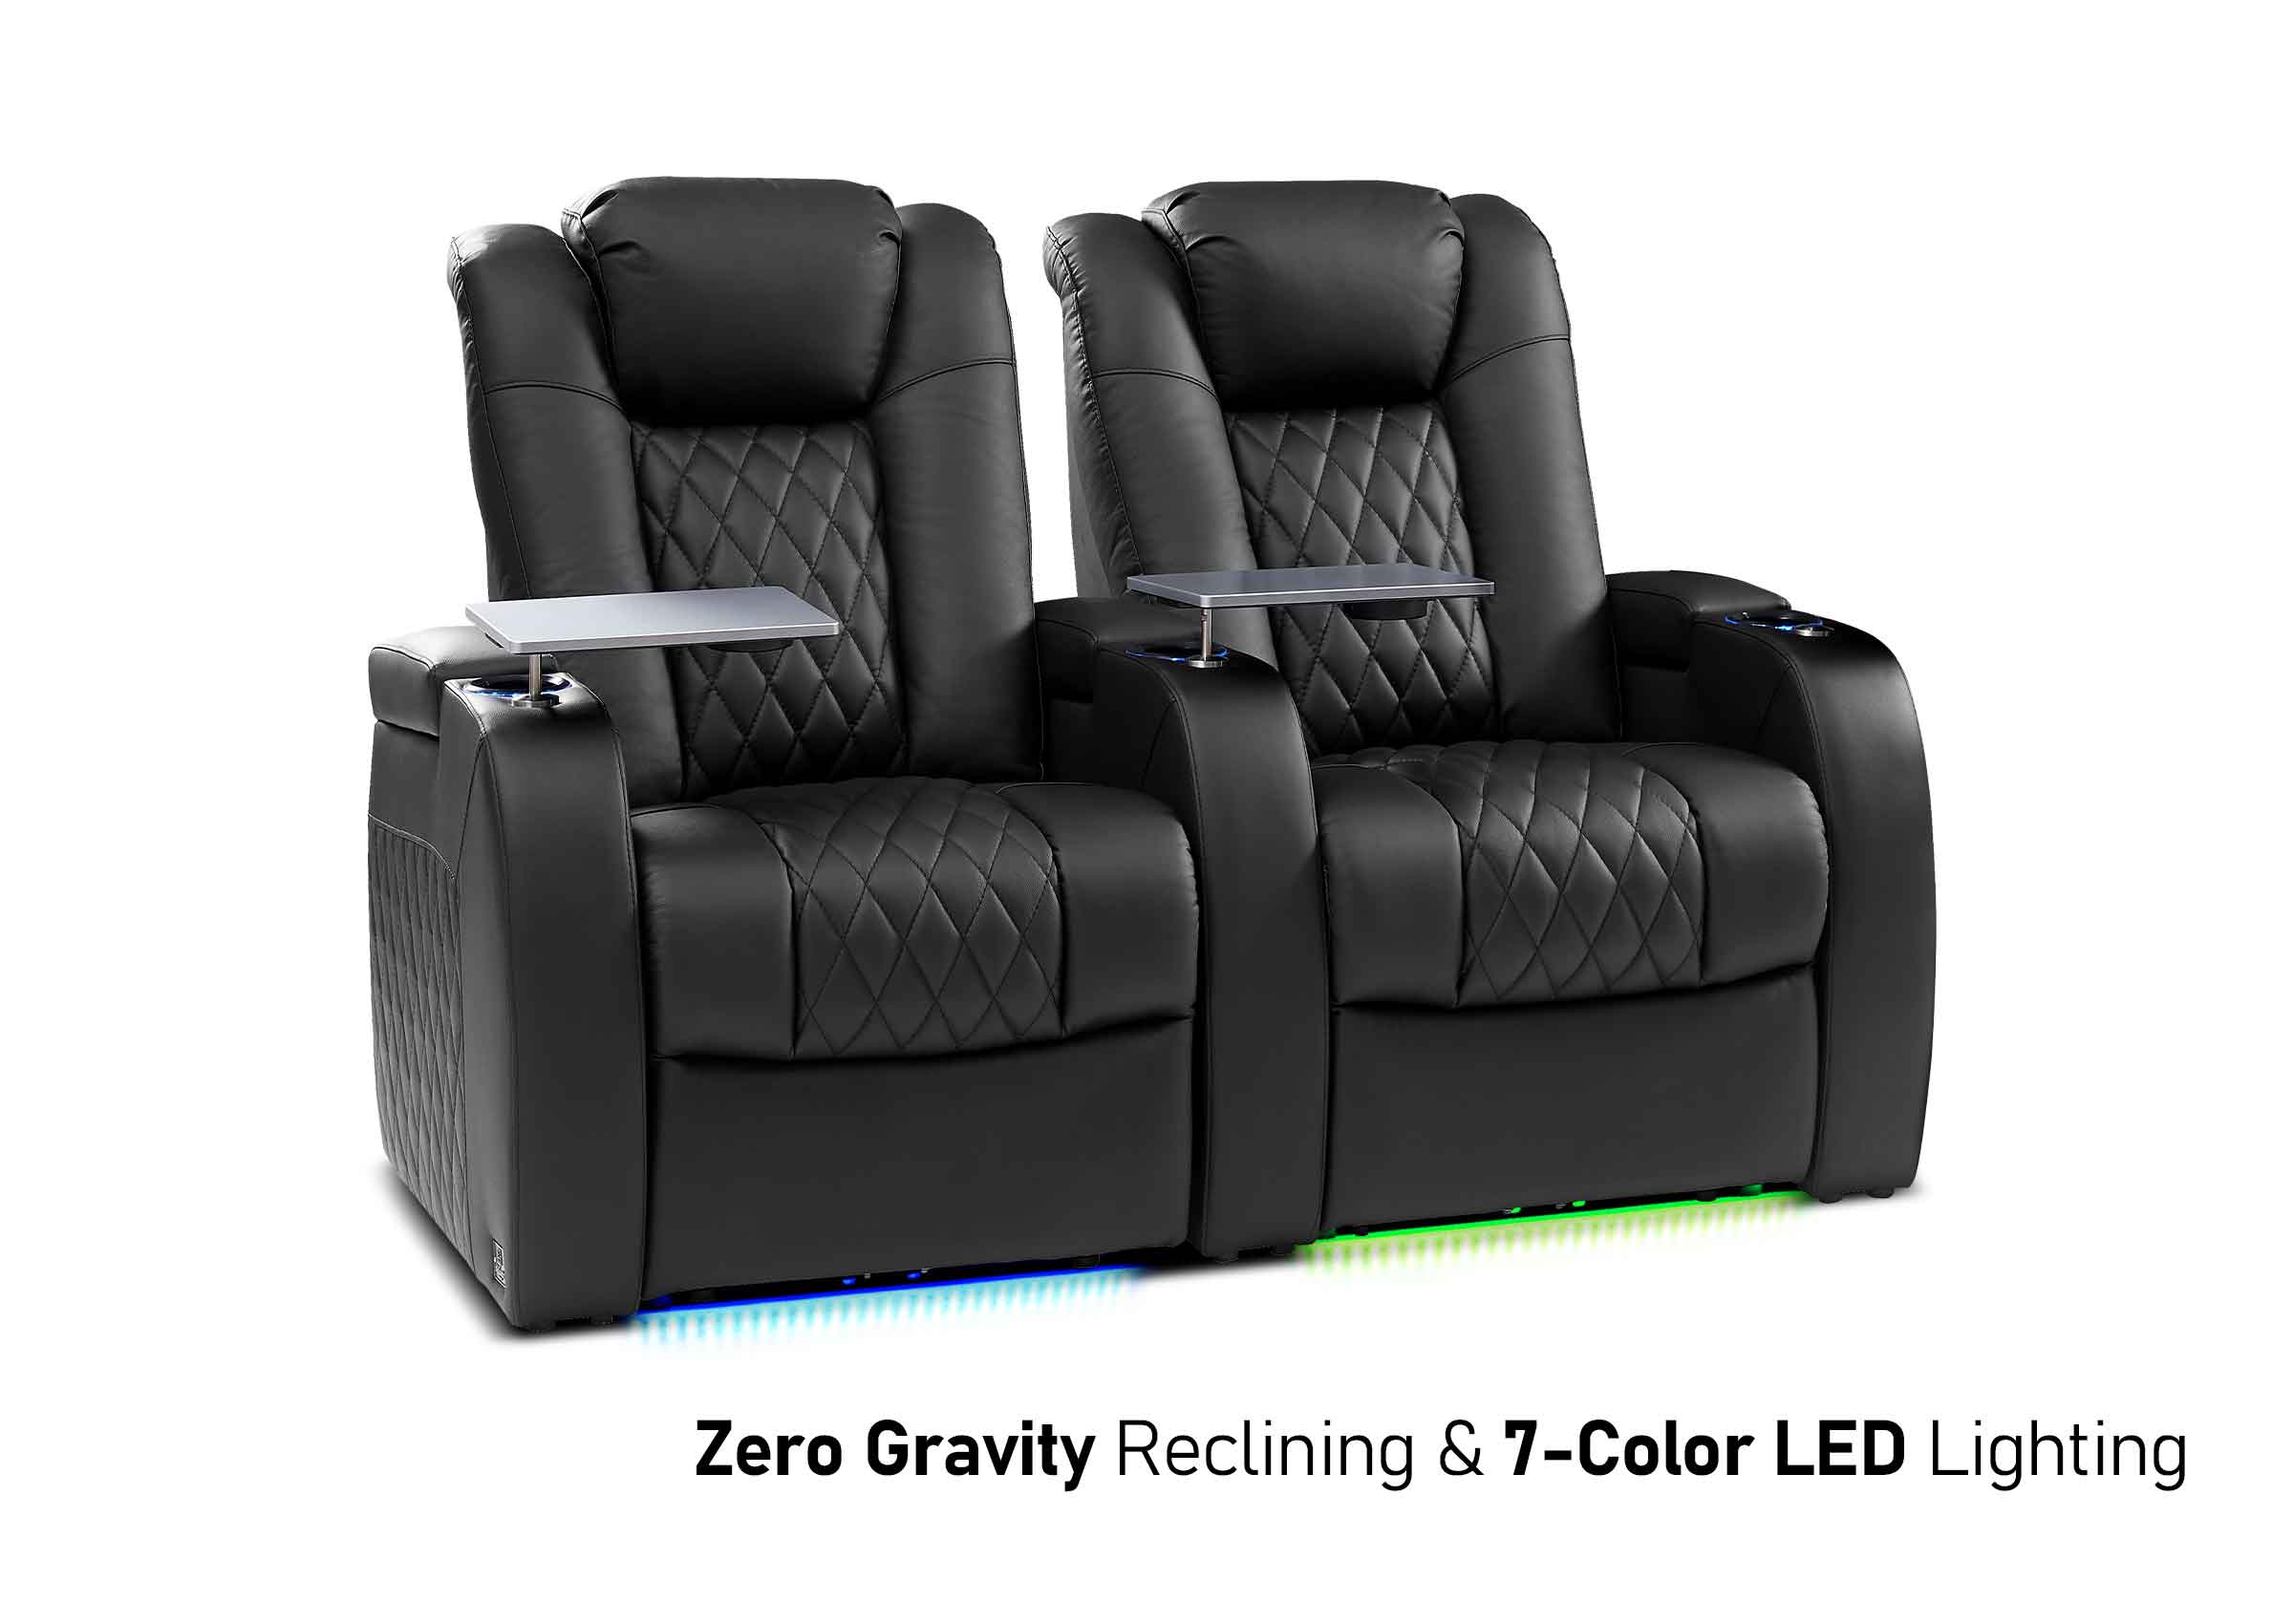
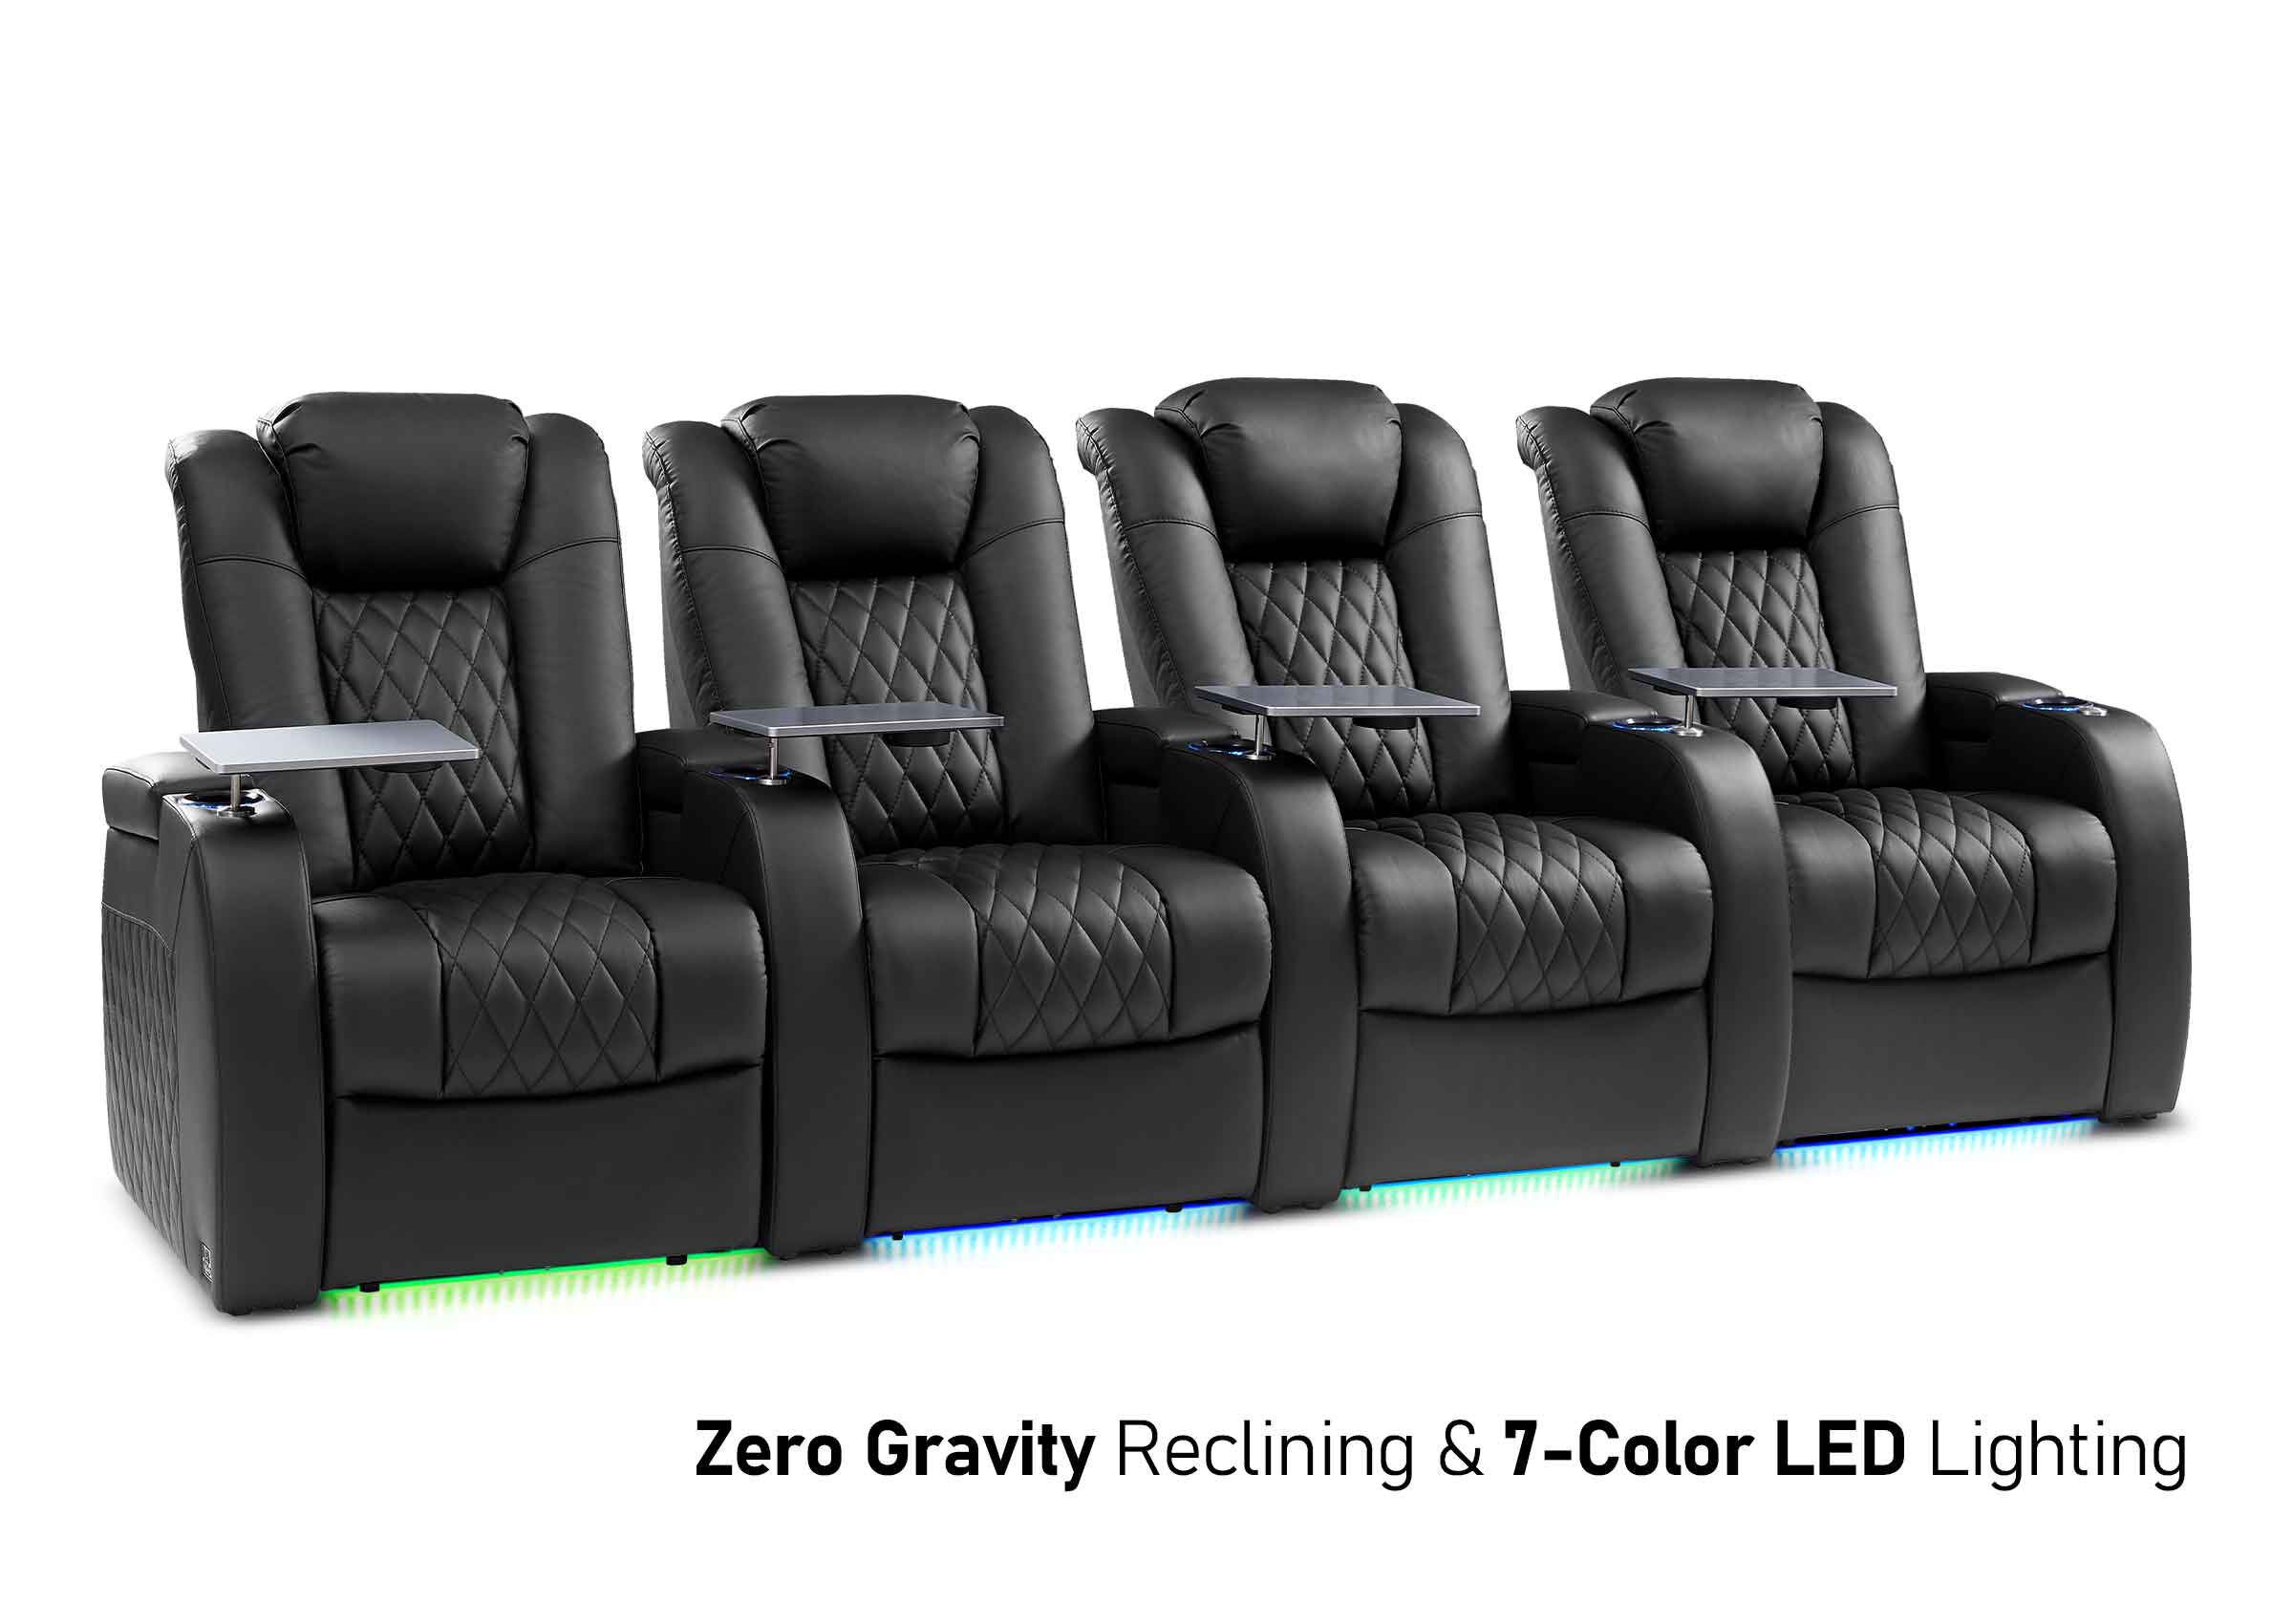
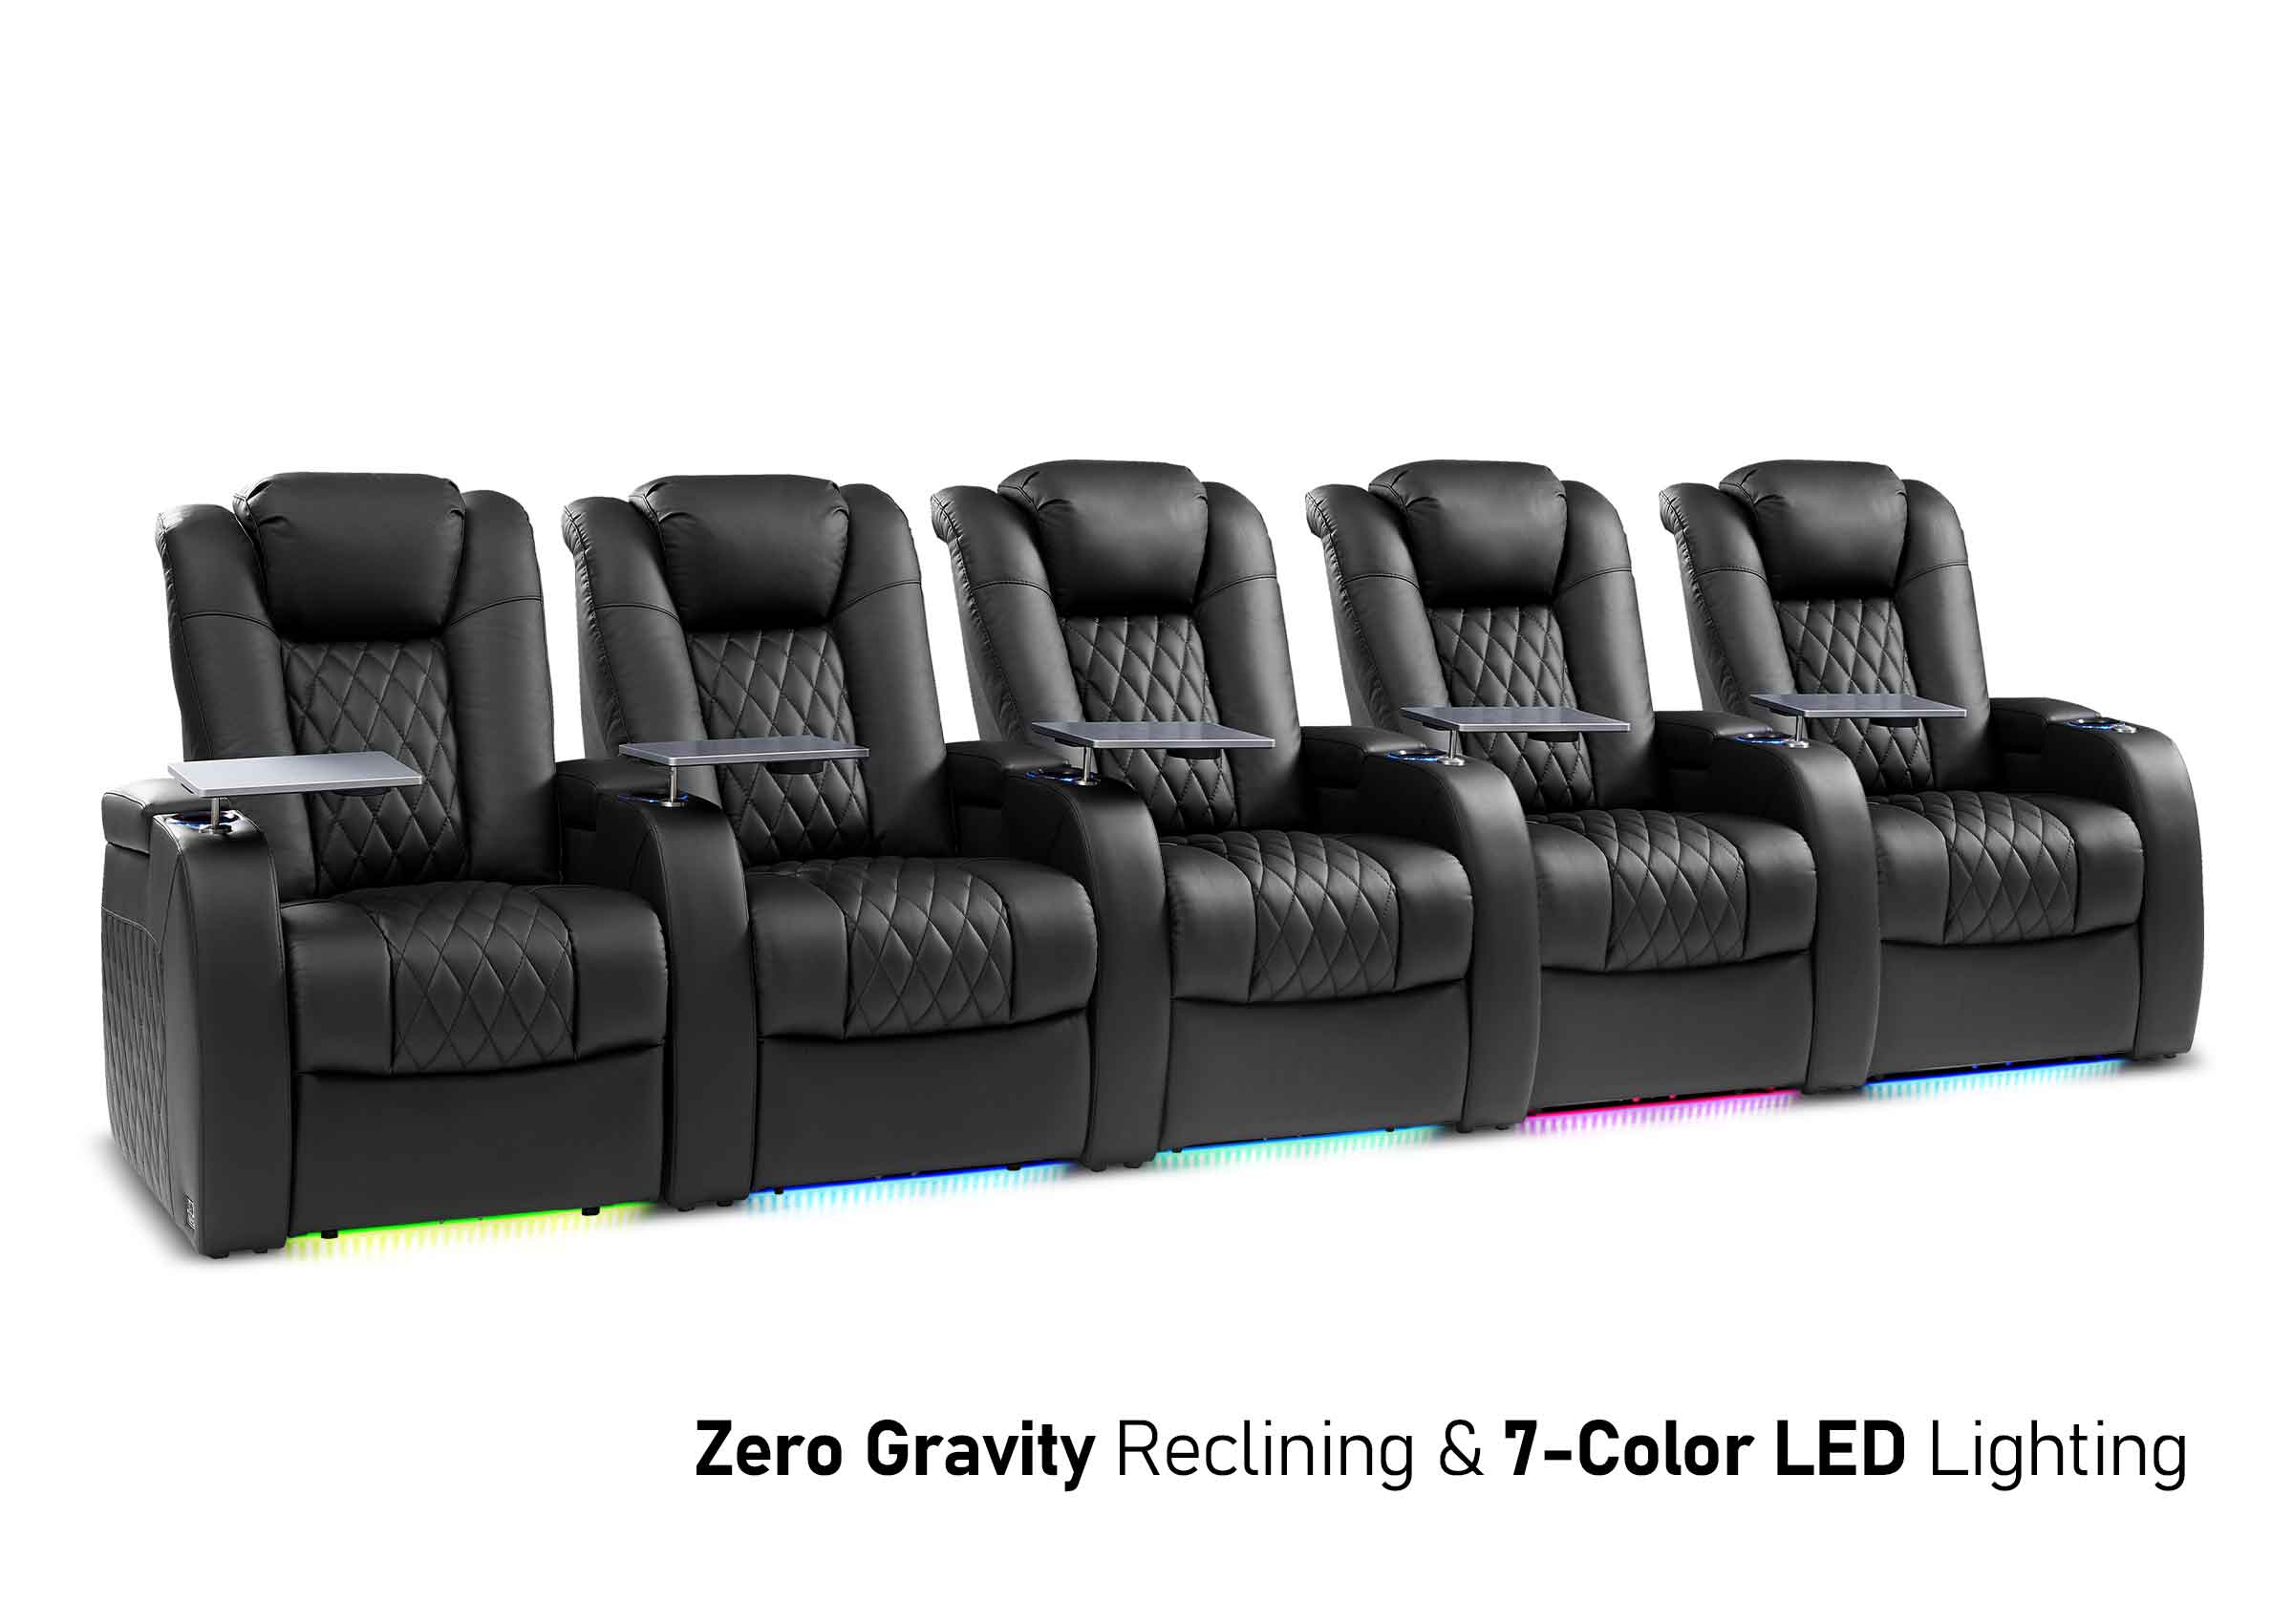
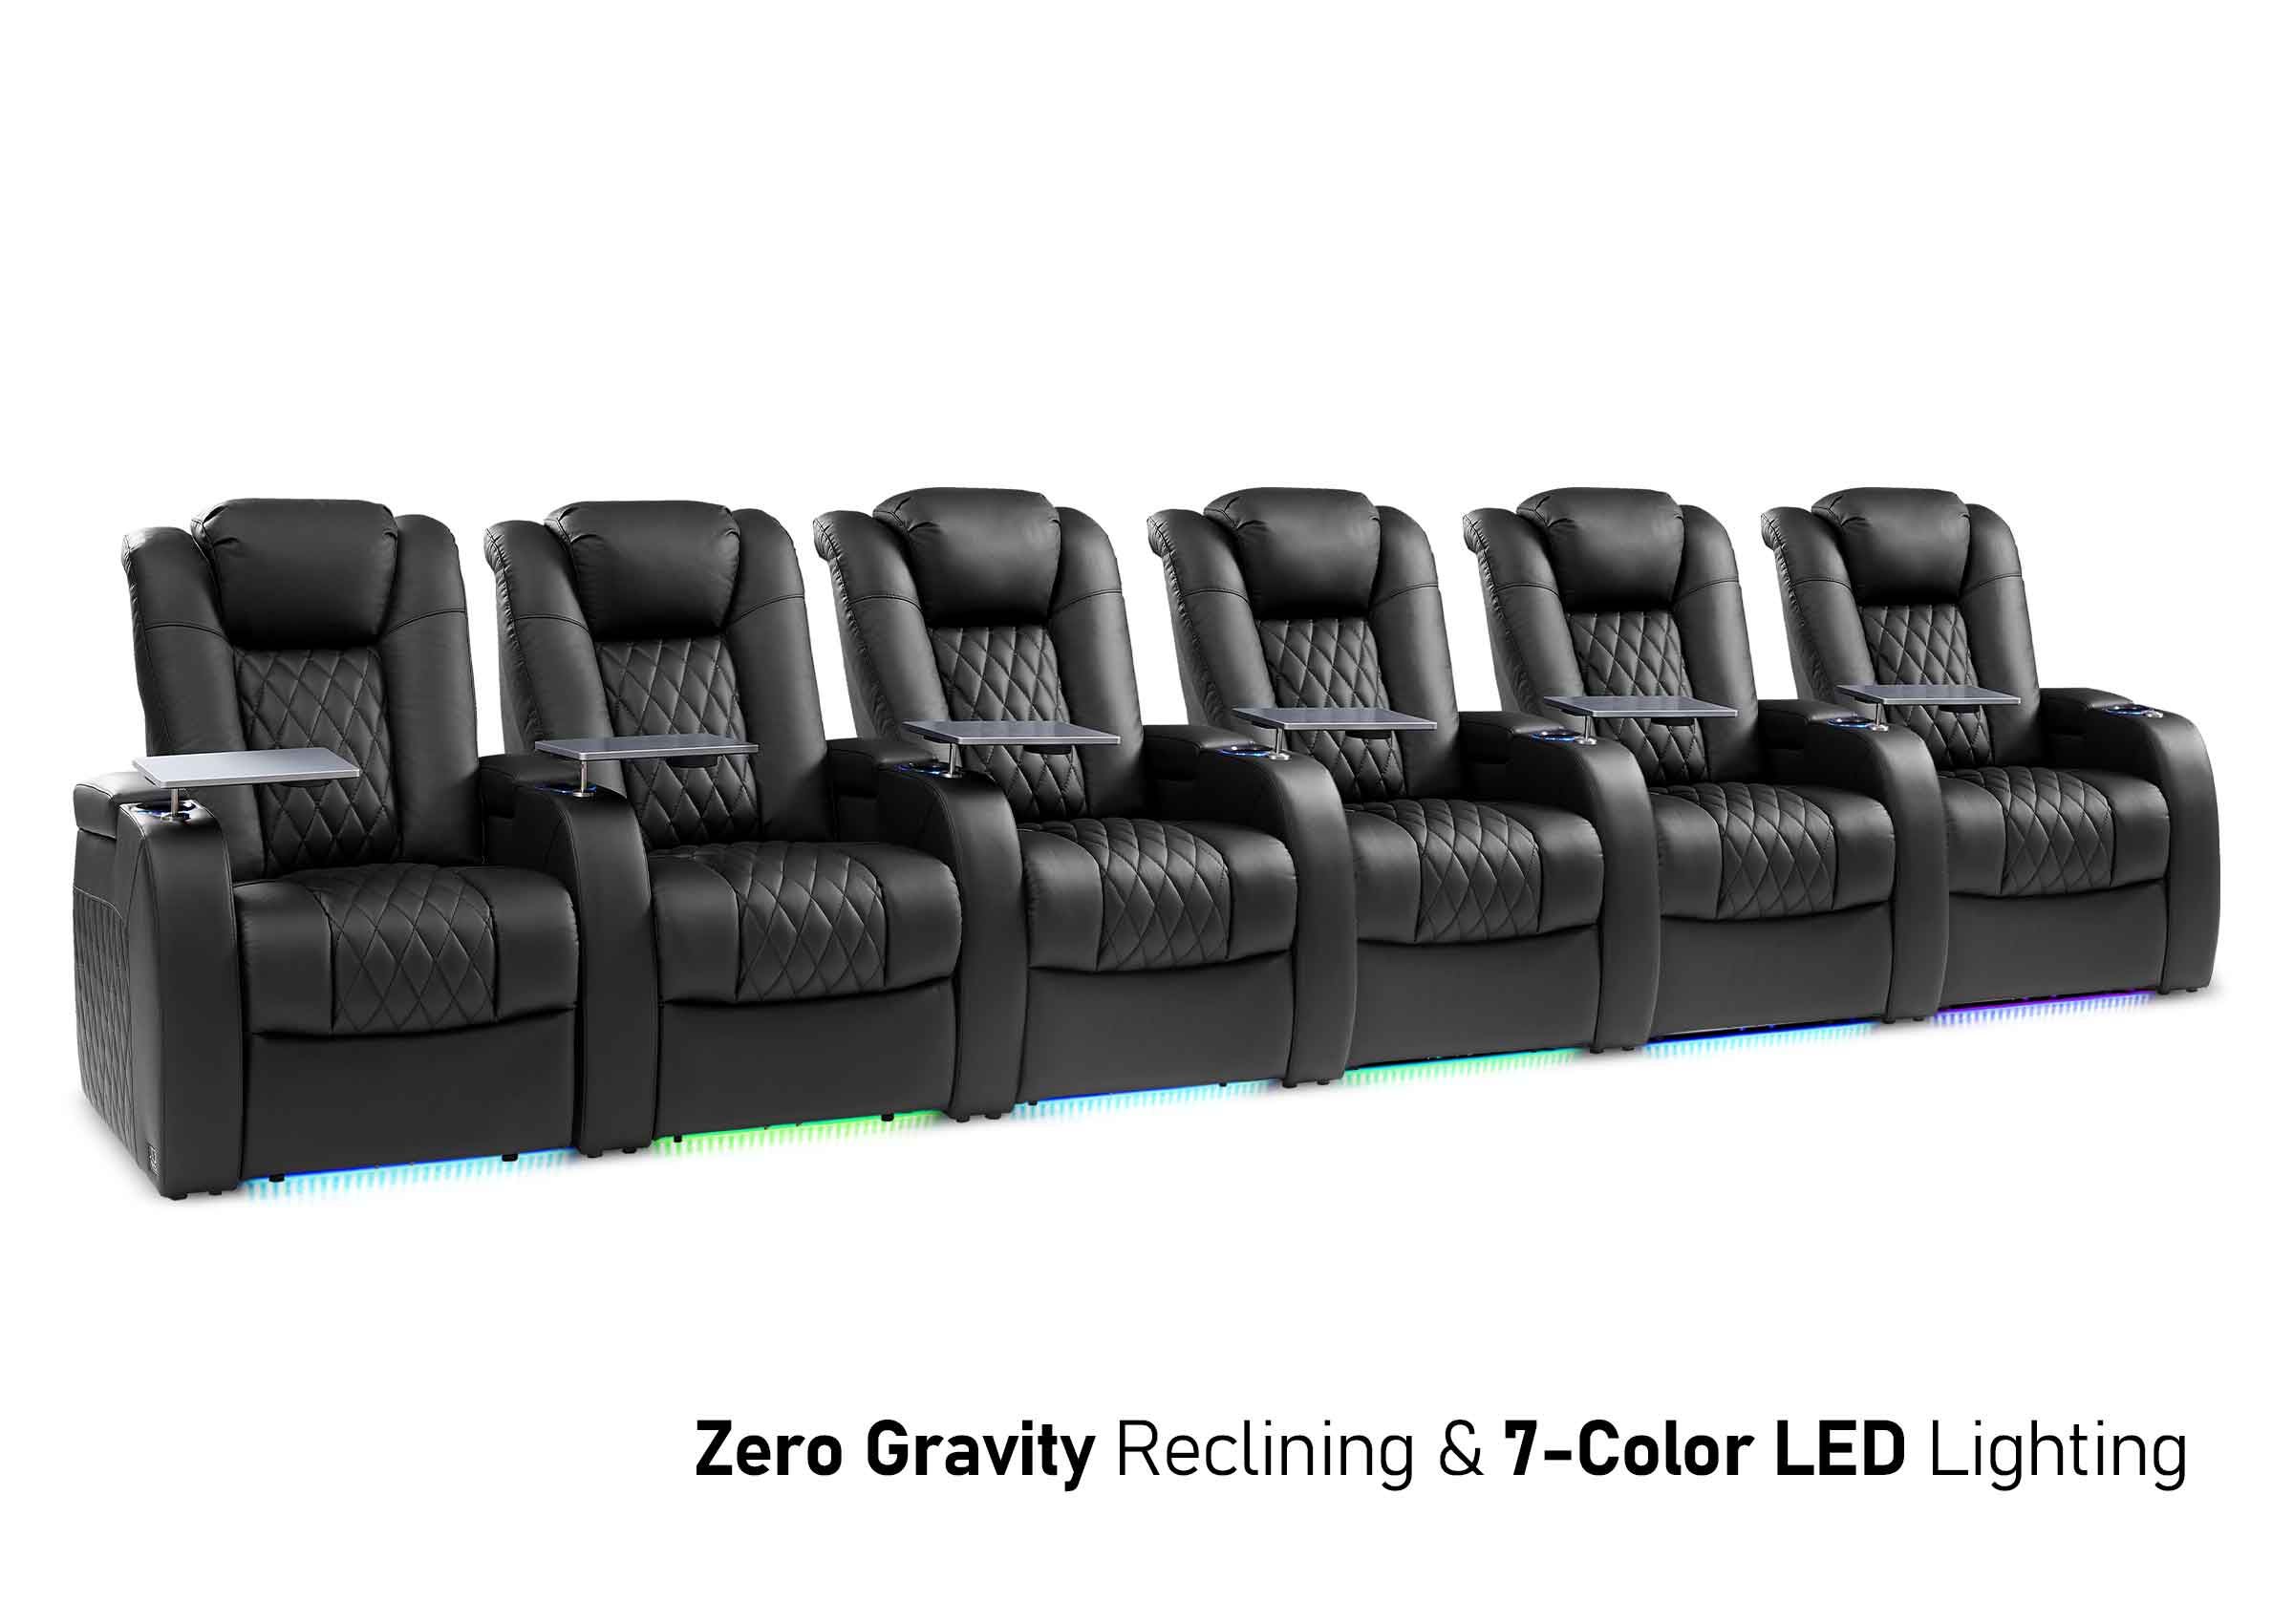
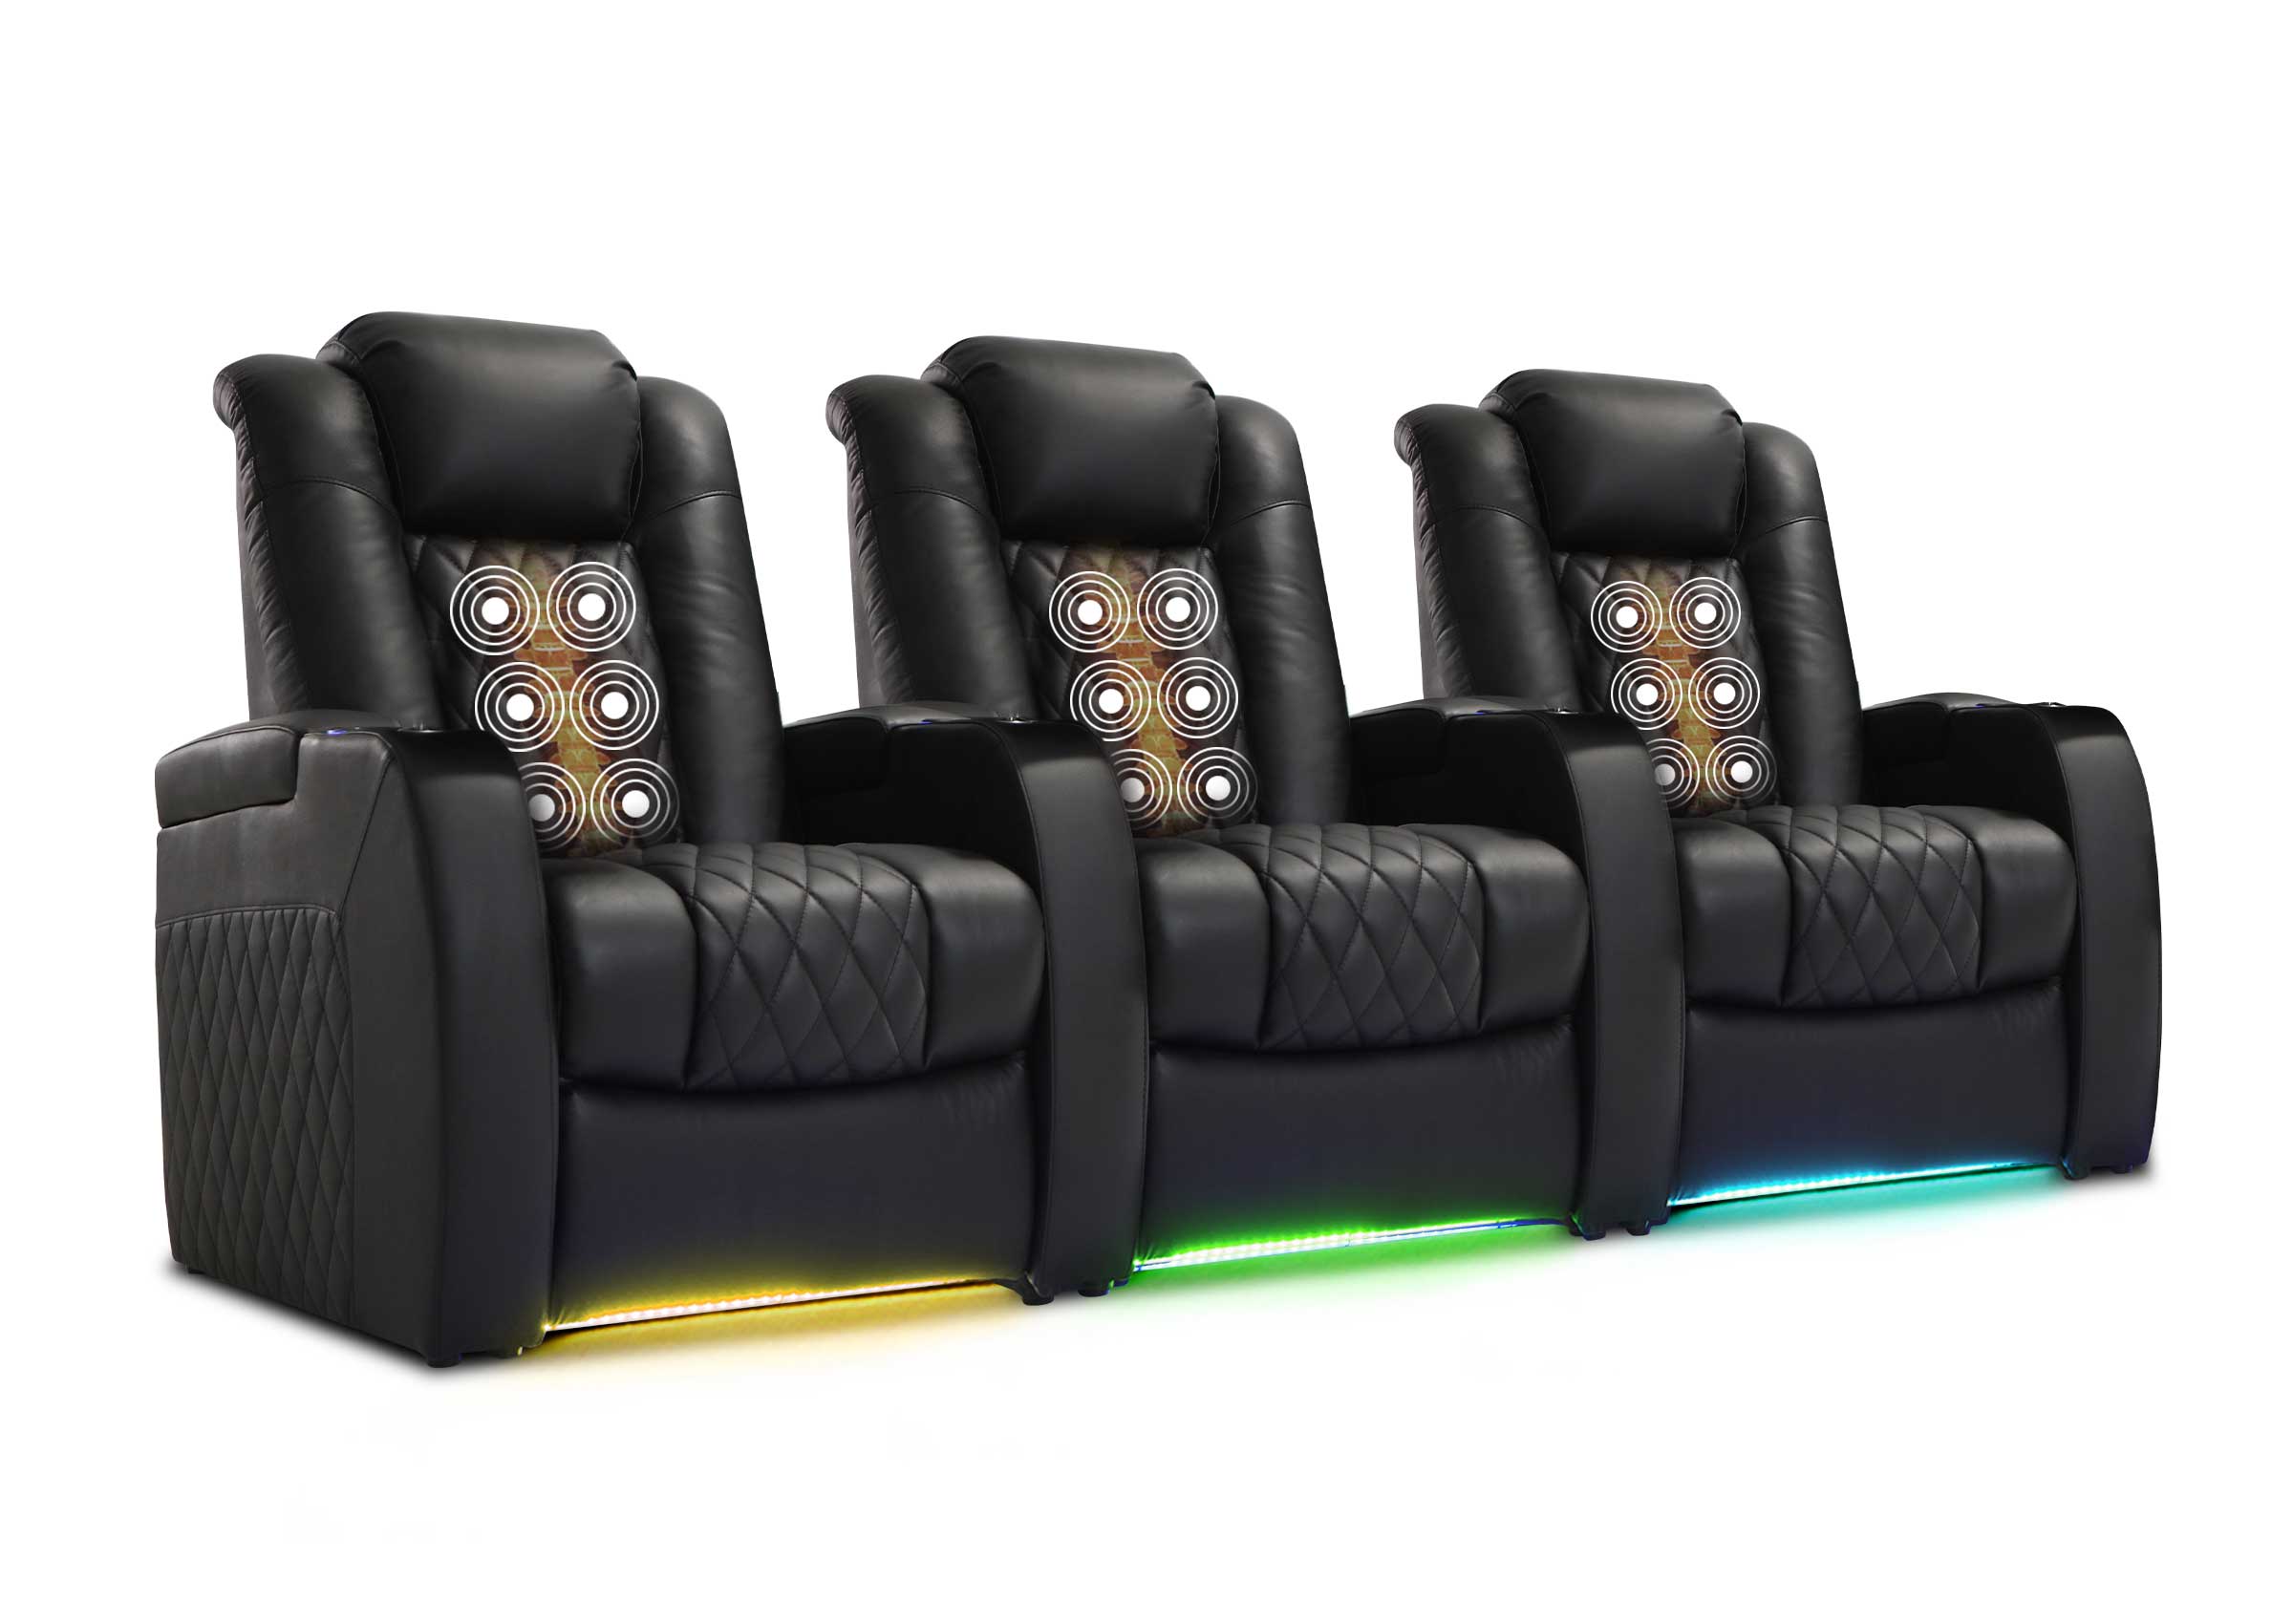
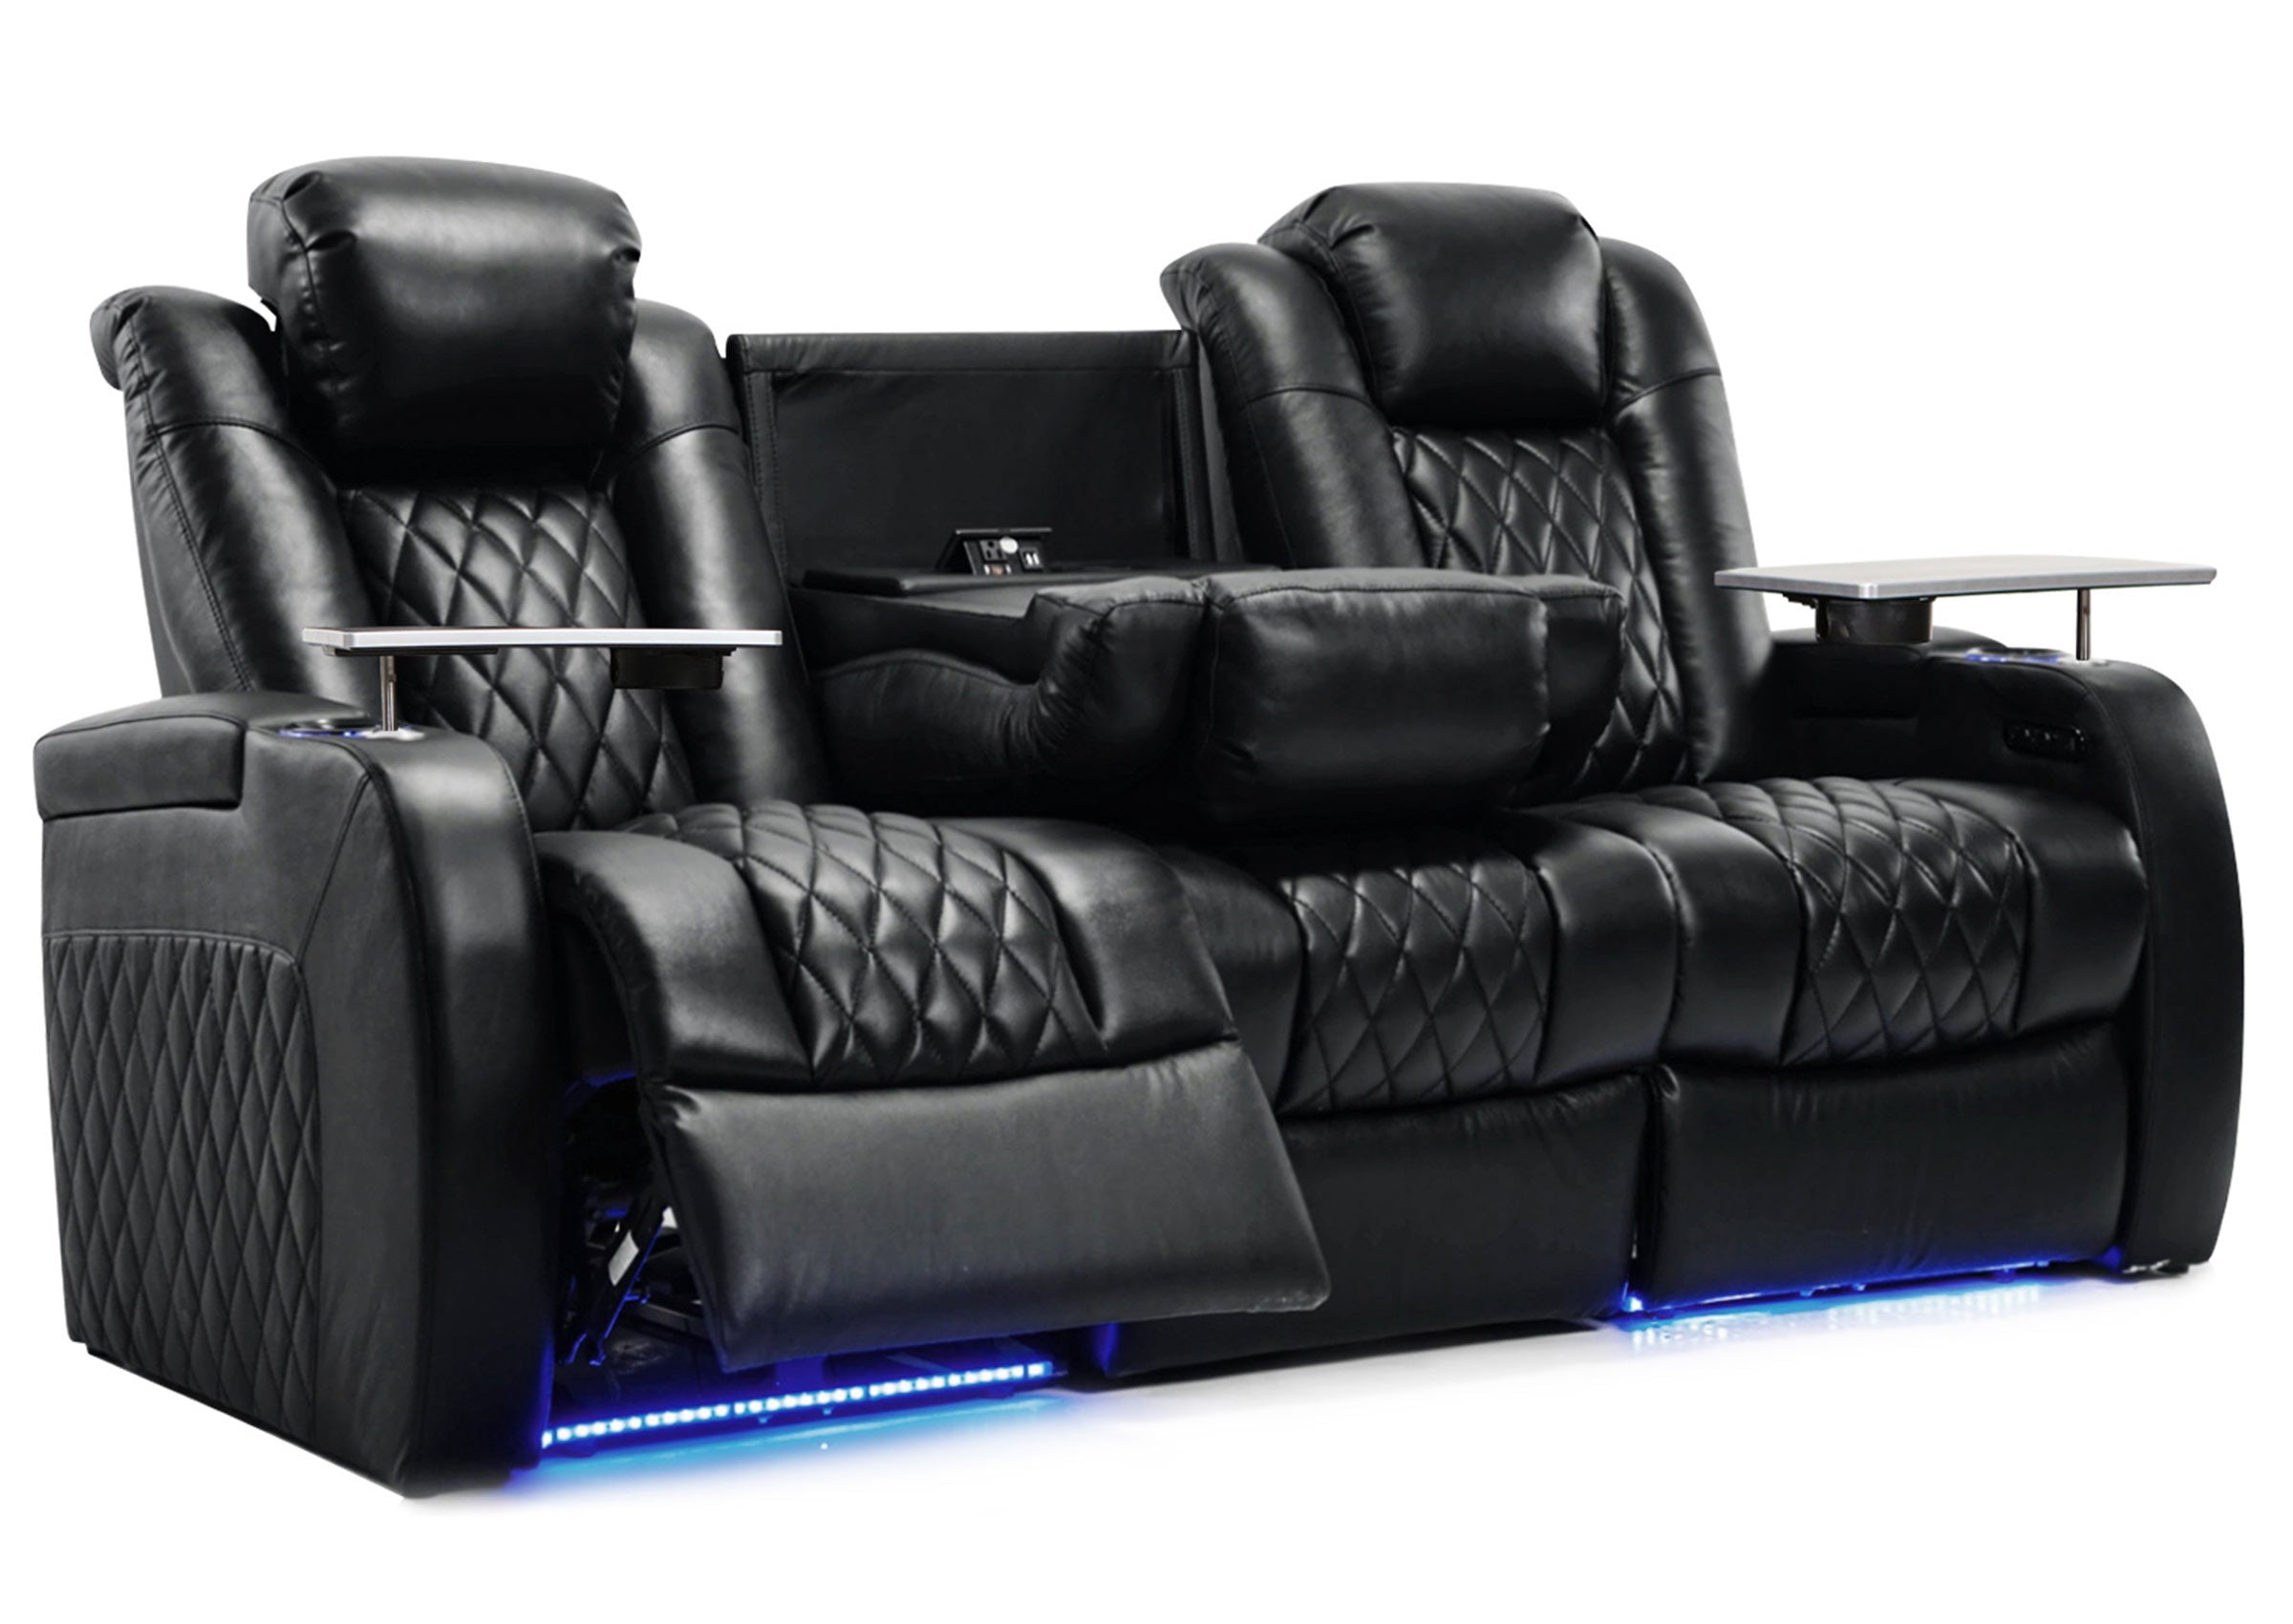
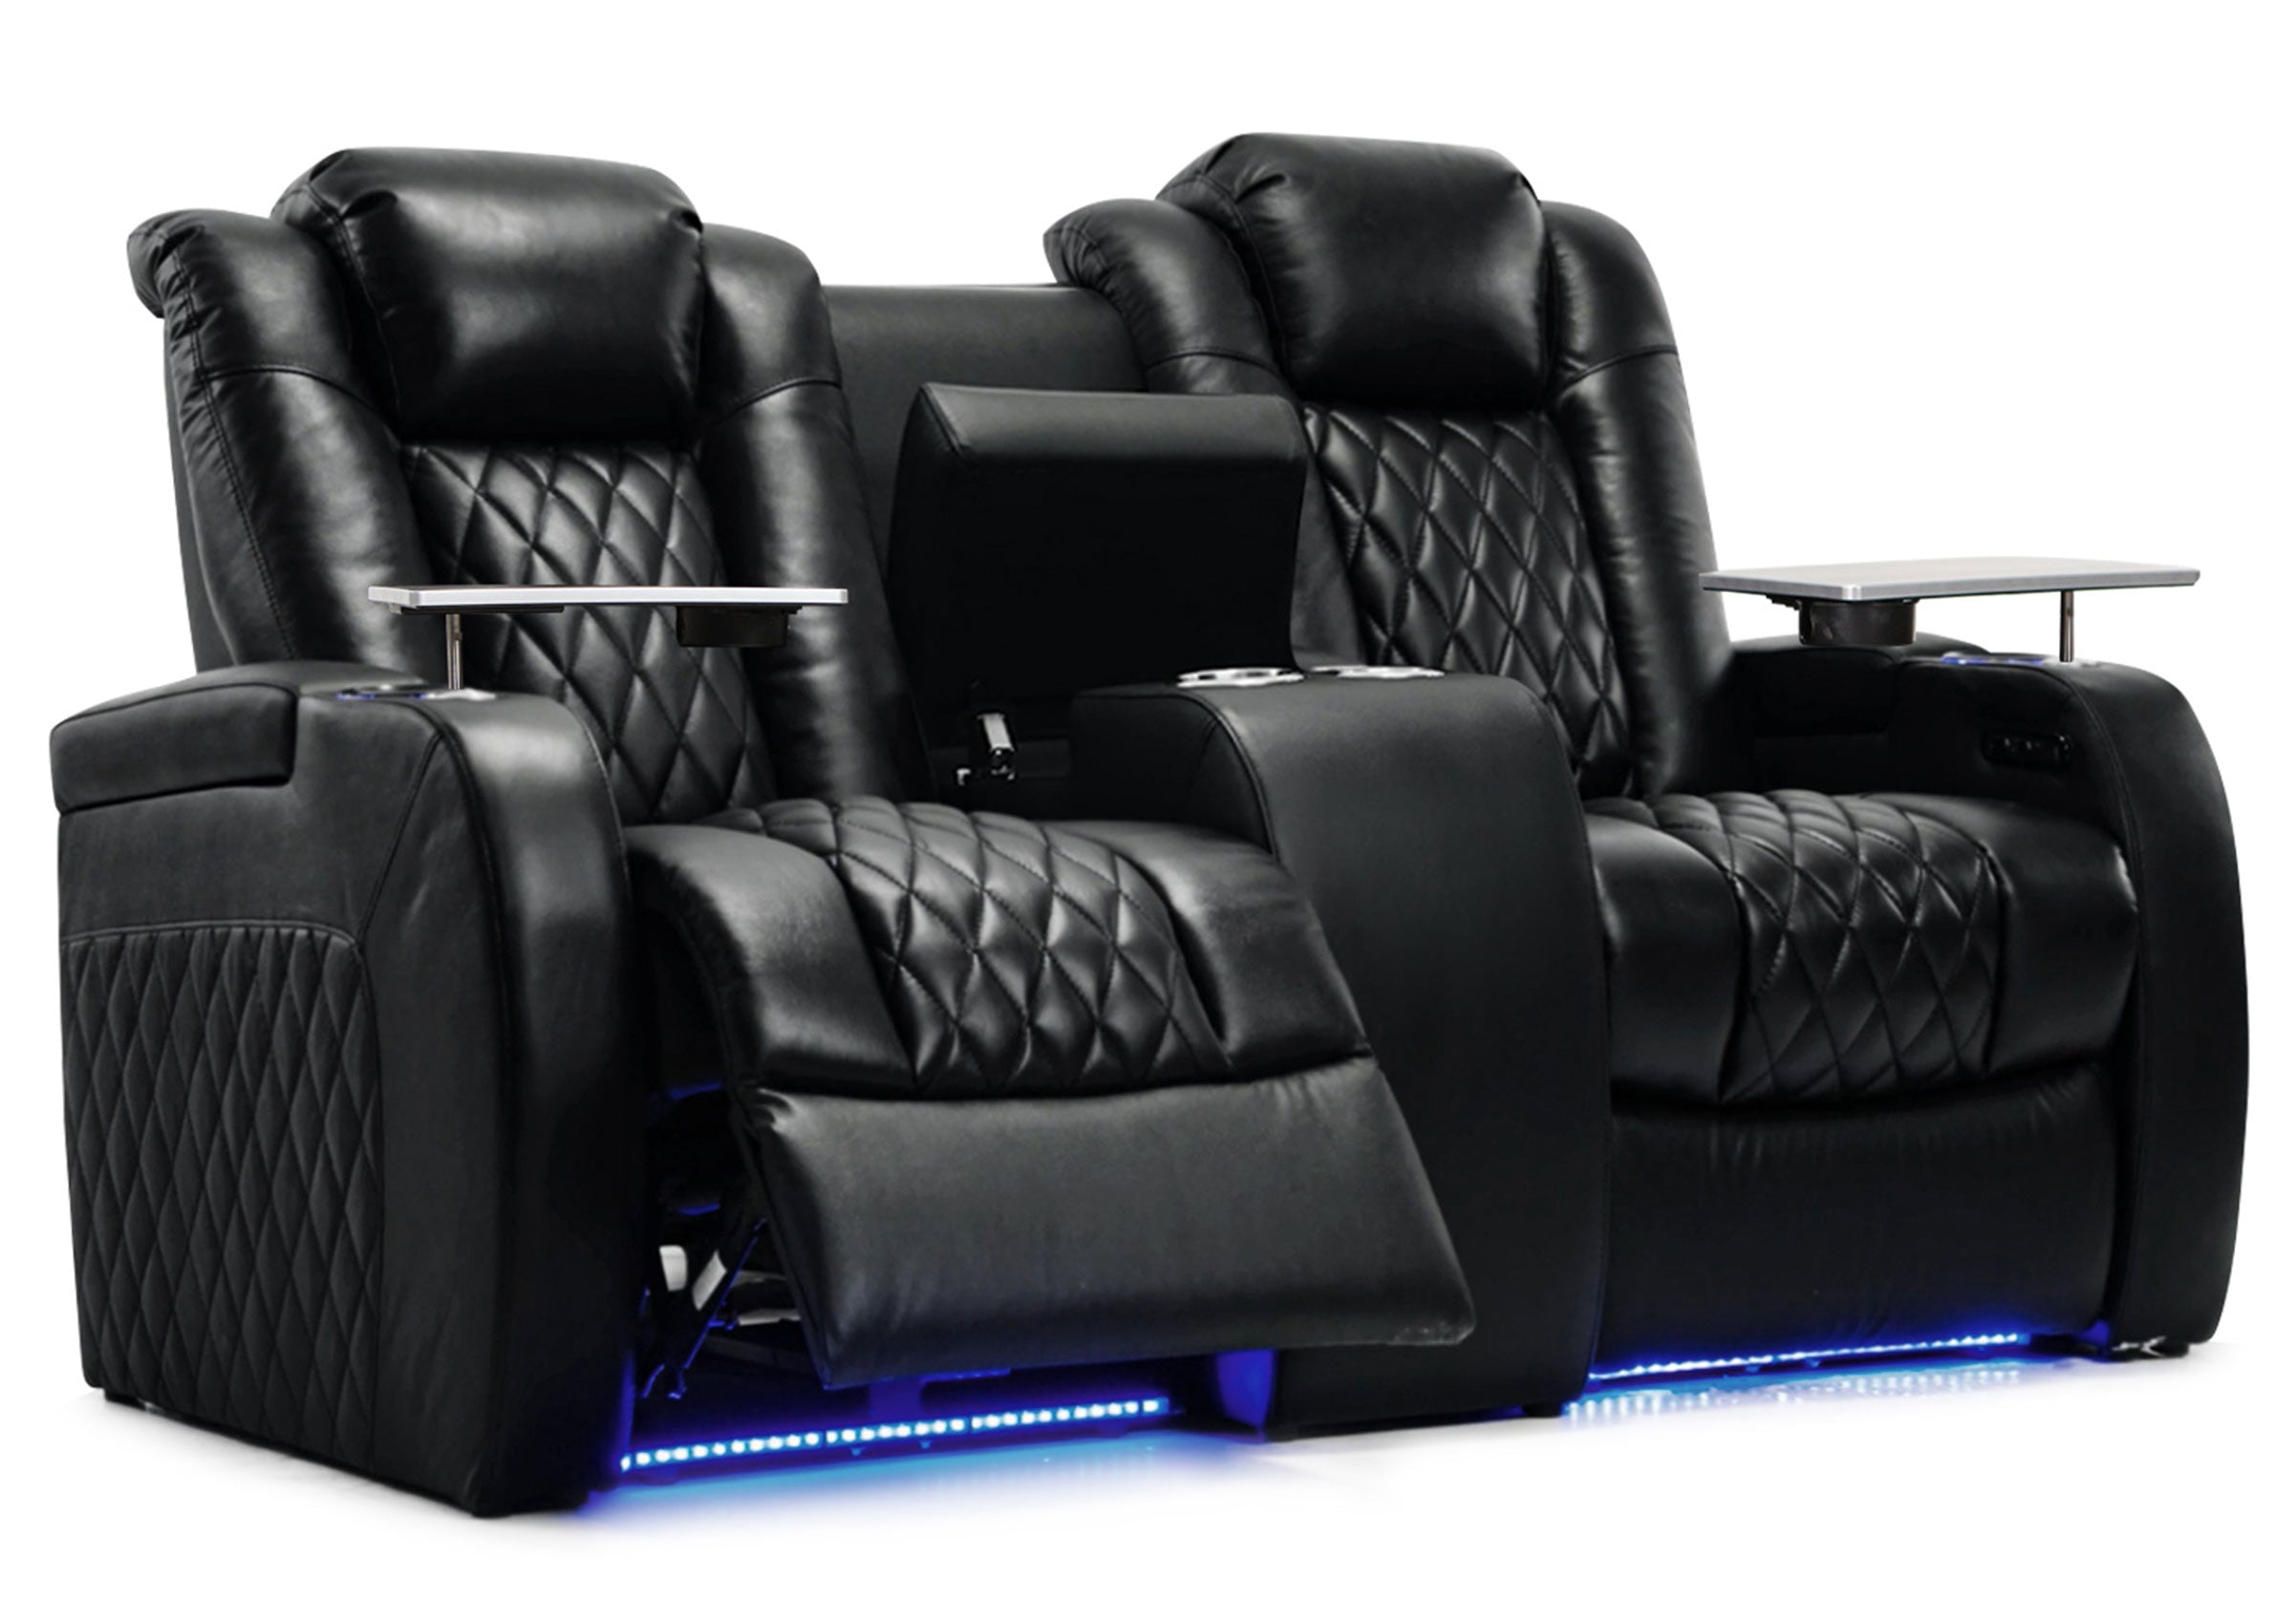


A comfortable RV home theater starts with a screen you can watch without twisting, a reliable way to play a movie, and clear sound at a sensible volume. Build around the equipment and seats that already work, then check power, connections, and travel storage before buying replacements.
You do not need a dedicated cinema room to enjoy the result. You do need a setup that works as a complete system—and leaves your RV usable when the movie ends. This guide covers entertainment while parked; it does not turn a lounge chair into an approved passenger seat or provide vehicle electrical installation instructions.
Choose a Setup That Fits the Way You Camp
Start by listing what you already have: the TV model, its inputs and audio outputs, the stereo or soundbar, your usual movie source, and the outlets serving them. Photograph the connection labels before reaching behind cabinets. An existing screen may be perfectly adequate even if the old DVD player or audio connection is the weak point.
These three configurations are planning examples, not tested equipment packages:
| Setup | Screen, source, and sound | Seating and daily use | What to settle first |
|---|---|---|---|
| Keep the working system | Existing TV, a compatible player or TV app, and existing speakers that pass a dialogue test | Retain the sofa or dinette; improve glare control and the viewing position | Identify the actual inputs and confirm the whole system works on your camping power source |
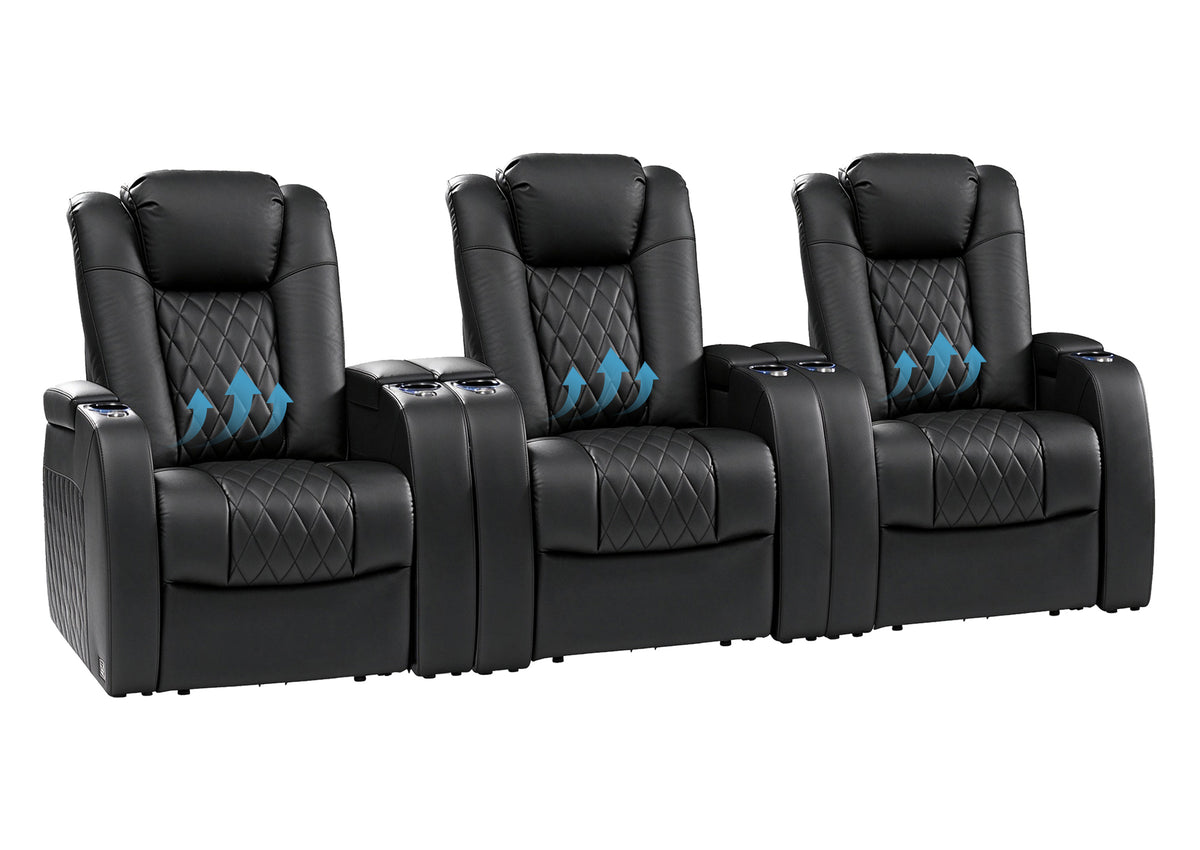
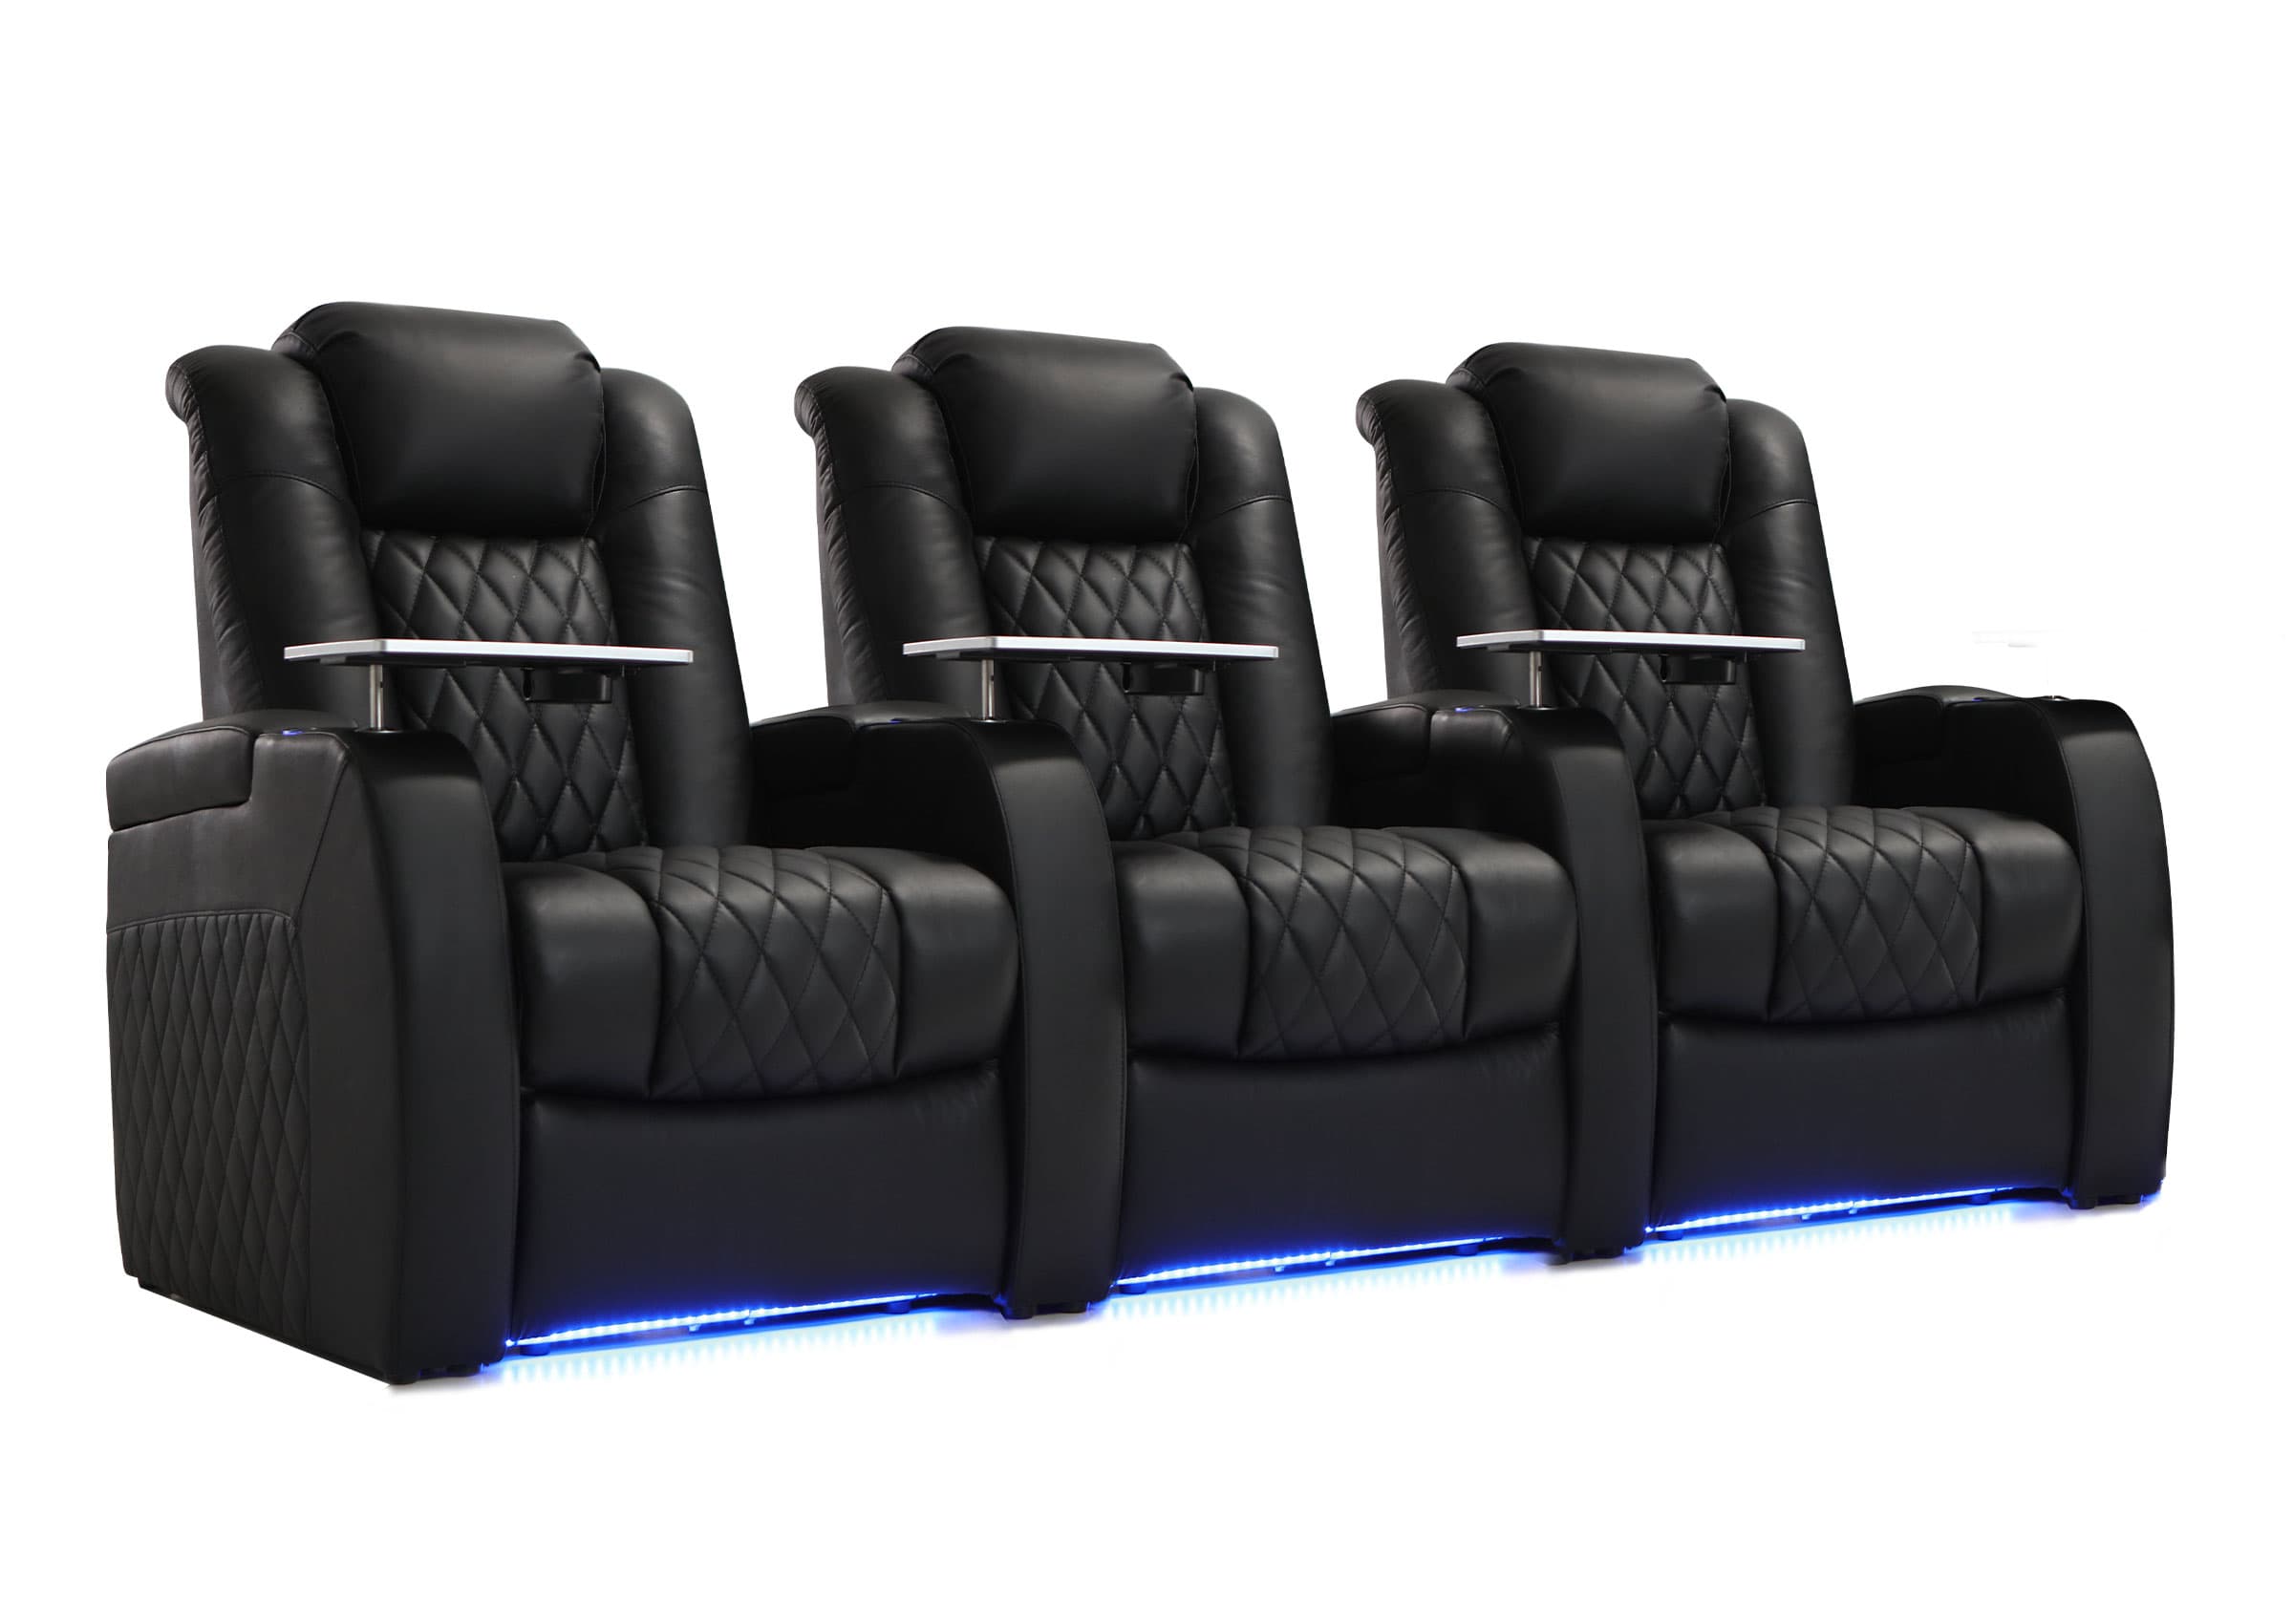
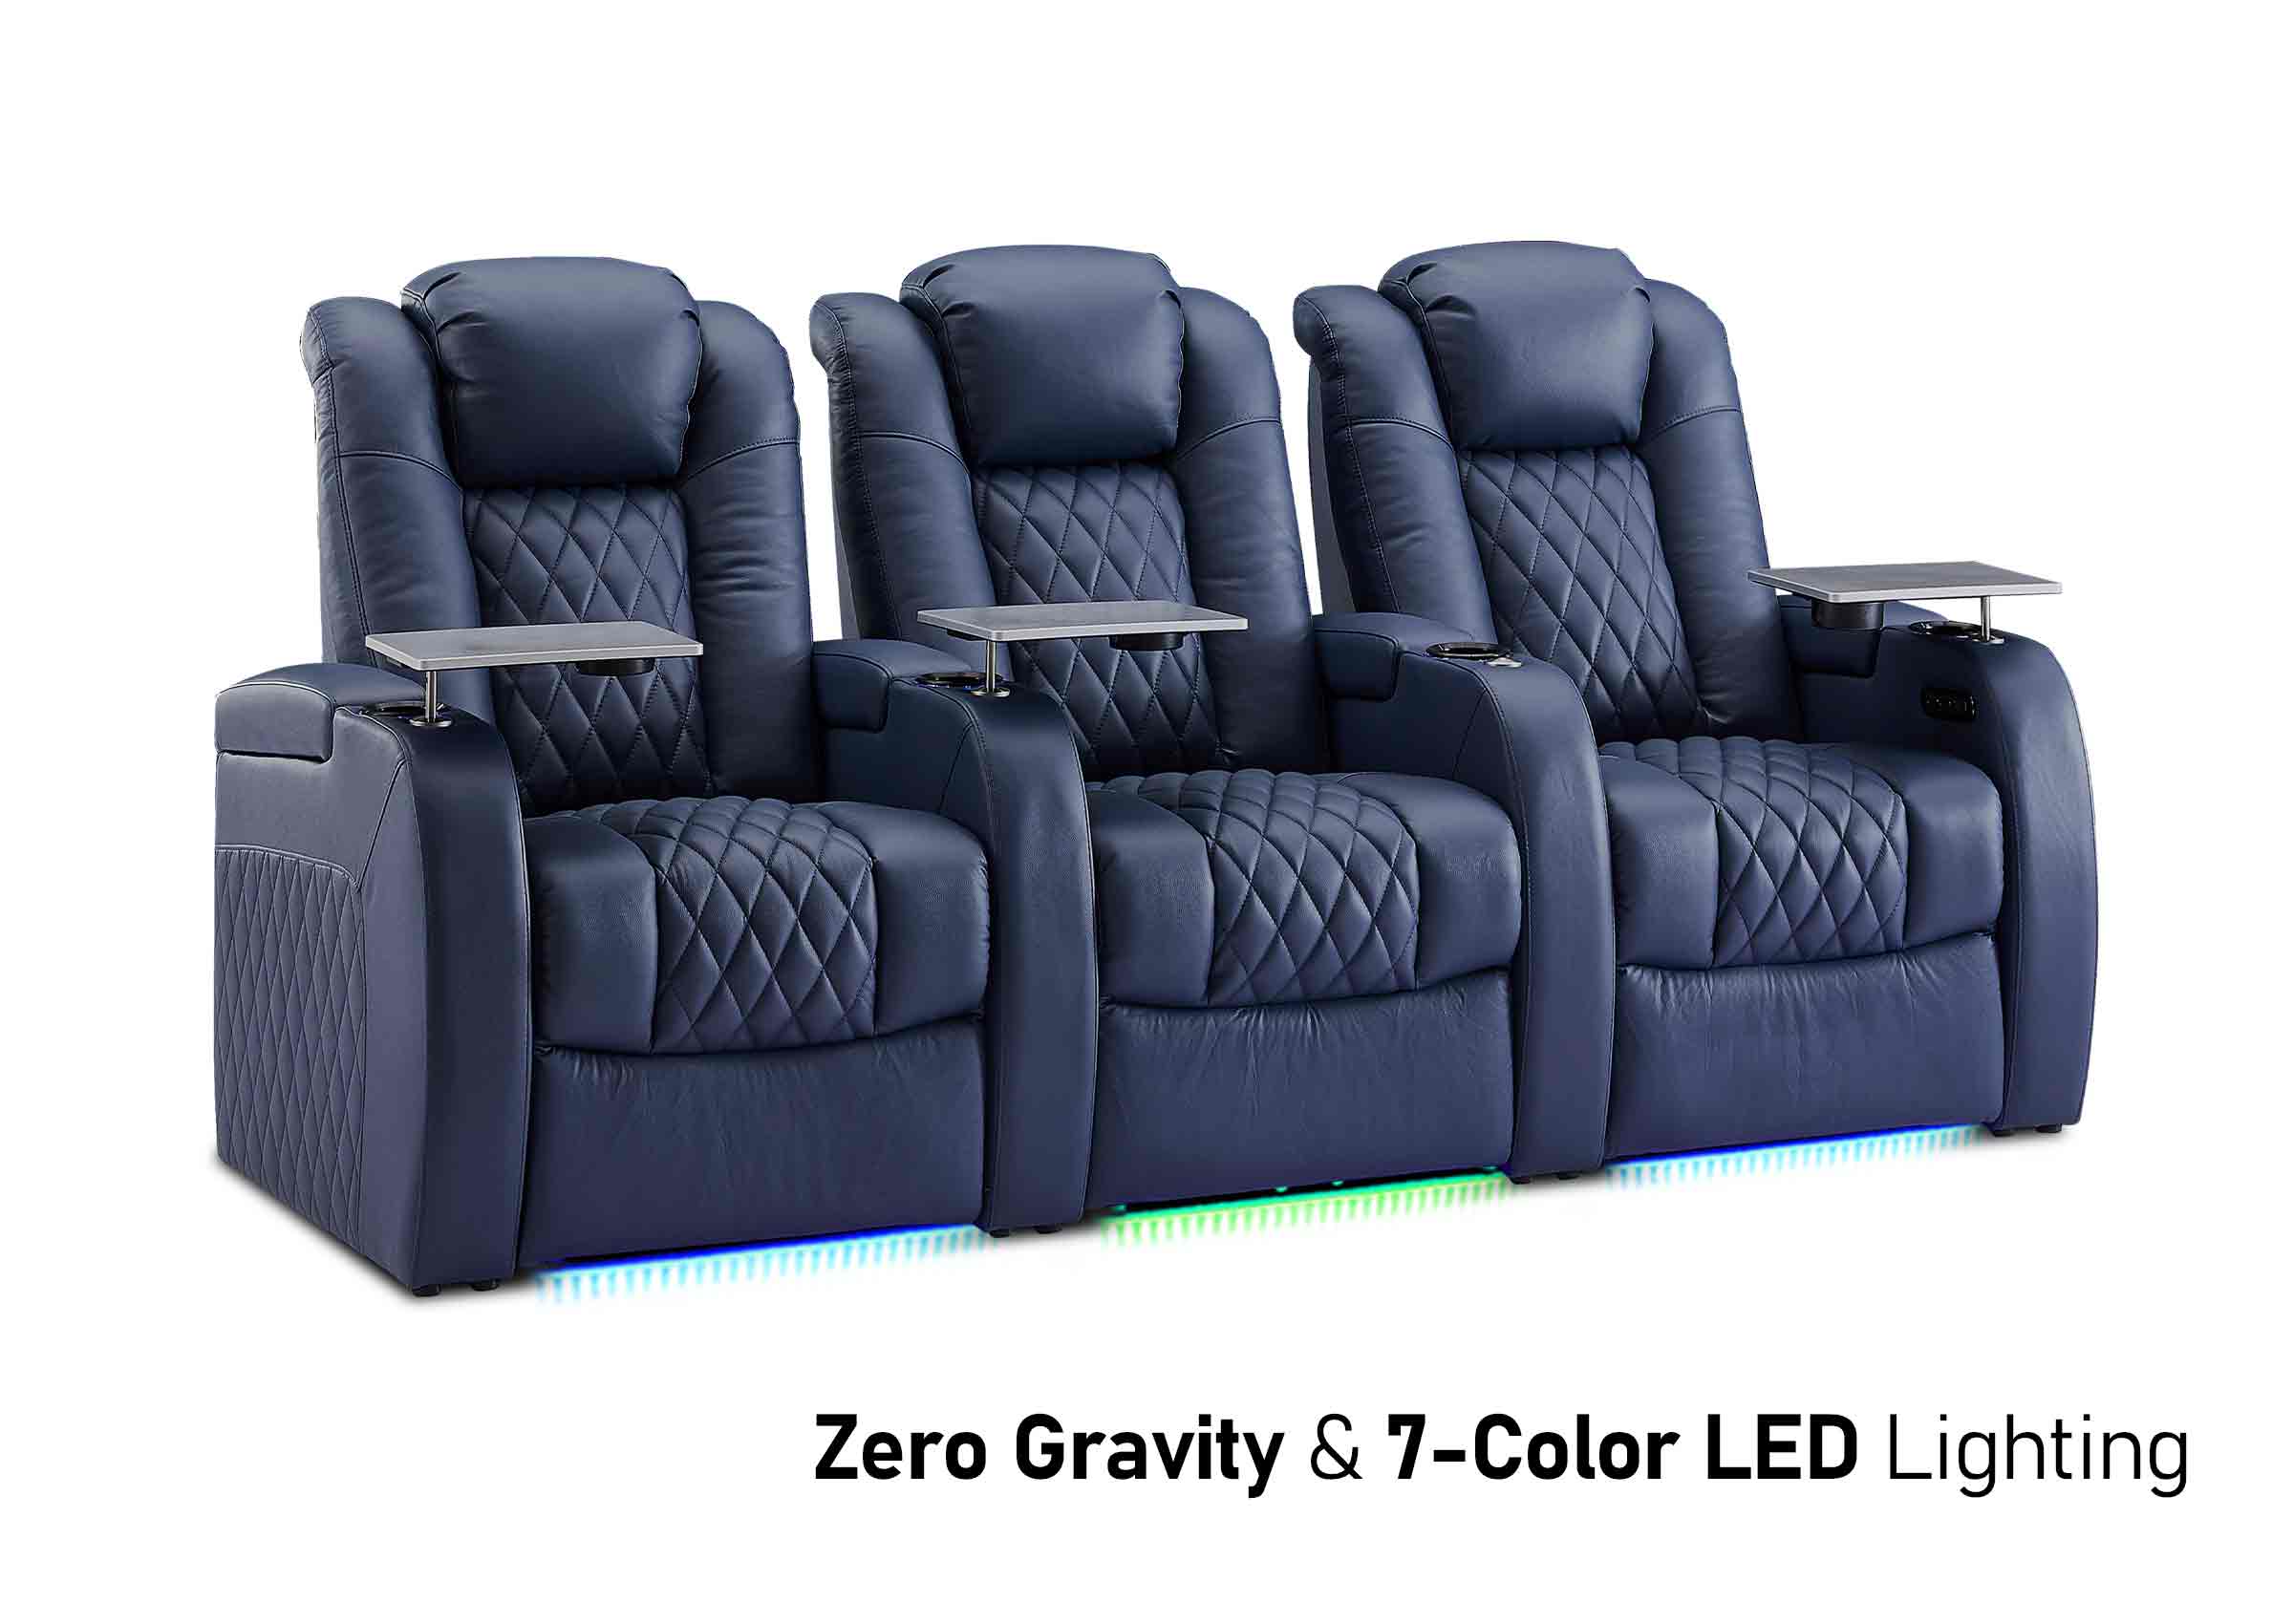
| Build a compact movie lounge | TV facing the main seats, compatible soundbar, and streaming plus a tested offline option | Two suitable lounge seats or a compact sofa, with a clear route past the footrests | Match audio ports, plan the fully reclined footprint, and provide secure equipment storage |
| Set up an occasional projection night | Projector and suitable screen, compatible playback device, and modest audio or headphones | Existing parked seating aimed at a temporary screen | Confirm darkness, throw distance, power, ventilation, and where everything goes afterward |
The first option makes sense when you mainly want easier operation. The second suits regular movie watching without building a multi-speaker installation. The third gives you a different experience, but adds setup and packing time every time you use it. A portable projector is not automatically an off-grid option: its battery, external power supply, and playback device all need to cover the intended viewing time.
For any option, allocate money to the problem you actually notice. If dialogue is difficult to follow, replacing a functioning TV may do little. If the screen is beside your shoulder, better speakers will not fix the viewing position. A full surround system can be an enjoyable choice, but it comes after you know where its speakers, cables, and equipment will live.
Arrange the Seats and Screen Before Choosing a Size
Sit where you normally watch, with your usual recline and head support. Look straight ahead, then check whether you can see the whole screen comfortably. Repeat from the second regular seat; a position that works for one person may leave the other looking sharply across the room.
Measure from your seated eye position to the proposed screen plane. Also measure the available width and height, including trim, cabinet doors, and the TV's actual outer dimensions. Screen diagonal alone will not tell you whether the television fits.
Use removable tape to outline a candidate screen size. Check the view in daylight and after dark, with the shades and room lights as you would use them. A reflected window or bright lamp may be the main problem. Keep enough light to move around safely without shining it directly onto the screen.
TV or projector?
A TV is usually the simpler starting point for frequent viewing: it stays ready to use and does not require a separate projection surface. A projector becomes more appealing when you can darken the space and want a temporary larger picture.
Before choosing a projector, locate both the screen and the projector itself. The lens-to-screen distance, image size, ventilation space, and path of the beam must all work together. Check the specific model's placement chart; Epson's throw-distance guide explains why projector placement changes with the image and room. A short-throw label alone does not establish that a model will fit your RV.
If the only usable projector position occupies the dining table or puts a cable across the aisle, decide whether that temporary inconvenience is acceptable. For daily viewing, keeping a well-positioned TV may be the more comfortable choice.
Let the furniture work in both positions
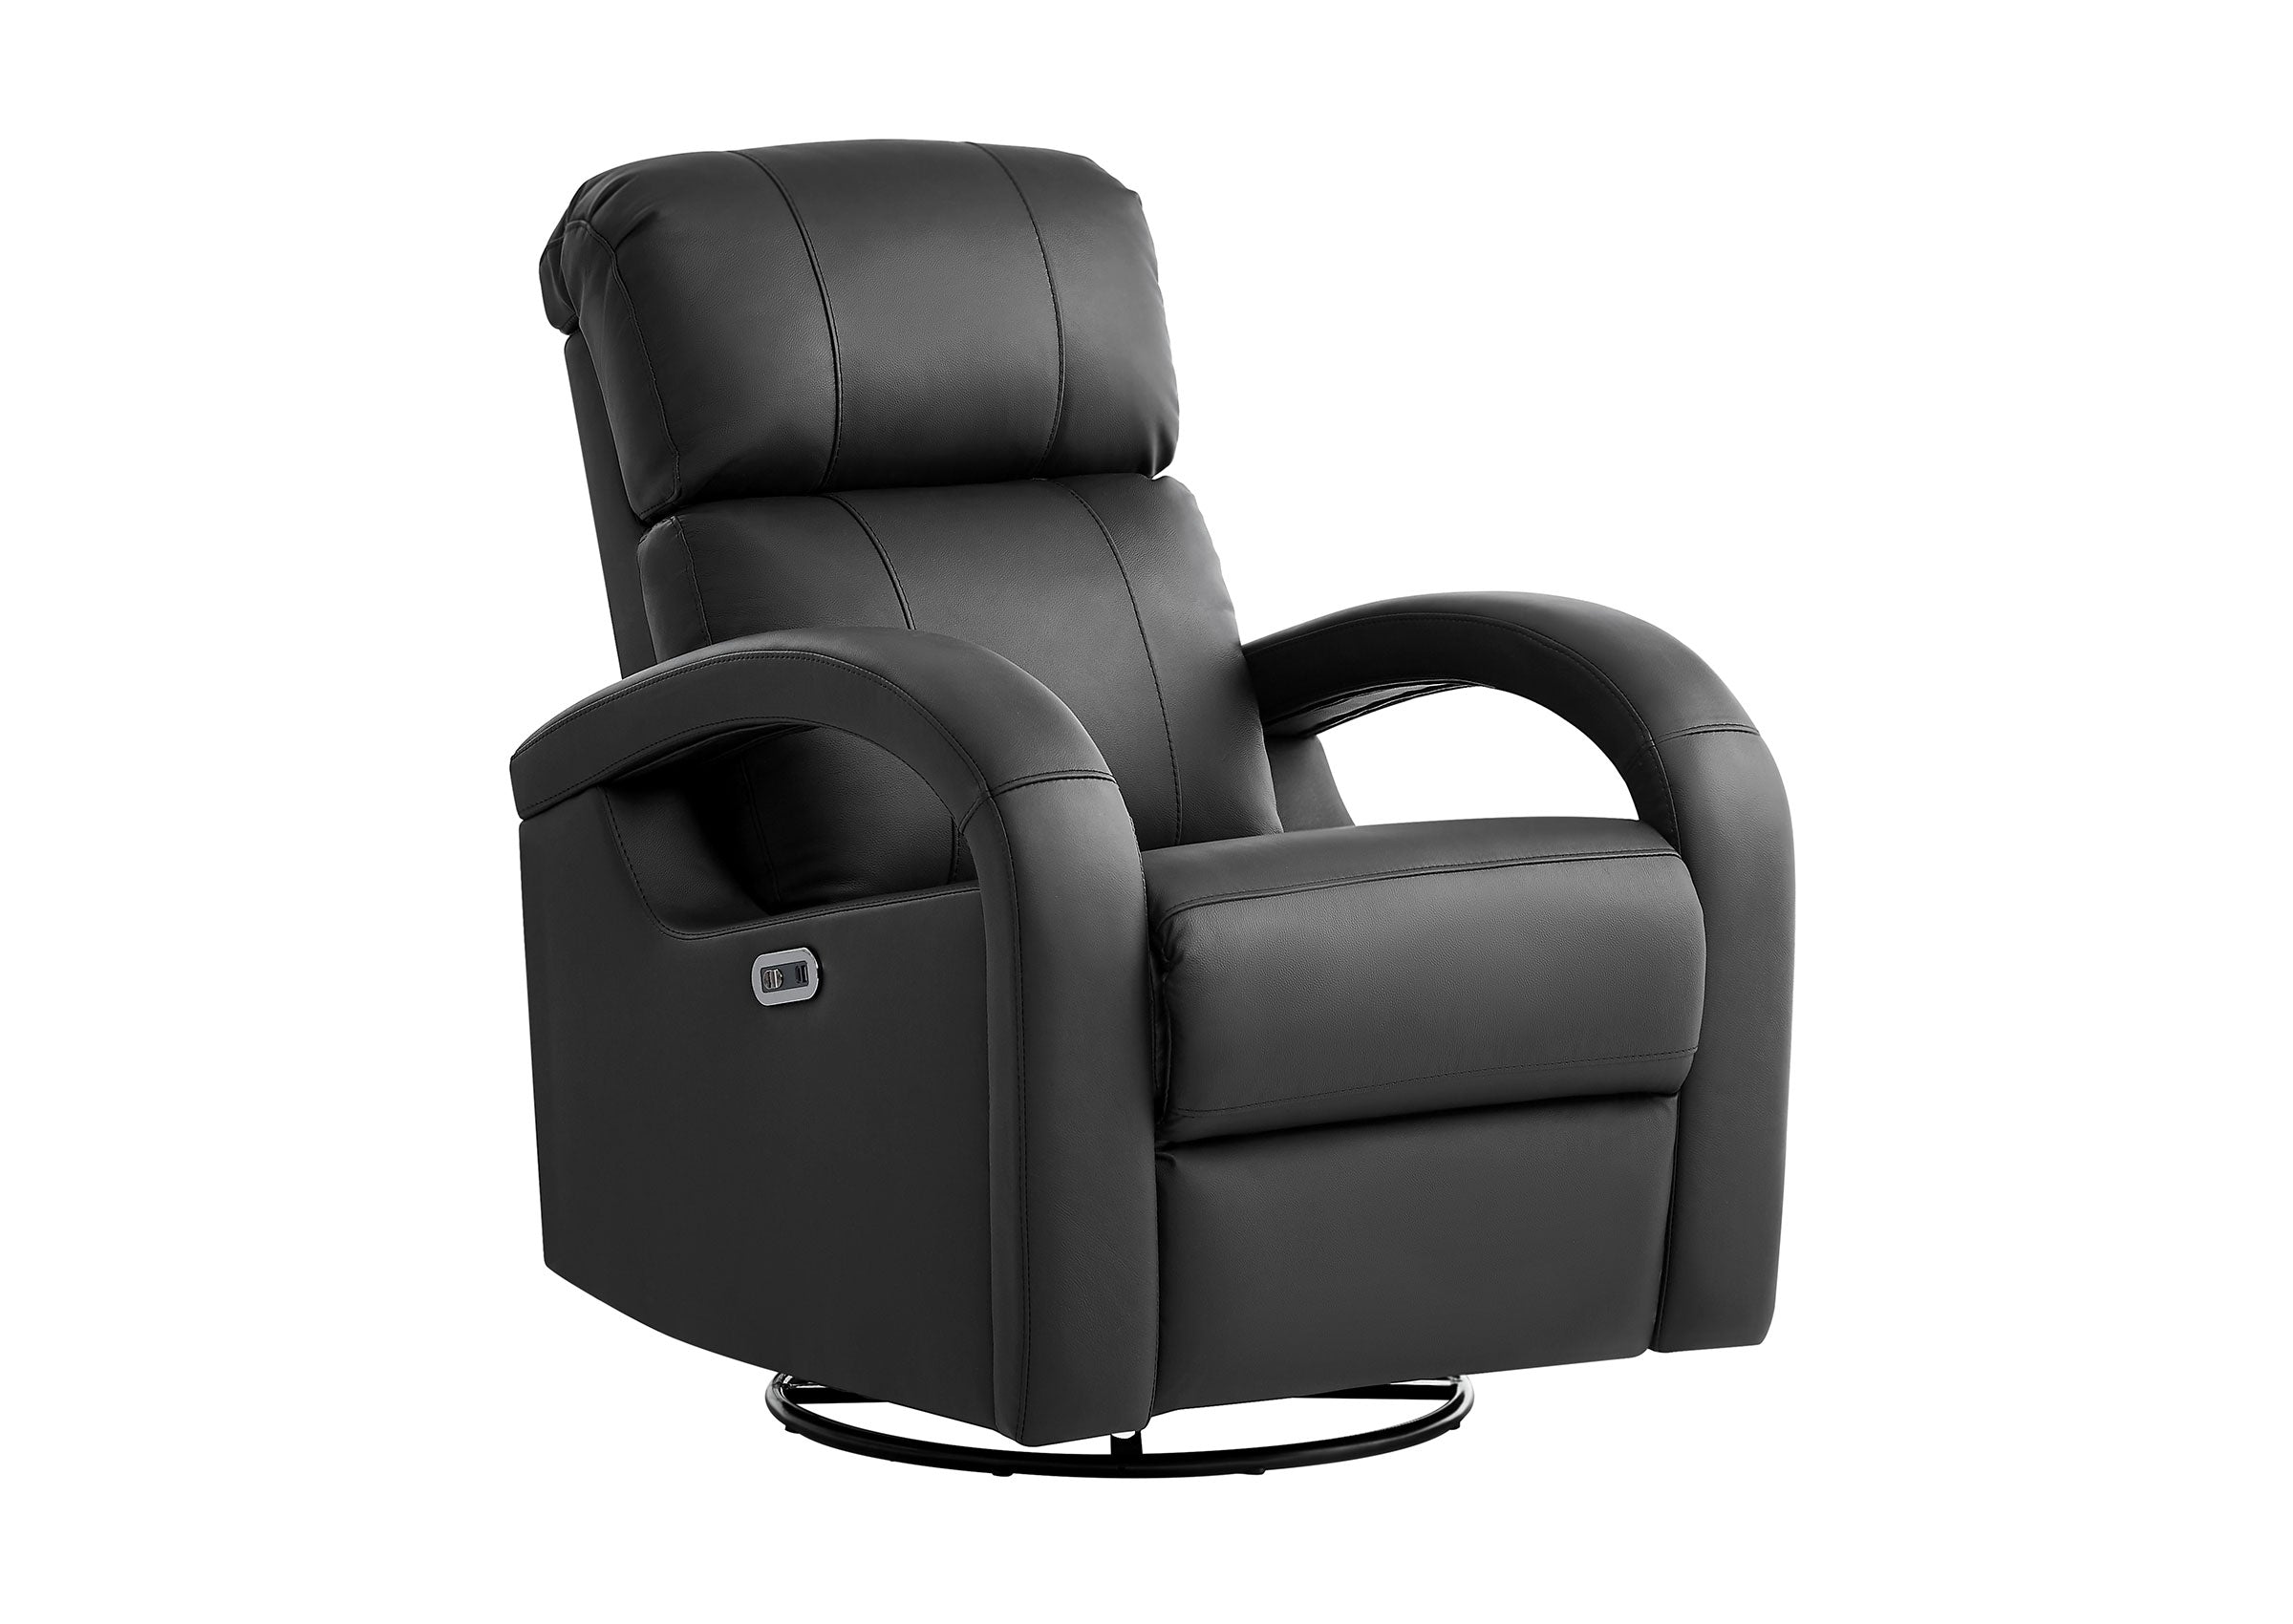
Check a recliner fully open as well as closed. Leave access to exits, the bathroom, and the kitchen, and account for slides and cabinet doors. If the dinette supplies your daily workspace or extra bed, make that trade-off explicit before replacing it with theater seating.

PLAN YOUR VIEW
Compare Screen Size and Viewing Distance
For an initial comparison of screen size and viewing distance, use the TV viewing-distance planner. Treat the result as a starting point, then check your actual seated view; a room-planning tool cannot confirm RV mounting, slide clearance, or vehicle suitability.
Decide How You Will Play Movies With and Without Internet
Choose the movie source before buying adapters or a new display. A TV's ability to show a picture and its ability to obtain a movie are separate questions.
| Source | What it needs | What to test before leaving |
|---|---|---|
| TV app or streaming device | A compatible service, account, and usable internet connection | Sign-in, playback, data allowance, and the power supply for any separate device |
| DVD or Blu-ray player | Compatible discs, a supported display connection, and power | Picture and sound on the RV's actual TV; keep a known-working disc as a test source |
| Downloaded app content | A supported device, eligible title, and valid download | Playback with internet disconnected on the device you will actually watch |
| Personal video files | A player that supports the file, storage format, and connection | Open the actual files; a USB socket is not proof that every video format will play |
| Over-the-air television | Suitable antenna, tuner, and local reception | Scan at the destination; available broadcasts are not an on-demand movie library |
Do not make campground Wi-Fi your only plan. Reception, shared capacity, and service restrictions can change between stops. If you use cellular data, check your plan's hotspot allowance and any video restrictions rather than assuming that a strong signal means unlimited streaming.
Downloads need particular care. Netflix's current download guidance lists supported mobile devices and Chromebooks; it does not promise downloads on every smart TV or streaming stick. Some titles are unavailable, and downloads can expire. A downloaded movie on a phone also does not establish that the service permits playback through your TV adapter or casting setup.
Before departure, turn off the test device's internet connection and start the movie. If you intend to use the big screen, test that exact connection too. When it fails, use an independently verified option—such as a compatible disc player—or plan to watch the download on its supported device. Do not discover the limitation after installing the TV.
Choose Sound You Can Enjoy Without Filling the RV With Equipment
Start with dialogue. Play a familiar conversation scene from each regular seat at the volume you would use in a campground. If speech is already clear, you may not need another speaker. If you keep turning up quiet scenes and turning down action scenes, try the system's dialogue or night setting, where available, before buying more equipment.
A compact soundbar is a practical candidate when you want front-facing sound with relatively few components. Check that it fits without covering the TV's remote sensor or picture. Confirm its input ports before ordering; a bar that worked with an old television may not connect the same way to a replacement.
Separate speakers and a receiver offer more placement and upgrade choices. They also need mounting or storage positions, ventilation, wiring, and power. Choose them when those requirements fit the RV and you value the additional involvement. Do not buy rear speakers first and assume there will be a useful place for them later. Check what a wireless speaker system still needs: wireless audio does not necessarily eliminate power cords, and some rear speakers connect to a separate powered module.
Keep bass and outdoor speaker zones under control. Test at your normal volume, then step outside to check what carries beyond the RV. Respect the campground's quiet hours. Headphones can be useful late at night, provided the TV supports the connection and everyone watching can use the arrangement comfortably.
For an existing system, label which speaker zones are active. Otherwise, a movie intended for the living area may also play through speakers outside. This is worth checking even when you do not plan an audio upgrade.
Connect One Signal Path and Test It Before Hiding Cables
For a TV and compatible soundbar, a common arrangement is:
Player or streaming device → TV HDMI input → TV's HDMI ARC/eARC connection → soundbar's TV ARC/eARC connection.
If the TV runs the streaming app itself, the separate player is not needed. Both ends of the TV-to-audio connection must support the chosen method. On some soundbars, the TV connection is labeled HDMI OUT (TV ARC/eARC), rather than simply HDMI IN.
Sony's audio-connection instructions show the TV's marked ARC/eARC port and optical audio as an alternative. Available connections and settings vary by model. Follow both devices' instructions for audio output, ARC/eARC, and any required HDMI control setting; do not assume every HDMI socket returns TV sound.

If both devices support optical audio, it can provide another connection route. Check their supported audio formats and control behavior. If the connectors do not match, identify what each port sends or receives before buying a converter; a plug that fits is not proof of a compatible signal.
If your existing receiver handles video as well as audio, its documented arrangement may instead be player → receiver → TV. For a projector without TV-style ARC support, you may need the player or receiver to supply audio separately. Draw that path before ordering: the TV-and-soundbar diagram above is one arrangement, not a connection rule for every system.
Test the equipment with accessible cables before routing anything through cabinetry. Then troubleshoot one section at a time:
| Symptom | First check | Next useful test |
|---|---|---|
| TV says no signal | Player power and the selected TV input | Connect one known-working source directly, bypassing splitters or wall plates |
| Picture works but there is no external sound | TV audio output, the soundbar input, and the marked ARC/eARC ports | Try the TV speakers to separate a source problem from the external-audio path |
| Sound works from one source but not another | Each source's audio-output setting and the receiving device's supported formats | Compare a TV app with the external player using the same sound system |
| Speech and lips do not line up | Audio-delay settings and the connection method | Test a supported wired connection if the problem occurs over Bluetooth |
| Playback stops only away from hookups | Whether every device still has its required power | Check the RV's outlet/inverter configuration rather than resetting network settings first |
Once the path works, label the cables and keep a photo of the connections. Leave appropriate movement room at an adjustable mount without creating loops that can snag. Keep access to the equipment; a neat installation should not require dismantling a cabinet just to check an input.
Budget Power for the Whole Movie
On shore power, confirm the outlets and equipment are operating as intended. Away from hookups, find out which outlets are supplied by the inverter and what other loads share the available capacity. The TV may work while the soundbar, router, or streaming device on another outlet remains off.
A device marked for 12V DC still needs the correct input range, polarity, connector, and approved supply. A household TV with an external adapter is not automatically suitable for direct connection to an RV battery. Use the equipment instructions, and have changes to vehicle wiring assessed by a qualified RV electrical professional.
To estimate movie-night energy, add the operating watts of the TV, audio, playback device, and any networking equipment you need. Multiply by viewing time:
Combined operating watts × hours of use = equipment energy in watt-hours.
For example, an assumed combined AC load of 100 watts for two hours uses 200 watt-hours at the equipment. If an assumed 90% conversion efficiency applied, that load would draw about 222 watt-hours from the battery, before any separately counted overhead. These are calculation examples, not typical RV consumption figures or promised runtime. If some devices run directly on DC, account for those separately rather than applying the inverter factor to everything.
Actual consumption depends on the devices, settings, inverter, and other loads. Manufacturer specifications can distinguish conversion efficiency from no-load consumption; Victron's inverter specification table illustrates that distinction, although those particular 230V models are not recommendations for a U.S. RV. Use your own system's figures and avoid counting the same loss twice.
Reserve energy for the RV's essential needs, then compare movie use with what you can actually allocate—not simply the battery's label capacity. For a first check, use rated input figures as a conservative estimate; for a better runtime estimate, measure representative operating consumption using appropriate equipment or the RV's monitoring system. An inverter's watt rating tells you its output capability, not how many hours your batteries will last.
Give Everything a Secure Travel Position
A TV mount needs more than a matching screen size. Check the TV's weight, its VESA mounting-hole pattern, the mount's limits, the supporting structure, and the travel restraint specified for that installation.
For example, MORryde's TV1-122H page separately lists its mounting pattern, weight capacity, movement, and closed-position latch. Those are different checks. Its specifications do not establish that your RV wall can carry it, or that it is the right mount for your television.
Have the RV manufacturer or a qualified installer confirm the attachment location and hardware when those details are unknown. Do not treat a thin decorative panel as confirmed structural support. Keep wiring clear of moving slide components, hinges, heat, and pinch points, and preserve equipment ventilation.
Plan storage for the items that are easy to overlook: projector, remote, disc cases, headphones, power adapters, and portable speakers. A component resting on a shelf during a movie needs an appropriate secured position before travel. Furniture attachment and designated passenger seating require their own vehicle-specific checks.
Use the owner's documentation for your exact RV. Winnebago's operator-manual library is one example; other manufacturers provide their own instructions. Keep travel and setup notes beside your connection photo so the routine is repeatable.

Run a Full Movie Test, Then Pack for the Road
Test the setup as you intend to use it: the actual seats, shades, source, sound level, and camping power mode. Watch long enough to notice uncomfortable head position, glare, fan noise, or repeated buffering. Check whether another person can pass while the footrests are open.
Before calling the setup finished, confirm:
- Everyone in the regular seats can read subtitles without continually turning or lifting their head.
- The planned online source works, and the offline fallback starts with internet disconnected.
- Dialogue is clear at a considerate volume, with outside speaker zones off when not wanted.
- Each device stays powered in the intended camping mode, and the energy use fits the available allowance.
- Equipment has ventilation, cables remain accessible, and controls can be reached.
- The TV, furniture, and portable equipment can be secured as required before travel, without blocking exits or interfering with slides.
If one part fails, change that part and repeat the affected test. There is little value in a larger screen if the source will not play, or a more elaborate sound system if packing it away becomes a chore. The useful result is a movie night you can start and finish without rearranging your whole RV.
RV Home Theater Setup FAQ
Can I use a regular household TV in an RV?
It can be a candidate, but check more than the screen dimensions. Confirm the power supply, operating and storage conditions, weight, mounting compatibility, and how it will be secured during travel. Follow the TV and RV manufacturers' requirements. The fact that a TV fits the cabinet does not confirm its suitability for that installation.
Do I need surround sound in a small RV?
No. Clear TV audio, a suitable soundbar, or a compact speaker system may meet your needs. Surround sound makes more sense when you can position the speakers usefully, accommodate the equipment, and enjoy it at a considerate volume. Choose the simpler arrangement if rear speakers would occupy walkways or require packing away every evening.
Can I cast downloaded movies from my phone to the RV television?
Do not assume so. Download permission, supported output connections, and casting requirements depend on the service, device, and app. Test the exact downloaded title and TV connection without internet before relying on it. If the service only supports offline viewing on the downloading device, use that device or choose another verified playback source for the TV.
Can I reuse the speakers already installed in the ceiling?
Possibly, but identify what drives them first. Trace the existing head unit or amplifier, speaker zones, and the documented speaker requirements. A TV audio output does not normally replace an amplifier for passive speakers. Have an installer check compatibility if the specifications or wiring are unclear; do not combine outputs from two amplifiers or guess from matching wire colors.
Is a 12V TV better than using an inverter?
A compatible DC-powered TV may simplify the screen's supply, but compare the entire system. Your audio equipment, player, or router may still need another power source. Check each device's approved input and the energy used by the whole arrangement. An inverter's ability to power the TV also does not establish how long the battery can run it.
Can two RV televisions show the same movie?
They can with a compatible distribution arrangement. An HDMI splitter sends one source to multiple displays; it does not give each viewer an independent program. Check the source, splitter, displays, cable runs, supported formats, and content-protection compatibility together. For different programs, plan separate playback sources and account for their network and power needs.
Can I use the projector outside the RV?
Yes, when the equipment, conditions, and campsite rules allow it. Plan for darkness, a stable screen, suitable power, and a clear route around cables. Keep indoor-only equipment protected from moisture and within its operating conditions. Check how much sound carries outside your own campsite, observe quiet hours, and allow time to pack everything away securely afterward.
Plan the Movie Night Before Ordering the Seats
Make a simple sketch showing the screen, regular seats, open footrests, walkway, equipment, and storage positions. Add the device models and connection photos. That gives you a practical plan to review with an RV installer before committing to structural or electrical changes.
If Weilianda seating is on your shortlist, ask for the dimensions, fully reclined footprint, weight, and power requirements of the exact configuration through Weilianda Support or leon@weiliandahome.com. Then have the vehicle-specific fit, attachment, and travel-use requirements confirmed separately. Product information helps you compare candidates; it is not approval for a particular RV installation.