


A home theater riser platform can transform an ordinary room into a cinema-worthy experience. When back-row seats sit at the same level as front-row seats, sightlines suffer. Adding a raised platform fixes that instantly. This guide covers everything you need to know, from choosing the right home theater riser height to building the structure safely and on budget.

What Is a Home Theater Riser Platform?
Before diving into construction details, it helps to understand exactly what a riser does and why so many homeowners add one.
A home theater riser platform is a raised section of flooring, usually positioned at the back of a theater room, that lifts the rear row of seats above the front row. The goal is simple: give everyone a clear, unobstructed view of the screen.
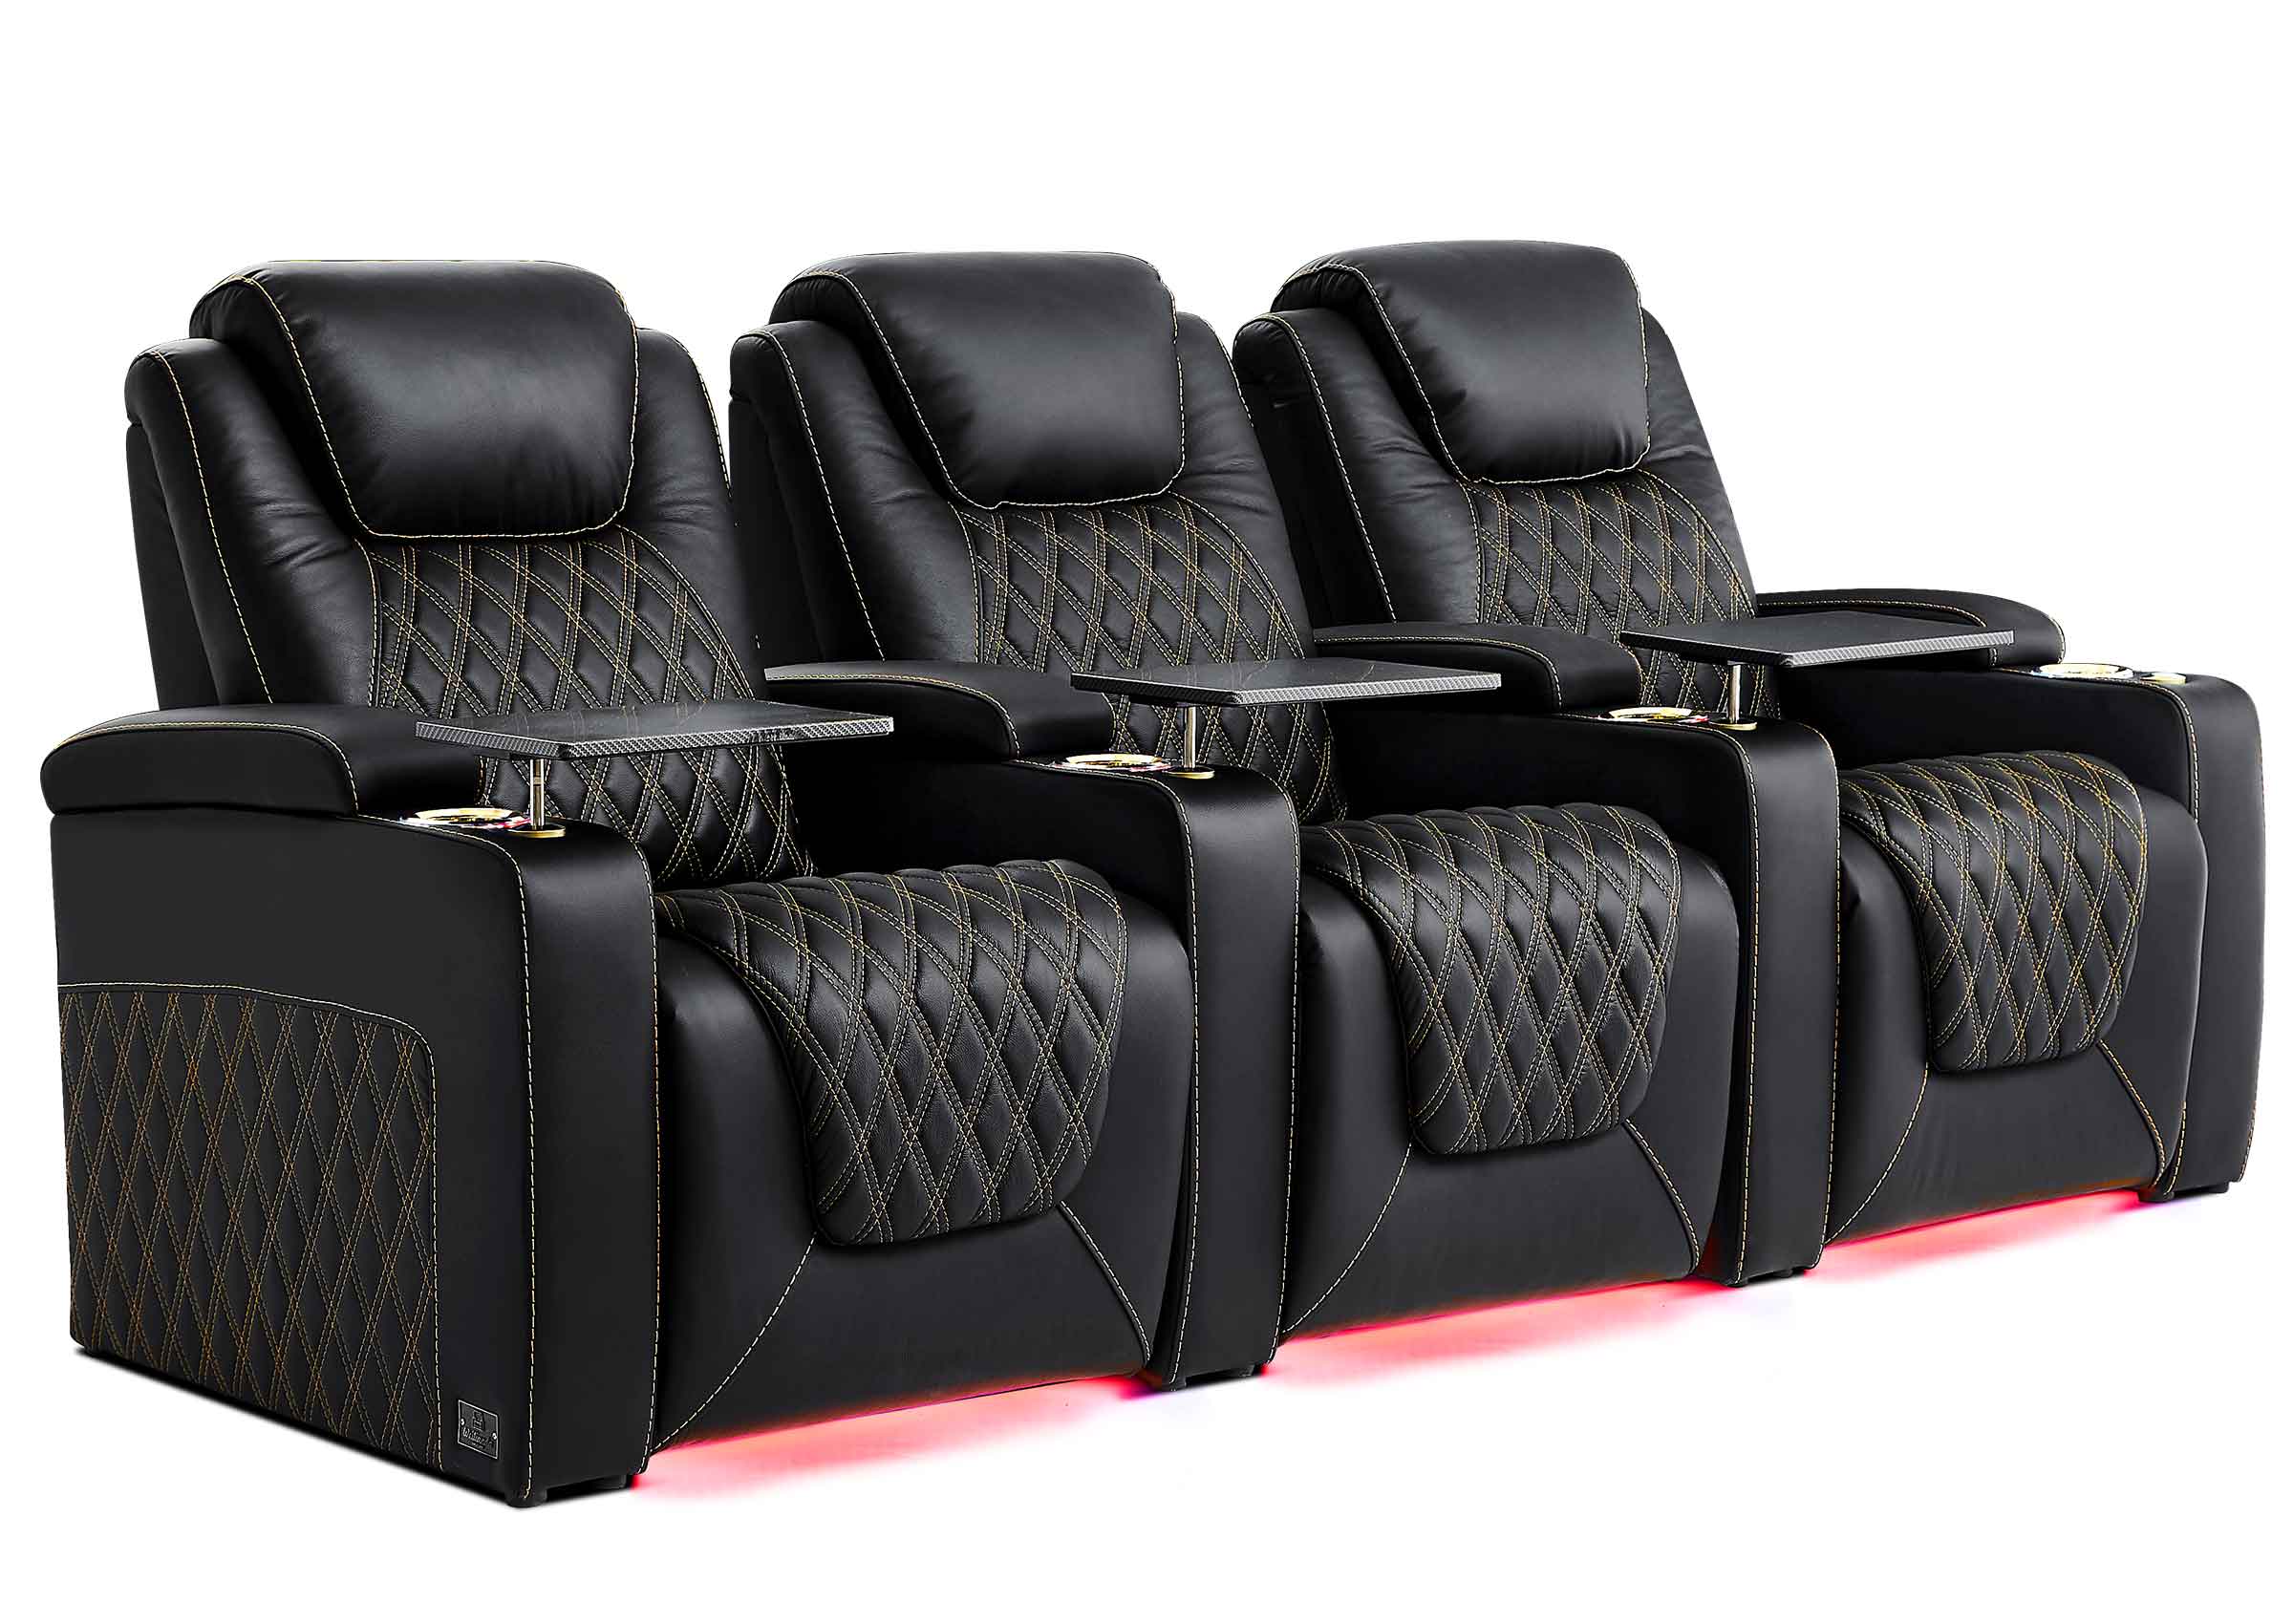
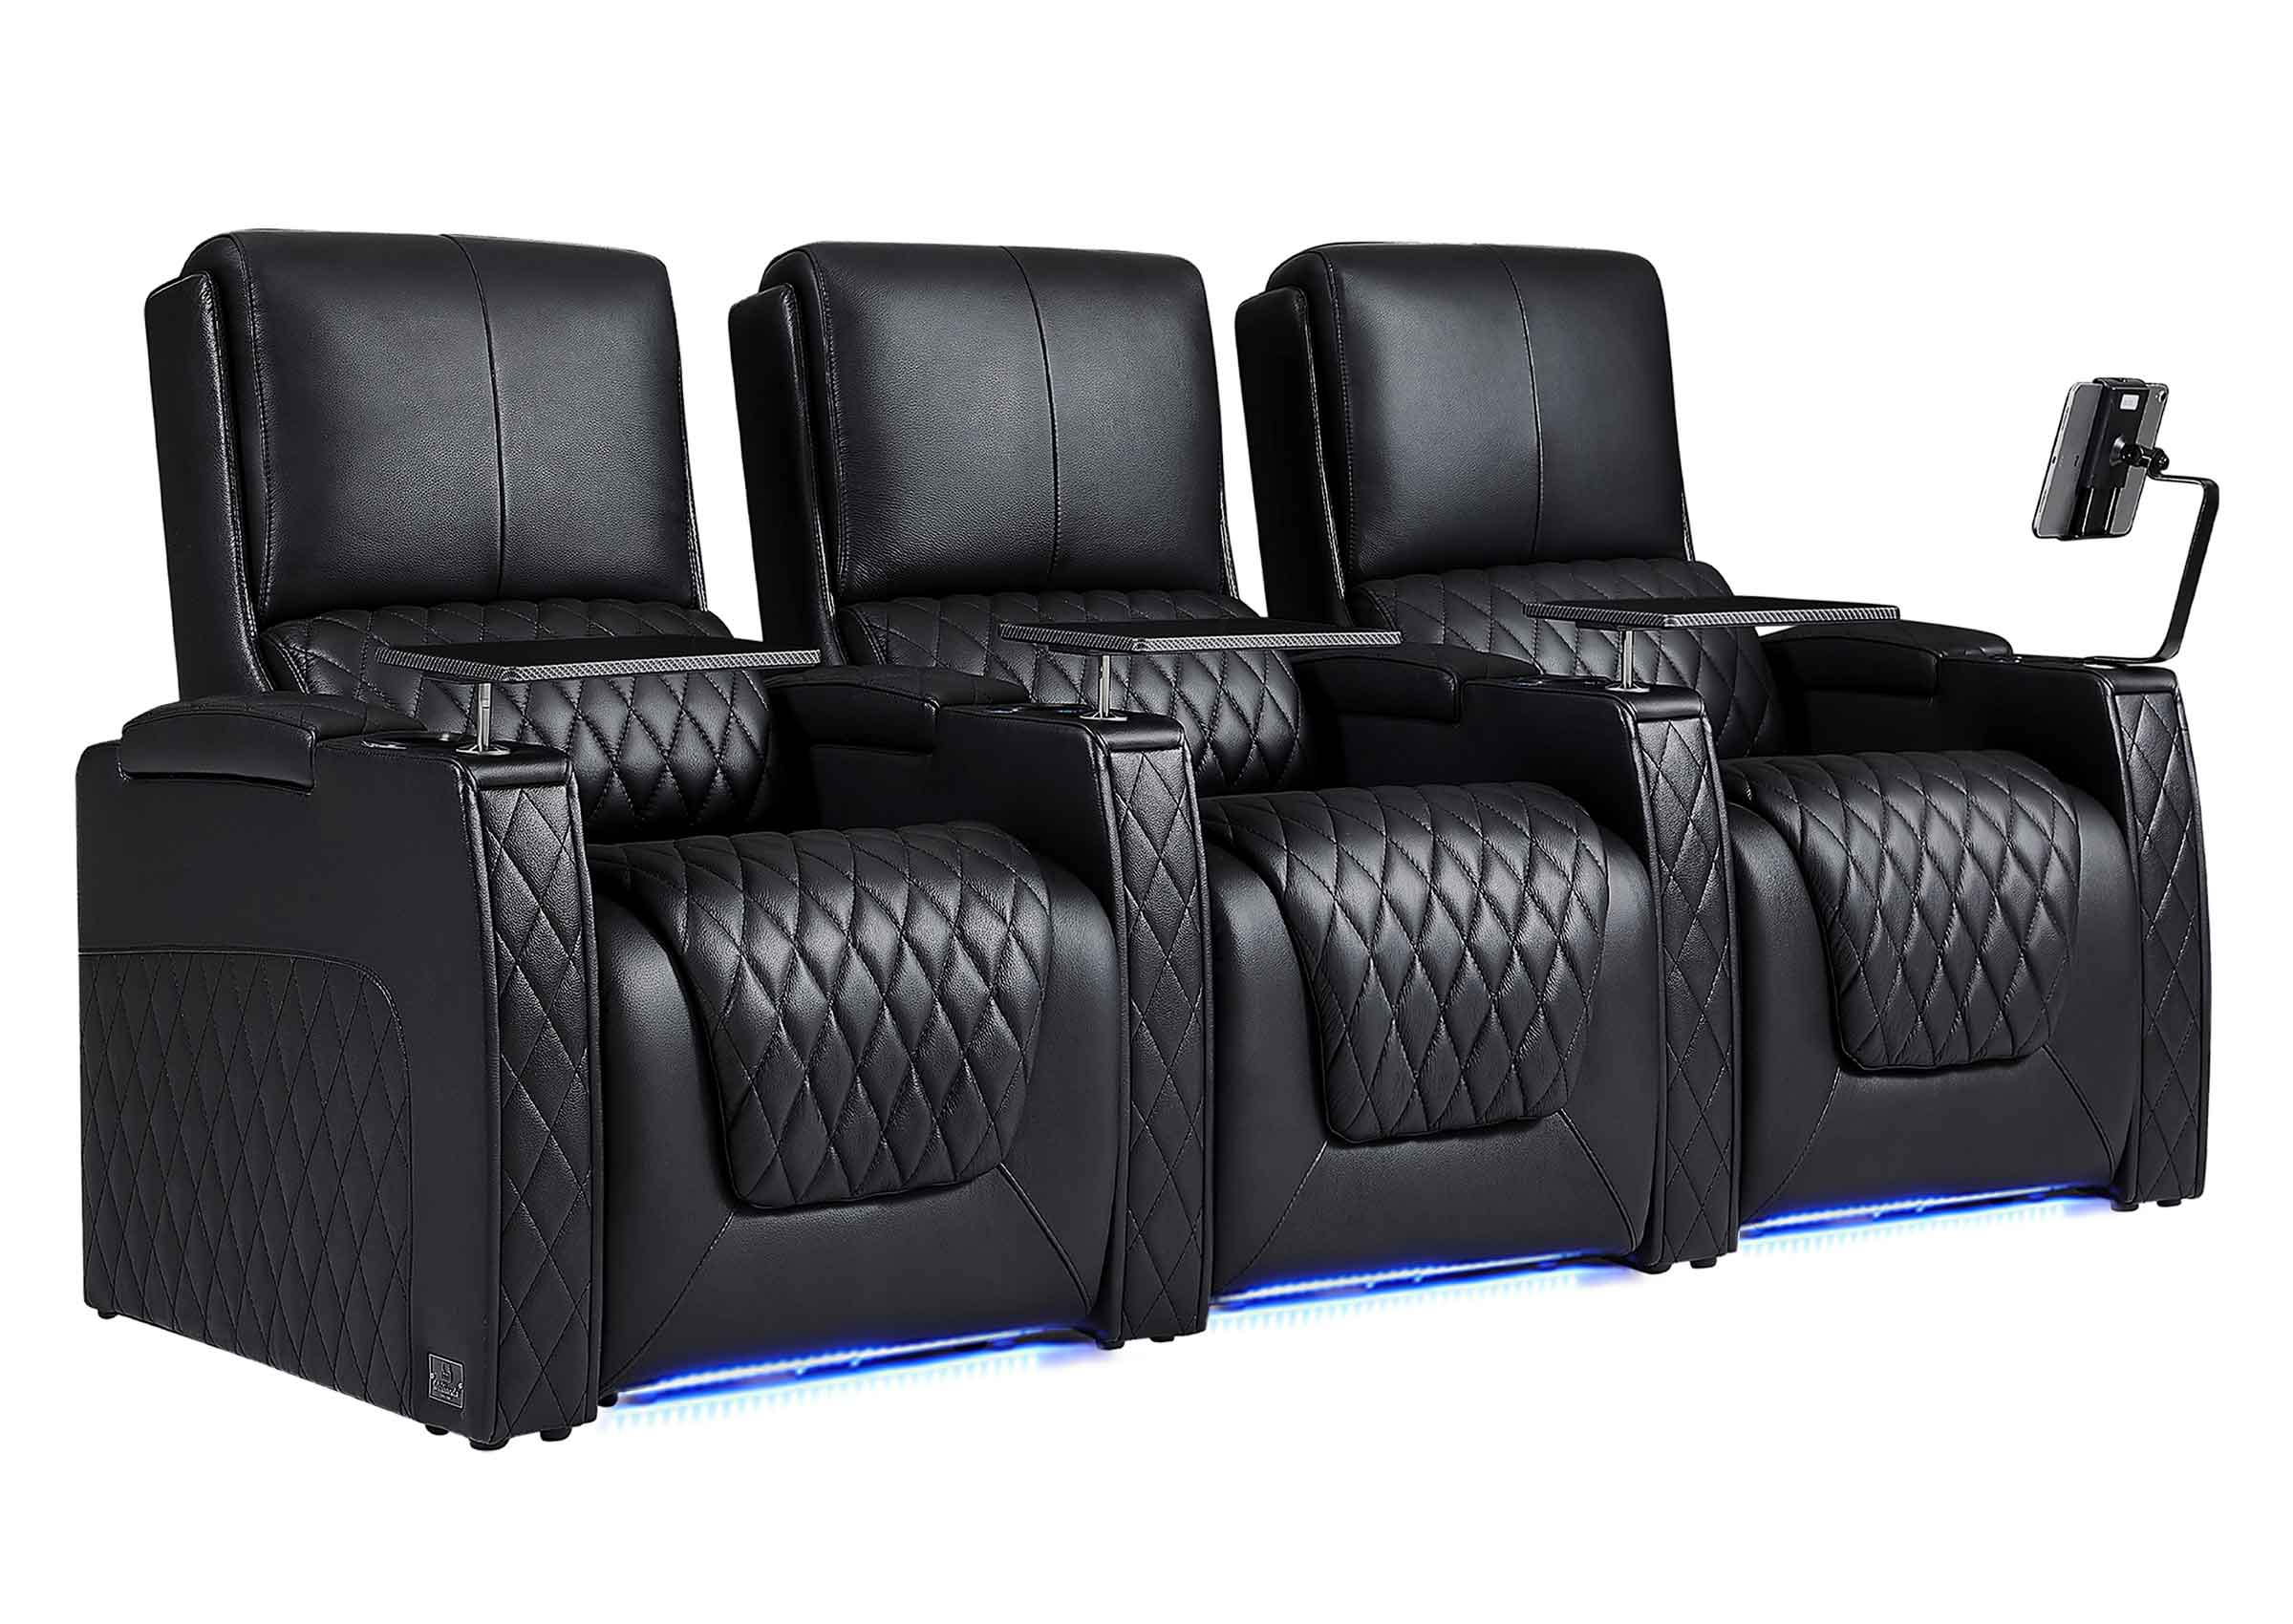
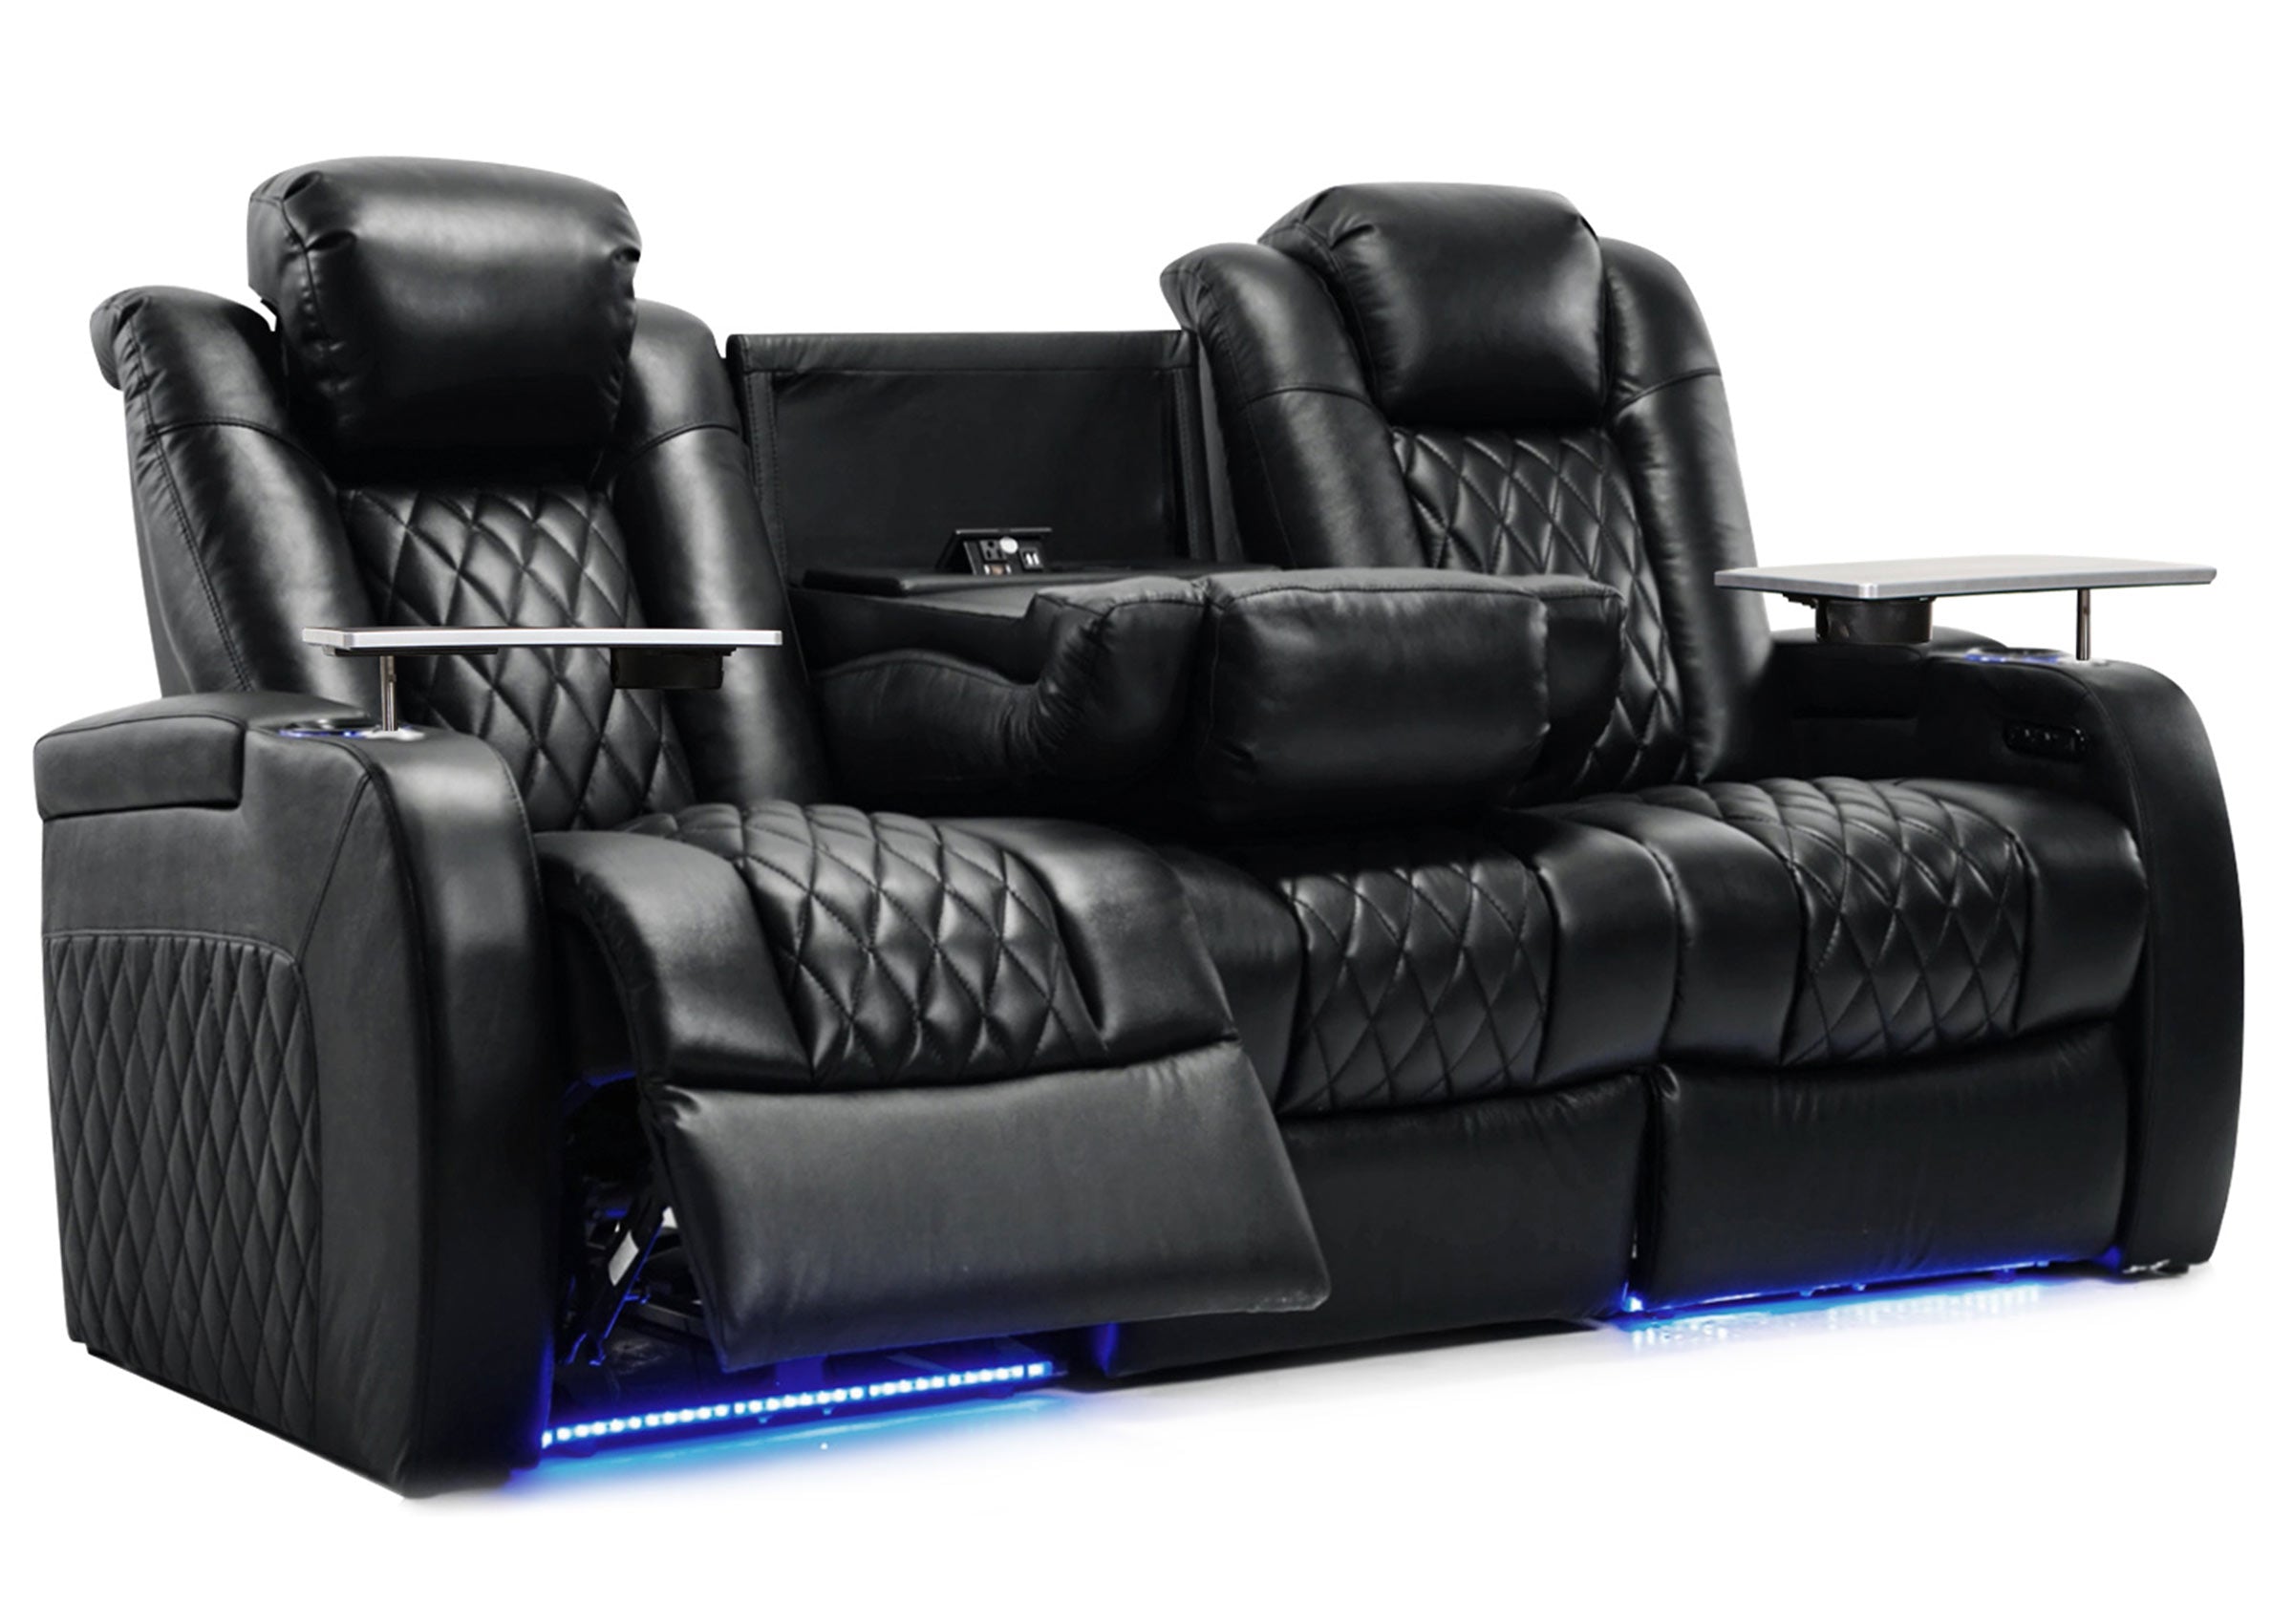
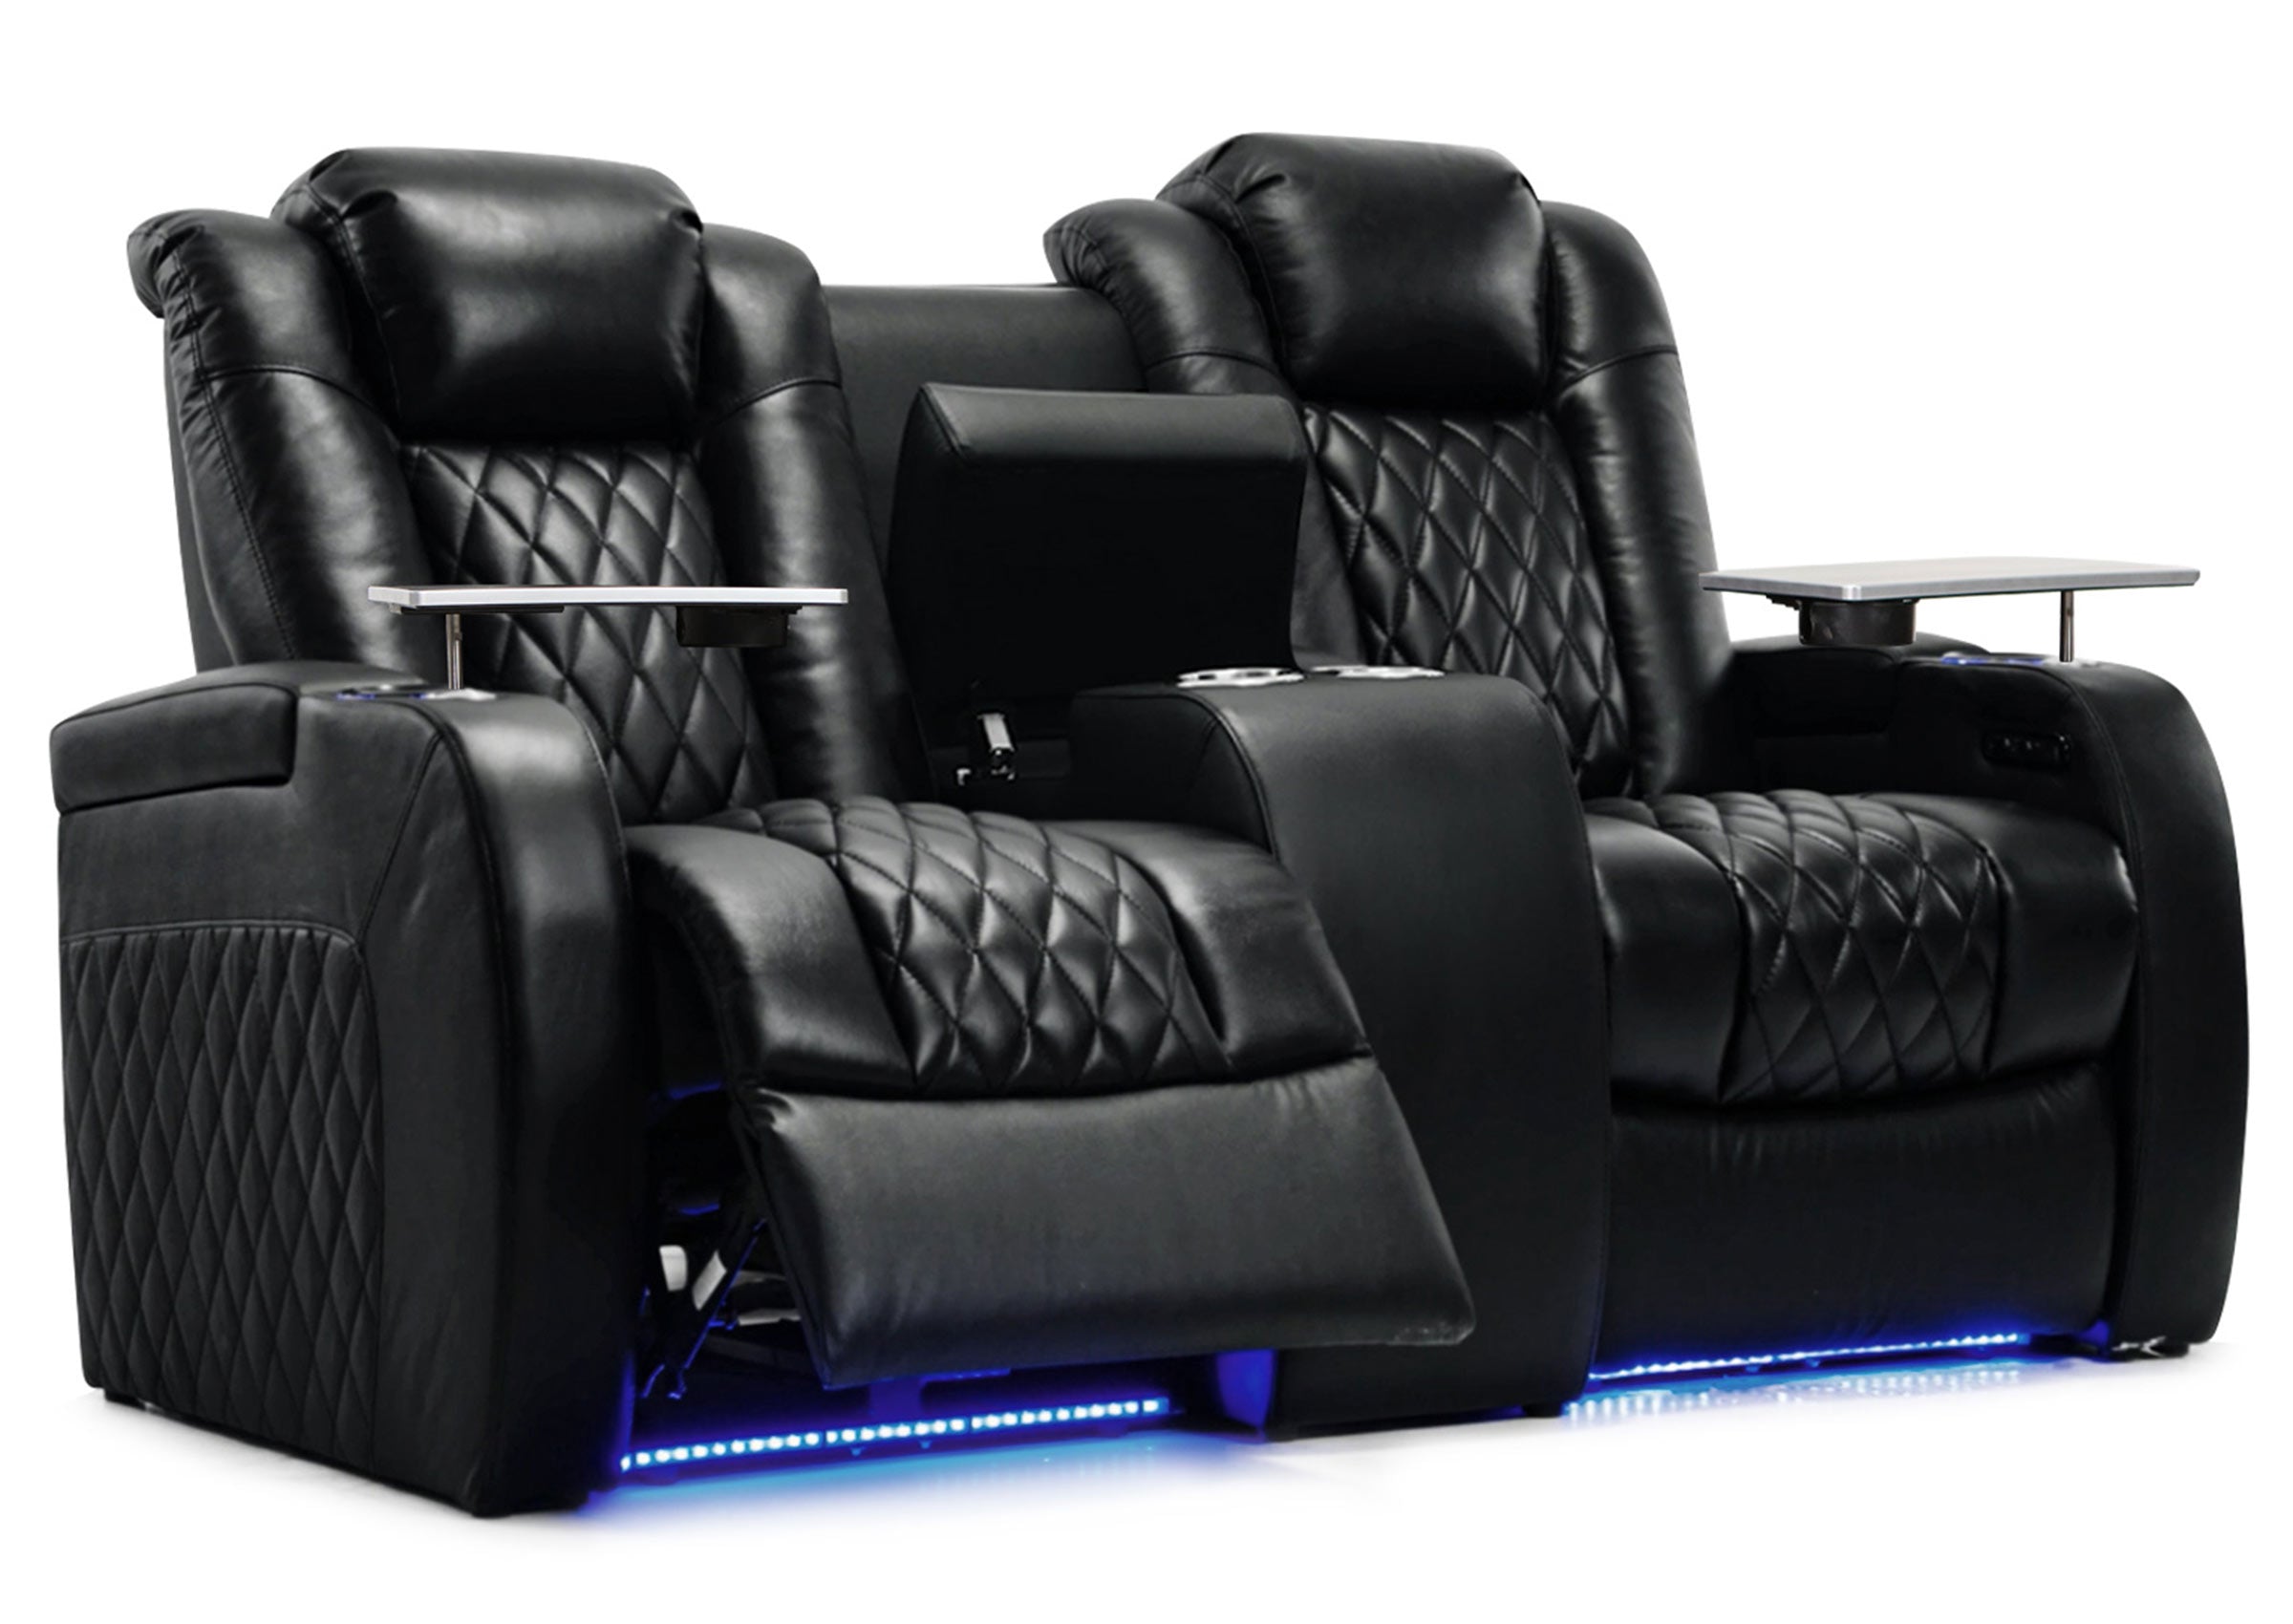
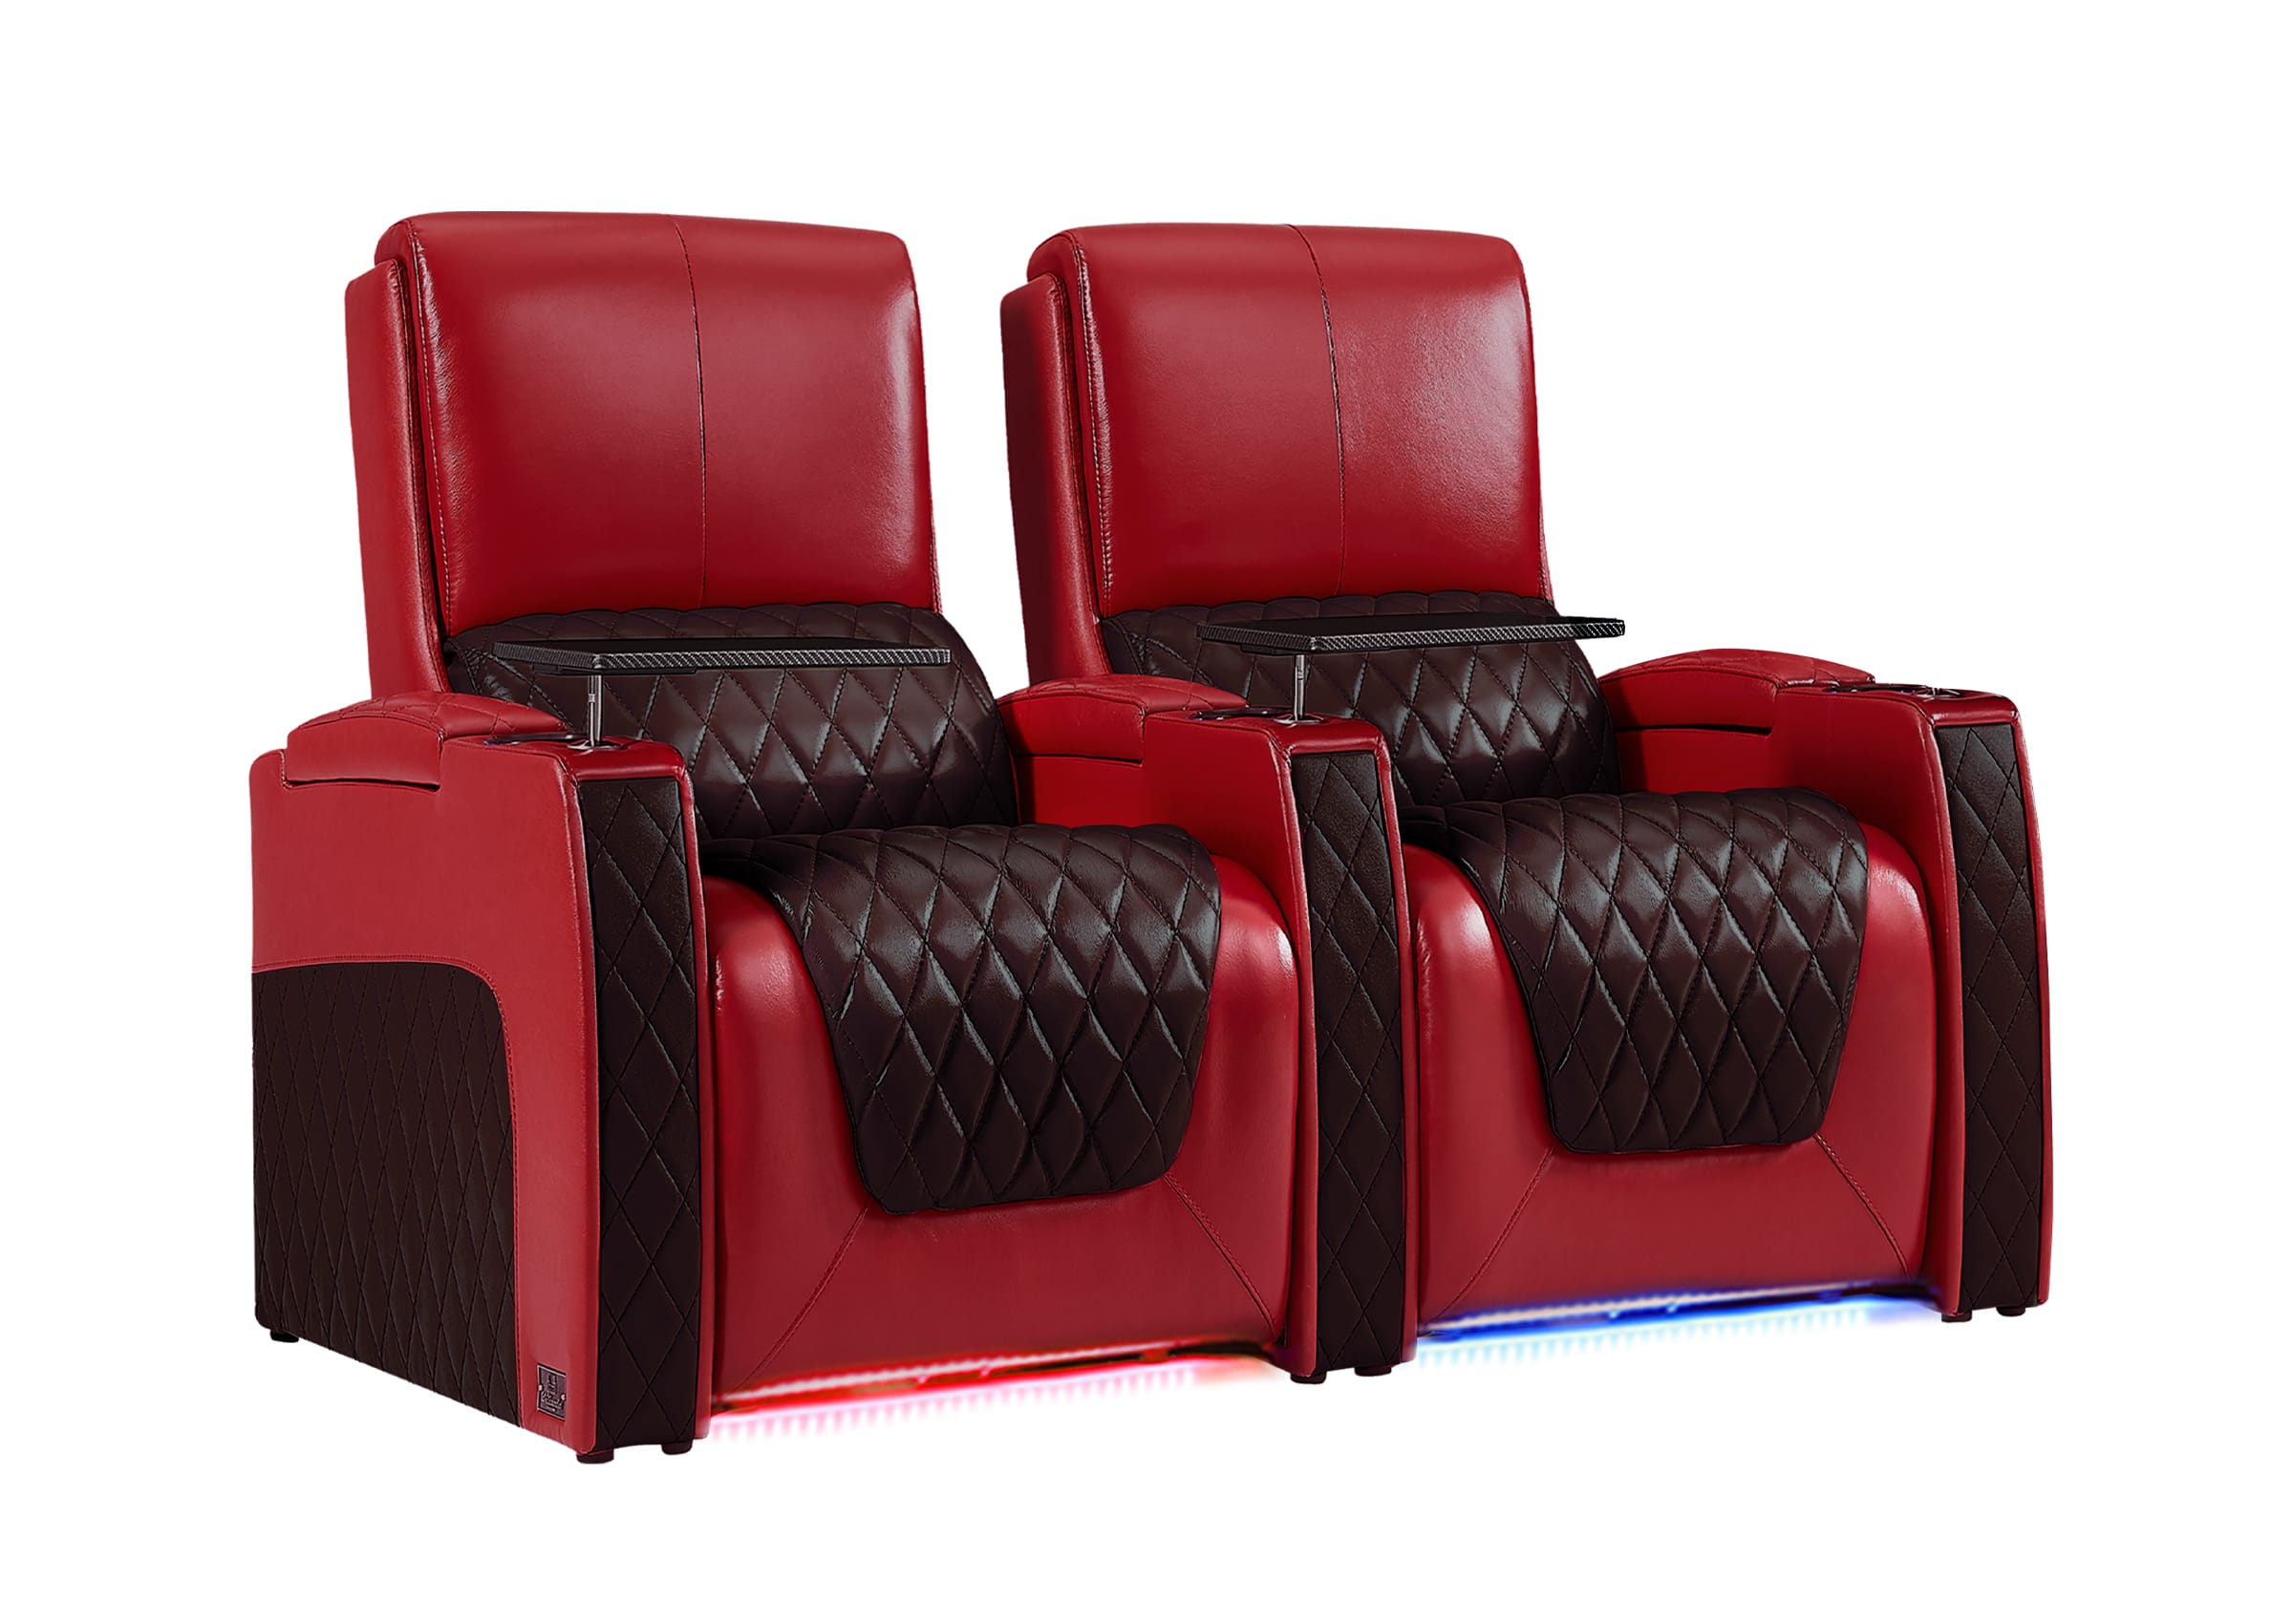
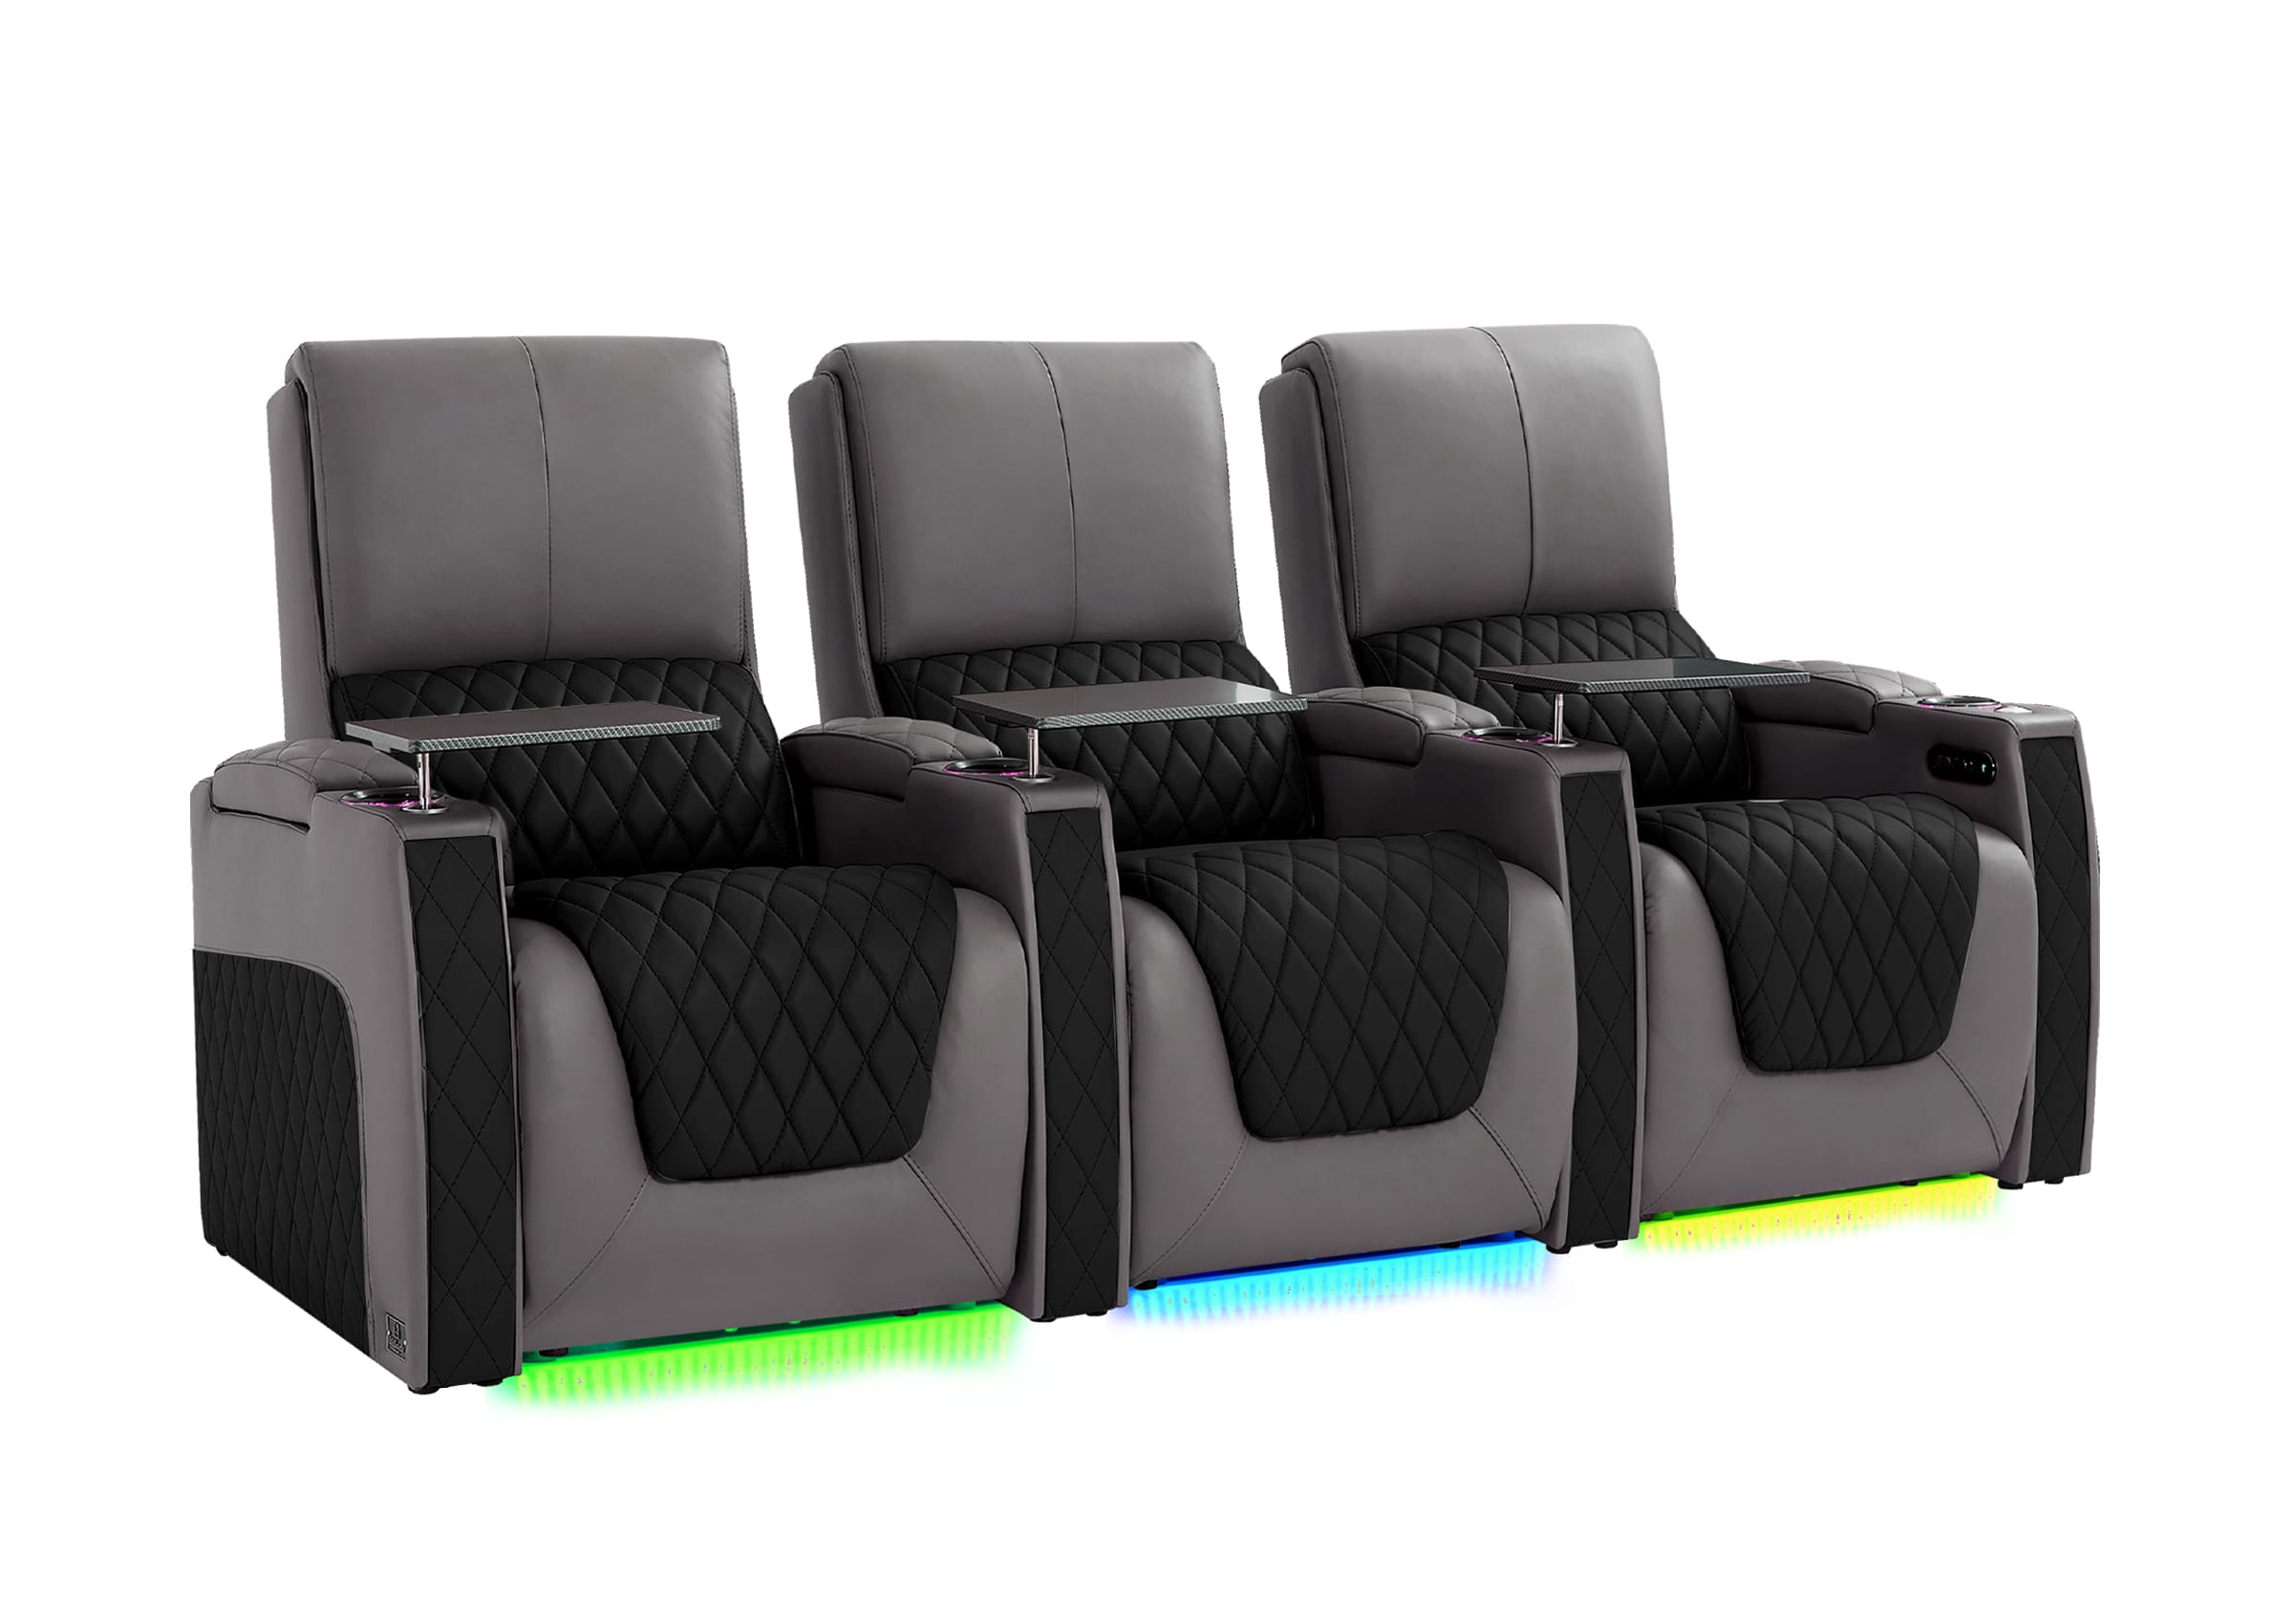
Risers are common in dedicated home theater rooms and finished basements. They work particularly well when you have two or more rows of home theater seating. Without a riser, taller front-row viewers or high-back chairs can block the view for anyone sitting behind them.
Why a Riser Makes a Difference
The problem with flat-floor theaters is purely geometric. Even a modest height difference of 12 to 18 inches between rows creates a dramatic improvement in sightlines. People in the back row can see the full screen without craning their necks or shifting around.
A movie room riser platform also adds visual structure to the space. It defines the seating zones clearly and gives the room a finished, professional look that flat floors simply cannot achieve.

Single-Level vs. Multi-Level Risers
Most home setups use a single raised platform for the back row. Multi-level risers, which step up in two or more tiers, are typically reserved for larger rooms with three or more seating rows. For the average home theater, one well-built riser is all you need.
How High Should a Home Theater Riser Be for Ideal Viewing?
Height is the most critical dimension to get right. Get it wrong and the riser either does too little or creates a hazard when people stand up.
The standard home theater riser height falls between 8 and 18 inches. 12 inches works as a baseline for single-row setups or rooms with lower ceilings; for two-row configurations with recliners, 14 to 16 inches is more commonly used in practice.
Key Factors That Determine Height
Room ceiling height matters most. A room with 8-foot ceilings cannot accommodate the same riser height as a room with 10-foot ceilings. Seated viewers on a raised platform still need enough clearance so their heads do not come close to the ceiling.
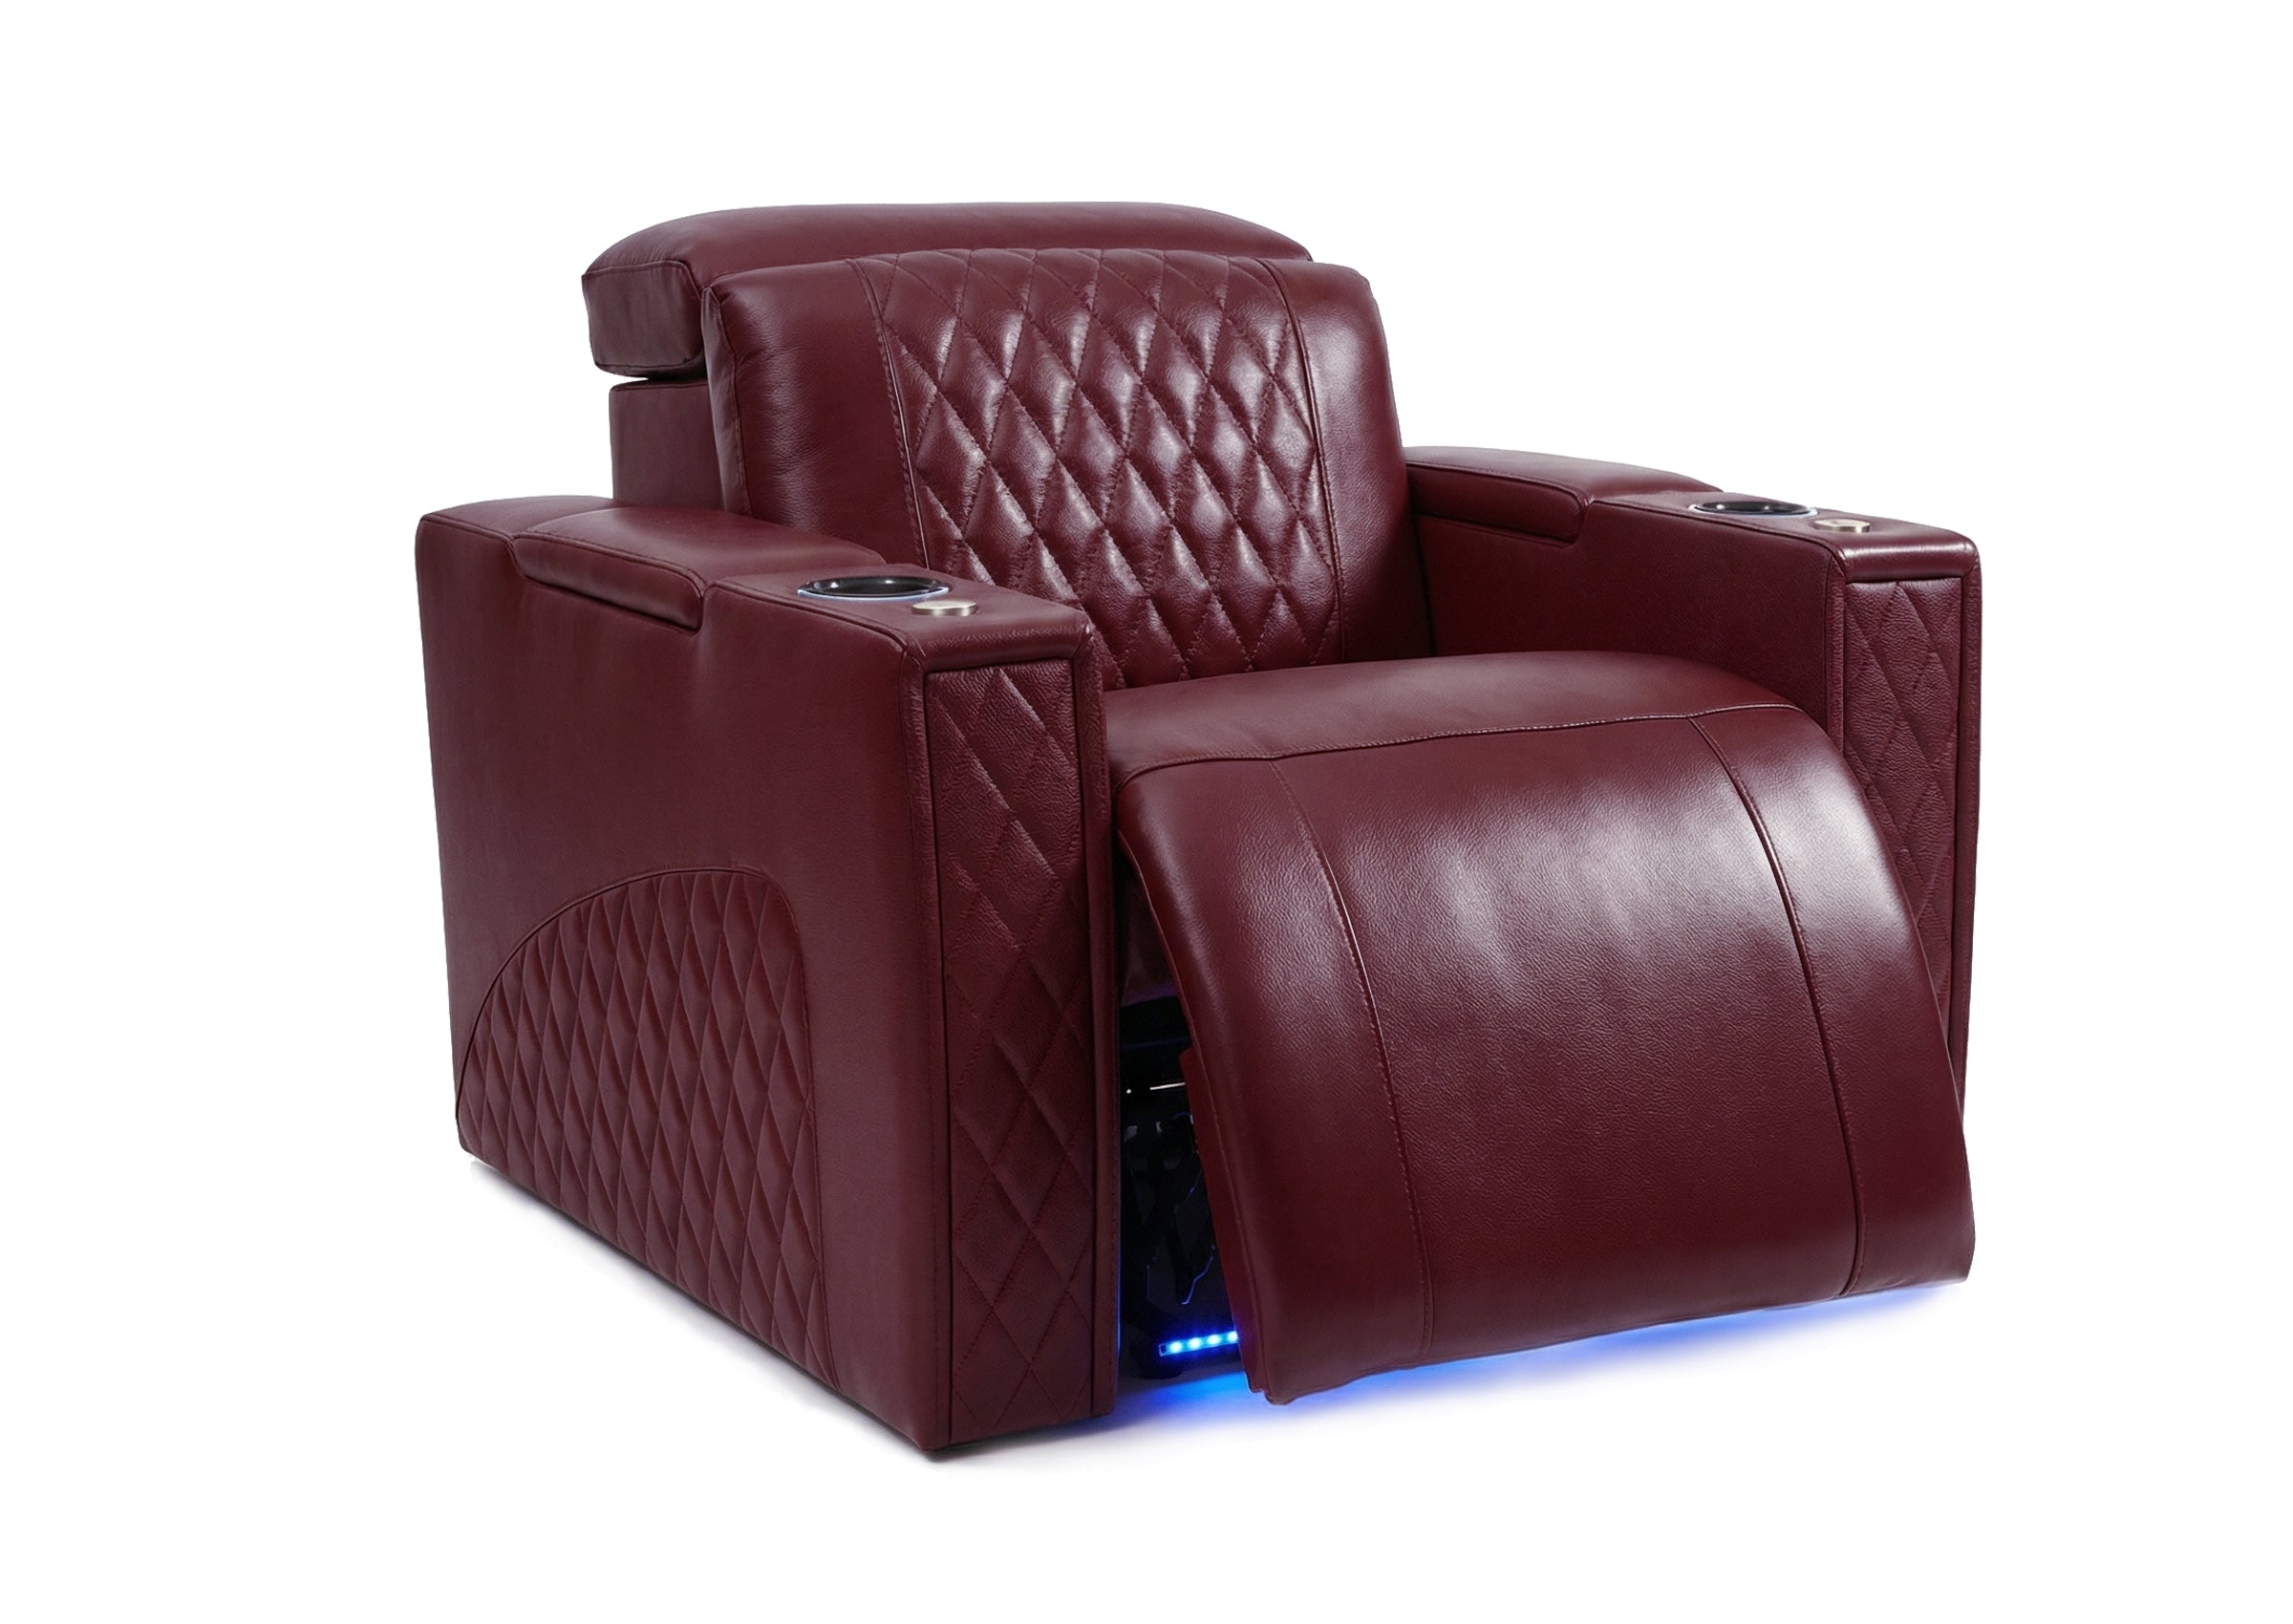
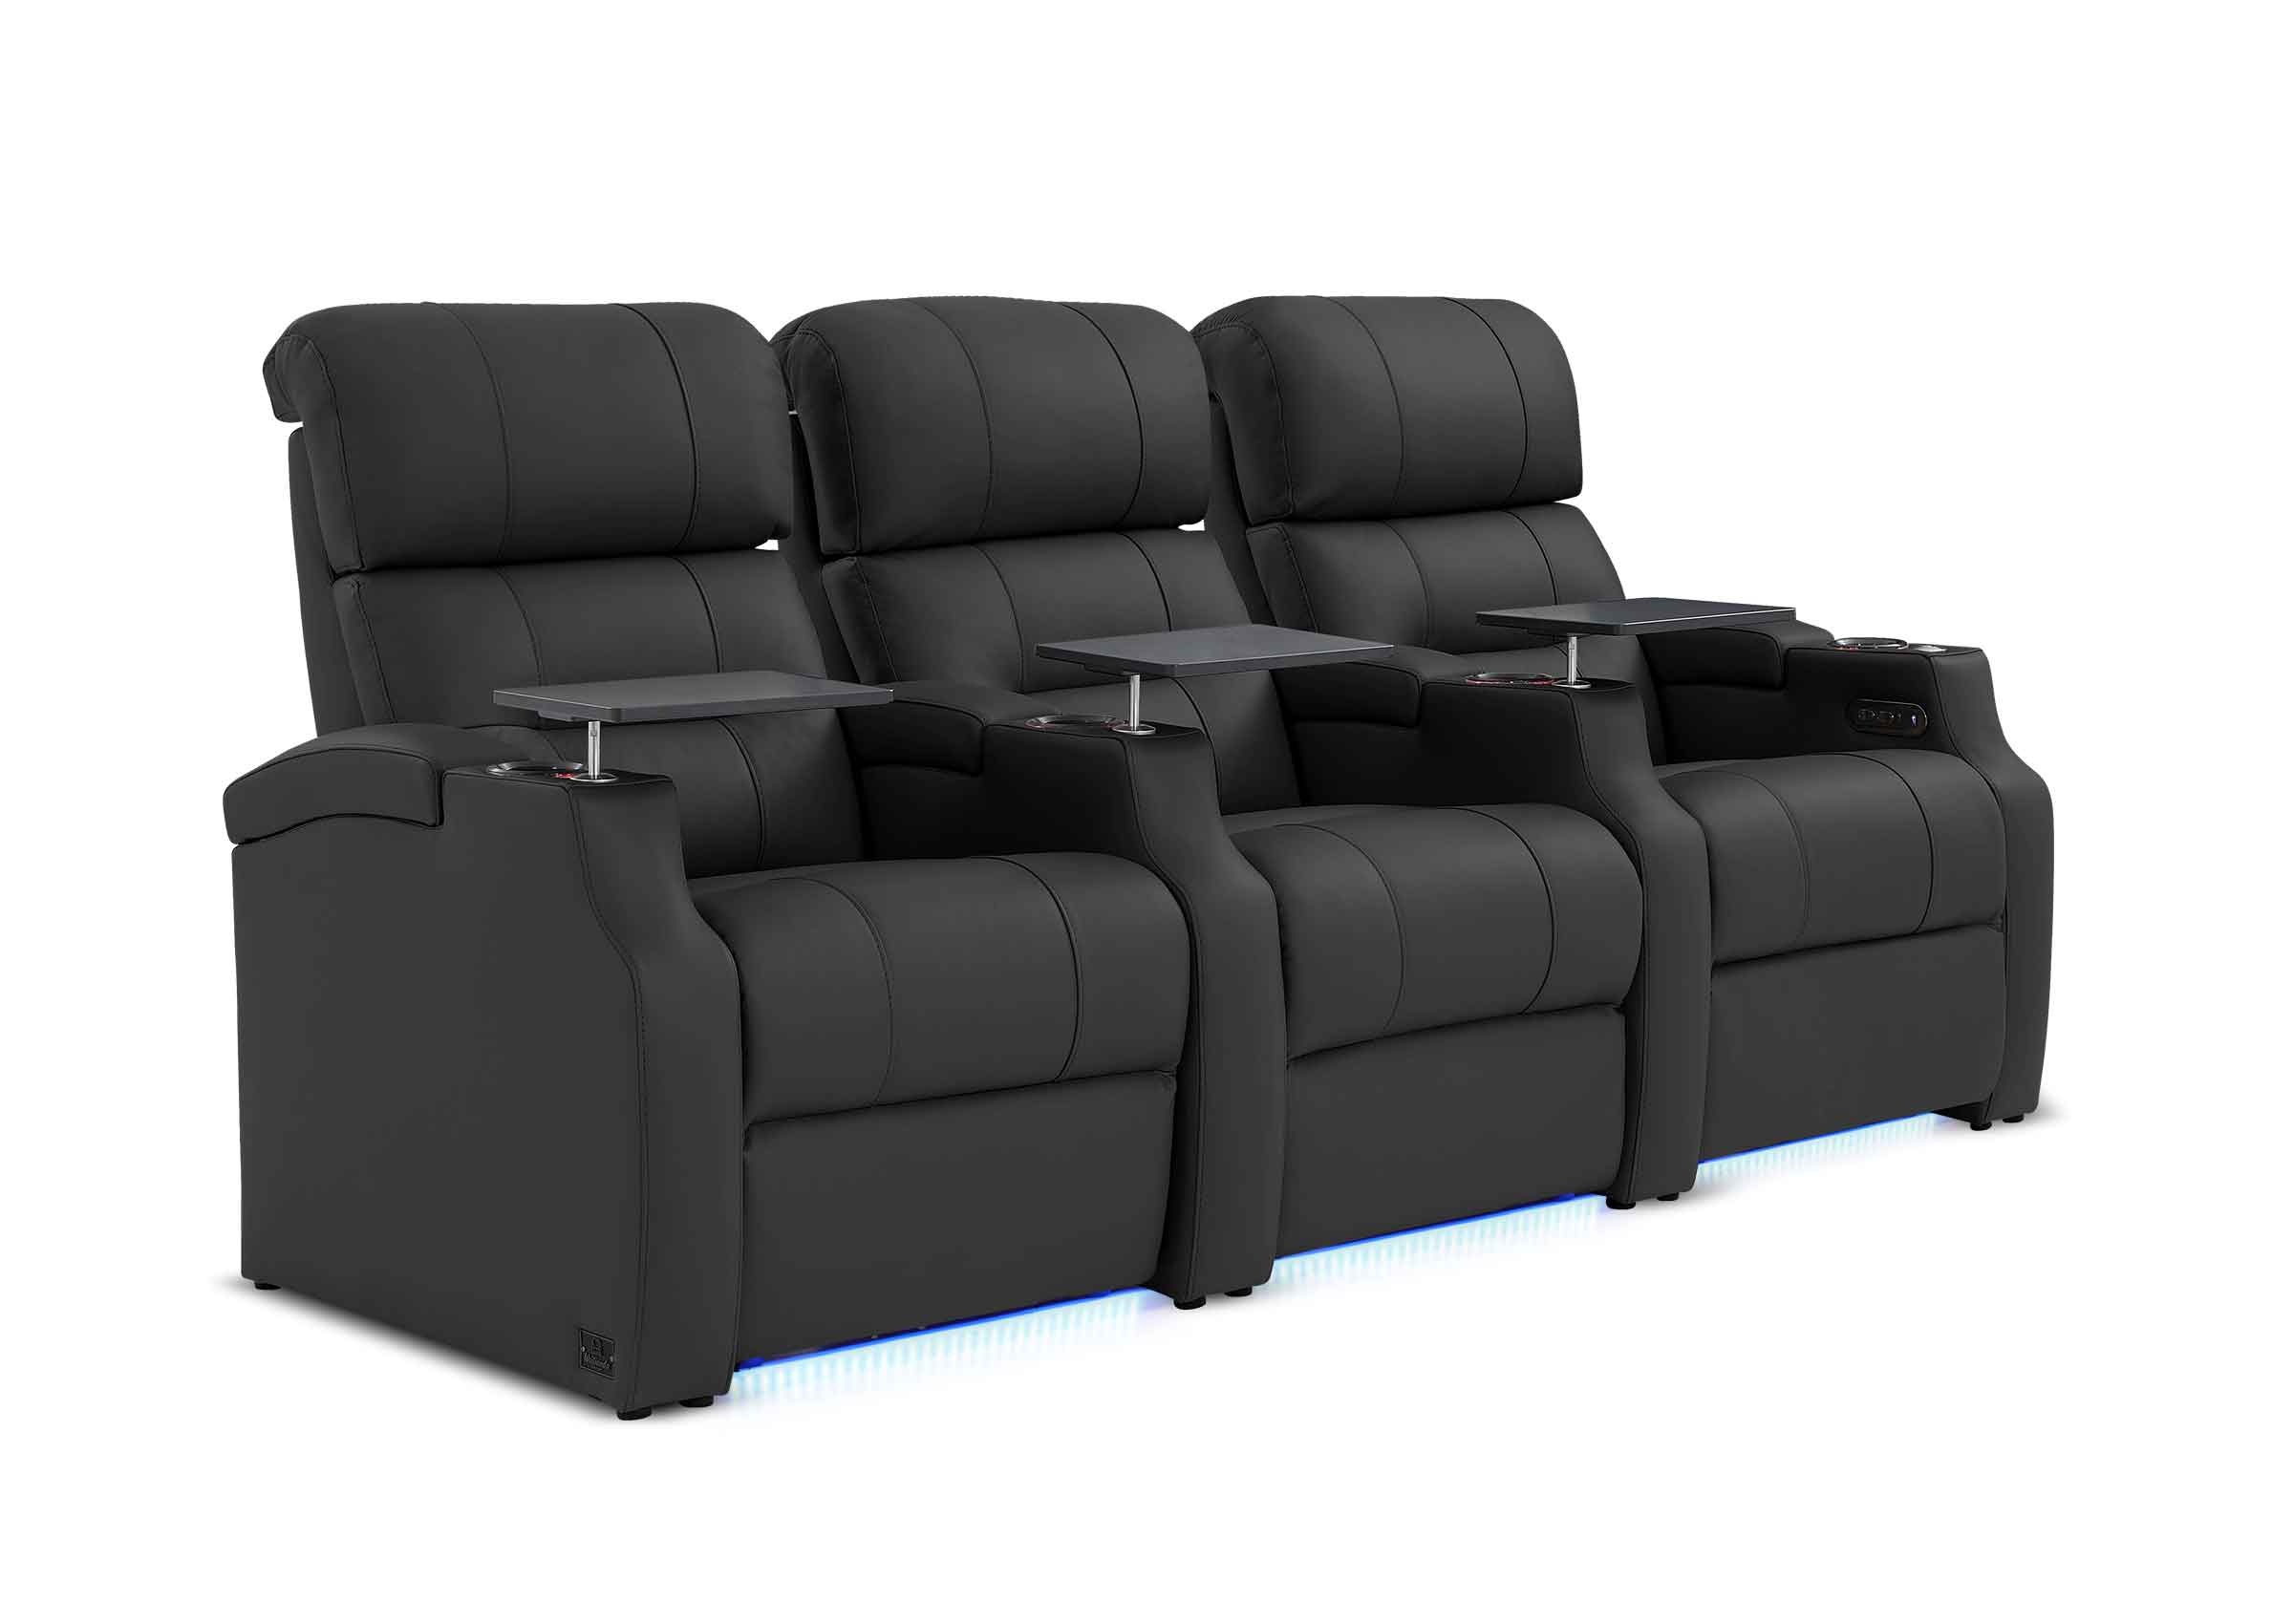
The type of home theater seating also plays a role. Recliners sit lower to the ground and have lower overall profiles than traditional sofa-style seating. A 12-inch riser works well with most recliner-style theater seats.
Screen placement matters too. If your screen is mounted high on the wall, a lower riser height may be fine. A screen positioned closer to eye level needs more height compensation.
| Ceiling Height | Recommended Riser Height | Notes |
| 8 feet | 8 to 10 inches | Keep riser low to preserve headroom |
| 9 feet | 10 to 14 inches | 12 inches works well for most seats |
| 10+ feet | 12 to 18 inches | More flexibility; can accommodate recliners fully extended |
How to Calculate the Right Height for Your Room
A practical method: sit in your intended back-row seat on the flat floor, then have someone measure how much higher your eye level needs to be to clear the head of someone sitting in front. Add a few inches of buffer. That number is your target riser height.
For most single-story homes with standard ceiling heights, 12 inches is a reliable starting point. You can always adjust during the planning phase before any wood gets cut.
Home Theater Riser Platform Materials and What to Use
With the height figured out, the next step is choosing what to build with. Material selection affects cost, durability, and ease of construction.
Most DIY home theater riser builds use dimensional lumber framing topped with plywood decking. This combination is strong, affordable, and easy to work with using basic tools.

Framing Lumber
Standard 2x8 or 2x10 lumber works well for the outer frame. Joists inside the frame are typically spaced 16 inches apart on center, which matches standard construction practice. This spacing provides solid support and prevents the platform from flexing under load.
For a 12-inch riser, a 2x12 outer frame eliminates the need for stacked lumber. For heights below 11.25 inches, you can build a simple box frame from dimensional lumber with no extra complexity.
Plywood Decking
The top surface should be at least 3/4-inch plywood, preferably a high-grade sheet with a smooth face. Two layers of 3/4-inch plywood stiffens the deck significantly and reduces any bounce when people walk across it. This is especially useful if you plan to place heavy recliners on the riser.

Finishing Options
Carpet is the most common finish for a movie room riser platform. It matches the rest of the room, adds acoustic absorption, and covers any minor imperfections in the plywood. Some builders opt for hardwood or luxury vinyl plank for a sleeker look, though carpet tends to be more forgiving acoustically.
| Material | Pros | Cons |
| Carpet | Acoustic absorption, warm, hides imperfections | Harder to clean spills |
| Hardwood | Durable, upscale appearance | More expensive, less acoustic benefit |
| Luxury vinyl plank | Easy to clean, durable | Can feel hollow underfoot without underlayment |
| Laminate | Cost-effective, many styles | Less durable under heavy furniture |
Step-by-Step Process for Building a DIY Home Theater Riser
Once you have your measurements and materials ready, the actual construction of a DIY home theater riser is straightforward. Most homeowners with basic carpentry skills can complete this in a weekend.

Step 1: Plan and Measure
Measure the full width of your theater room and decide how deep you want the riser to be. Most risers run the full width of the room for a clean look. Depth depends on how many seats need to fit and how much legroom you want between rows.
Sketch a simple plan on paper. Note the outer frame dimensions, joist spacing, and the location of any cable runs. Crucially, if you are using powered recliners, plan for electrical outlet placement now. You may need to extend existing wall outlets to the top or sides of the riser. Planning these power runs before sealing the deck saves a lot of frustration later.
Step 2: Cut and Assemble the Frame
Cut the outer frame pieces from your lumber. Assemble them into a rectangle using structural screws or joist hangers. Cut interior joists to fit between the long sides of the frame, spaced 16 inches apart on center.
Check the frame for square by measuring diagonally from corner to corner. Both measurements should match. Adjust if needed before fastening everything down.
Step 3: Secure the Frame to the Floor
Position the frame in the room and check that it sits level. Use shims if the floor is uneven. Anchor the frame to the floor using construction adhesive and concrete screws if you have a concrete subfloor, or structural screws into floor joists if you have a wood subfloor.
Securing the frame properly is what prevents the riser from shifting when people move around on it.
Step 4: Install the Deck
Cut your 3/4" plywood to fit the top of the frame. For a stiffer deck, add a second layer with the seams offset from the first layer. Pro Tip: To prevent the platform from sounding hollow, fill the internal cavities with fiberglass insulation before closing it up. Secure the plywood to the frame with screws every 8" along each joist.
Step 5: Finish and Trim
Apply your chosen surface material. If using carpet, staple or glue it over the deck and wrap it around the front edge. Add a nose piece or edge trim at the step-up point. This both protects the edge and creates a cleaner transition from the main floor.
You can also add LED strip lighting under the front edge of the riser for both ambiance and safety. This is a popular touch in dedicated home theater rooms and makes the step very visible in low-light conditions.
Riser Platform Safety and Building Code Considerations
Safety is an area where many DIY builders cut corners, and it should not be overlooked. A few key considerations apply to any home theater riser platform.
Load Capacity
Calculate the expected load before you build. A fully loaded row of theater recliners plus seated adults can easily exceed 1,500 pounds across a 10-foot span. Size your joists accordingly. When in doubt, add more joists or use thicker lumber. Overbuilding a riser is far better than underbuilding it.
Building Permits
In many jurisdictions, a home theater riser platform does not require a building permit because it is considered furniture rather than a structural modification. However, rules vary by location. Check with your local building department if the riser is large, if it is permanently anchored to walls, or if it includes any electrical work such as in-floor lighting.
Edge Safety
The front edge of the riser is a trip hazard in low-light conditions. Install LED step lighting so the edge is always visible. Some builders add a subtle contrasting strip of trim or flooring at the edge to make it stand out even without lighting.
Weight on the Floor Below
If the room is on an upper floor, confirm that the floor structure can support the combined weight of the riser, furniture, and occupants. A structural engineer can give you a definitive answer if you have any doubts.
Riser Platform vs. Tiered Flooring: Which Option Works Better for You?

Some homeowners wonder whether to build a standalone riser or opt for full tiered flooring that steps down across the entire room. Both approaches have merit, and the right choice depends on your room and budget.
The Case for a Riser Platform
A movie room riser platform is removable, relatively affordable, and fast to build. If you ever reconfigure the room or sell the home, you can remove it without major renovation work. Construction costs for a basic riser can be as low as a few hundred dollars in materials.
Risers also preserve the original floor, which matters if you have hardwood or tile underneath the carpet. The existing floor stays intact.
The Case for Tiered Flooring
Tiered flooring is a permanent, architecturally integrated solution. It looks more polished and is a selling point for dedicated home theater spaces. The tradeoff is cost and permanence. Tiered floors involve concrete or framing work that substantially raises project costs and is not easily reversed.
For most homeowners with a finished basement or spare room, a well-built home theater riser platform delivers nearly the same functional result at a fraction of the cost and complexity.
| Feature | Riser Platform | Tiered Flooring |
| Cost | Low to moderate | High |
| Reversibility | Removable | Permanent |
| Build complexity | DIY-friendly | Requires contractor |
| Appearance | Clean and finished | Architectural, premium |
| Time to complete | One weekend | Several days to weeks |
Start Building Your Home Theater Riser Today
A home theater riser platform is one of the most impactful upgrades you can make to a multi-row seating setup. The right home theater riser height clears sightlines, adds comfort, and gives the room a polished, intentional look. With basic materials and a weekend of work, a DIY home theater riser is well within reach for most homeowners. Plan carefully, build solidly, and your movie room riser platform will serve you for years to come.
Frequently Asked Questions about Home Theater Riser Platforms
Q1: How Much Does It Cost to Build a Home Theater Riser Platform?
Most DIY builds cost between $200 and $800 in materials depending on size and finish. This covers lumber, plywood, screws, and carpet or other surface material. Hiring a contractor to build the frame can add $500 to $1,500 or more depending on your area. The size of the riser and the flooring finish you choose are the two biggest variables in total cost.
Q2: Can a Home Theater Riser Be Built on Carpet?
Yes, you can place a riser frame directly on carpet. The frame will compress the carpet slightly and sit firmly in place. Some builders prefer to cut away the carpet beneath the frame footprint for a more stable, less springy base, especially for heavier setups. Either approach works in practice.
Q3: What Is the Standard Home Theater Riser Height for Recliners?
Twelve inches is widely used as the standard home theater riser height for rooms with recliner-style home theater seating. It provides enough elevation to clear the head of a front-row viewer while staying manageable in rooms with 8- to 9-foot ceilings. If your ceiling is 10 feet or higher, you have more flexibility and can go up to 16 or 18 inches for even better sightlines.
Q4: Do I Need a Permit to Build a Home Theater Riser Platform?
In most cases, no permit is required for a freestanding home theater riser platform. Local authorities typically treat it as movable furniture rather than a structural change. However, if the riser is anchored to walls, involves electrical work, or exceeds certain dimensions, your local building department may require a permit. Check before you build to avoid any issues.
Q5: How do I power my theater seats on a riser?
The most professional way is to install a "recessed floor outlet" directly into the plywood deck. You can run the electrical lines through the joists before the plywood is attached. However, if you aren't comfortable with wiring, ensure your riser has "cable ports" to allow power strips to reach nearby wall outlets safely.