


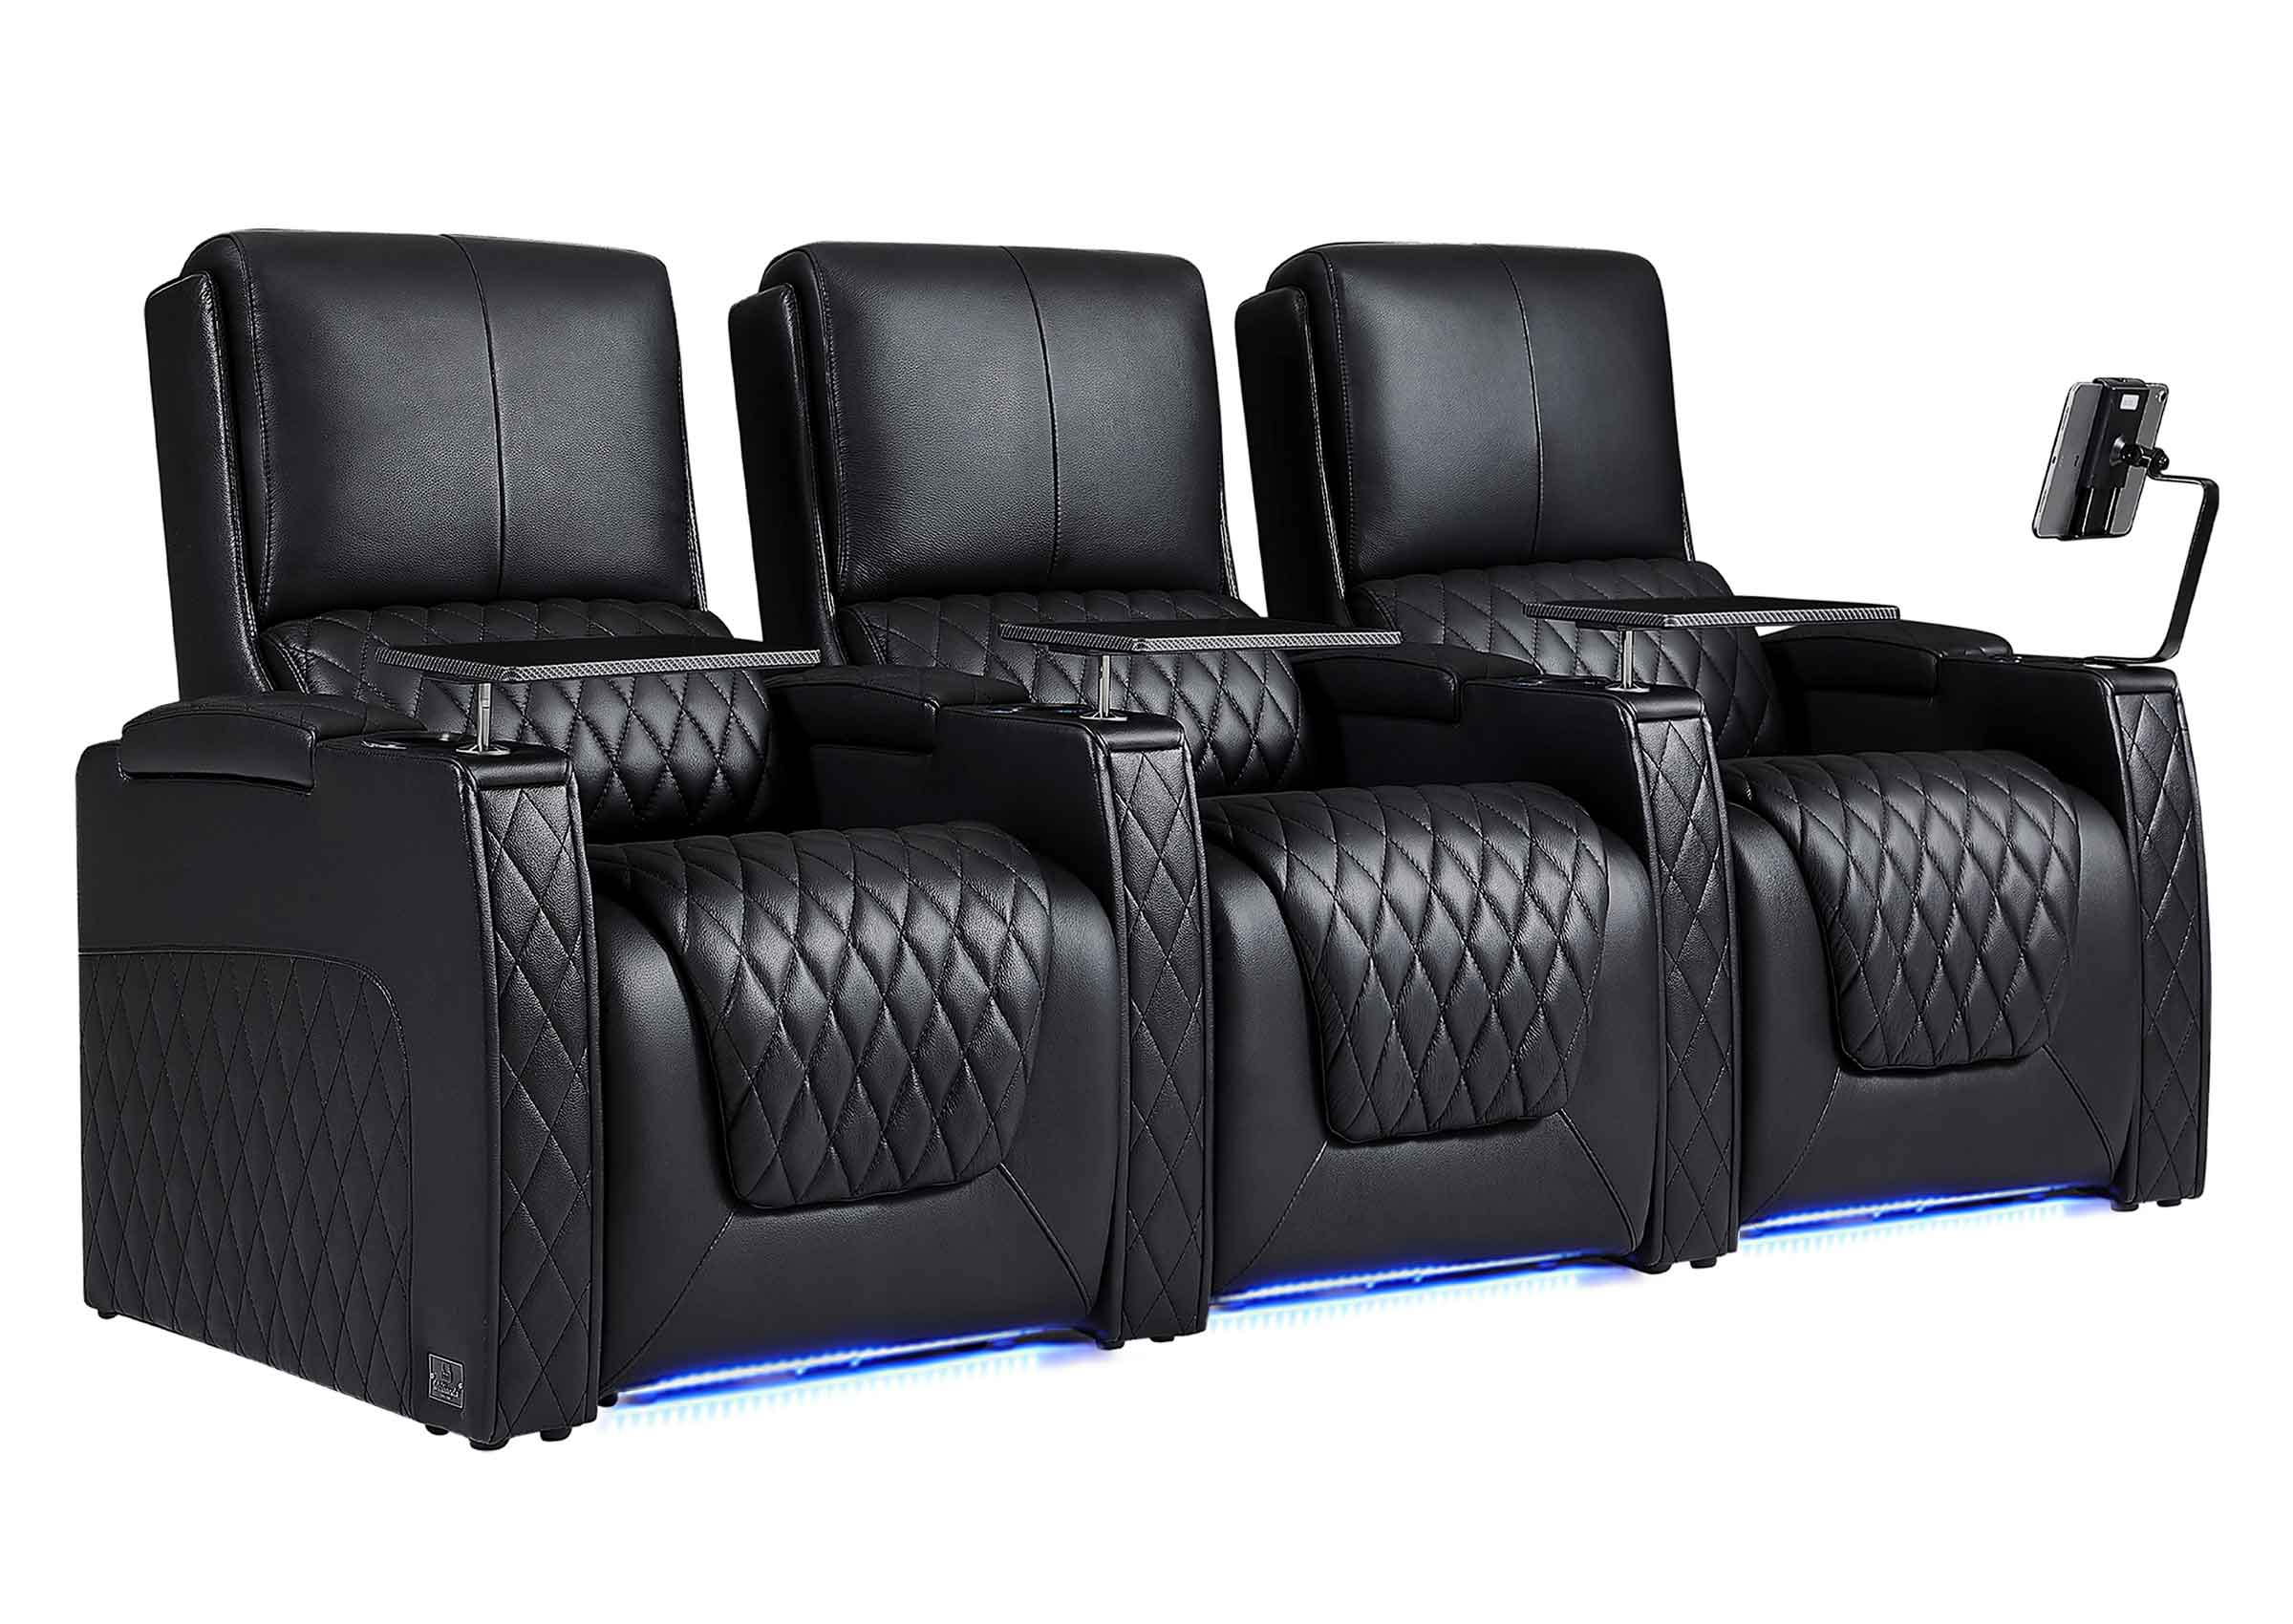
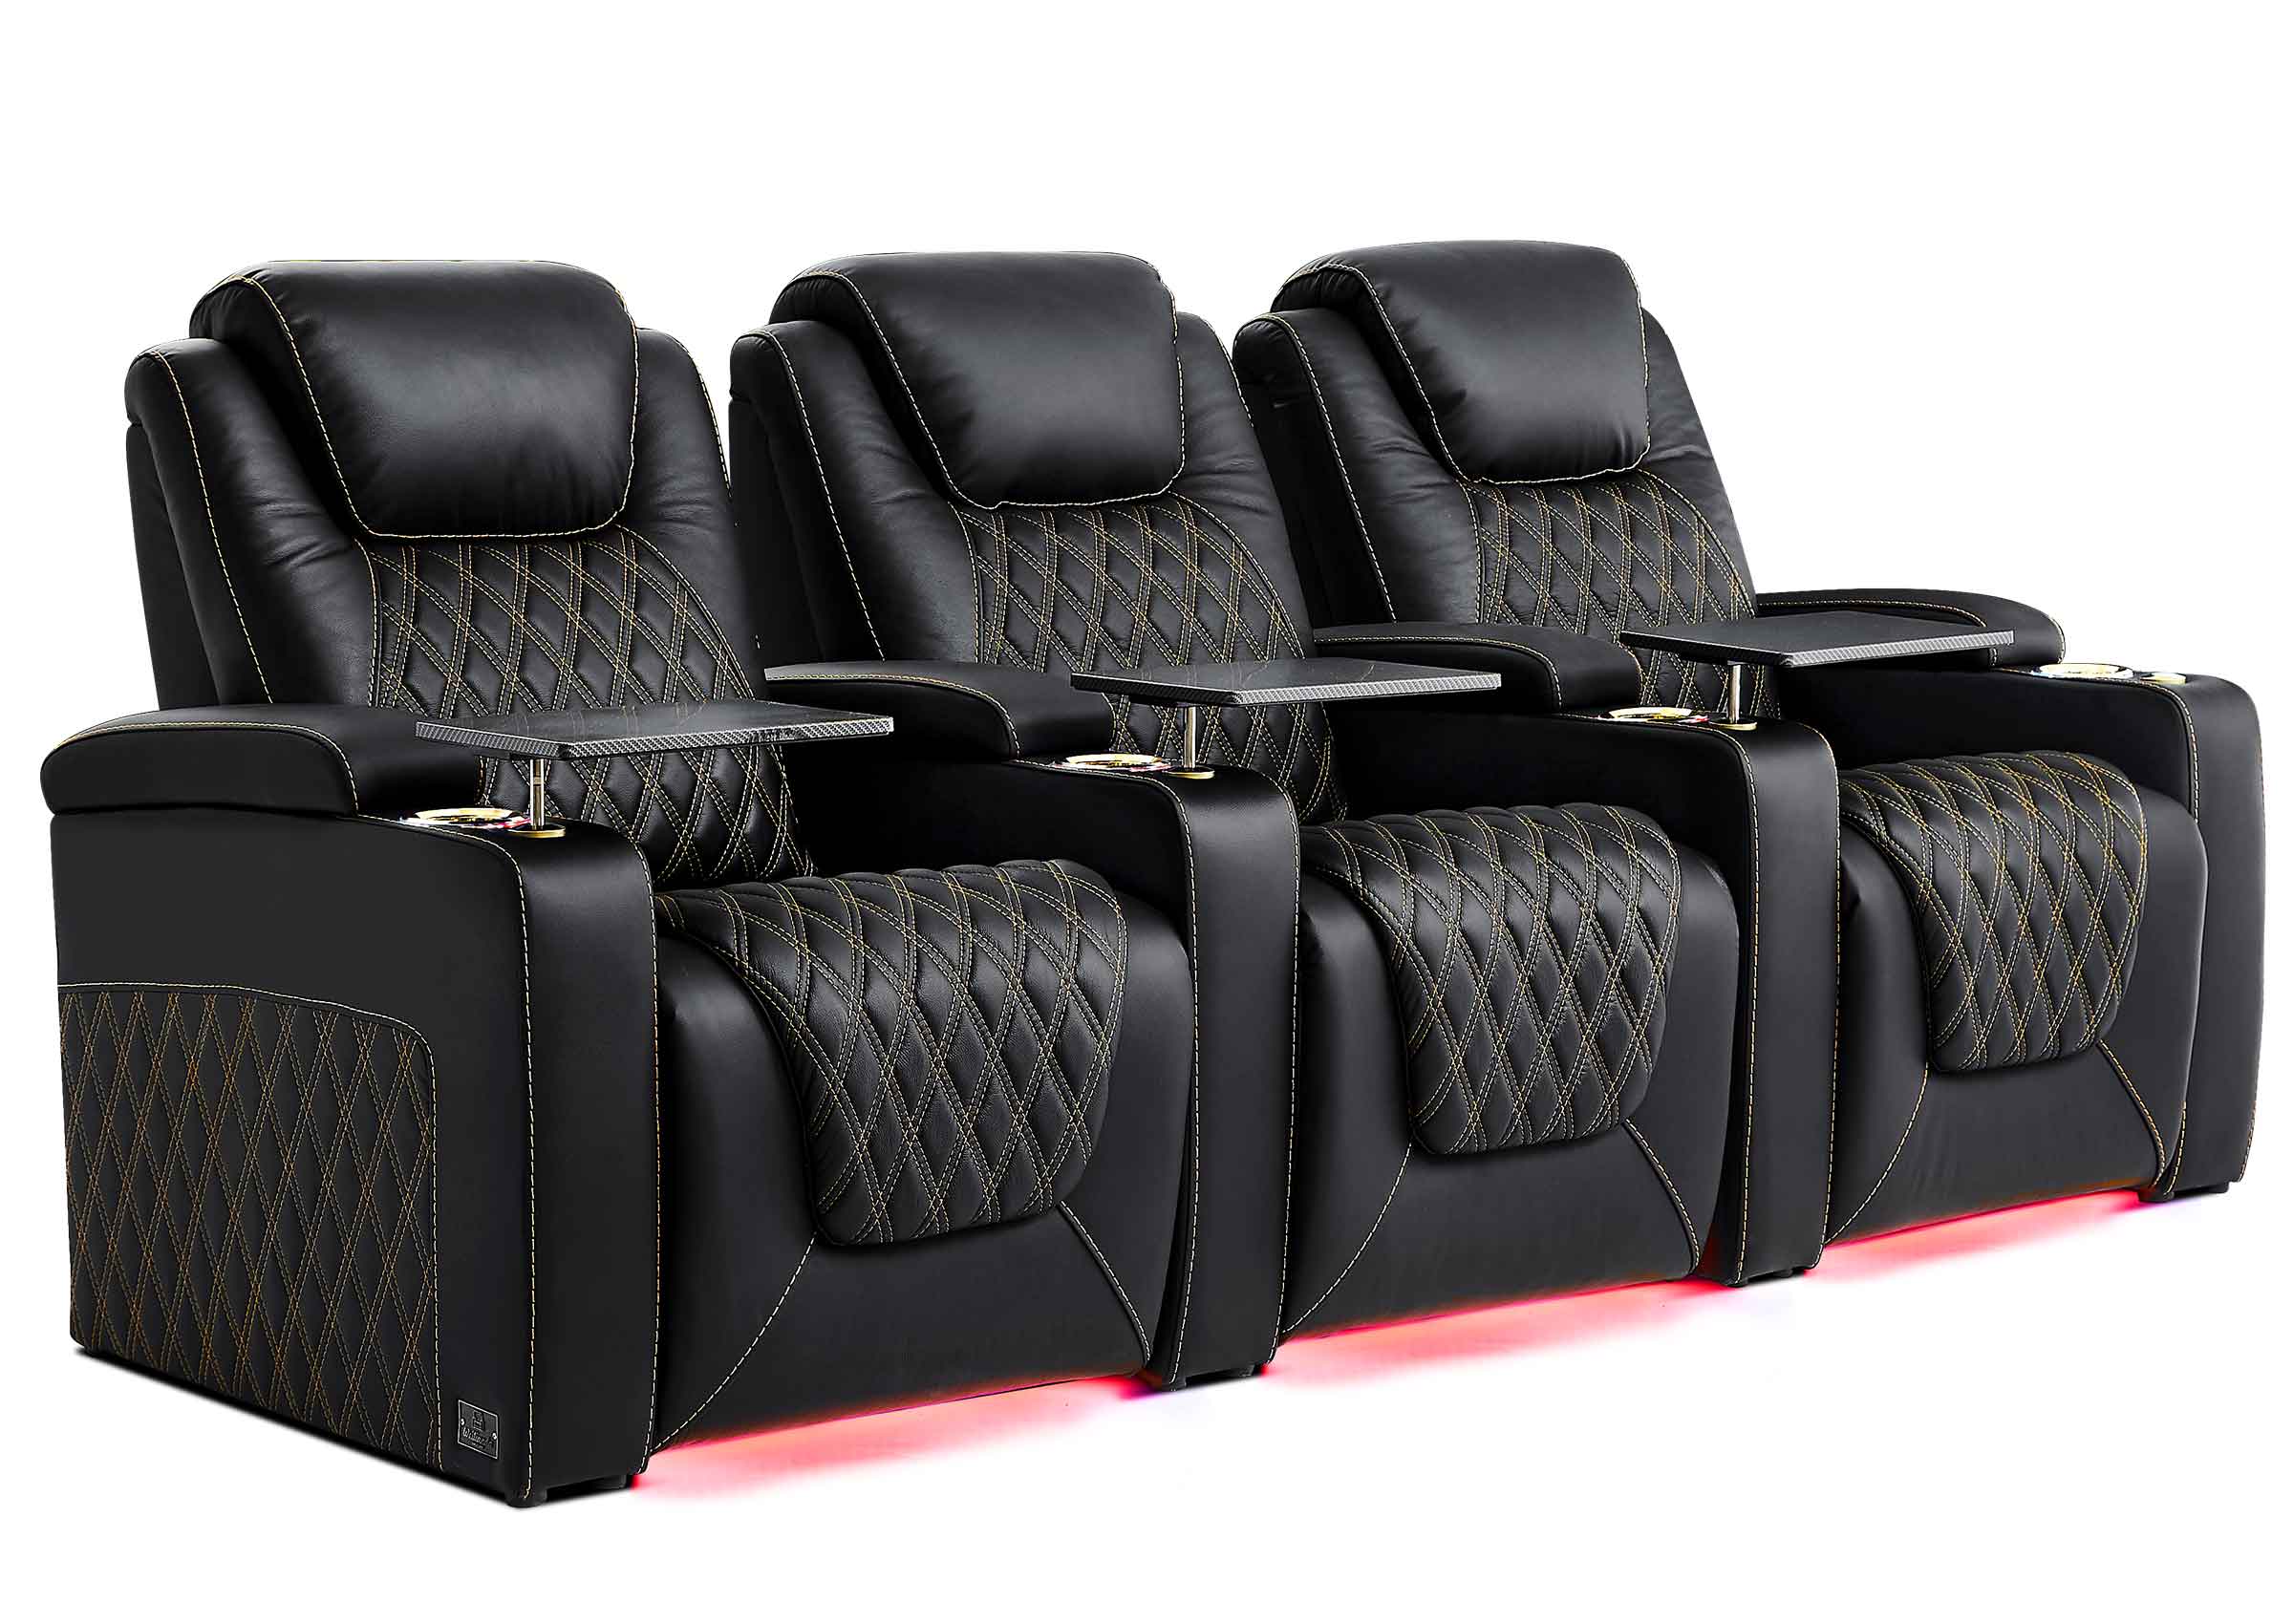


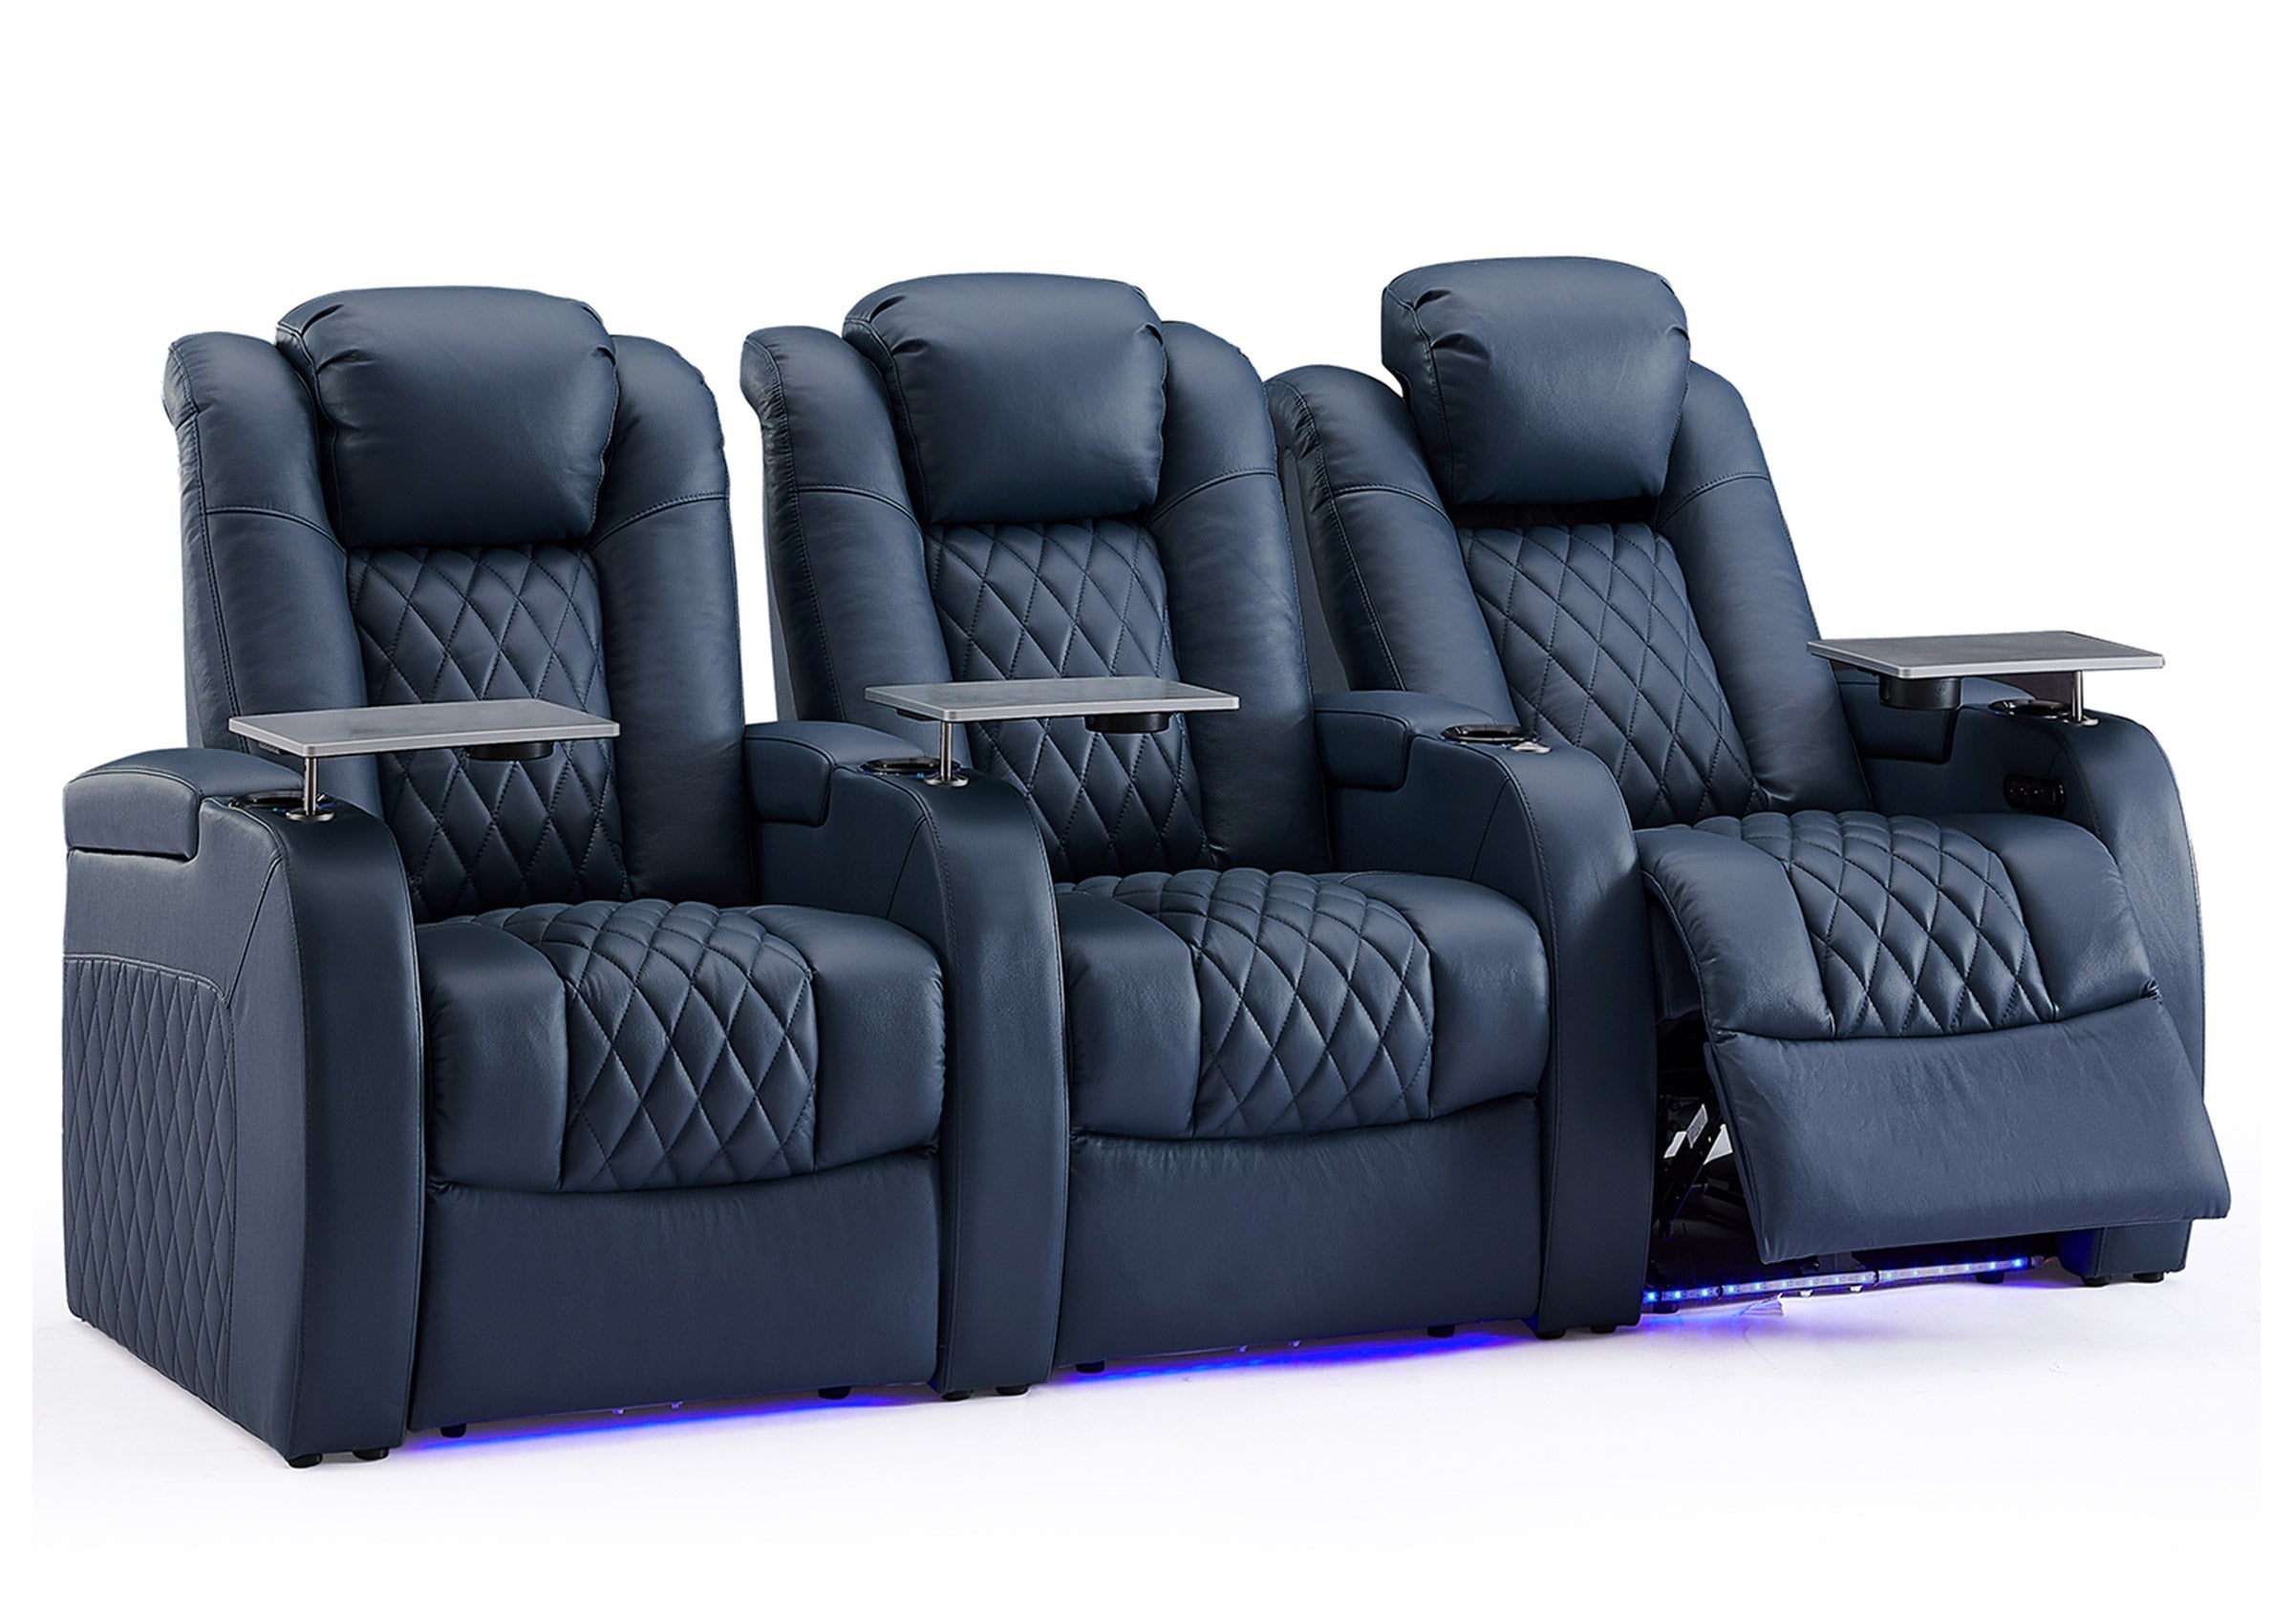


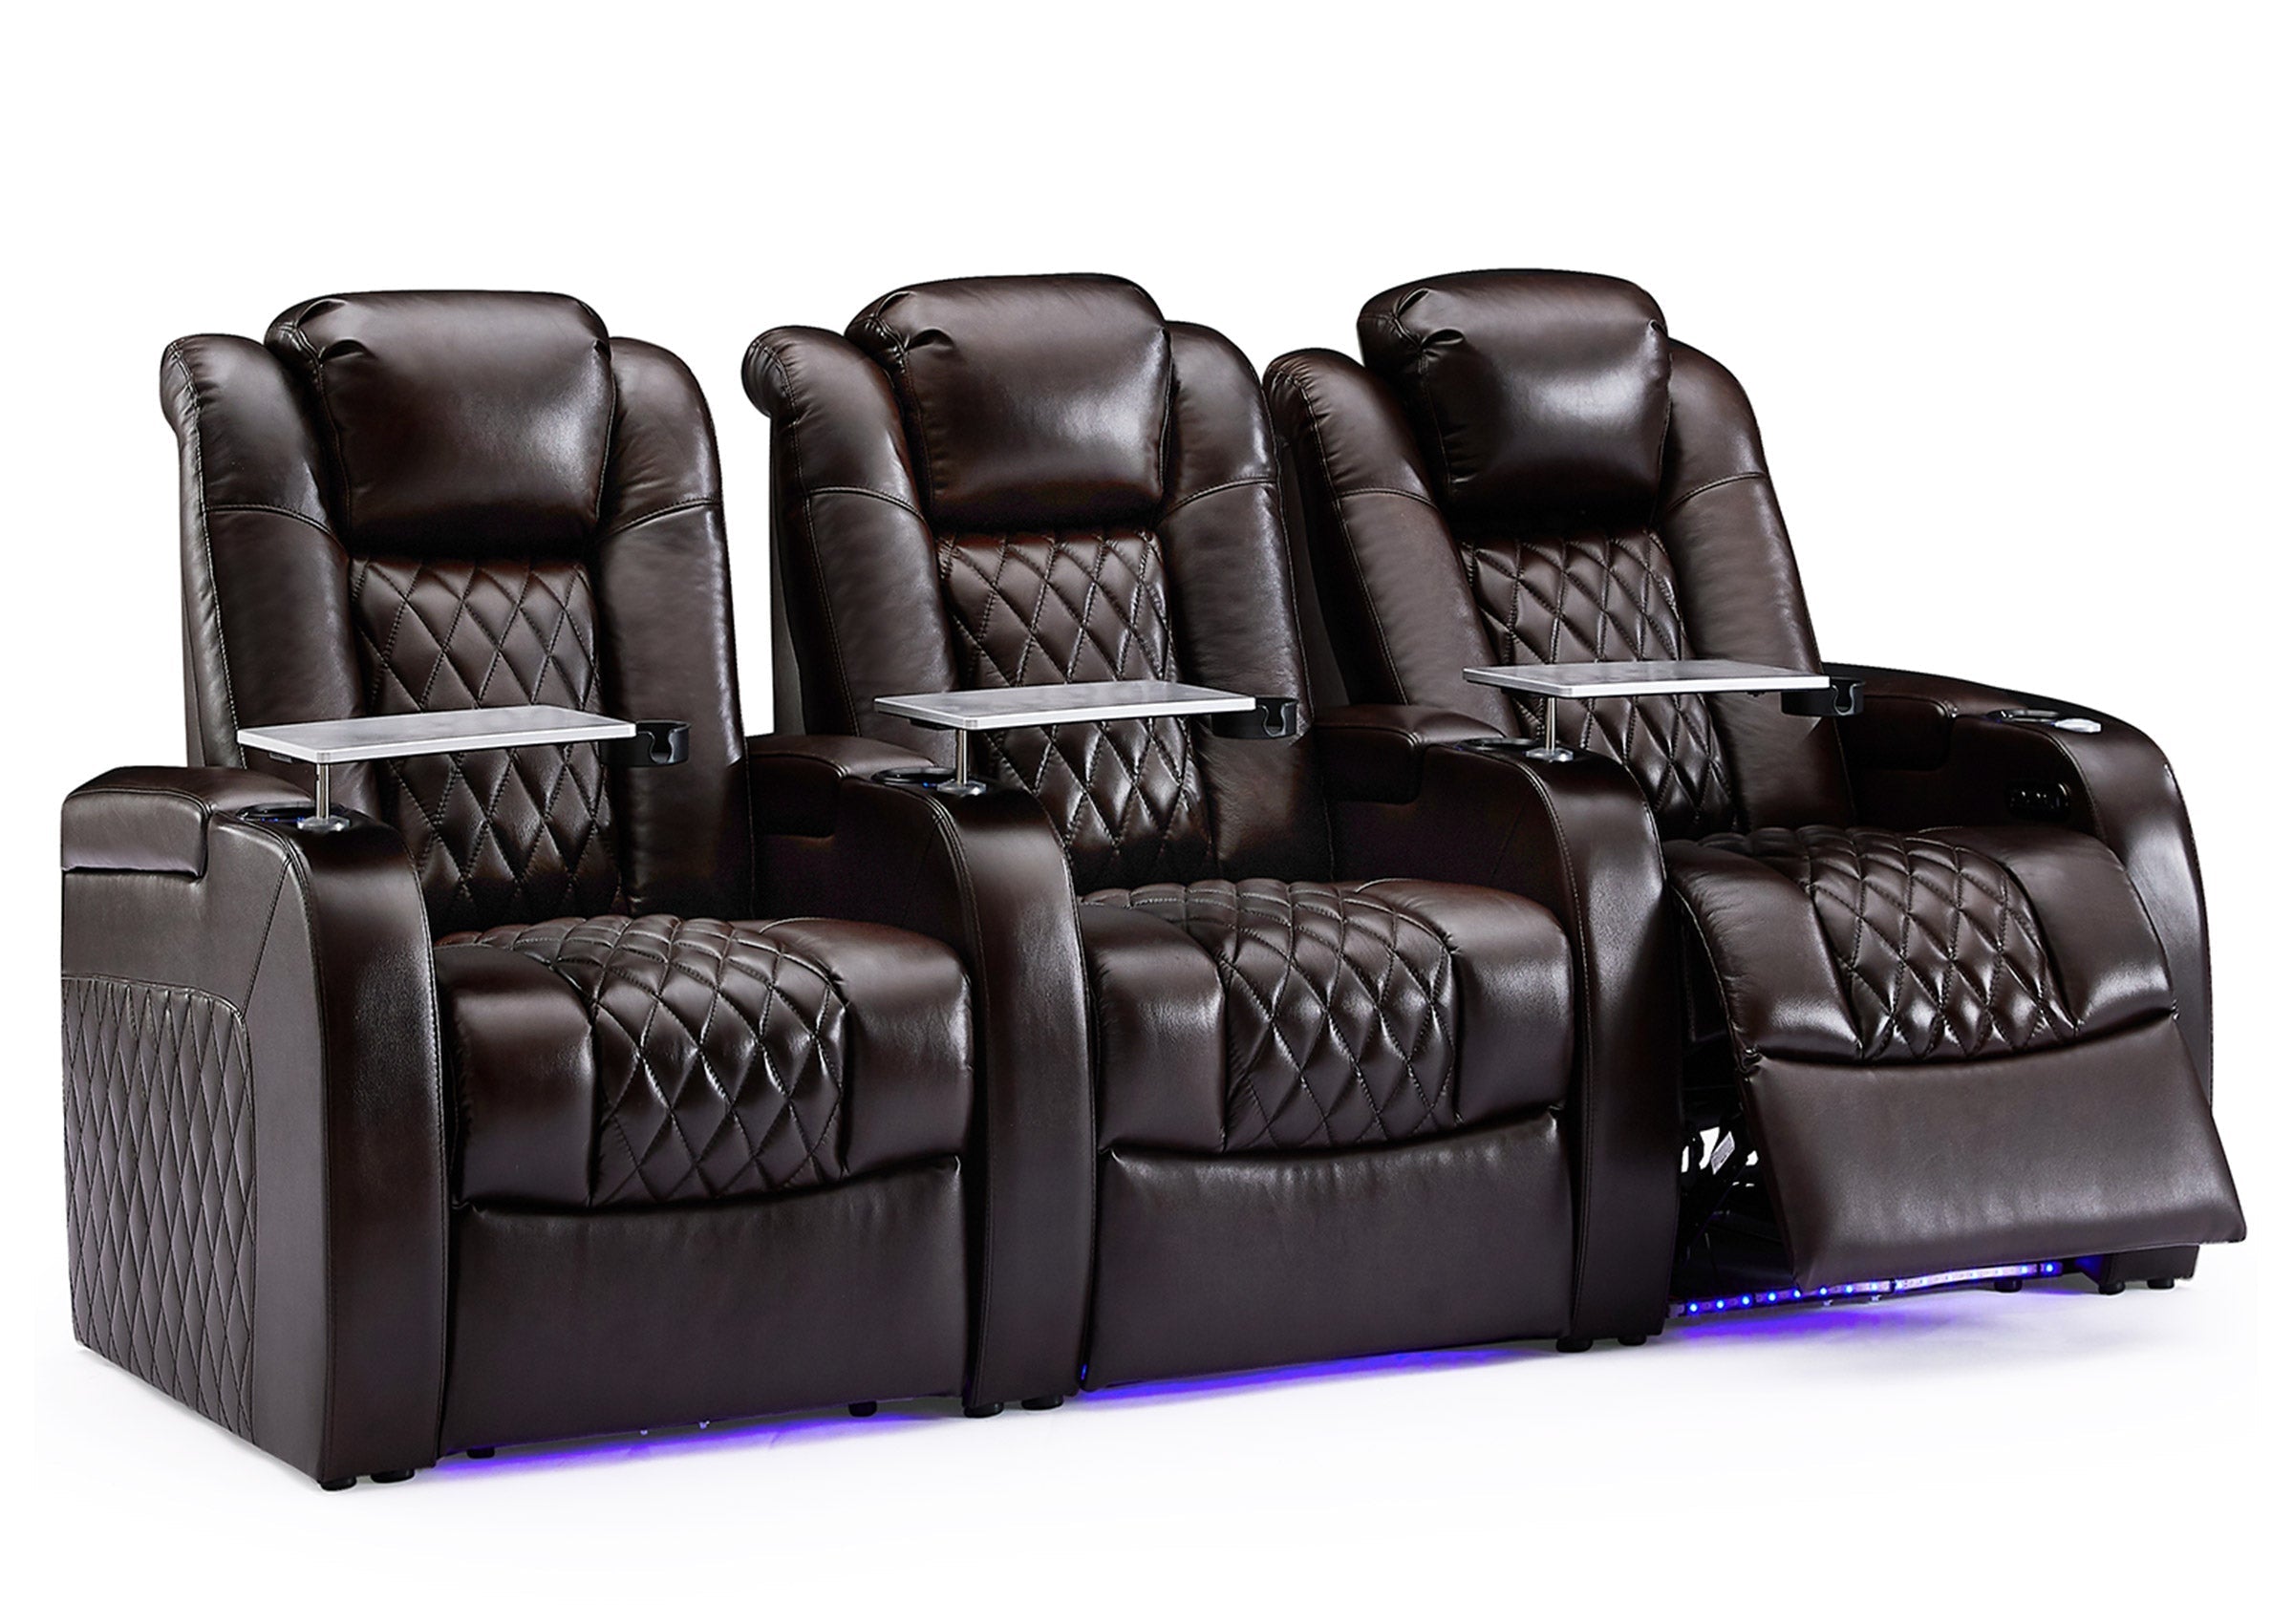

Creating a home theater is an exciting project that can significantly enhance your entertainment experience. One of the most critical components of a home theater is the seating. This article will guide you through the process of installing home theater seating, ensuring you can enjoy your favorite movies and shows in comfort and style.
Step 1: Unboxing and Preparing the Components
The first step in installing your home theater seating is to open the box and carefully remove the components. This typically includes the backrest and the seat base. It's essential to handle these parts with care to avoid any damage.
Ensure you have a clear, clean space to work in. Lay out all the components and check them against the inventory list in the instruction manual. This step will help you familiarize yourself with the parts and ensure nothing is missing before you start the assembly process.

Step 2: Attaching the Backrest to the Seat Base
Once you've taken out the backrest and the seat base, it's time to attach them. This process may vary slightly depending on the specific model of your home theater seating, but generally, it involves aligning the backrest with the seat base and securing it in place.
Look for the mounting brackets on both the backrest and the seat base. Align these brackets and then secure the backrest to the seat base using the provided screws or bolts. Make sure to tighten them securely, but be careful not to over-tighten as this could strip the threads or damage the components.


Step 3: Connecting the Power Headrest Cables
If your home theater seating comes with power headrests, the next step is to connect the power headrest cables. These cables are typically located at the rear of the seat base and the bottom of the headrest.
To connect the cables, locate the corresponding connectors on the headrest and the seat base. These connectors are usually color-coded or shaped differently to ensure correct connection. Once you've identified the connectors, gently plug them together until they click into place.

Step 4: Installation of Other Accessories
After connecting the power headrest cables, you can proceed to install any other accessories that come with your home theater seating. This could include items like cup holders, tray tables, or storage compartments.
Follow the manufacturer's instructions for each accessory. This usually involves aligning the accessory with the corresponding slot or bracket on the seat and securing it in place with screws or bolts.

Step 5: Connecting the Power Cable
The final step in installing your home theater seating is to connect the power cable. This cable provides the electricity needed to operate the power reclining and headrest features.
Locate the power cable and the power input on the seat base. Plug the power cable into the power input, ensuring it's securely connected. Then, plug the other end of the power cable into a nearby electrical outlet.
Once you've connected the power cable, test the power reclining and headrest features to ensure they're working correctly. If everything is functioning as expected, your home theater seating is now ready to use!

In conclusion,after choosing your best home theater seat, installing home theater seating may seem like a daunting task, but with careful preparation and a step-by-step approach, it's a task that can be accomplished with relative ease. By following these steps, you'll be well on your way to enjoying a comfortable and immersive home theater experience.


Leave a comment
All comments are moderated before being published.
This site is protected by hCaptcha and the hCaptcha Privacy Policy and Terms of Service apply.