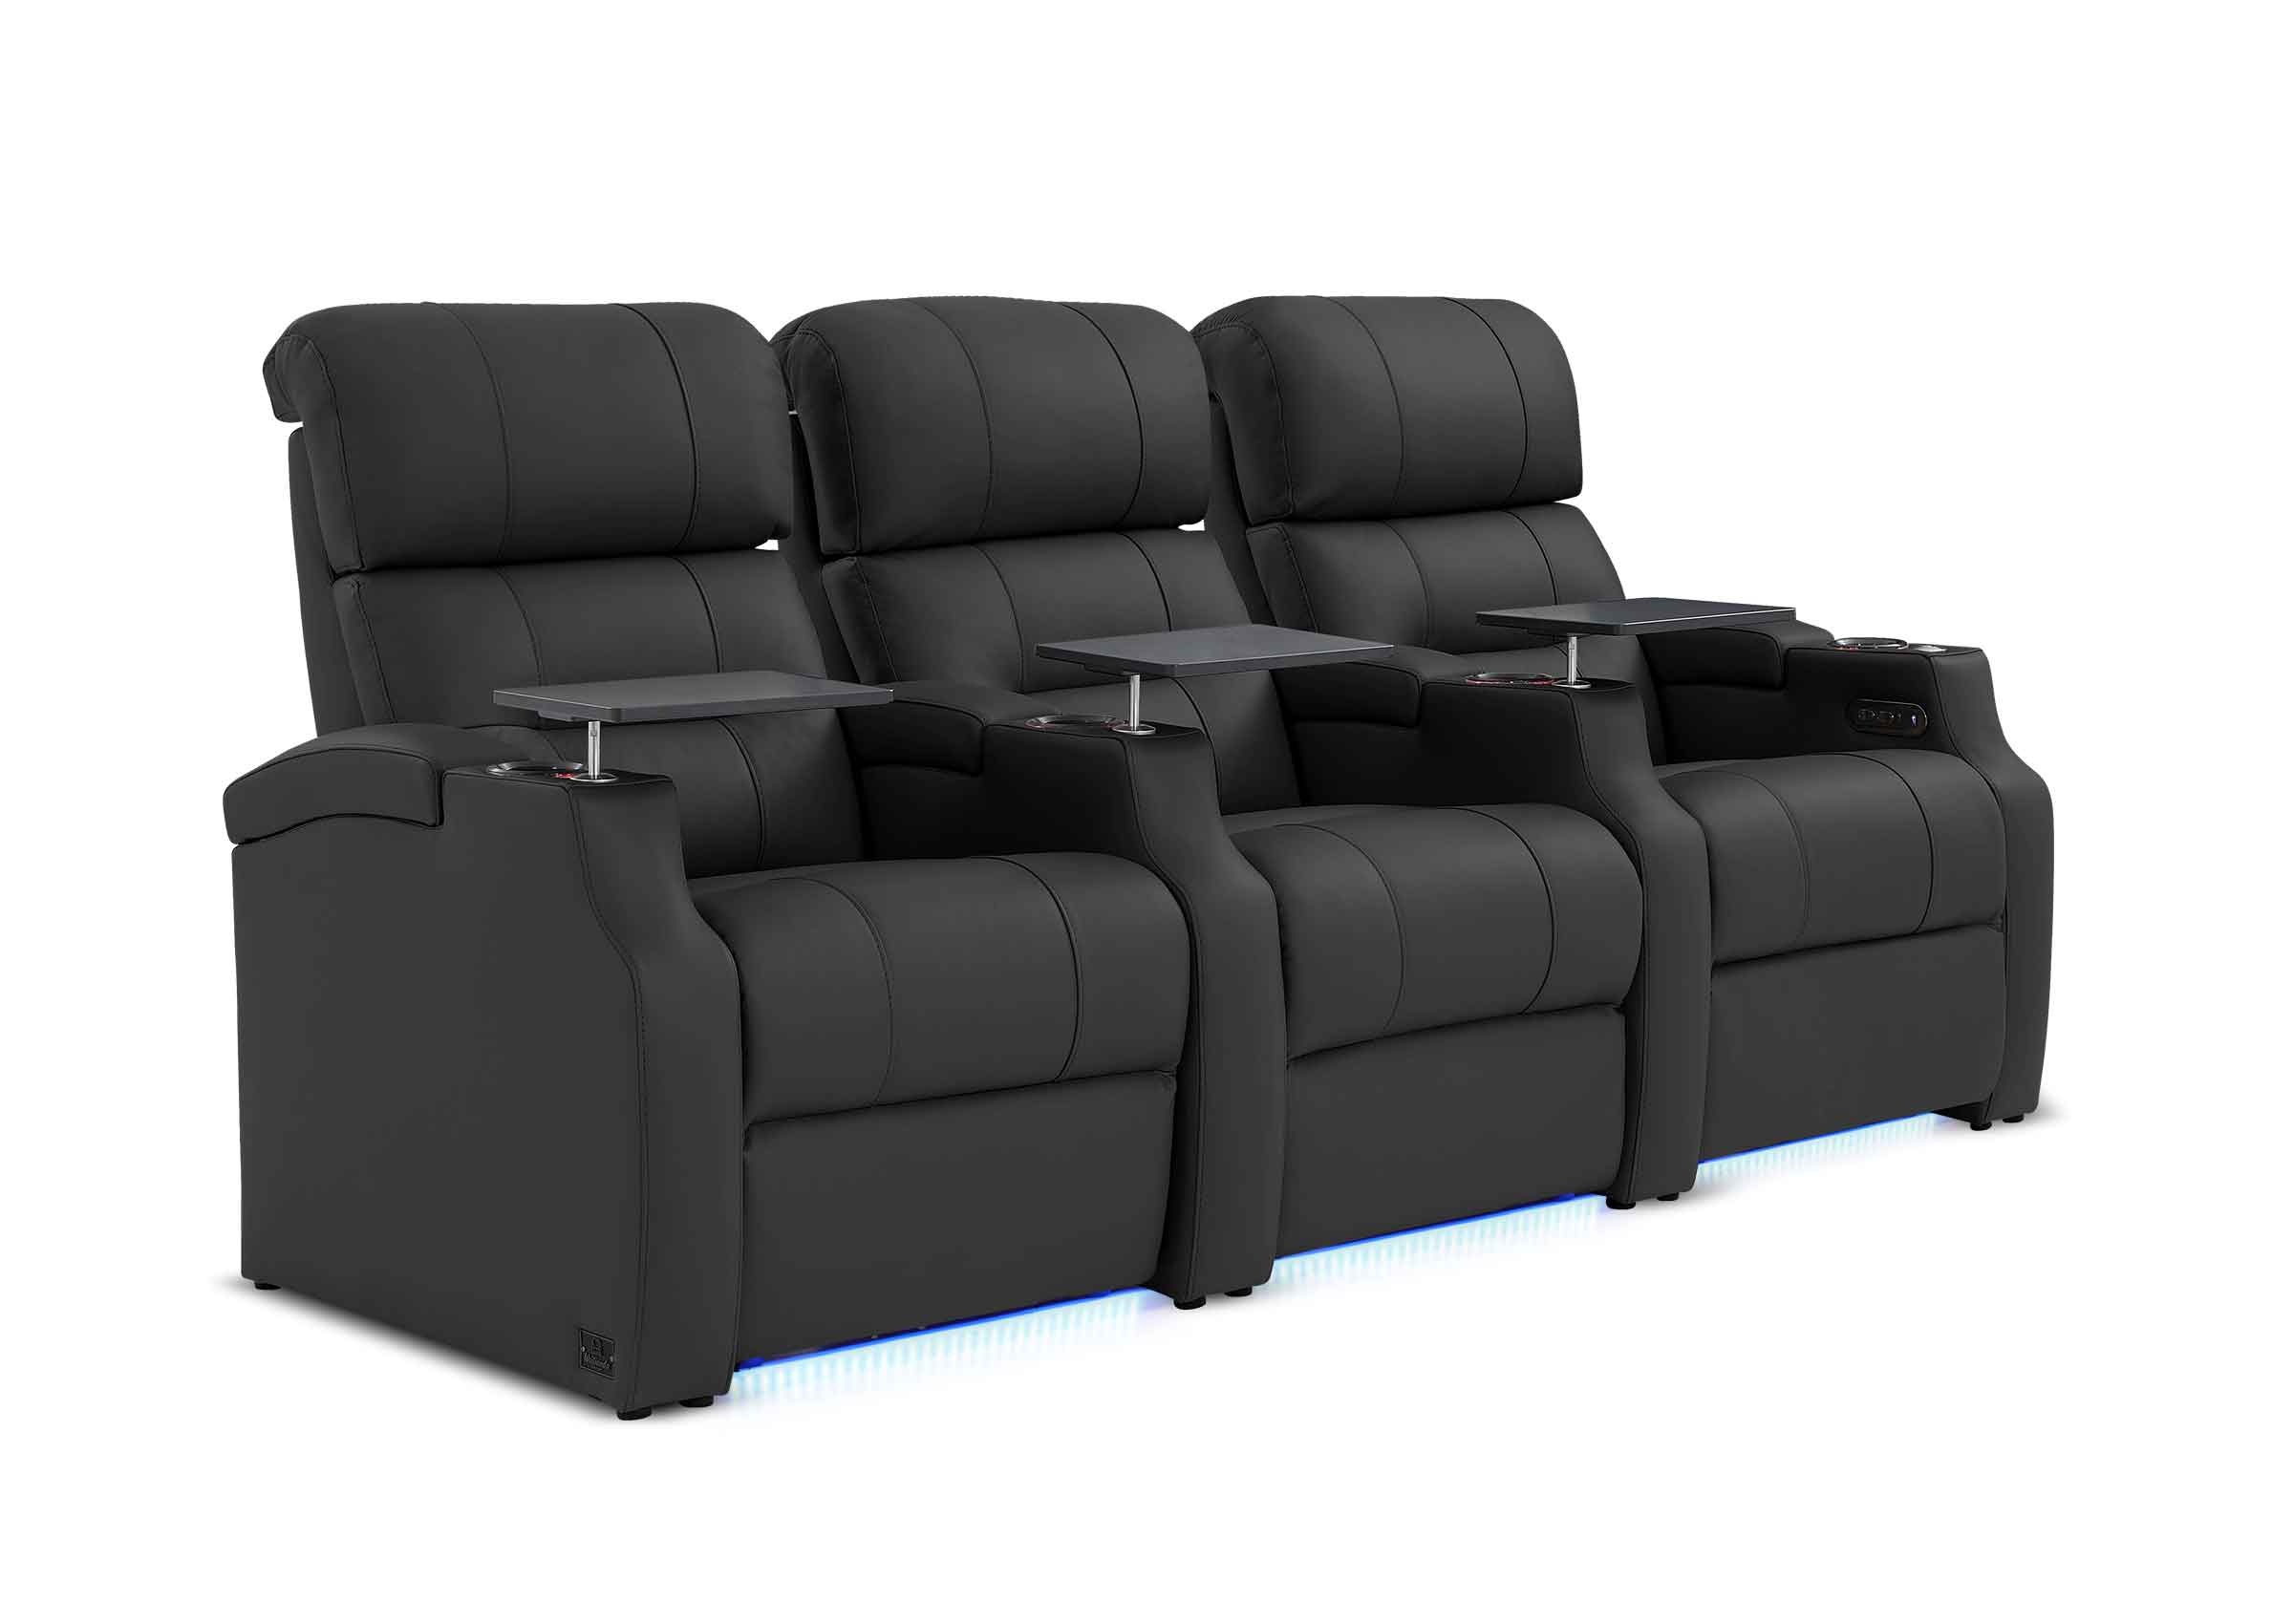
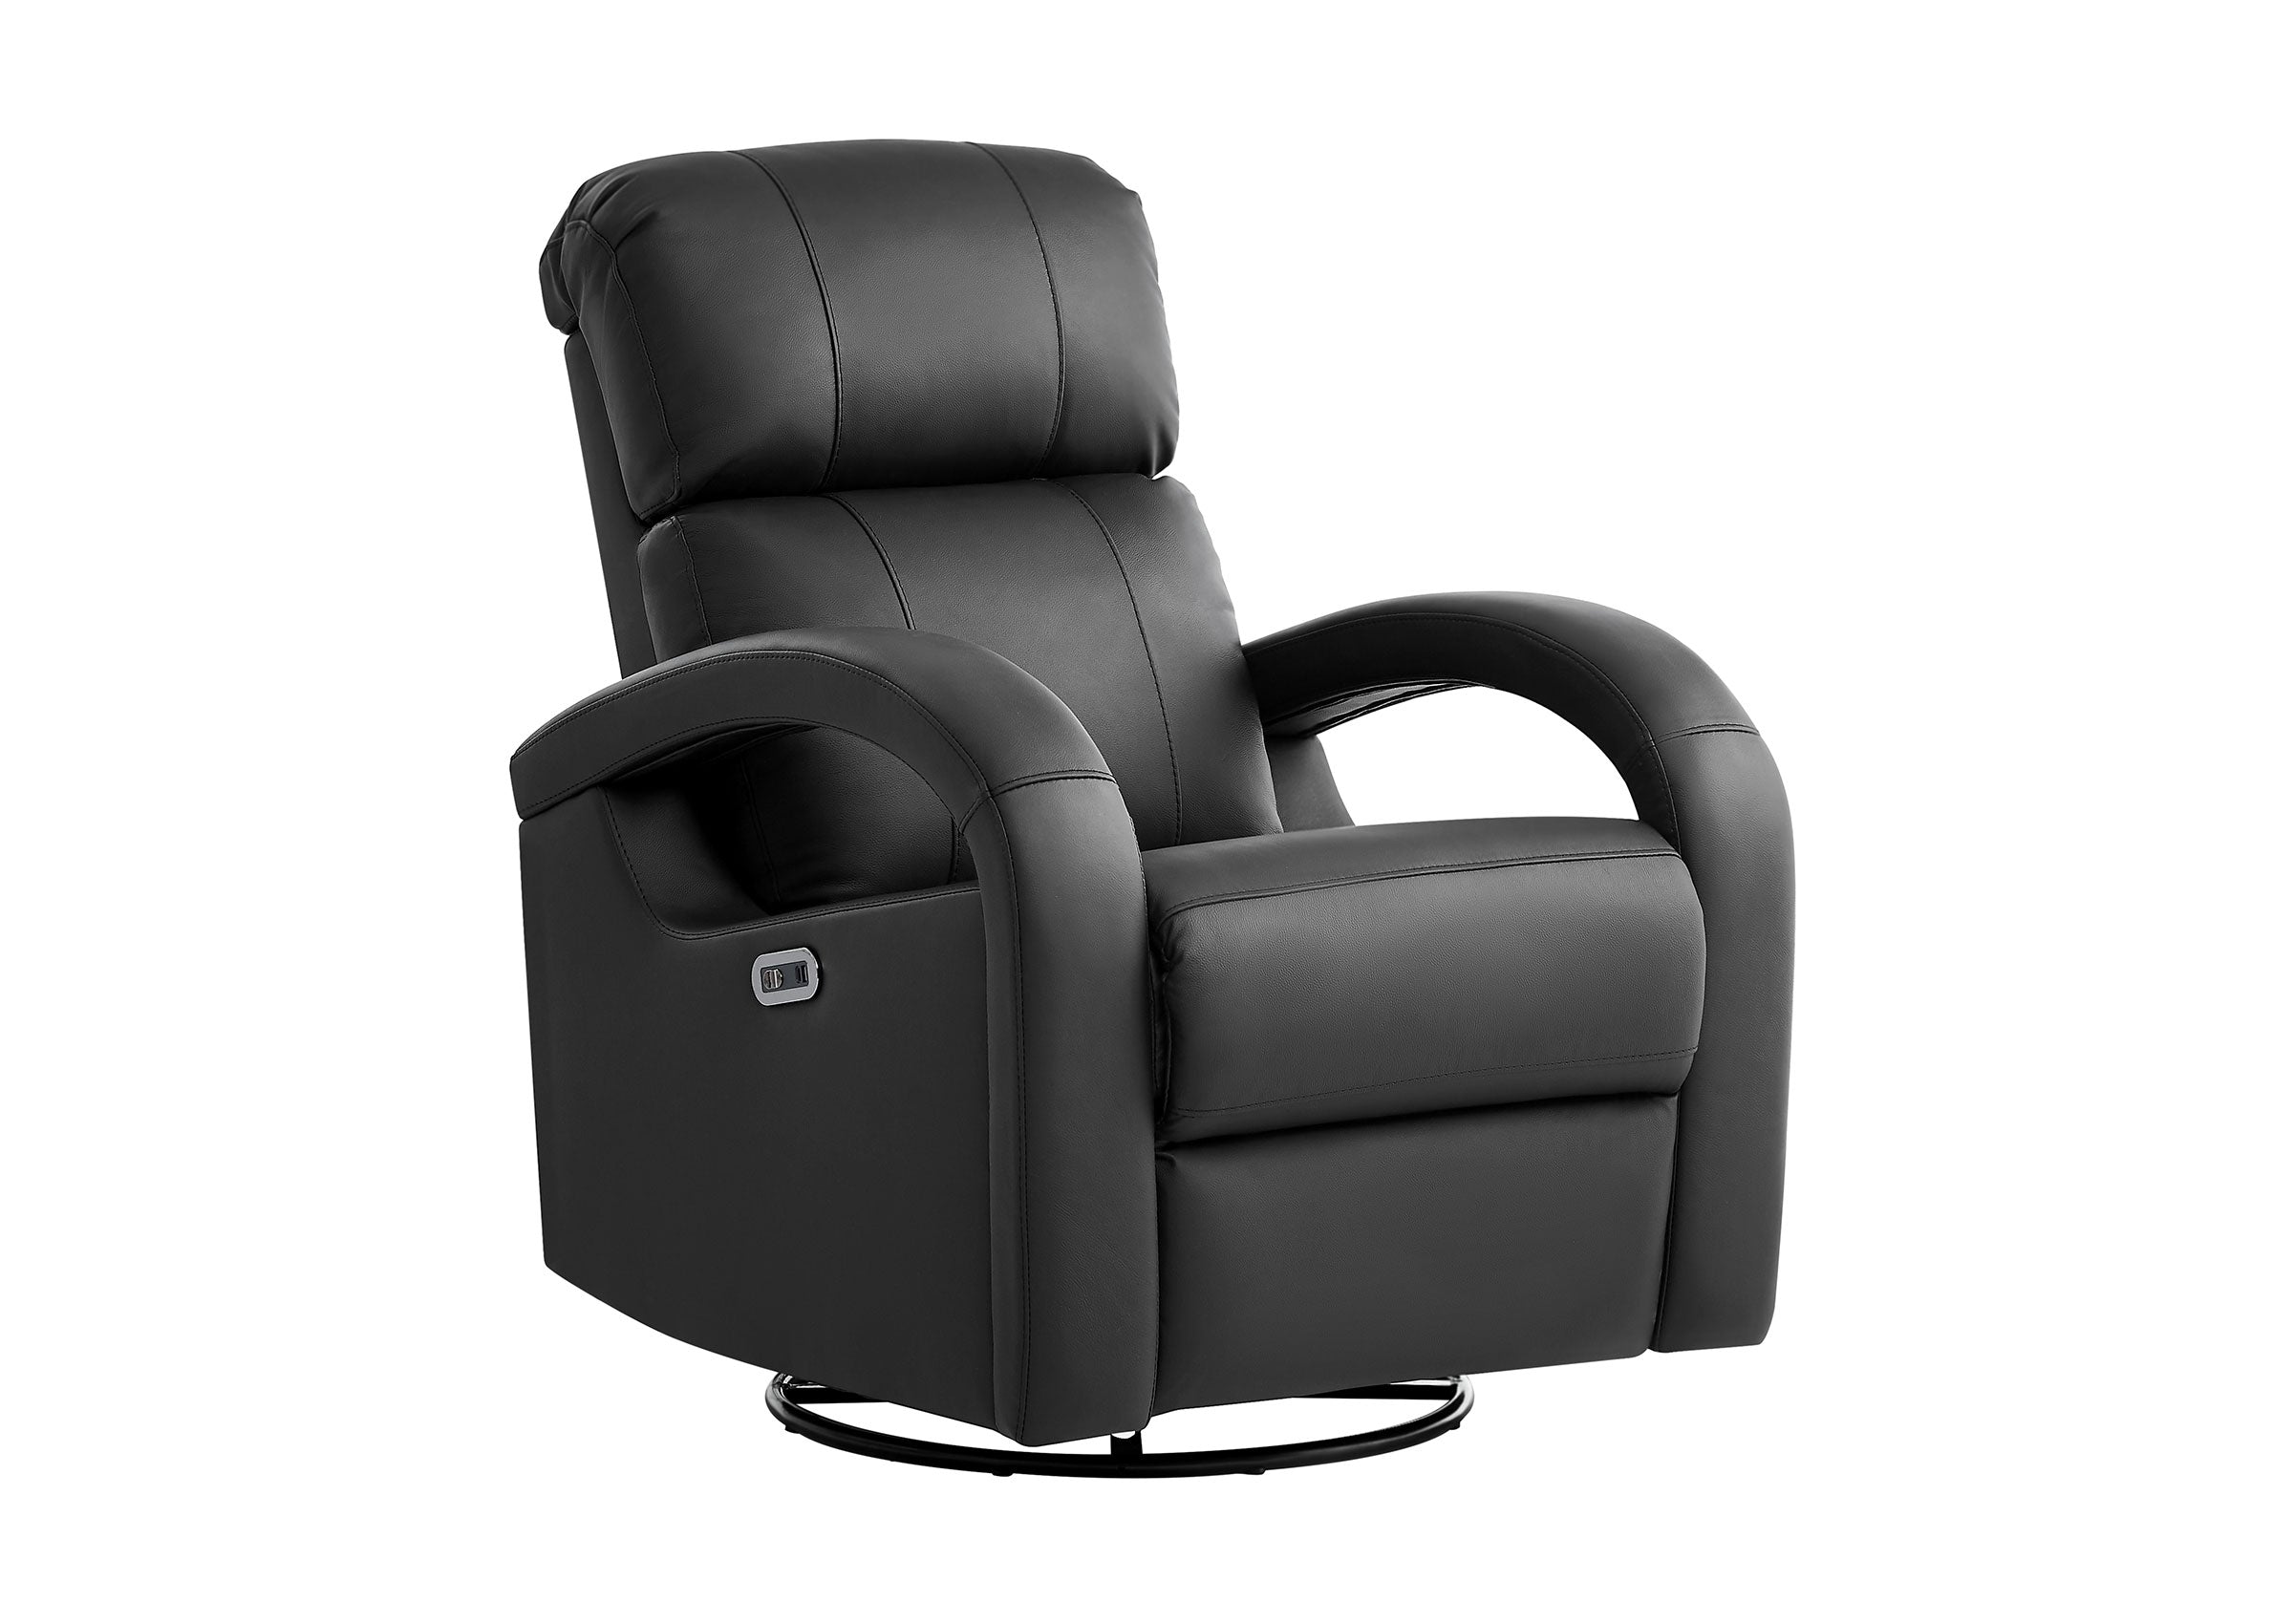
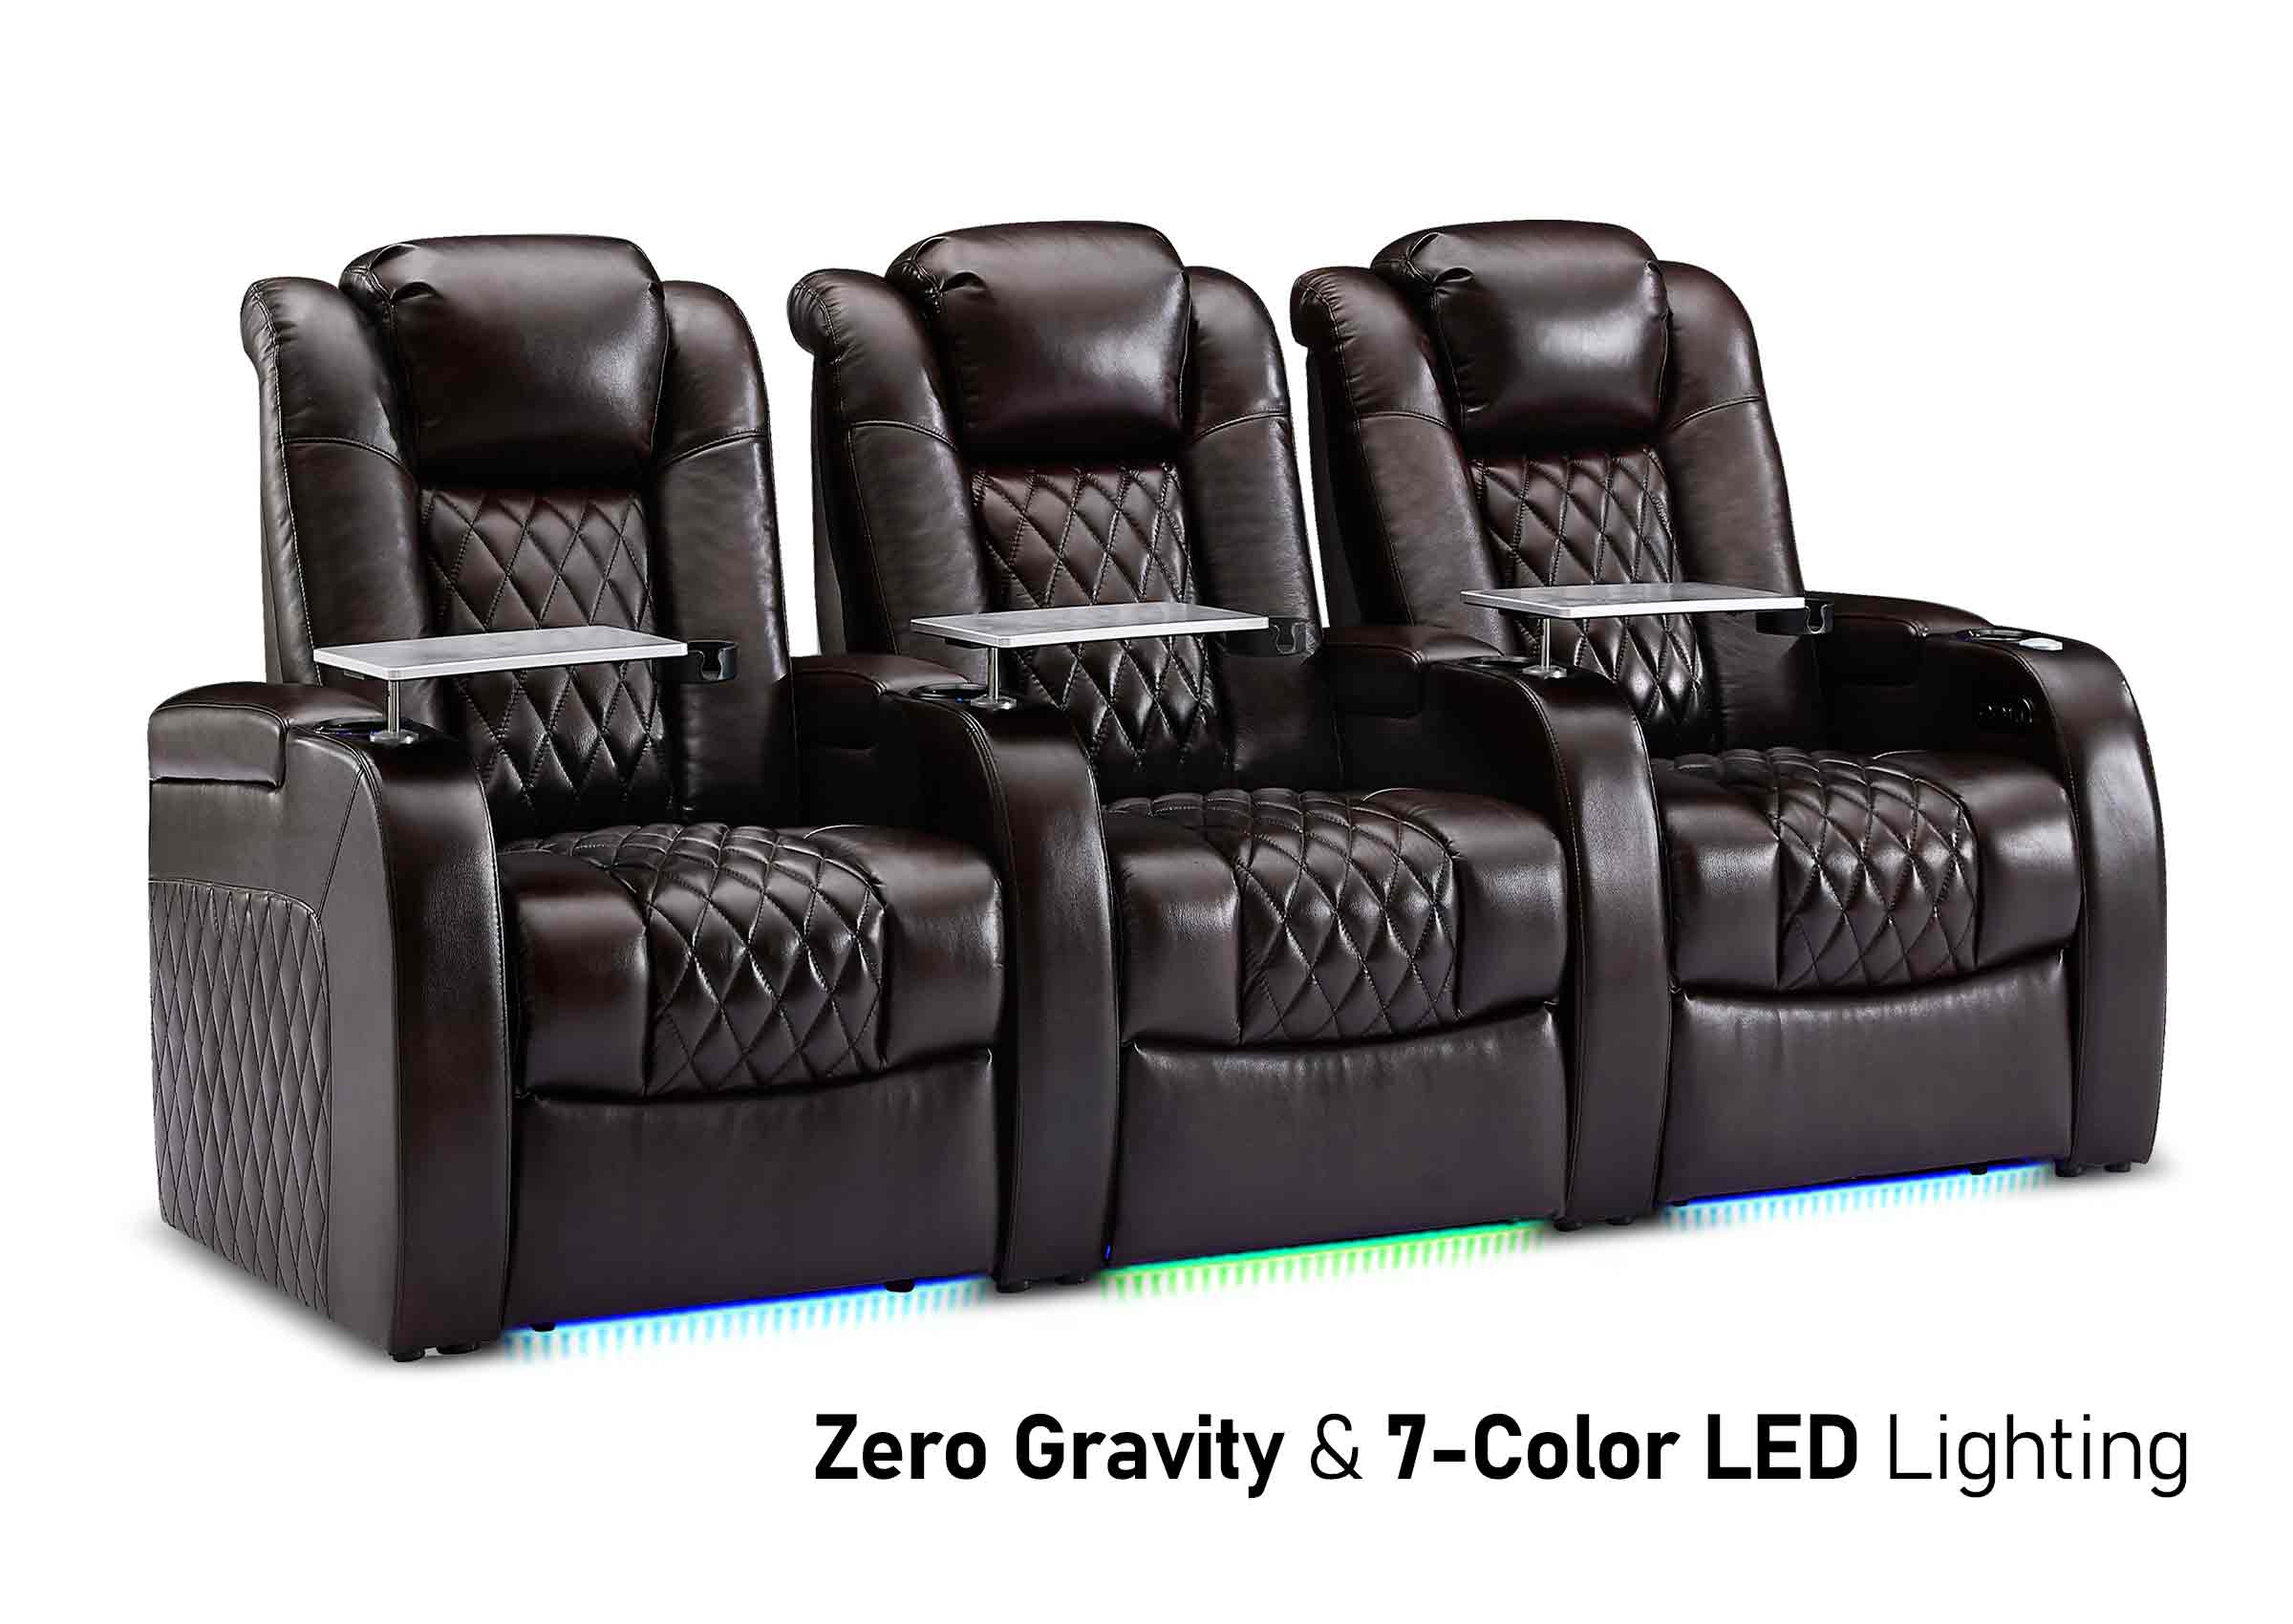
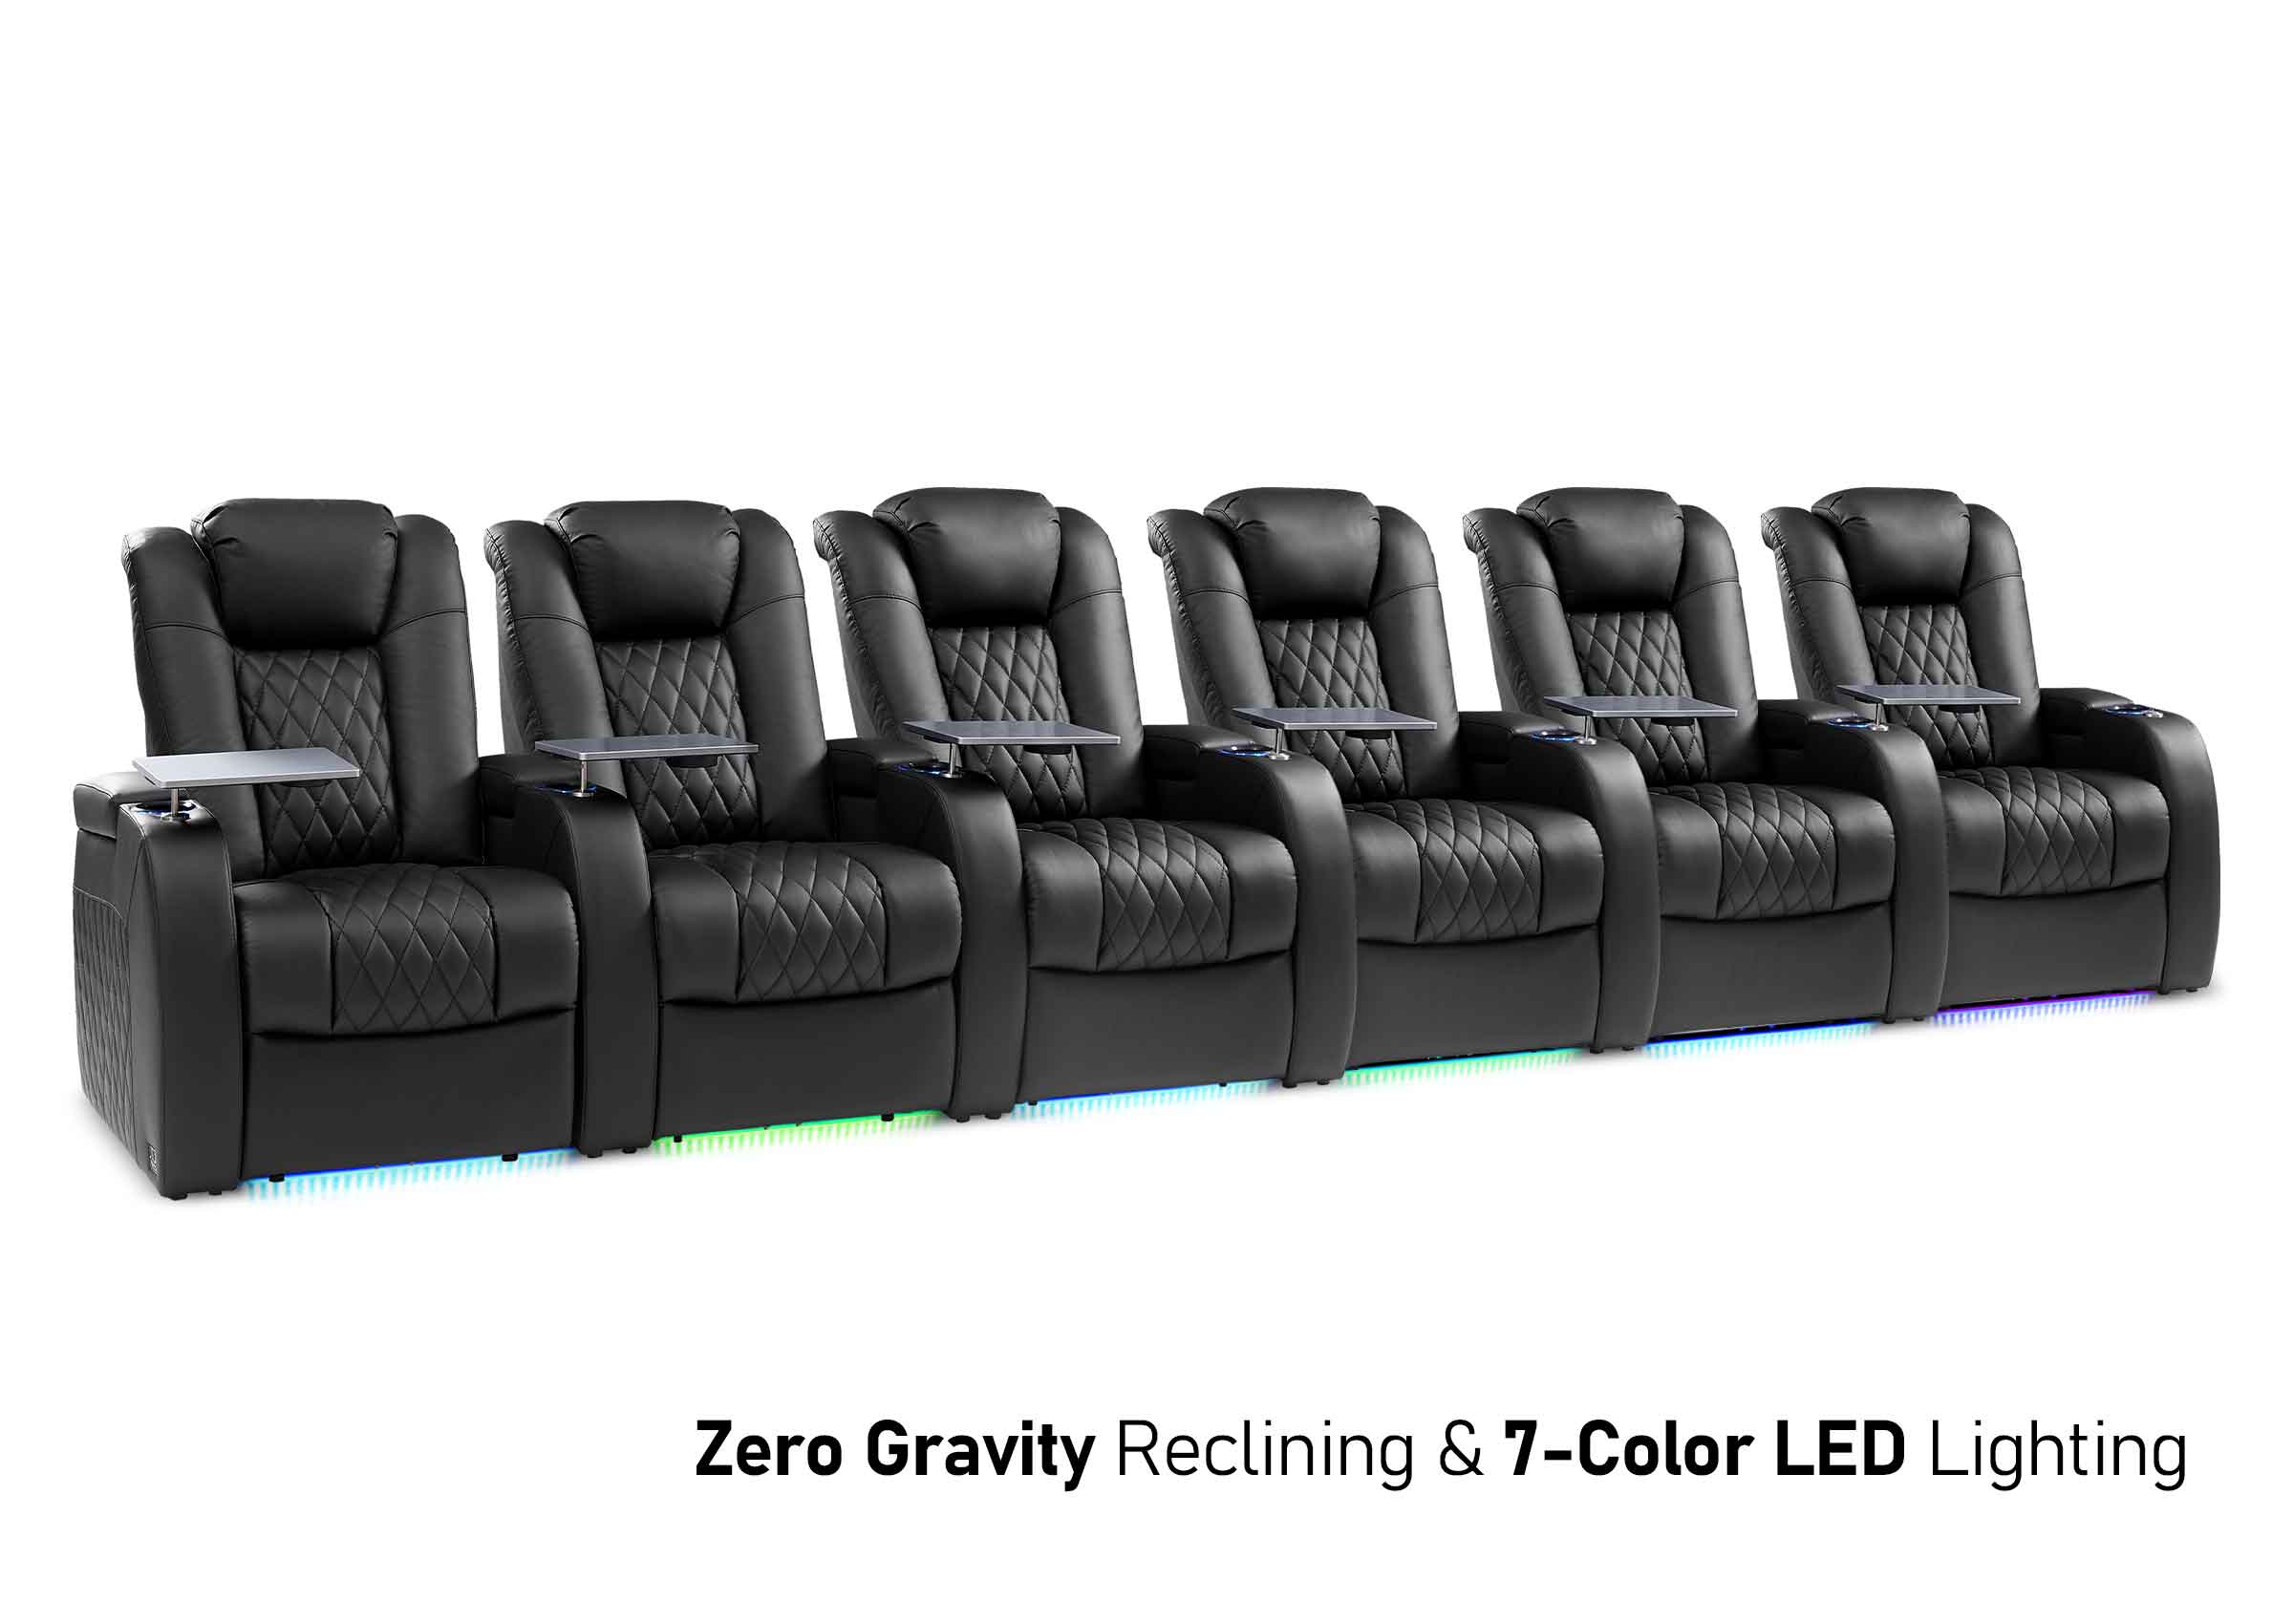
Building your own home theater seating can save you thousands of dollars and give you exactly what you want - no compromises. While most people think they need to hire professionals, you can actually create those movie theater-style raised seats yourself. This guide walks you through each step - from measuring your room to installing the final row of seats. You'll learn all the key details that make the difference between a wobbly platform and a solid, professional-looking setup that your friends won't believe you built yourself.
Step 1: Take Room Measurements
Good planning prevents costly mistakes and ensures your home theater has the right setup for both comfort and safety. The first task is gathering precise measurements of your space.
Door Access First
Start with your doorway width - this is crucial. Measure all doors the seats will pass through, including hallways and turns. Most theater seats are 24-36 inches wide, but they can be awkward to move. You'll need at least 32 inches of clearance to avoid scratched walls and damaged seats.
Screen Distance and Room Size
Locate your screen wall and measure the total room depth. You'll need at least 15 feet from screen to back wall for comfortable viewing. Mark your ideal viewing distance - typically 1.5 to 2.5 times the screen width. A 100-inch screen works best with your first row placed 12-15 feet back. To ensure precision without doing the math yourself, you can use a screen distance calculator to determine the exact optimal viewing spot.
Layout Planning
Your walkways need a minimum width of 36 inches - both between rows and along walls. This isn't just for comfort - it's a safety requirement. For each row, plan on 24-30 inches per seat, plus extra space for armrests. A 12-foot wide room typically fits 3-4 seats per row comfortably.
Electrical Requirements
Map out your existing outlets and plan for:
- Step lighting (safety requirement)
- Power recliners (if using)
- Audio equipment
- Screen and projector
Tools and Safety Checklist
You'll need:
- Tape measure and laser level
- Circular saw and drill
- Stud finder
- Work gloves and safety glasses
- Dust mask
- Knee pads
- Heavy-duty work boots
Write down all measurements and double-check them. A small error at this stage can cause major problems later. Take photos of your space and create a simple sketch with all dimensions marked clearly.

Step 2: Plan Your Theater Platform Design
A well-designed platform makes the difference between a professional home theater and a basic room with raised seats. The key measurements below follow standard theater design principles to give everyone a clear view.
Set Each Row Height at 8 Inches
The proper height between rows is crucial for viewing comfort. With an 8-inch rise between platforms, every viewer can easily see over the heads in front. While rooms with lower ceilings might work with 7 inches of clearance, anything less will block views and frustrate your back-row guests.
Build 4-Foot Deep Platforms for Each Row
The minimum depth for comfortable theater platforms is 4 feet. Within this space, the first 24 inches hold the seat itself. Behind that, 12 inches provide essential leg room, and the final foot ensures easy access for other viewers. Your first row will rest at floor level, serving as the base for your elevated design.
7 Inches High, 11 Inches Deep
Standard residential dimensions work best for theater steps. At 6-7 inches high and 11 inches deep, these measurements match normal household stairs. For layouts up to 4 seats wide, a central staircase offers ideal access. In wider rooms, dual side aisles might better serve your needs.
Install Step Lights and Wire Channels
The electrical system needs careful consideration from the start. Along step edges, wire channels provide safe paths for your lighting setup. Multiple junction boxes will support your step lights, while strategic access points allow for future maintenance. The walking paths must remain clear of all wiring components.
Place Support Beams Every 16 Inches
Structural integrity depends on proper beam placement. Main support beams at 16-inch intervals create a solid foundation, enhanced by extra reinforcement under each seat mount. Through careful connection to wall studs and strategic cross-bracing, your platform will remain stable for years of enjoyment.
Add Cup Holders and Storage Spaces
Smart design includes practical amenities for daily use. Between seats, integrated cup holders prevent spills. At row ends, small tables offer convenient surfaces for snacks and drinks. Under the steps, hidden storage compartments maximize your available space while keeping the room tidy.

Step 3: Buy Essential Materials for Theater Platforms
Quality materials form the backbone of a safe and durable theater platform. Each component plays a specific role in creating a structure that will last for years without creaks, squeaks, or stability issues.
Lumber for the Base Frame
Starting with the foundation, your platforms require pressure-treated 2x8 lumber for ground contact. These boards resist moisture and prevent warping over time. For the upper frame sections, standard 2x8 boards work well, as they'll stay dry above floor level.
Premium Plywood for Platform Tops
Above the frame structure, only 3/4-inch plywood will provide adequate support for your seating areas. Cheaper alternatives like OSB or particleboard can sag or break under weight. Select cabinet-grade plywood for a smoother surface - it costs more but eliminates squeaks and provides better support.
Hardware and Fasteners
With your main lumber selected, proper fasteners ensure structural integrity:
- 3-inch construction screws for main framing
- 1-5/8 inch screws for plywood attachment
- Joist hangers for secure beam connections
- Heavy-duty brackets for stair stringers
Floor Covering Options
Once the structure is complete, your choice of flooring sets the theater atmosphere. The best options include:
- Commercial-grade carpet with padding
- Low-pile carpet for easy cleaning
- Dark vinyl planks for drink resistance
Safety and Lighting Materials
To complement your flooring choice, these safety elements create a professional finish:
- LED strip lights rated for indoor use
- Non-slip stair tread covers
- Metal stair nosing for edge protection
- Wire conduit for step lighting
Sound Control Materials
Finally, proper sound insulation transforms hollow platforms into solid-feeling structures. The spaces between joists need acoustic insulation to prevent vibration. Rigid foam insulation or standard fiberglass batting works well, while rubber underlayment beneath your floor covering adds extra sound dampening.

Step 4: Build Your First Floor Theater Platform
The bottom platform serves as the foundation for your entire theater setup. Strong construction at this stage prevents future problems with stability and noise.
Space Support Beams at 16-Inch Intervals
Your platform's strength begins with proper beam spacing. Main floor joists must run parallel at 16-inch centers across the entire platform. These precisely spaced beams distribute weight evenly and prevent any sagging or bounce when people walk.
Reinforce the Outer Frame
Around the platform's perimeter, double rim joists create a solid outer frame. These doubled-up boards lock the structure together and provide secure attachment points for your stairs and upper platforms. The corners need special attention - use heavy-duty brackets for added strength.
Add Support Beneath Seating Areas
Seat locations require additional reinforcement. Between the main joists, install blocks or cross-beams where chair mounts will attach. This extra support prevents flexing when viewers shift in their seats and eliminates squeaky floors.
Ensure Perfect Leveling
Before moving forward, your platform must be perfectly level. Small adjustments now prevent major headaches later:
- Use shims under any low spots
- Check with a long level in multiple directions
- Verify corners are square
- Confirm edges are straight
Install Blocking and Access Panels
Solid blocking between joists stops any twisting or movement. However, strategic gaps must remain for electrical wiring. Install removable access panels in key locations where future maintenance might be needed, especially near planned step lights or power outlets.
Test Before Proceeding
The final step involves real-world testing. Place actual theater chairs on your platform and check for:
- Any movement or flexing under weight
- Squeaks or creaks when walking
- Proper clearance for reclining
- Stability when sitting and standing
Only move on to building upper platforms once this base level performs perfectly under testing. Small adjustments are much easier to make now than after additional tiers are built.

Step 5: Build Upper Platform Tiers
After a solid base platform, each upper tier requires careful attention to safety and stability. These elevated sections need extra precautions since they carry both viewer weight and movement.
Double-Check All Measurements
Upper platform mistakes are difficult to fix later. Start by measuring the exact distance from your screen wall. Each tier must maintain a precise 8-inch height difference while providing enough depth for comfortable seating and walkways. Mark your wall stud locations clearly - these provide essential support for the entire structure.
Pre-Build Frames at Ground Level
Safety and precision improve when you assemble frames on the ground. Ensure all corners are square and joints are level before lifting them into place. Mark every joist location in advance, and plan any necessary cut-outs for electrical paths. Pay special attention to where support beams will intersect.
Mount Support Posts and Rails
With basic frames complete, vertical support posts should be installed every 4 feet along the platform length. Strong backing at wall connections prevents shifting, while diagonal bracing adds essential rigidity. Safety rails around platform edges protect against falls and provide additional structural support.
Reinforce Seat Mounting Areas
Theater seats create focused pressure points that require extra attention. Each seat location needs additional cross-beams between joists and solid blocking for mounting bolts. Corners and edges require reinforcement plates, while additional wall anchors help distribute weight evenly across the structure.
Create Electrical Pathways
Before covering your platforms, establish clear routes for all necessary wiring. Step lights need consistent power supplies, while powered recliners require their own circuits. Plan space for future audio cables and additional outlets - accessibility now prevents major reconstruction later.
Verify Platform Stability
Thorough testing prevents future problems. Check level measurements from multiple points across each platform and test all walking surfaces for stability. Apply extra weight at seat positions to simulate real usage conditions. Any squeaks or creaks indicate areas needing additional support.
Step 6: Final Touches and Theater Setup
After completing the platforms and basic seat mounting, these finishing details transform your construction project into a polished home theater.
Install Carpet and Floor Trim
Start with flooring installation from the back wall forward. Dark carpet or vinyl should wrap continuously over each level, with seams carefully placed away from high-traffic areas. Install baseboards and stair nosing for a professional look. Every edge needs secure fastening to prevent future lifting.
Set Up Step Lighting
Connect your pre-wired light fixtures using consistent spacing. LED strips should sit recessed in their channels, protected from foot traffic. Test light levels in complete darkness to ensure safe illumination without affecting screen viewing.
Add Comfort Features
Install cup holders between seats and small storage spaces for remotes. Position side tables at row ends where needed. All accessories should mount securely without interfering with seat movement or walking paths.
Complete Safety Features
Install non-slip treads on each step. Add child-proof caps to any exposed bolt ends. Ensure all electrical covers are secure and properly labeled. Check that safety rails meet local building codes for height and strength.
Enjoying Your Professional Home Theater Seating!
Your new home theater combines comfort, safety, and style - all built by your own hands. The careful planning and solid construction ensure your platforms will stay strong and quiet through years of use. With the right lighting, comfortable seats, and handy features like cup holders, your theater room is ready for movie nights that your family and friends will love.
FAQs
Q: How much higher should the 2nd row of a home movie theater be?
Each row should be raised 8 inches above the row in front for optimal viewing. This height allows viewers to see clearly over heads in front while maintaining comfortable ceiling clearance. In rooms with lower ceilings, you can reduce this to 7 inches minimum, but anything less will block views for back-row viewers.
Q: How deep should a home theater riser be?
Each platform needs a minimum depth of 4 feet (48 inches). This space allows 24 inches for the seat itself, 12 inches for leg room, and 12 inches for people to walk past comfortably. Adding extra depth beyond 4 feet can provide more comfort but isn't necessary for basic functionality.


