


The type of flooring in your home theater can change the sound of movies and how comfy you are while watching them. Good flooring helps cut down on noise, withstands foot traffic and spills, and brings your room's design together. This guide shows you how to pick and install the best flooring for your area, whether you're working in a basement or improving a room. This will help you have better sound and comfort for your movie nights.
What to Consider When Choosing Home Theater Flooring
Sound Quality
The right flooring helps reduce noise in your movie room. Hard floors like tile or wood can cause echoes that make it difficult to hear movies clearly. A carpet with thick padding lessens sounds and makes it easier to hear conversations. Putting acoustic padding under any flooring helps reduce noise for people in other rooms.
Comfort and Wear
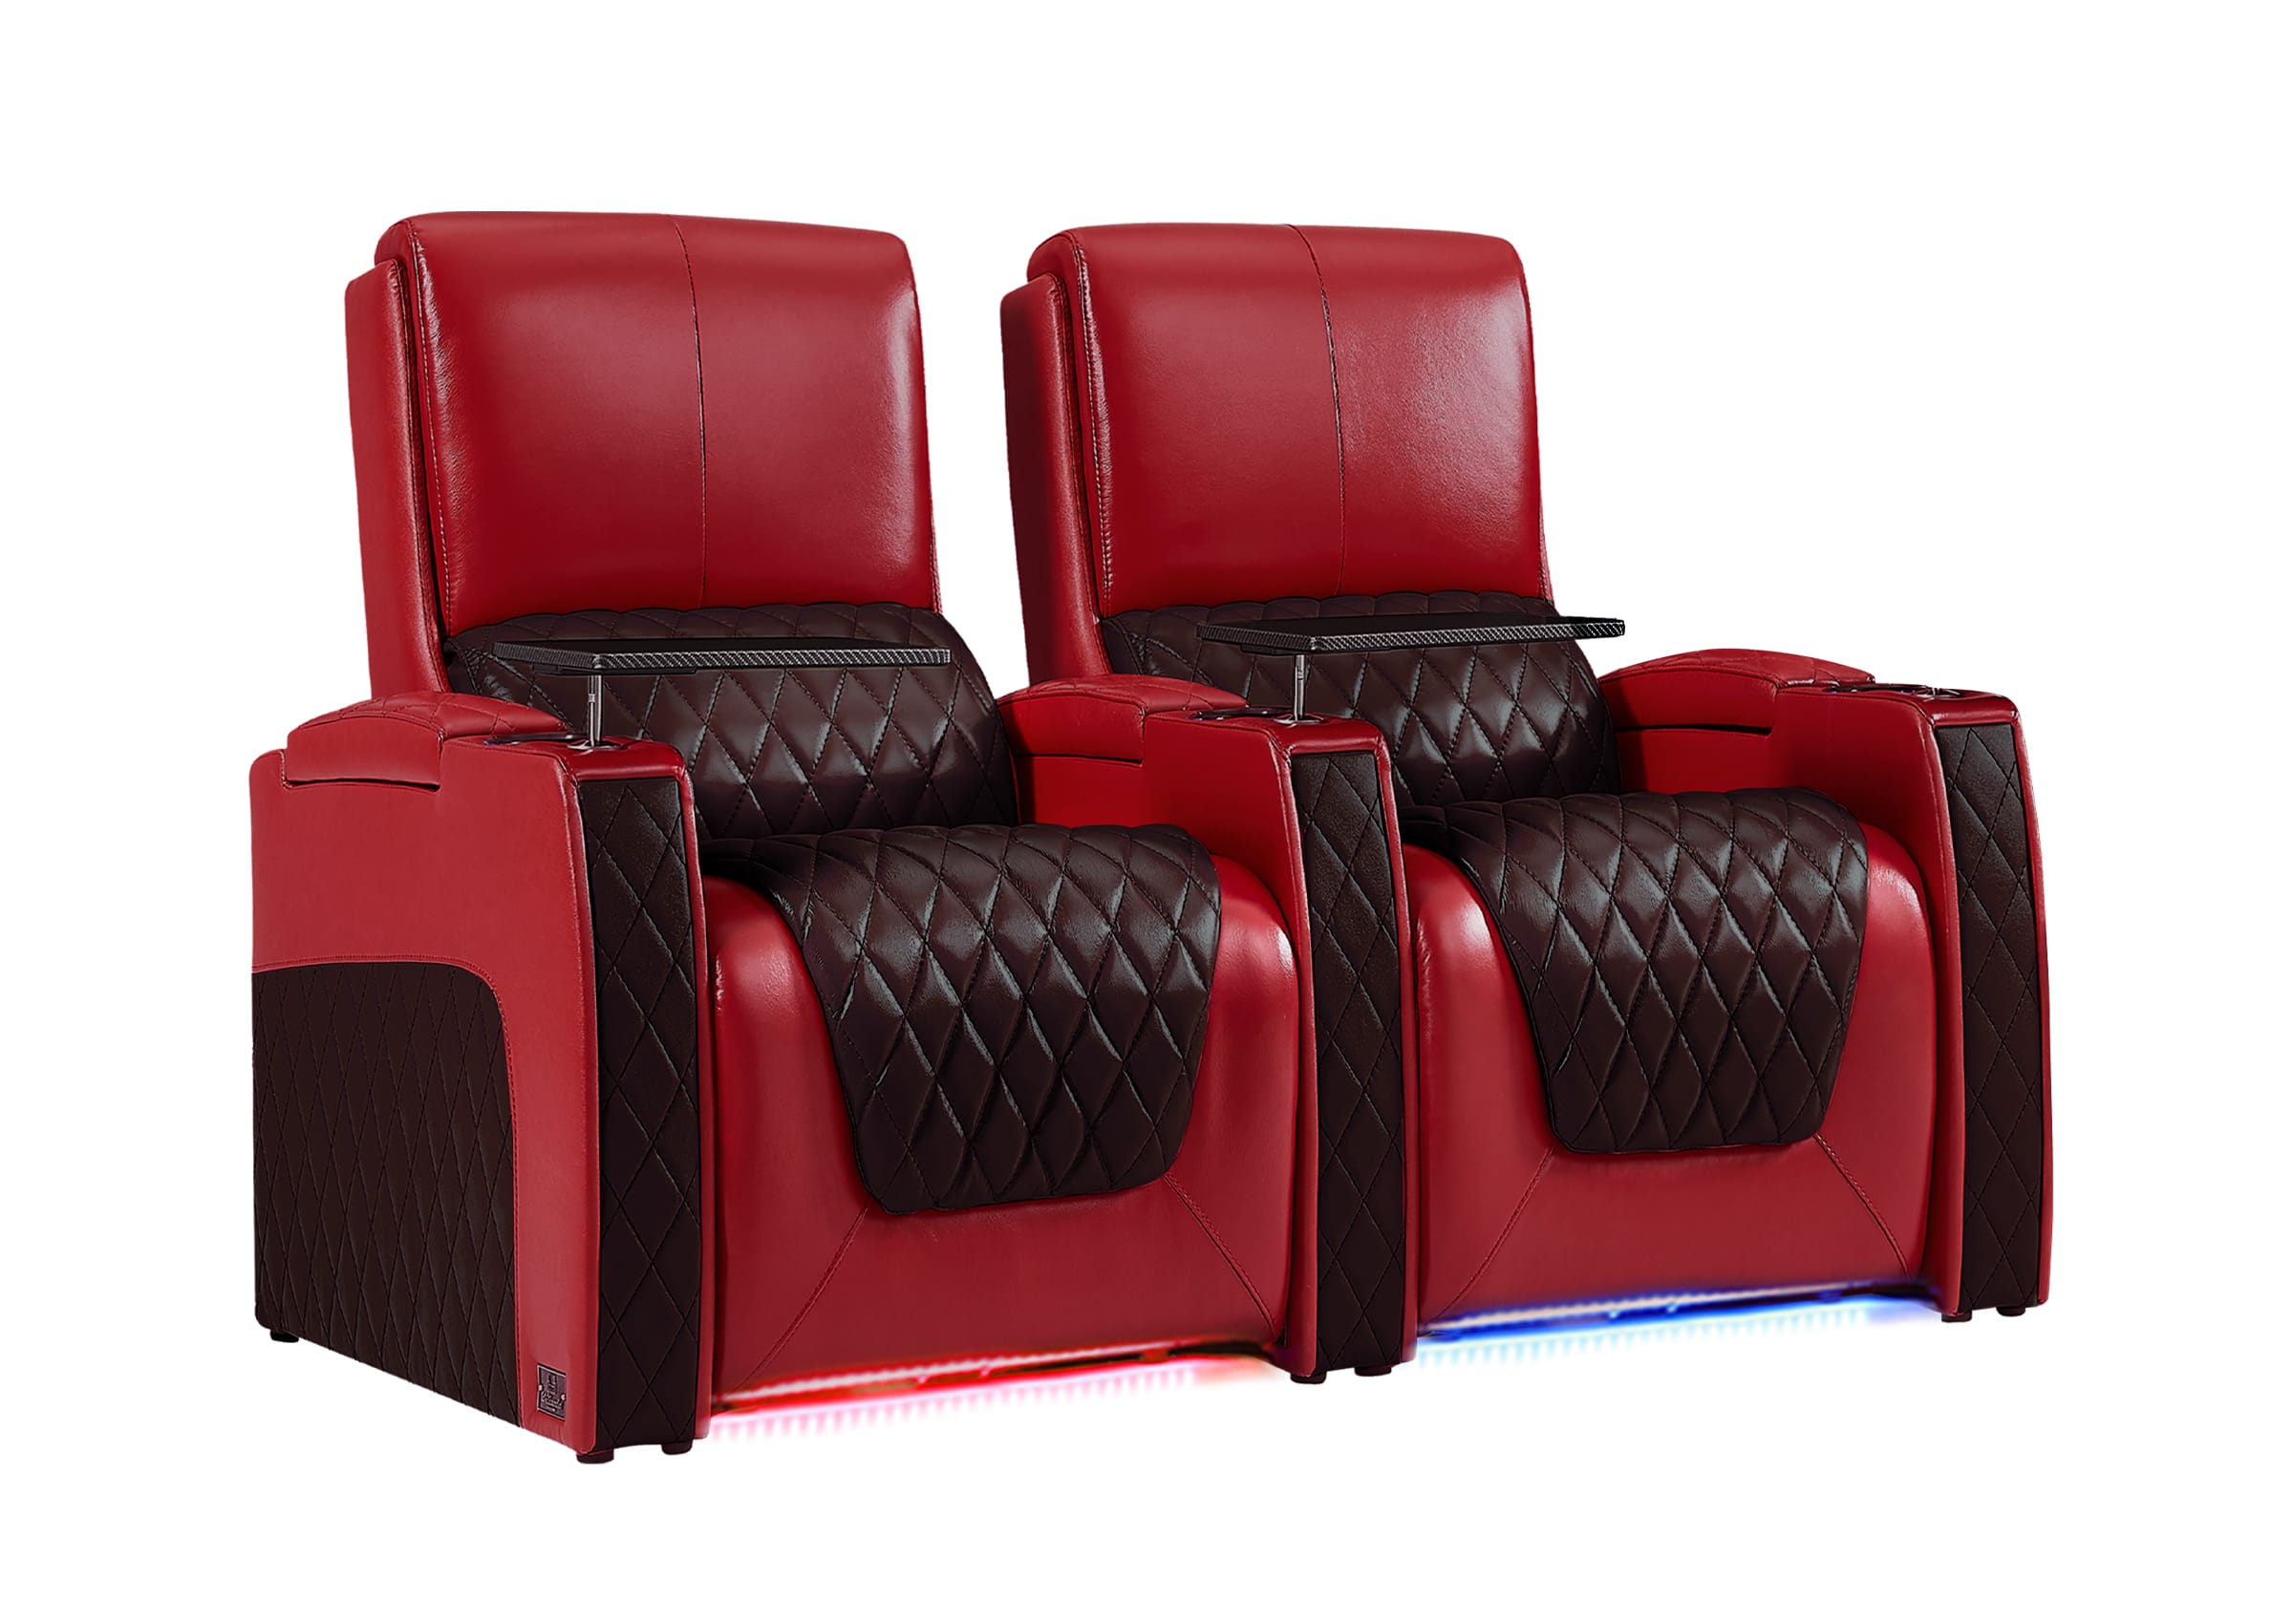
Your theater floor should be suitable for both home theater seating and walking places. Use softer materials for the areas around the seats where people will sit the most. Choose stronger materials for doors and walkways that get a lot of foot traffic.
Moisture Protection
Basements need special floors because they can become wet. Regular oak isn't a good option because it can bend or develop mold. Instead, choose waterproof choices like vinyl planks or special engineered hardwood designed for basements. These are helpful for reducing noise when used with floor rugs.
Room Design
Choose flooring that fits your room's style and is good for watching movies. Darker colors help lessen screen glare. Make sure your choice looks good in both bright and low light.
Three Steps Before Installing Home Theater Flooring
1. Check the Floor Base
Start by checking your existing floor for moisture, which is important if you're working in a basement. Use a moisture meter. If it shows a high number, put a sealant on your new flooring to protect it. Next, check the floor for any cracks or bumps. These need to be fixed with a self-leveling solution to make a smooth surface. The last step is to add cork or rubber flooring. This helps reduce noise and improves the sound quality in your theater.

2. Choose Your Flooring Material
Carpets and carpet tiles are good for reducing noise and come in various styles. They soak up echoes well, making it easier to hear movie speech. Luxury vinyl planks are water-resistant and scratch-resistant, and you can easily put them yourself because they have a click-lock design. Engineered hardwood looks like real wood but is better at resisting wetness than regular hardwood. You can put area rugs on wooden floors to make the sound better.

3. Gather Your Tools and Materials
To attach it, you'll need a utility knife, a rubber mallet, and a tape measure. For glue-down flooring, you will also need a tool. Your supplies list should have underlayment and transition strips for the doorways. If you're setting up in a basement, be sure to include a vapor shield. Make sure to have glue available if you need it for your flooring, and keep sealant nearby if your moisture test showed high levels.

How to Install Different Types of Home Theater Flooring
Carpet: Start from Center and Work Outward
First, lay down the sound underlayment and stick it in place using double-sided tape. When putting down carpet tiles, begin in the center of the room and move outward in an uneven way. This will hide the seams and make the floor more stable. Press each tile down strongly to make sure it sticks properly. Use a pocket knife to carefully trim the edges. When you place wall-to-wall carpet, use a knee kicker to stretch it tightly against the walls for a flat look.

Vinyl Planks: Let Materials Adjust, Then Click Together
Before you place the vinyl planks, keep them in the room for 48 hours so they can get used to the temperature and humidity. For basements, start by placing underlayment that has a moisture shield. Start the installation in one corner, and connect the planks as you move along. Offset the end joints between rows by at least 6 inches. This helps make the floor tougher and improves its appearance. Leave a little space by the walls for growth.

Hardwood: Nail Down Planks and Add Sound Control
Start by putting sound-dampening cork underlayment to reduce noise from footsteps. When putting in the planks, make sure to leave a quarter-inch gap around all the walls. This lets the wood expand naturally. You can either nail the boards to the ground or use glue for flooring. Both ways are effective. Ensure that each board fits closely to the next for a strong connection.

Raised Platform: Frame with 2x8s and Add Insulation
A raised platform for back row seats must be built carefully. Use 2x8 lumber to build the frame, then add insulation in the gaps to stop unwanted bass sounds from coming through. Place boards over the frame, then put your selected flooring on top. Attach bullnose trim around the edges for a neat and professional finish. Make sure to attach all parts tightly to avoid any squeaking while watching movies.

How to Improve Sound Quality After Floor Installation
Add Rugs to Control Sound Reflection
Add thick area rugs over vinyl or hardwood floors to reduce sound reflection. Put rugs in the main seating area and between speakers and walls. These rugs help absorb mid-range and high-frequency sounds that bounce off hard floors, making dialogue clearer and reducing echo.
Set Up Corner Bass Traps
Put Roxul Safe N Sound insulation in the corners where walls meet. This special insulation helps control low bass frequencies that often build up in corners. Install them from floor to ceiling for the best effect. Cover with fabric that matches your room design.
Mount Sound Panels on Walls
Mount acoustic panels at the main sound reflection points on your walls - typically at ear level and on the back wall. Use at least 2-inch thick panels for good sound absorption. Space them evenly on the walls to prevent sound from bouncing around the room. Like bass traps, you can cover these panels with fabric to match your room's style.

Common Installation Mistakes and How to Avoid Them
Skipping Basement Moisture Tests
Never skip moisture testing in basements - this is crucial. Get a moisture meter from any hardware store and check several spots on your floor. Readings above 12% need a moisture barrier and proper sealant. If you skip this step, your new flooring could warp or grow mold within months.
Installing Hard Floors Without Sound Control
Many people install hardwood or vinyl floors without adding sound control measures. This creates harsh echoes that ruin movie sound quality. Always use acoustic underlayment under hard flooring. Add area rugs between speakers and seating areas. Place at least one large rug in the main viewing area.
Ignoring Expansion Space
Both hardwood and vinyl planks need space to expand and contract. Leave a 1/4-inch gap between the flooring and walls. For larger rooms over 20 feet long, add expansion joints. Without these gaps, your floor will buckle when the temperature and humidity change. Cover these gaps with baseboards, not caulk or filler.
Neglecting Subfloor Problems
A squeaky or uneven subfloor will cause problems later. Check for loose nails and squeaky spots before installation. Screw down any loose areas. Fill low spots with leveling compound. An uneven base leads to damaged flooring and poor installation results.
Make Your Home Theater Floor Work Well!
Pick your flooring wisely and put it properly for the best movie-watching experience. Carpet works best for sound, while vinyl and floors need extra sound treatment. Check for moisture in basements, prepare your floor base correctly, and use the right tools for fitting. Add sound control elements such as rugs and panels after setting everything up. Taking good care of your theater floor will keep it in good condition and enhance your movie sound for many years.