





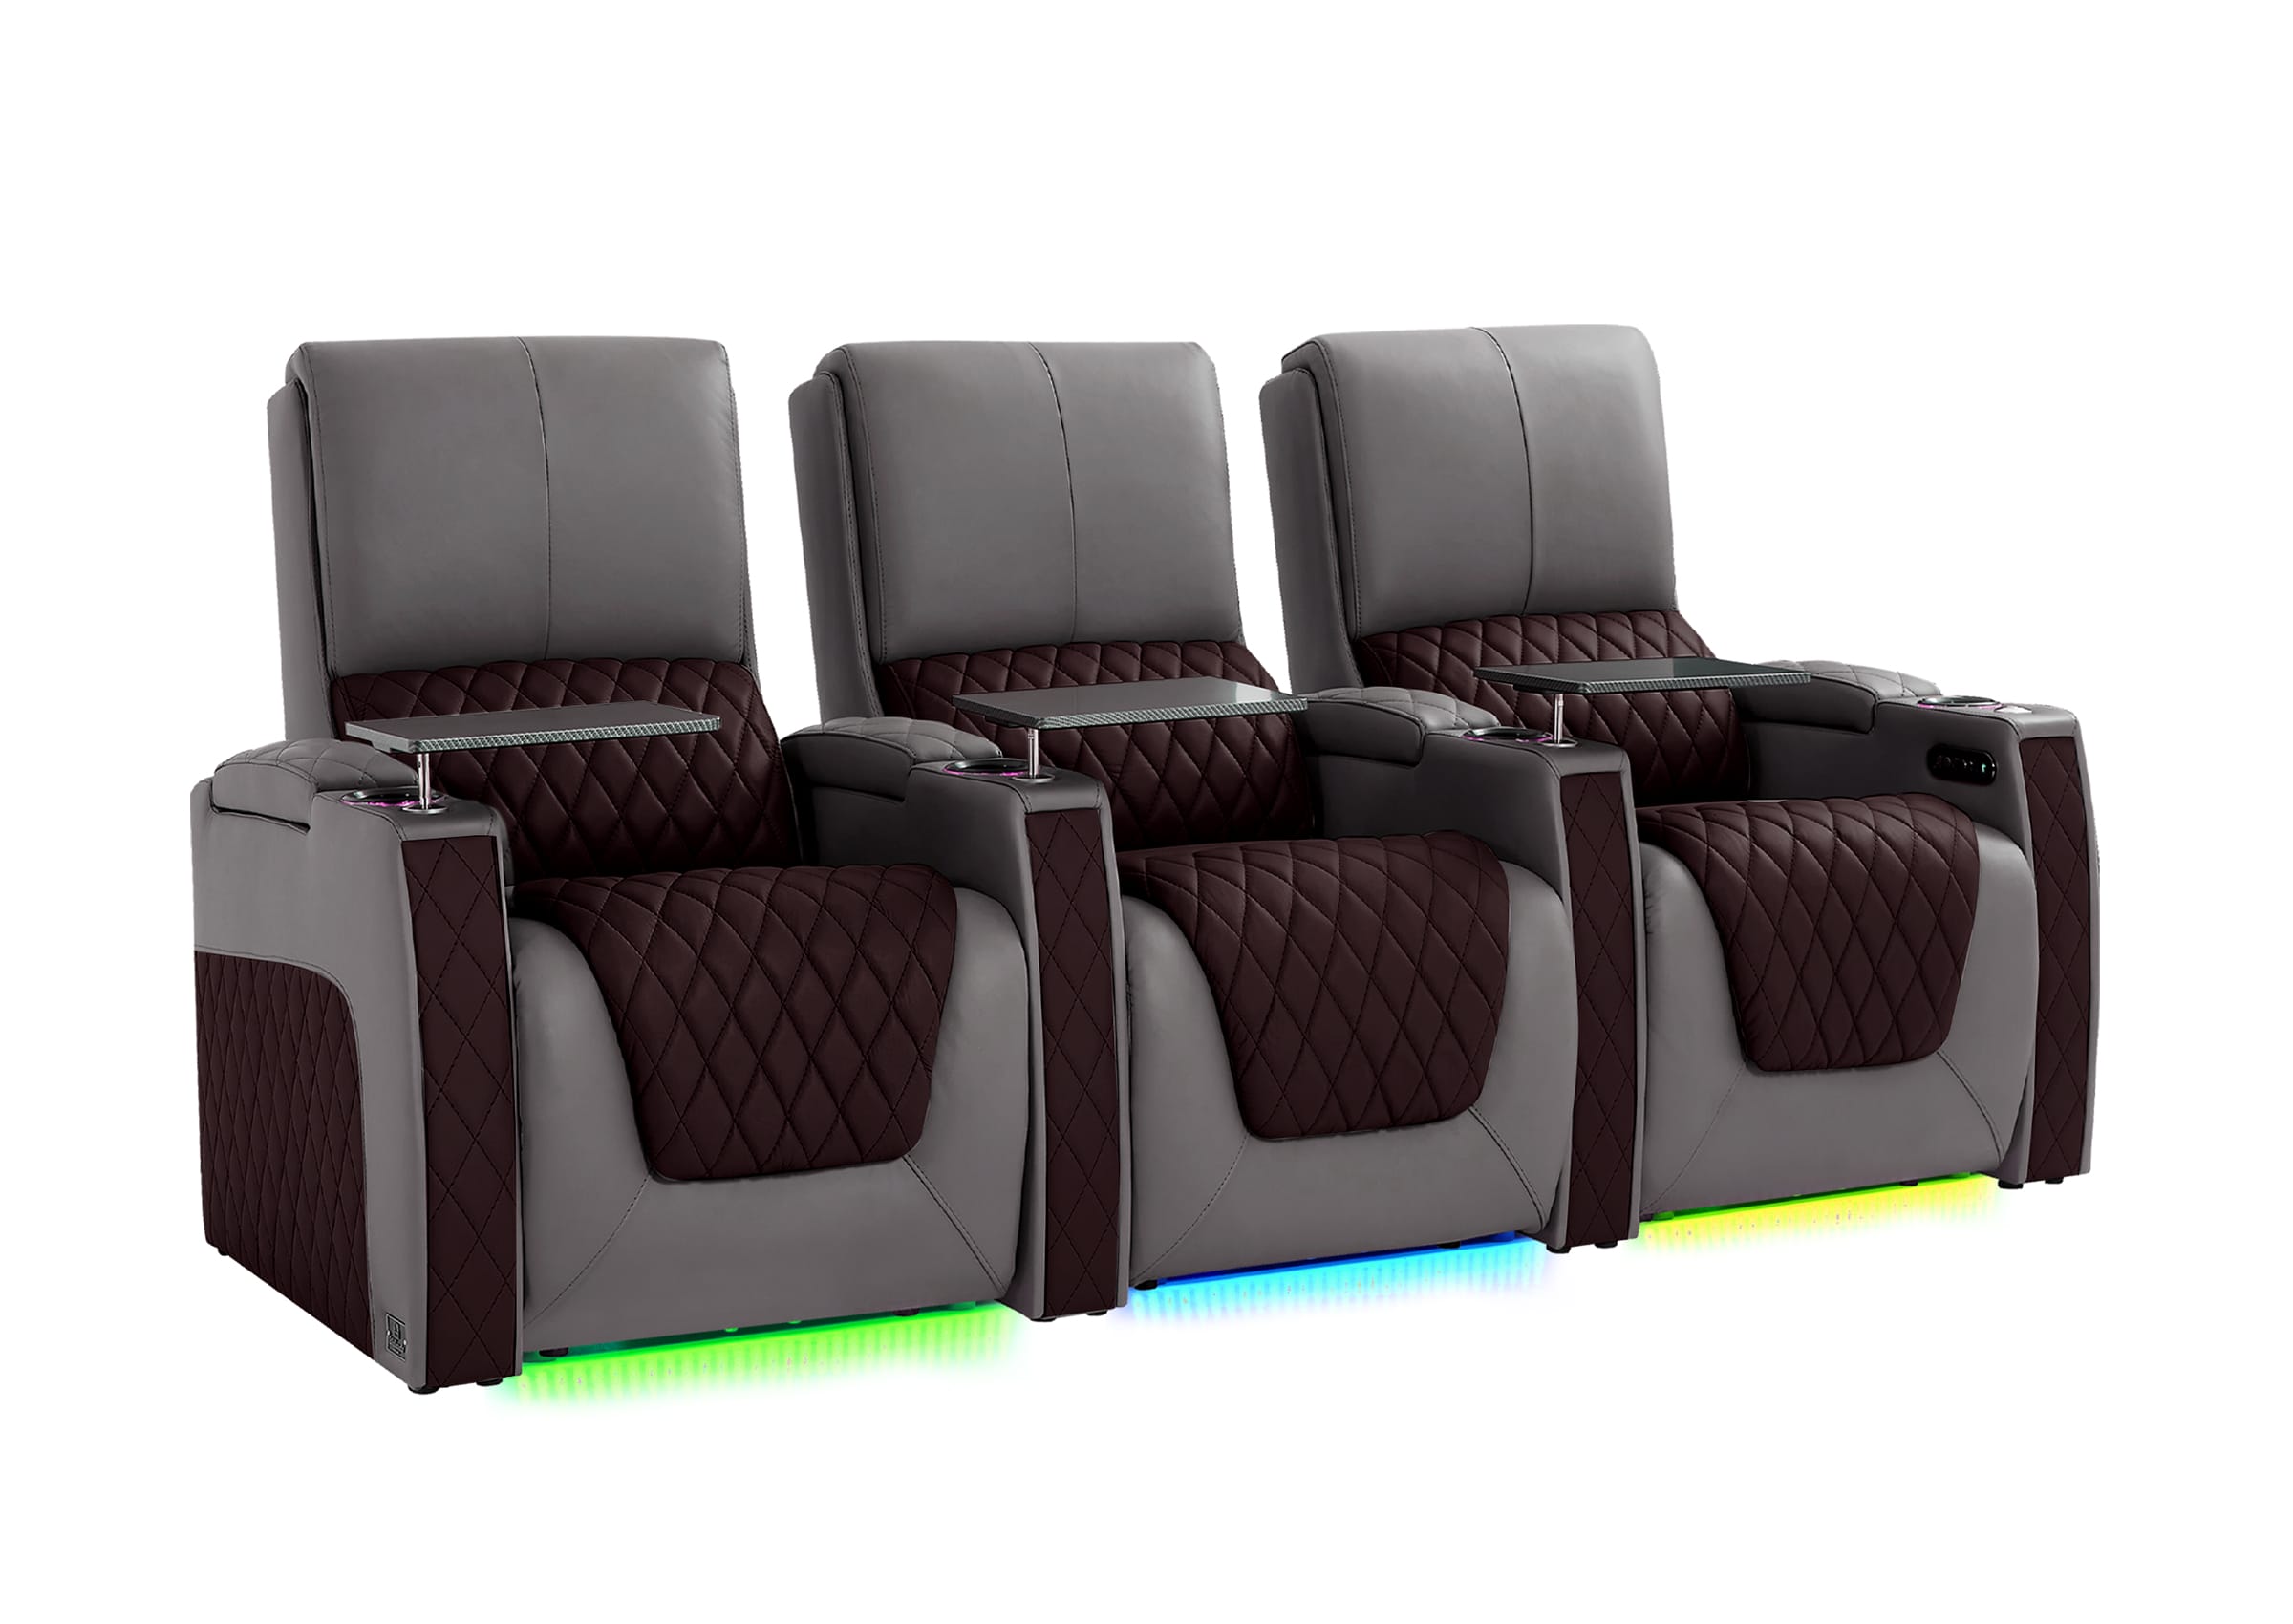
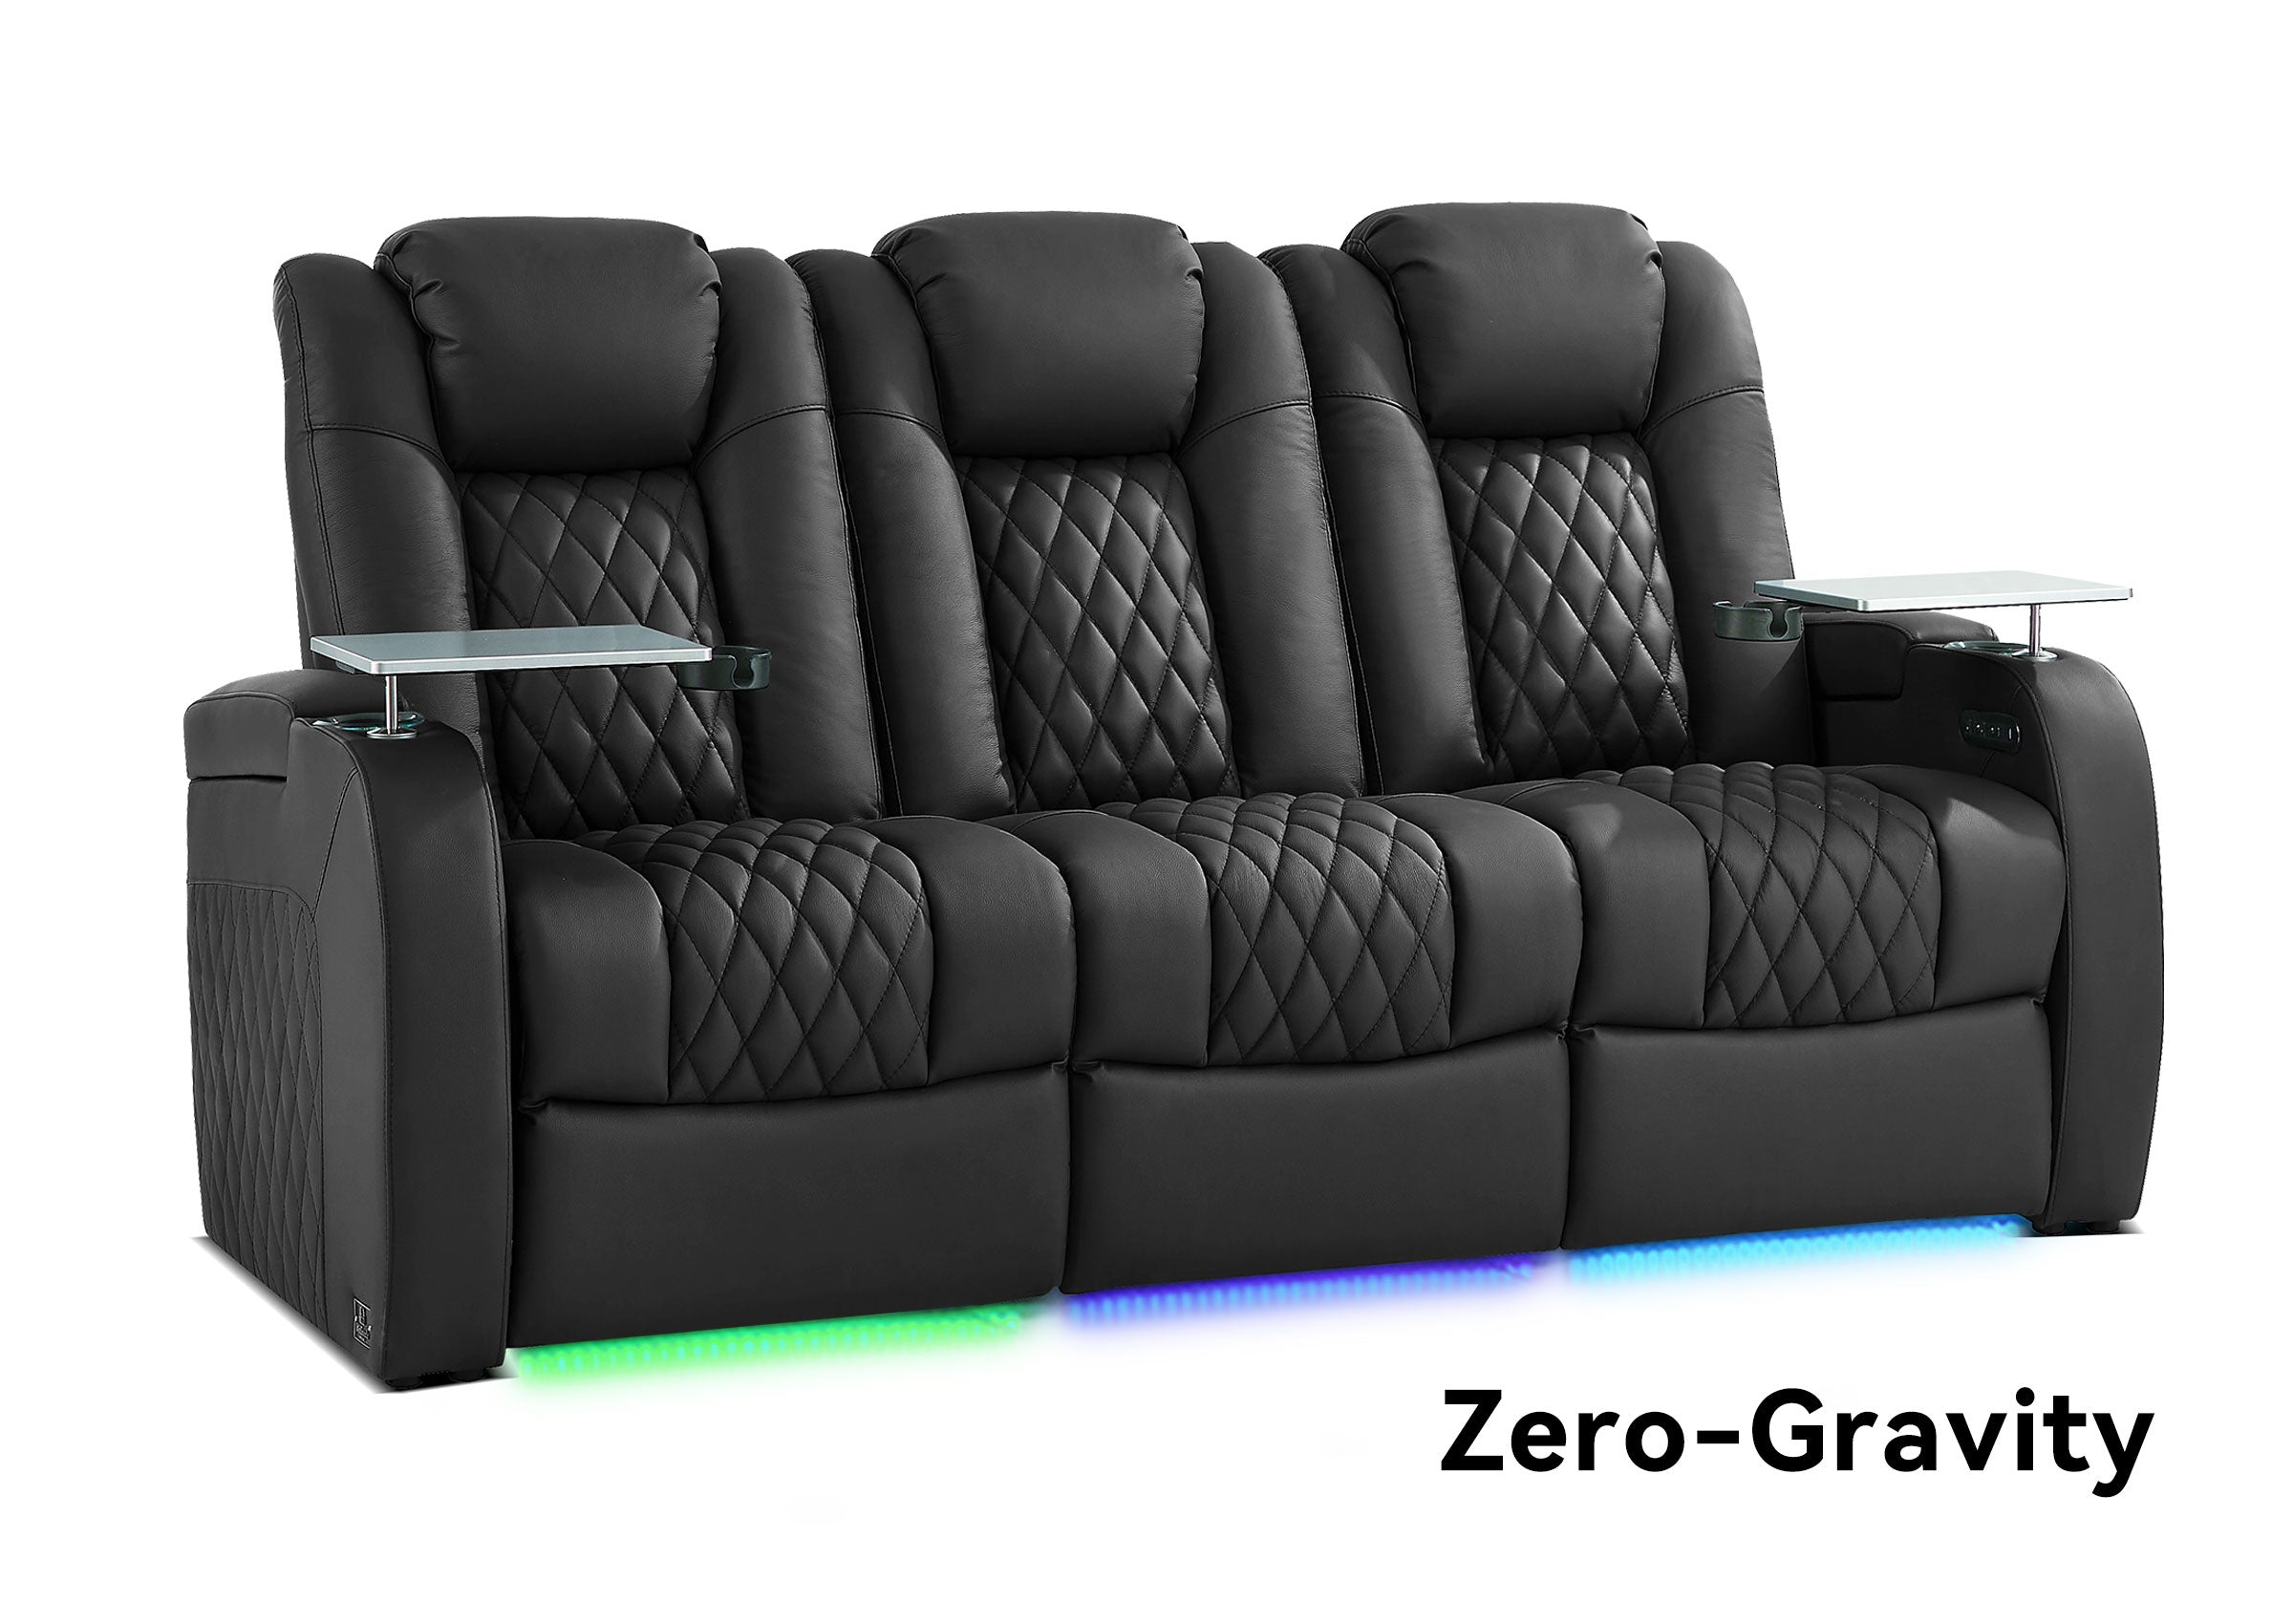


A back row can have a clear view of the screen and still block the projector because the viewer’s sightline and the projector’s light path are two different geometries.
Before mounting the projector or building a riser, check the complete beam against real seats, real people, and the way they move. Normal viewing positions must stay clear, while rare interruptions—such as someone crossing an aisle—can be judged as deliberate compromises.
First, Separate the Sightline From the Projector Beam
A seating sightline runs from a viewer’s eyes to the screen and determines whether the person can see over the row in front. The projector beam runs from the lens to the entire active image and determines whether a head, headrest, seat back, or person in an aisle interrupts the picture.
That distinction matters because a riser can solve one problem while making the other worse:
- Raising the back row helps viewers see over the front row.
- The same height increase moves back-row heads closer to the projector’s light path.
- A higher screen may improve beam clearance but create an uncomfortable upward viewing angle.
- A higher projector may clear viewers but exceed the model’s usable lens-shift range or create a ceiling conflict.
A room passes only when both the viewing sightline and the projection light path work. A successful riser-height calculation does not prove that the beam is clear.

The Beam Is a Cone, Not a Centerline
It is tempting to draw one line from the lens to the center of the screen. That line is useful for basic alignment, but it cannot tell you whether a person will cast a shadow.
The projector sends light from the lens toward the top, bottom, left, and right edges of the image. In a side view, the upper and lower boundaries form a widening wedge. In a top view, the left and right boundaries form another wedge. Together, these boundaries define the working light cone.
A head can sit below the centerline and still clip the lower image. An end seat may clear the beam in a side drawing but enter it horizontally if the projector is off-center. A side aisle may cross only the outer edge of the cone and produce a shadow in one corner.
Check the complete image boundary—not only the lens centerline and not only the middle seat.
Confirm the Projector and Image Before Testing the Seats
Beam clearance cannot be planned accurately from room dimensions alone. First confirm four inputs.
1. The exact projector and lens
Throw range, optical offset, lens shift, zoom, and approved orientation vary by model. Use the current manual and a model-specific tool such as the ProjectorCentral Throw Distance Calculator to find a valid lens-position range.
Throw distance is normally measured from the lens to the screen surface. Do not substitute the back of the chassis, the mounting plate, or the center of the projector.
2. The active image dimensions
Mark the actual picture edges, not merely the outside of a decorative screen frame. If you use lens memories, record the boundaries for every programmed format because zoom or image position can change the edge closest to a viewer.
If the image size is still changing, confirm it with a home theater screen size guide before approving the projector beam.
3. The finished screen height
Use measurements from the finished floor to the active image, not from an unfinished subfloor. If carpet, a platform, or a riser is still to be added, include its finished height.
4. The real seat and riser positions
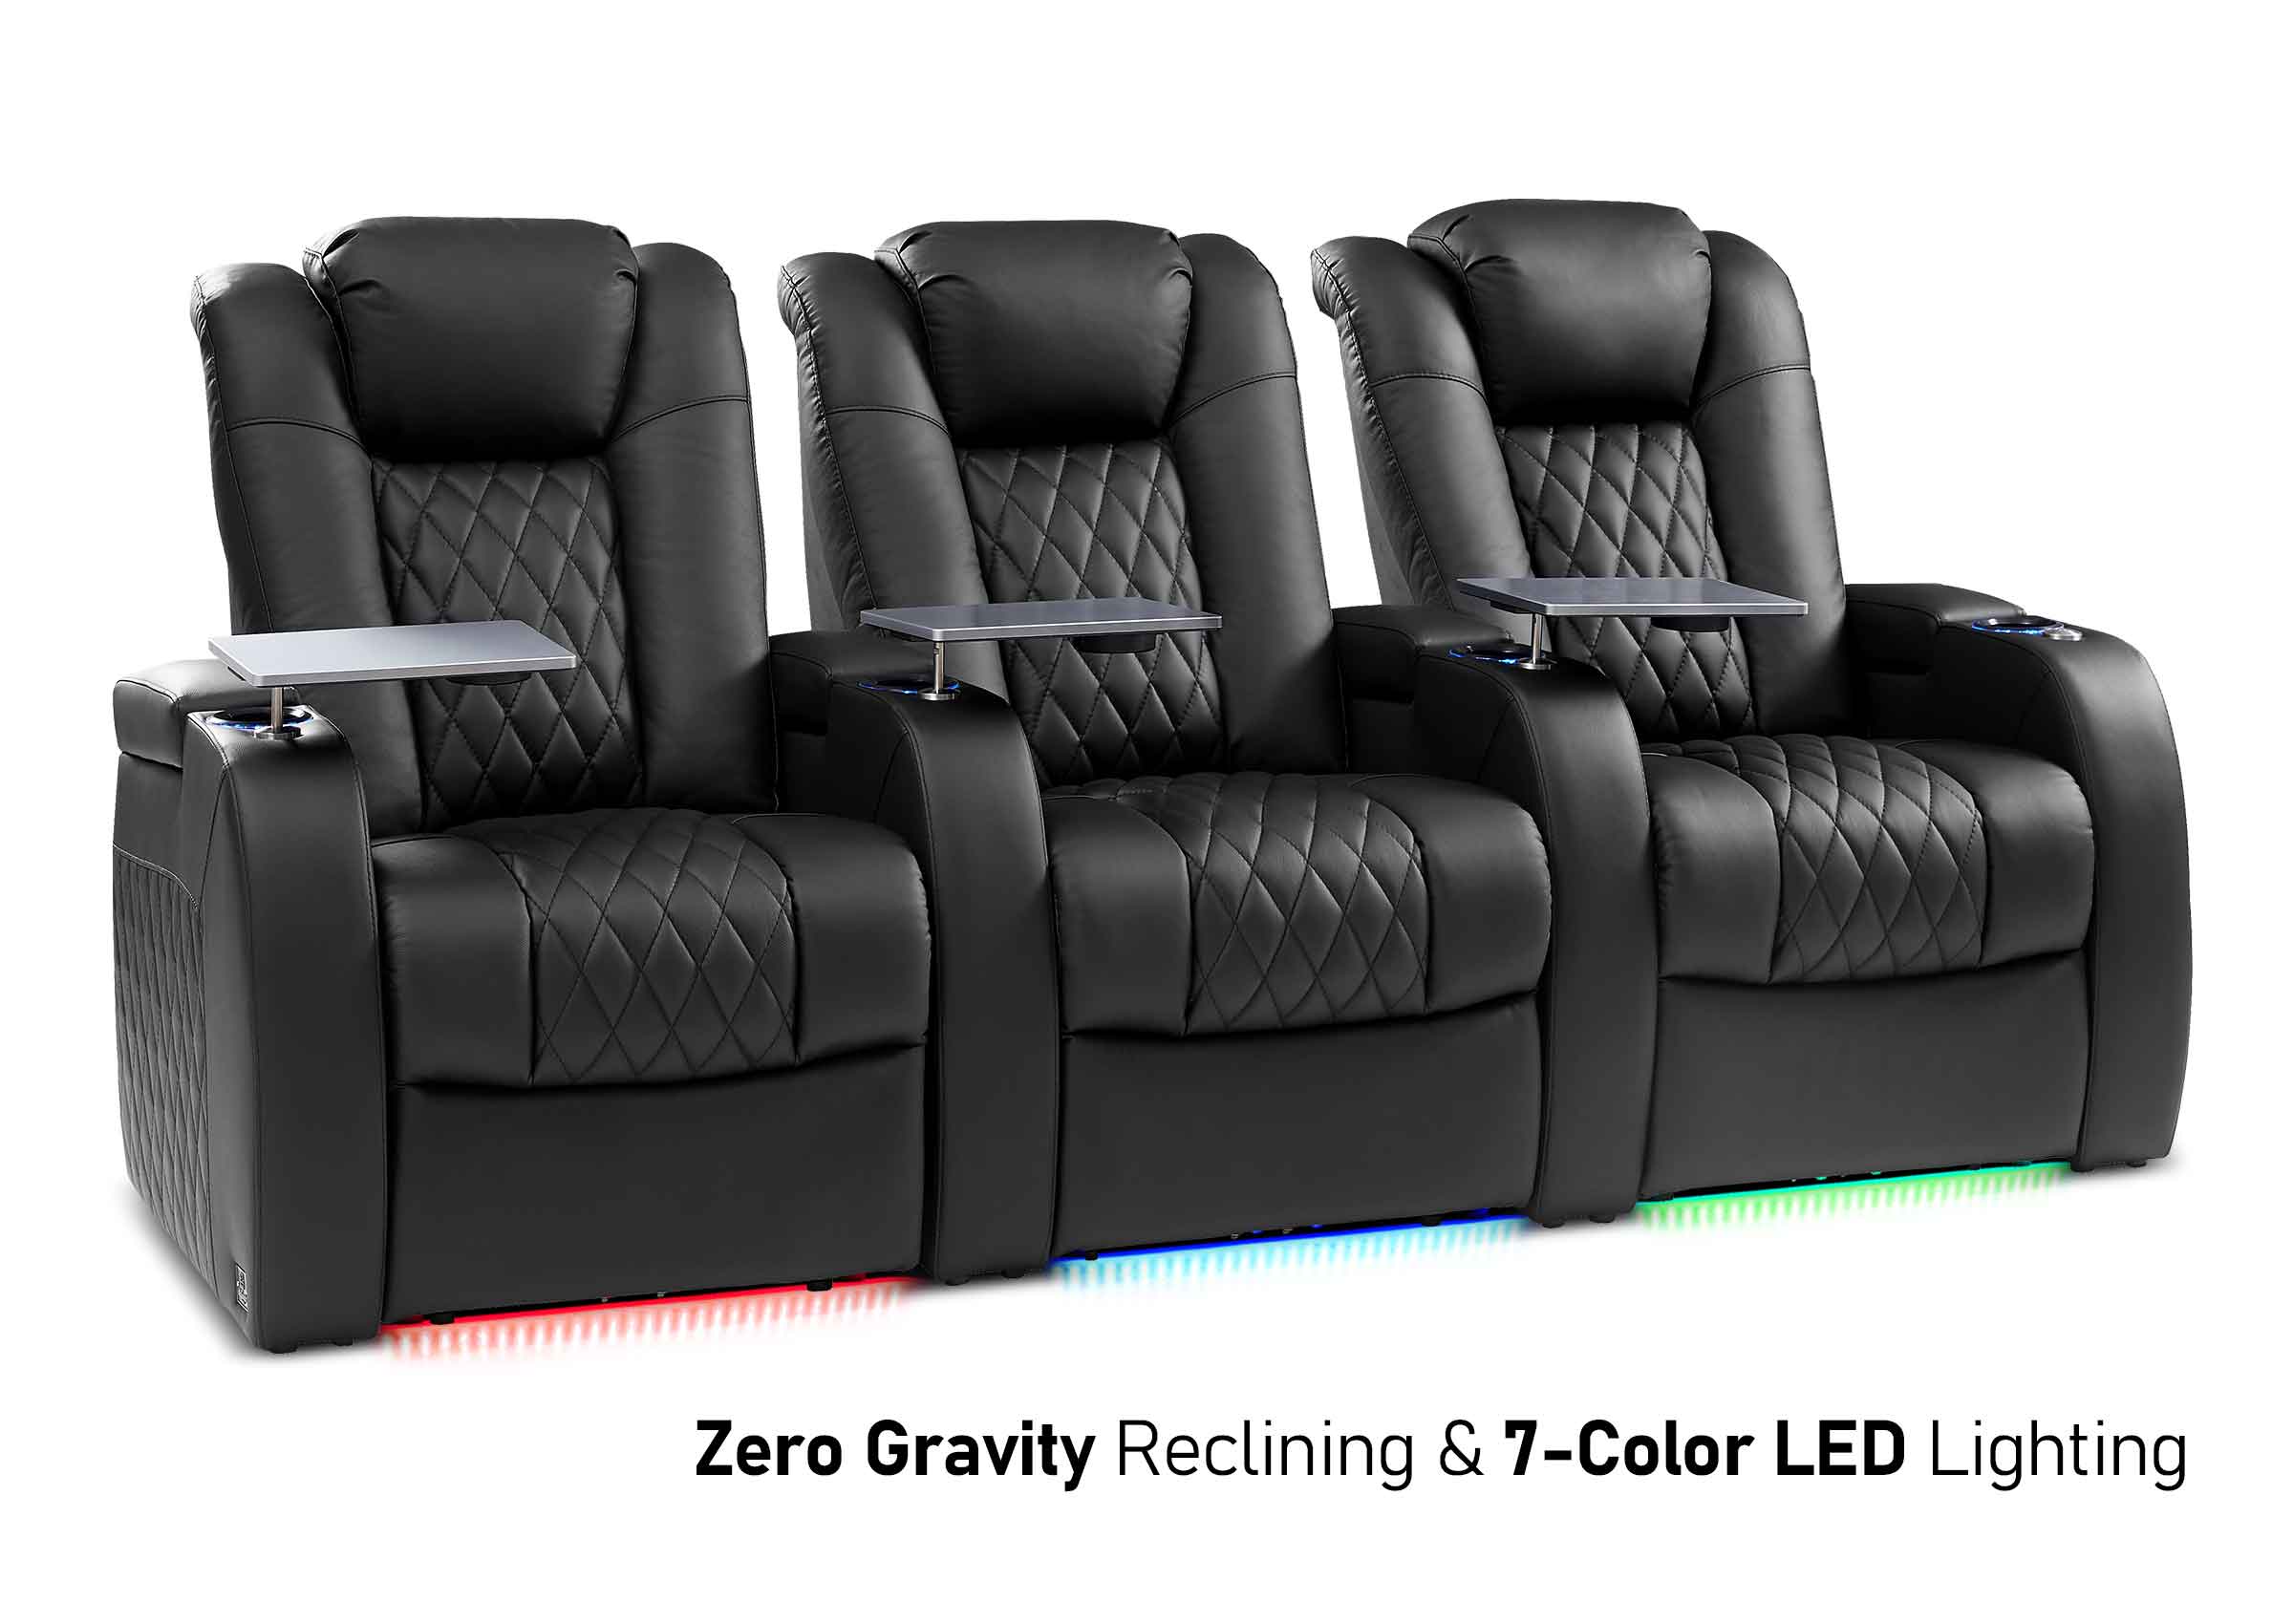
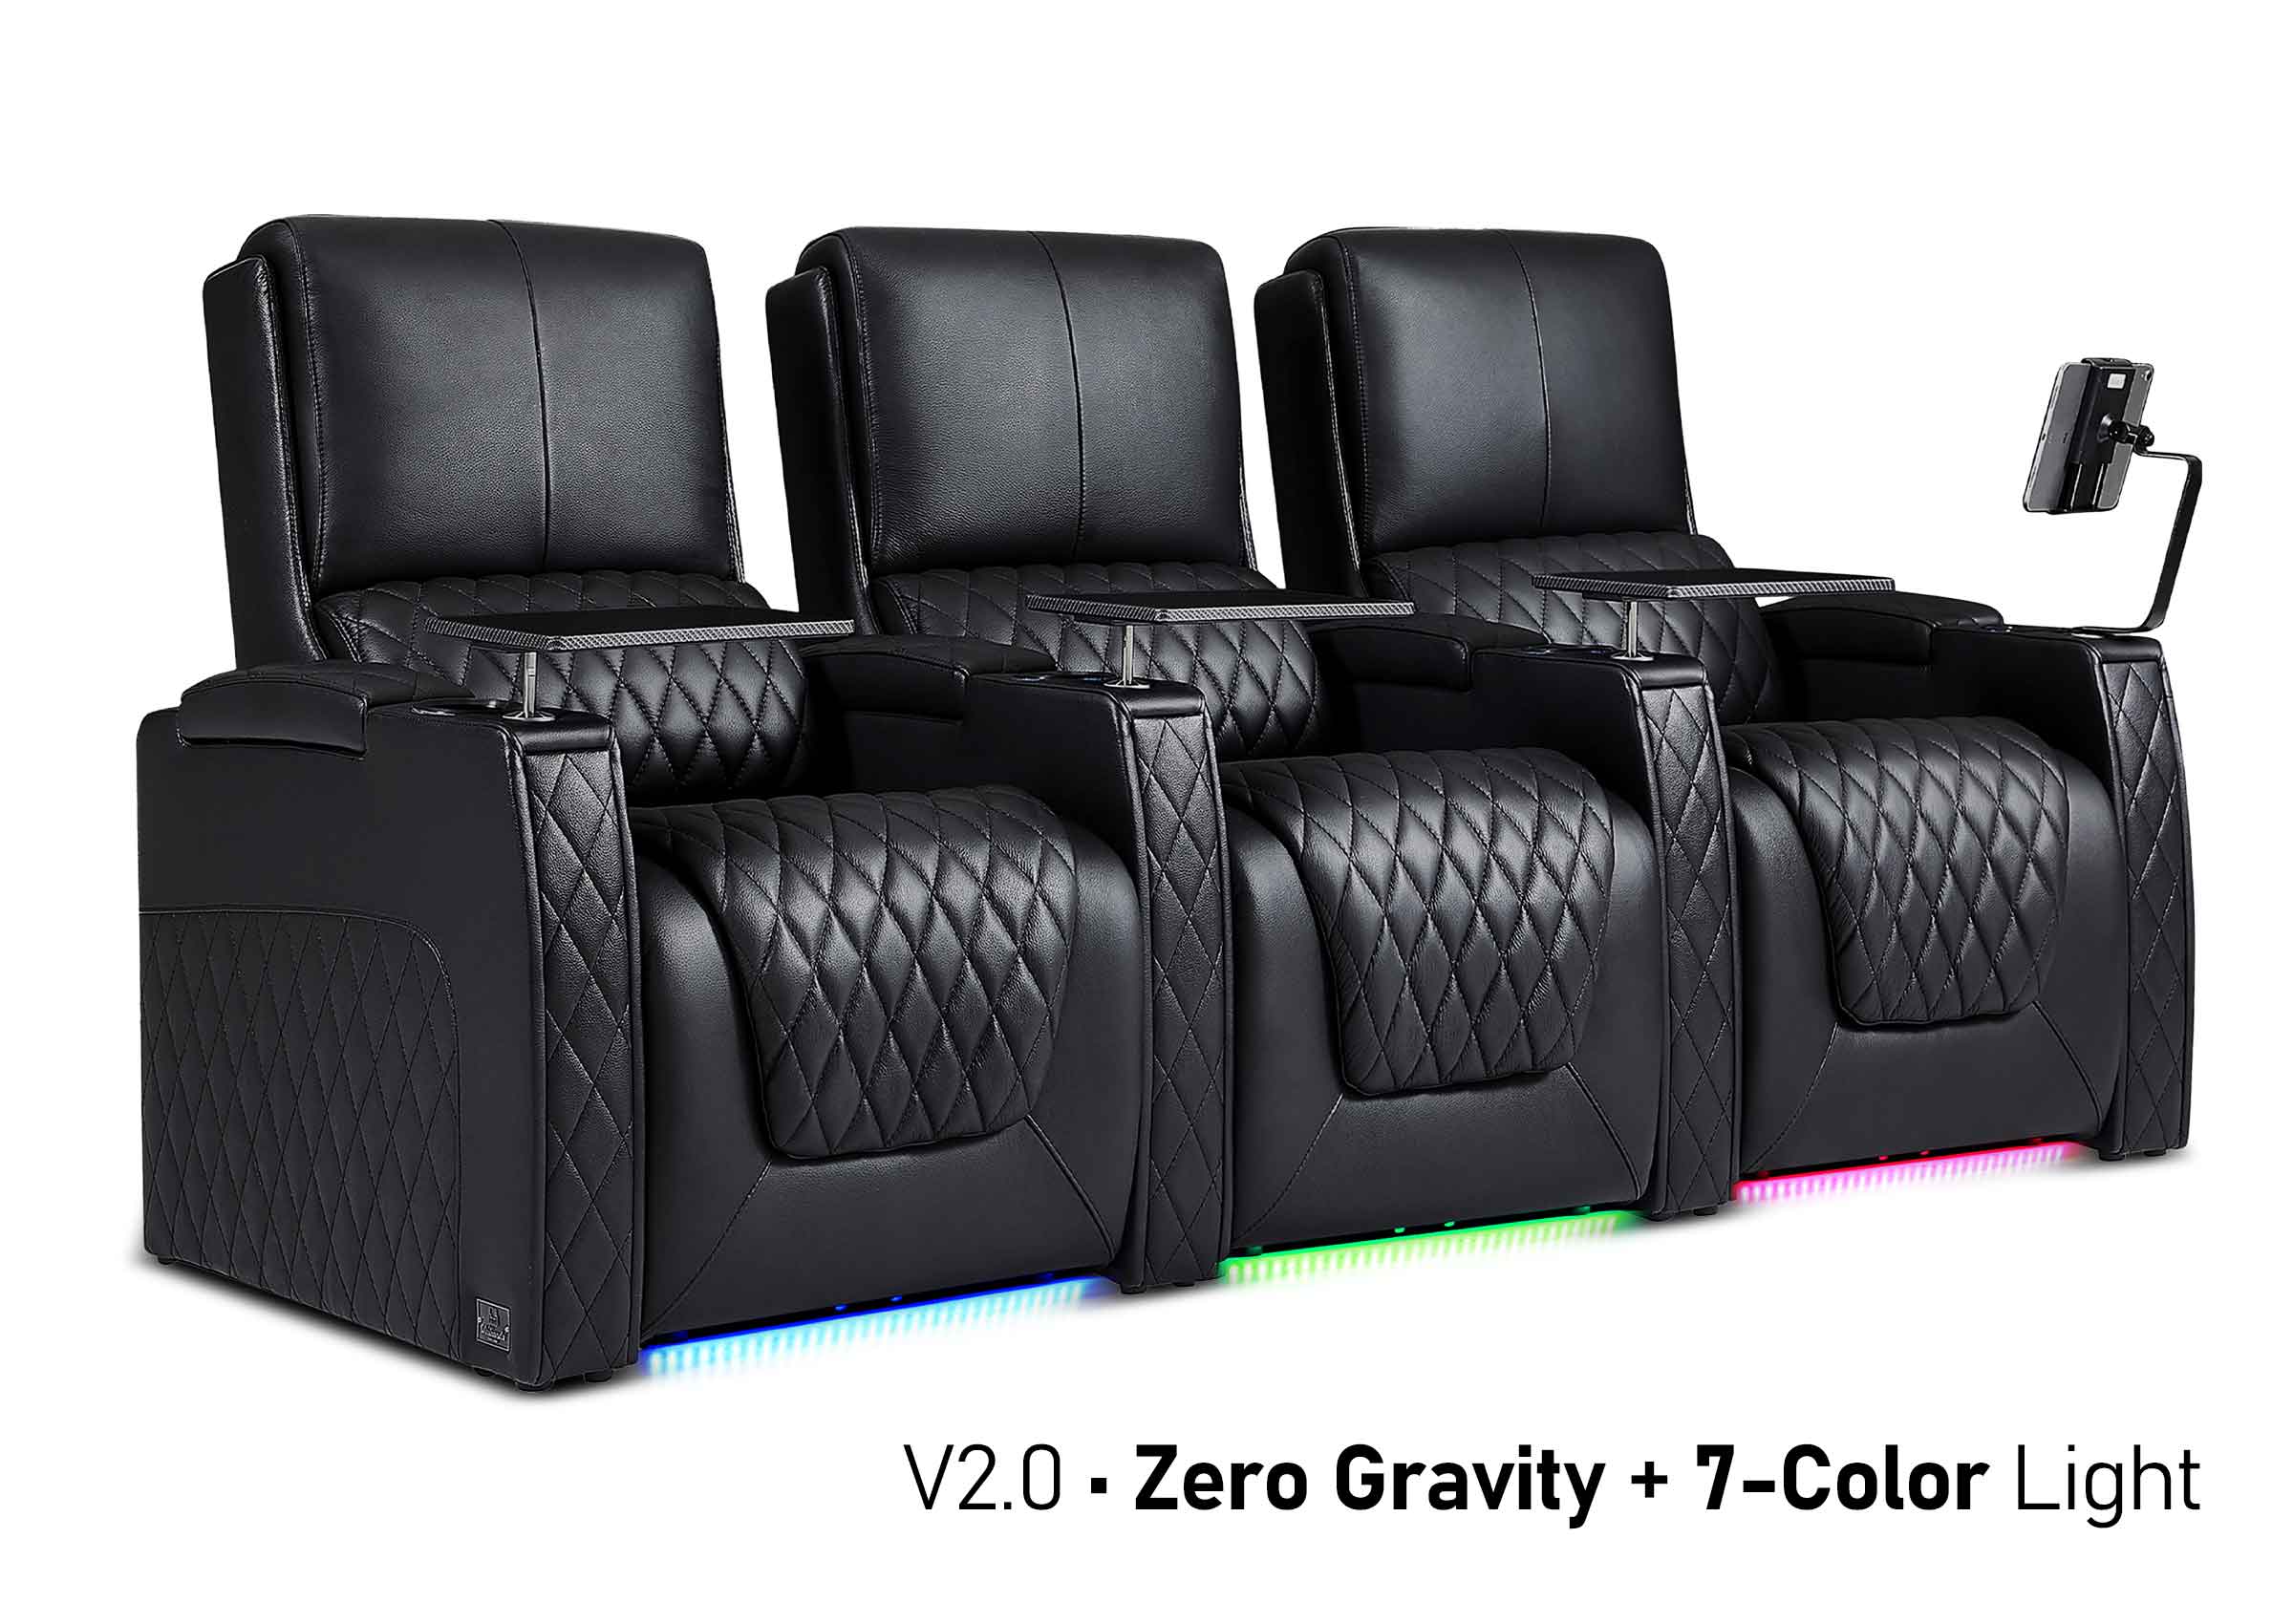
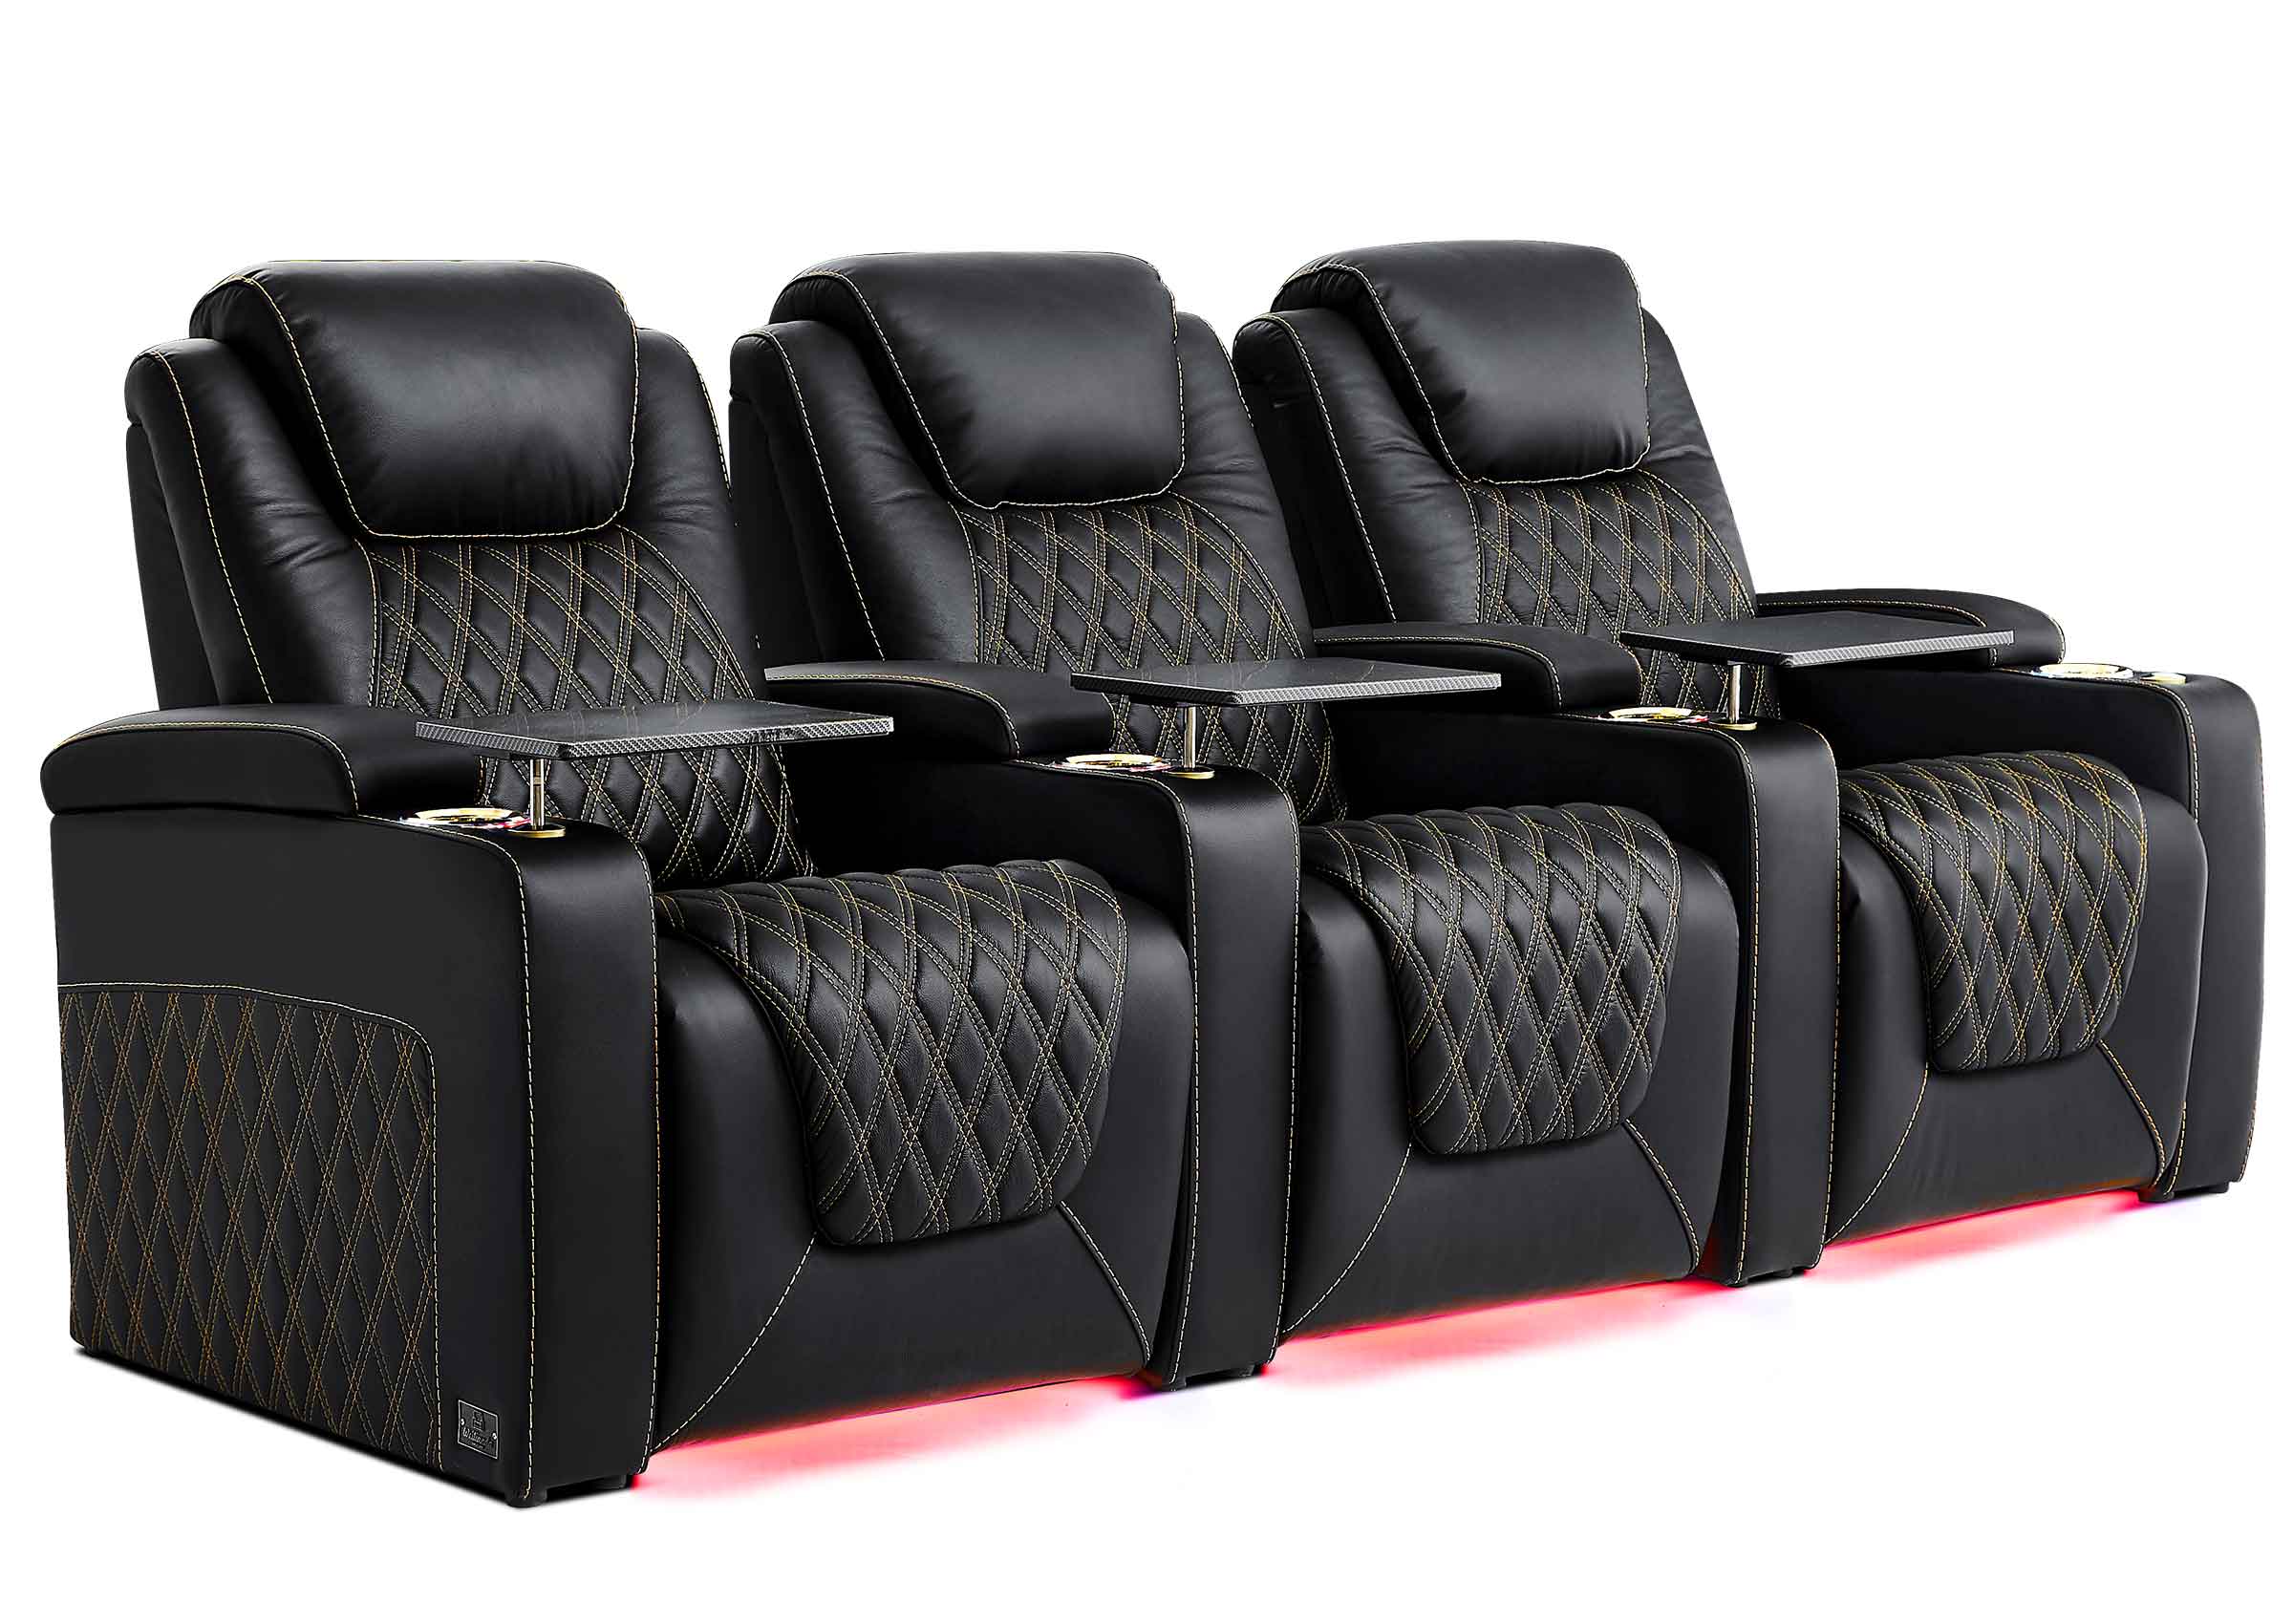
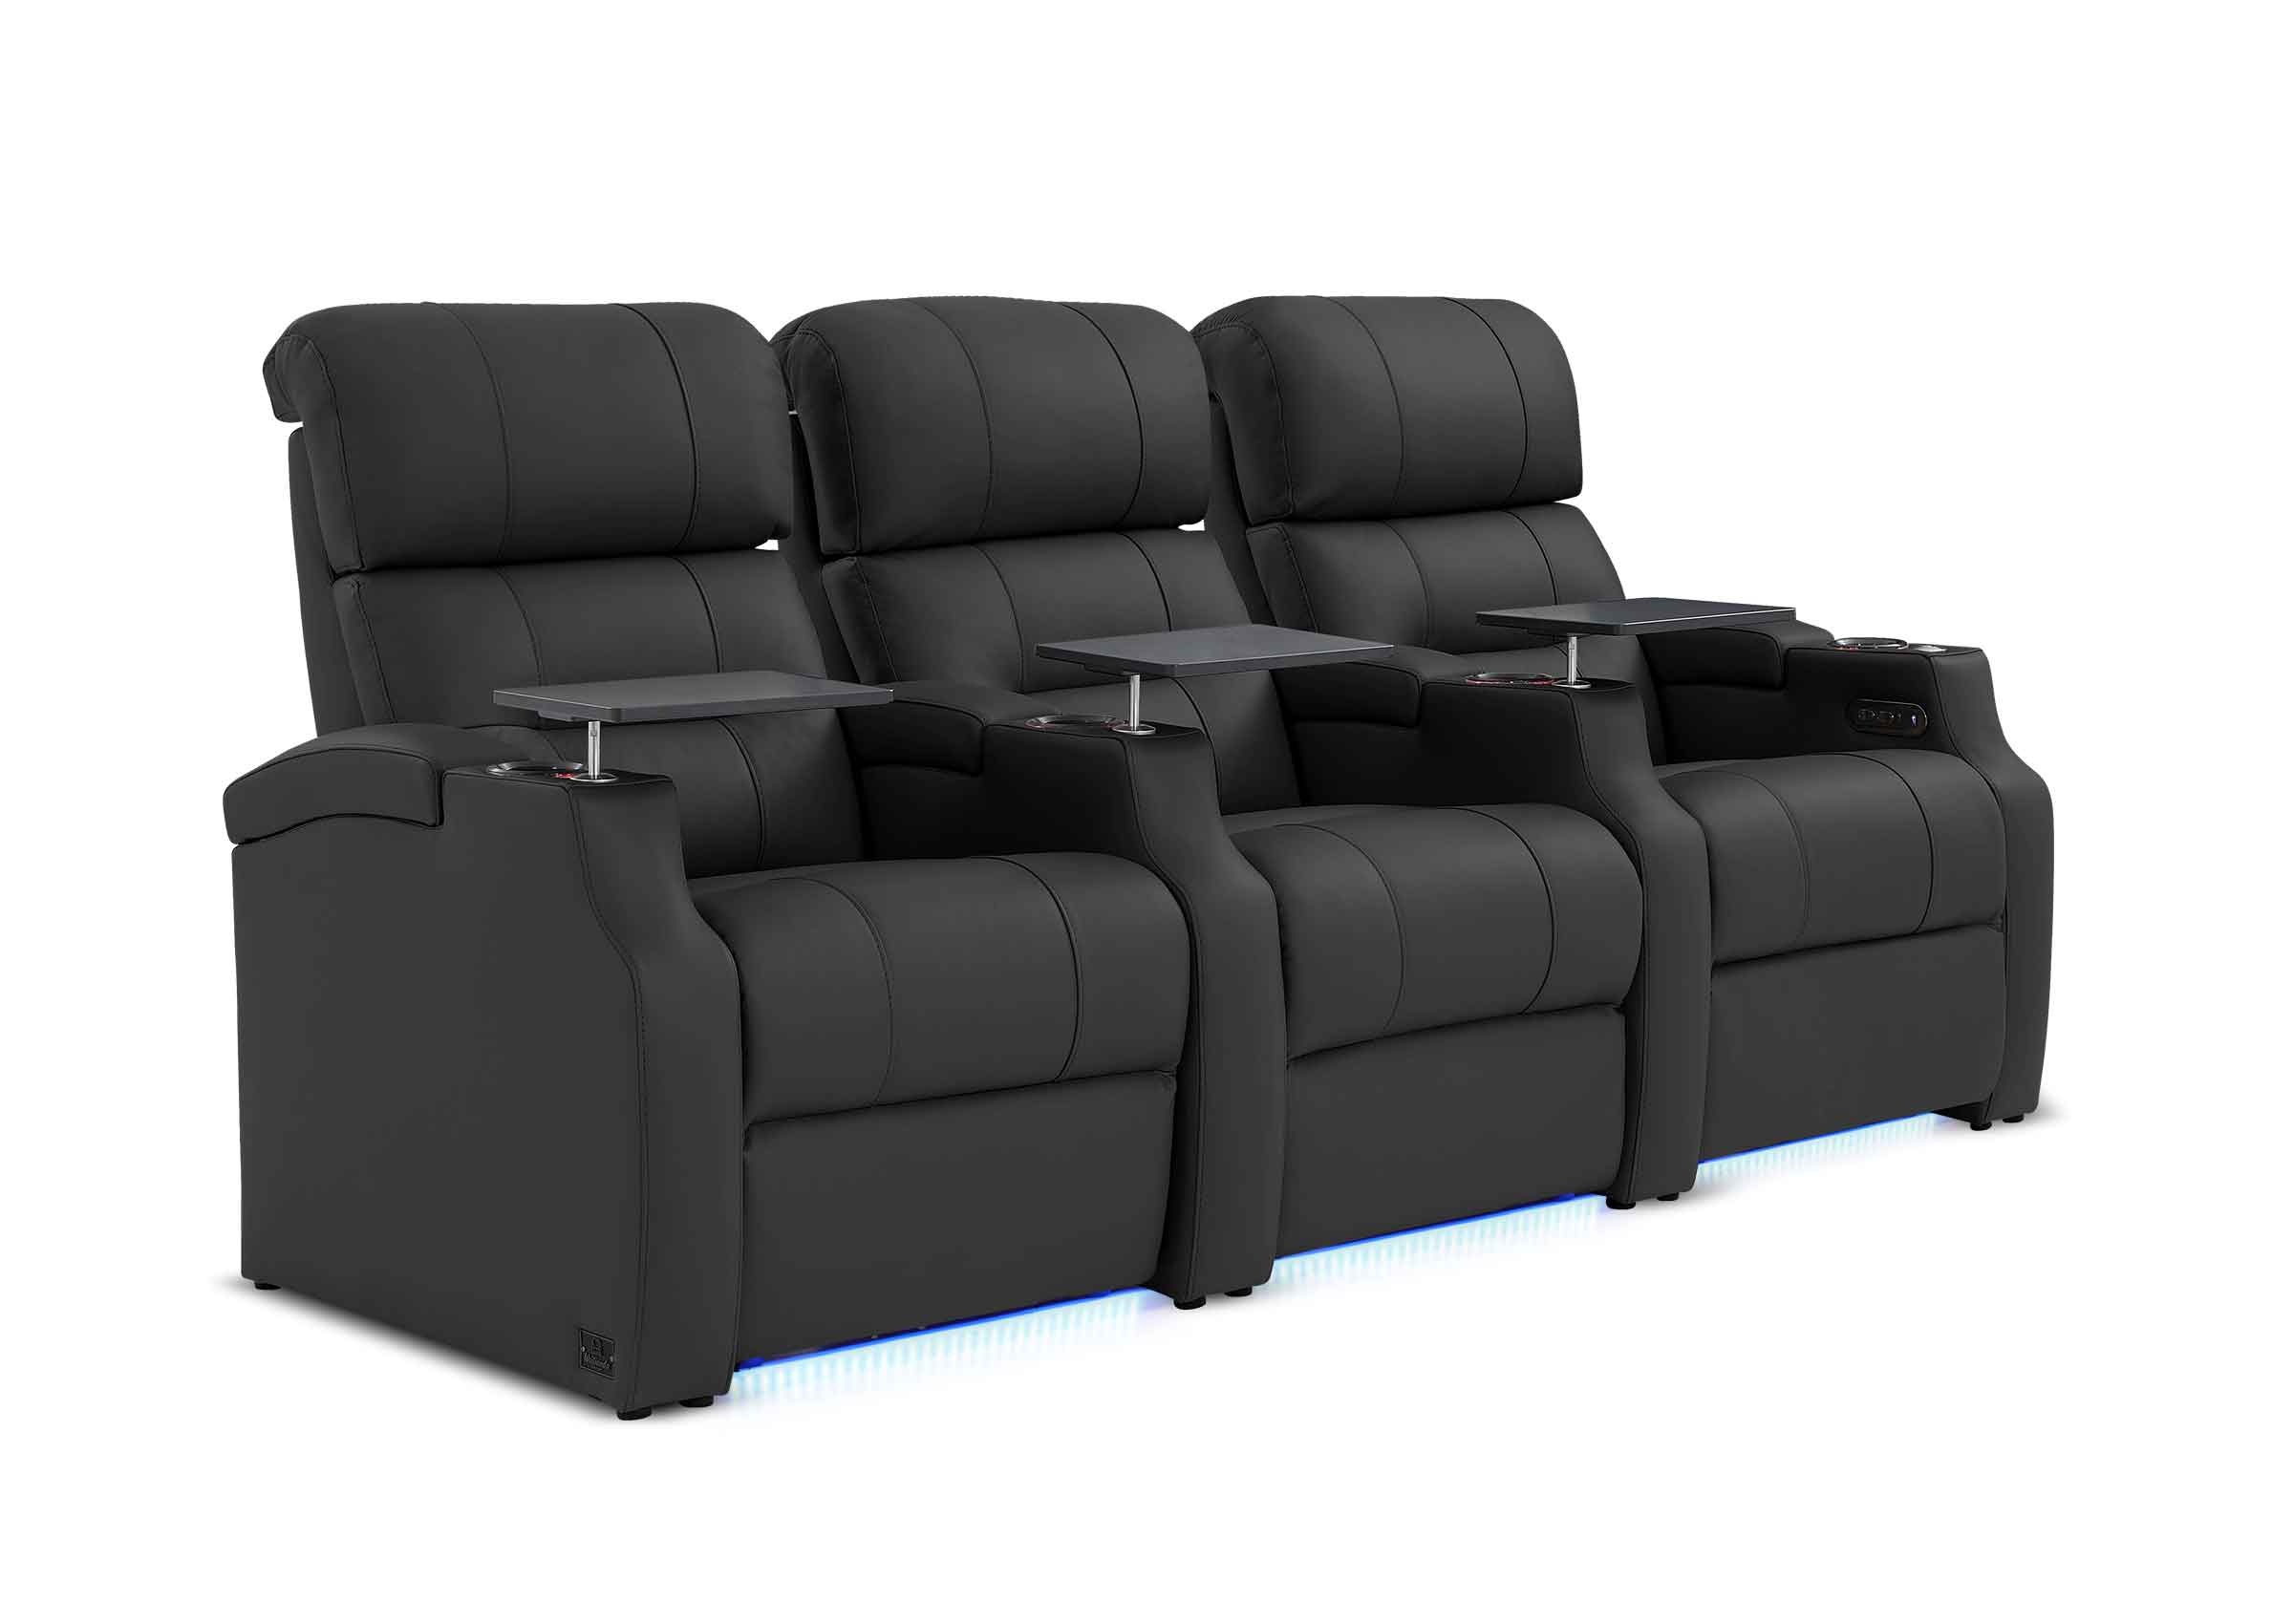
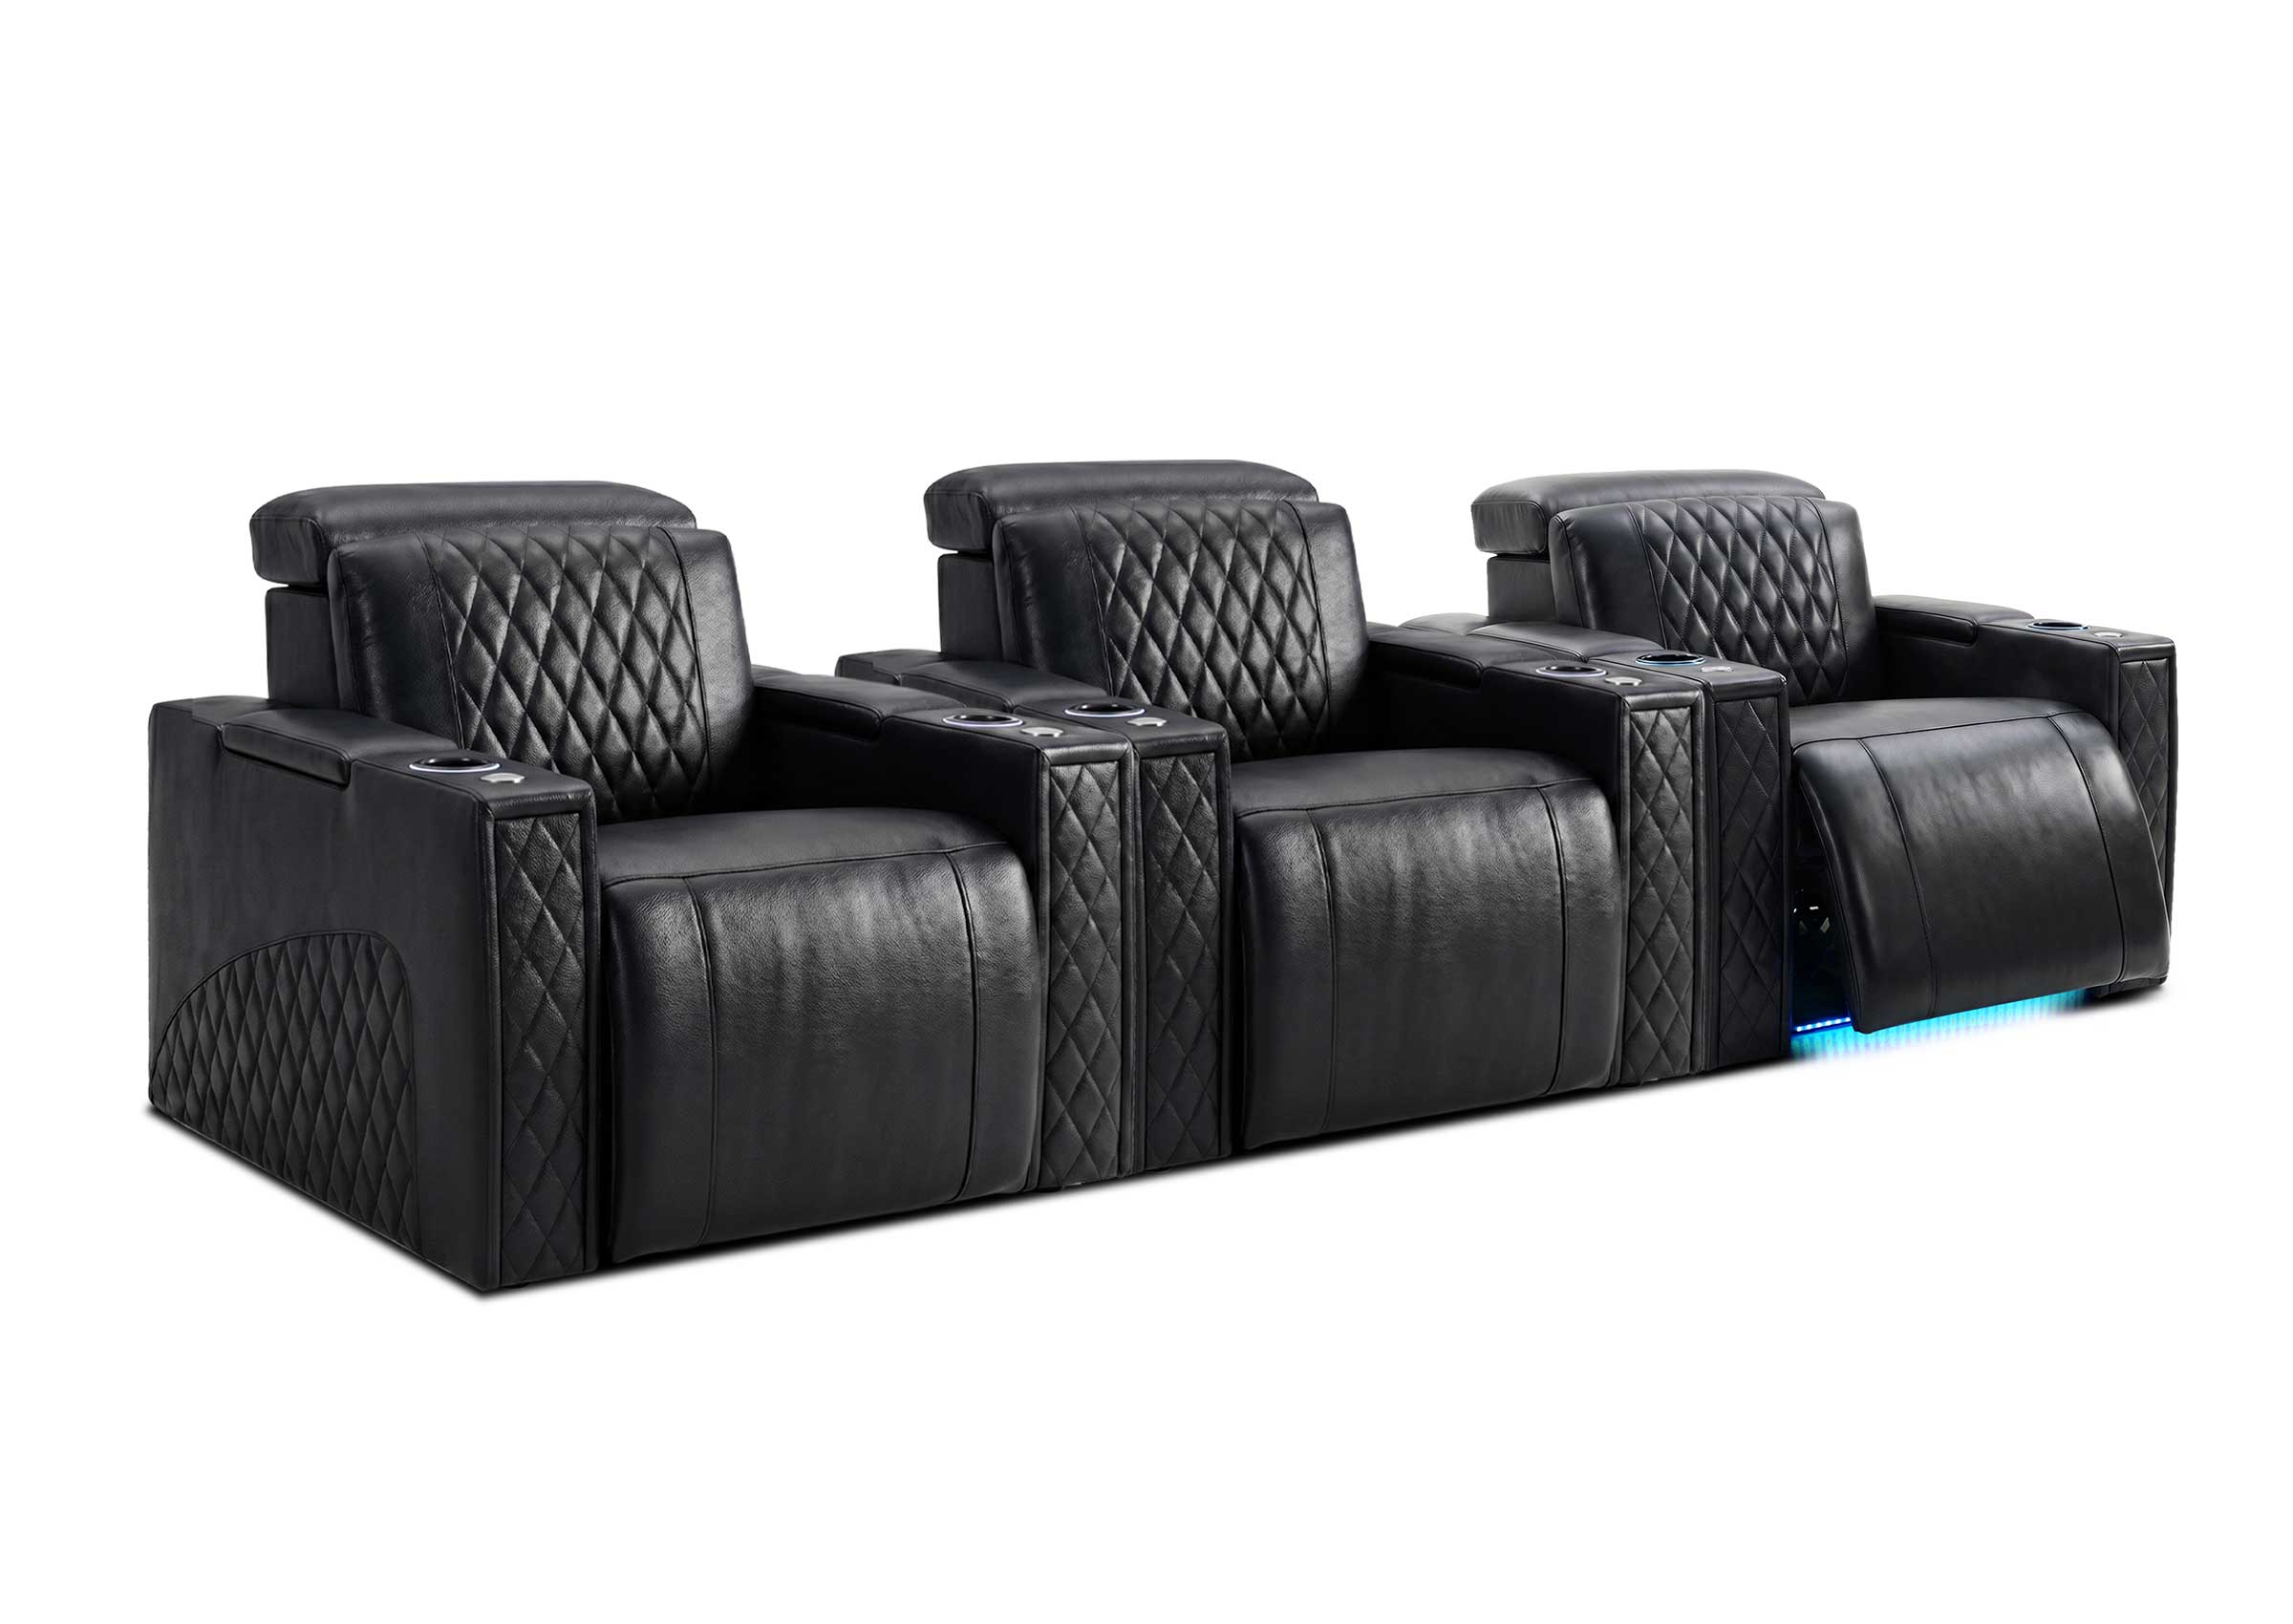
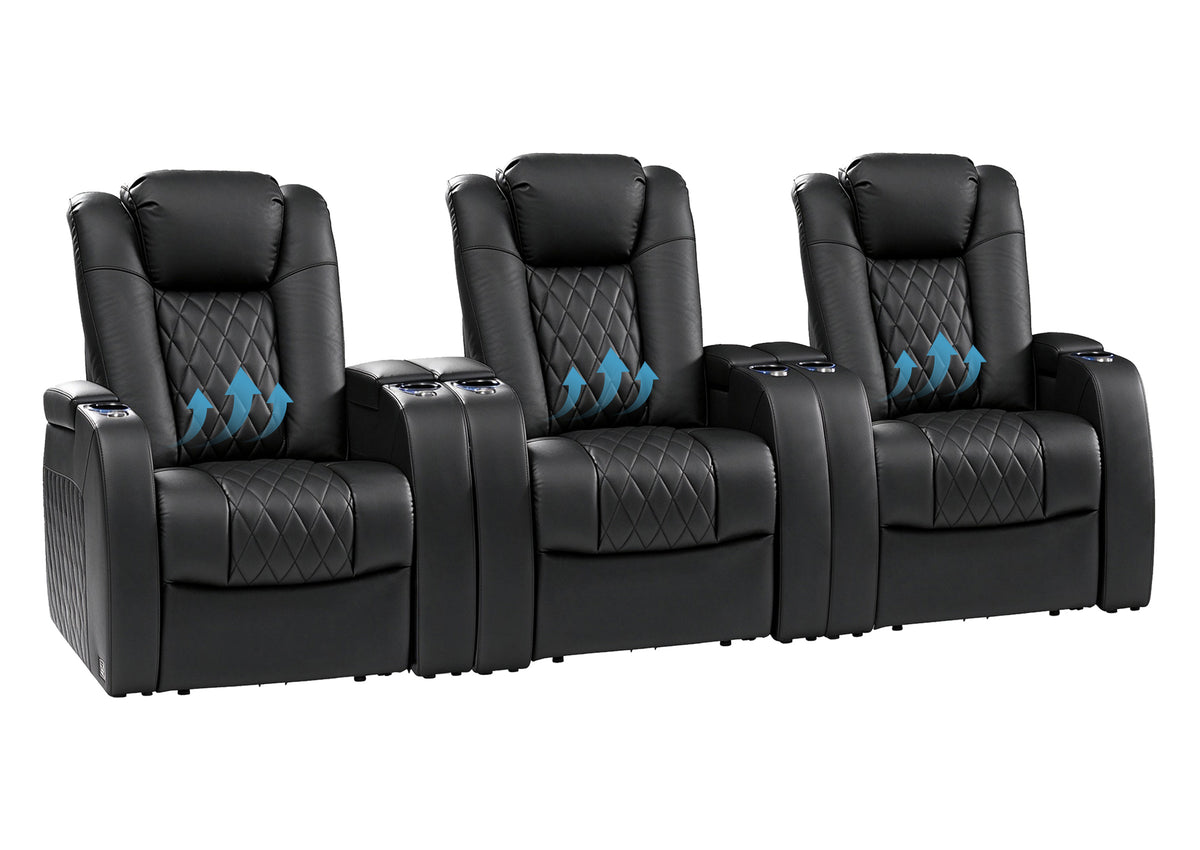
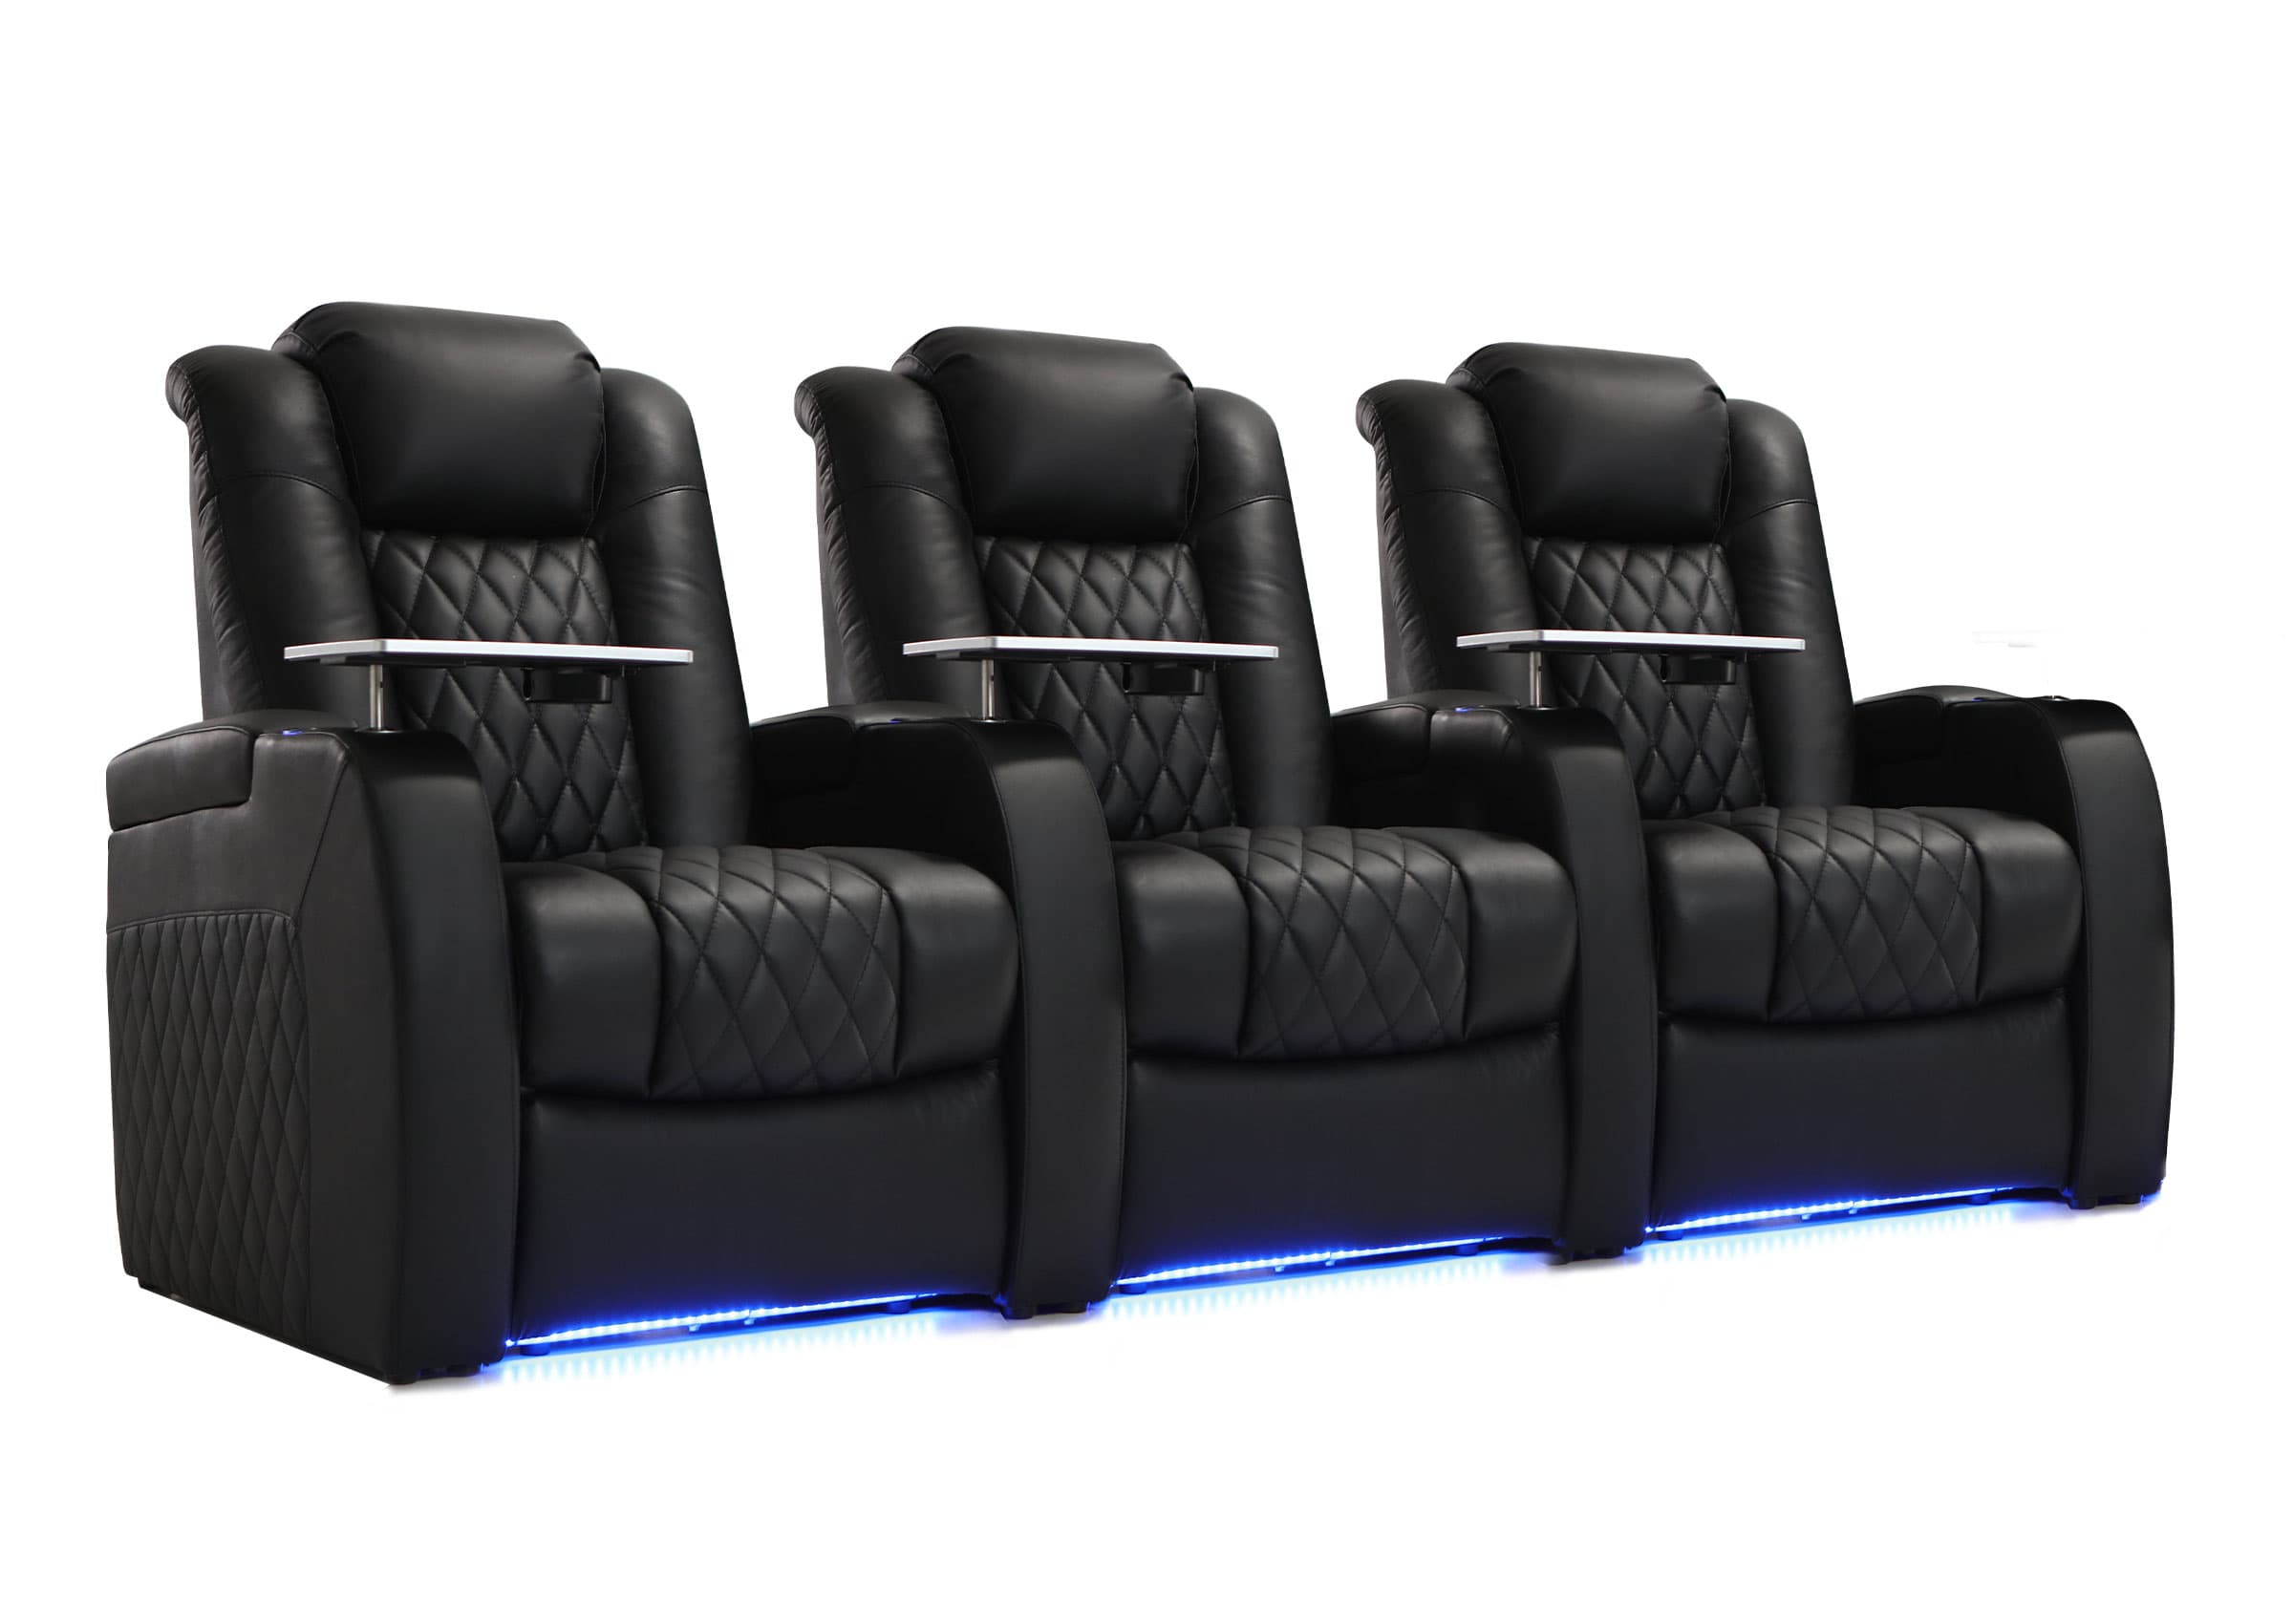
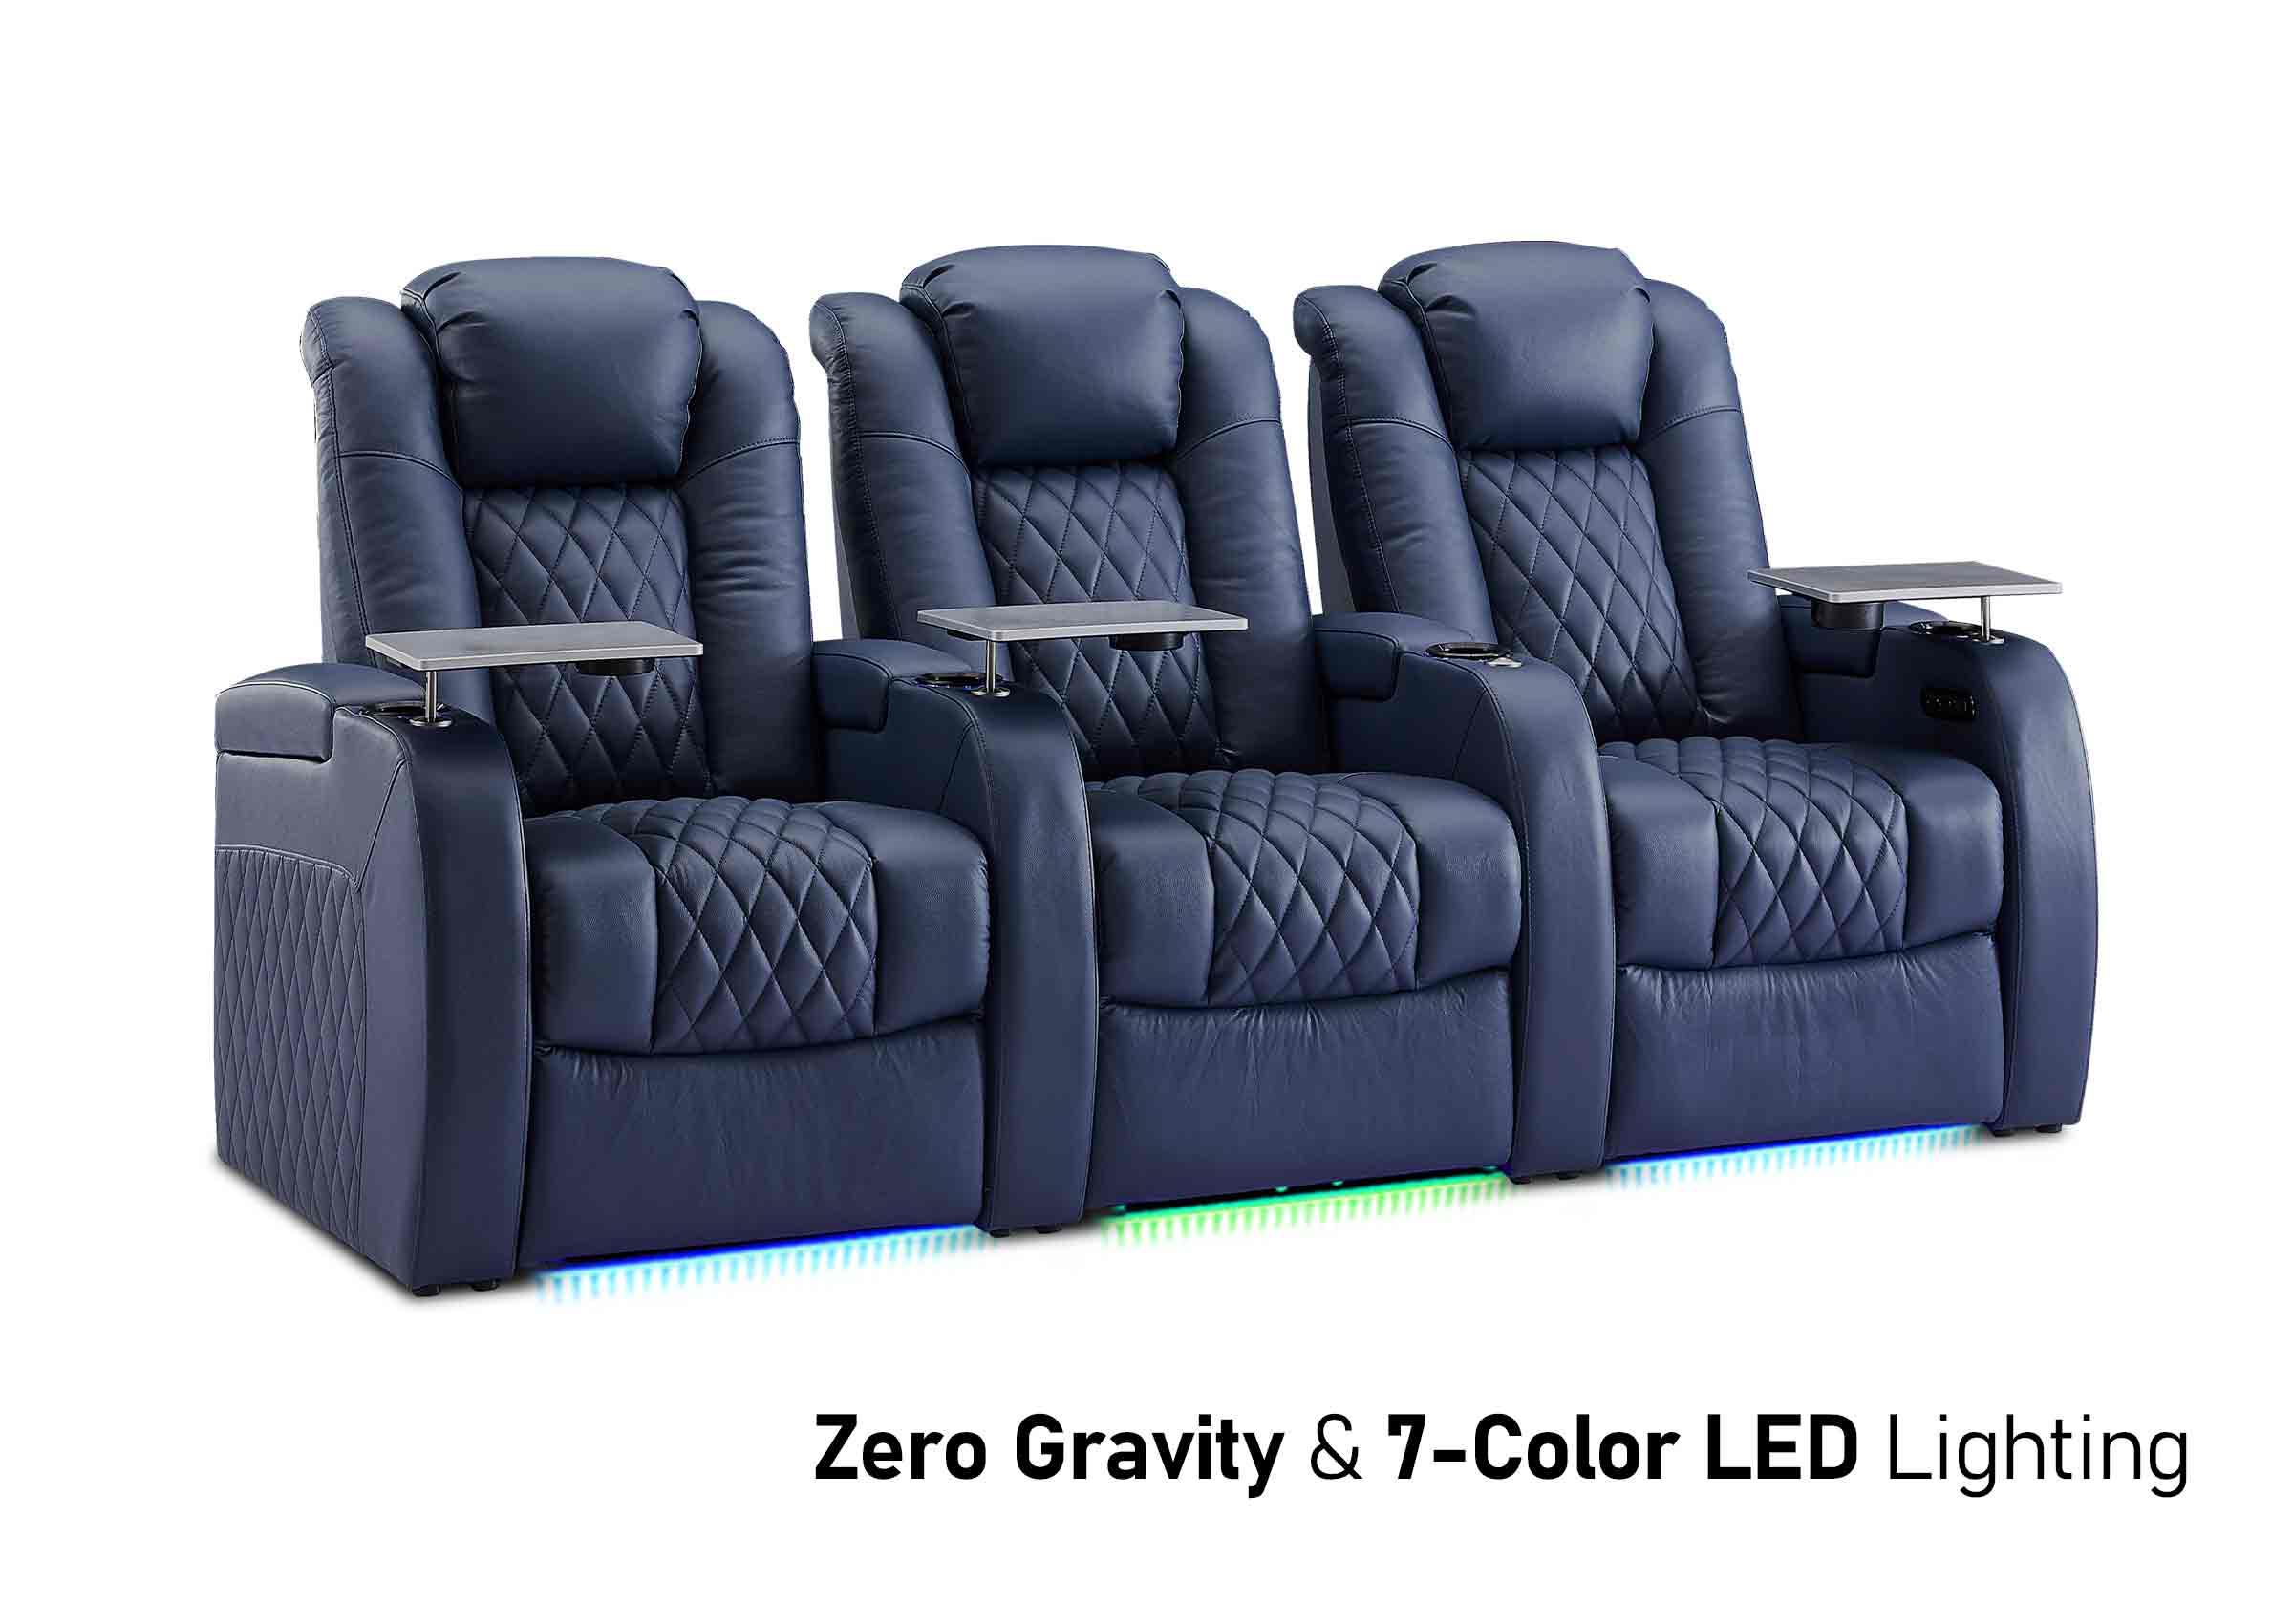
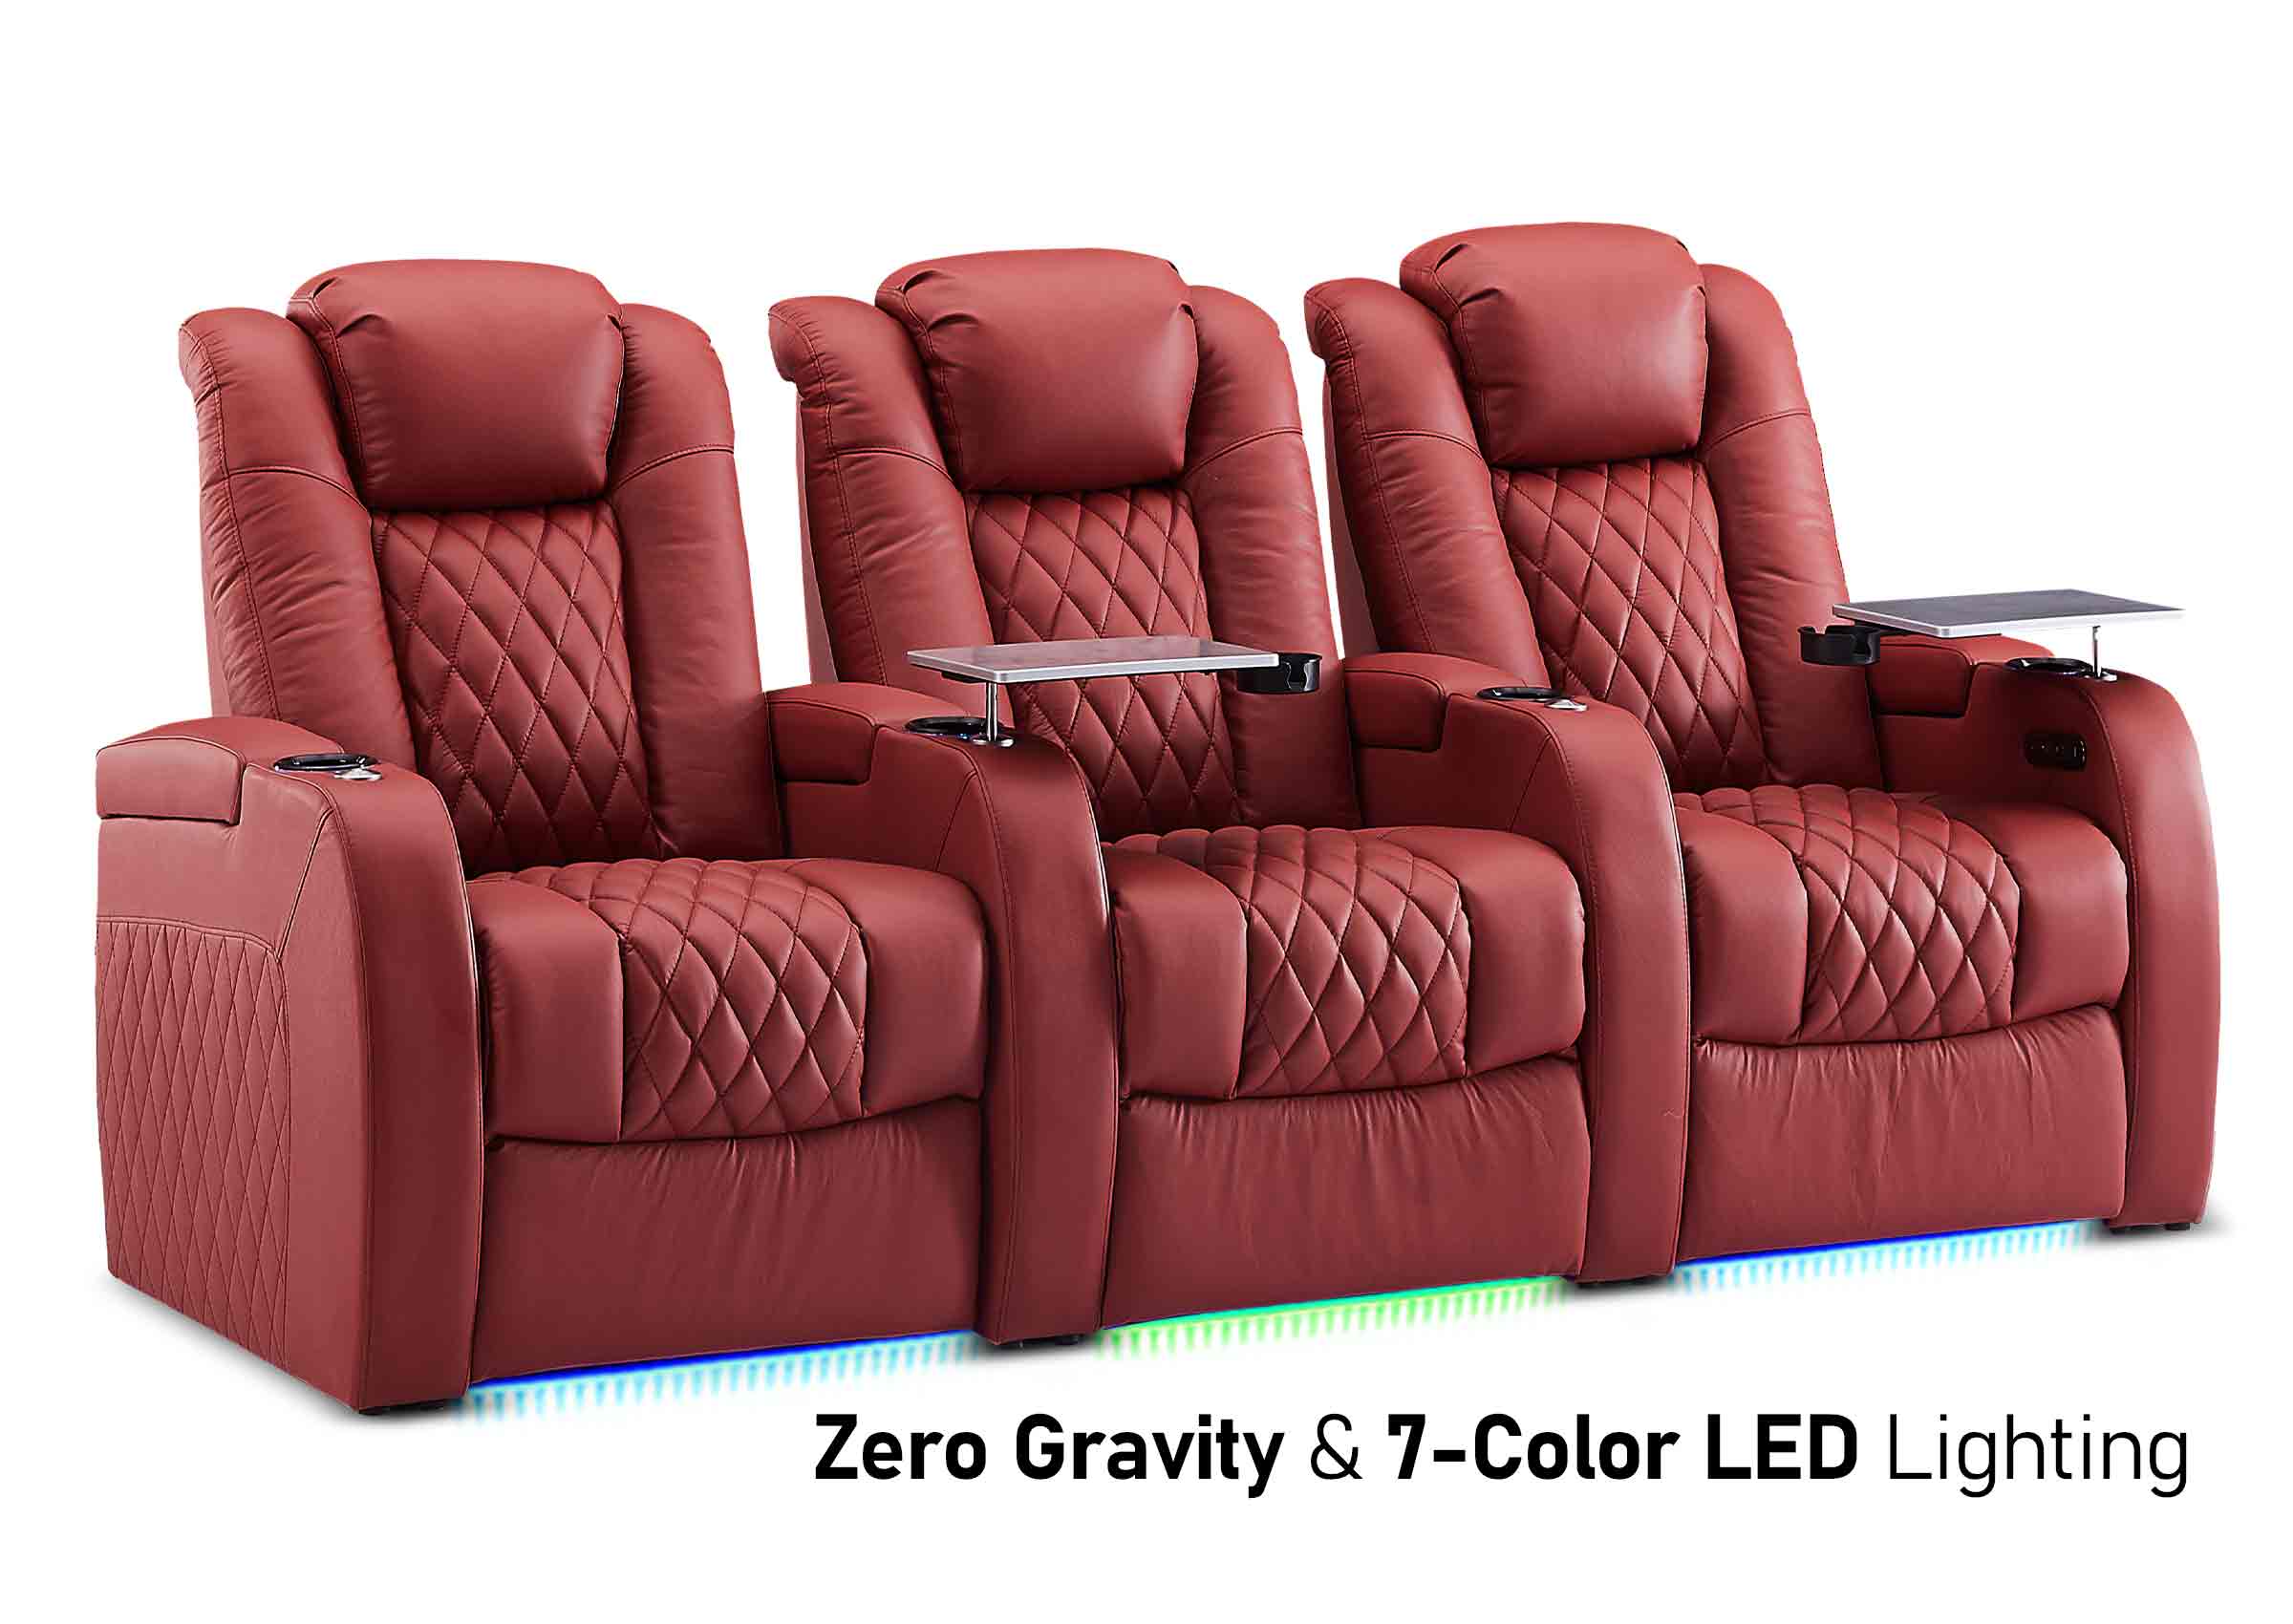
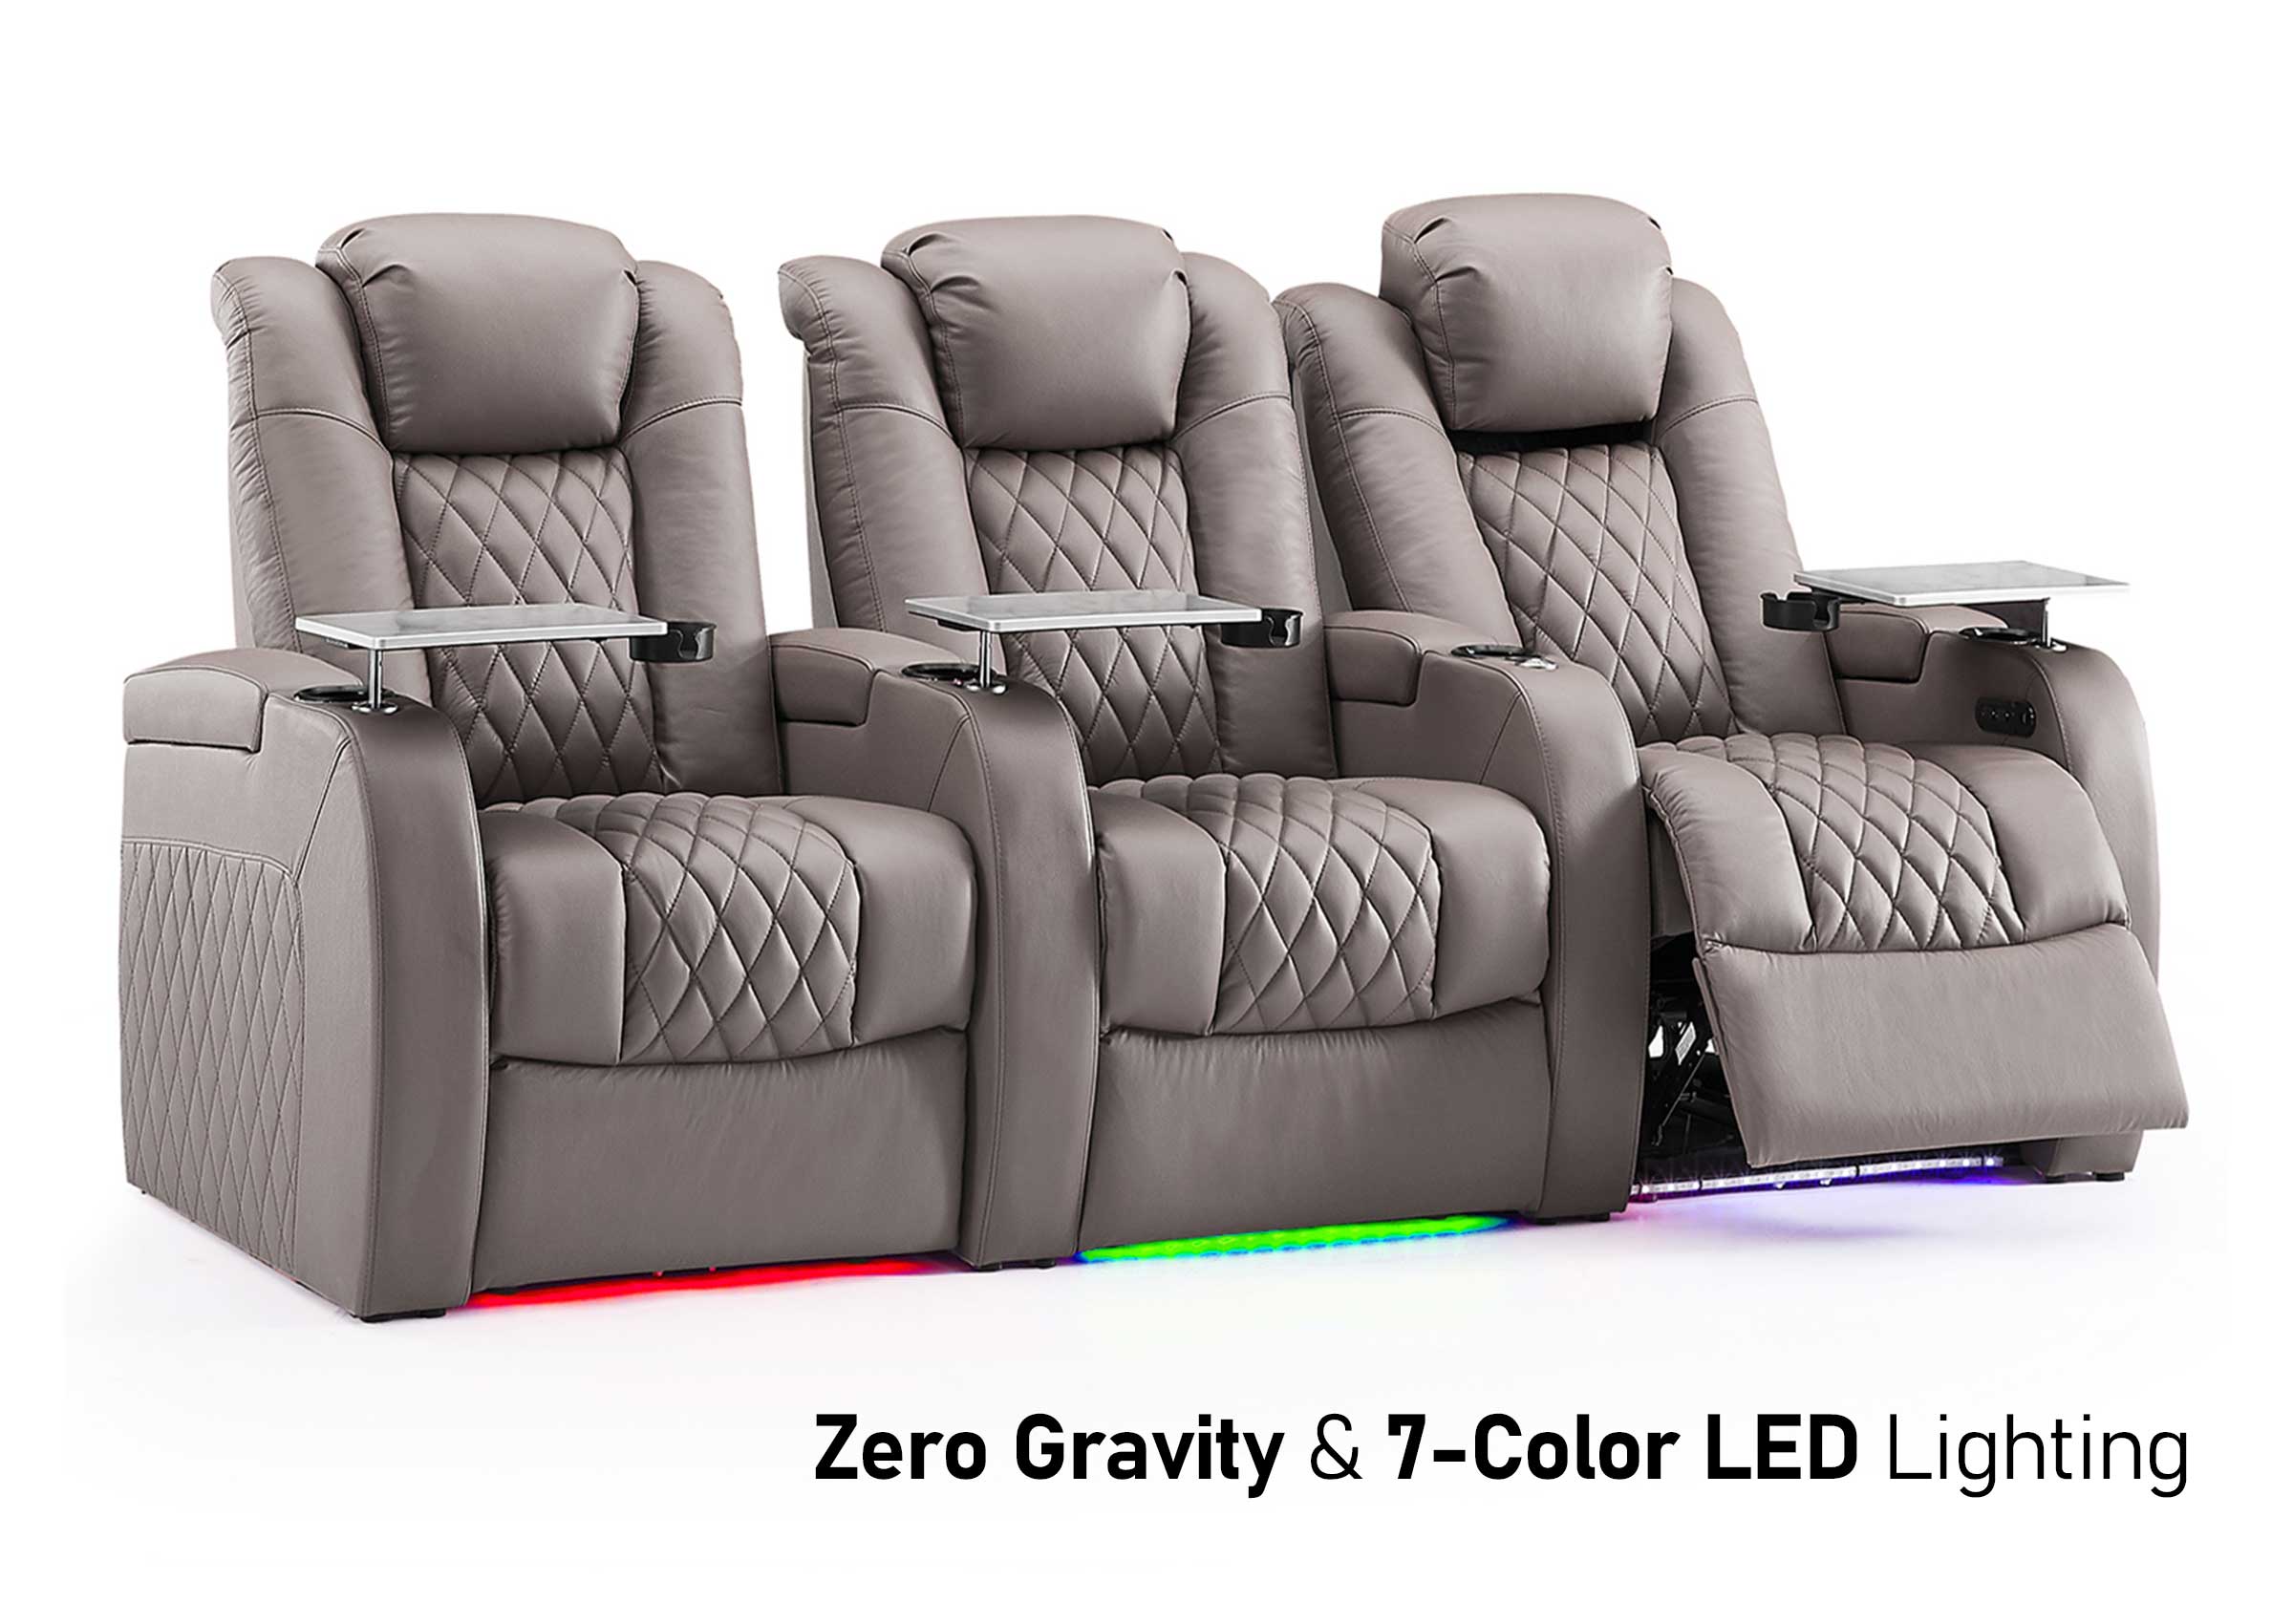
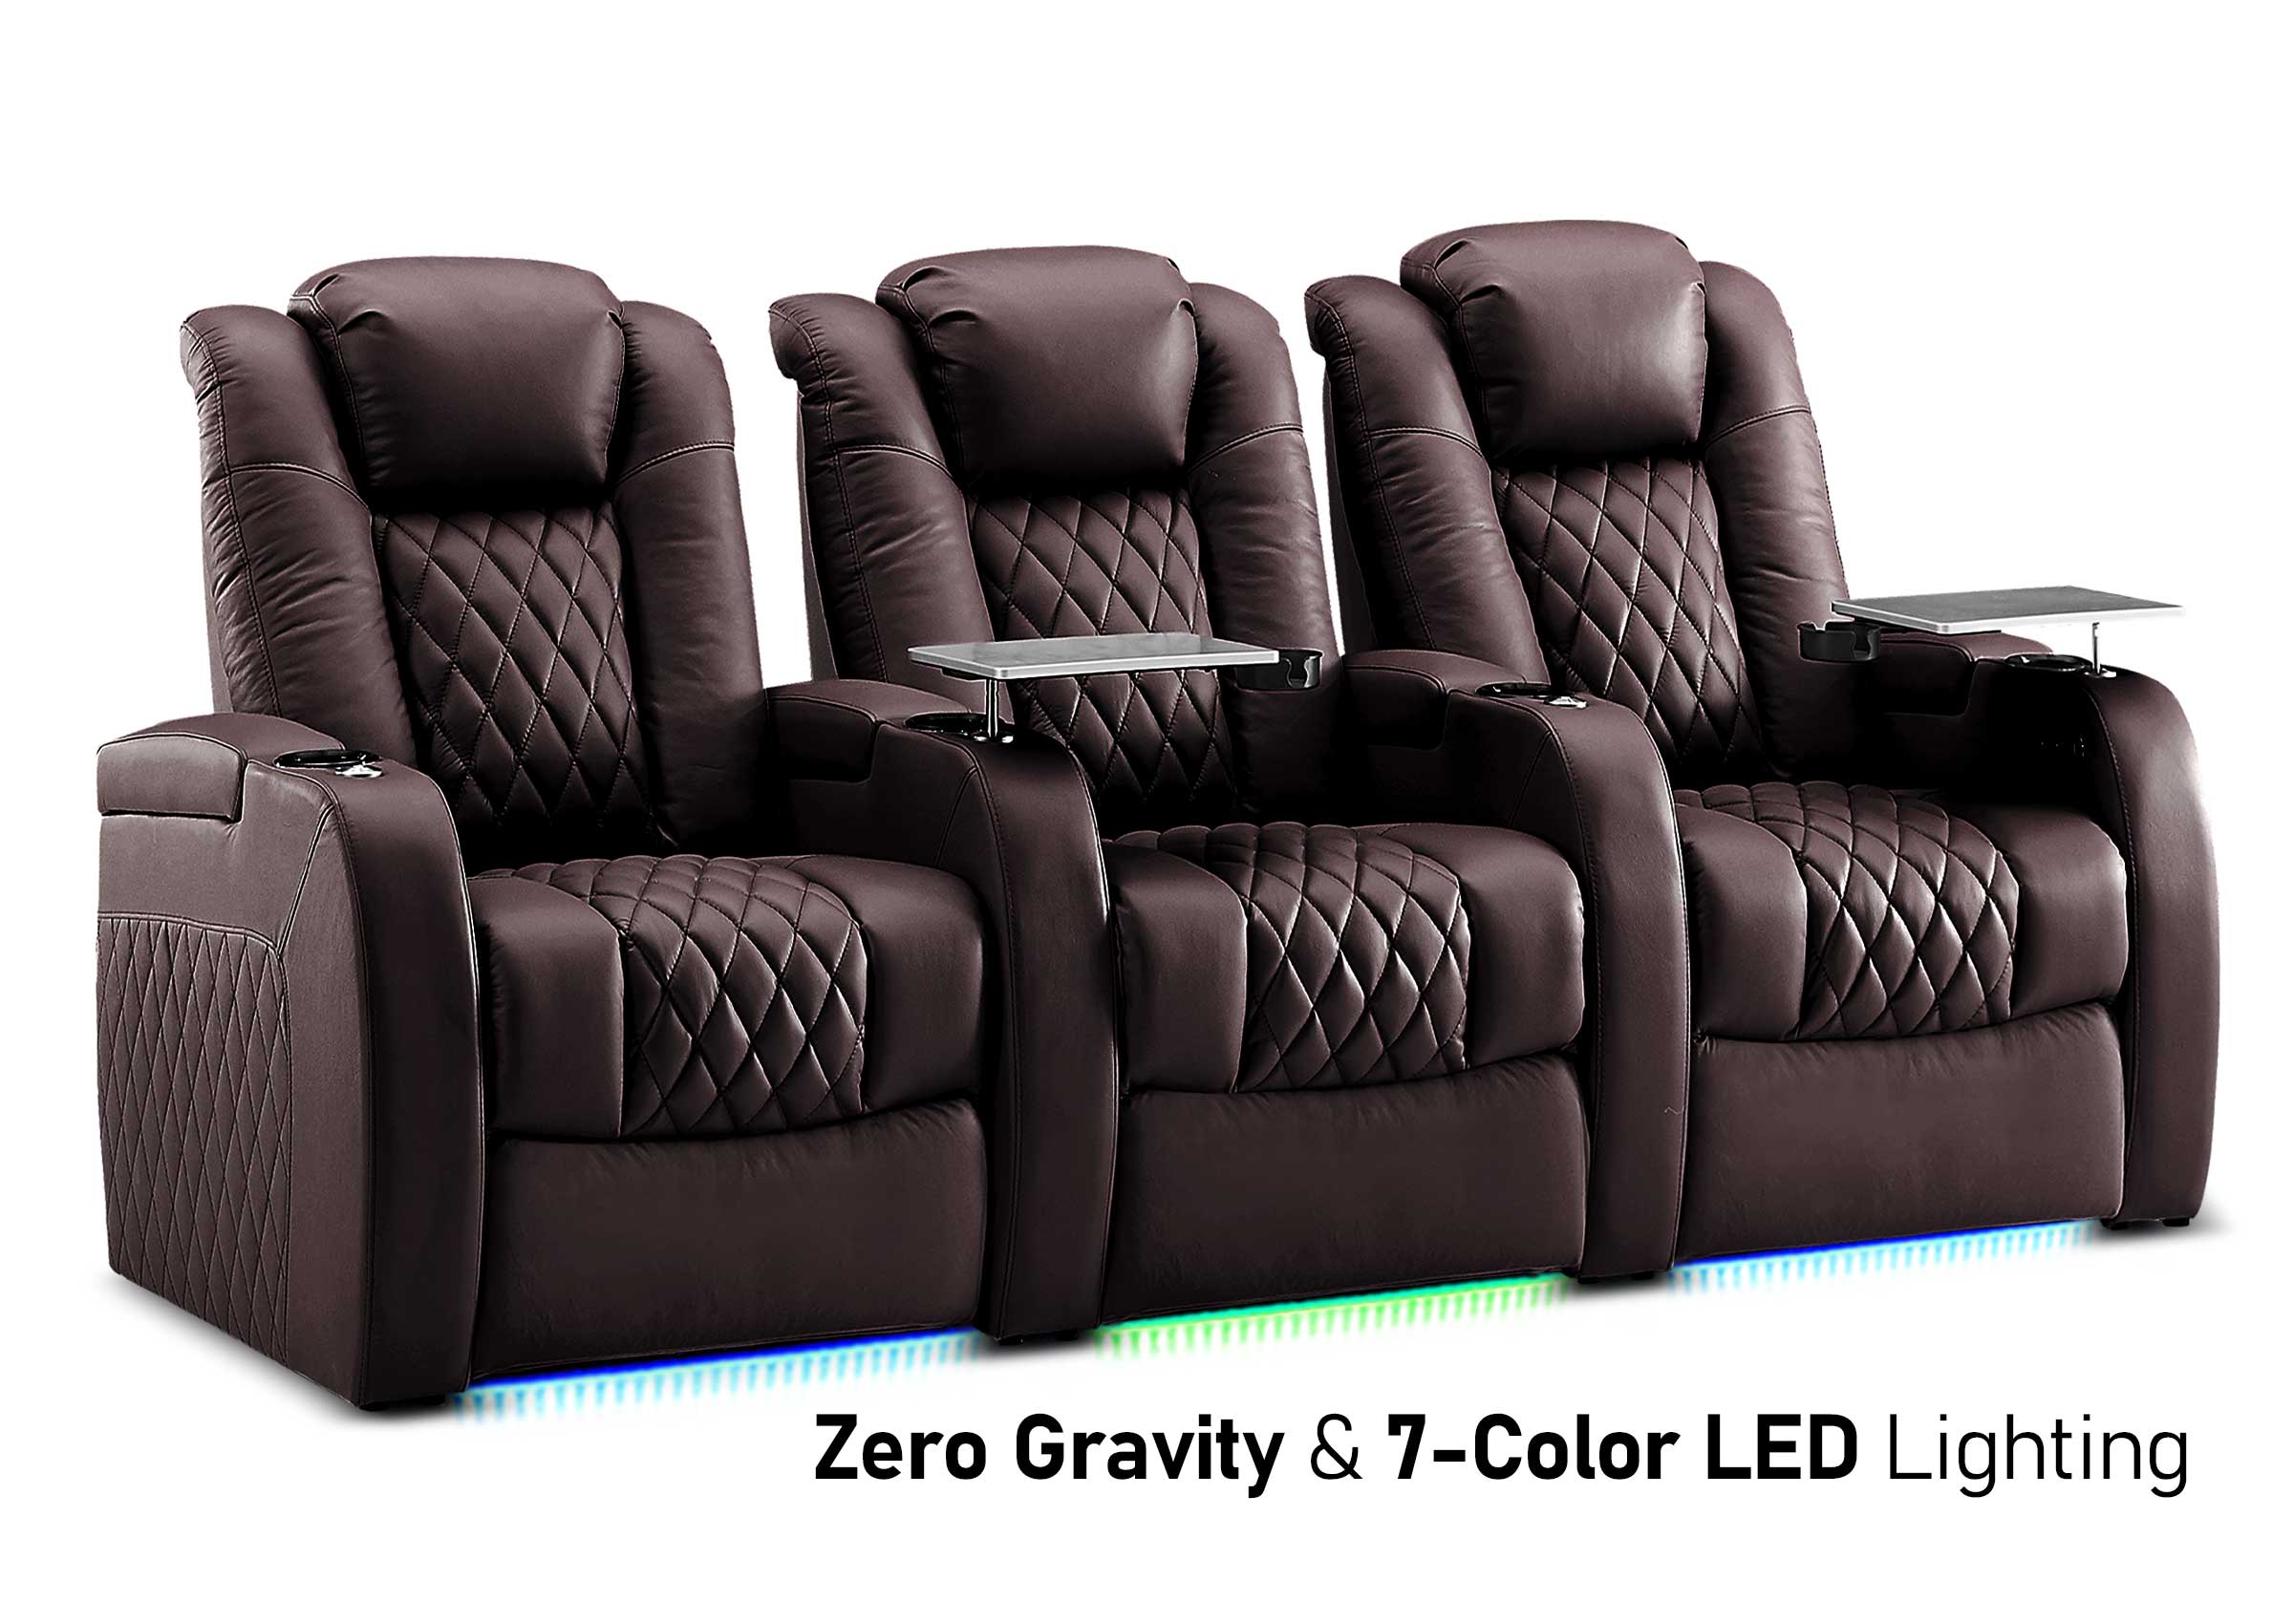
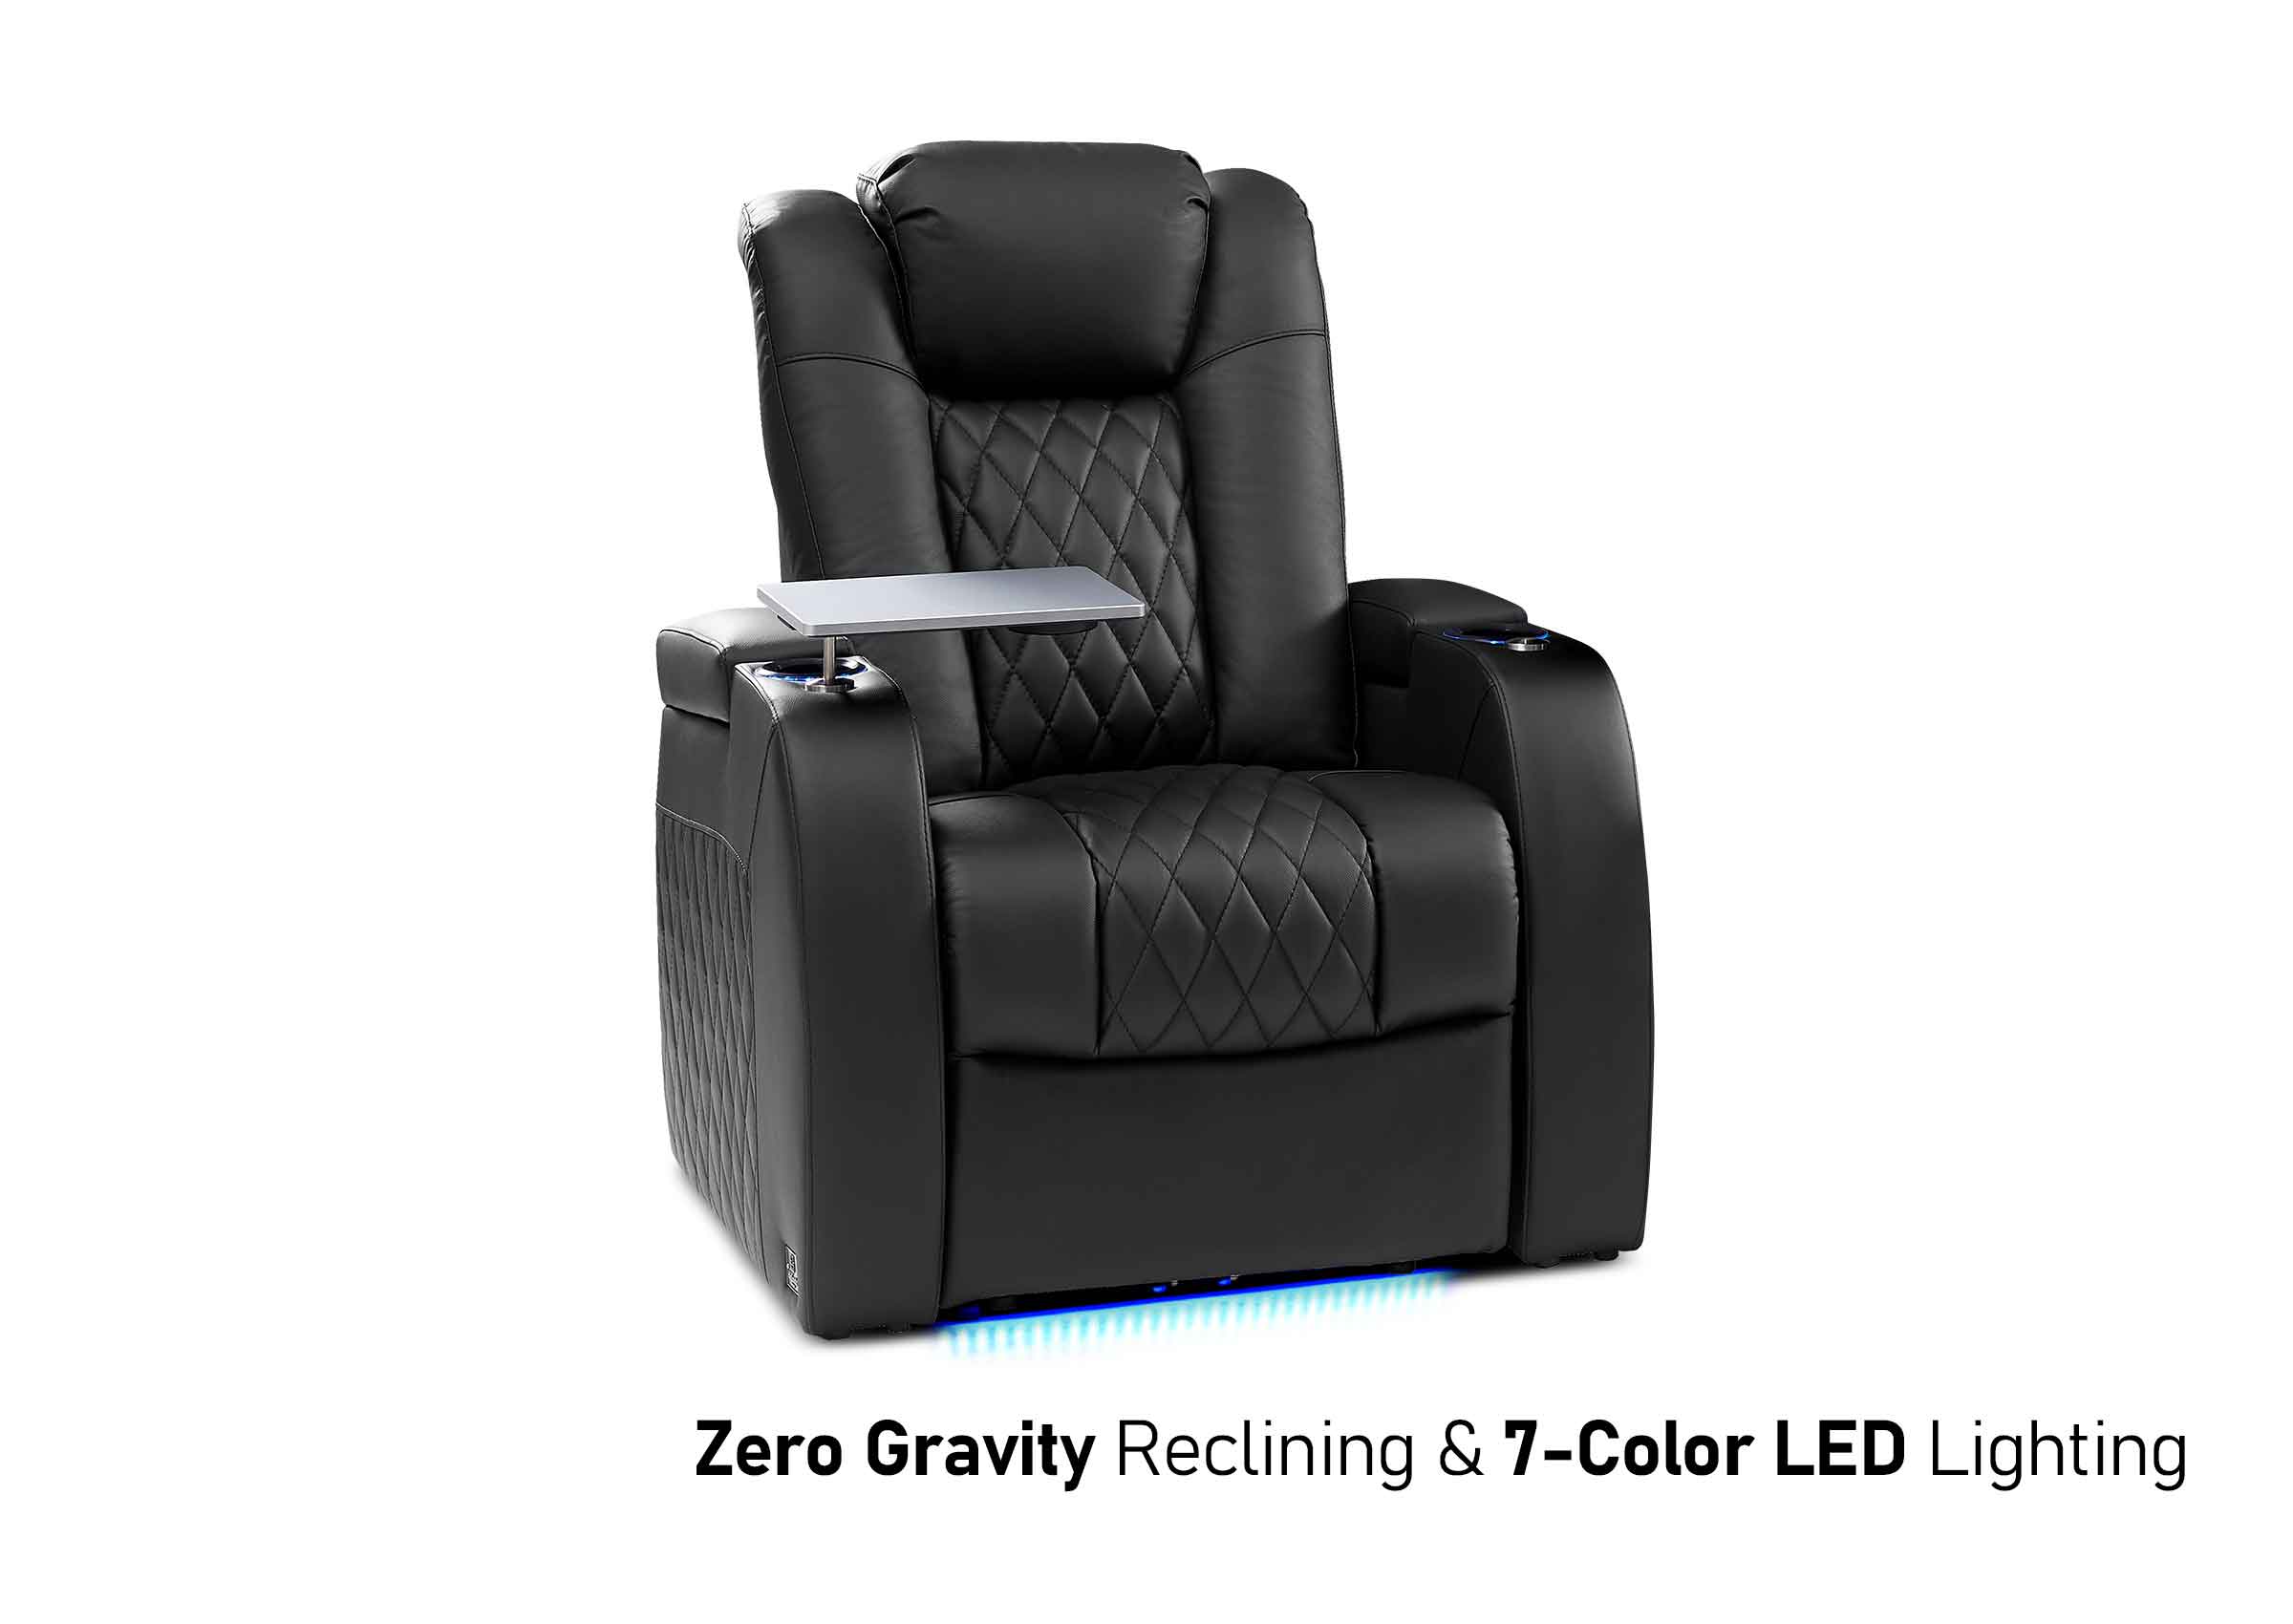
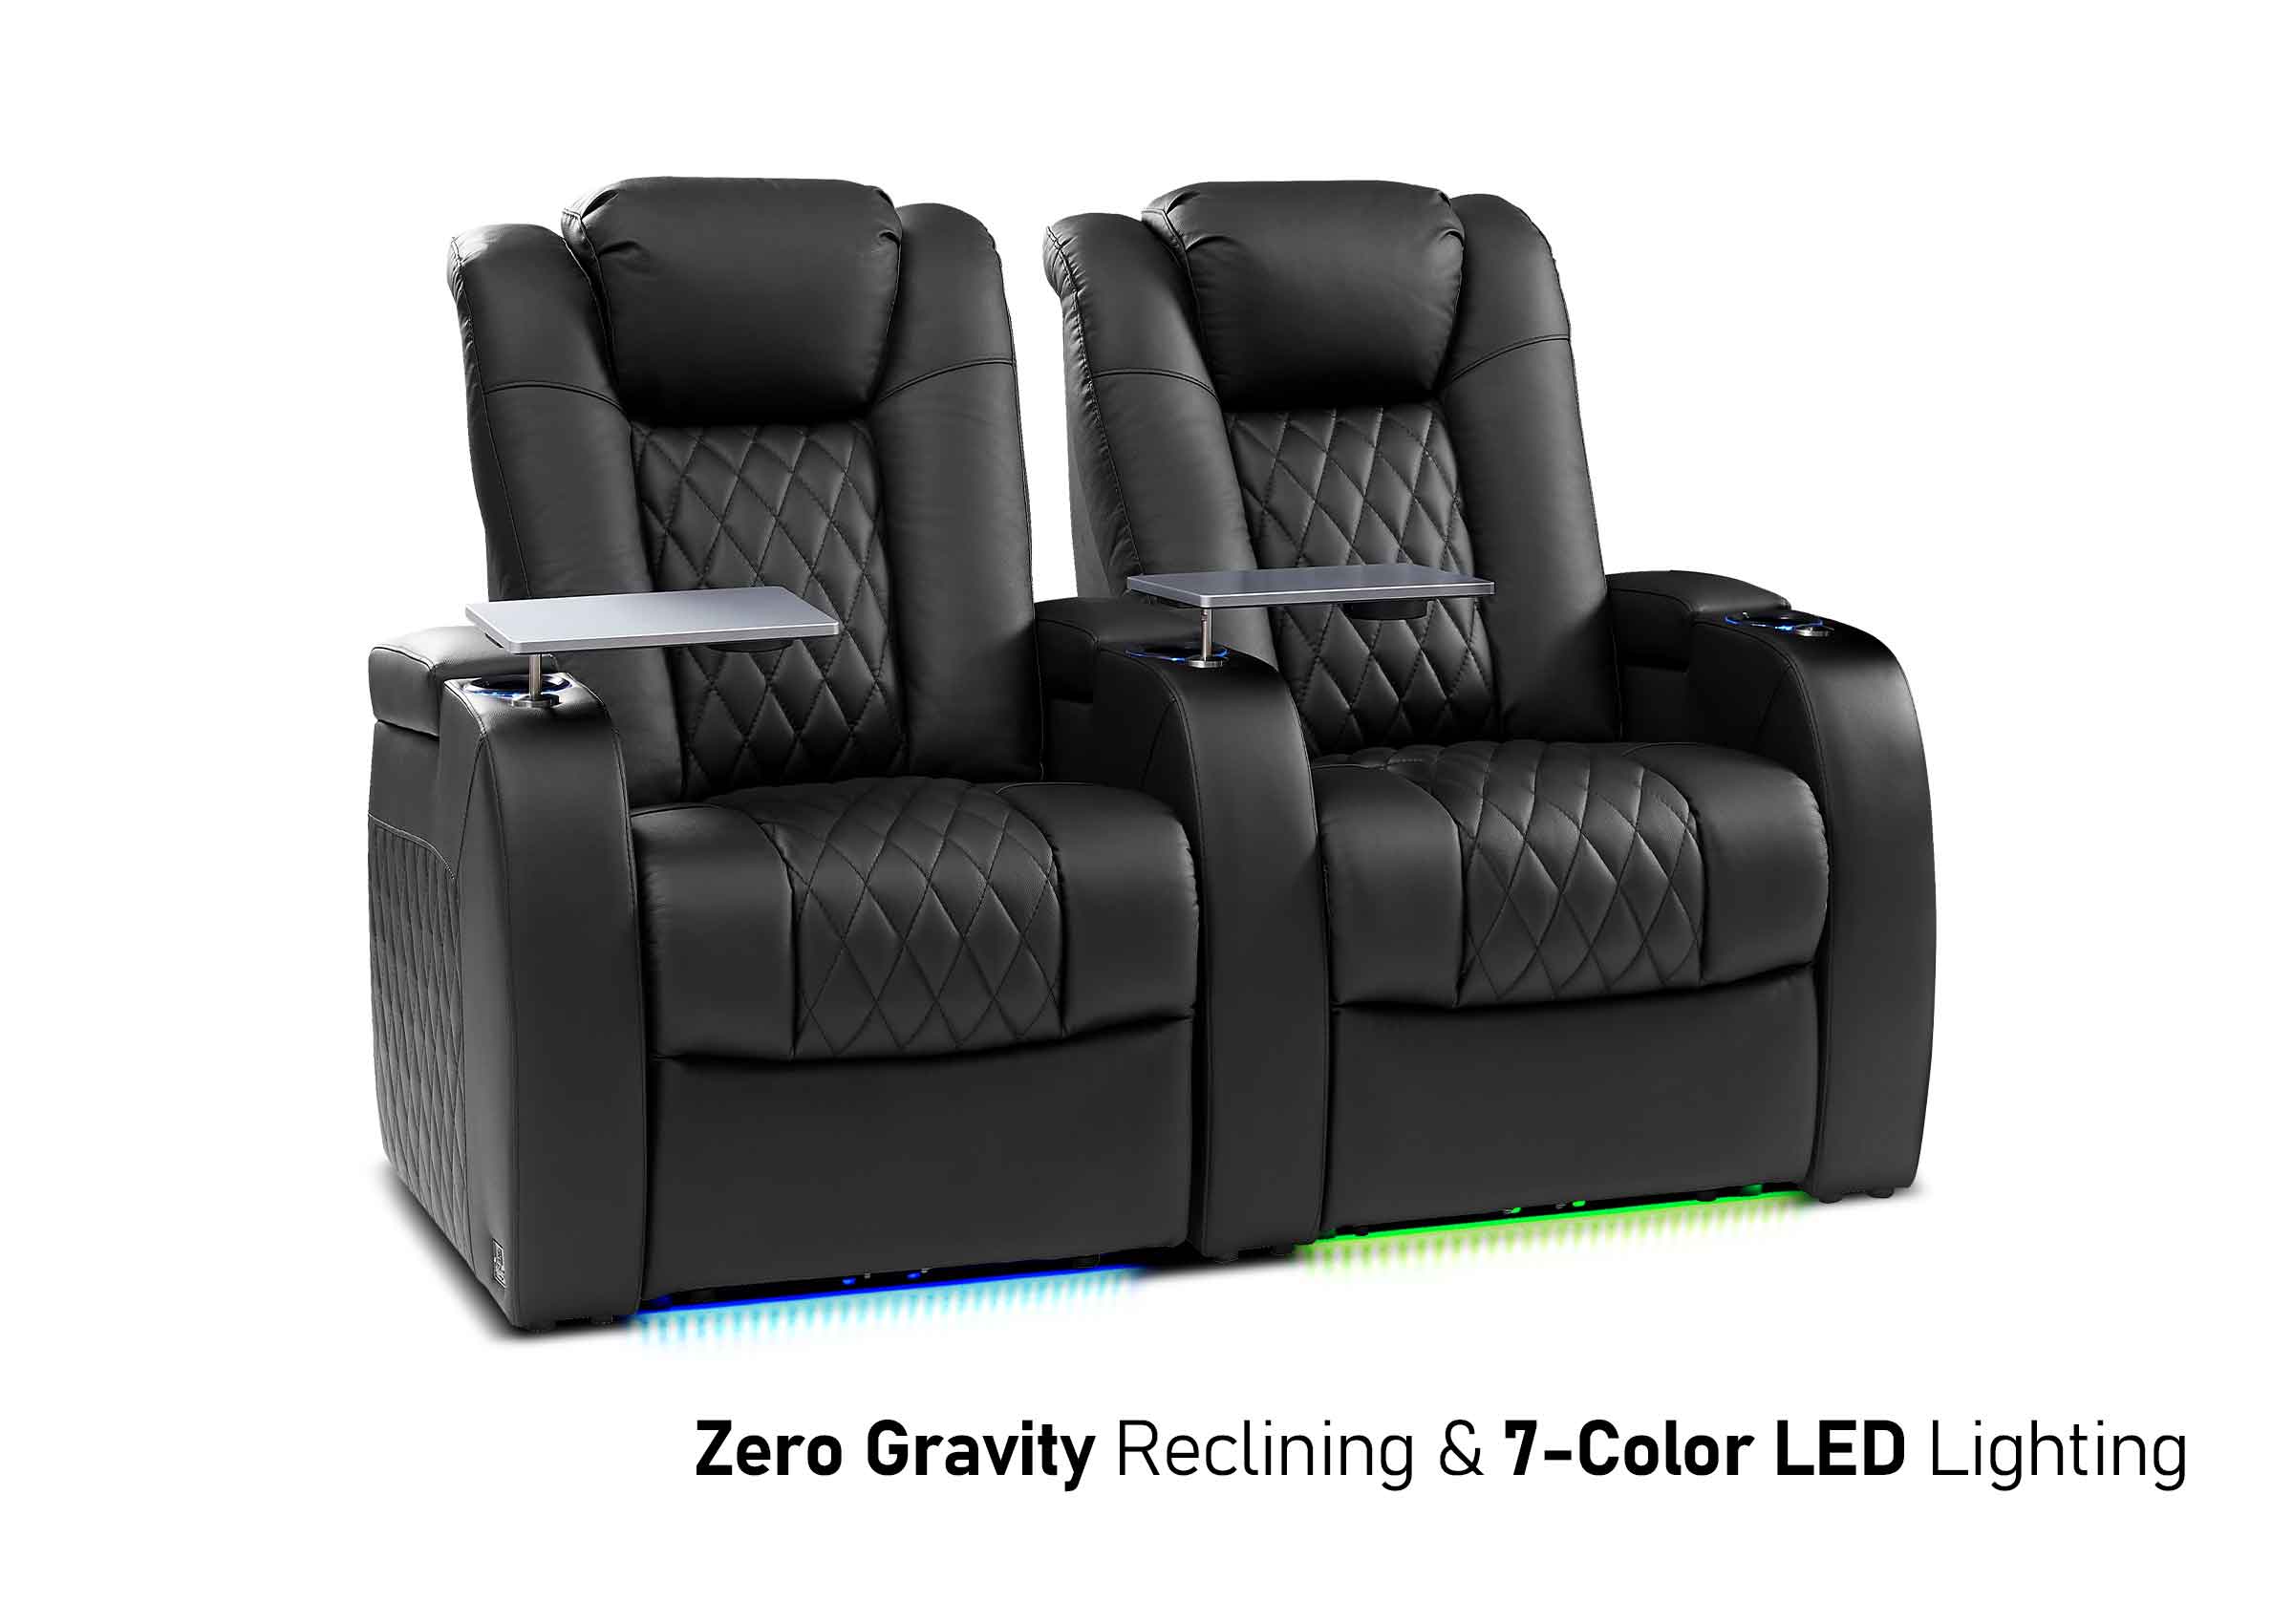
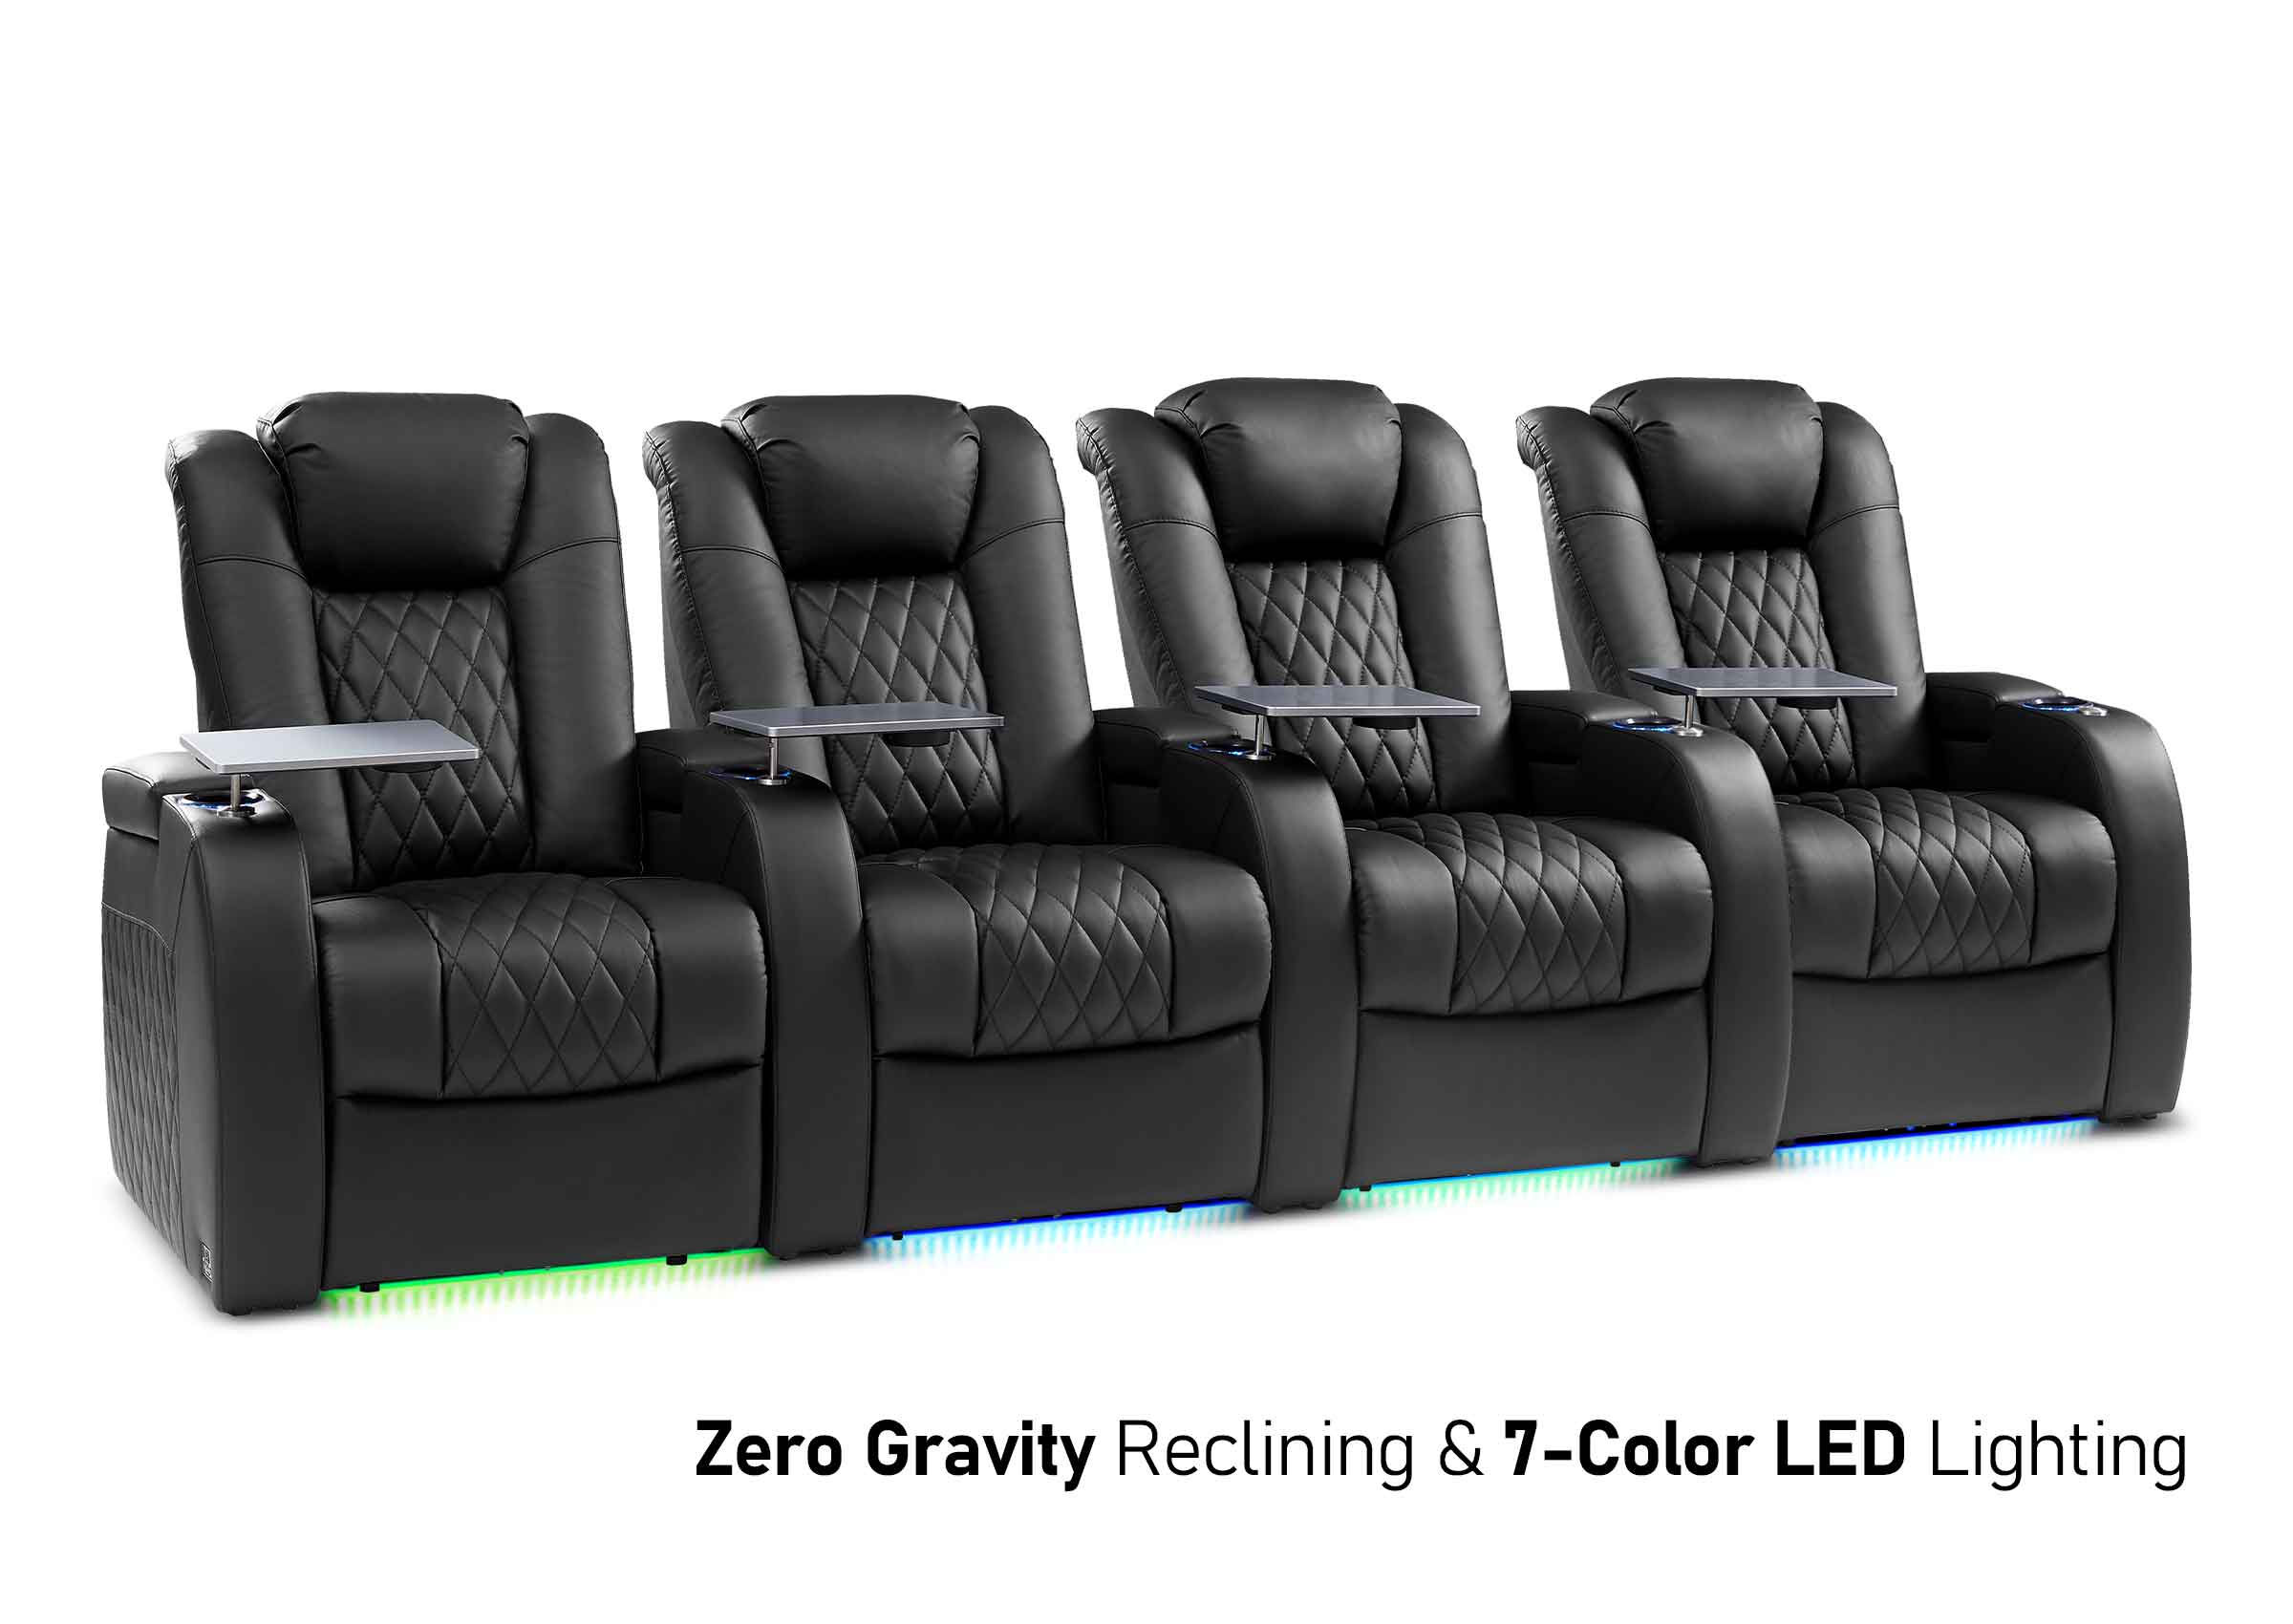
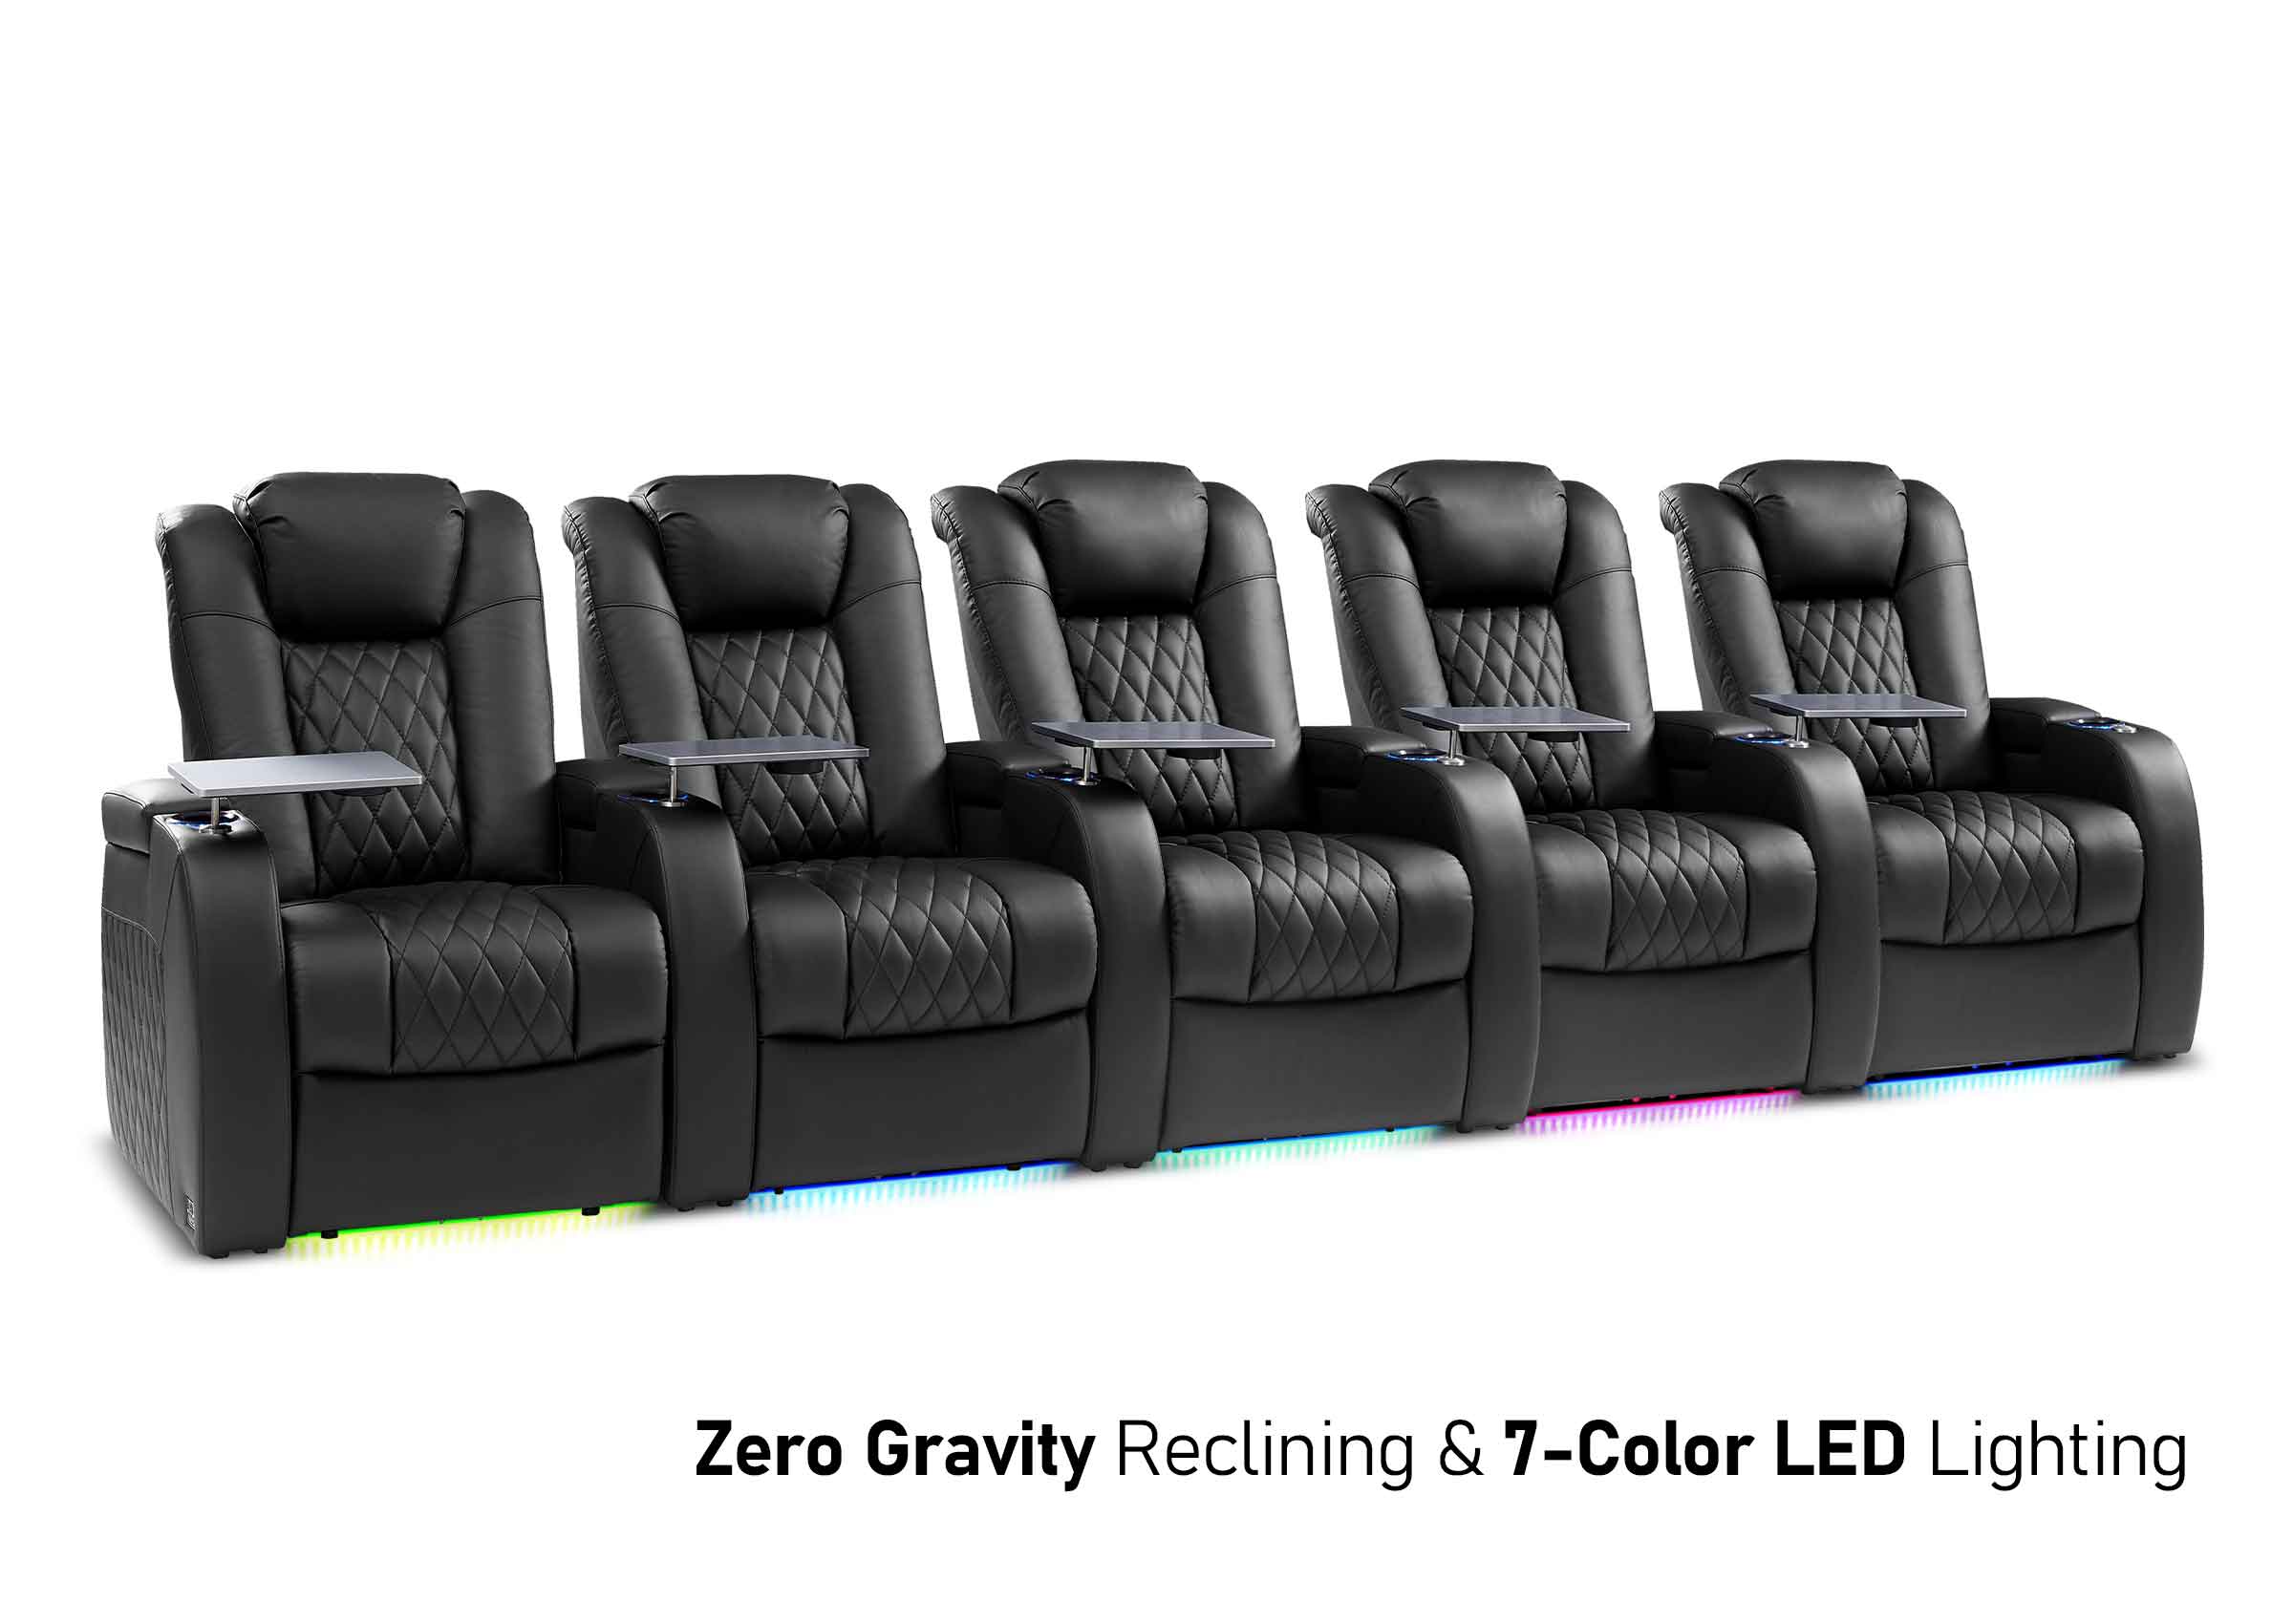
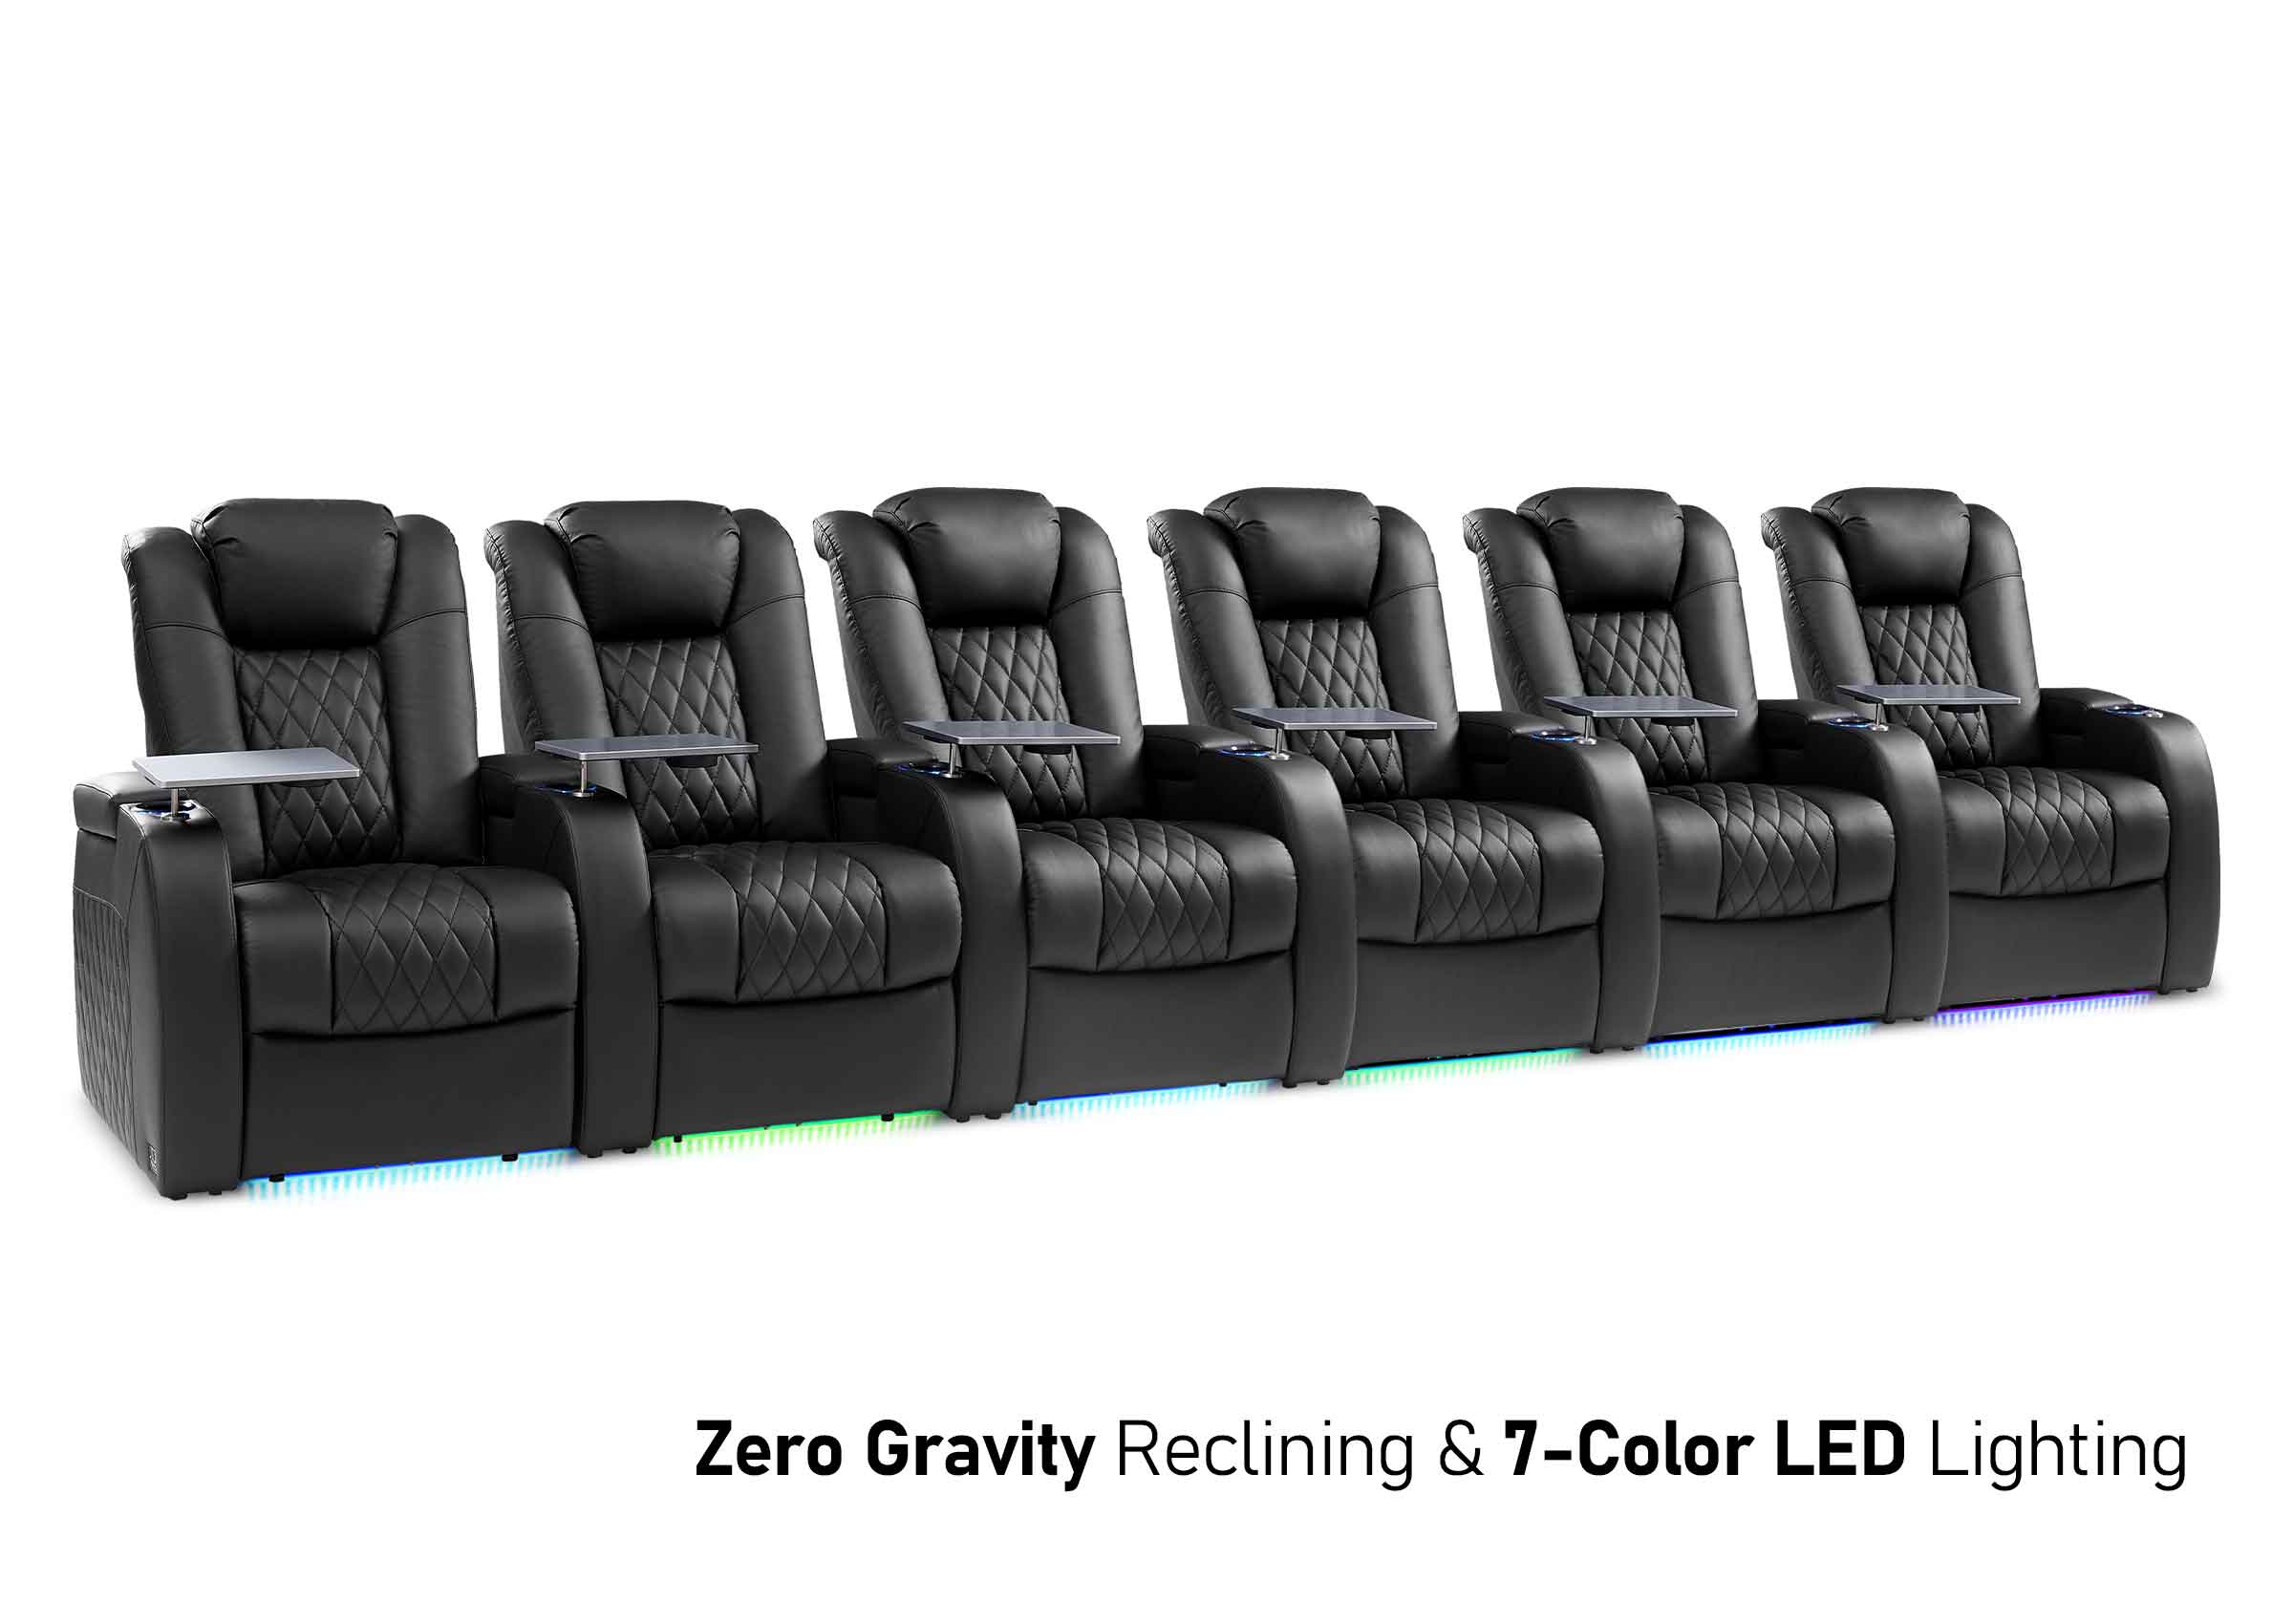
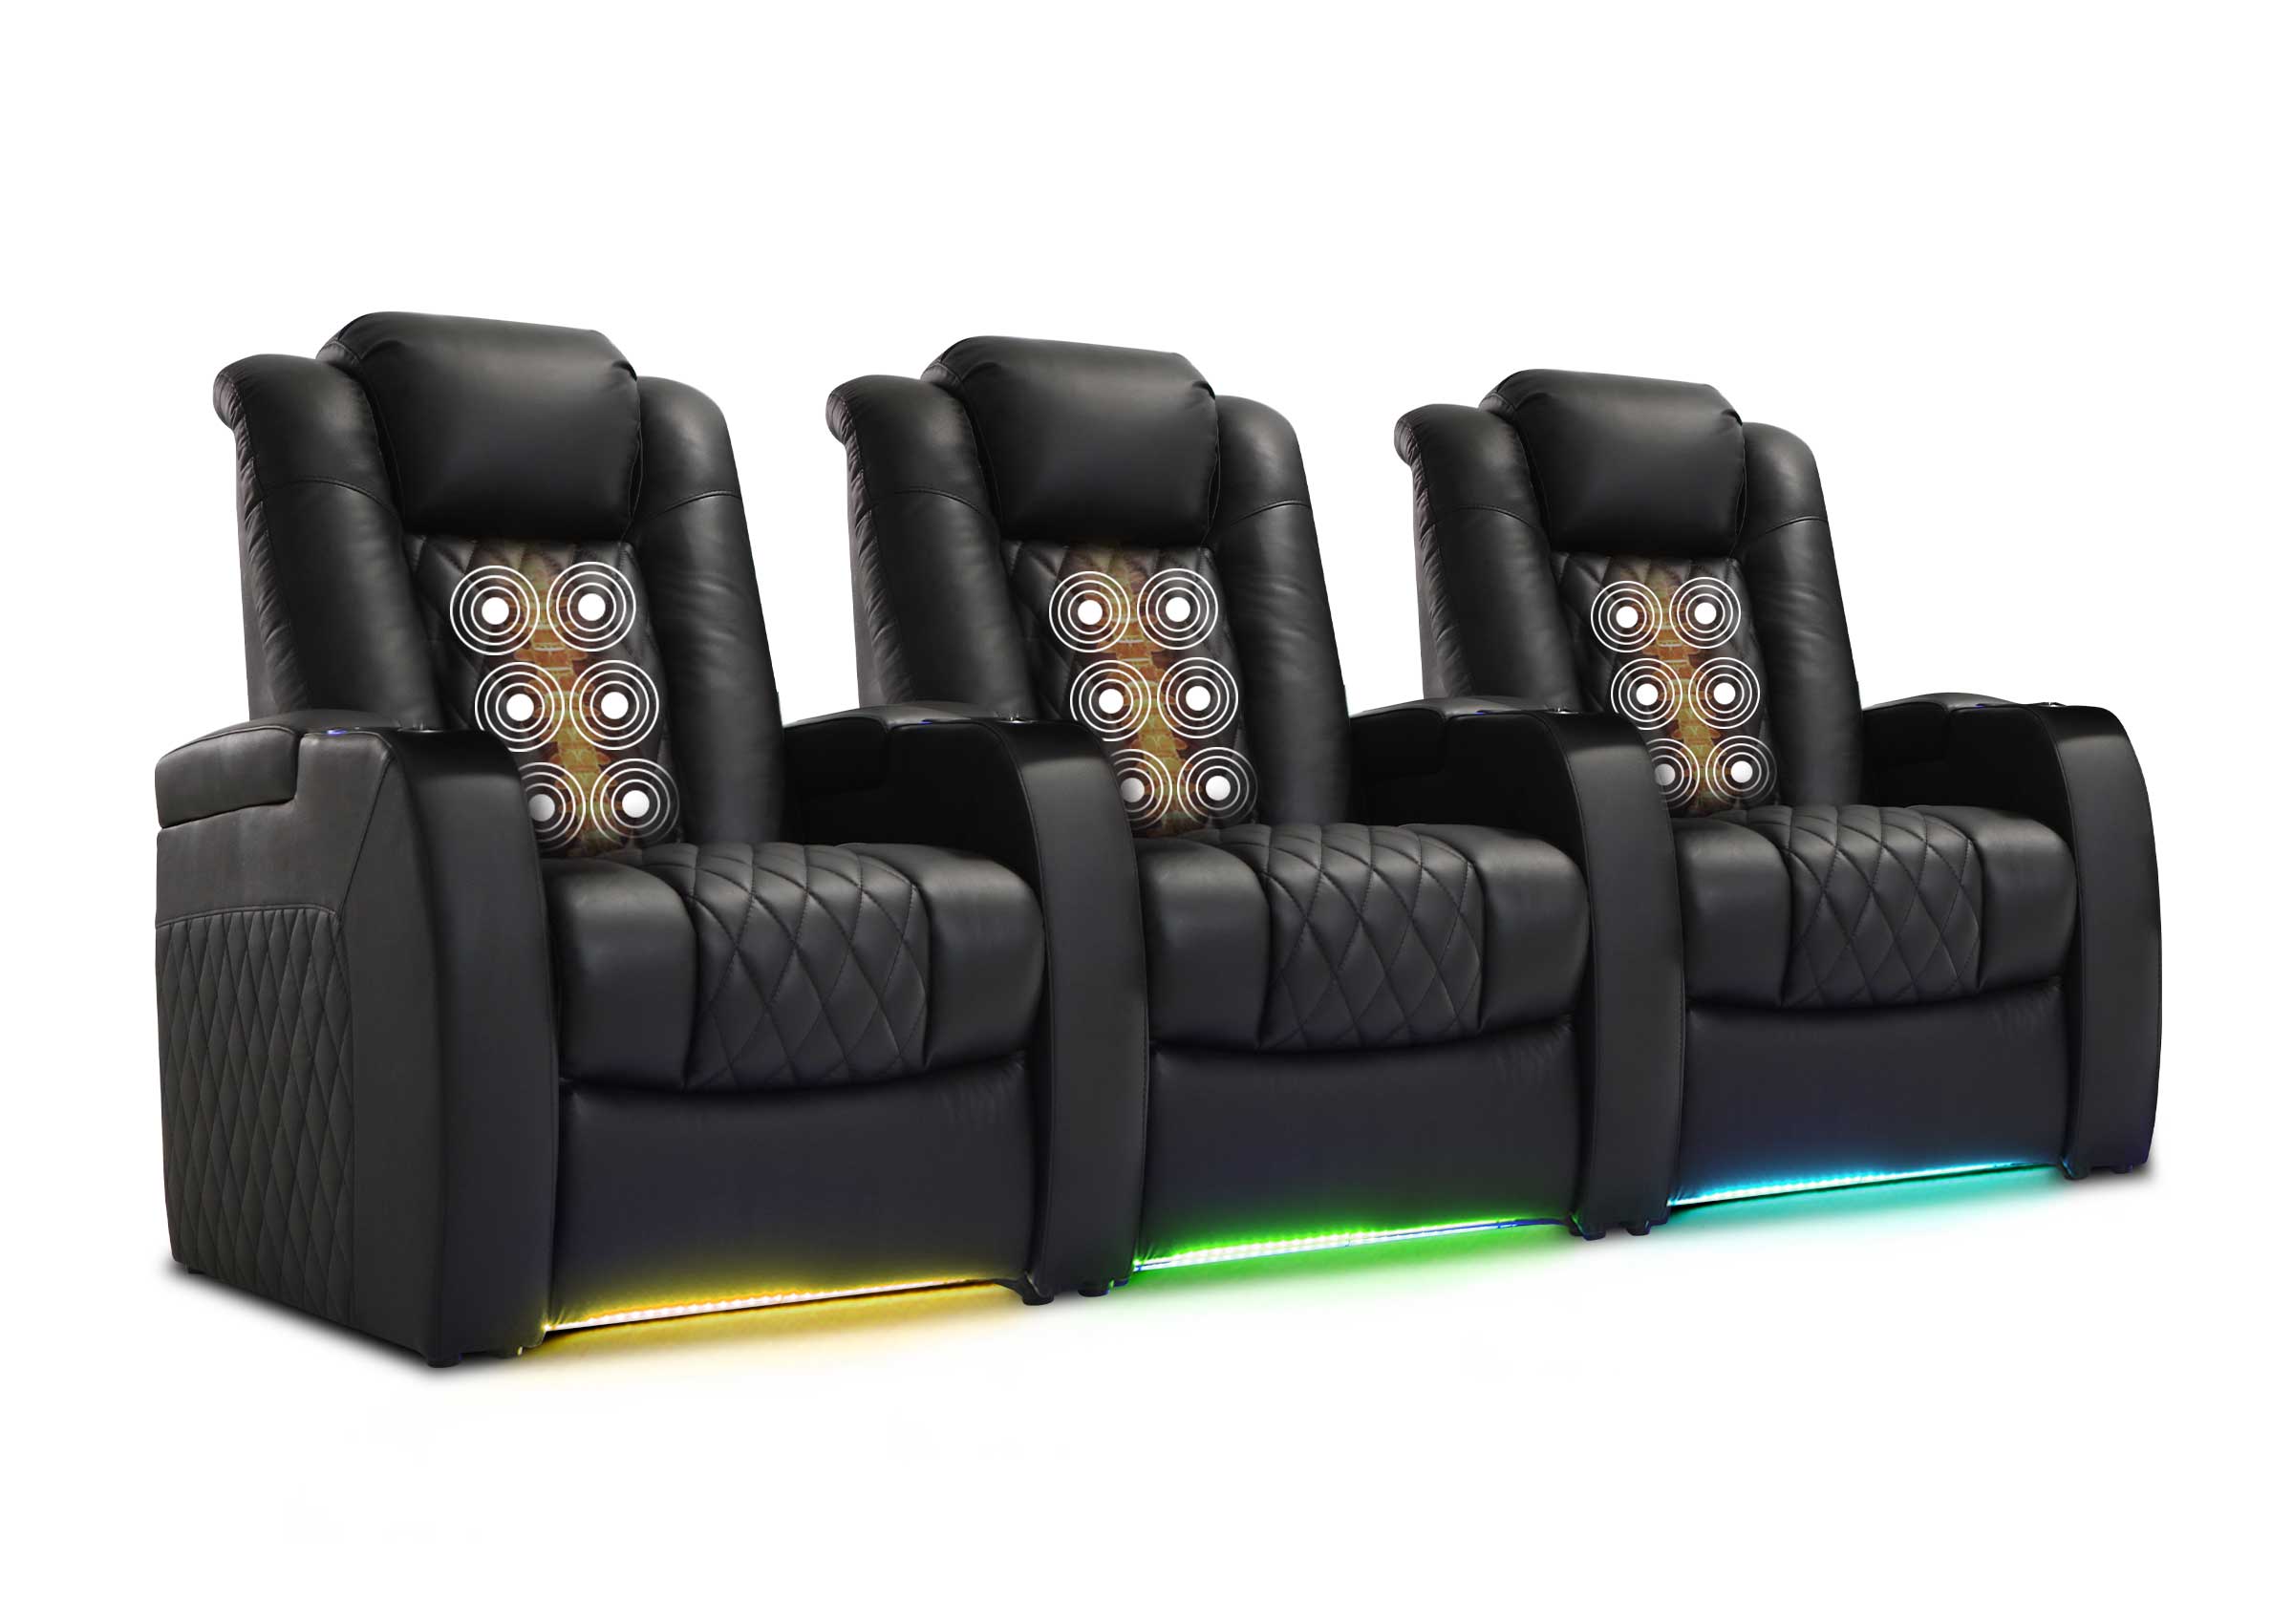
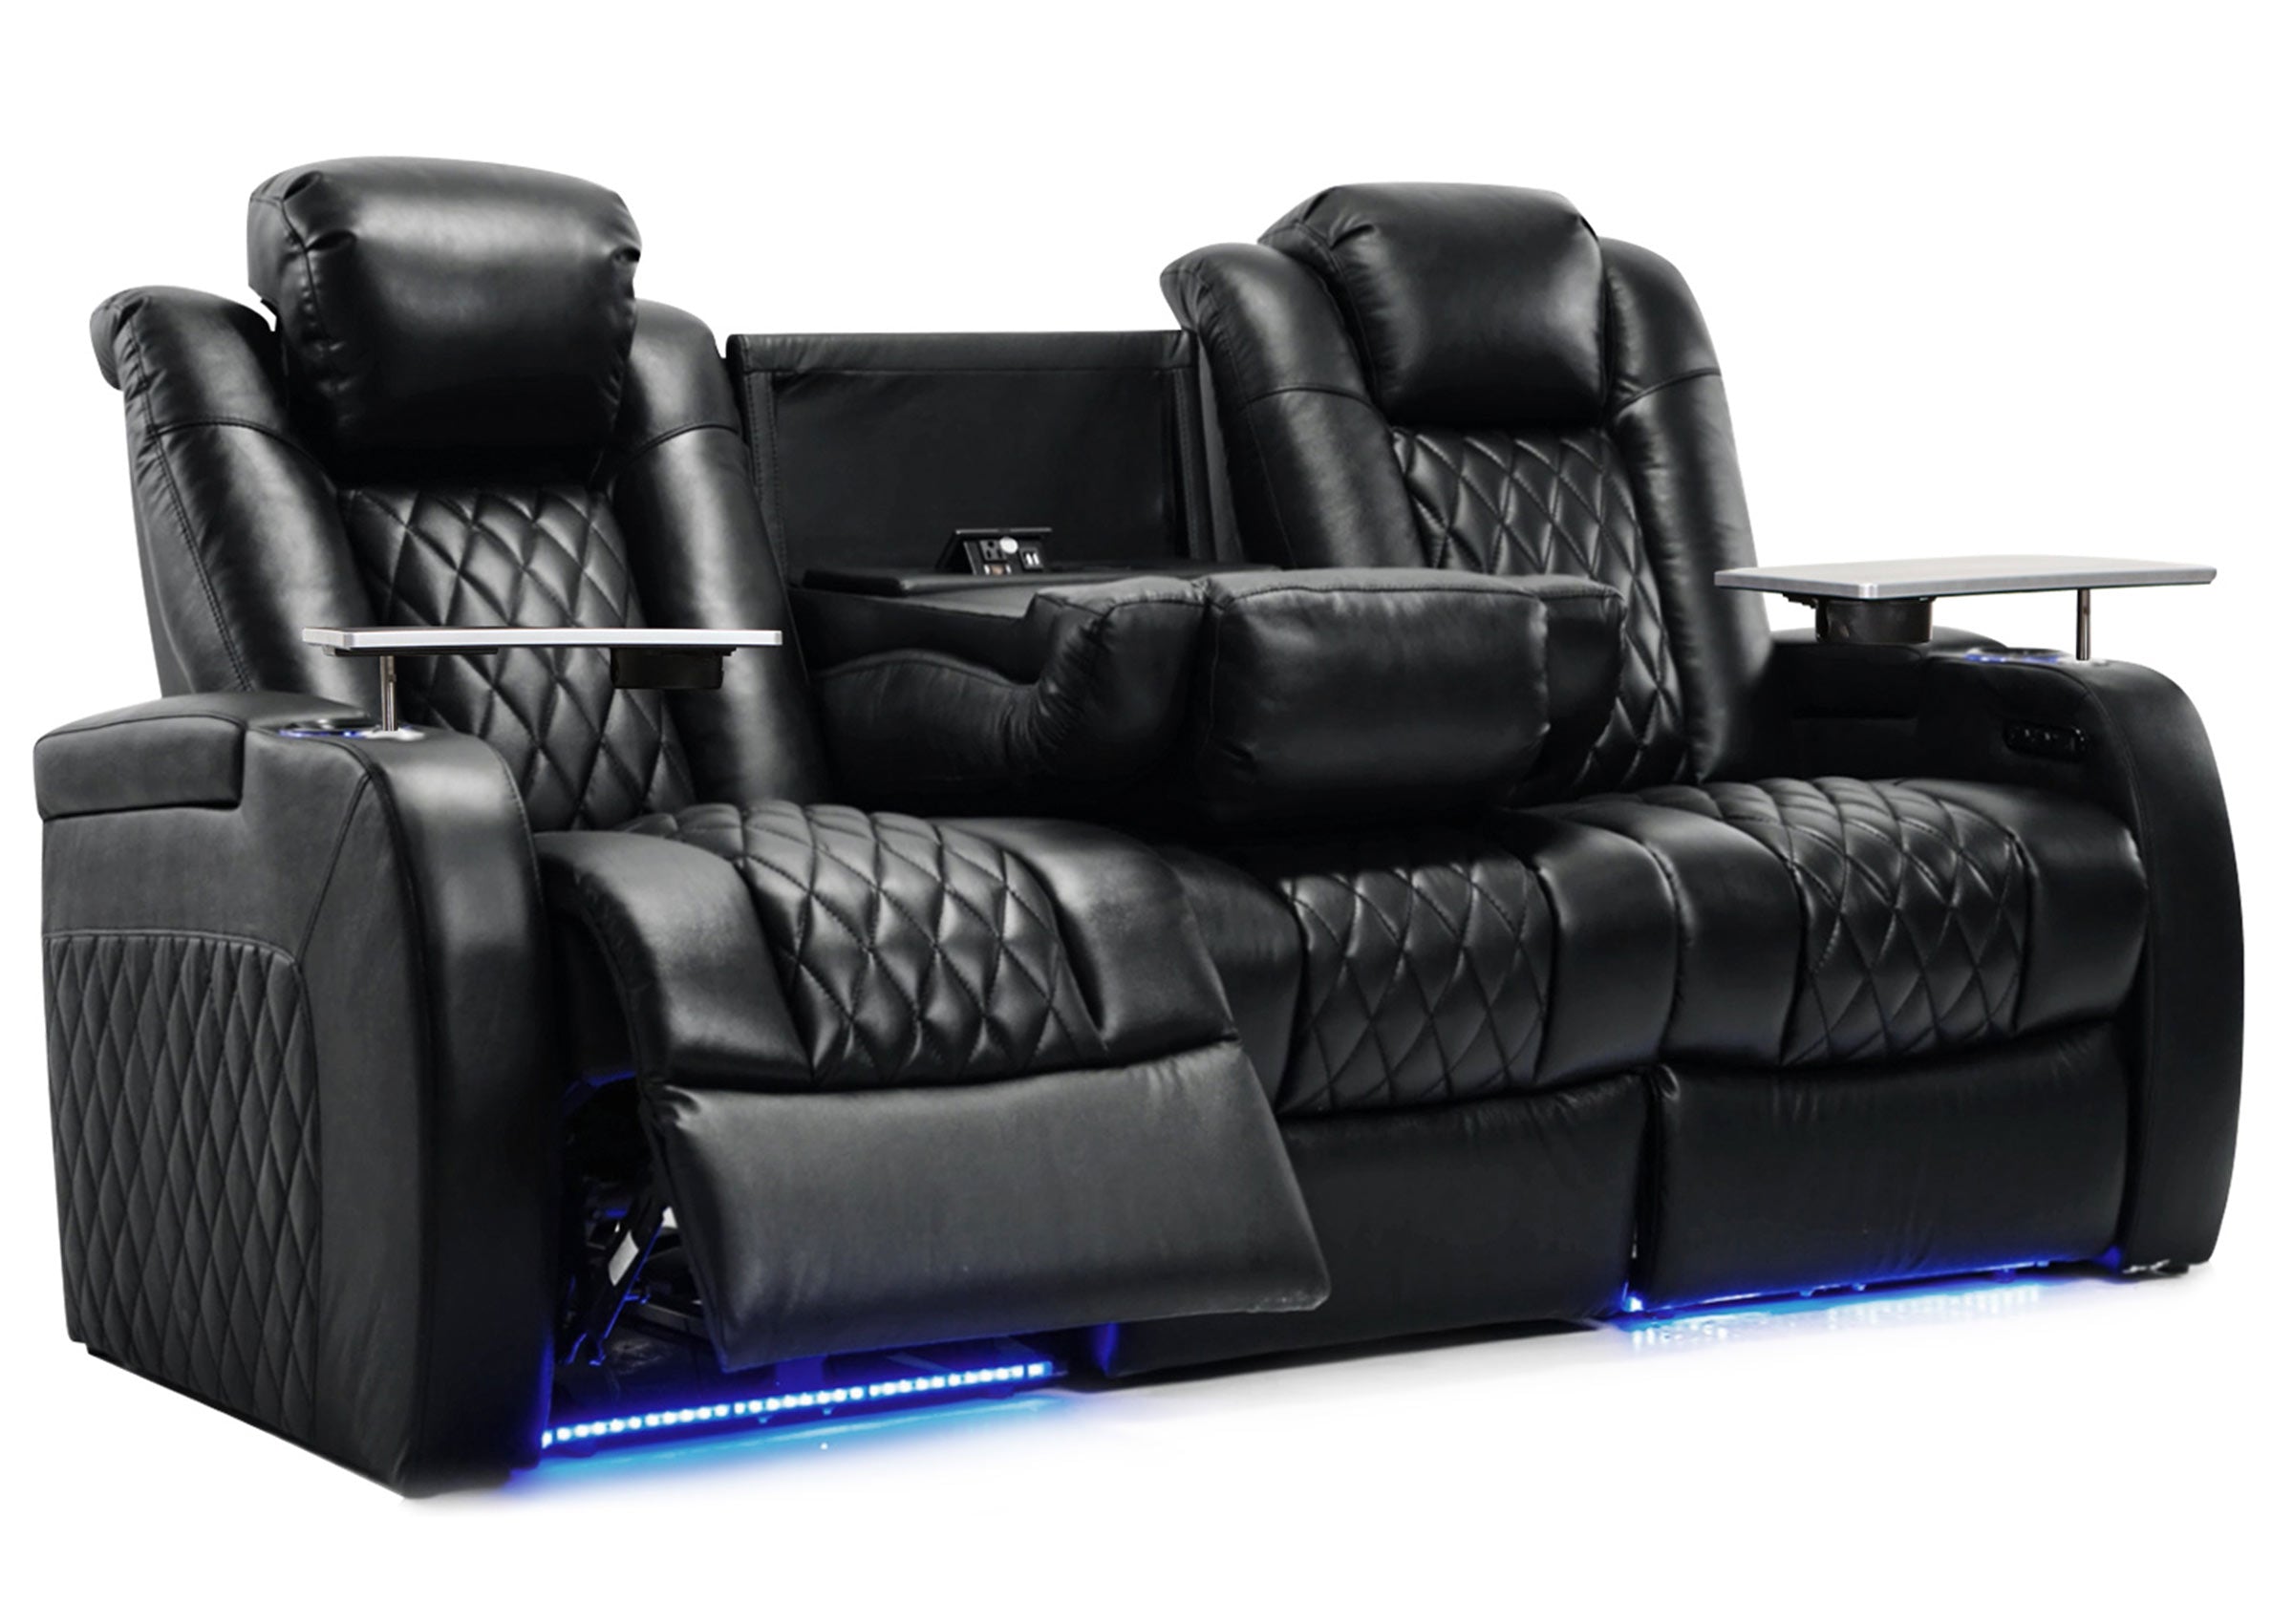
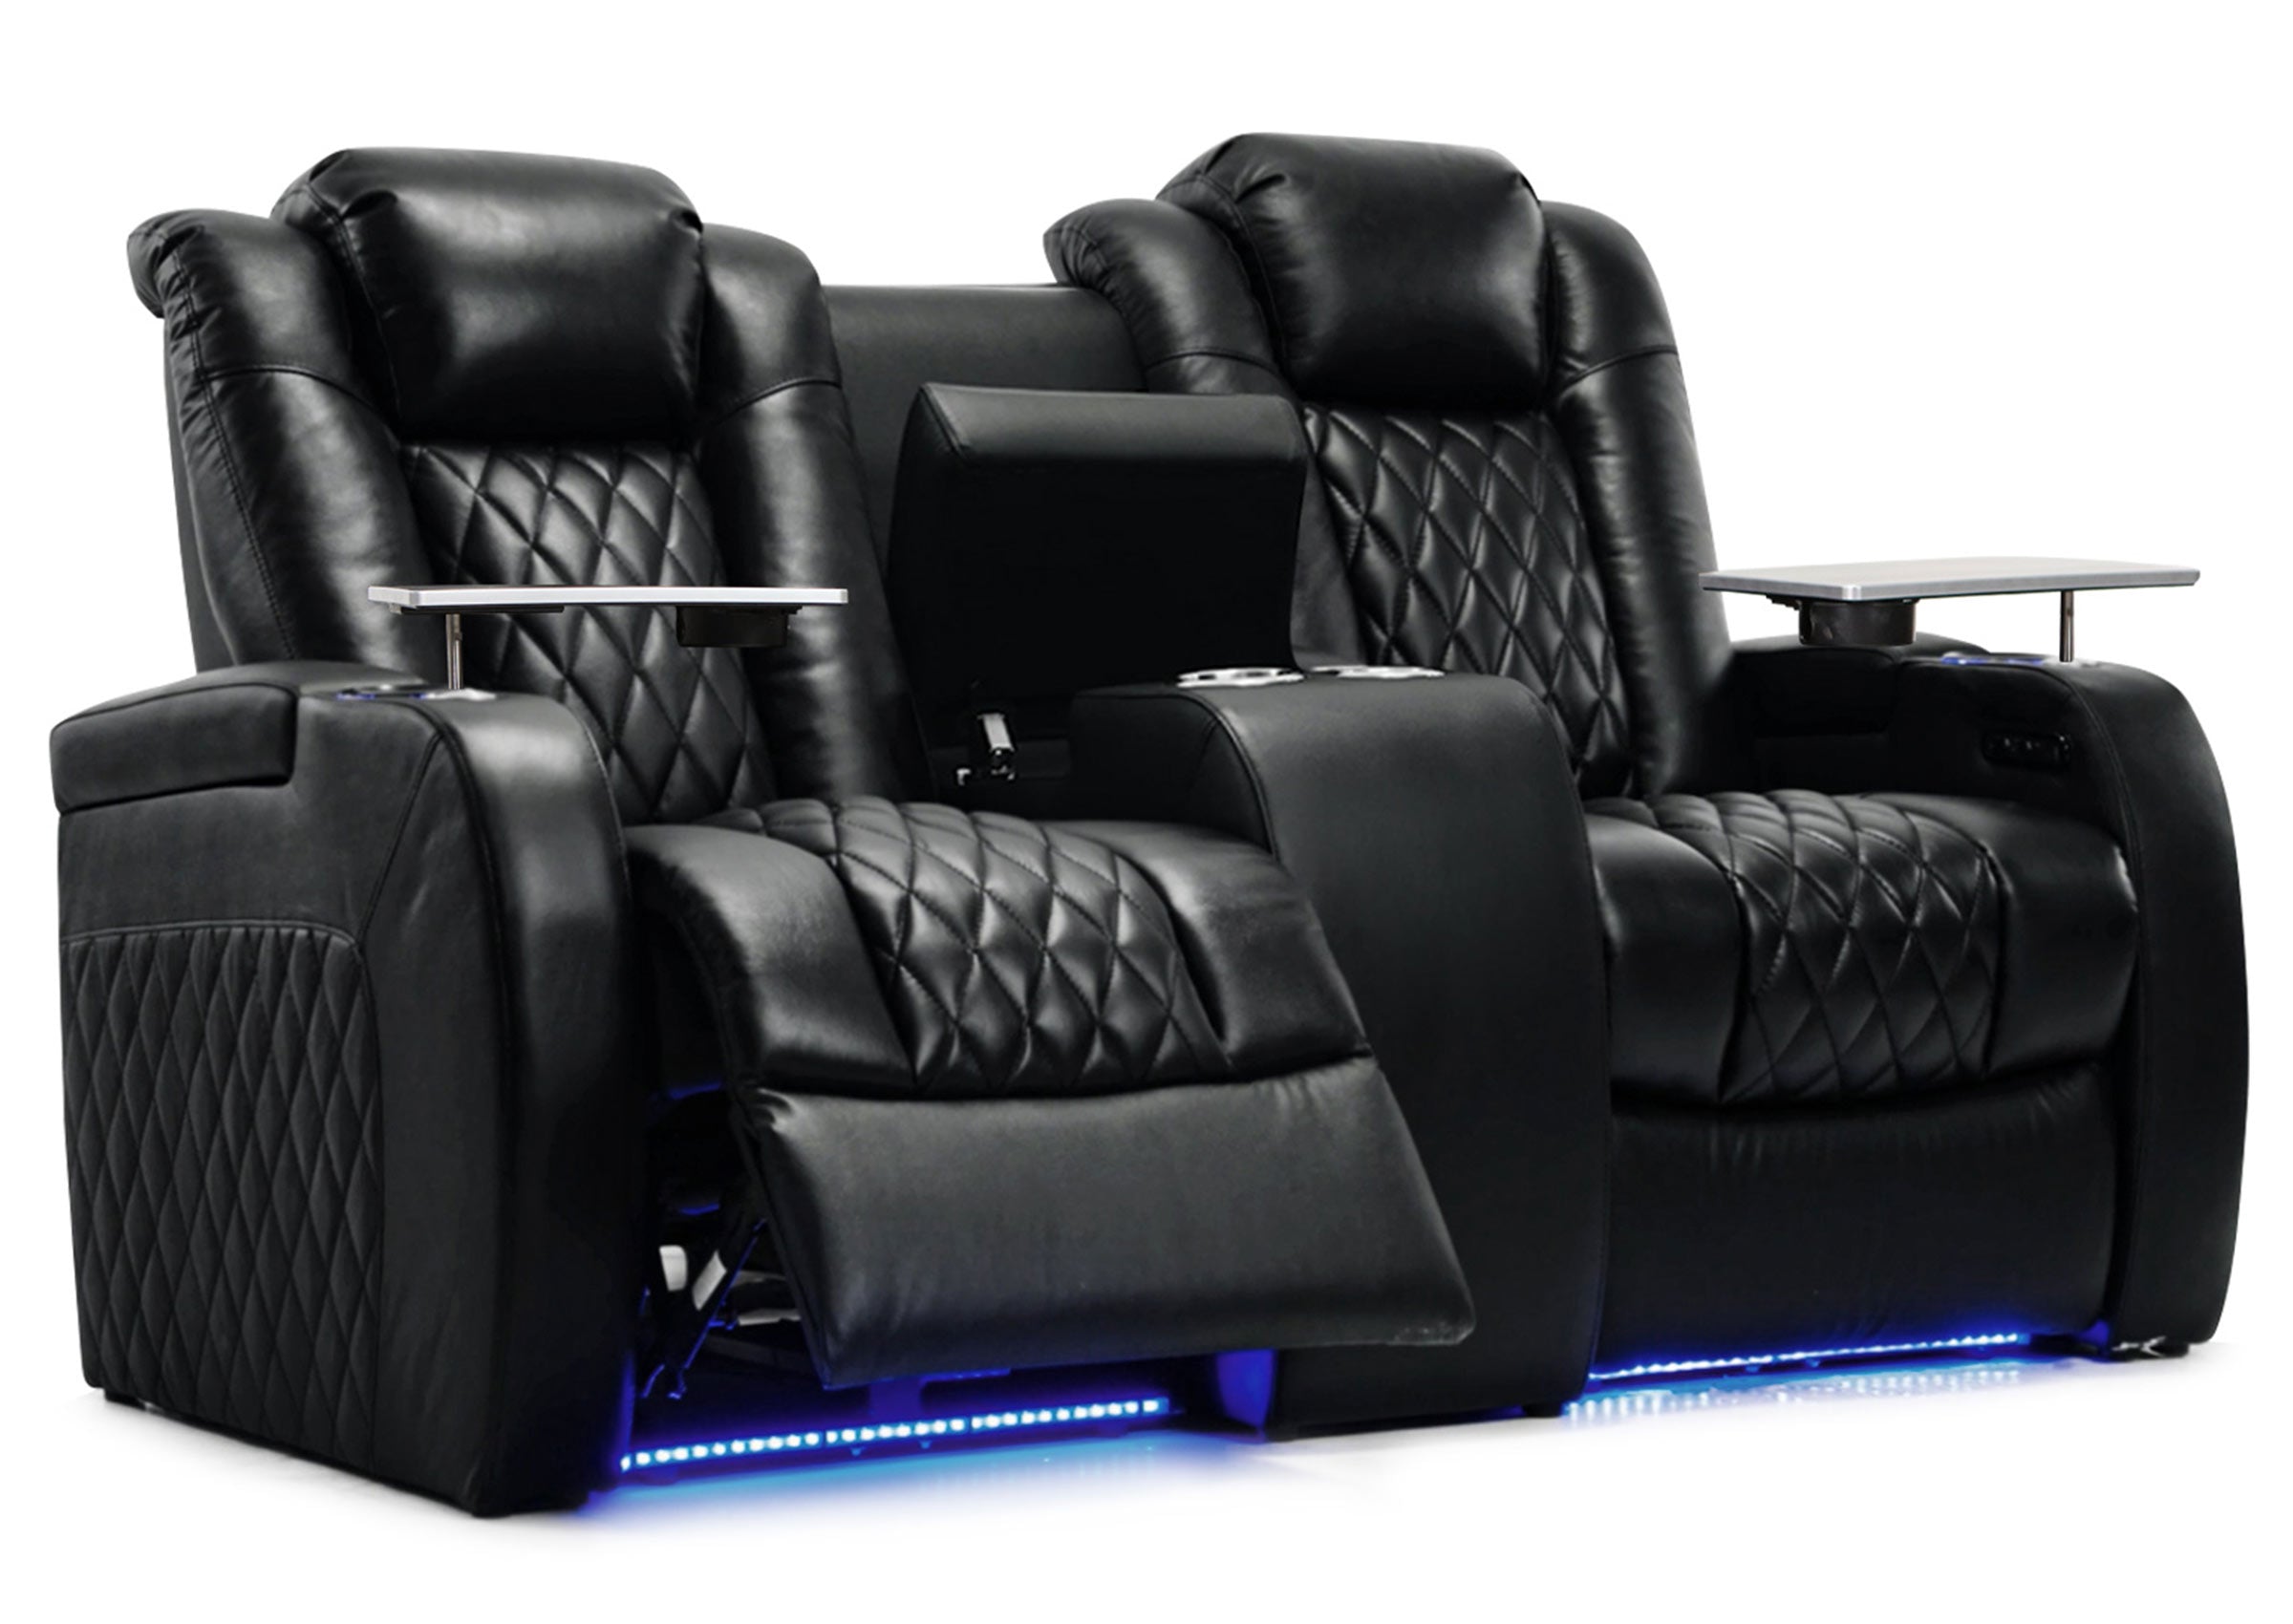
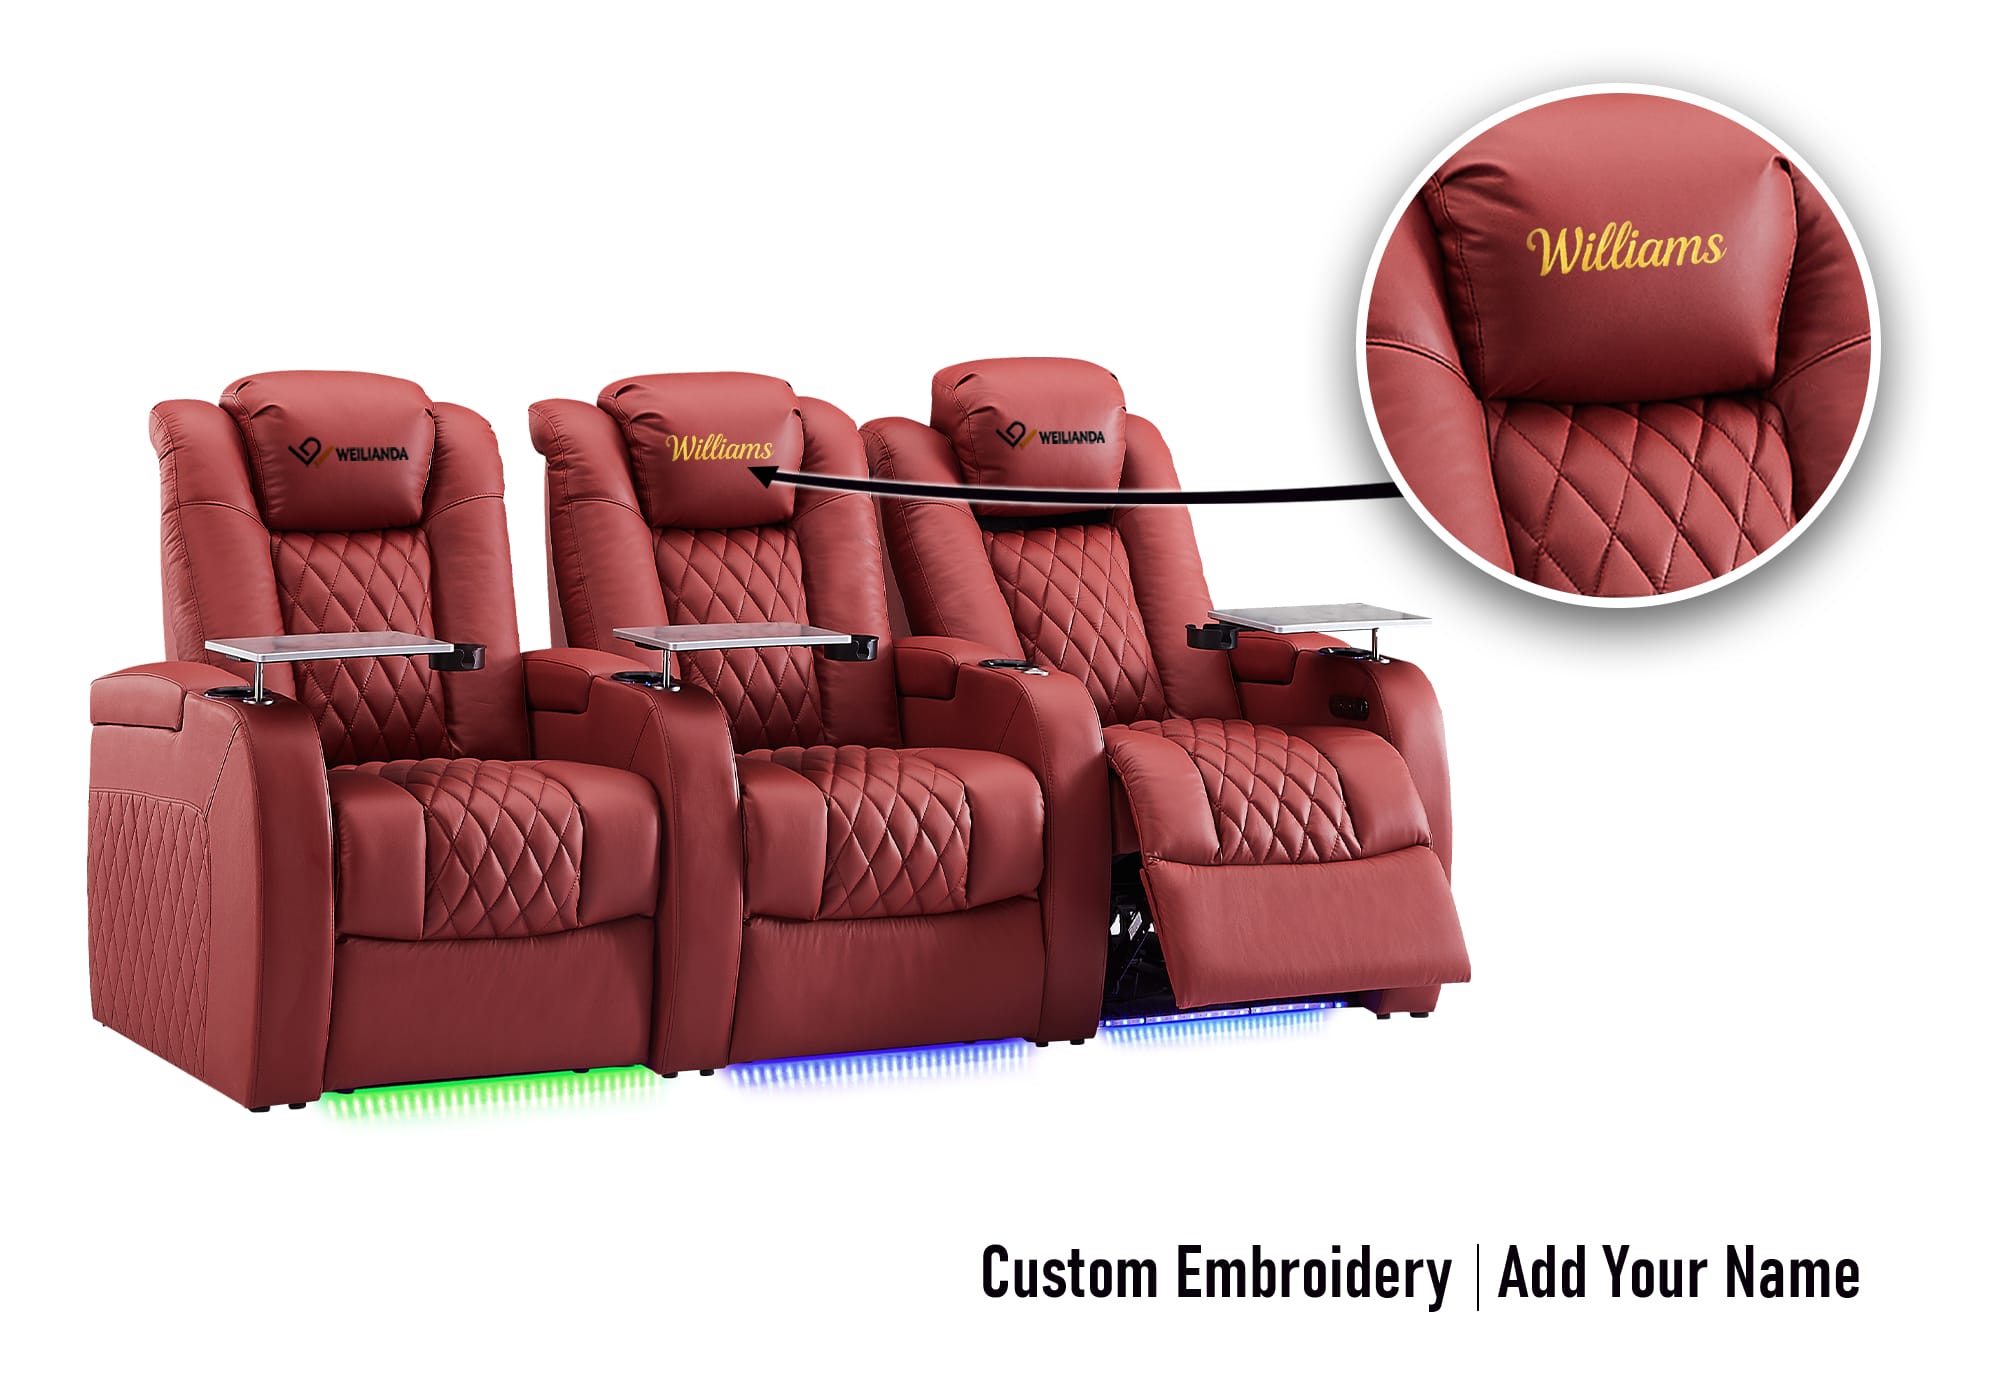
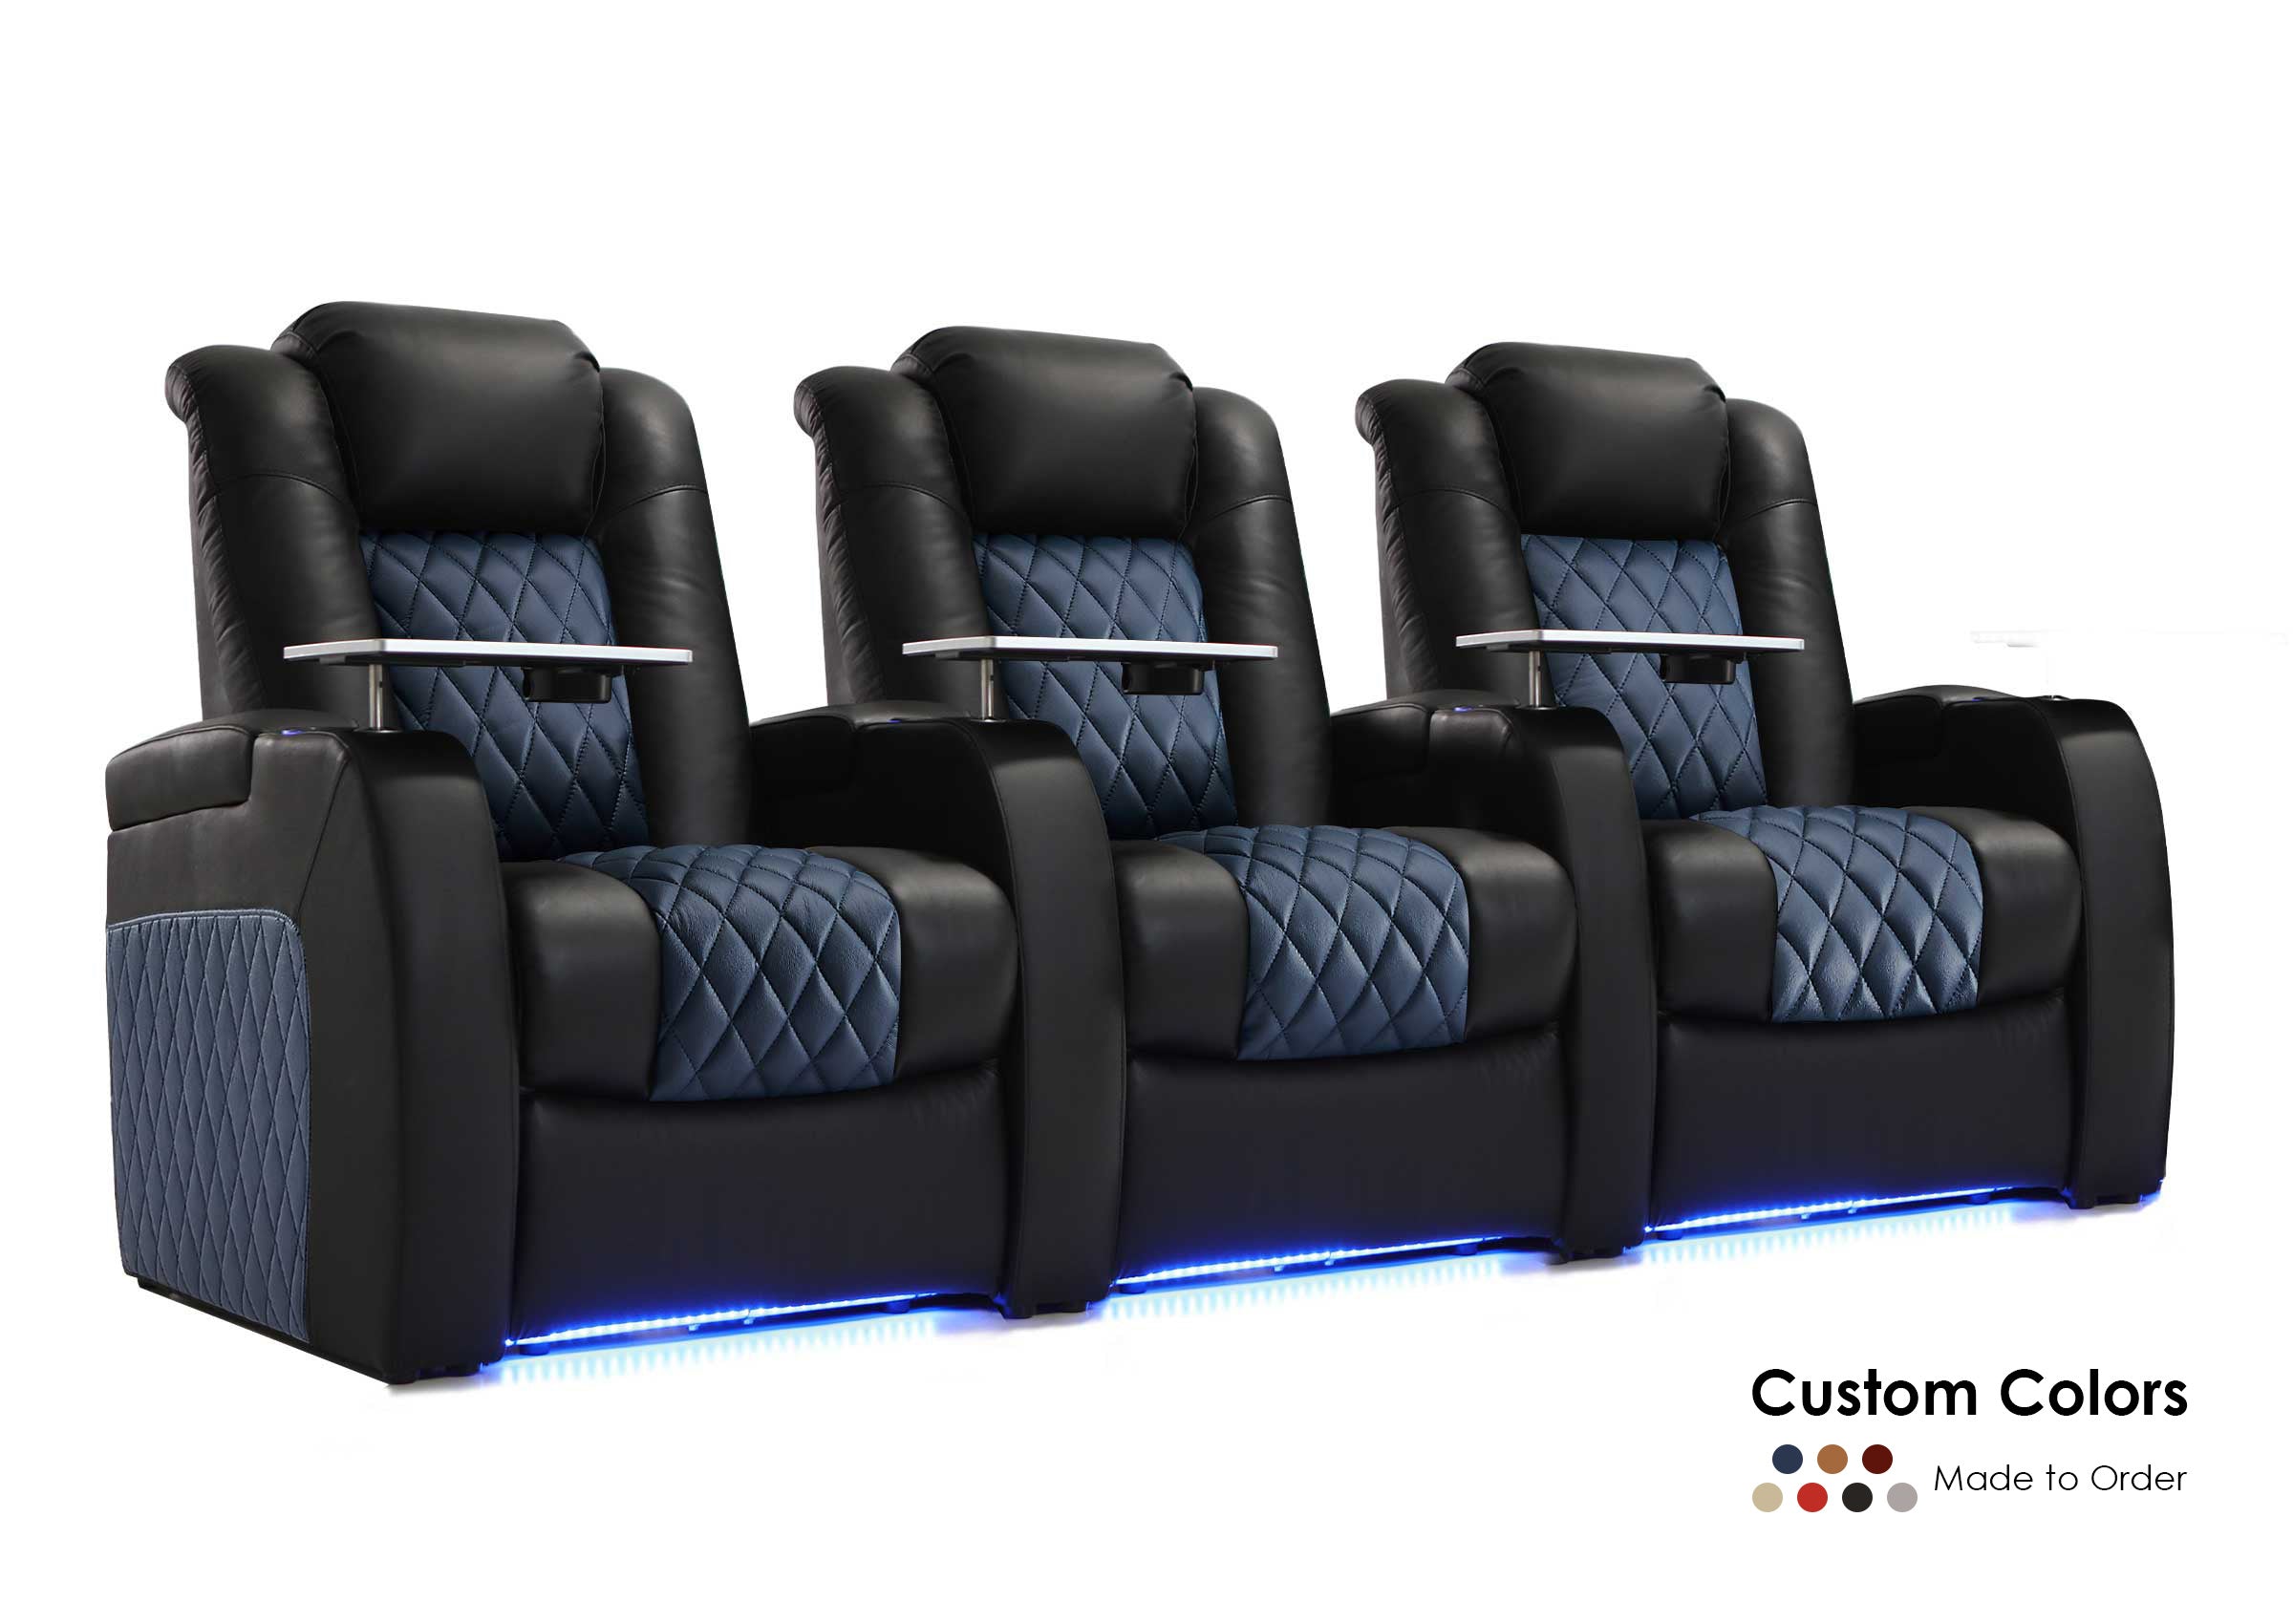
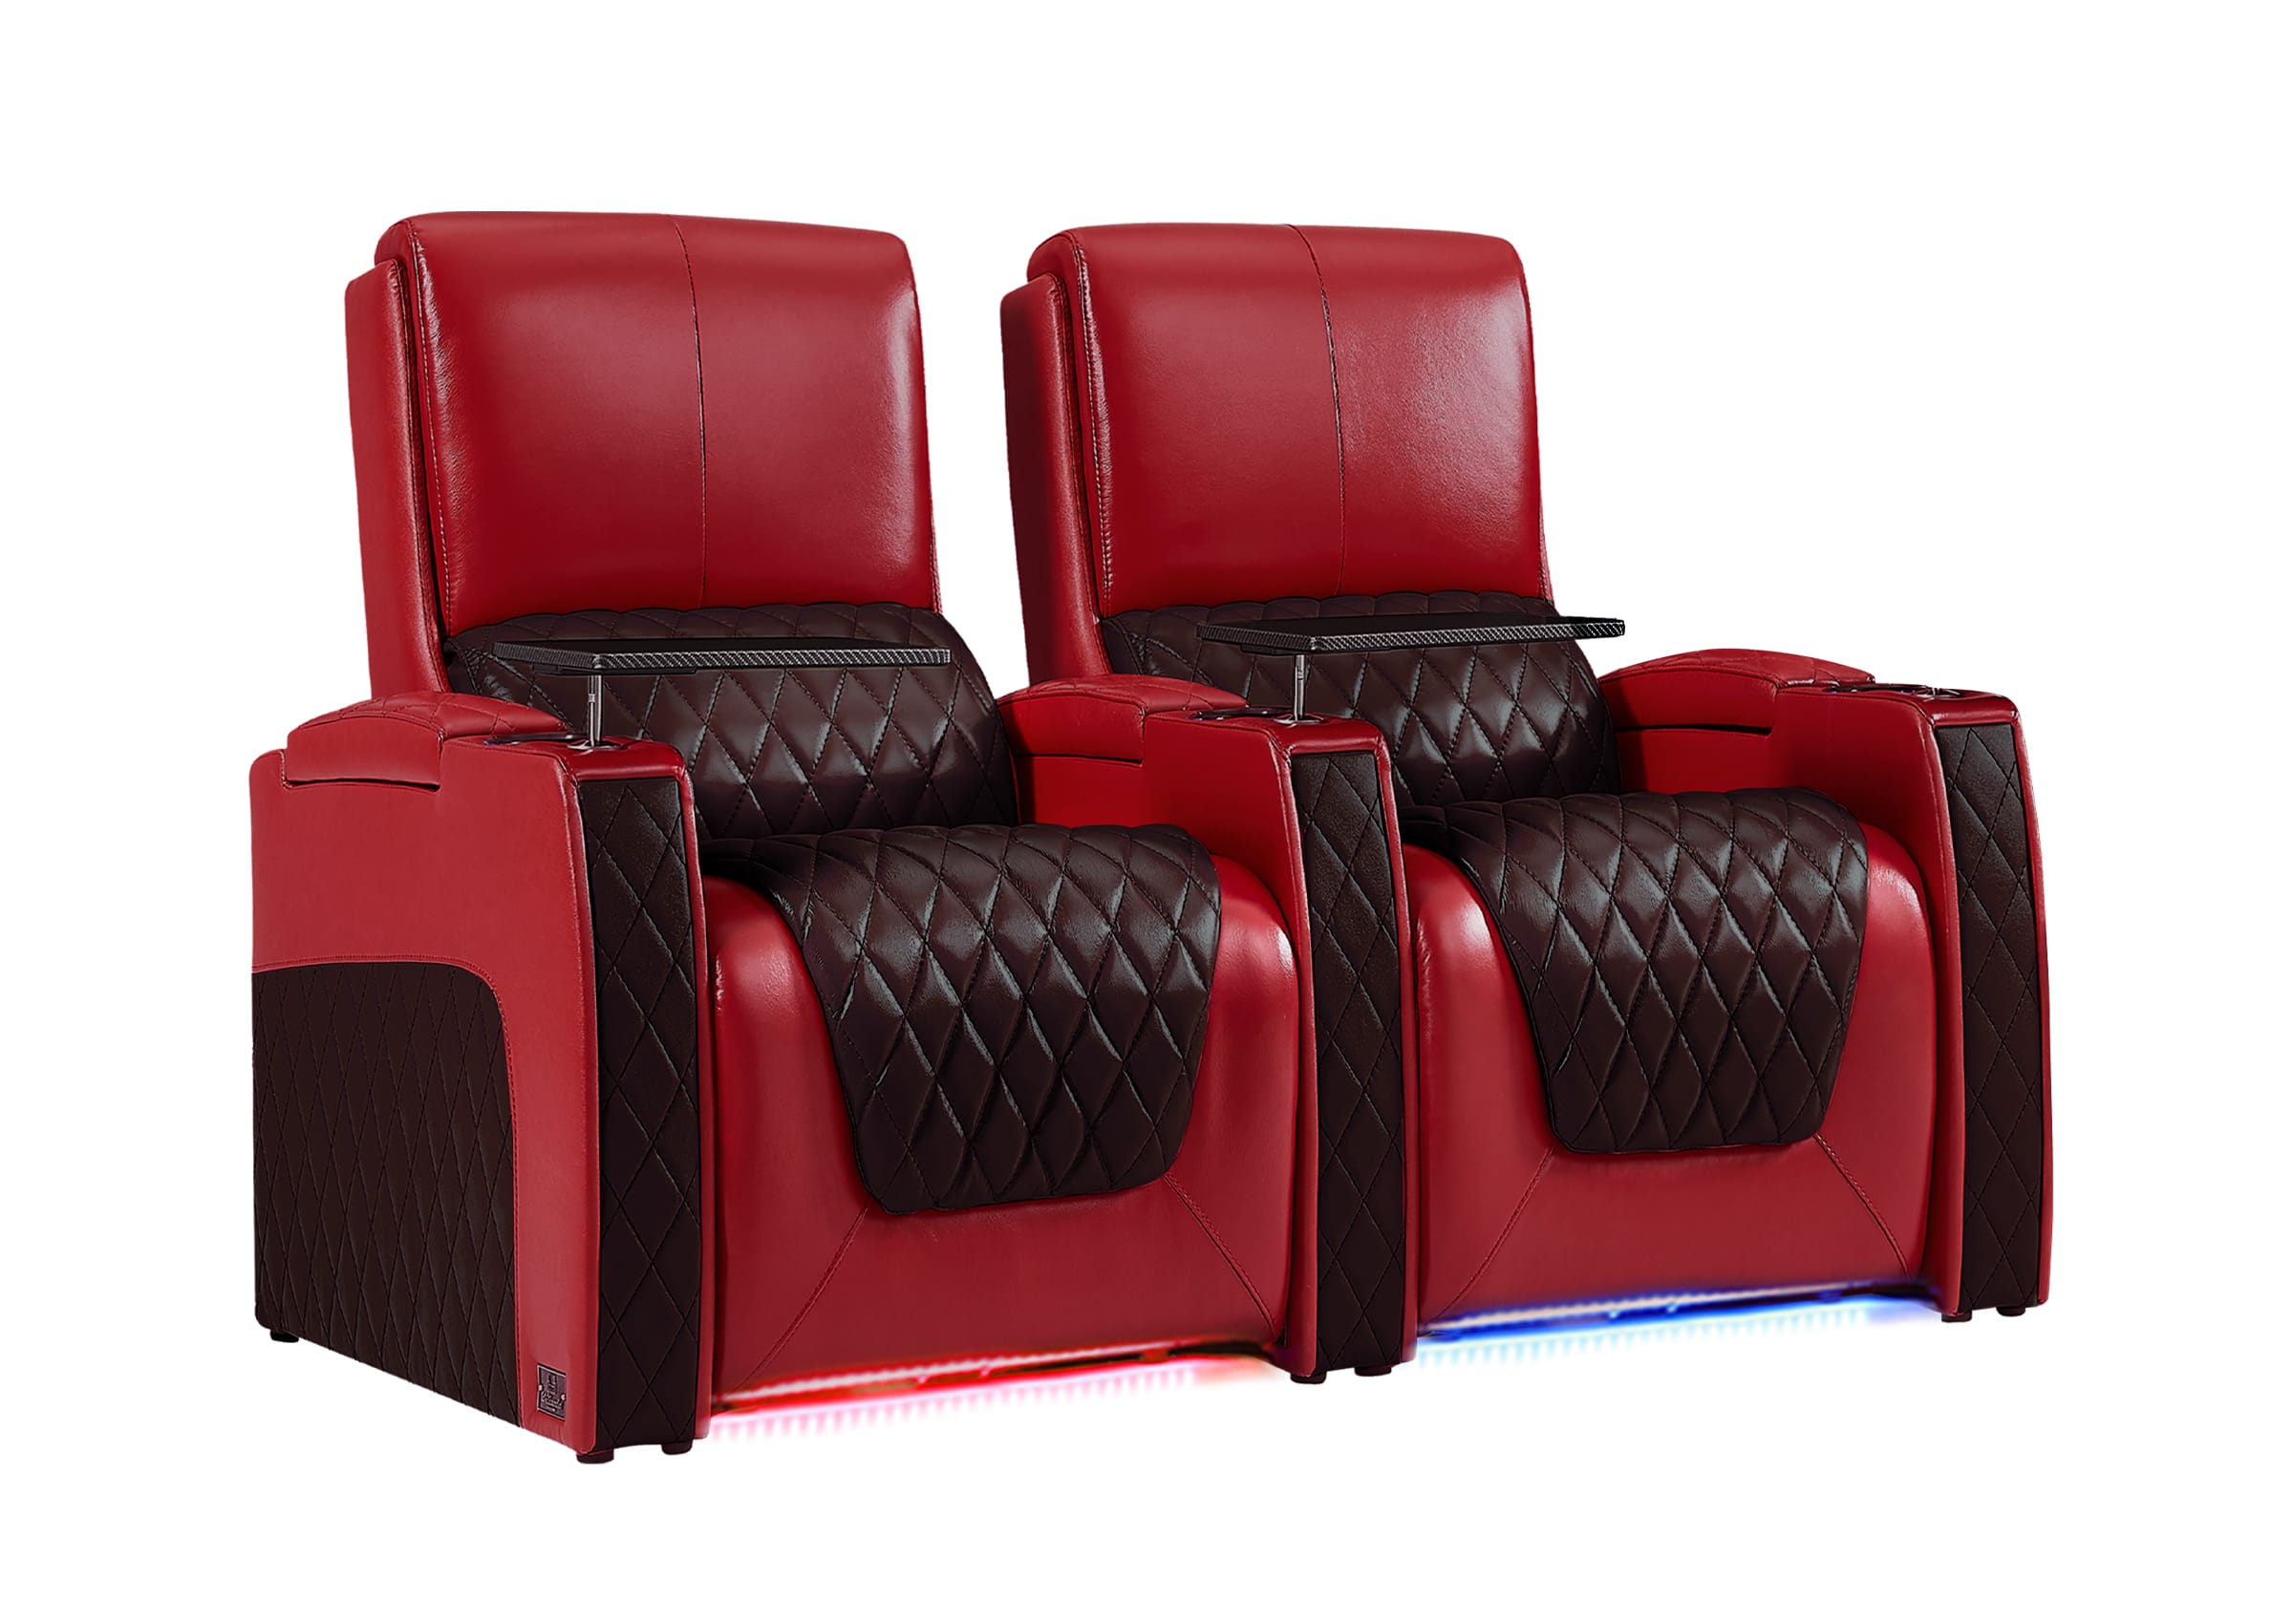
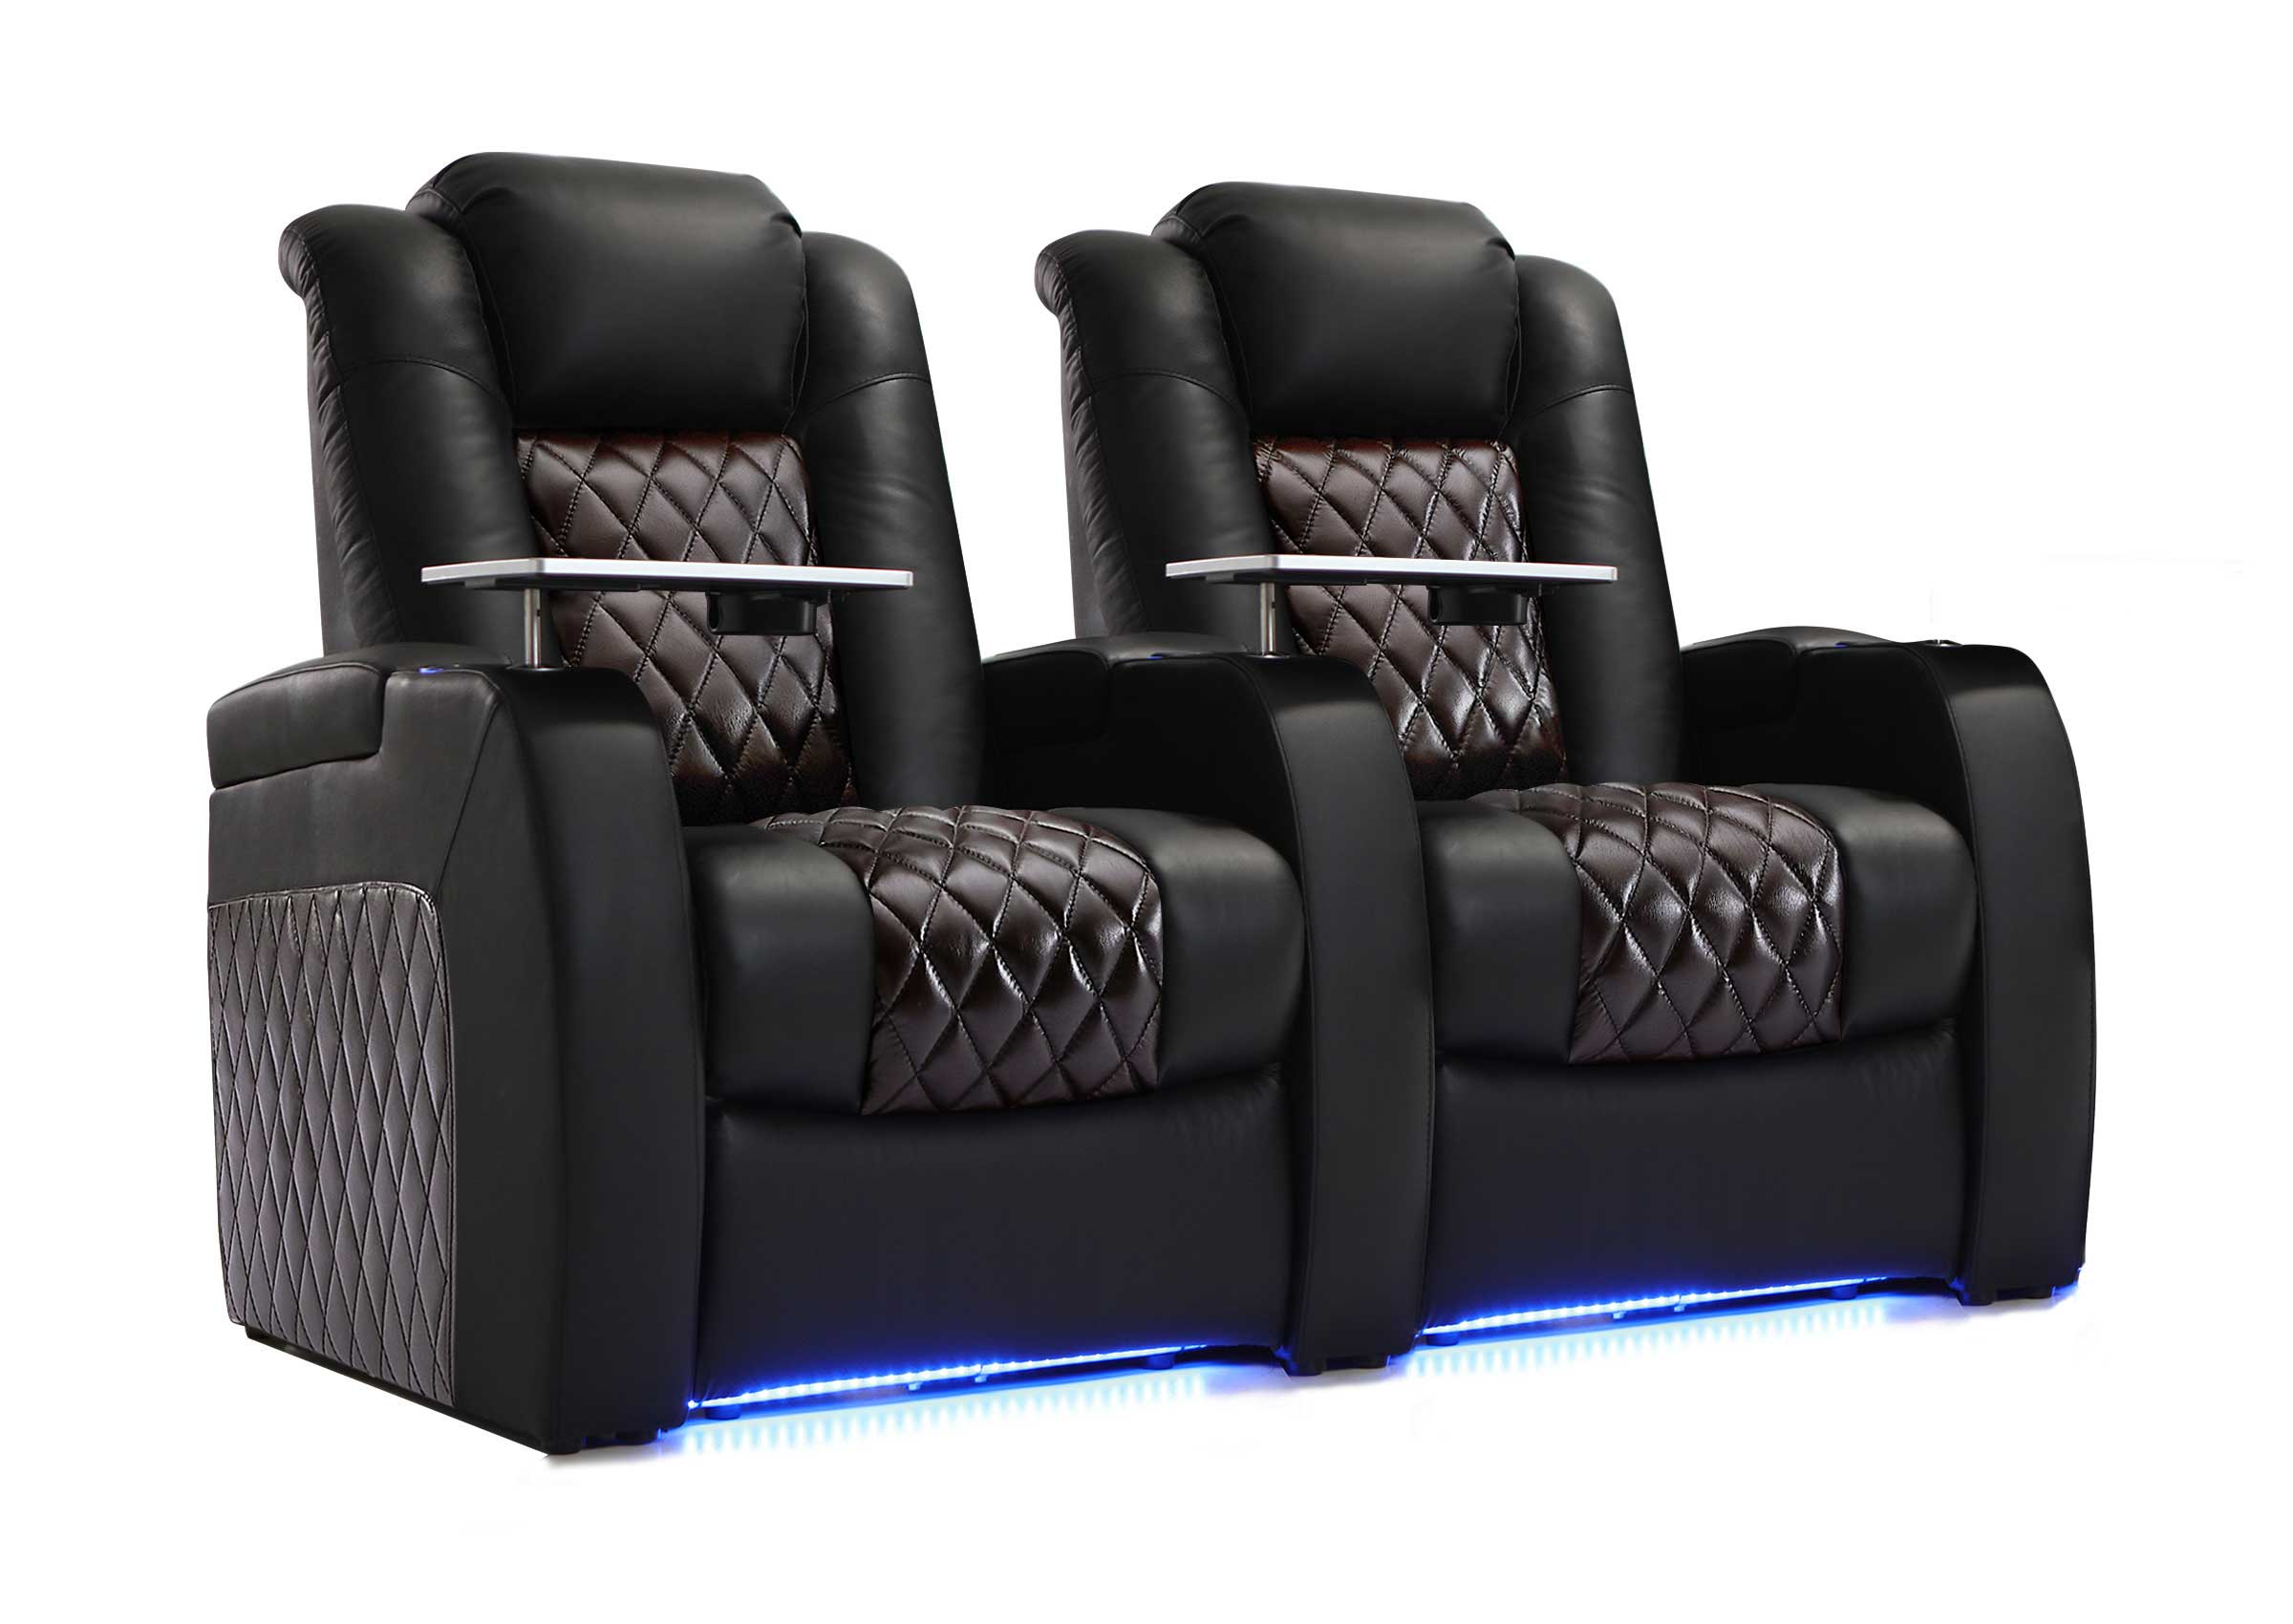
Record each row, finished riser height, seat-back height, headrest travel, and reclined footprint. A product drawing can start the plan, but the final check needs the actual seat or an accurate full-size mock-up.
If the room and row positions are not final, verify the home theater dimensions and seating layout first.
Build an Occupancy Envelope, Not One Head-Height Number
“Seated head height” sounds like one measurement. In a theater recliner, it is a moving range.
For every row that comes near the beam, check:
- the highest fixed point of the seat back;
- the highest powered-headrest position;
- the crown of the tallest regular viewer while sitting naturally;
- the viewer’s head position while fully reclined;
- every intermediate recline and headrest position;
- the top of the person’s head while getting into or out of the seat;
- the path used to enter and leave the row.
The maximum obstruction may occur between fully upright and fully reclined. A powered headrest may rise as the backrest moves, and a viewer may lean forward before standing. Test the movement, not only the endpoints.
People also shift, sit forward, use pillows, and adjust headrests. Allow a reasonable buffer for normal movement and measurement tolerance. There is no universal clearance that suits every projector and room, so confirm it at full scale.

A Practical Preinstallation Beam Test
The safest and most reliable method combines a drawing with a temporary live-image test.
Step 1: Mark the proposed lens position
Mark the center of the lens at the proposed horizontal distance and finished height. If the projector has an offset lens, do not mark the center of the chassis by mistake.
Confirm that this position remains within the exact model’s throw, offset, and lens-shift limits. Lens shift can move the projected image without tilting the chassis, but the permitted range is model-specific and movement in one direction may reduce the available range in another. Epson’s lens-shift instructions, for example, show different ranges for different lenses rather than one universal allowance.
Step 2: Mark all four image edges
Mark the active image corners on the screen or temporary screen wall. Include the final bottom edge, which is often the critical boundary for head clearance.
If the screen height or image size is still undecided, test the realistic alternatives separately. Do not average them into one drawing.
Step 3: Draw both side and top views
In the side view, connect the proposed lens position to the top and bottom of the active image. In the top view, connect it to the left and right edges.
String can visualize these boundaries in an empty room, but secure it so it creates no trip or eye-level hazard. Use a laser level only to mark surfaces in an unoccupied work area; never aim a laser or projector lens toward anyone’s eyes.
Step 4: Place the seats at finished elevation
Set the chairs in their final positions. If the riser is not built, use a stable full-height mock-up or mark its finished elevation accurately. Never place a chair on an unstable improvised stack.
Check every seat that overlaps the beam in the side or top view. The center chair is not automatically the worst case.
Step 5: Test real users and seat movement
Have the tallest regular viewer sit naturally, adjust the headrest, recline, lean forward, and stand. Repeat the critical positions in each row, then walk the usual entry and exit routes. Record whether a shadow occurs while seated, while standing, or only while crossing the room.
Step 6: Run a temporary live projection
When possible, temporarily secure the exact projector close to the proposed lens position and display a full-frame grid or bright test image. Watch all four edges while each seat and traffic condition is tested.
Keep viewers away from the lens and beam during setup. Epson’s projector safety instructions warn against looking into the operating lens or standing in front of it where bright light can reach the eyes. Children need particular supervision.
Do not hold a book or board in front of the lens to trace the beam. The same instructions warn that objects blocking projector light can become hot. Observe shadows from a safe position instead.
Use This Test Matrix Before You Approve the Mount
One seated person is not enough for a multirow test. Run the conditions that occur in actual use.
| Test condition | What to watch for |
|---|---|
| Front row upright | Crown of the head or raised headrest clips the lower image |
| Front row fully reclined | Head shifts rearward into a narrower part of the cone |
| Headrest at maximum travel | Seat specification understates the highest obstruction |
| Rear row at finished riser height | Riser raises viewers into the beam even though sightlines improve |
| Tallest regular viewer in each critical seat | One person exposes a problem hidden by an average-height mock-up |
| End seats occupied | Off-center or horizontal cone interference appears |
| Viewer leans forward and stands | A regular movement creates a large or unsafe interruption near the lens |
| Normal aisle crossing | Traffic produces an occasional edge shadow or repeated full-image interruption |
| Every saved aspect-ratio or lens-memory mode | Zoomed or shifted image boundaries change the closest clearance |
Record each result as pass, temporary interruption, or fail. This prevents a brief aisle shadow from being treated like a permanently blocked picture.
How to Read the Shadow Pattern
The position and behavior of a shadow can help identify the obstruction.
A shadow remains while everyone is seated
This is a design failure for a normal viewing position. Check the viewer, powered headrest, seat back, and riser elevation. Do not ask a regular viewer to maintain an unnatural posture to keep the picture clear.
The shadow appears only as the recliner moves
The seat or viewer crosses the cone during travel. Decide whether that movement is rare and acceptable or likely to happen repeatedly during a movie. Test powered headrests separately from the main backrest.
The shadow appears when someone stands
If the person is near the projector, the interruption may cover a large part of the screen. If standing is the only way to leave a row, frequent shadows indicate a layout problem rather than a minor inconvenience.
A corner darkens when an end seat is occupied
Review the top view. The person may be clipping the horizontal edge of the light cone, especially with an off-center projector or a wide screen.
The image is dark or cut off when the room is empty
That is unlikely to be a seating obstruction. Check the lens, mount, image blanking, screen border, zoom, and projector settings before changing the seats.
Why Risers Create a Projector-Beam Tradeoff
A riser is normally calculated to improve the back row’s view over the front row. That calculation does not automatically include the projector.
The effect depends on where the lens sits relative to the raised viewers:
- A projector behind the back row may send its lower image boundary close to rear-row heads.
- A projector above or just in front of the back row may place the lens close to the tallest movement envelope.
- A taller riser can improve the rear sightline while reducing beam clearance.
- Moving the screen upward to regain clearance may make the viewing angle less comfortable, particularly when reclined.
Freeze the riser height, seat model, screen height, and candidate lens position in the same drawing before construction. If any one of them changes, recheck both geometries.
The beam plan does not replace a riser sightline plan. They answer different questions but must use the same finished-floor measurements.
Use a home theater riser height and row planning guide for the viewer-to-screen sightline, then apply this beam test separately.
CONFIRM YOUR SEATING PLAN
Will Your Seating Configuration Clear the Projector Beam?
Compare seat dimensions, headrest movement, row height, and full-recline clearance before the projector mount and riser become permanent.
Optional: Estimate the Lower Beam Boundary
Most users can rely on a scaled drawing and live test. For a more detailed side-view check, use this simple estimate.
Measure all heights from the same finished floor:
- L = lens height;
- S = height of the bottom edge of the active image;
- D = horizontal lens-to-screen distance;
- d = horizontal distance from the lens toward the screen to the point being checked.
The estimated height of the lower image boundary at that point is:
Lower beam height = L + (d ÷ D) × (S − L)
Compare that result with the highest point of the viewer-and-seat envelope at the same location. If the envelope reaches the boundary, part of the projected image can be blocked.
For example, use the crown of the tallest viewer or the top of a powered headrest—not seated eye height—as the comparison point.
This is only a planning check. It assumes accurate endpoints and does not replace the exact projector’s installation data or a live test. Apply the same idea in a top view when end seats or aisles approach the left or right beam boundary.
Plan Walkways as a Frequency Problem
Some front-projection rooms cannot prevent every person from crossing the beam. The practical question is how often it happens and how disruptive it is.
Consider three levels:
| Traffic condition | Practical interpretation |
|---|---|
| Someone crosses the beam only during setup or rare entry | Often acceptable if the path is safe and the interruption is brief |
| A viewer must cross the beam whenever leaving a row | A repeated compromise worth redesigning before construction |
| Normal standing or seat adjustment blocks the image | The lens, seat, riser, or screen geometry needs revision |
If possible, keep the normal aisle outside the top-view light cone. A side or rear entry may reduce interruptions, but only if it preserves safe egress. Never create a hazardous route simply to protect the picture.

What to Change When the Beam Is Blocked
Change one variable at a time and recheck the projector’s complete operating range.
1. Verify the measurements
Confirm the lens point, active image edges, finished riser height, and seat location. Common errors include measuring throw distance from the chassis and using an upright footprint for a recliner.
2. Move the lens within its valid mounting zone
A higher, farther, or differently centered lens may improve clearance, but it must remain within the model’s throw and lens-shift limits. Recheck noise, structure, ventilation, and service access.
3. Adjust screen height cautiously
Moving the image can change the beam boundary. It also changes how viewers hold their heads and eyes. Recheck seated comfort in upright and reclined positions rather than raising the screen until the shadow disappears.
4. Revisit row or riser geometry
A small change in row position or finished elevation may clear the beam. Make sure it does not reduce walkway width, reclining clearance, or the back row’s view.
5. Review the projector type or lens
If no conventional mounting position works, a different throw range or an approved alternate installation may fit the room better. That is a model-selection decision, not a reason to force the current projector beyond its specified geometry.
6. Treat occasional aisle shadows as an explicit compromise
If every seated position is clear and only rare movement interrupts the picture, document that compromise. It may be preferable to an uncomfortable screen height or unsafe circulation path.
Do not use digital keystone as the primary fix. It reshapes the displayed image electronically but does not turn a poor physical path into a reliable one. Likewise, do not solve the shadow by raising the screen until viewers are uncomfortable or by adding riser height without recalculating the beam.
Stop the Plan and Rework It If Any of These Are True
- A regular viewer blocks any part of the active image while seated normally.
- A headrest enters the beam, or a viewer must maintain a special posture to avoid a shadow.
- The only exit from a row causes frequent full-image interruption.
- The proposed lens position falls outside the model’s optical range.
- Clearing the beam requires an uncomfortable screen height or unsafe walkway.
- The projector mount would sit where a standing person can strike it.
- The plan depends on an installation orientation or mount not approved for the projector.
These are reasons to change the geometry before drilling, wiring, or building the riser—not details to fine-tune later.
Record the Final Clearance Plan
Keep the critical measurements together so a seat, projector, or construction change can be checked quickly.
| Planning item | Confirmed result |
|---|---|
| Projector model and lens | |
| Active image width, height, and aspect-ratio modes | |
| Lens-to-screen distance and finished lens height | |
| Screen top and bottom above finished floor | |
| Front-row seat and tallest viewer envelope | |
| Rear-row finished riser and viewer envelope | |
| Powered-headrest and recline movement result | |
| Left and right end-seat clearance | |
| Entry, exit, and aisle-shadow result | |
| Temporary full-image test result |
Frequently Asked Questions
Can theater seats block a ceiling-mounted projector?
Yes. A ceiling mount can place the lens above seated eye level while the lower part of the light cone still intersects a head, powered headrest, or raised back row. Check the rays to the full image edges.
How high should a projector be above the seats?
There is no universal height. It depends on the exact lens, throw distance, image size and height, seat locations, riser elevation, viewer height, and the projector’s offset or lens-shift limits. Determine a valid lens zone first, then test the complete occupancy envelope.
Does a riser help prevent projector shadows?
Not necessarily. A riser helps the rear viewer see over the front row, but it also raises the viewer toward the projector beam. Calculate the viewing sightline and light path separately.
Is seated eye height enough for a beam-clearance check?
No. Use the crown of the tallest regular viewer, the highest seat-back or headrest position, and the full motion used to recline, lean forward, and stand.
Can a recliner block the projector only when reclined?
Yes. Reclining changes both the seat and the viewer’s position. A powered headrest can also rise independently. Test the full motion because the closest approach to the beam may occur between fully upright and fully reclined.
Will lens shift fix a blocked projector beam?
It may allow a different lens position or image position, but only within the exact projector’s specified range. After any shift, recheck all image boundaries and do not assume that a menu adjustment automatically clears the physical cone.
How can I test the beam before drilling the ceiling?
Mark the exact lens point and active image corners, draw the boundary lines in side and top views, place the seats at finished elevations, test the tallest users through all seat movements, and finish with a temporarily secured live projection.
What if a shadow appears only when someone walks through the room?
Decide how often that route is used. A rare, brief interruption may be acceptable. A required aisle that crosses the beam every time someone leaves a row should be reconsidered before construction.
Should 16:9 and scope-screen modes be tested separately?
Yes, if zoom, lens memory, shift, or active image boundaries change. Test every saved presentation because the closest beam edge may differ.
The Most Useful Final Check
Stand in the finished room with the seats at their final elevations and ask two separate questions:
- Can every viewer see the intended image comfortably?
- Can the lens reach every edge of that image without passing through a normal viewer, seat position, or frequent traffic path?
If both answers are yes in the real seating states—not only on an empty-room centerline—the projector and seating geometry are ready to make permanent.
After the light path is confirmed, continue with the complete projector setup and calibration process.
Need to confirm seating dimensions before the projector mount or riser becomes permanent? Visit Weilianda Support or email leon@weiliandahome.com with your room measurements, proposed row layout, and seating questions.