














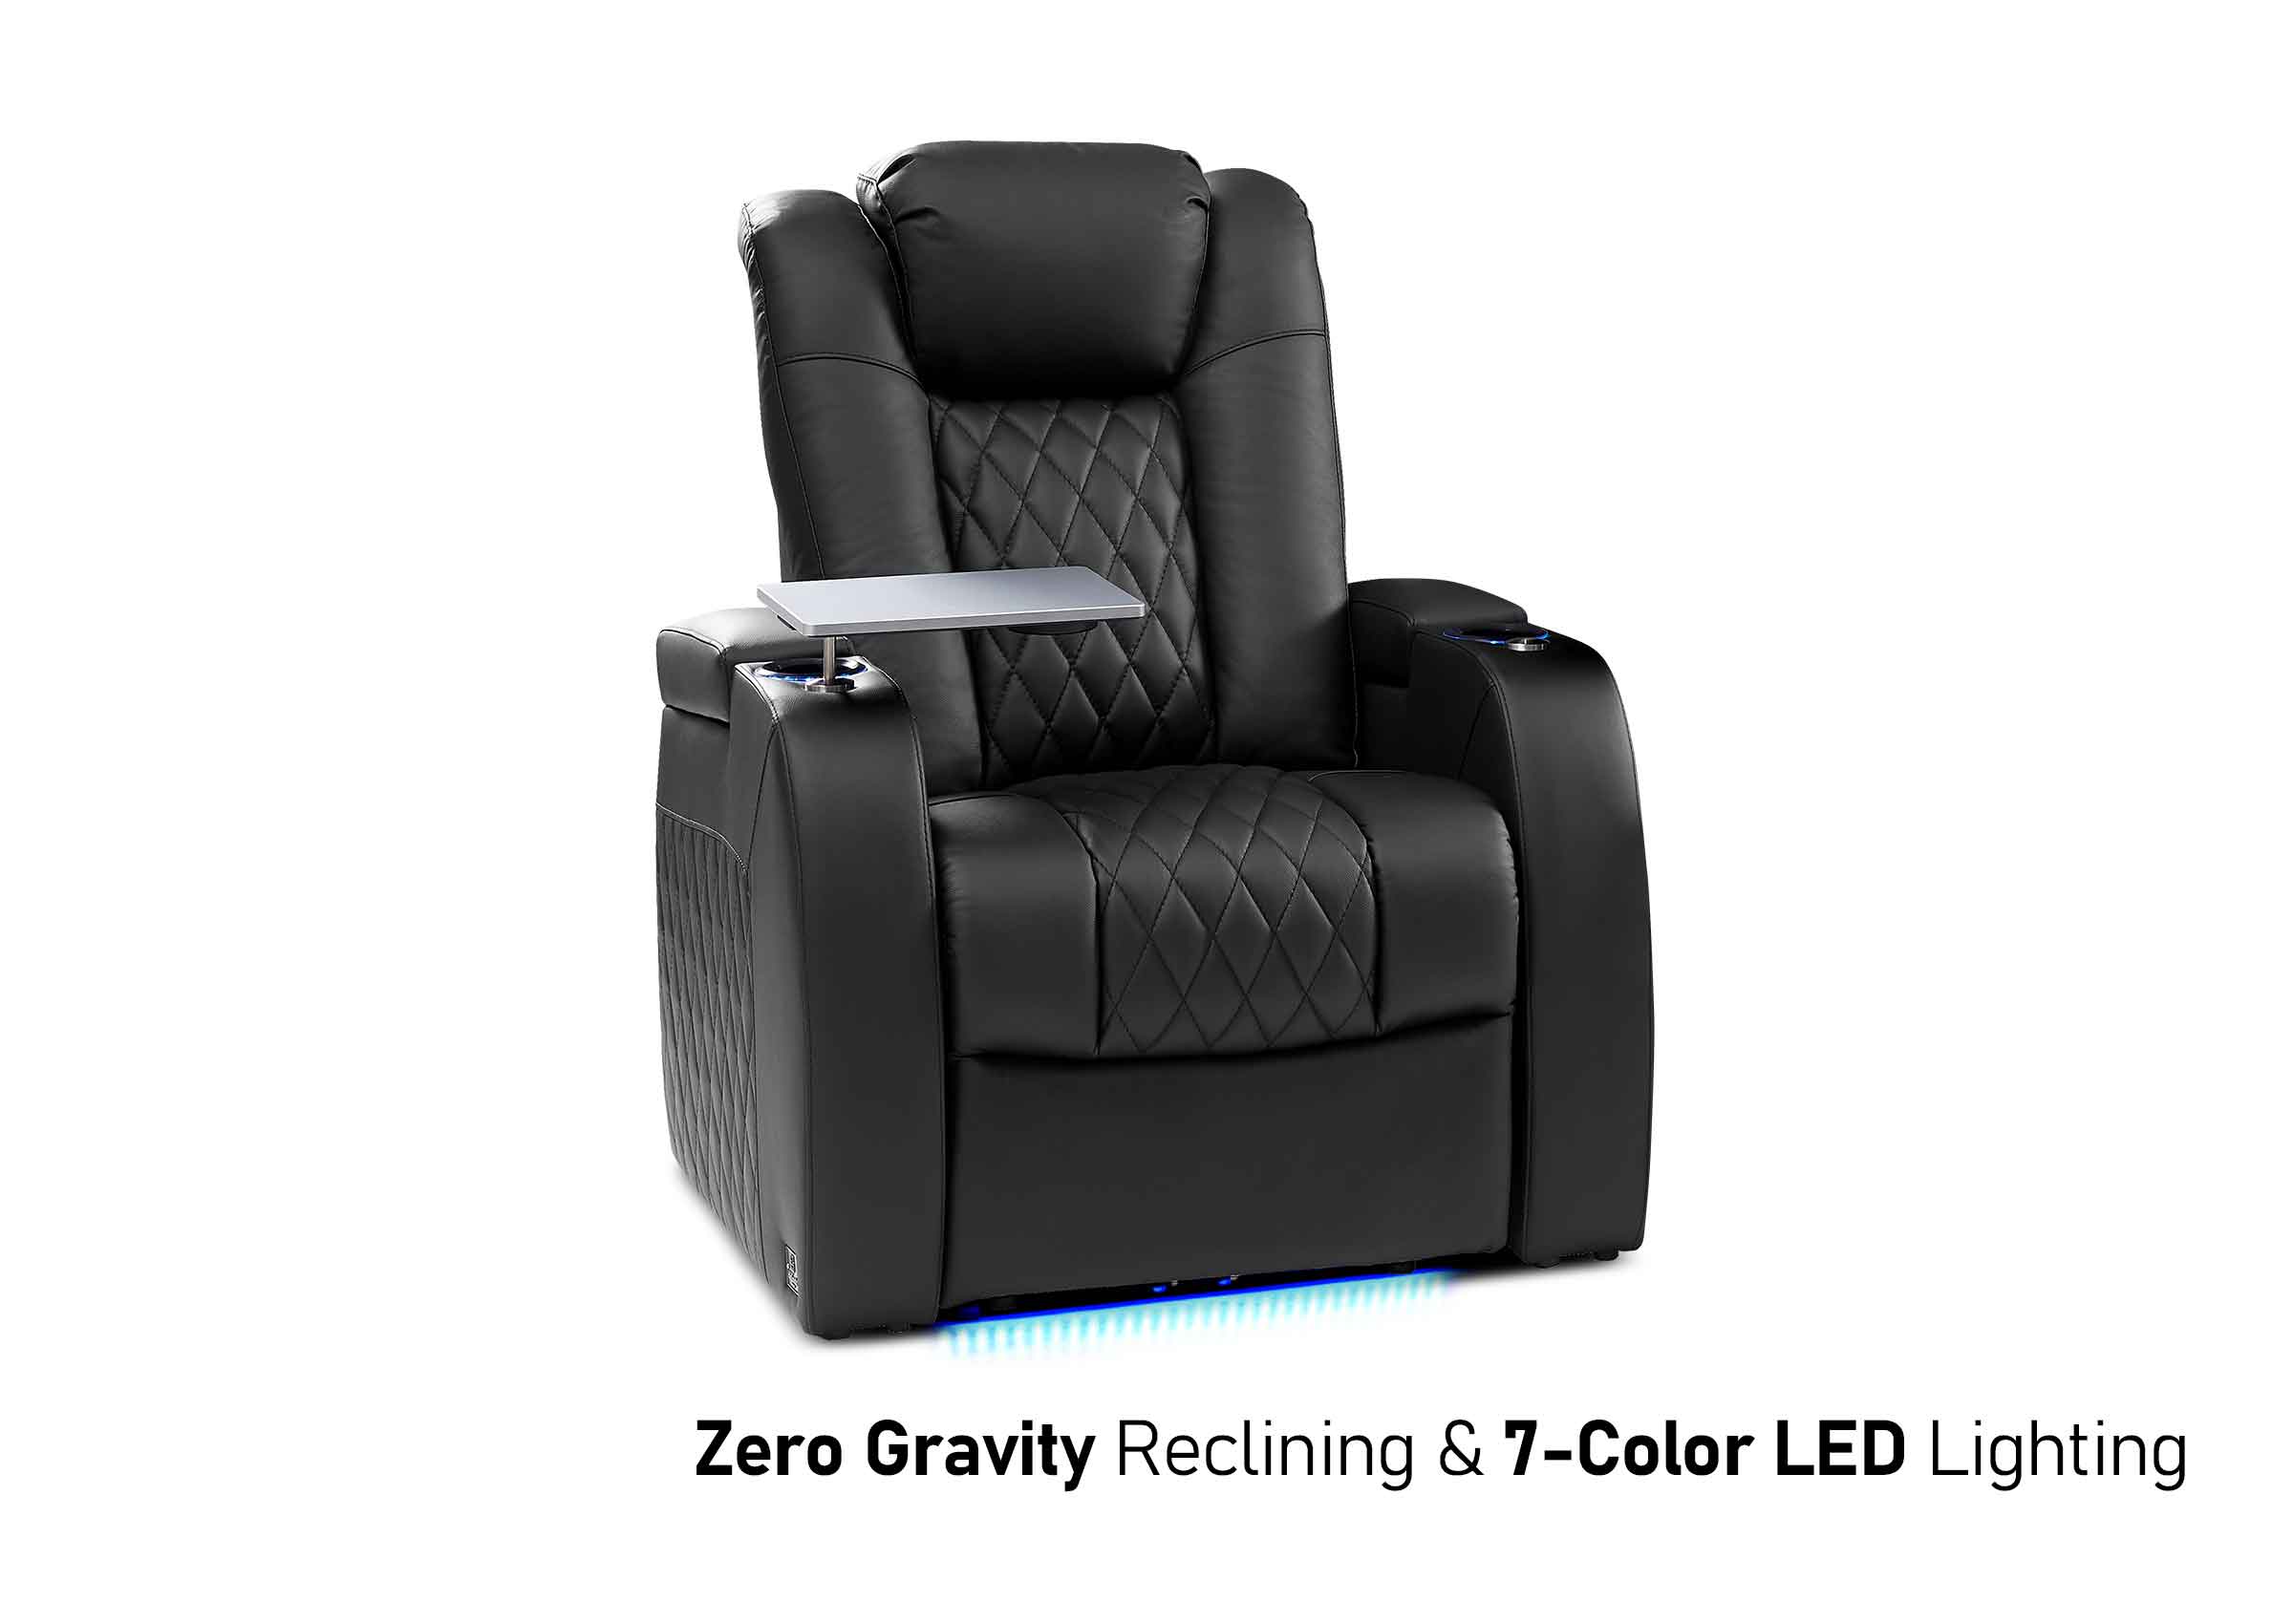

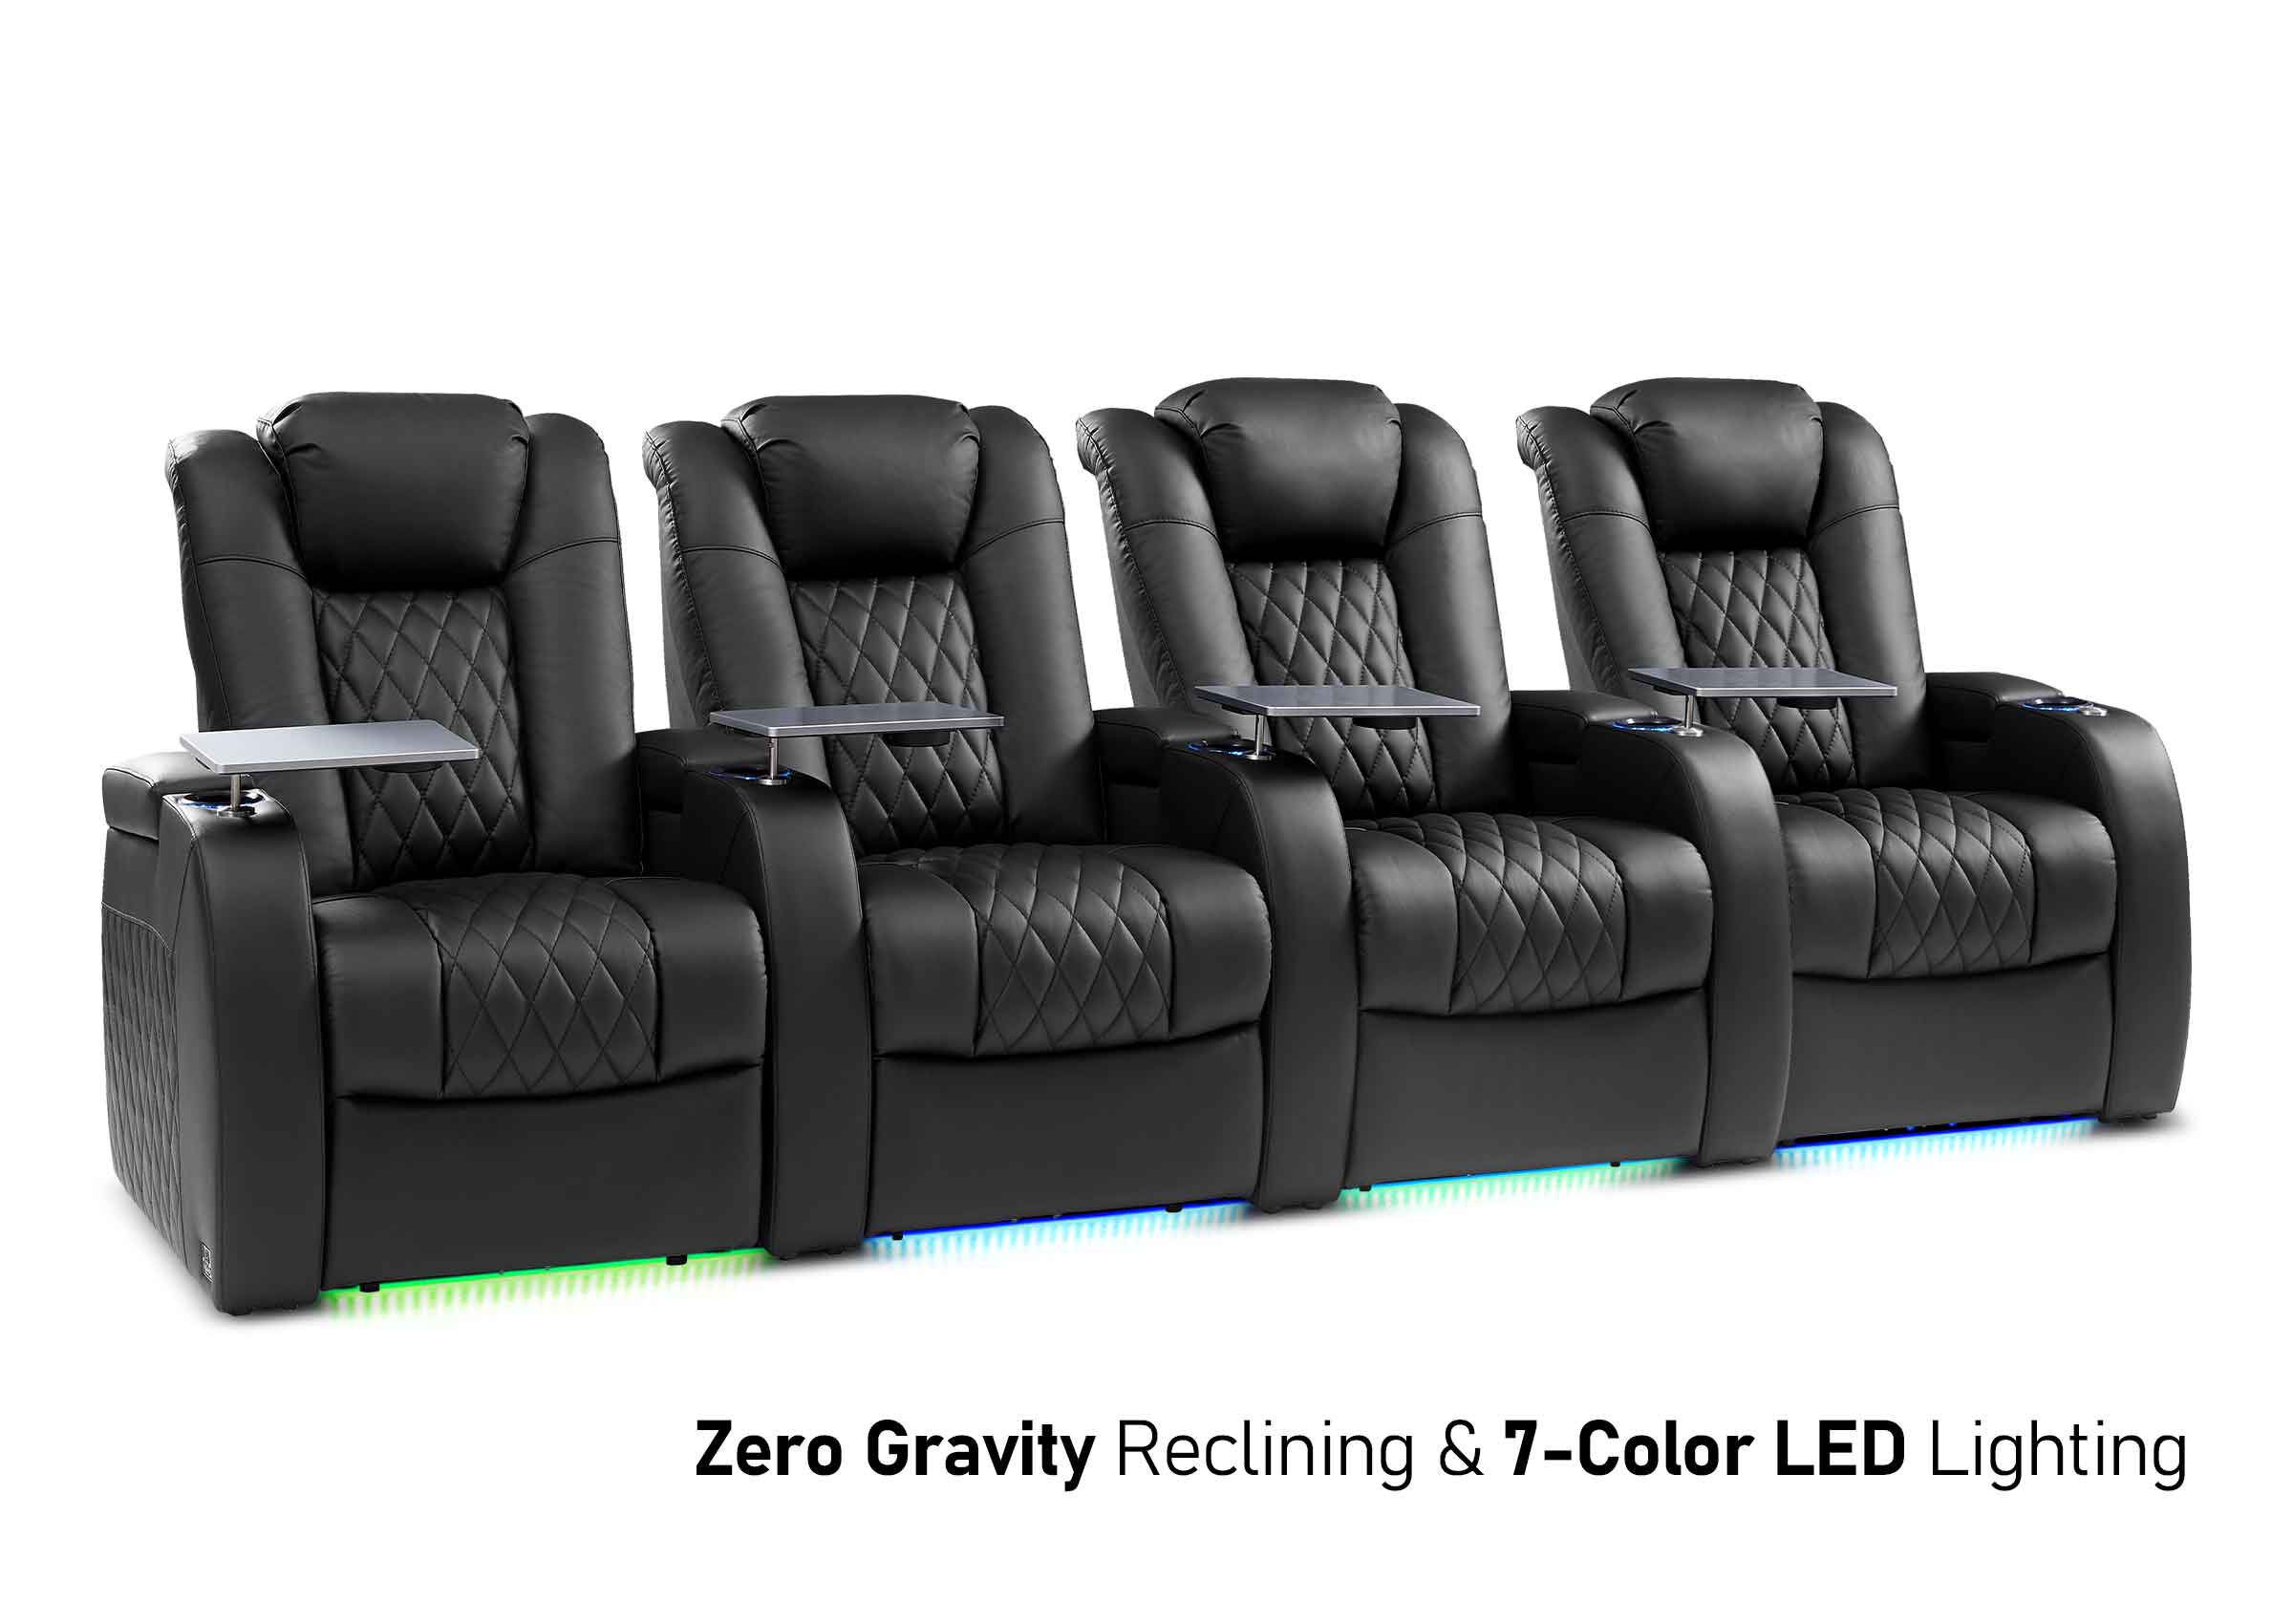
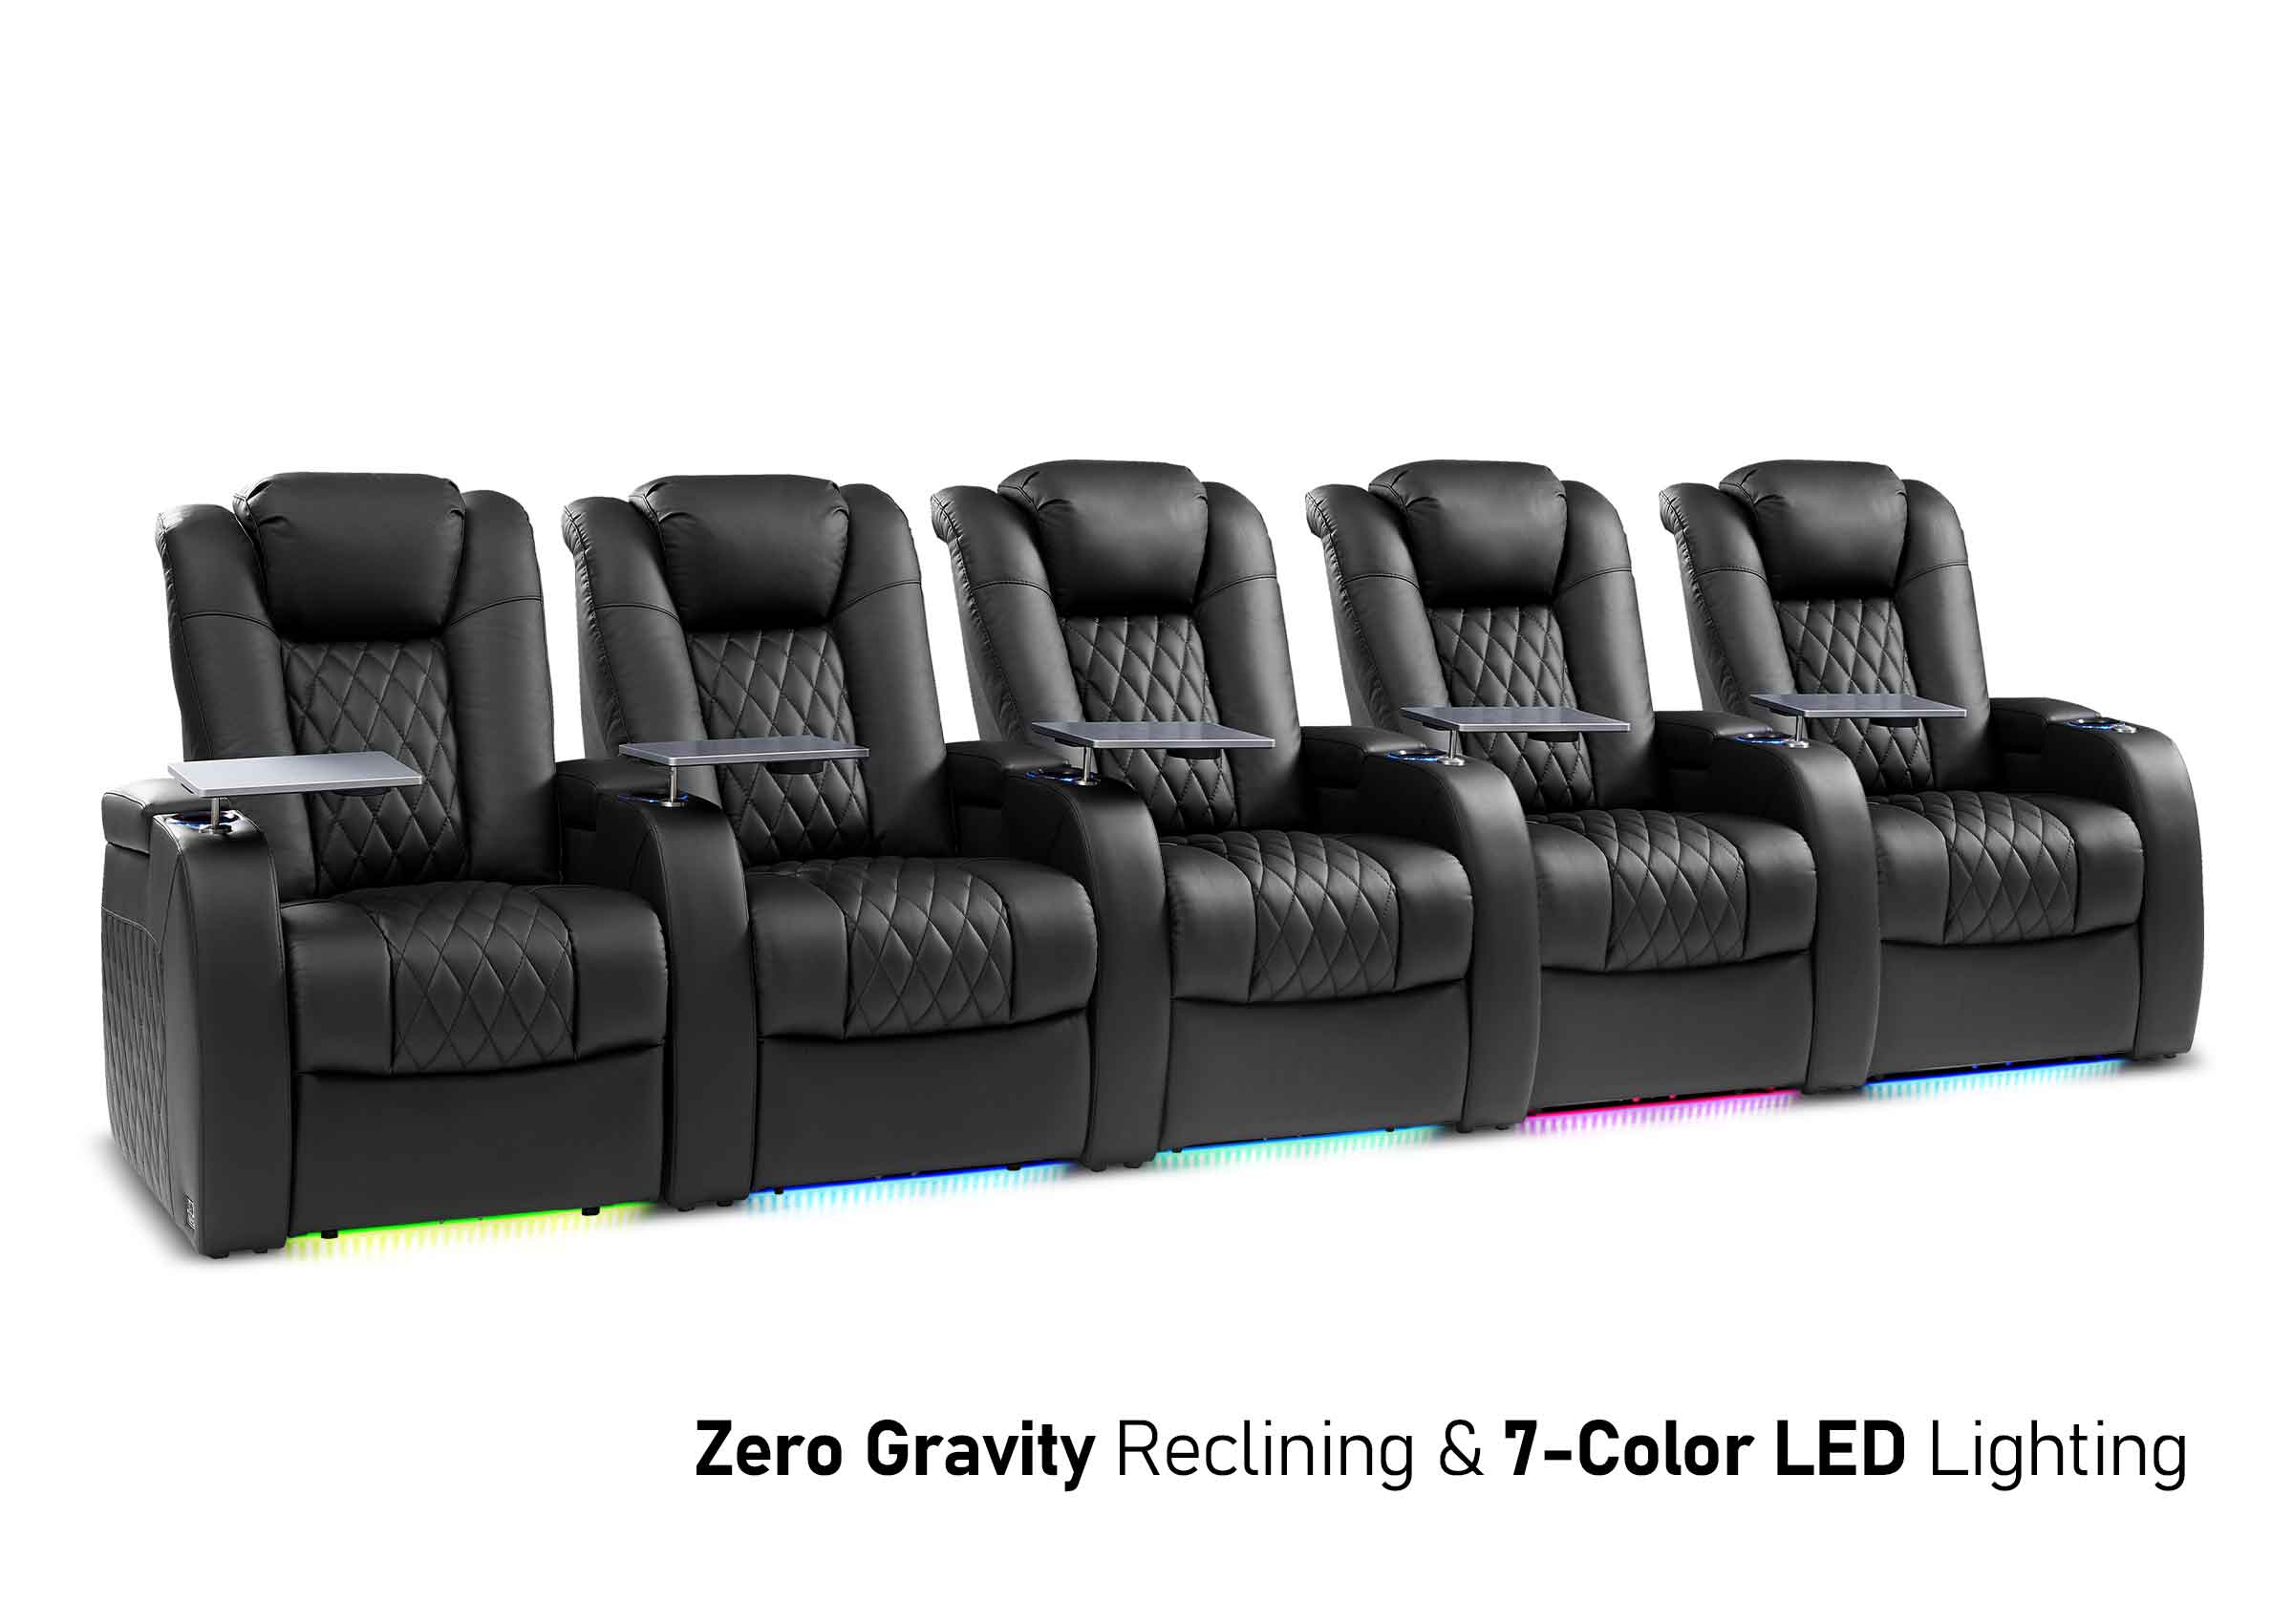
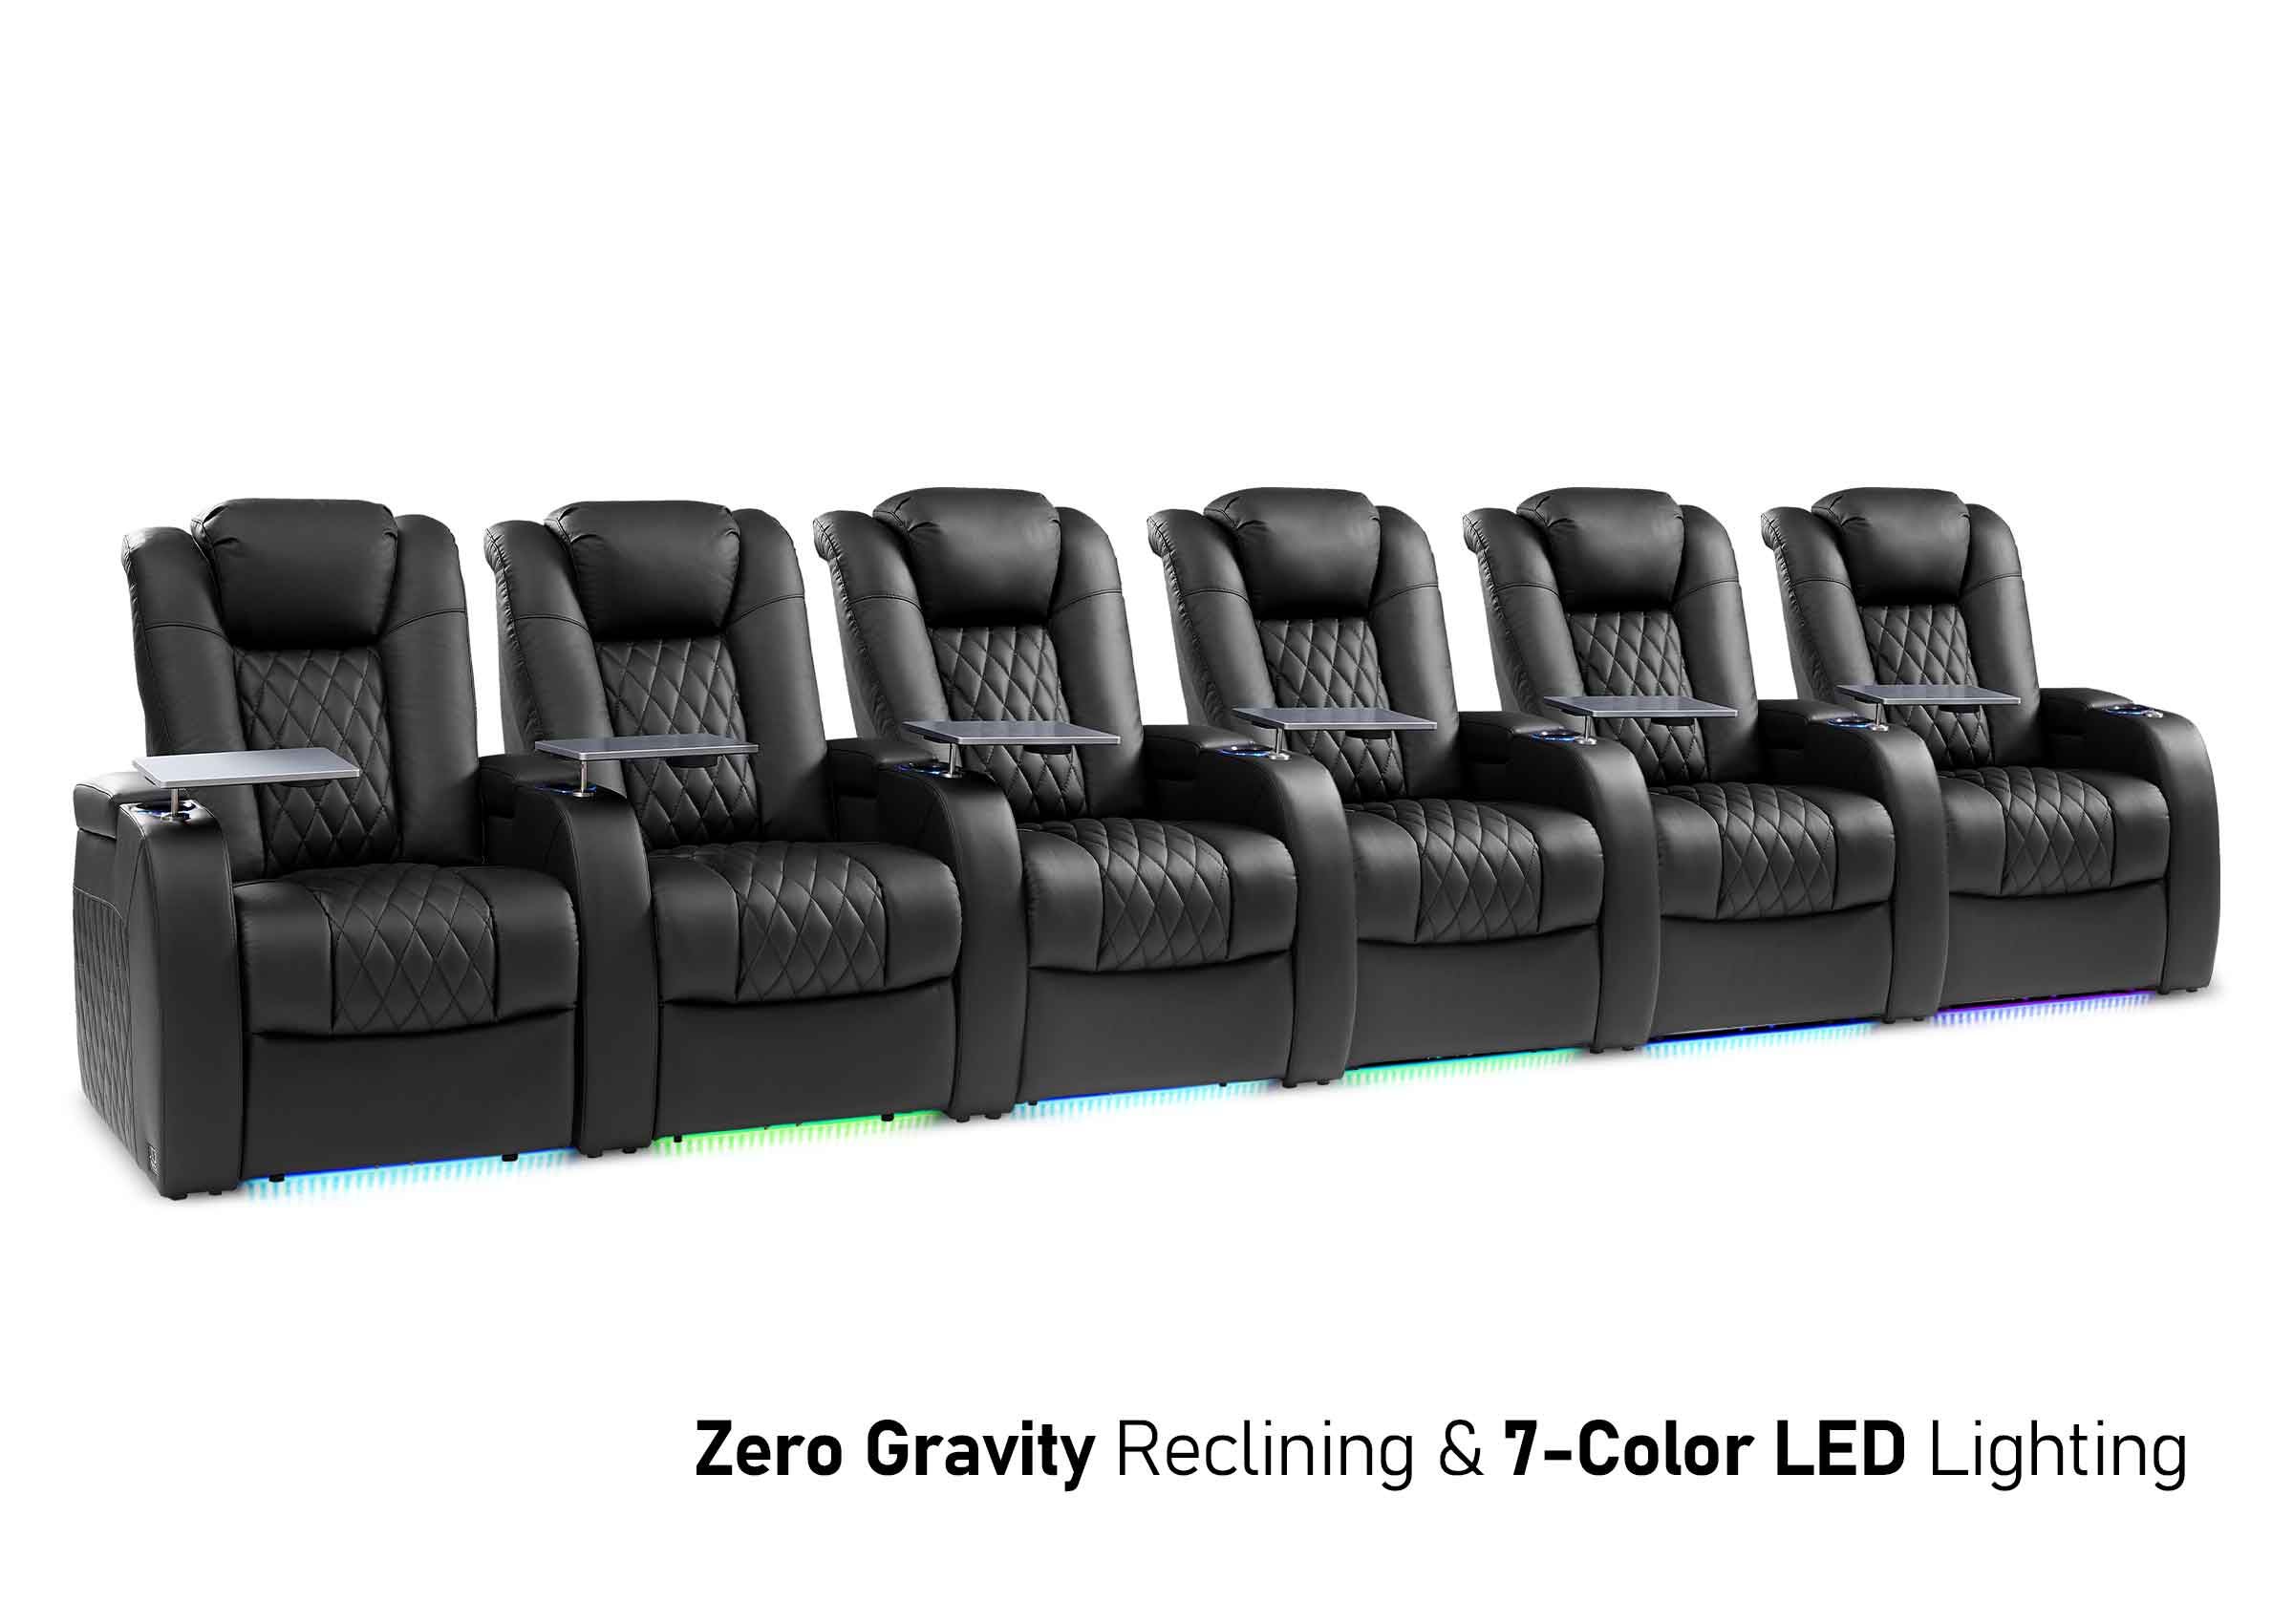



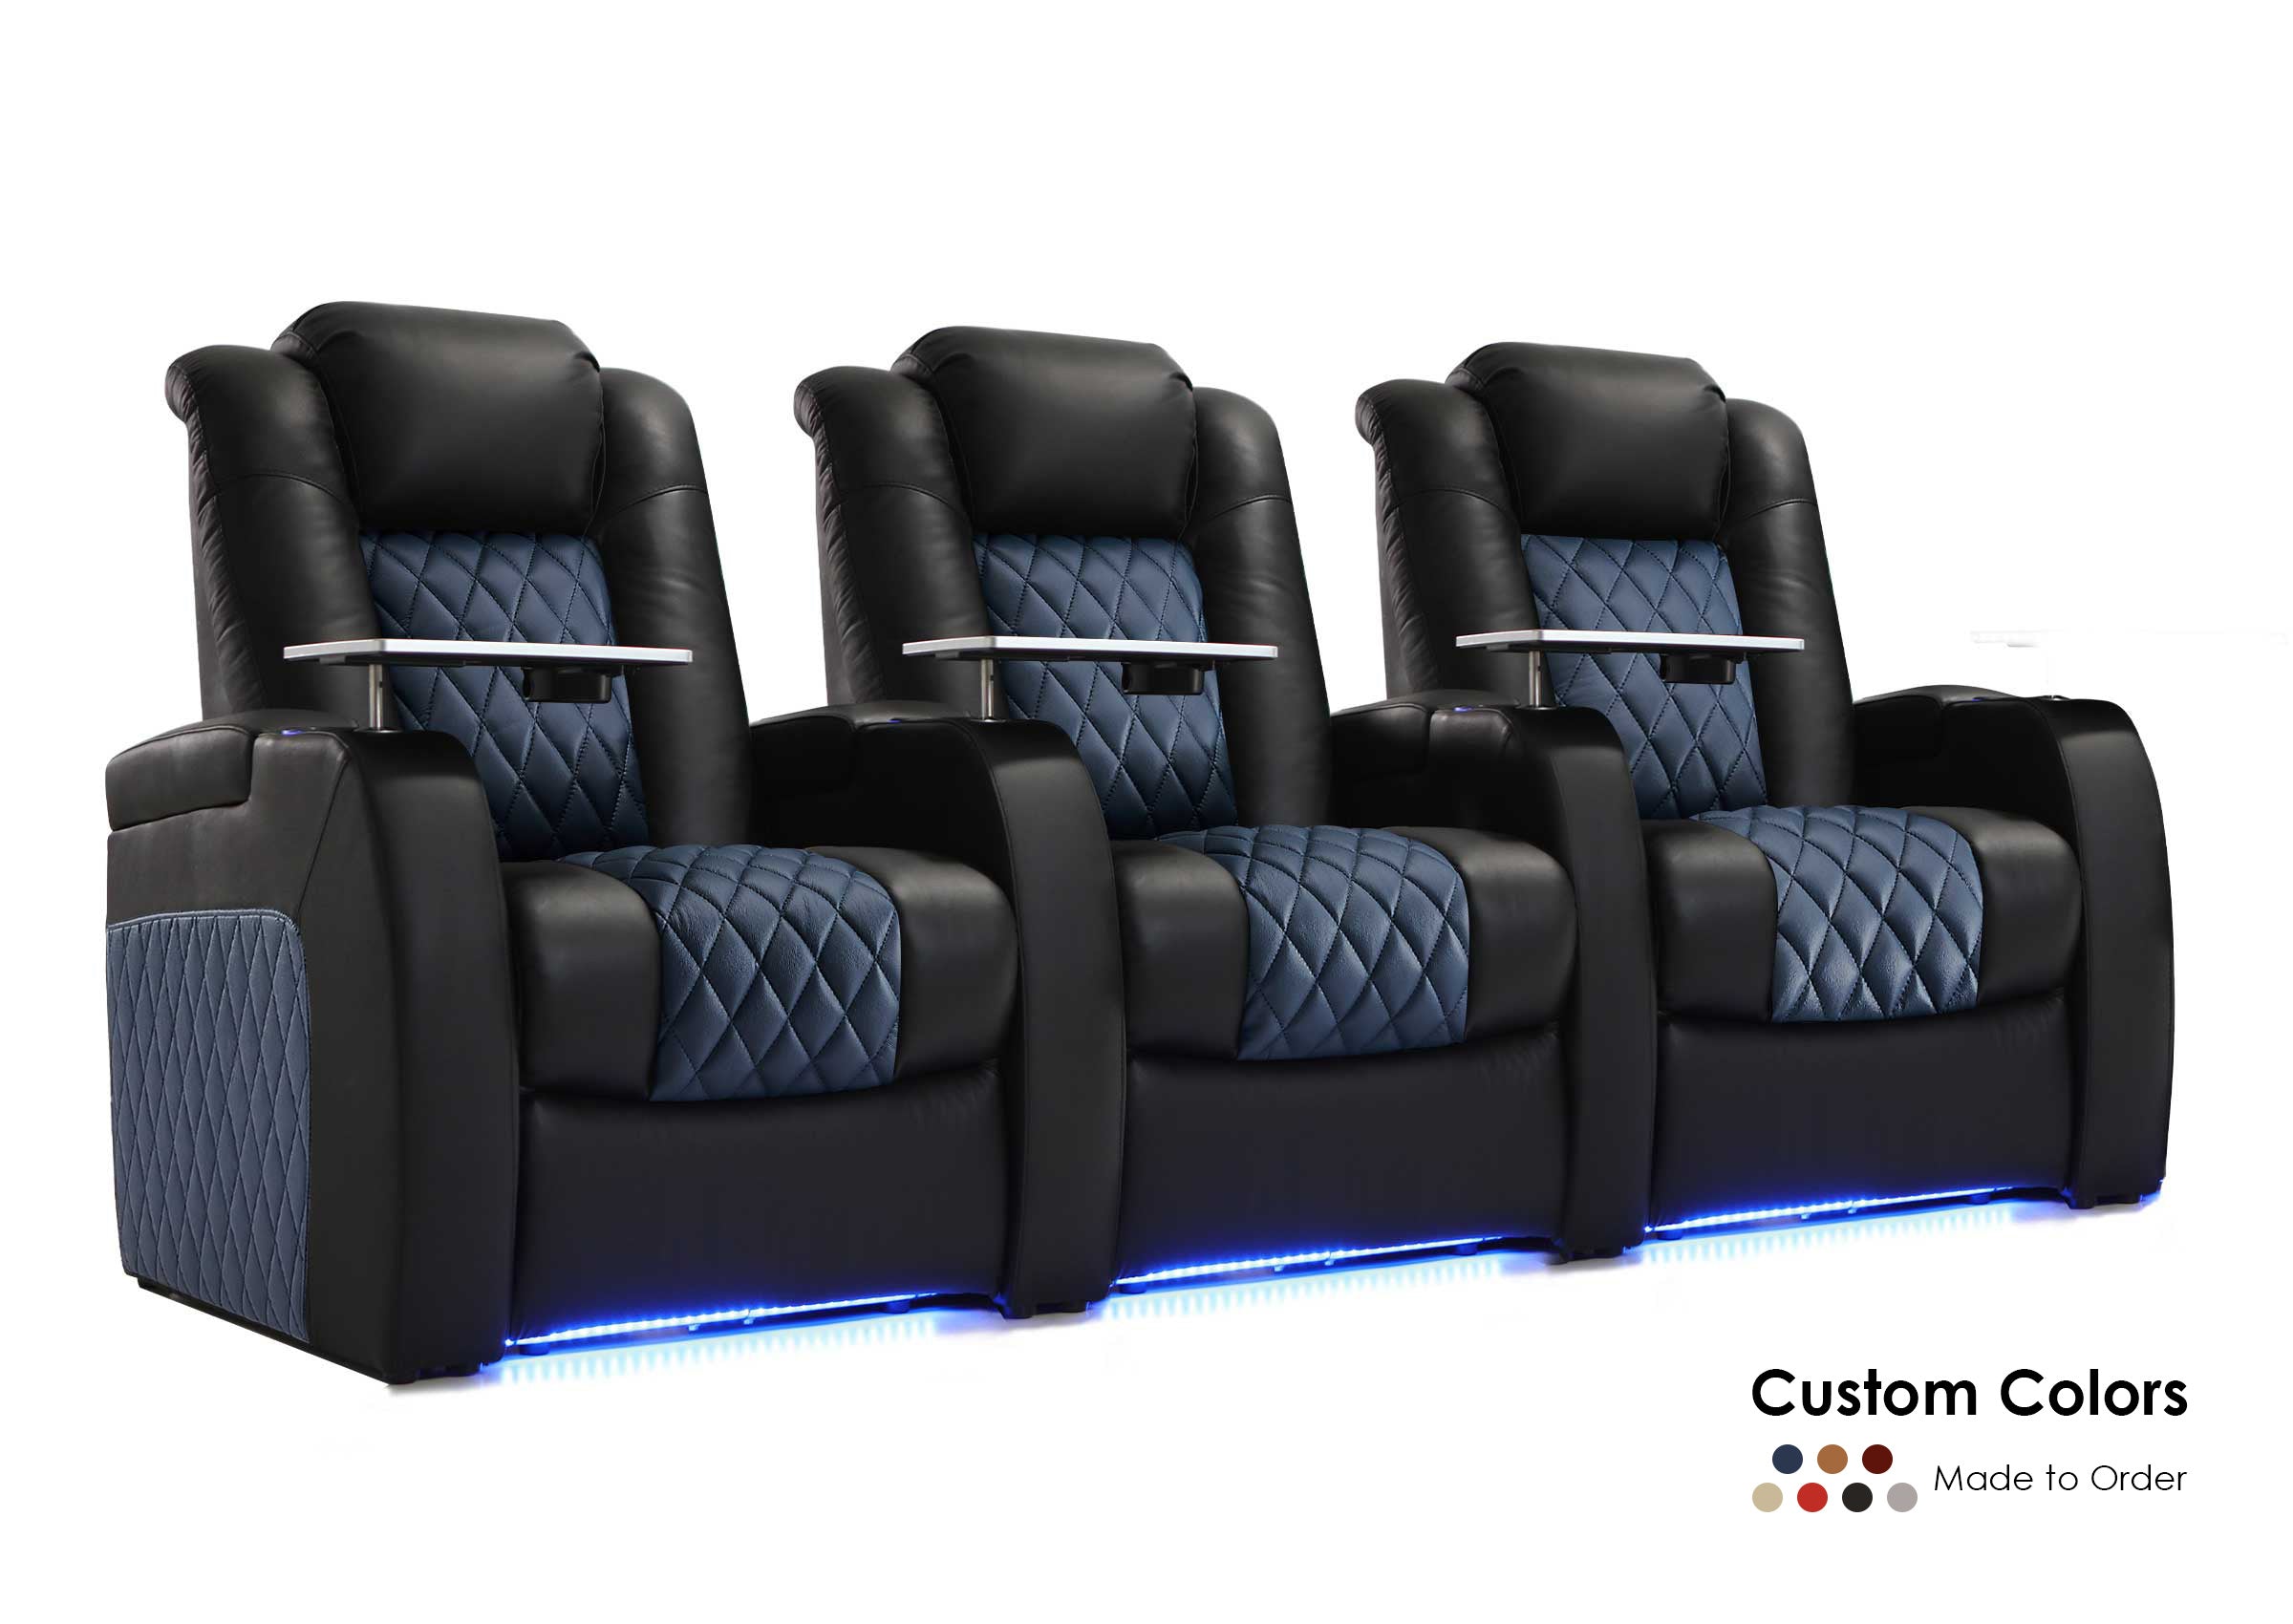

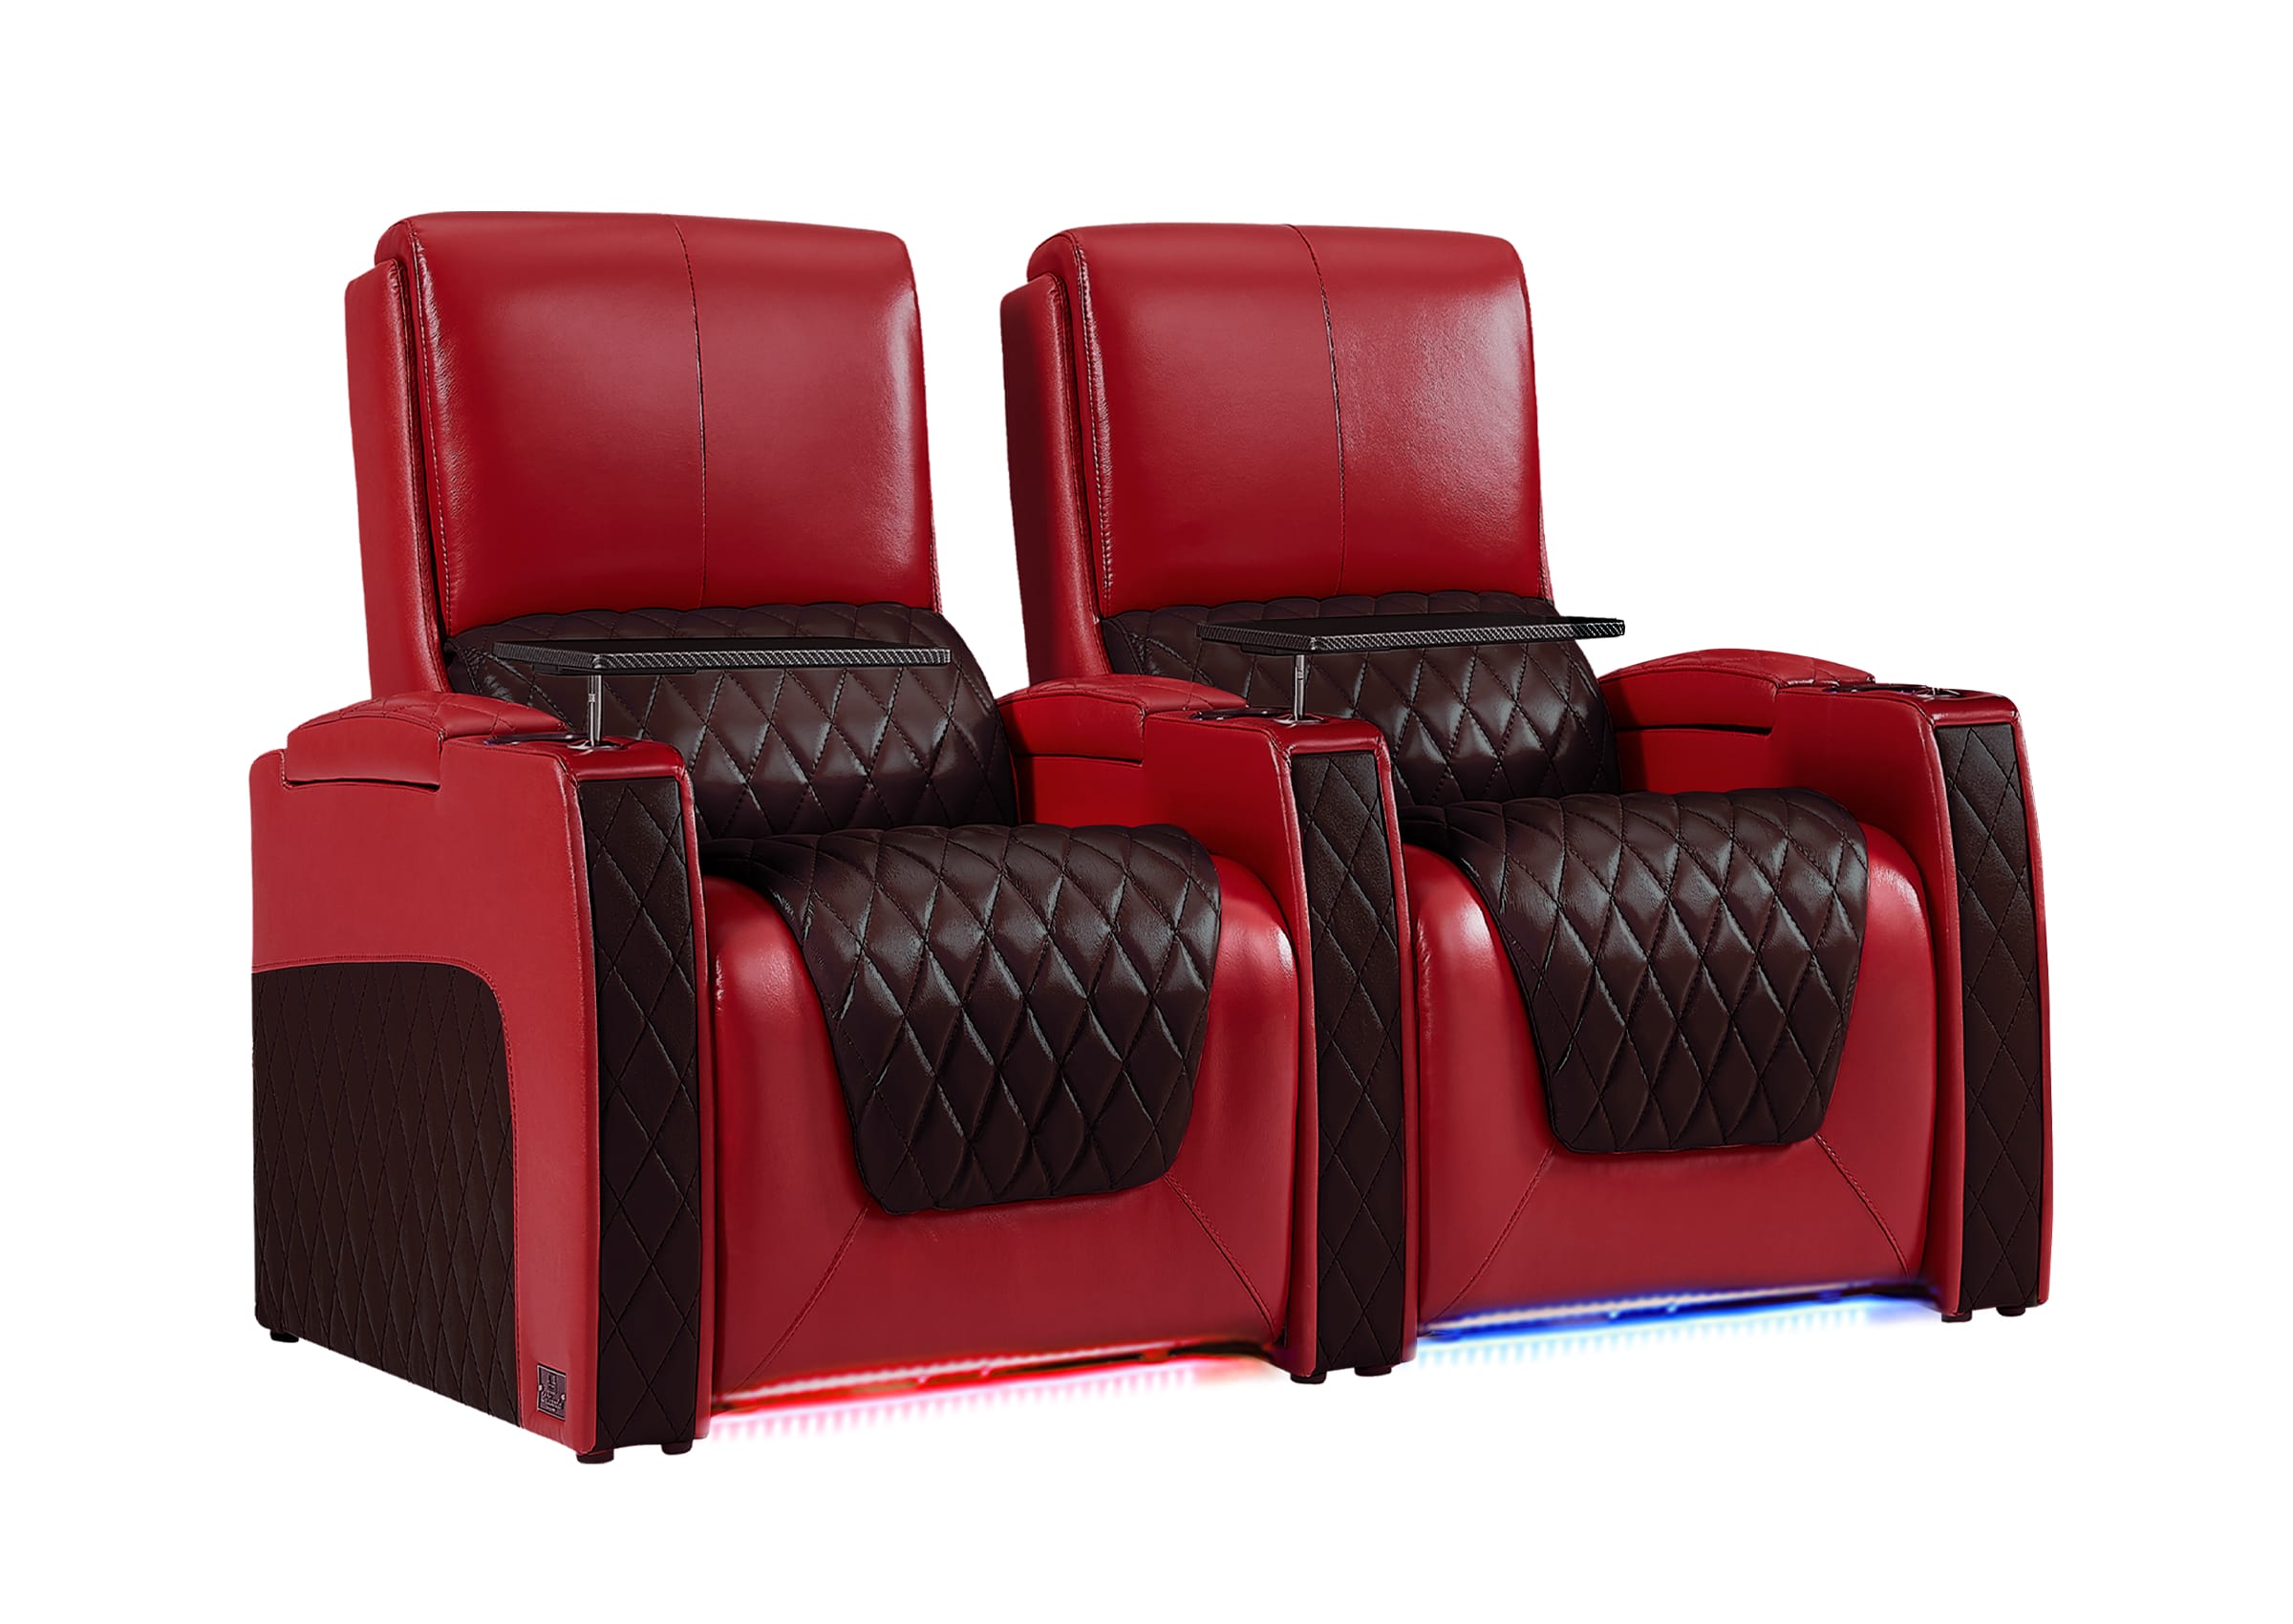
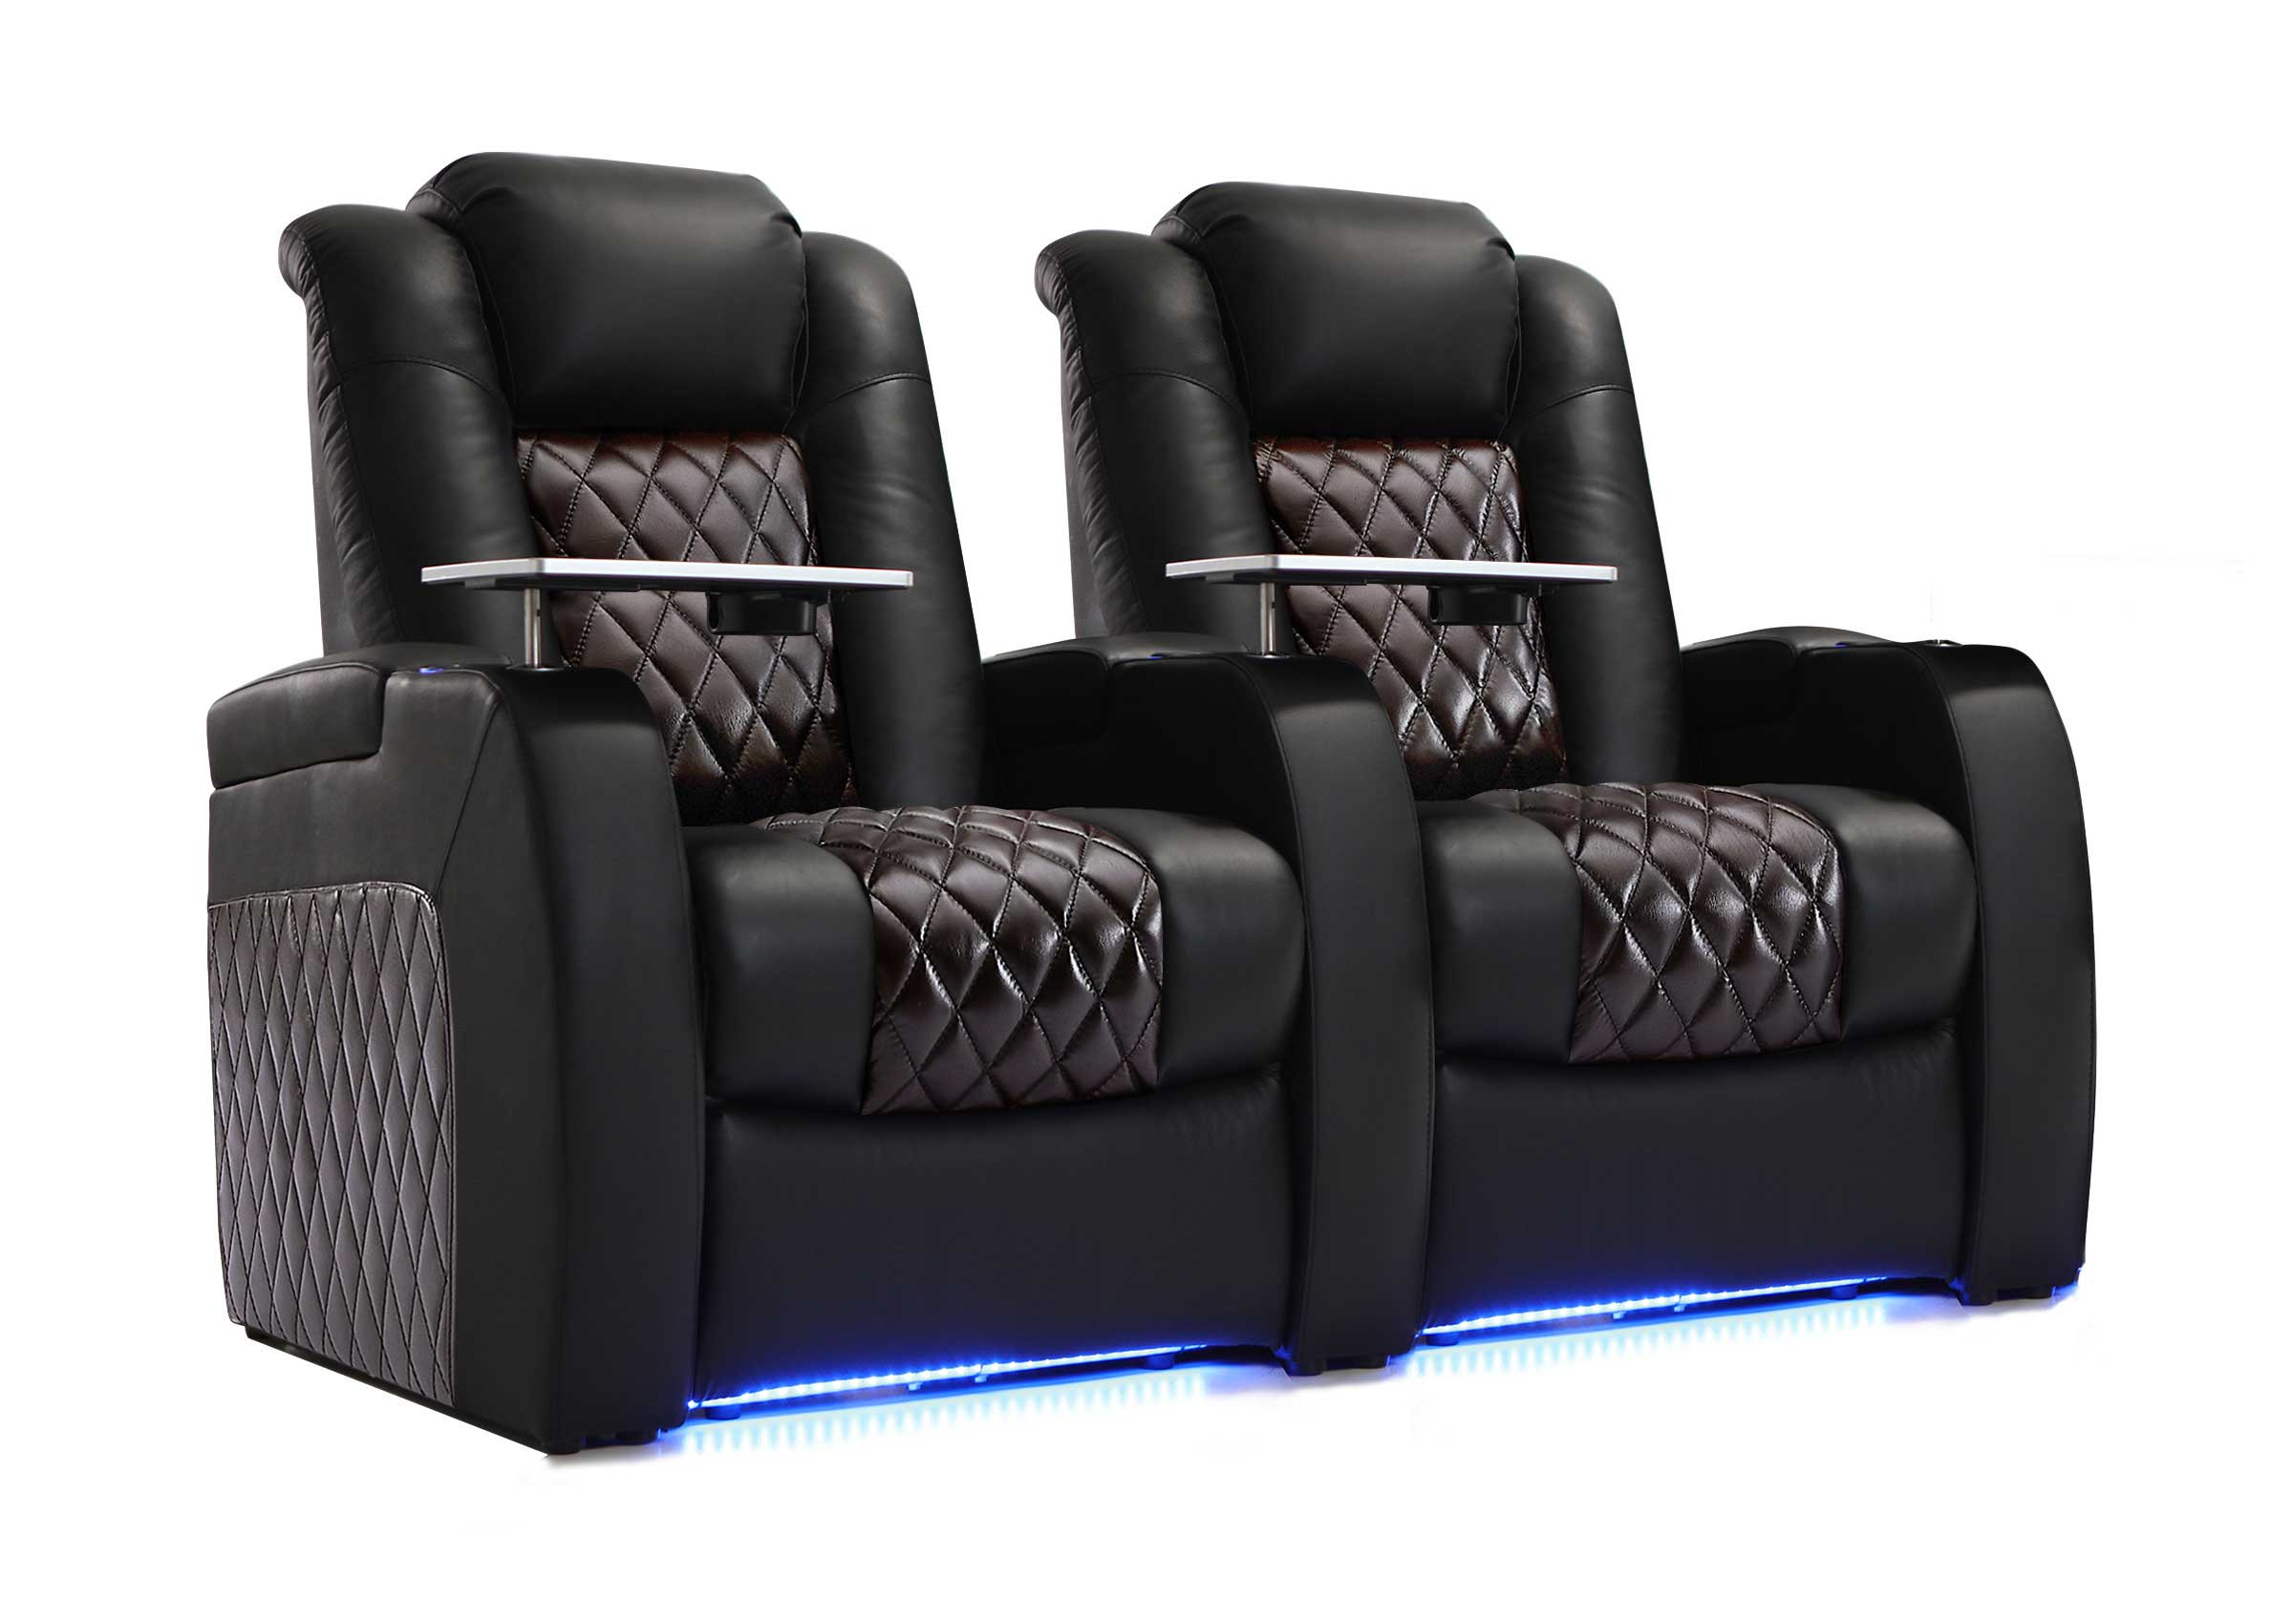
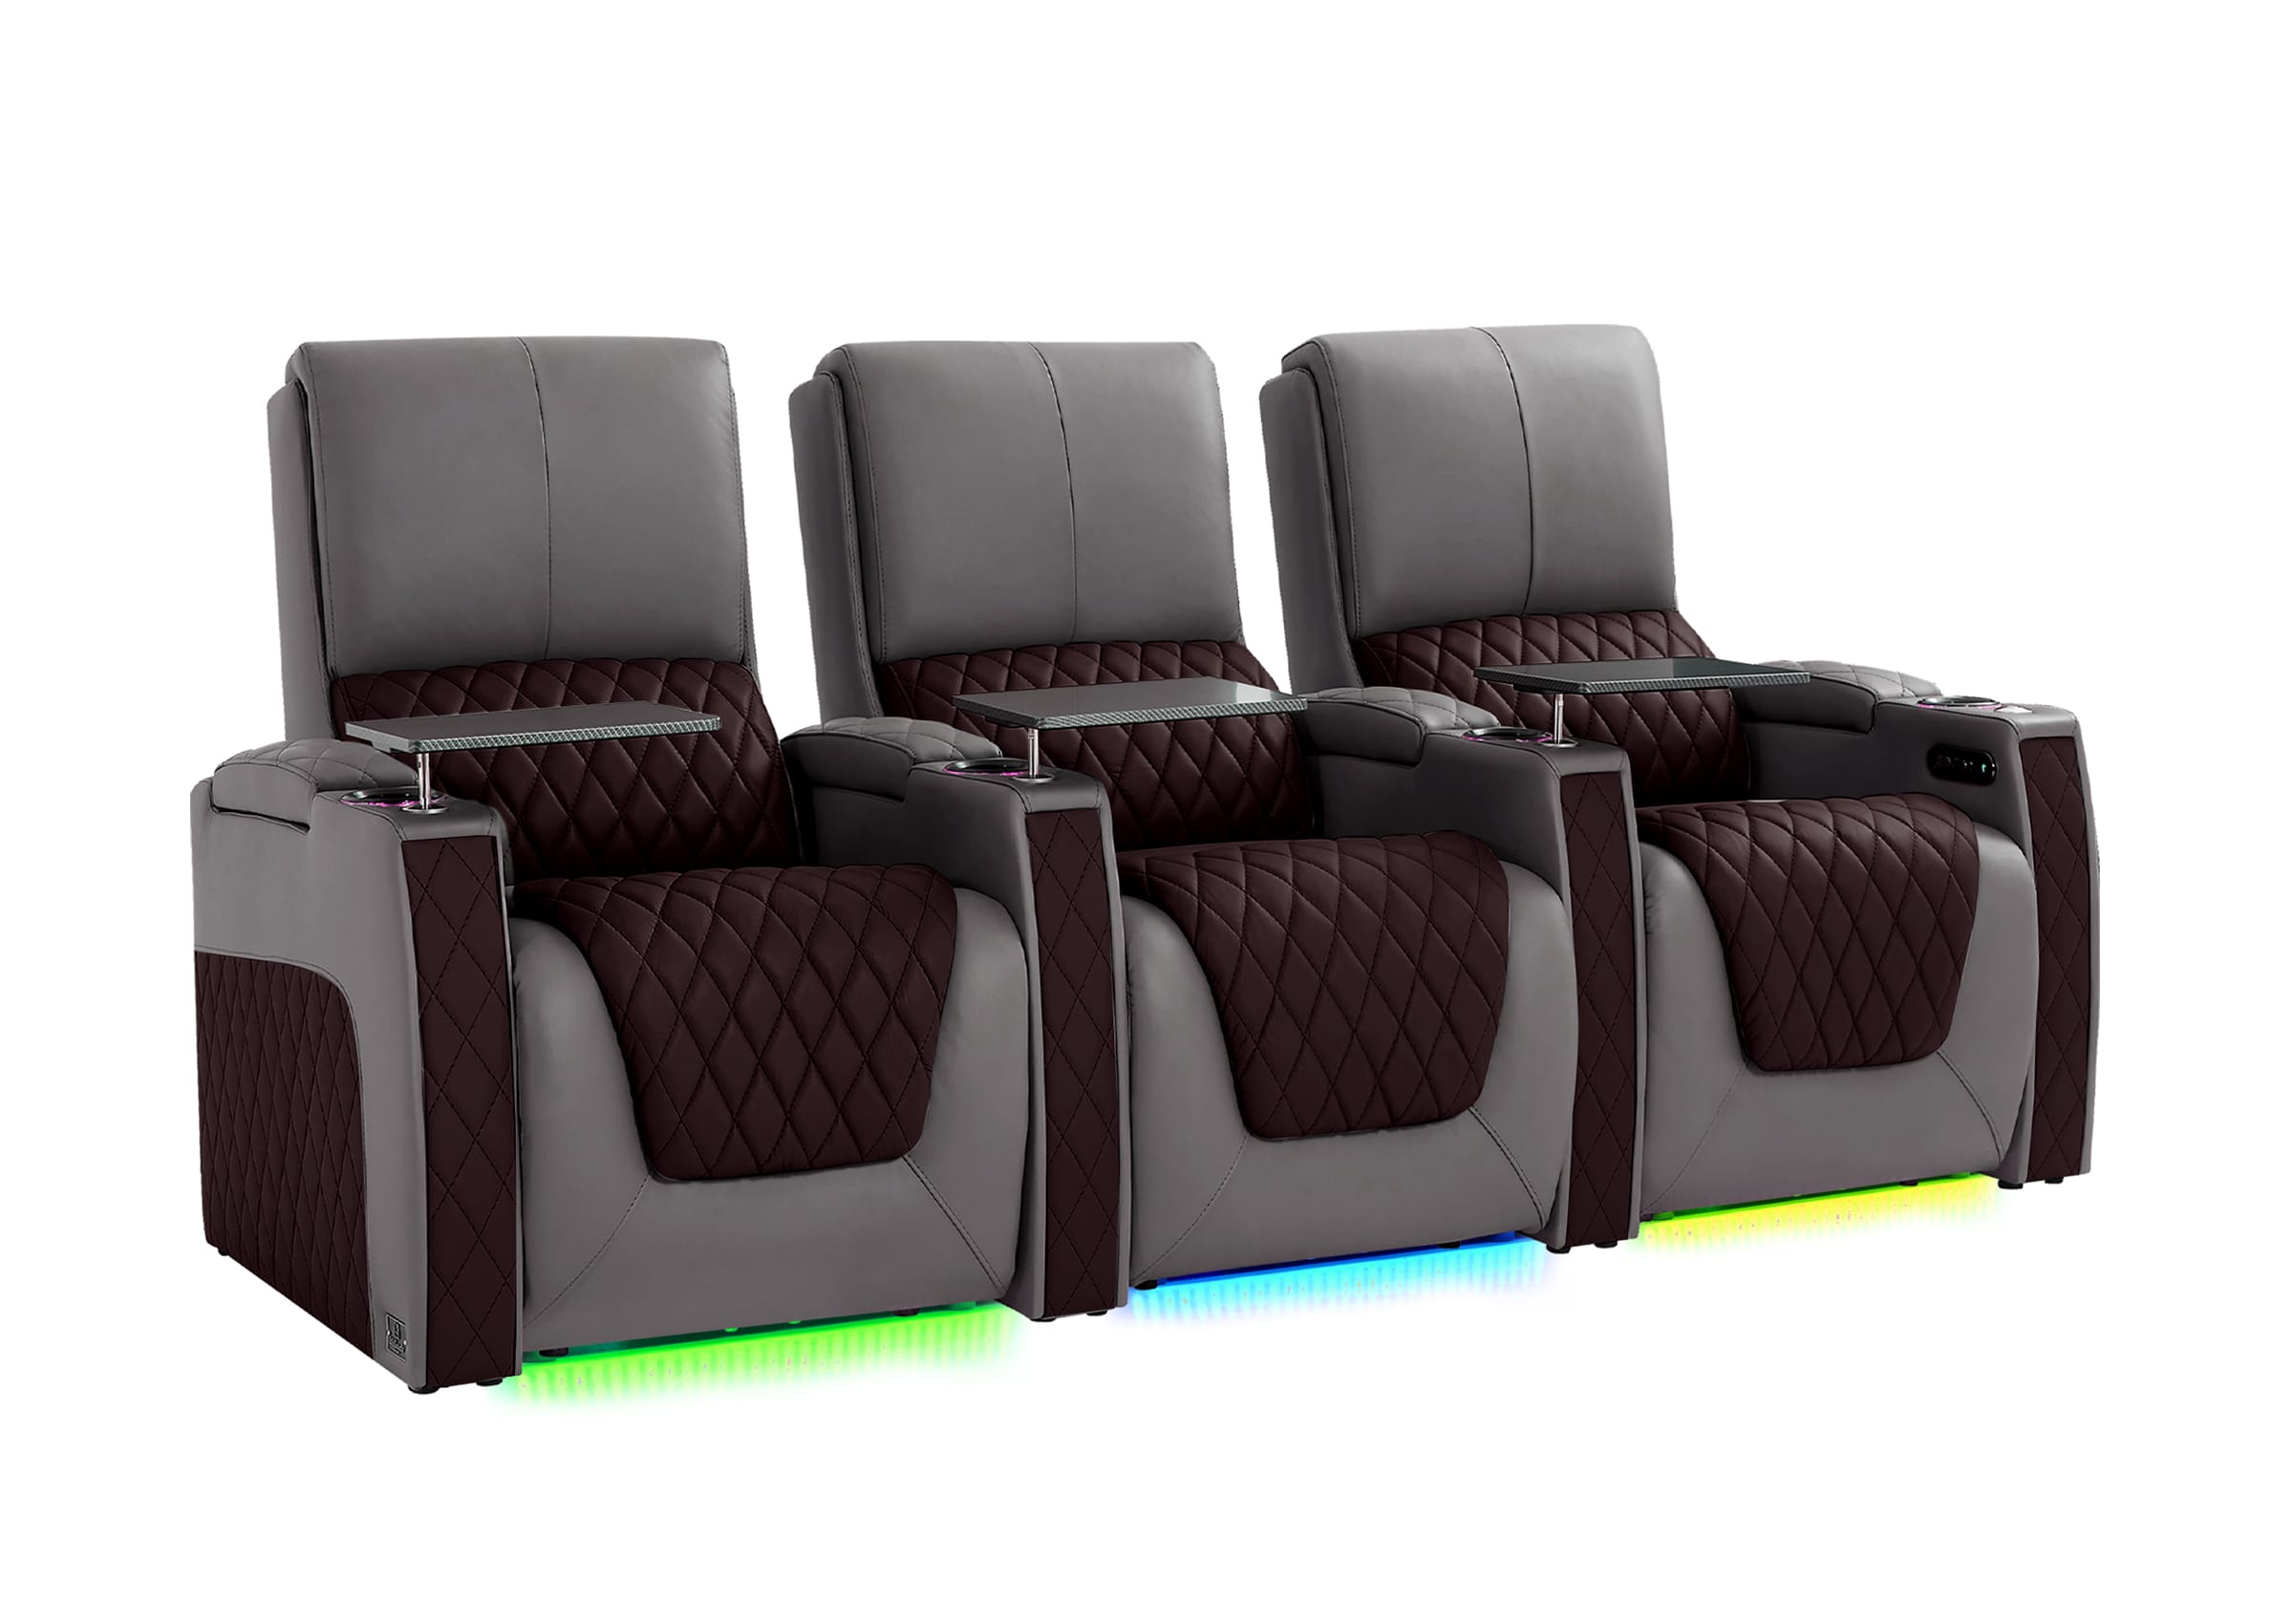
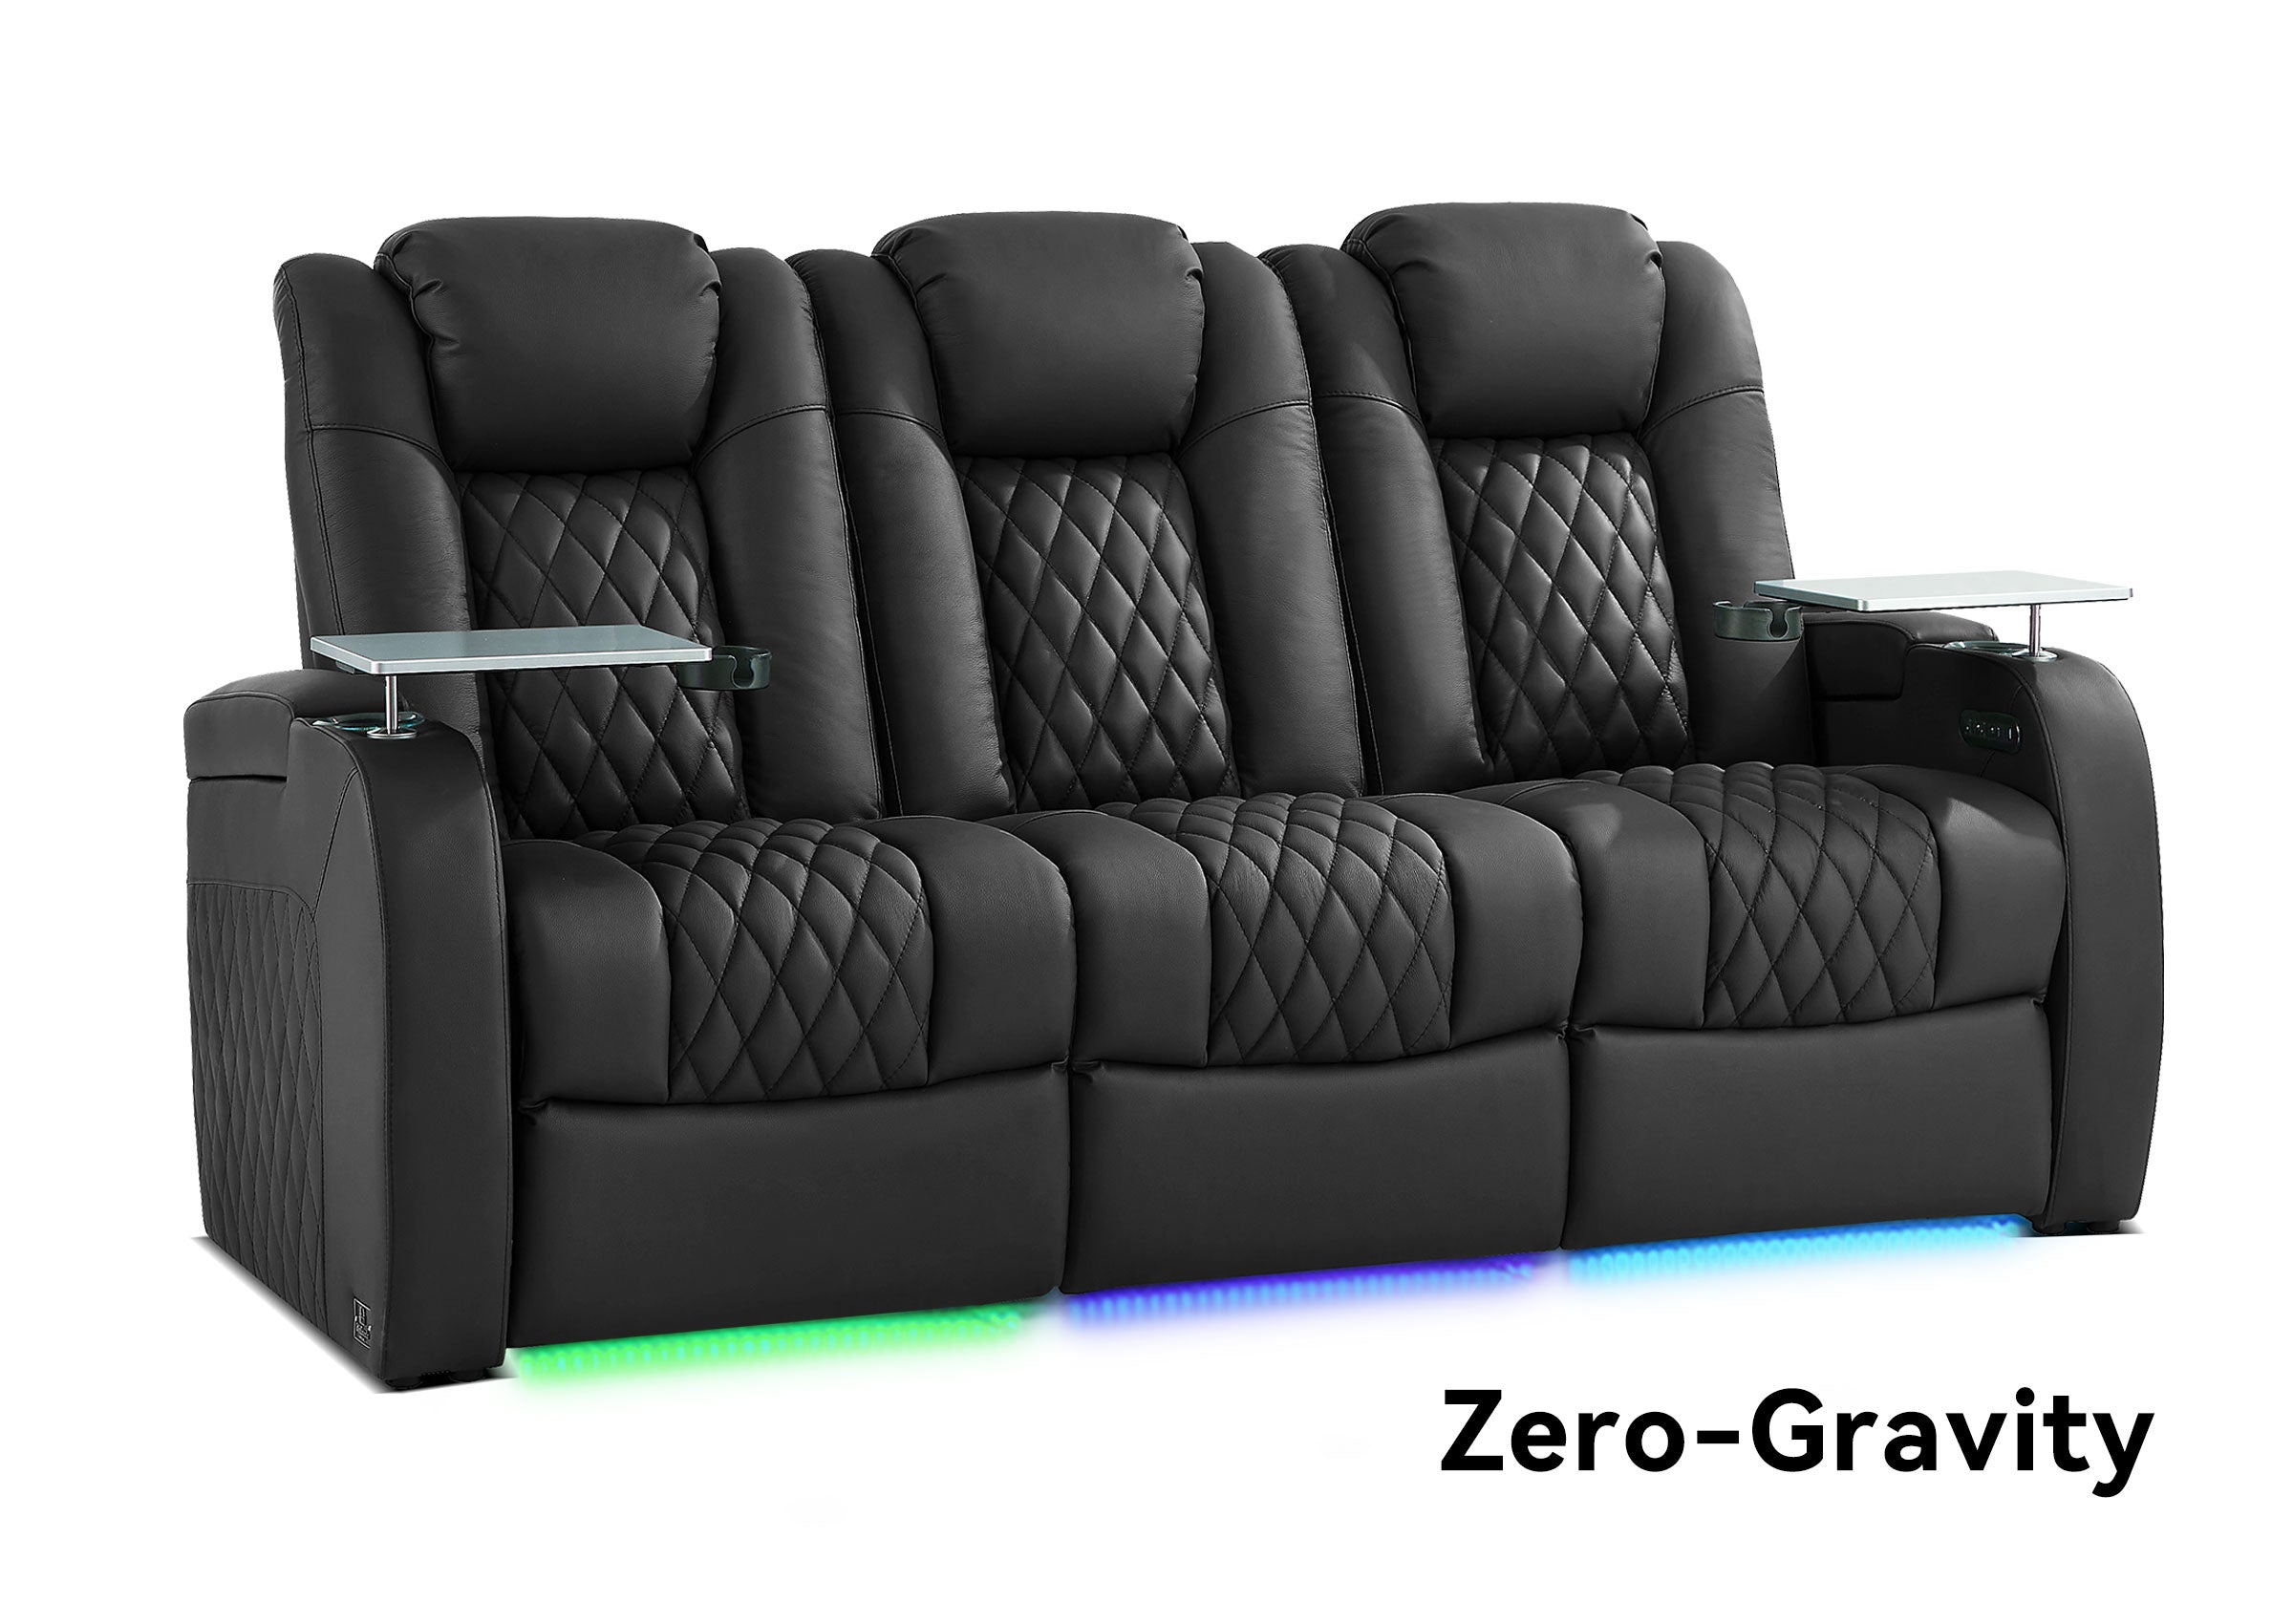
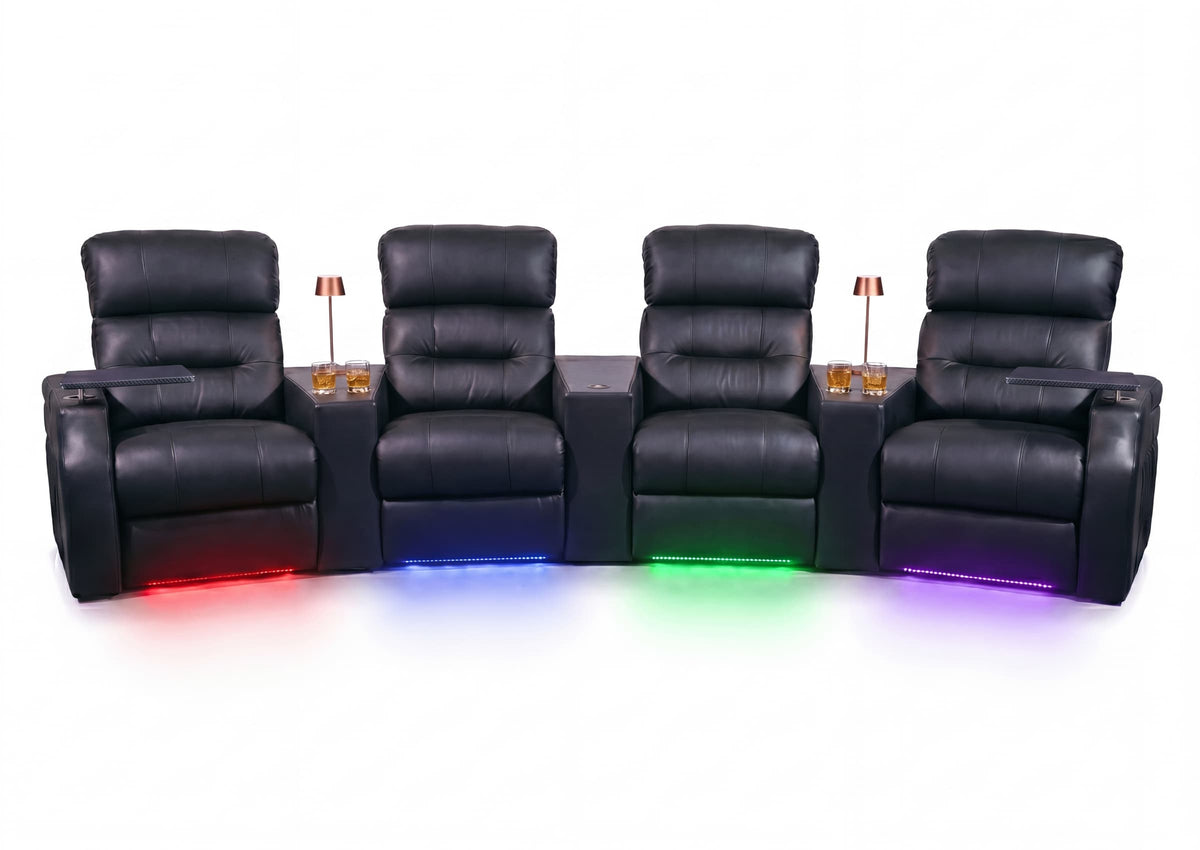



To set up a home theater, plan the room and viewing position first, choose a display and audio system that fit that layout, then coordinate seating, connections, lighting, and installation. A TV with a soundbar can make a practical living-room system. A dedicated theater may add a projector, surround speakers, multiple rows, and more extensive room work.
The goal is a setup that works from the seats you actually use: a comfortable picture, clear dialogue, reliable playback, and enough room to move. This guide takes you through those decisions in order, including what to check before buying equipment or closing up walls.
Plan the System and Budget Before You Buy
Start by listing what you already own, how the household uses the room, and what you want to improve. If the main problem is hard-to-hear dialogue, a larger screen will not address it. If gaming and daytime sports dominate, those uses should influence the display and connections from the start.
| Setup direction | Main components | What to plan for |
|---|---|---|
| Simple living-room system | TV, streaming apps or an external source, powered soundbar, existing or new seating | Daylight, dialogue, easy controls, outlets, and a clear path through the room |
| Receiver-based surround system | Display, AV receiver, passive speakers, subwoofer, sources, and seating | Speaker positions, compatible connections, cable routes, and equipment ventilation |
| Dedicated theater | TV or projector and screen, audio system, seating, light control, and room-specific installation | Sightlines, acoustic conditions, power, future access, and coordination before construction |
These are starting points rather than fixed packages. You can build a receiver-based system in a living room, use a TV in a dedicated theater, or keep a small room deliberately simple.
Budget for the complete installation
Include the display, sound, seating, mounts or stands, cables, power and network work, window coverings, and any installation labor. Projector plans also need to account for the screen and mounting arrangement. A price comparison that includes only a TV and projector leaves out much of the decision.
Separate the essentials from later upgrades. Establish usable seating, reliable connections, and the audio layout you can place correctly. Decorative lighting, extra channels, and convenience accessories can follow as the room and budget allow. Keep money available for requirements that become clear during measurement.
Use a practical planning order
- Map the room, household activities, and spending limit.
- Mark the main viewing and listening area.
- Compare display sizes and audio layouts around that area.
- Check actual furniture dimensions, movement, and access.
- Confirm signal connections, power, networking, and installation locations together.
- Test the proposed arrangement before making permanent installations, then calibrate the finished room.
Work back and forth where necessary. Discovering that the chosen seats need more depth is a reason to revisit the layout before ordering the screen or building a platform.

Map the Room and Establish the Viewing Position
Measure usable width, depth, and ceiling height. On a simple floor plan, mark doors and their swing, windows, columns, soffits, fireplaces, vents, outlets, and equipment locations. Include the route people use to enter, leave, and reach other parts of the home.
Choose a likely screen wall and place temporary seating in the viewing zone. Check the view in both daylight and evening conditions. A wall that looks ideal at night may receive reflections during the hours the family actually watches TV.
Adapt the plan to the room you have
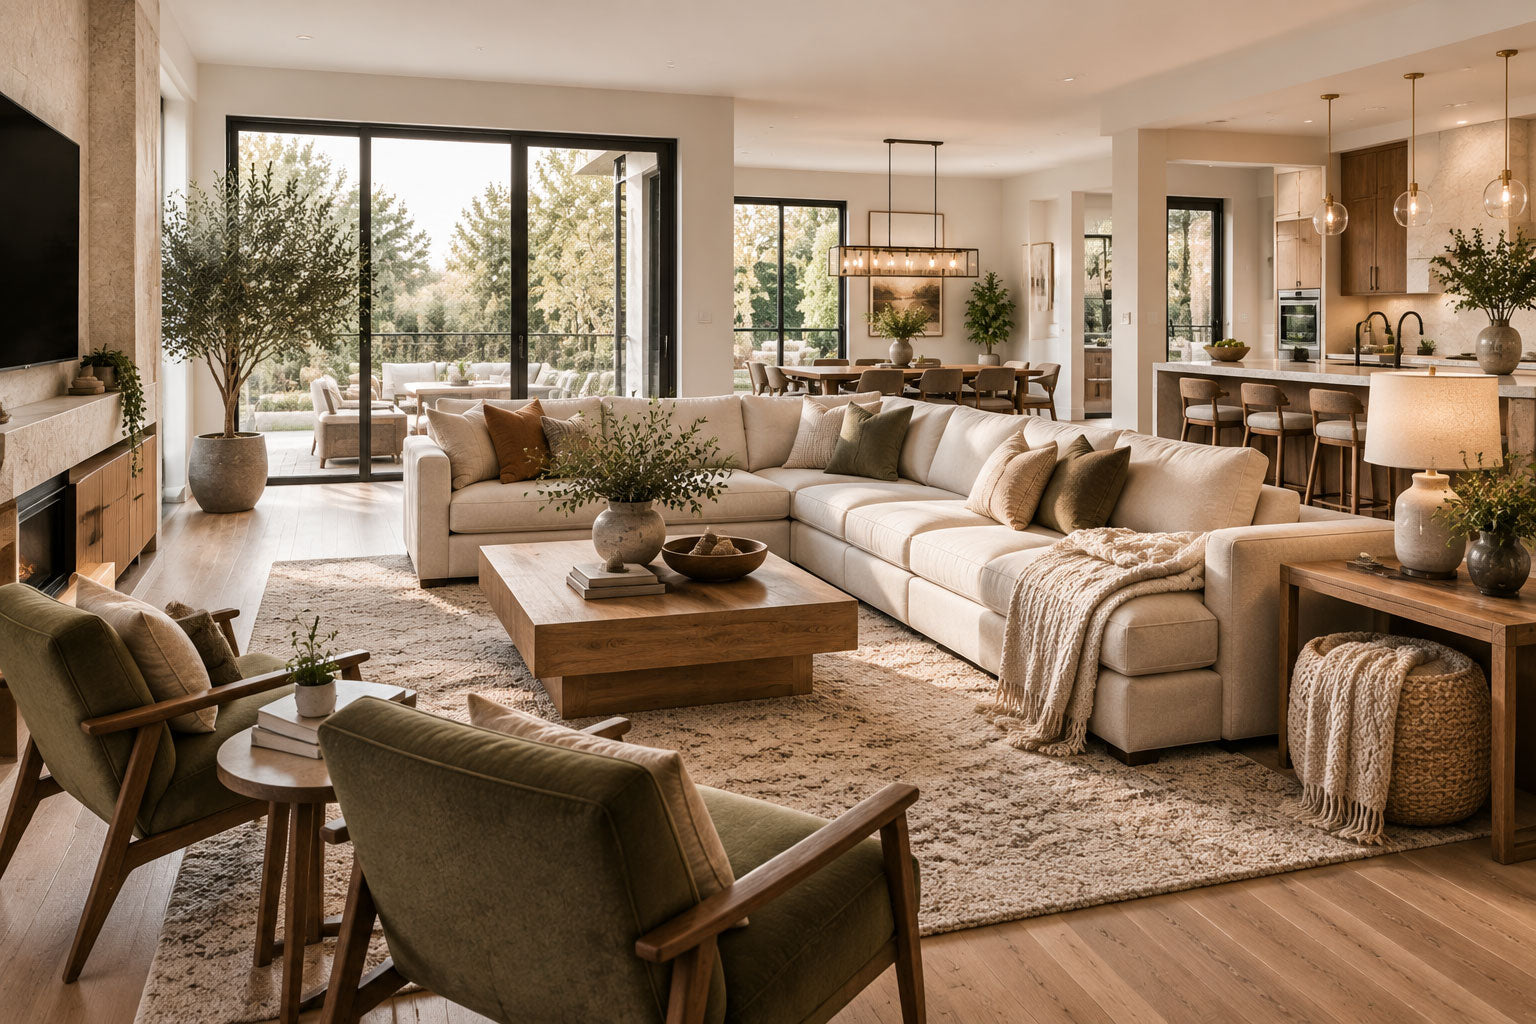
- Living room or open media room: preserve conversation, daylight use, furniture flexibility, and everyday walking routes. Choose audio equipment that can coexist with those activities.
- Basement or dedicated theater: examine ceiling obstructions, ventilation, neighboring rooms, equipment access, and the relationship between seating rows and the screen. Address moisture problems before installing finishes or electronics.
- Small room: test a single row and a simpler speaker layout first. A compact room can work well when seating movement, speakers, and access each have enough space.
Use seated eyes and ears as the reference
Mark where the main viewers' eyes and ears will be. That point helps coordinate screen height, image size, and speaker placement. It can be established using temporary seating before you purchase the final furniture.
Then check the likely changes. Reclining can move the head backward and change its height. Outer seats see the screen from a different angle. In a second row, the screen may be partly blocked by someone sitting in front. Test those conditions rather than relying only on the center seat.
Keep room measurements, the proposed screen position, and the seating footprint on the same drawing. Our home theater dimensions guide identifies the main spatial relationships to check. Confirm the final clearances with the selected furniture and equipment specifications.
Choose the Display, Image Size, and Screen Height Together
A TV is often the simpler choice for a bright room, frequent daytime use, or straightforward daily operation. A projector becomes attractive when a large image is a priority and the room can accommodate the screen, light control, and projector position. Compare specific models under your actual room conditions.
Test the image from the planned seats
Use painter's tape or a temporary outline to mark the proposed image on the wall. Sit at the intended distance and check the full picture, its height, and the space needed for a center speaker or soundbar. Repeat from side seats and the positions people use when reclining.
Screen diagonals alone do not show how an image will feel. Image width, viewing distance, content, and personal preference all affect the experience. A viewing-distance chart can provide a starting point, but a mock-up helps you decide whether the picture feels too small, too demanding to scan, or awkwardly high.
For a projector, check the lens-to-screen distance
Throw distance is the distance needed to produce the image; viewing distance is where you sit. They are separate measurements. For a conventional projector, a useful planning relationship is image width multiplied by throw ratio. BenQ explains the relationship in its projector throw-ratio guide.
For illustration, a 100-inch-wide image and a throw ratio of 1.3 imply about 130 inches between the lens and screen. This is a calculation example, not a recommended screen size or mounting distance. Use the selected model's installation calculator and manual to confirm its zoom range, lens shift, offsets, body clearance, and mounting position. Ultra-short-throw models have their own placement requirements.
Before buying, also check the cable route to the projector, access for maintenance, ventilation, and whether its fan will be distracting near the seats. Include the screen's installation and any furniture beneath it in the space plan.
Build the Audio System Around the Listening Area
Choose an audio layout you can position properly. A powered soundbar can simplify a shared room. Separate passive speakers generally require an AV receiver or suitable processing and amplification, along with more space and wiring. If you already own speakers, check their compatibility with the amplifier before building around them.
Understand what the channel numbers mean
In a conventional speaker layout, 5.1 means five main speakers and one subwoofer. A 5.1.2 layout adds two height channels. A 3.1 system has left, center, and right speakers plus a subwoofer, which can be useful when rear speaker placement is impractical.
Check the actual arrangement behind a soundbar's channel description, including whether it uses separate surround speakers or virtual processing. For diagrams of physical layouts, consult Dolby's speaker setup guides.
Give dialogue and speaker placement enough attention
Place the front speakers around the image and keep their paths to the listeners clear. In a surround system, the center speaker commonly carries dialogue, so its position deserves attention before you finalize a cabinet or screen height. Avoid burying it behind a cabinet edge or placing it where furniture blocks the direct sound.
Surround speakers belong in the positions intended for the chosen layout. Ceiling speakers used as height channels serve a different role from ear-level surrounds. Follow the relevant layout diagram and manufacturer instructions instead of placing every speaker wherever an opening happens to be available.
Listen from the seats the household regularly uses. High backrests, the width of a row, and a sofa against the rear wall can affect placement options. Try subwoofer locations and check bass across the seating area before choosing a permanent spot.
Our home theater speakers guide provides a fuller comparison of speaker roles and system options. Adding channels is most useful when the room, receiver, and budget can support their intended placement.
Map Connections, Power, and Cable Access
List every source: TV apps, streaming box, game console, disc player, or another device you use. For each one, identify where it sits, where its picture goes, and how its sound reaches the speakers.
| Common arrangement | Typical signal route |
|---|---|
| TV apps with a soundbar or receiver | TV sends audio to the sound system through a compatible audio connection, such as HDMI ARC or eARC |
| External sources connected to an AV receiver | Source enters the receiver; receiver sends video to the display and audio to the connected speakers |
| Console connected directly to the TV | Console sends video and audio to the TV; TV passes supported audio to the sound system |
Check ports and format support before hiding the cables
HDMI eARC provides a return path for audio from the TV to a compatible receiver or soundbar. Use the designated ports at both ends and follow the equipment setup instructions. A normal HDMI input and an ARC/eARC connection are not interchangeable for every purpose.
Check the complete path for the features you need. For example, a console's video mode must be supported by the TV and any receiver or soundbar it passes through. Audio passthrough and decoding also depend on the source, TV, audio device, and their settings. An HDMI socket by itself does not confirm every required feature.
Connect and test the actual devices and cable lengths before running cables through finished walls. Label both ends, photograph routes before they are covered, and plan a way to reach connections or replace cables later. Discuss suitable in-wall cable ratings and replacement paths with the installer.
If TV apps have a picture but no sound through the external system, check the designated ARC/eARC connection, the TV's audio-output setting, and the receiver or soundbar's selected input. Follow the device manuals for any required control or audio-format settings before replacing equipment.
Provide power, networking, and ventilation
Map outlets for the display, receiver, powered speakers or subwoofers, sources, networking equipment, lighting, and powered seats. Leave the clearances specified in equipment manuals and enough access to unplug a device, clean vents, or reach the receiver's rear connections.
Test streaming reliability where the equipment will live. Wired networking may be useful when practical, while a reliable wireless connection can also work. A network plan should reflect the room's actual coverage and use.
Keep power cords clear of walking routes, furniture legs, and recliner mechanisms. Do not hide them beneath rugs or pinch them behind heavy furniture. The U.S. Fire Administration's electrical safety guidance addresses damaged or pinched cords and overloaded power strips. Have an electrician plan new outlets or permanent wiring, and follow the equipment's power requirements.
Choose Seating That Fits the People and the Room
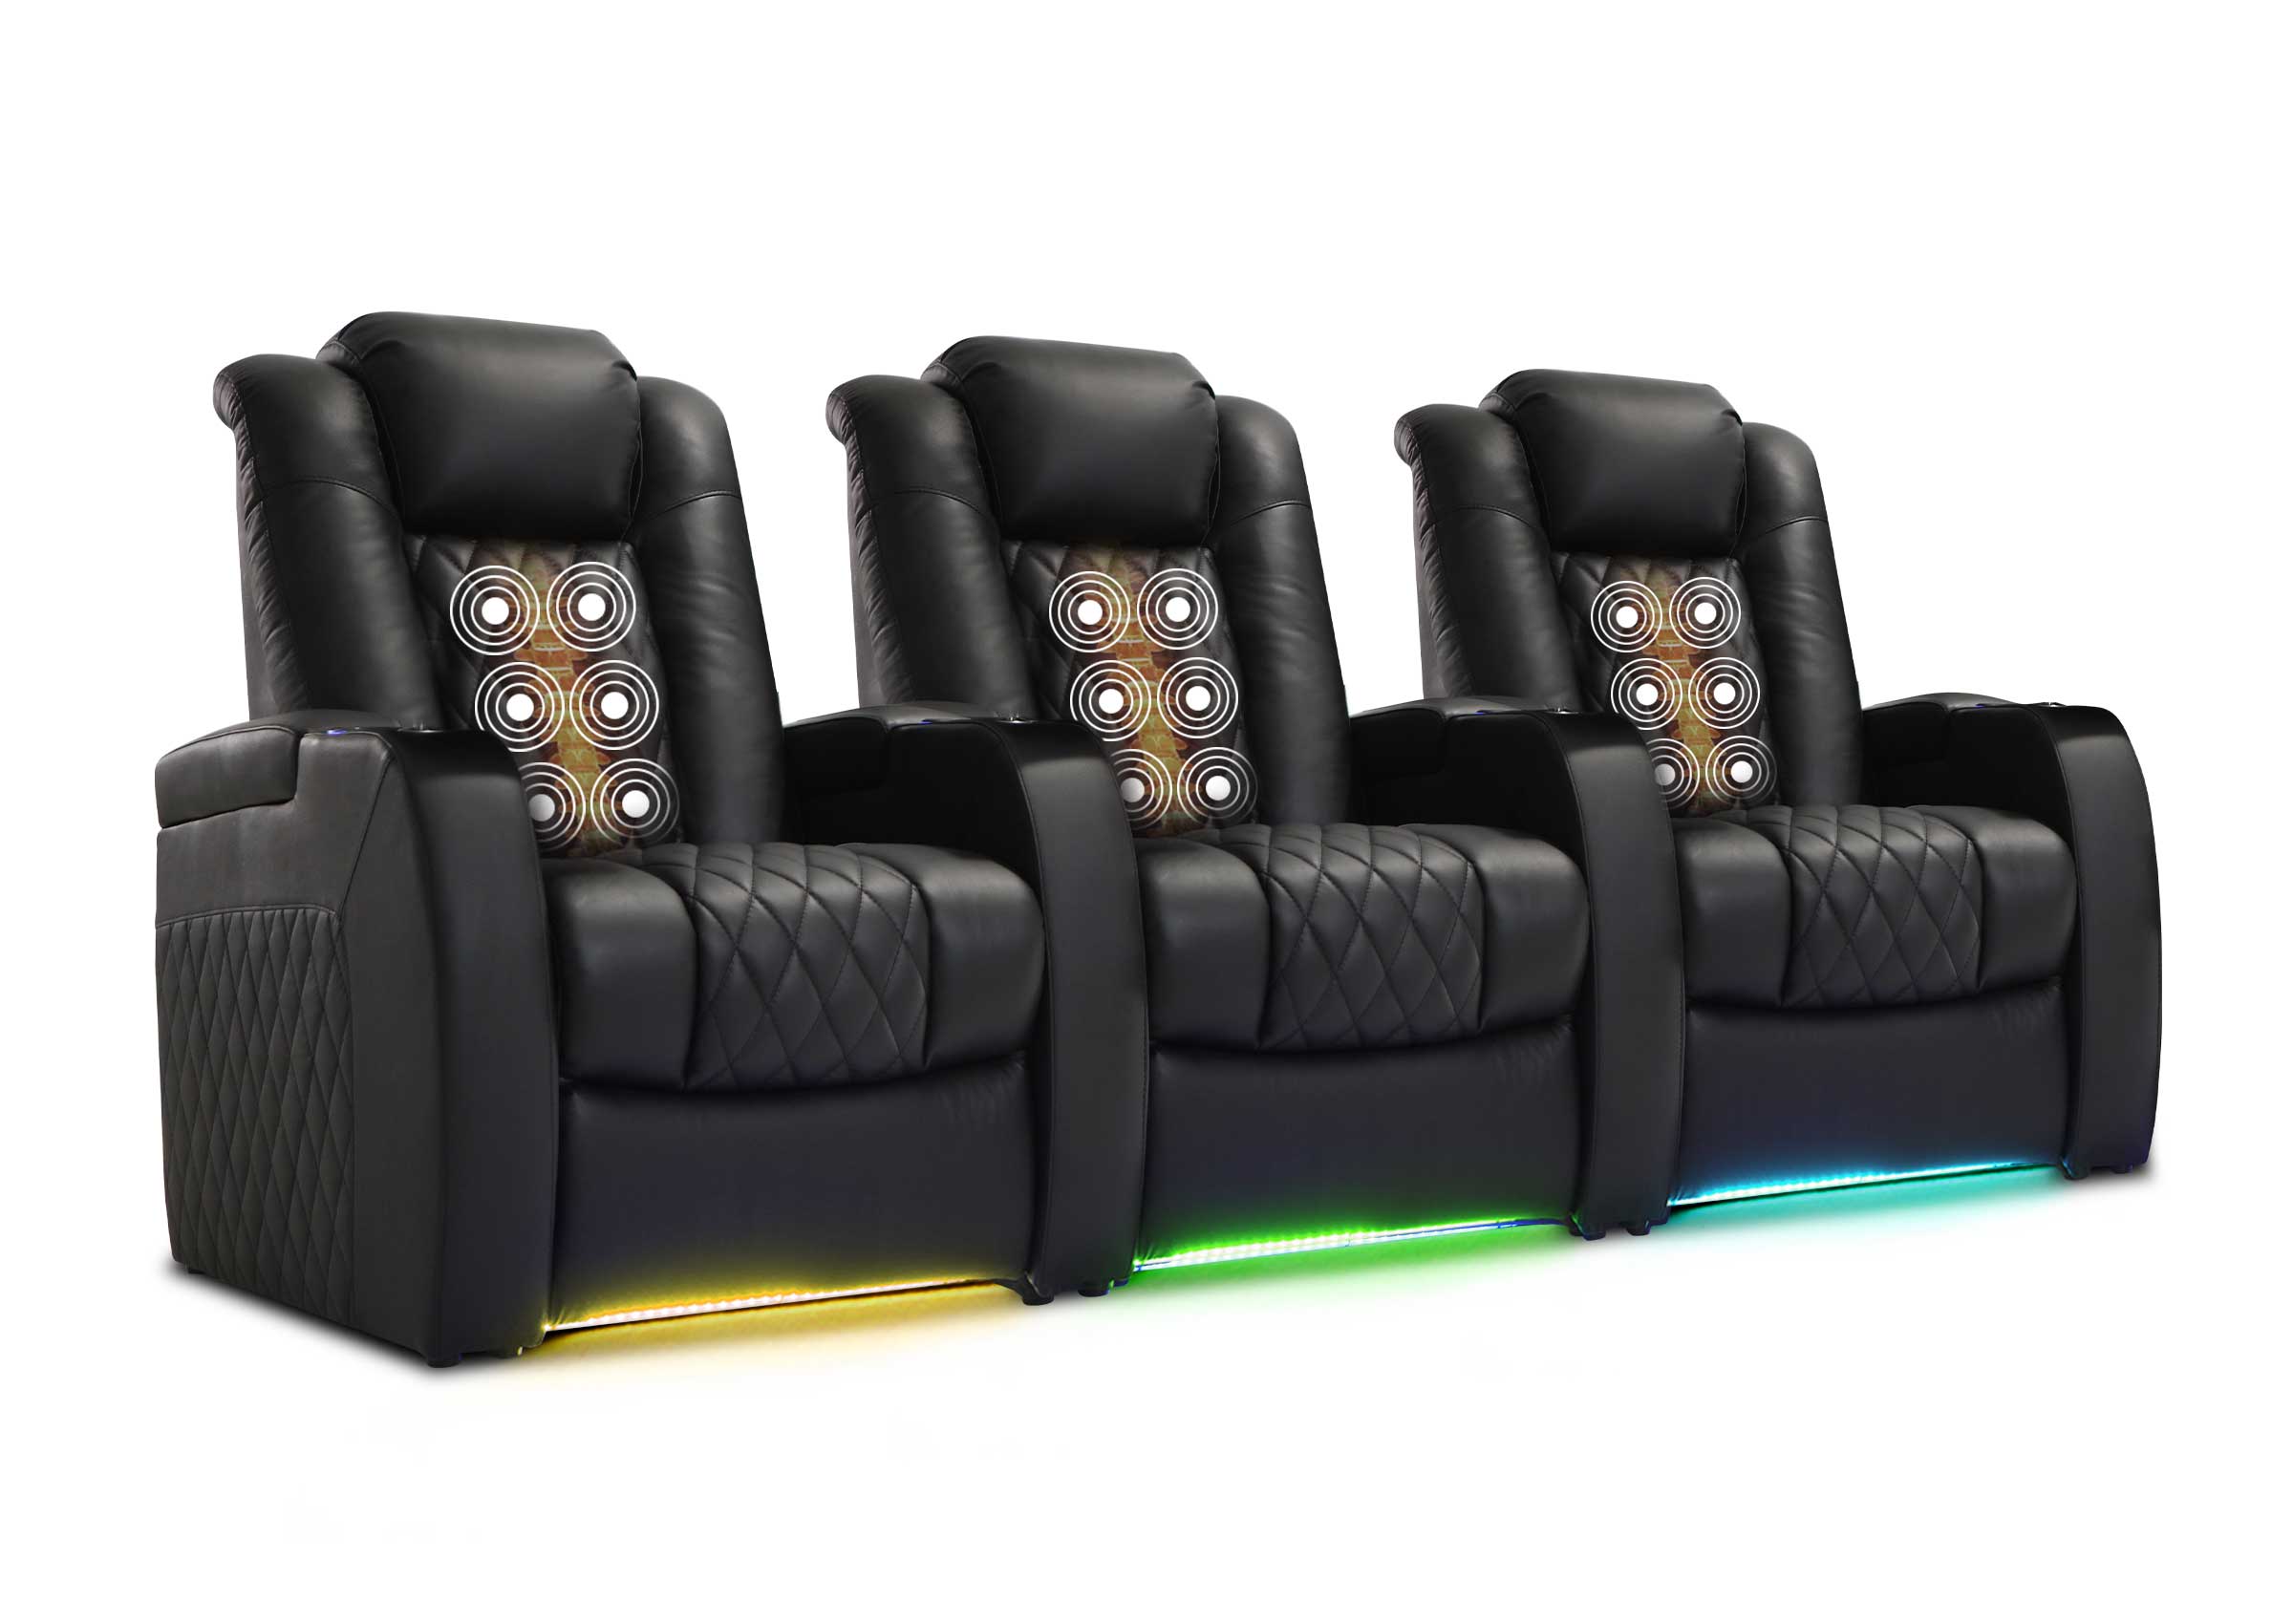
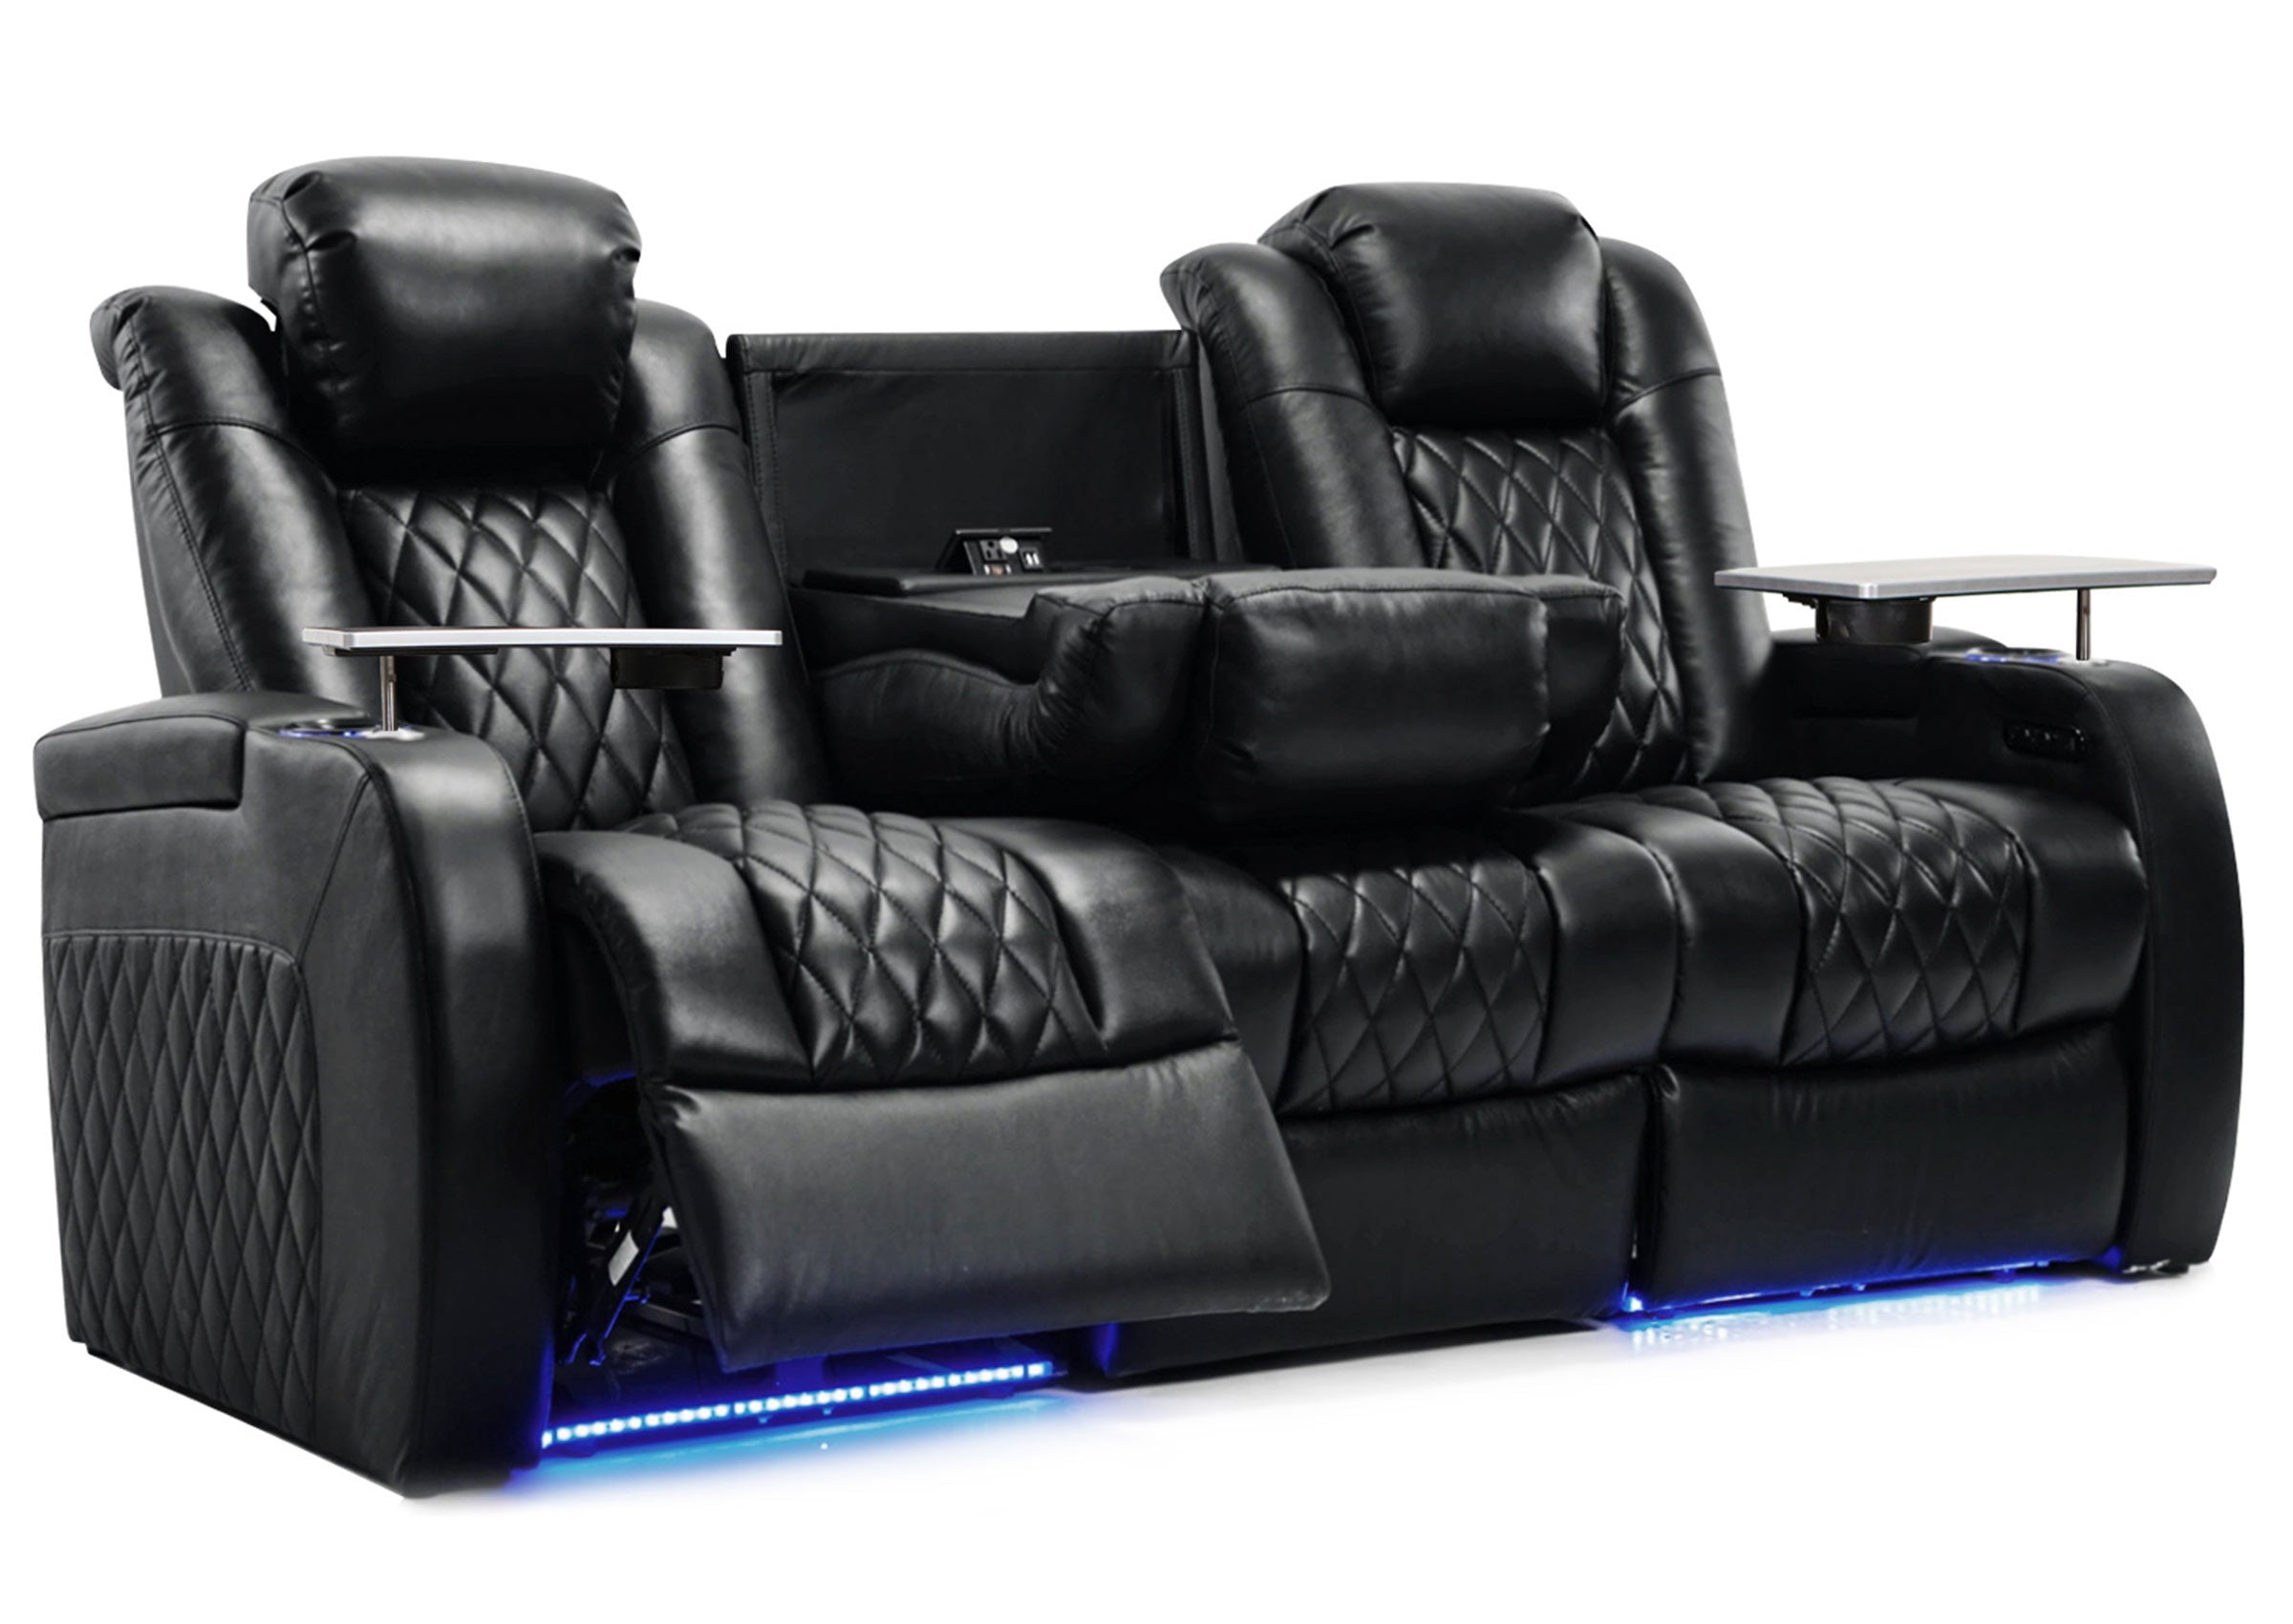
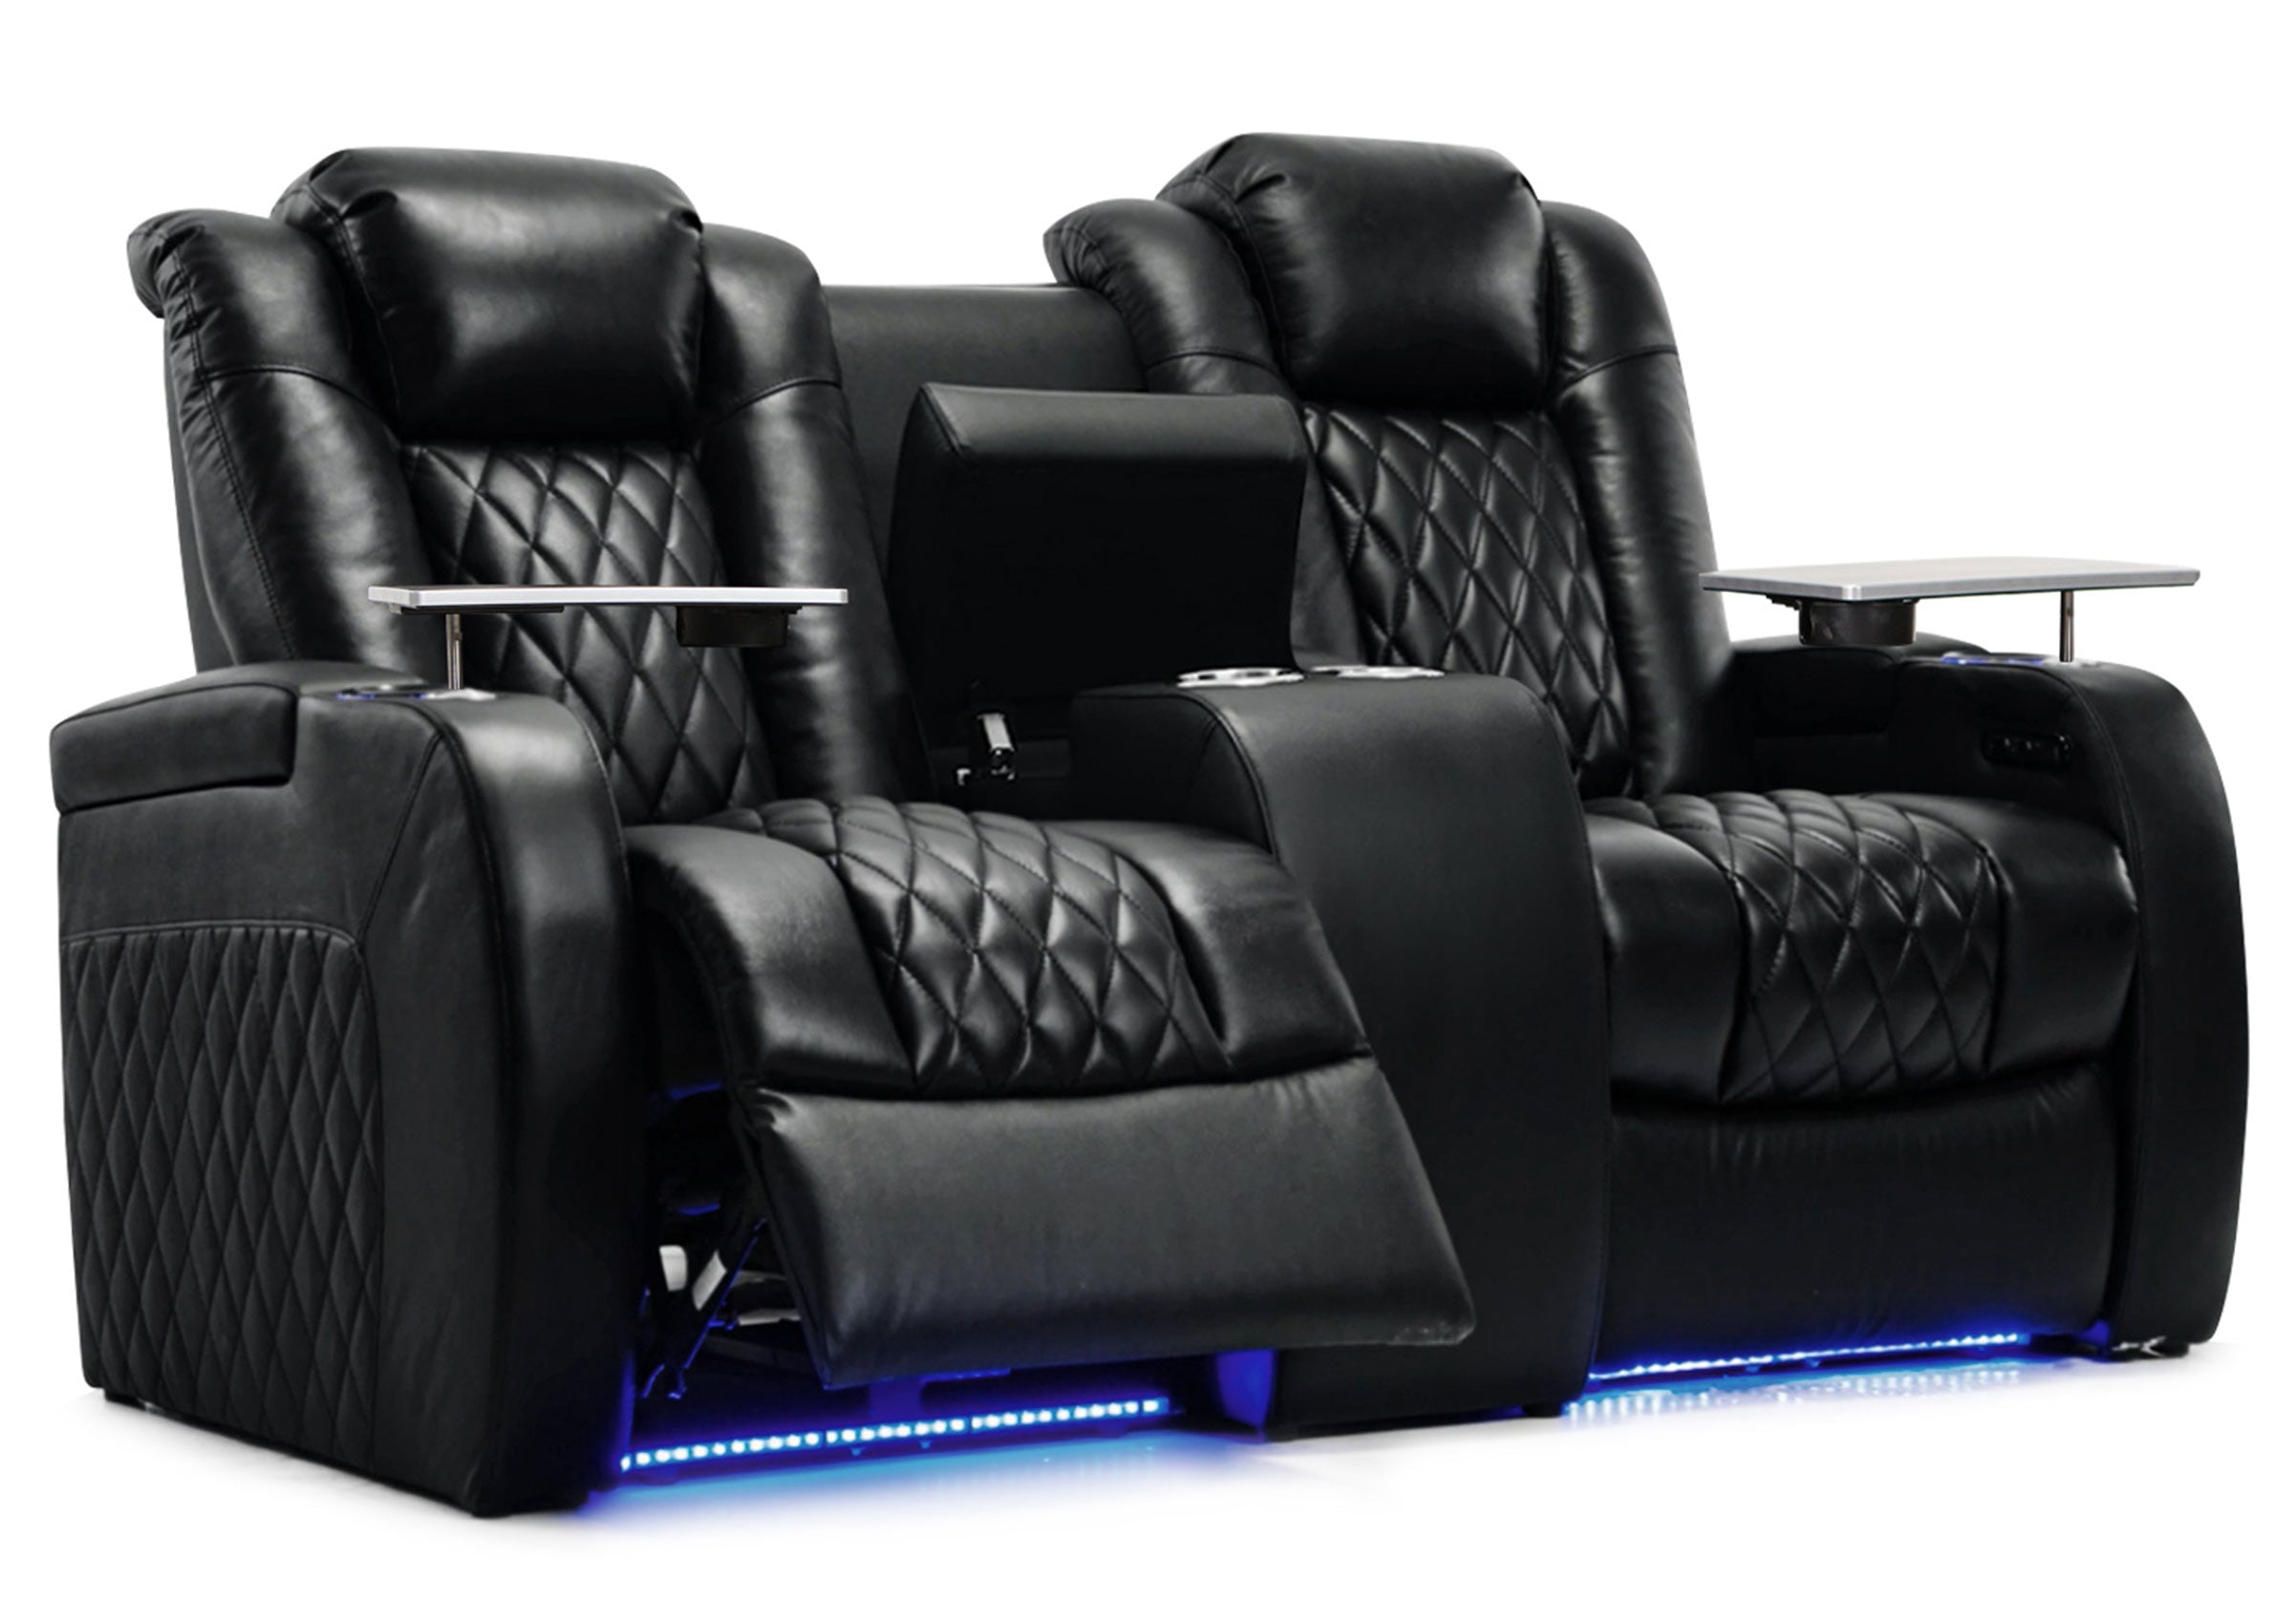
With the viewing zone established, compare actual seats against it. Ask how many people use the room regularly, which seats are mainly for guests, whether a sofa supports the household's preferred way of relaxing, and who needs easier entry or independent adjustment.
Measure the furniture throughout its movement
Use the selected configuration's full outside dimensions, including arms and consoles. Then mark its upright footprint, fully reclined depth, rear clearance, and footrest movement. Check headrest positions as well as the space needed to get into and out of the row.
A room that accommodates four chairs when upright may become difficult to cross with the footrests open. Test door swings, cabinets, nearby speakers, and the usual route out of the room while the furniture is in use. Model-specific measurements are more useful here than a generic allowance per seat.
For configuration choices, our home theater seating layout guide discusses seat counts and armrest arrangements. Verify the final row against actual product dimensions, especially when mixing modules.
Validate every row and the delivery route
For two rows, check the rear viewers' sightline over occupied front seats, including upright and reclined positions. Row spacing must account for furniture movement and access. A riser's height also depends on the screen, seated eye positions, and the obstructions ahead; use a section drawing or physical mock-up rather than a universal platform height.
Before ordering, measure doors, hallways, stair turns, elevators, and the final approach to the room. Confirm packaged dimensions and any manufacturer-approved disassembly. A configuration that fits the room still needs a workable delivery route.
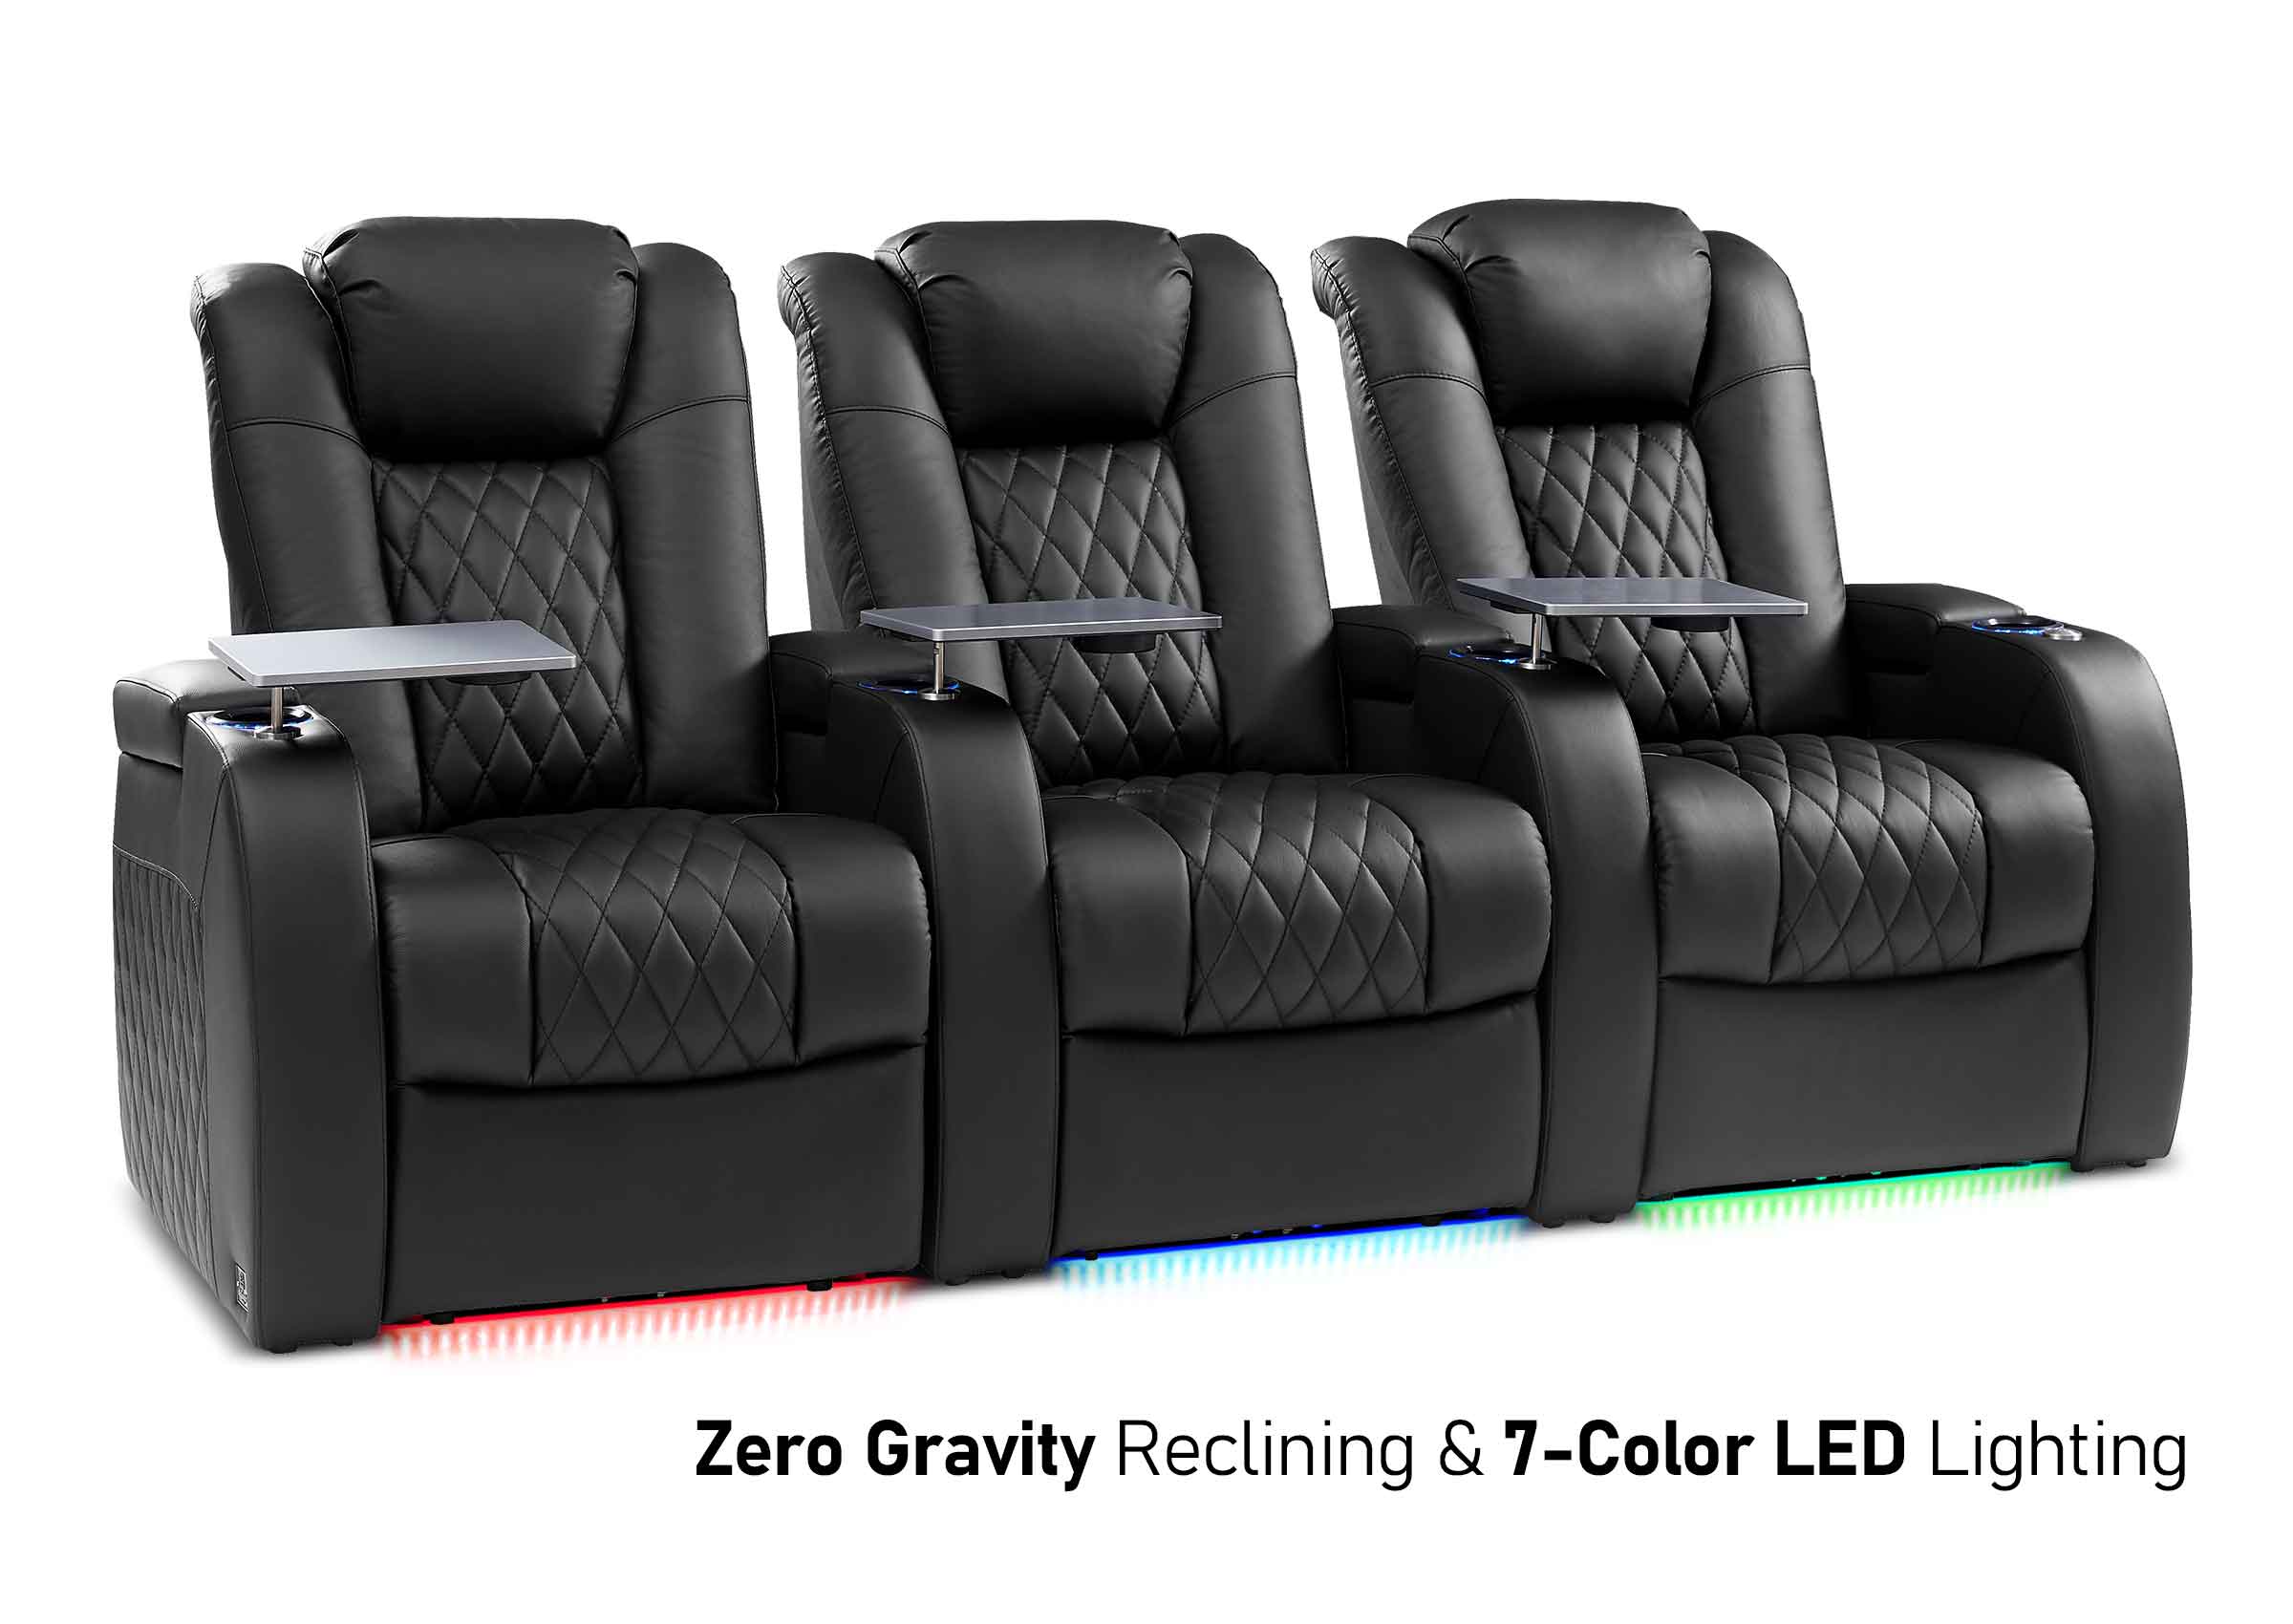
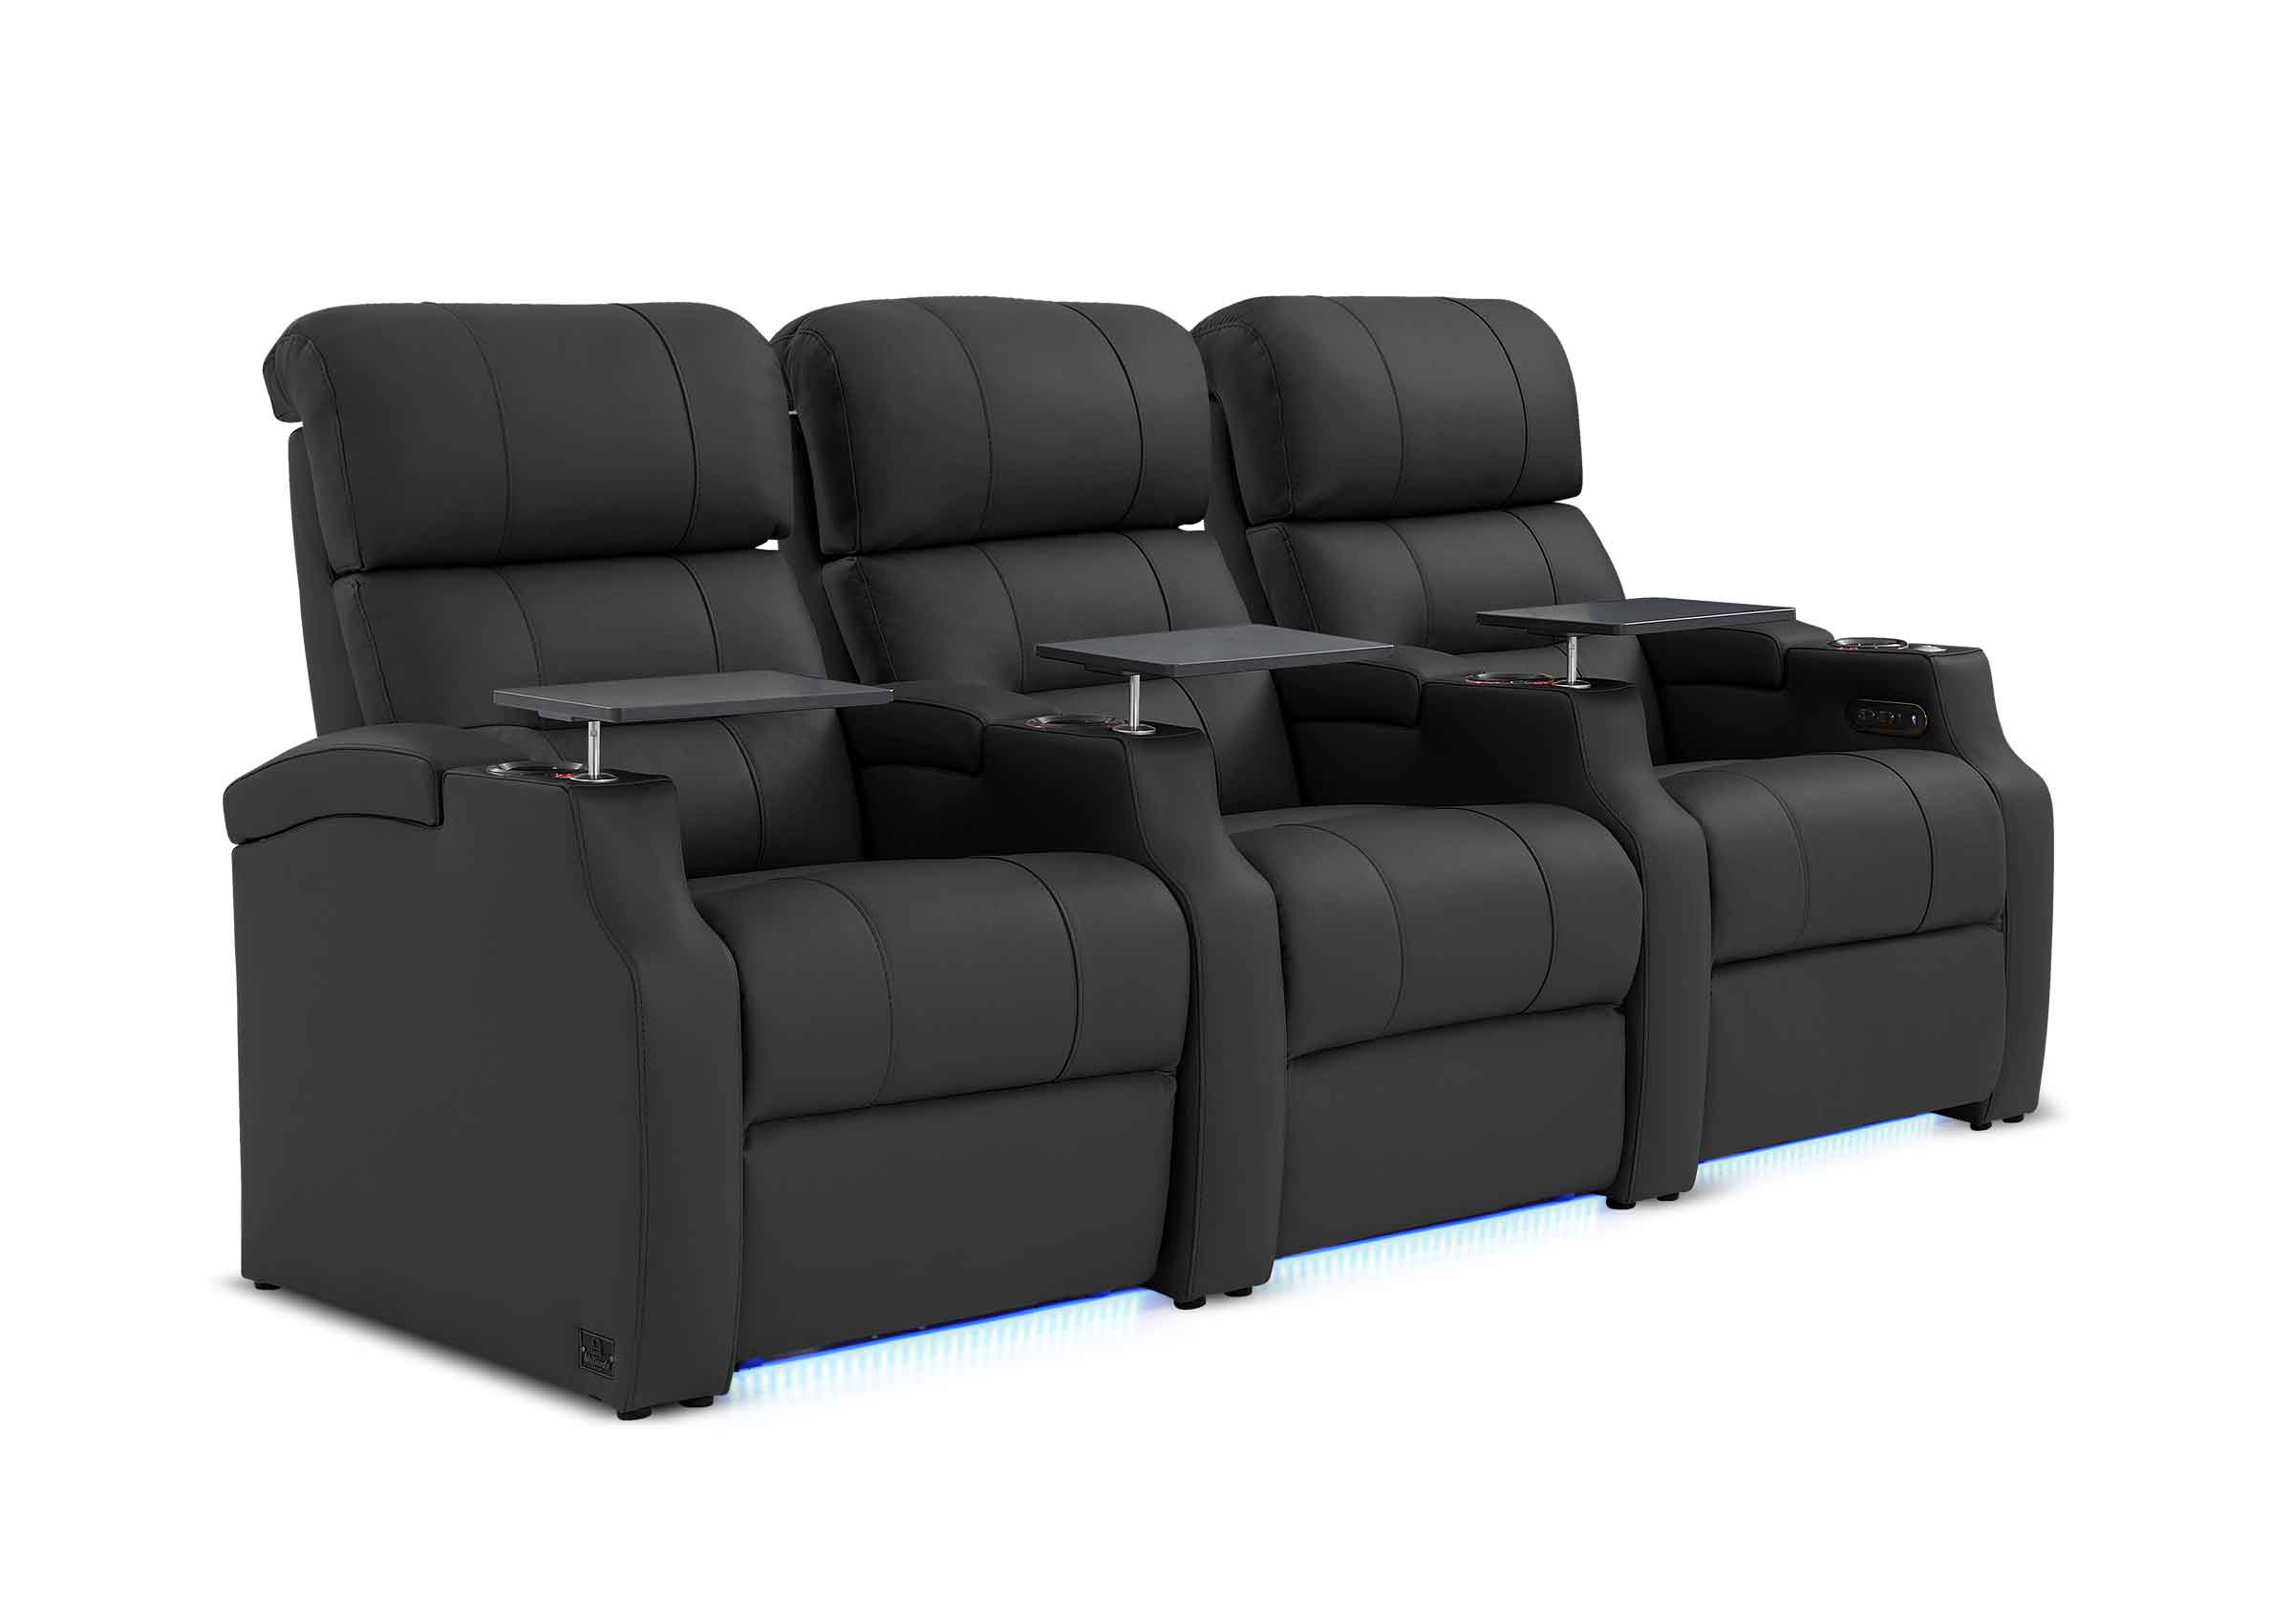
Choose features according to repeated use. Adjustable support may matter during long sessions, trays may help with snacks or tablets, and storage may reduce controller clutter. Check availability for the selected model. Keep the fit, access, and viewing position ahead of optional features.

COMPARE YOUR SEATING OPTIONS
Find Seating to Match Your Room Plan
With your viewing position, available footprint, and preferred seat count in hand, explore seating configurations and check the dimensions and features of the options you shortlist.
Control Light and Address the Room's Sound
Plan lighting for two conditions: using the room and watching the screen. Dimmable general lighting helps with entry, cleaning, and other activities. Lower-level pathway or step lighting can make movement easier during viewing without putting a bright source in the picture.
Check reflections from the seats. Reposition lamps, reduce visible accent lighting, or add window coverings where necessary. In a shared room, test a normal daytime setting as well as movie-night darkness.
Separate acoustic treatment from sound isolation
Acoustic treatment manages sound within the room. Sound isolation reduces sound passing between spaces. Panels intended to control reflections do not by themselves establish that a theater will be quiet in the bedroom above it.
Start by listening for the actual problem: distracting echoes, unclear dialogue, or bass that varies sharply between seats. Furnishings and speaker placement are part of that assessment. Choose additional treatment for the problem it needs to address, rather than covering every surface with the same material.
If late-night bass or noise transfer is a major concern, discuss the construction with an acoustic professional before finishing the room. Doors, walls, ceilings, ventilation paths, and structural connections may all affect the result. A basement theater also needs comfortable ventilation when occupied, even when sound isolation is a priority.
Install, Calibrate, and Test the Finished Arrangement
Temporarily connect the system before final mounting or cable concealment whenever practical. Confirm that every source produces the expected picture and sound, the proposed speaker positions are usable, and the controls make sense.
For renovation work, agree on the screen, speakers, equipment, outlets, lighting, and cable routes before the relevant surfaces are closed. Photograph and label the installation. Leave access to connections and follow mounting and ventilation instructions.
Set up the picture and sound
Once the main furniture and speakers are in their intended positions, run the receiver or soundbar's setup process. Check speaker assignments, levels, and the displayed configuration. If the system provides a channel test, confirm that each test sound comes from the intended speaker before judging a movie soundtrack. Where a calibration microphone is supplied, follow that system's instructions for its orientation and measurement positions.
For example, Denon's Audyssey instructions place the microphone at seated ear height for the main listening position. Use the instructions for your own system rather than applying one receiver's measurement procedure to every product. Keep the room quiet during measurements.
Adjust the display for its actual lighting conditions. Use familiar material to check dark scenes, subtitles, motion, and gaming response where relevant. Revisit audio setup if you substantially move speakers or seating afterward.
Check real use from more than one seat
Play a dialogue-heavy scene, an effects sequence, and the content the household uses most. Check center and side seats, recline where appropriate, and walk through with footrests extended. Listen for bass differences, blocked dialogue, fan noise, or rattles. Look for glare and uncomfortable screen height.
Try every input, switch between TV apps and external sources, and check that picture and sound stay in sync. Make sure another household member can start playback, adjust volume, change sources, and turn everything off. These checks often reveal problems that a successful power-on test misses.
Bring in help before dependent decisions become permanent
Professional coordination is particularly useful for multi-row sightlines, risers, ceiling-mounted equipment, concealed wiring, sound isolation, and integrated lighting. Prepare a room plan, equipment list, seating dimensions, budget, and a list of unresolved decisions so the installer or designer can work from the same assumptions.
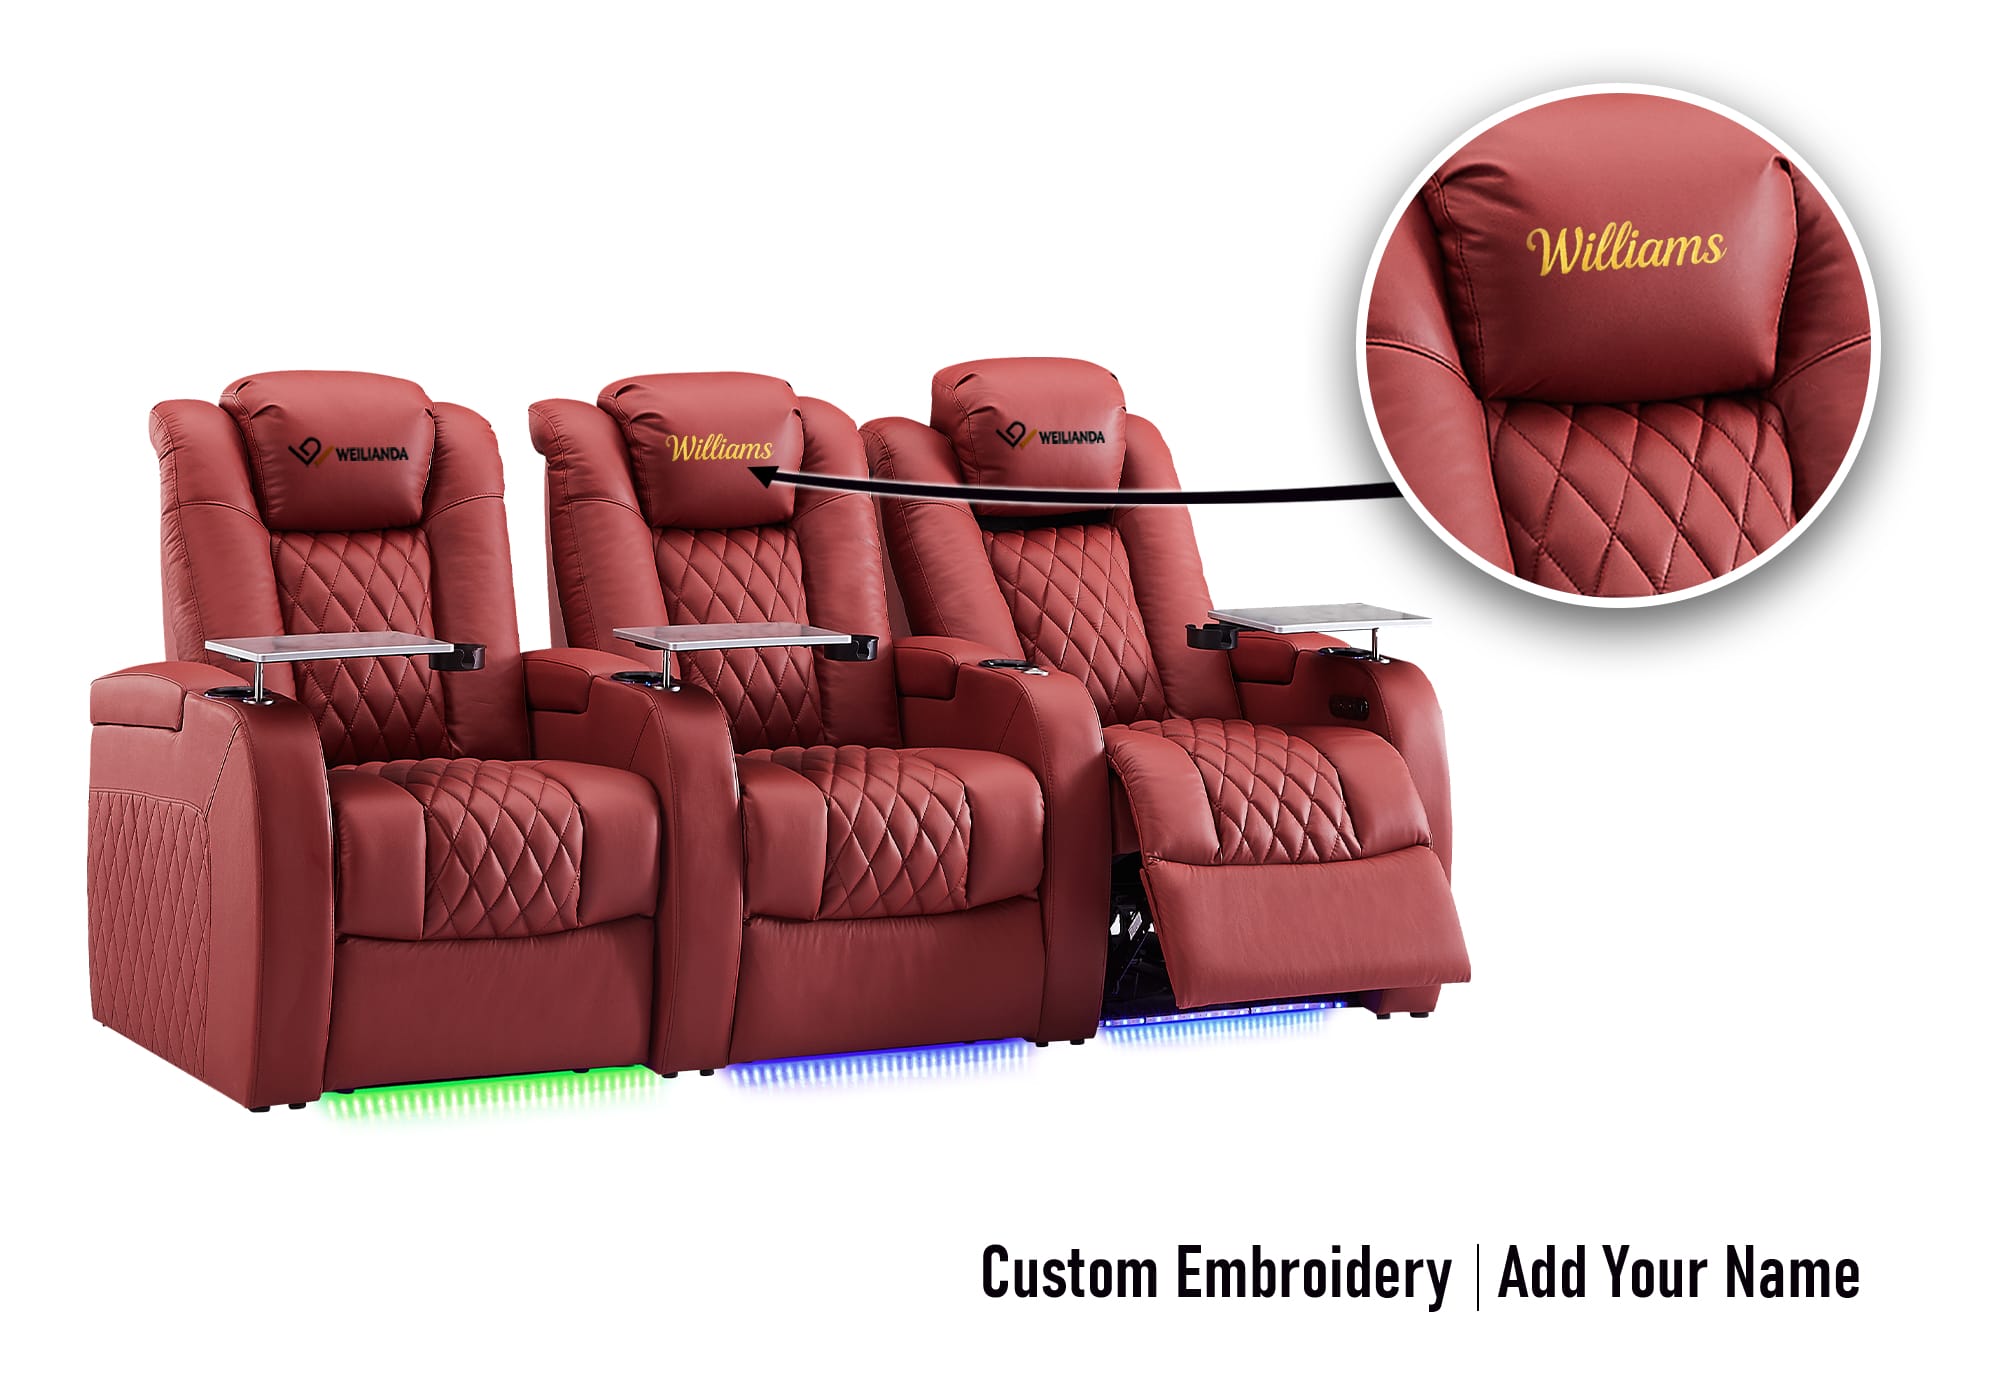
For a designer-led or custom seating project, the Weilianda project and custom theater seating page accepts inquiries about room dimensions, seat count, layout references, and finish preferences. Confirm the available options and responsibilities for the selected configuration.

Home Theater Setup Checklist: What to Confirm at Each Stage
Use this as a final readiness check. Resolve a failed item before the next purchase or installation makes it harder to change.
| Before you move forward | Confirm these conditions |
|---|---|
| Buying the main equipment | The room's purpose, usable dimensions, viewing zone, display outline, audio layout, and complete budget are clear. |
| Ordering seating | The actual configuration fits upright and reclined; occupied seats have usable views; walking routes and delivery access work. |
| Closing walls or concealing cables | Sources and signal paths are tested; power, network, speaker routes, mounting points, ventilation, and future access are coordinated. |
| Calling the setup finished | Picture and audio setup are complete; all sources work; side seats and reclined positions are checked; everyone can operate the system. |
If the room falls short, identify the cause before adding equipment. Unclear dialogue calls for checking the source, settings, and speaker path. A cramped walkway calls for revisiting the furniture footprint or seat count. An unstable picture calls for testing the relevant source, connection, and cable. Each problem needs its own check.
Frequently Asked Questions About Home Theater Setup
What do you need for a basic home theater setup?
You need a display, a content source, audio, seating, and suitable power and connections. TV apps can provide the content source, and a powered soundbar can keep audio simple. A receiver, separate surround speakers, projector, and acoustic construction are options that depend on the room and the experience you want.
Should you buy the screen or seating first?
Establish the likely viewing position and furniture footprint before committing to either. You can use temporary seating and a taped screen outline. Then check actual seat dimensions, recline movement, and display placement together. In a multi-row room, sightlines and platform planning need to be resolved before permanent work.
Do you need an AV receiver if you have a soundbar?
A typical powered soundbar system handles its own processing and amplification, so a separate receiver is usually unnecessary. Passive separate speakers need suitable amplification and processing, commonly supplied by an AV receiver. Check the equipment's intended connections before combining the two approaches.
Is 5.1 enough, or should you start with Dolby Atmos?
A 5.1 layout is a reasonable starting option when you can position its five main speakers and subwoofer appropriately. Height channels add another installation requirement. Decide from the positions available, receiver support, budget, and content. A simpler layout with workable placement is preferable to buying channels you cannot install as intended.
Can the sofa stay against the back wall?
It may need to in a shared room, but check the consequences. Rear clearance, recline movement, bass, and surround positions can all be affected. If moving it forward is possible, compare the results before fixing the layout. Where it must stay, choose an audio arrangement and furniture mechanism that accommodate that constraint.
Does wireless home theater equipment eliminate wiring?
It can reduce some signal cables, but powered components still need electricity. Wireless surrounds or a wireless subwoofer may need outlets near their positions. Check the selected system's power, pairing, and connectivity requirements before assuming the room can be installed without cable planning.
How much should you spend on a home theater?
Base the budget on the equipment you can reuse, the room work required, and your priorities. Compare complete installed plans, including audio, seating, mounts, cables, light control, and labor where needed. A staged upgrade can make sense: solve the room's main limitation first, then add features that fit the established layout.
Should you install acoustic panels before testing the system?
Plan any construction-dependent acoustic work early, but select room treatment around the problem you are addressing. Listen with the main furnishings and speakers in place, or have the room assessed where appropriate. If the goal is less noise reaching other rooms, treat that as an isolation problem rather than assuming decorative panels will solve it.
Confirm the Seating Details Before You Order
Keep your room sketch, screen position, preferred seat count, fully reclined footprint, and delivery measurements together. Use that information to check the shortlisted seating configuration before committing to it.
For questions about a Weilianda product or configuration, visit Weilianda Support or email leon@weiliandahome.com. Include the room dimensions, proposed layout, and the specific details you need confirmed.