


Bass shakers can turn a regular home theater seat into something closer to a full-body cinema experience. Instead of only hearing low-frequency effects, you feel them through the chair—engine rumbles, explosions, and deep bass become physical motion.
But in real homes, installation is rarely just “bolt it on and plug it in.” The result depends heavily on seat structure, room type, flooring, recliner mechanics, and how the vibration interacts with your space.
This guide focuses on a practical installation approach for real-world home theater setups—especially recliner seats and media room seating where comfort, stability, and long-term reliability matter.
What Bass Shakers Actually Do in a Theater Seat
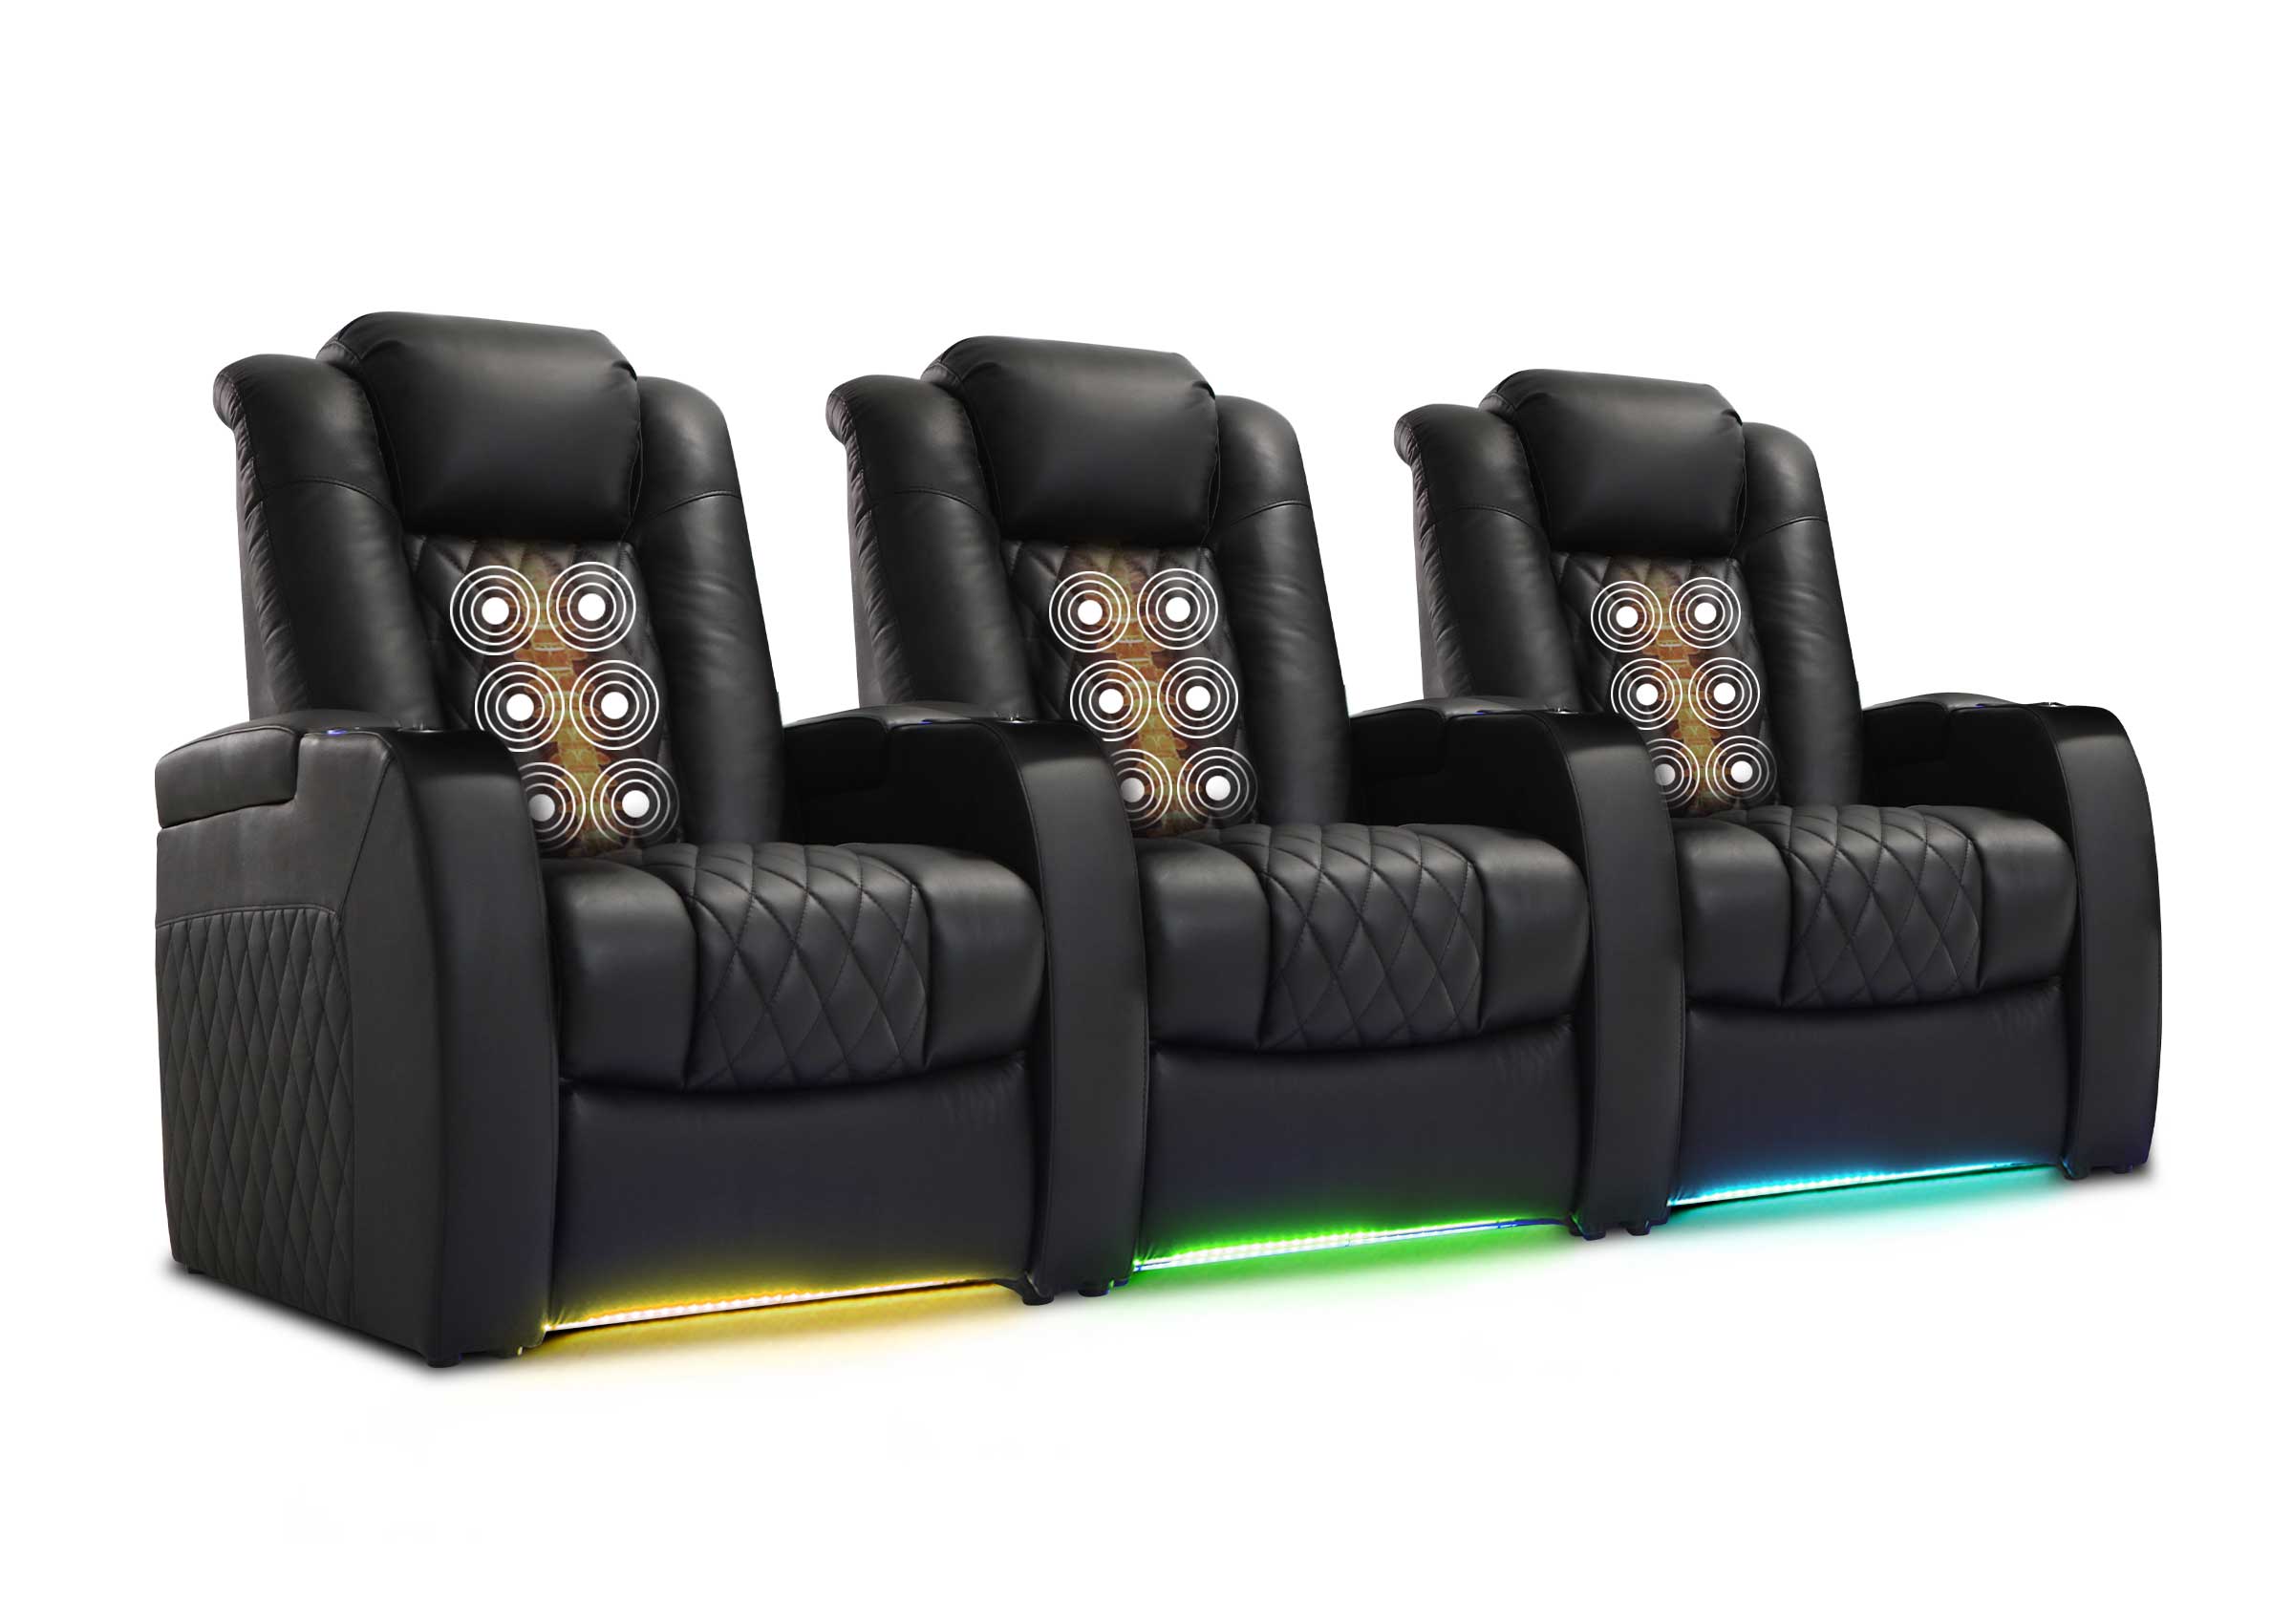
Bass shakers (tactile transducers) convert low-frequency audio into vibration that travels through the seat frame. Instead of pushing air like a subwoofer, they transfer energy directly into the structure you’re sitting on.
The goal is not “strong vibration,” but controlled physical feedback that blends into the movie experience.
In well-designed setups, you shouldn’t notice the shaker itself—you should just feel that the scene has more weight.
In real home theater environments, this becomes especially noticeable during:
-
Action movies with deep rumbles
-
Sports games (crowd + impact moments)
-
Racing or gaming setups
-
Low-volume nighttime viewing where subwoofers are limited
Where Bass Shakers Actually Make a Difference (Real Home Scenarios)
Most guides ignore how different home setups completely change performance. In practice, results depend more on your seating environment than the shaker brand.
Dedicated home theater rooms
Best-case scenario. Riser platforms and fixed recliner rows allow clean vibration transfer. You can mount directly to structural beams for consistent feedback across seats.
Living room theater setups
Common but trickier. Sofas and sectional seating often absorb vibration differently. You may need stronger frame contact or dual-shaker balance per seating zone.
Basement theaters
Ideal for bass shaker systems. Concrete isolation reduces unwanted vibration leakage, so tactile feedback stays in the seats instead of traveling through the floor.
Upstairs or apartment setups
Requires caution. Without isolation pads and proper tuning, vibration can transfer into floors and walls, creating noise issues for neighbors.
Power recliner theater seats
More complex but very common. Motors, footrests, and moving frames require careful placement so vibration doesn’t interfere with mechanisms.
Choosing the Right Setup Before Installation
Before mounting anything, the system design matters more than hardware.
1. Number of shakers per seat
-
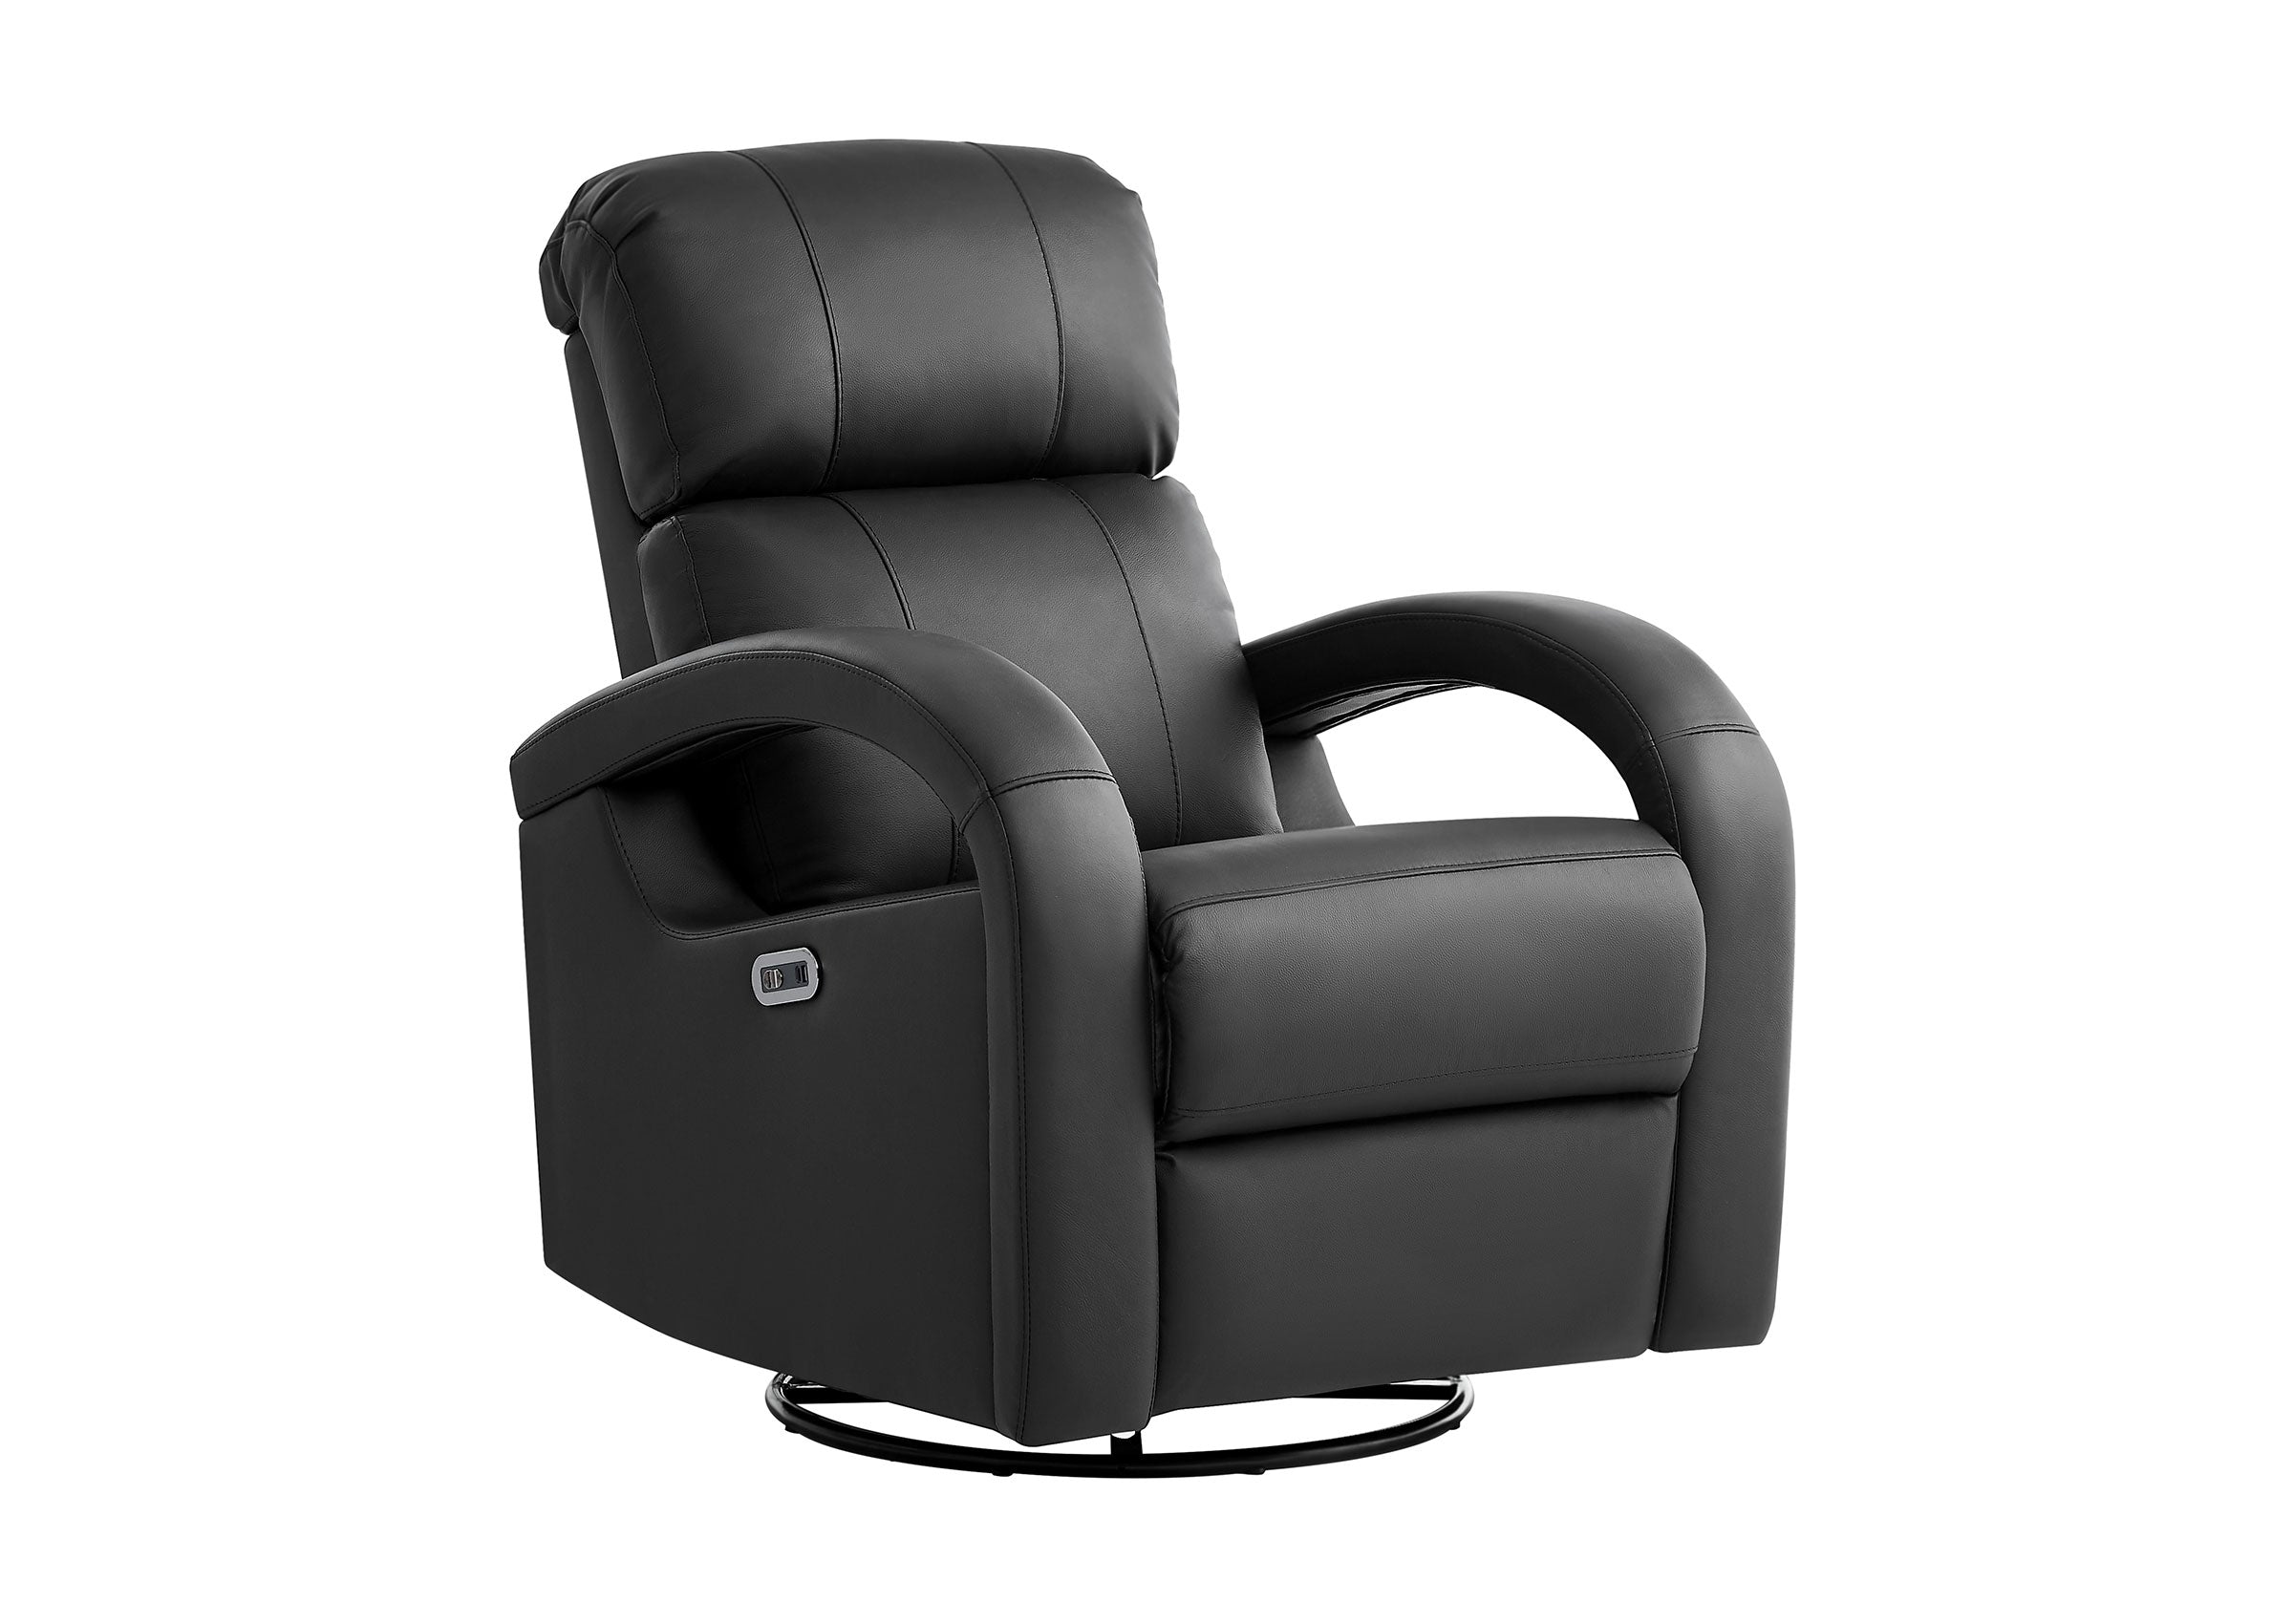
Single seat recliner: 1 shaker (basic effect)
-
Home theater recliner: 2 shakers (balanced left/right)
-
Sofa or sectional: 2–4 depending on frame zones
-
Multi-seat rows: usually 1–2 per seat module
2. Amplifier load planning
Most systems run on 4–8 ohm configurations. The key is not power alone, but stable impedance matching to avoid clipping.
3. Signal source
Common options:
-
AV receiver sub-out (most stable)
-
Dedicated LFE channel
-
Split subwoofer signal with low-pass filtering
Best Placement on Theater Seats (What Actually Works)
Placement determines whether vibration feels cinematic or chaotic.
Ideal mounting zones:
-
Under the seat frame (best overall)
-
On structural crossbars inside recliner base
-
Directly under seat pan (for uniform vibration)
-
Dual-side rail mounting (for stereo-style effect)
Avoid:
-
Thin plastic panels (causes rattling instead of vibration)
-
Cushion-only mounting (weak energy transfer)
-
Motor housing areas in power recliners
Important rule: vibration must enter the structural frame—not decorative surfaces.
Tools and Materials You’ll Need
Basic installation requires:
-
Bass shaker transducers
-
Class D amplifier (recommended for efficiency)
-
Speaker wire (14–16 gauge)
-
Drill and mounting screws
-
Rubber isolation pads
-
Cable ties / clips
-
RCA or LFE cable
-
Wire stripper / crimper
Step-by-Step Installation Process
Step 1: Inspect seat structure
Check the underside of the seat:
-
Identify load-bearing frame beams
-
Locate recliner motors and moving joints
-
Mark safe wiring paths
Never mount on thin MDF panels or unsupported plastic bases.

Step 2: Mark mounting points
Focus on:
-
Strong structural contact points
-
Symmetry (for balanced vibration)
-
Clearance from moving parts
For recliners, simulate full recline before final marking.
Step 3: Mount the bass shakers
Secure using:
-
Screws into wood or metal frame
-
Bolt-through mounting (preferred if available)
Add rubber isolation pads if needed to:
-
Reduce mechanical noise
-
Prevent metal-on-metal vibration artifacts
Tight structural contact is more important than extreme tightening force.
Step 4: Wiring configuration
Two main wiring methods:
-
Series wiring → safer, higher impedance
-
Parallel wiring → stronger output, requires amp headroom
Route wires:
-
Along frame edges
-
Away from moving recliner parts
-
Secured with clips or ties
Loose wiring is one of the most common failure points in real installs.

Step 5: Connect to amplifier
Start conservative:
-
Low-pass filter: 80–120 Hz
-
Gain: 20–30% initial level
-
Phase: adjust based on seat response
Step 6: Testing and tuning
Use real content, not just test tones:
-
Action scenes with explosions
-
Racing or gaming audio
-
Movie trailers with dynamic bass
Adjust:
-
Intensity (gain)
-
Crossover frequency
-
Balance between seats
Good tuning feels invisible during dialogue but present during impact scenes.
Common Mistakes in Real Installations
1. Overpowering vibration
Too much gain makes seating uncomfortable and fatiguing over long sessions.
2. Ignoring seat mechanics
Recliner movement can compress or damage wiring if not planned.
3. Weak mounting surfaces
Loose panels turn vibration into buzzing noise instead of clean tactile feedback.
4. No isolation planning
Without rubber isolation, vibration may travel into floors or neighboring rooms.
5. Wrong frequency tuning
Too high crossover introduces mid-range vibration that feels unnatural.
How Bass Shakers Fit Into a Full Theater System
Bass shakers are not meant to replace subwoofers—they complete the system.
-
Subwoofer → room pressure and air movement
-
Speakers → directional audio and clarity
-
Bass shakers → physical seat-level impact
In well-balanced home theaters, this creates a layered experience where sound is heard, felt, and physically experienced.

Seating Design Matters More Than Most People Realize
One overlooked factor is seat structure itself.
In real-world installations, performance varies depending on:
-
Recliner frame strength
-
Modular vs single-seat construction
-
Row spacing in theater seating layouts
-
Whether seats are wall-hugger or full recline designs
-
Stability of riser platforms in multi-row setups
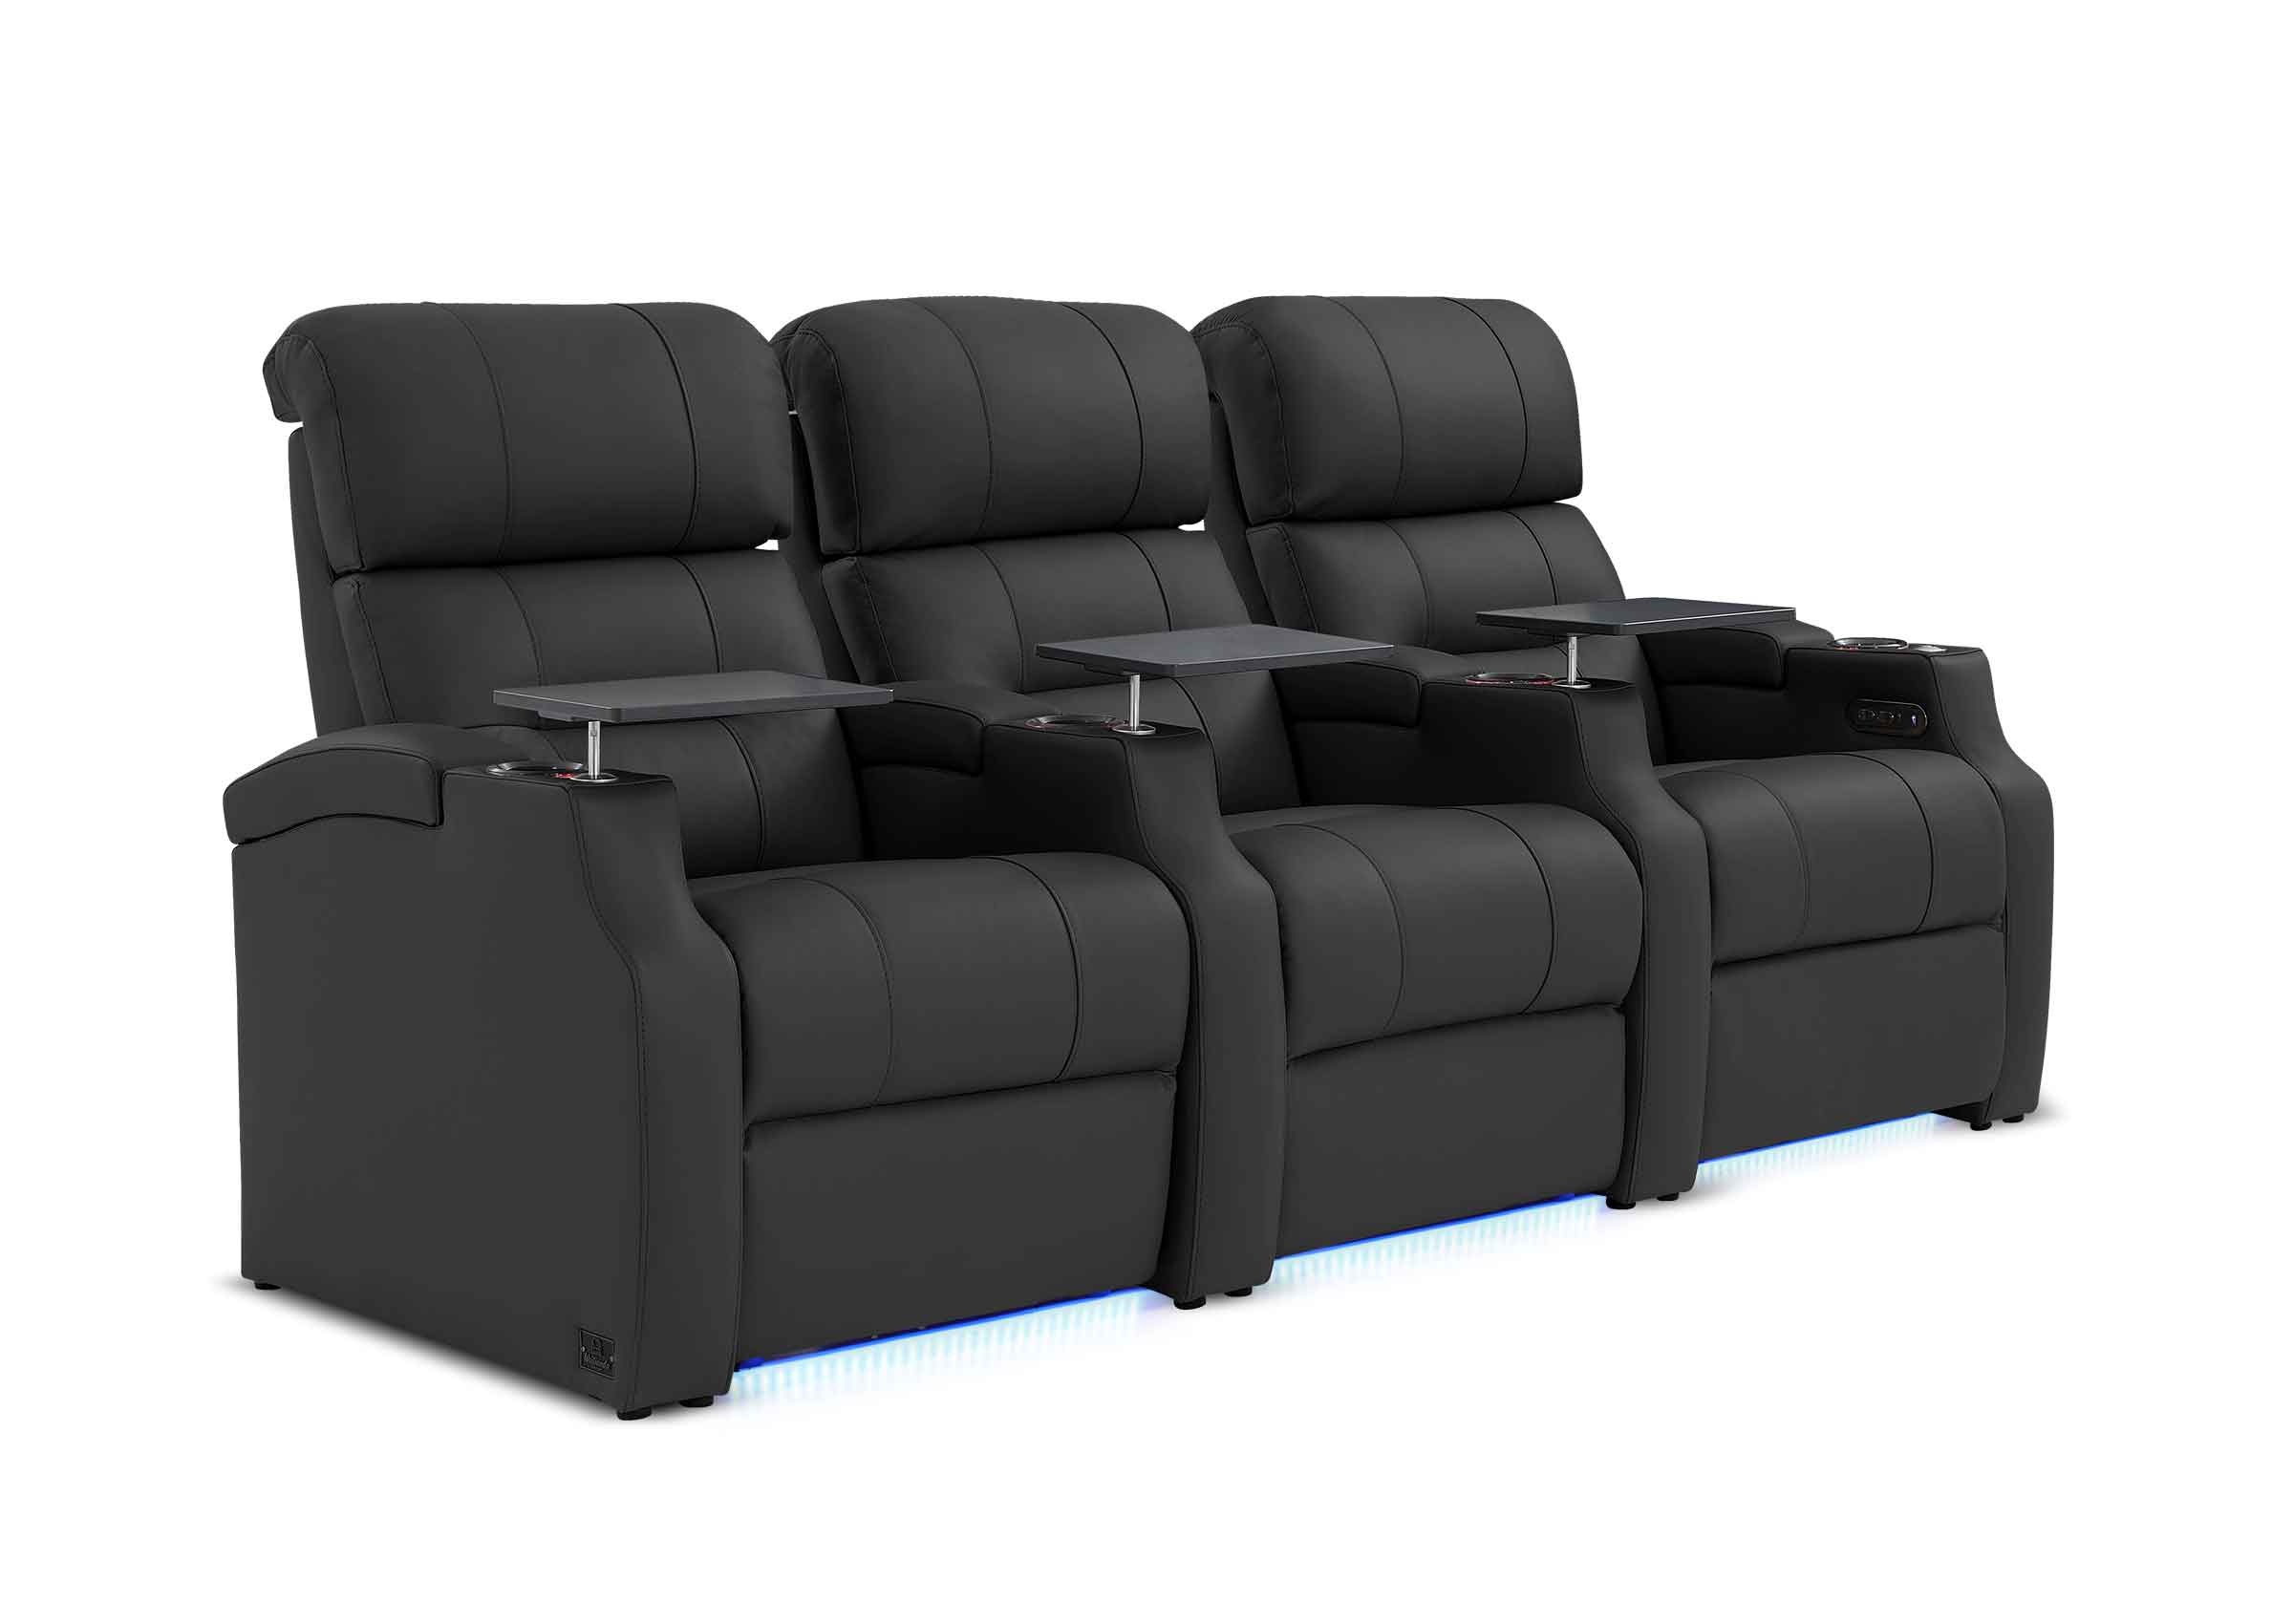
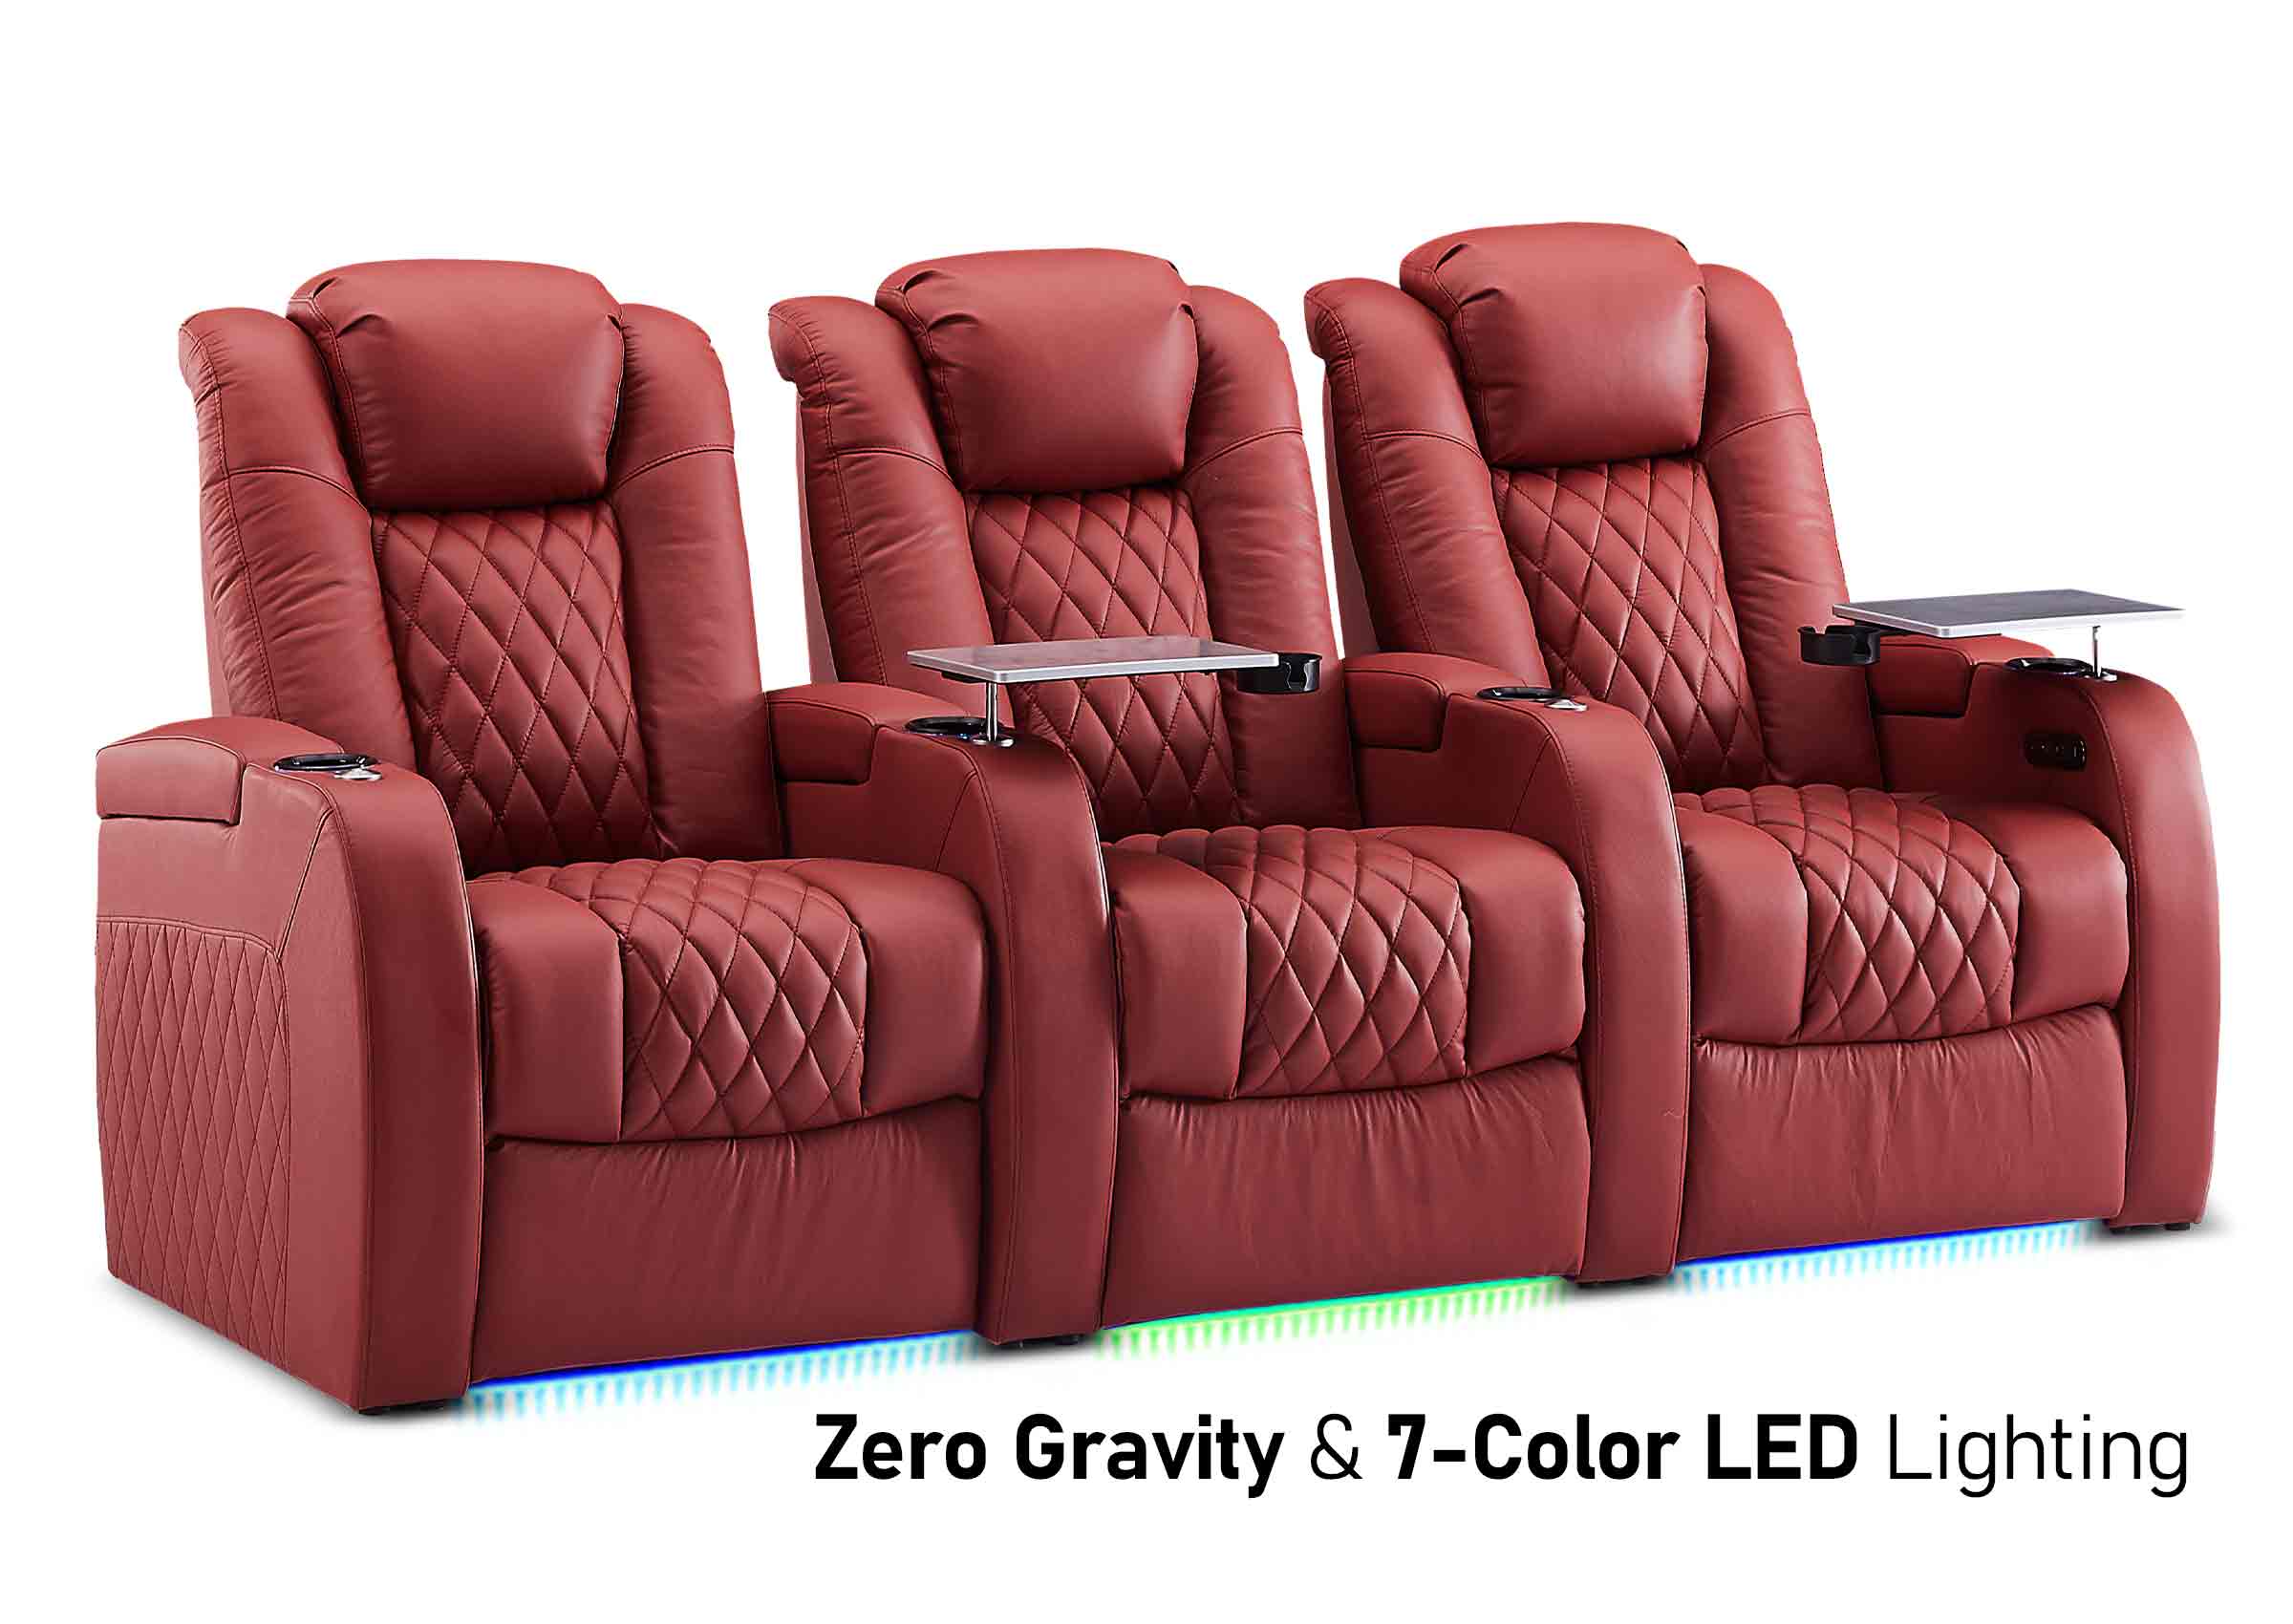
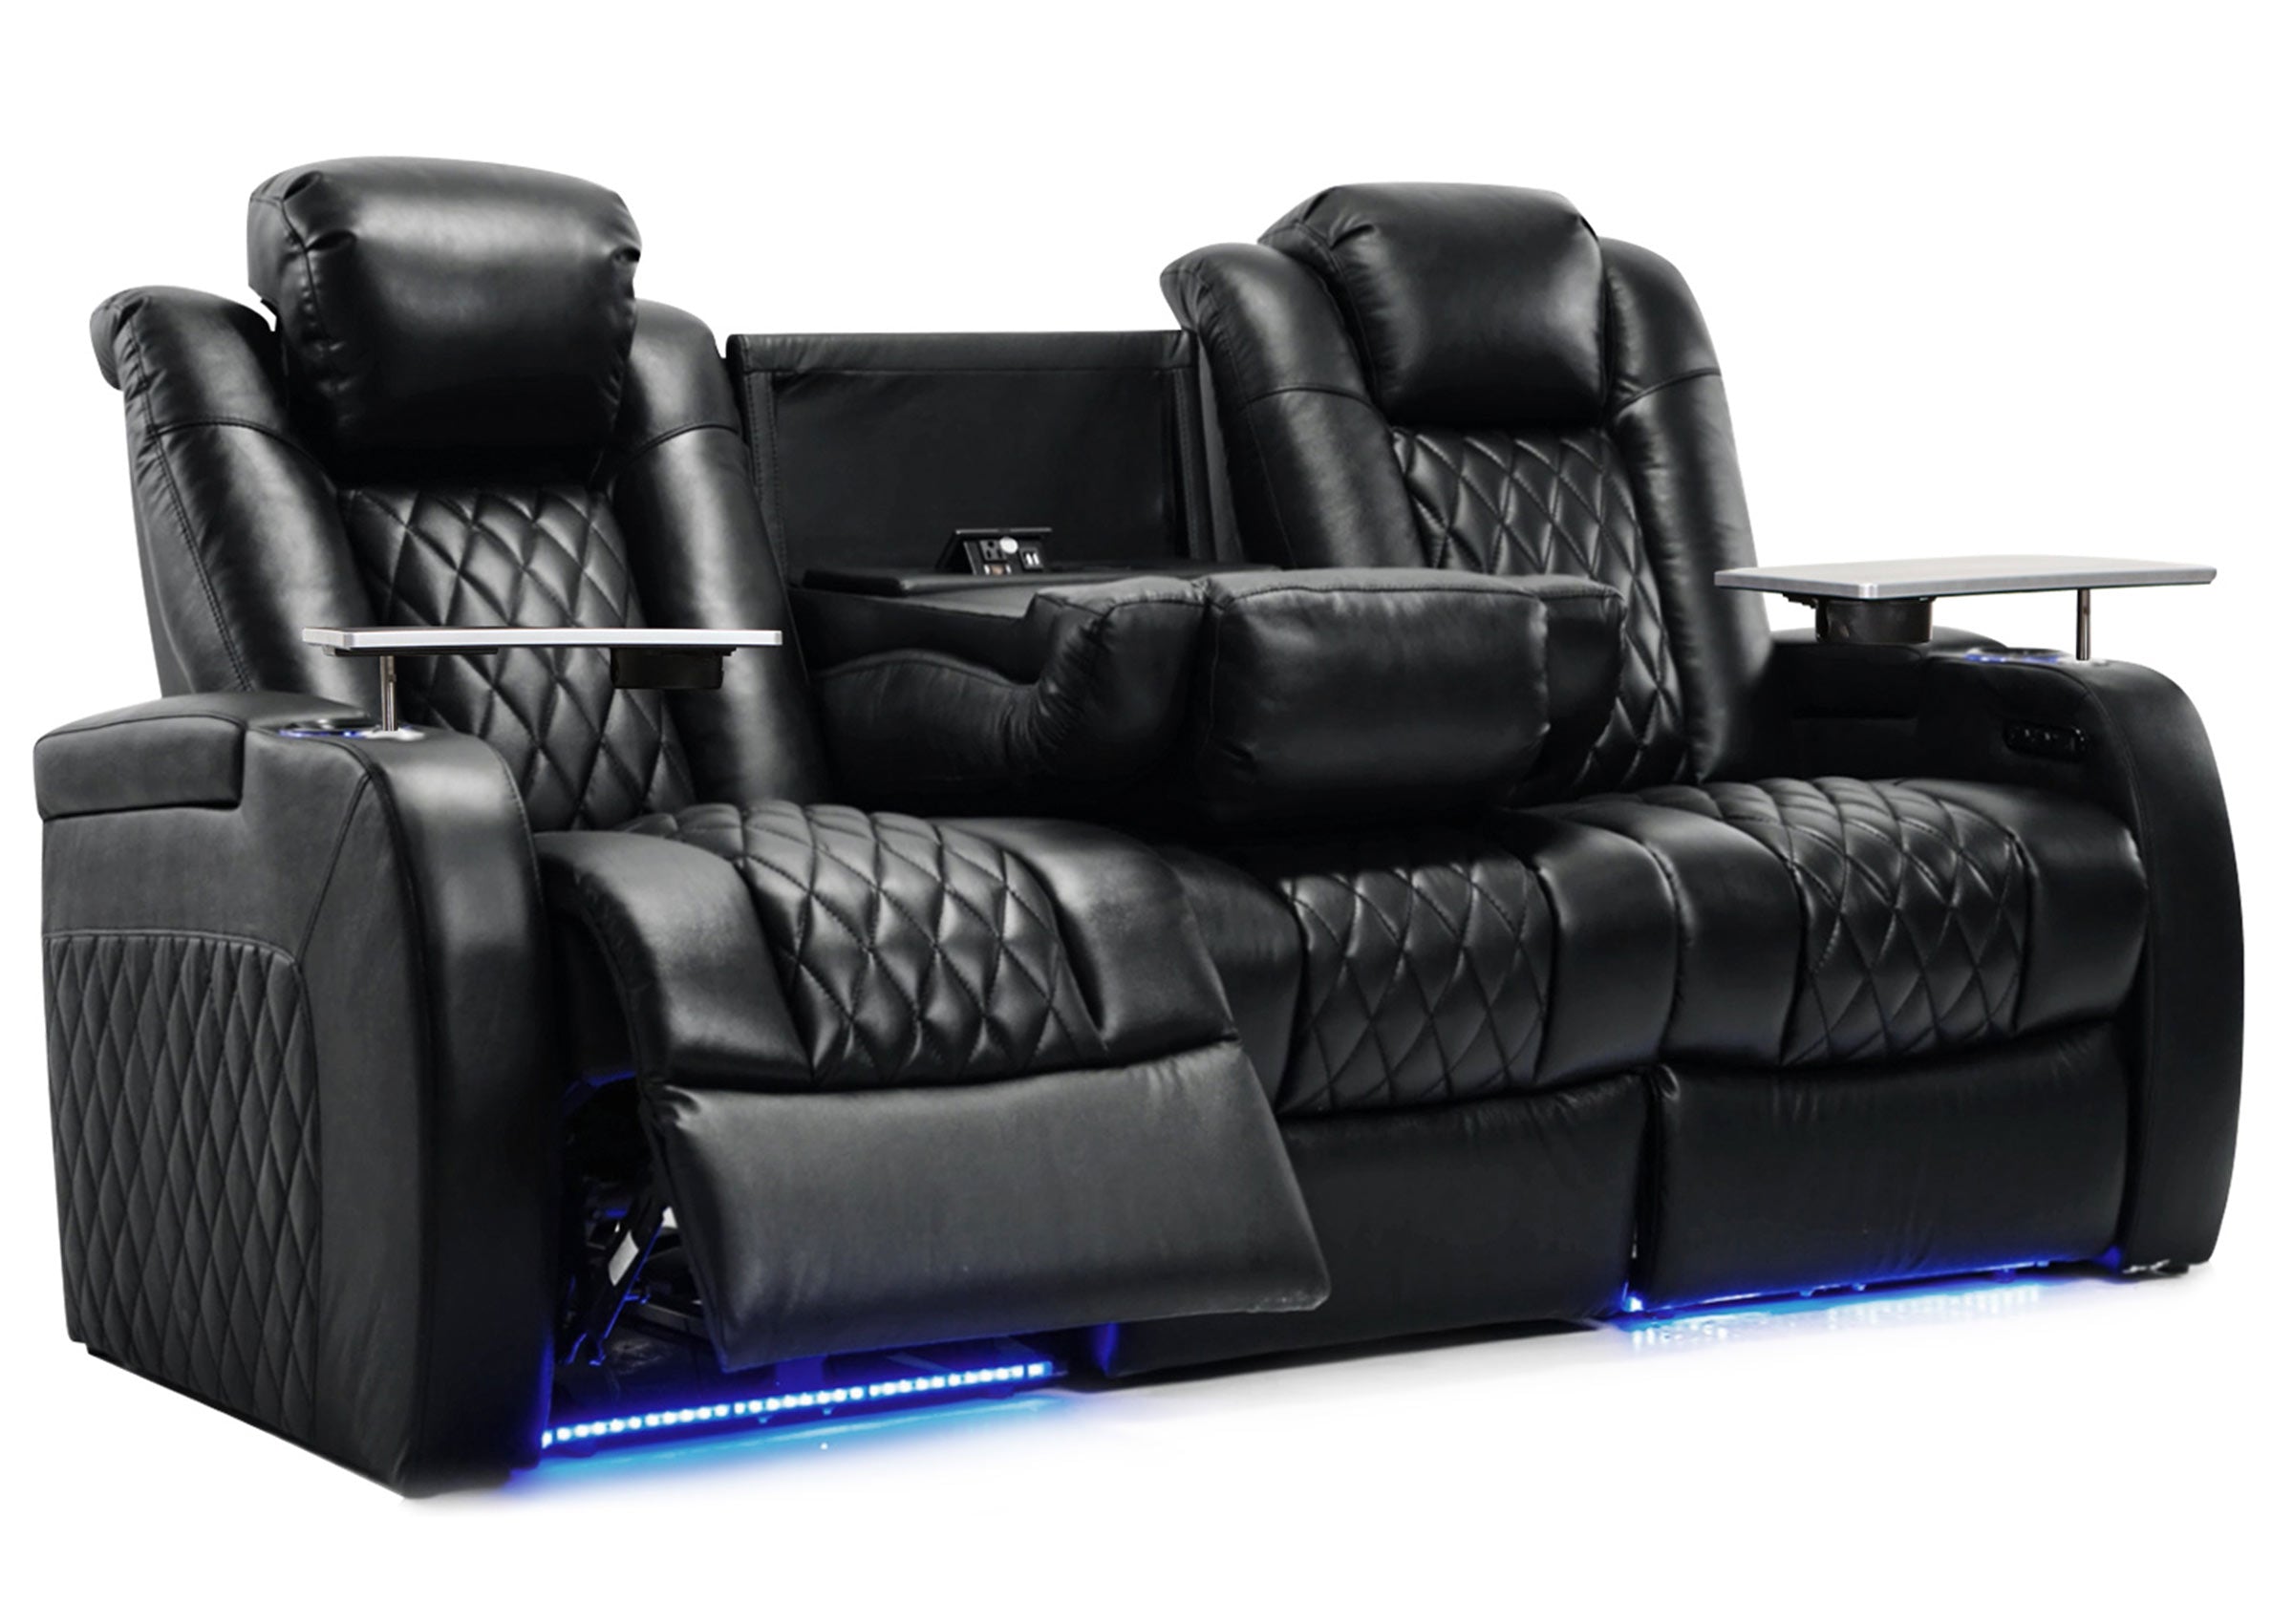
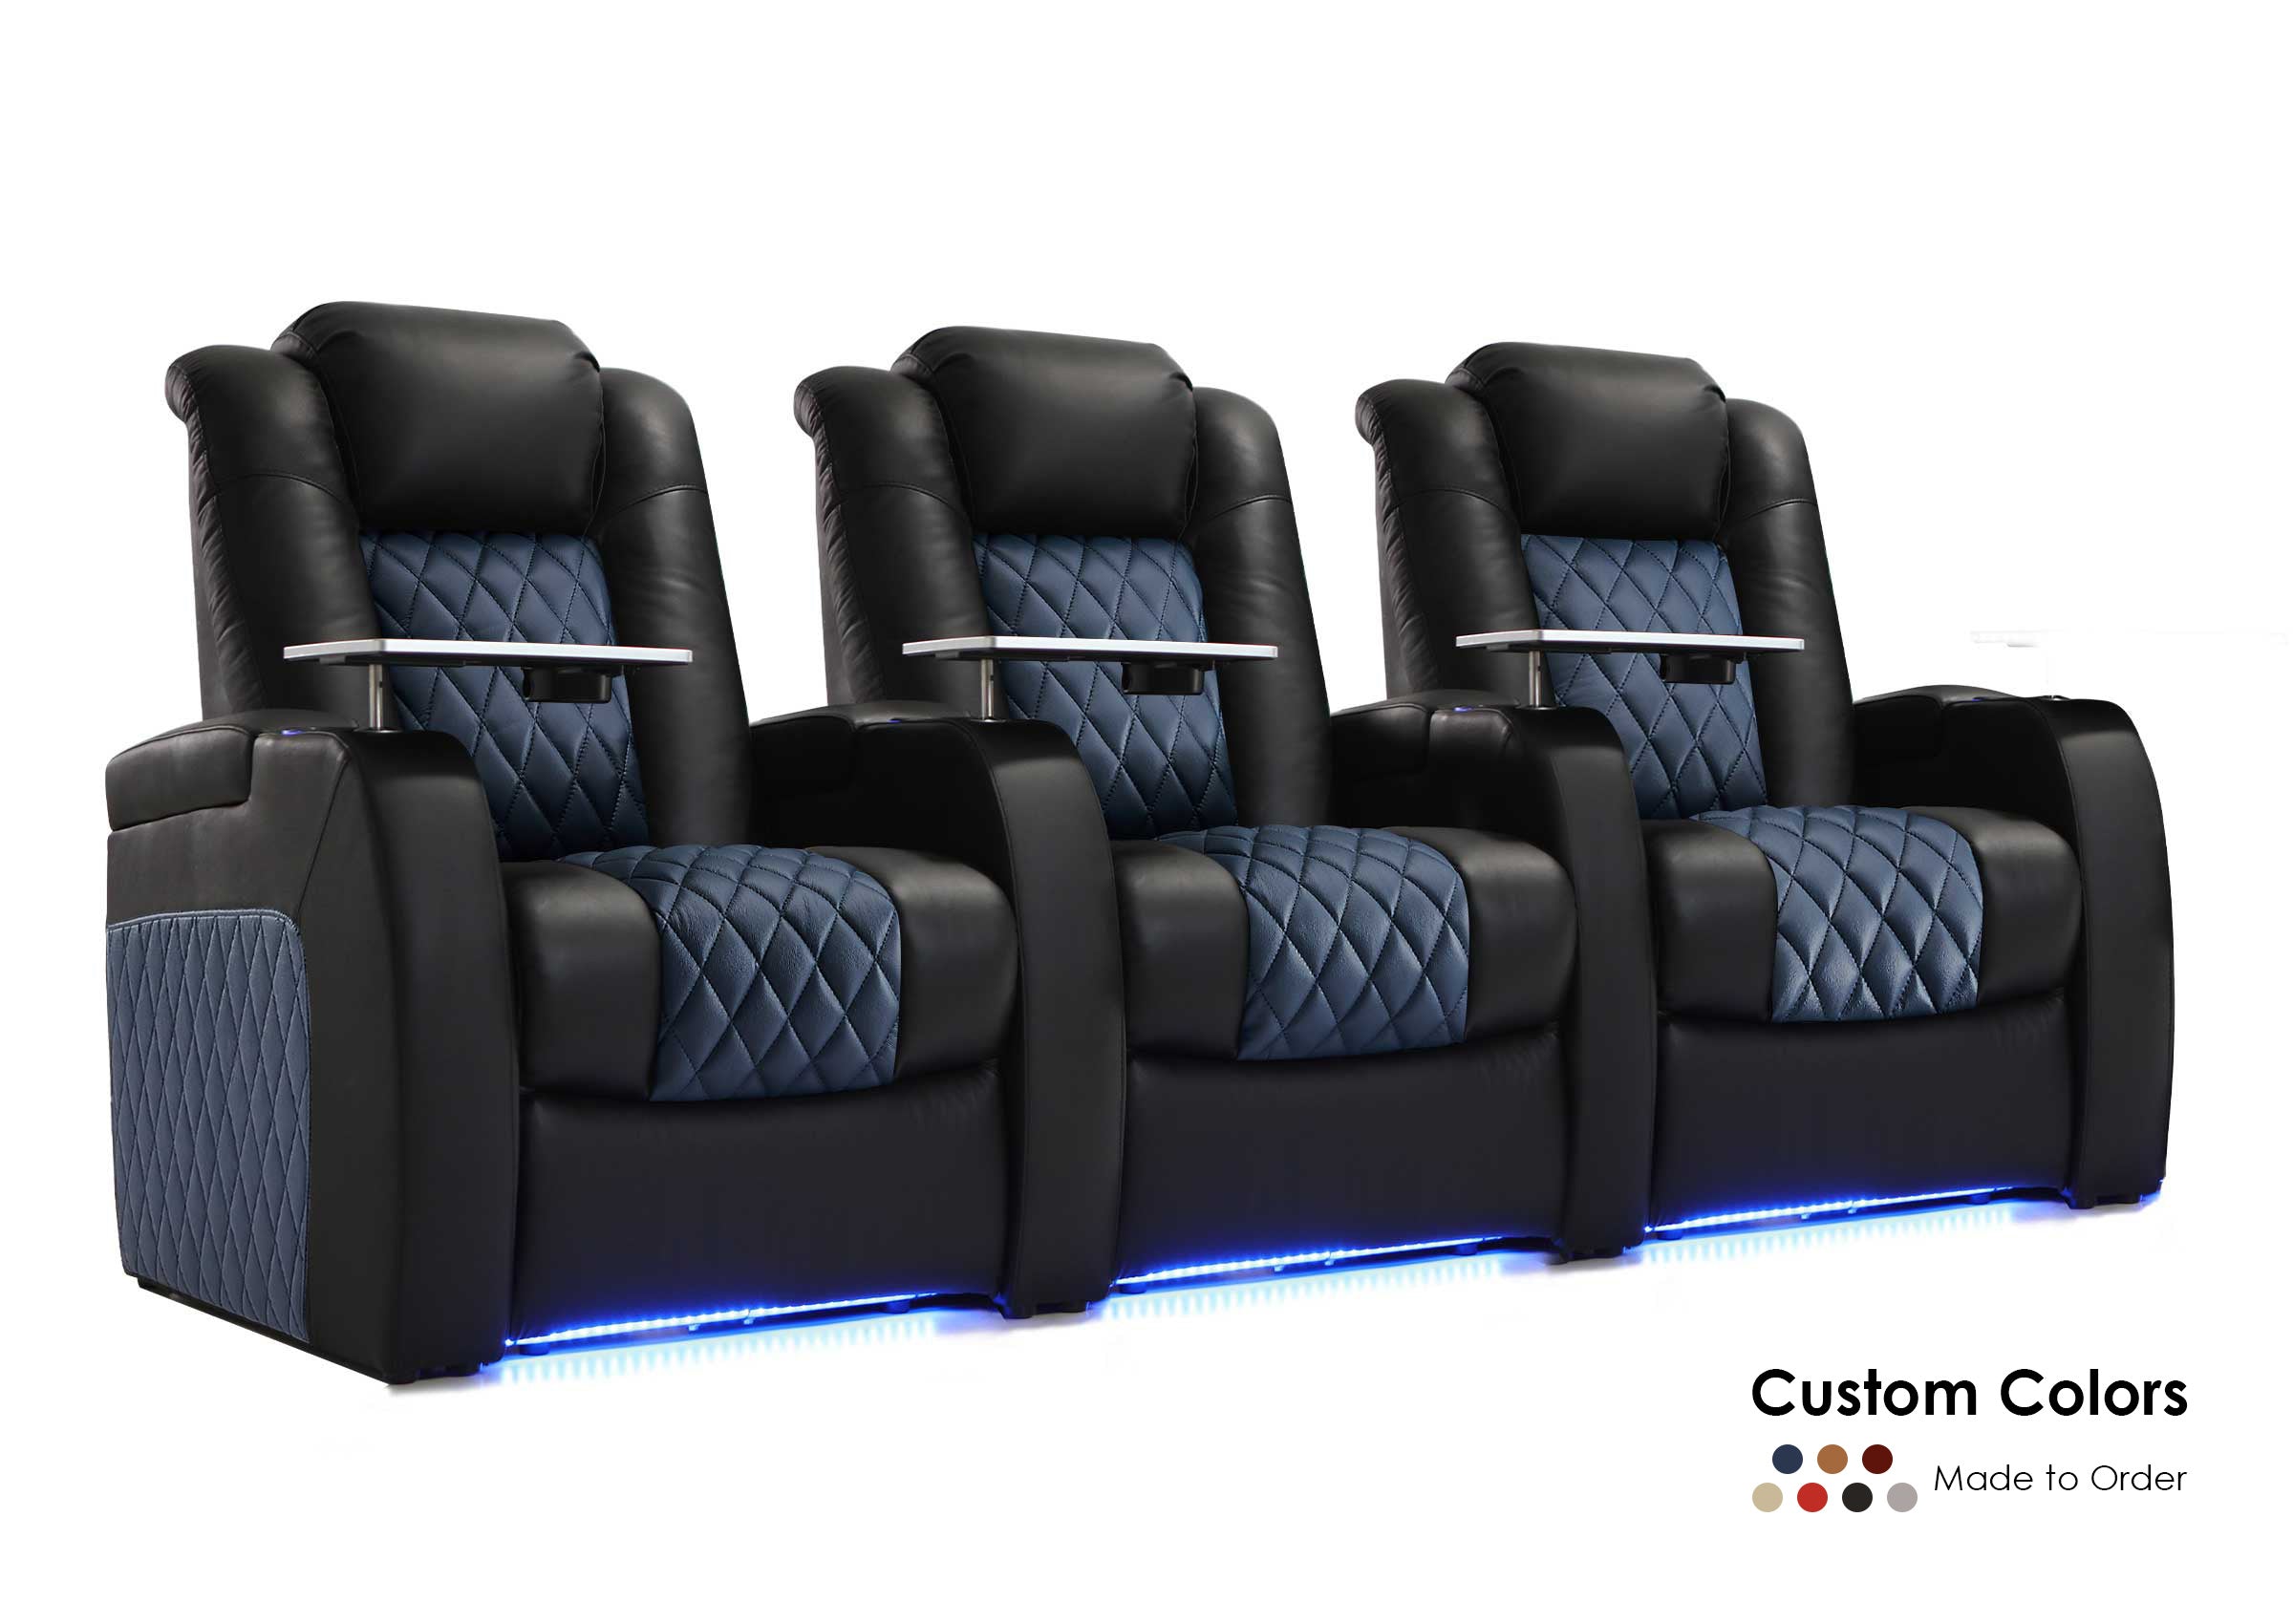
This is where seating quality becomes important. A well-built theater recliner or modular seating system provides a stable frame that transfers vibration cleanly without distortion or rattling.
In factory-designed home theater seating systems like those used in custom media rooms, the frame is often engineered with long-session use in mind—making bass shaker integration more stable and predictable.
Special Considerations for Power Recliner Seats
Power recliners require extra care:
-
Always test full recline before final mounting
-
Keep clearance around motors and footrests
-
Leave slack in wiring for movement
-
Avoid rigid cable tension points
Most installation issues in real homes come from ignoring movement paths—not from shaker quality.

Maintenance and Long-Term Stability
Check every few months:
-
Mounting screw tightness
-
Wire strain points
-
Amp heat levels
-
Consistency of vibration output
If vibration becomes uneven, the cause is usually:
-
Loose frame contact
-
Wiring fatigue
-
Amp clipping or overload
When Bass Shakers Are Worth It
They are most valuable when:
-
You want immersion without extremely loud subwoofers
-
You watch movies at night or in shared spaces
-
You want consistent seat-level impact for all viewers
-
You’re building a dedicated media room or gaming setup
Less useful when:
-
Your subwoofer already dominates the room physically
-
Your seating is unstable or lightweight
-
Installation space is extremely limited
A Practical Note on Custom Theater Seating and Support
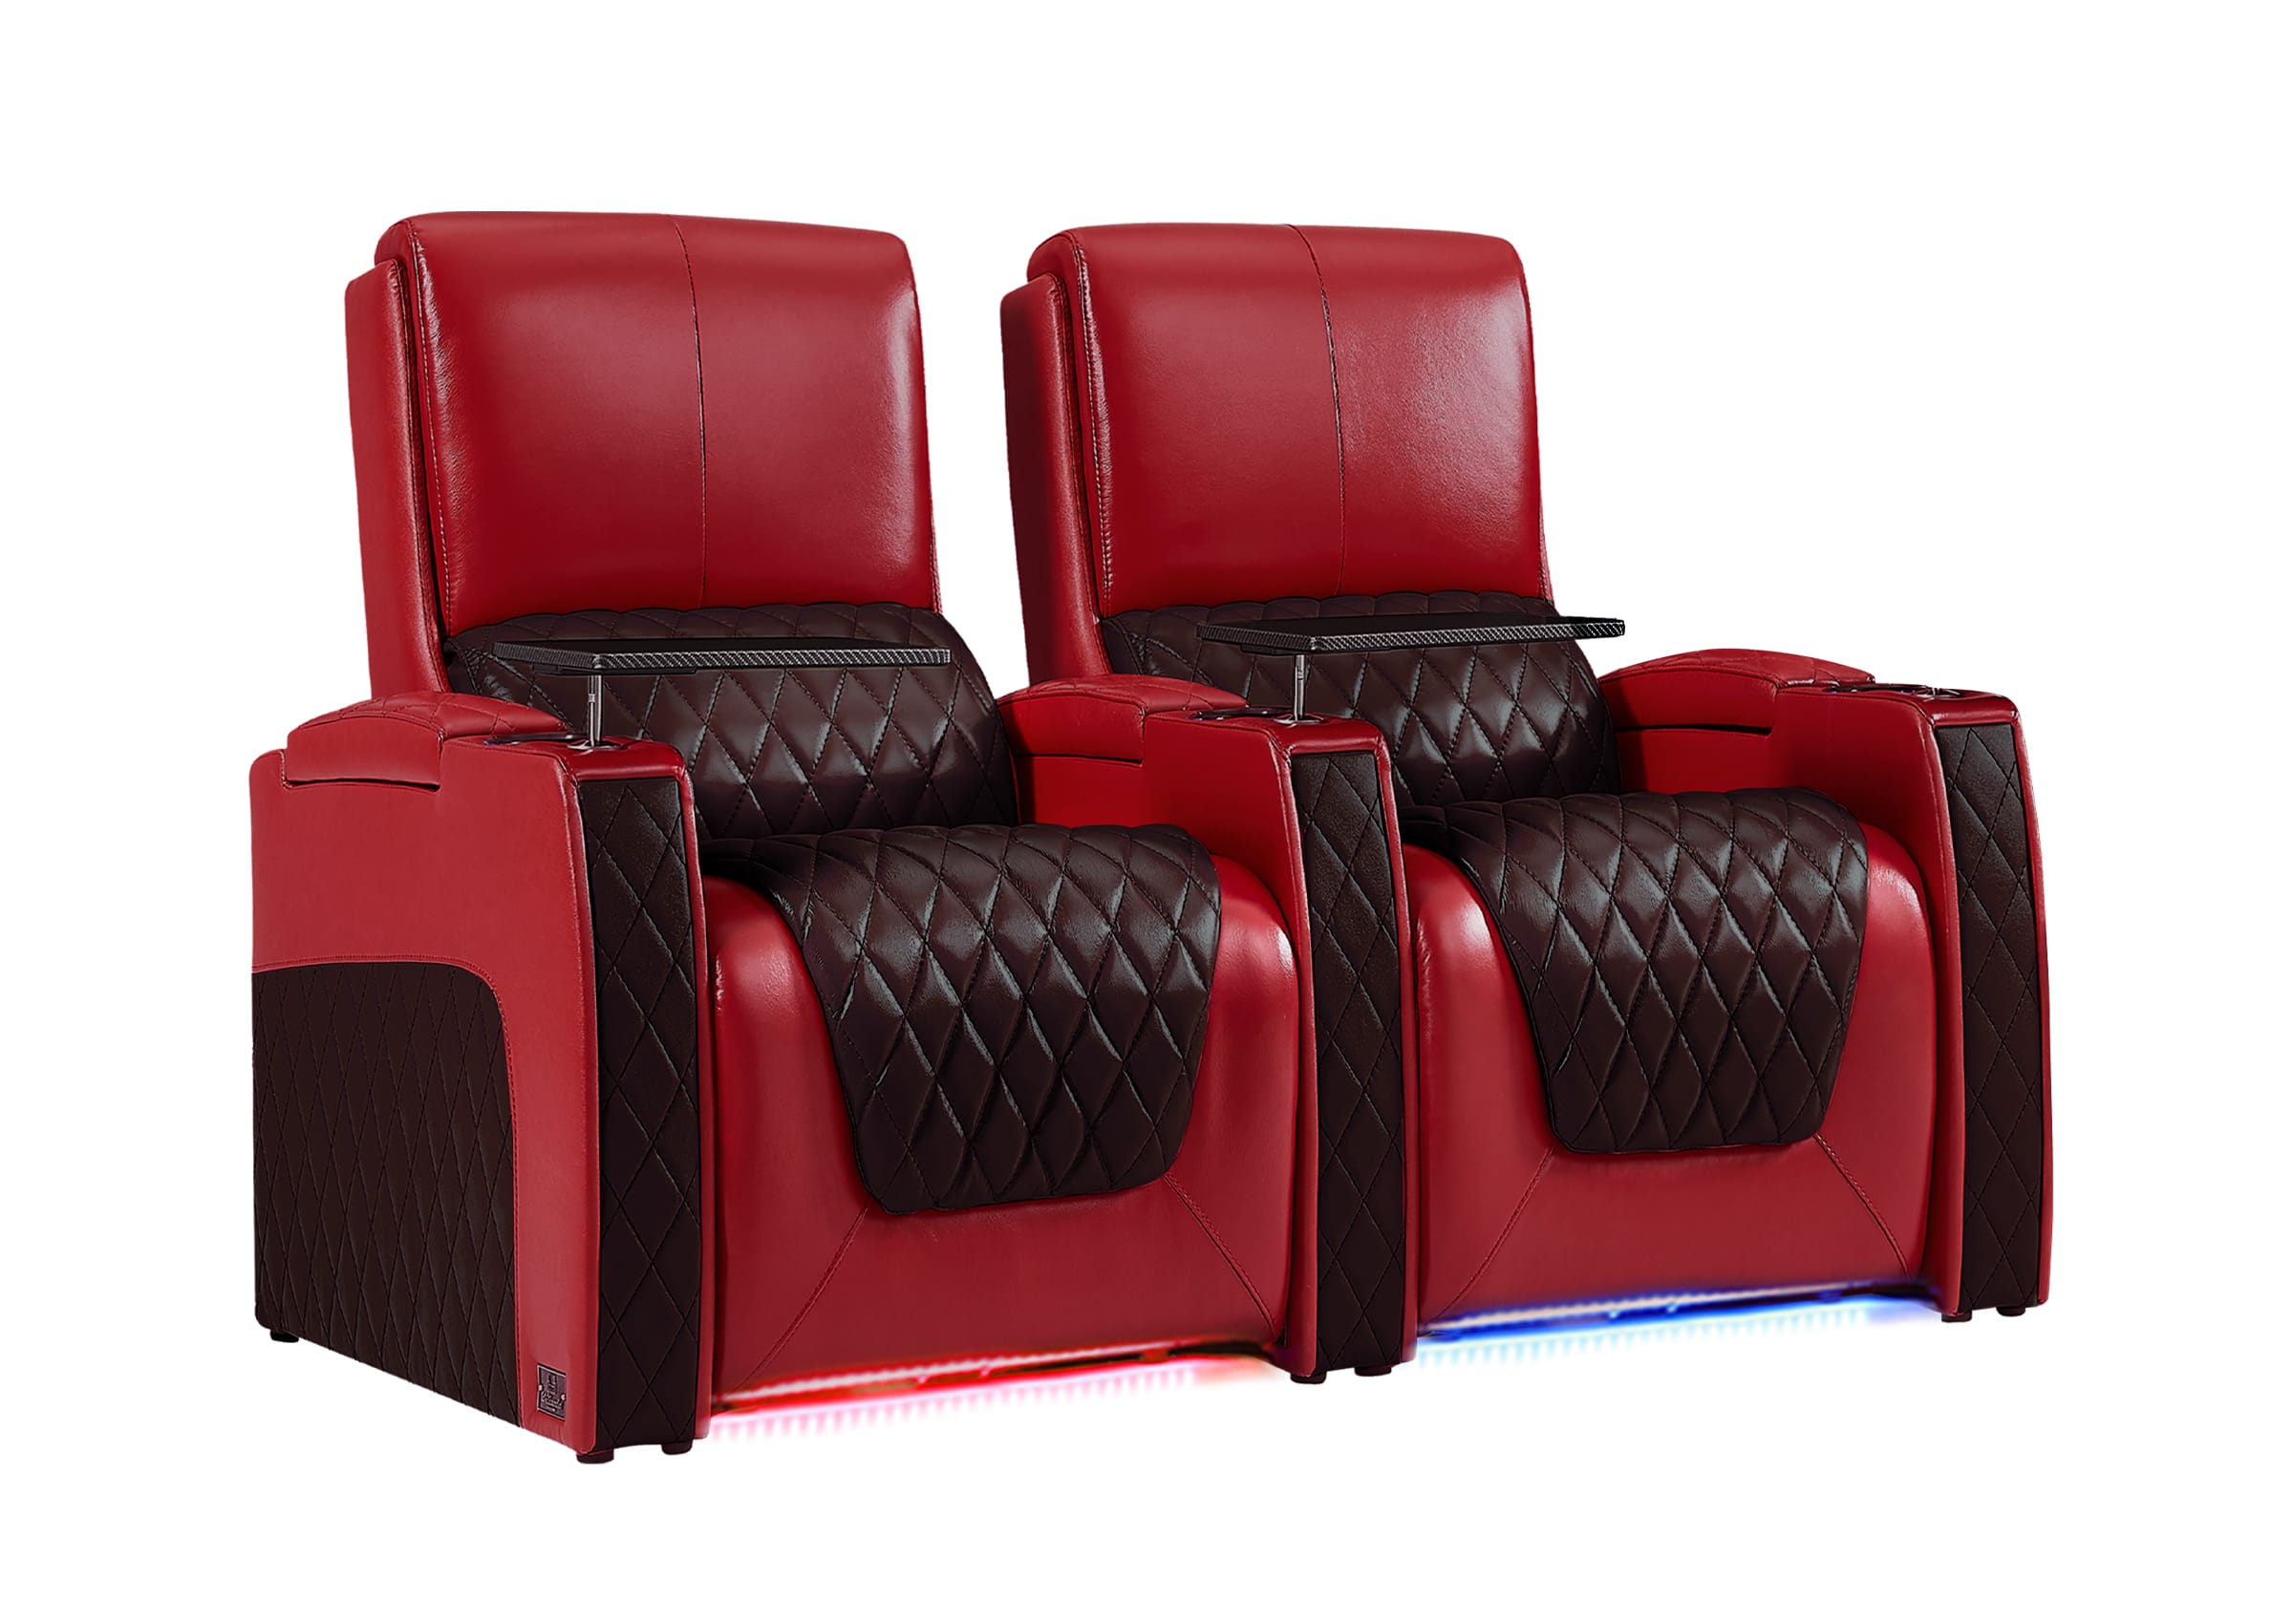
In real installations, compatibility matters. Not every sofa or recliner frame is equally suitable for tactile systems.
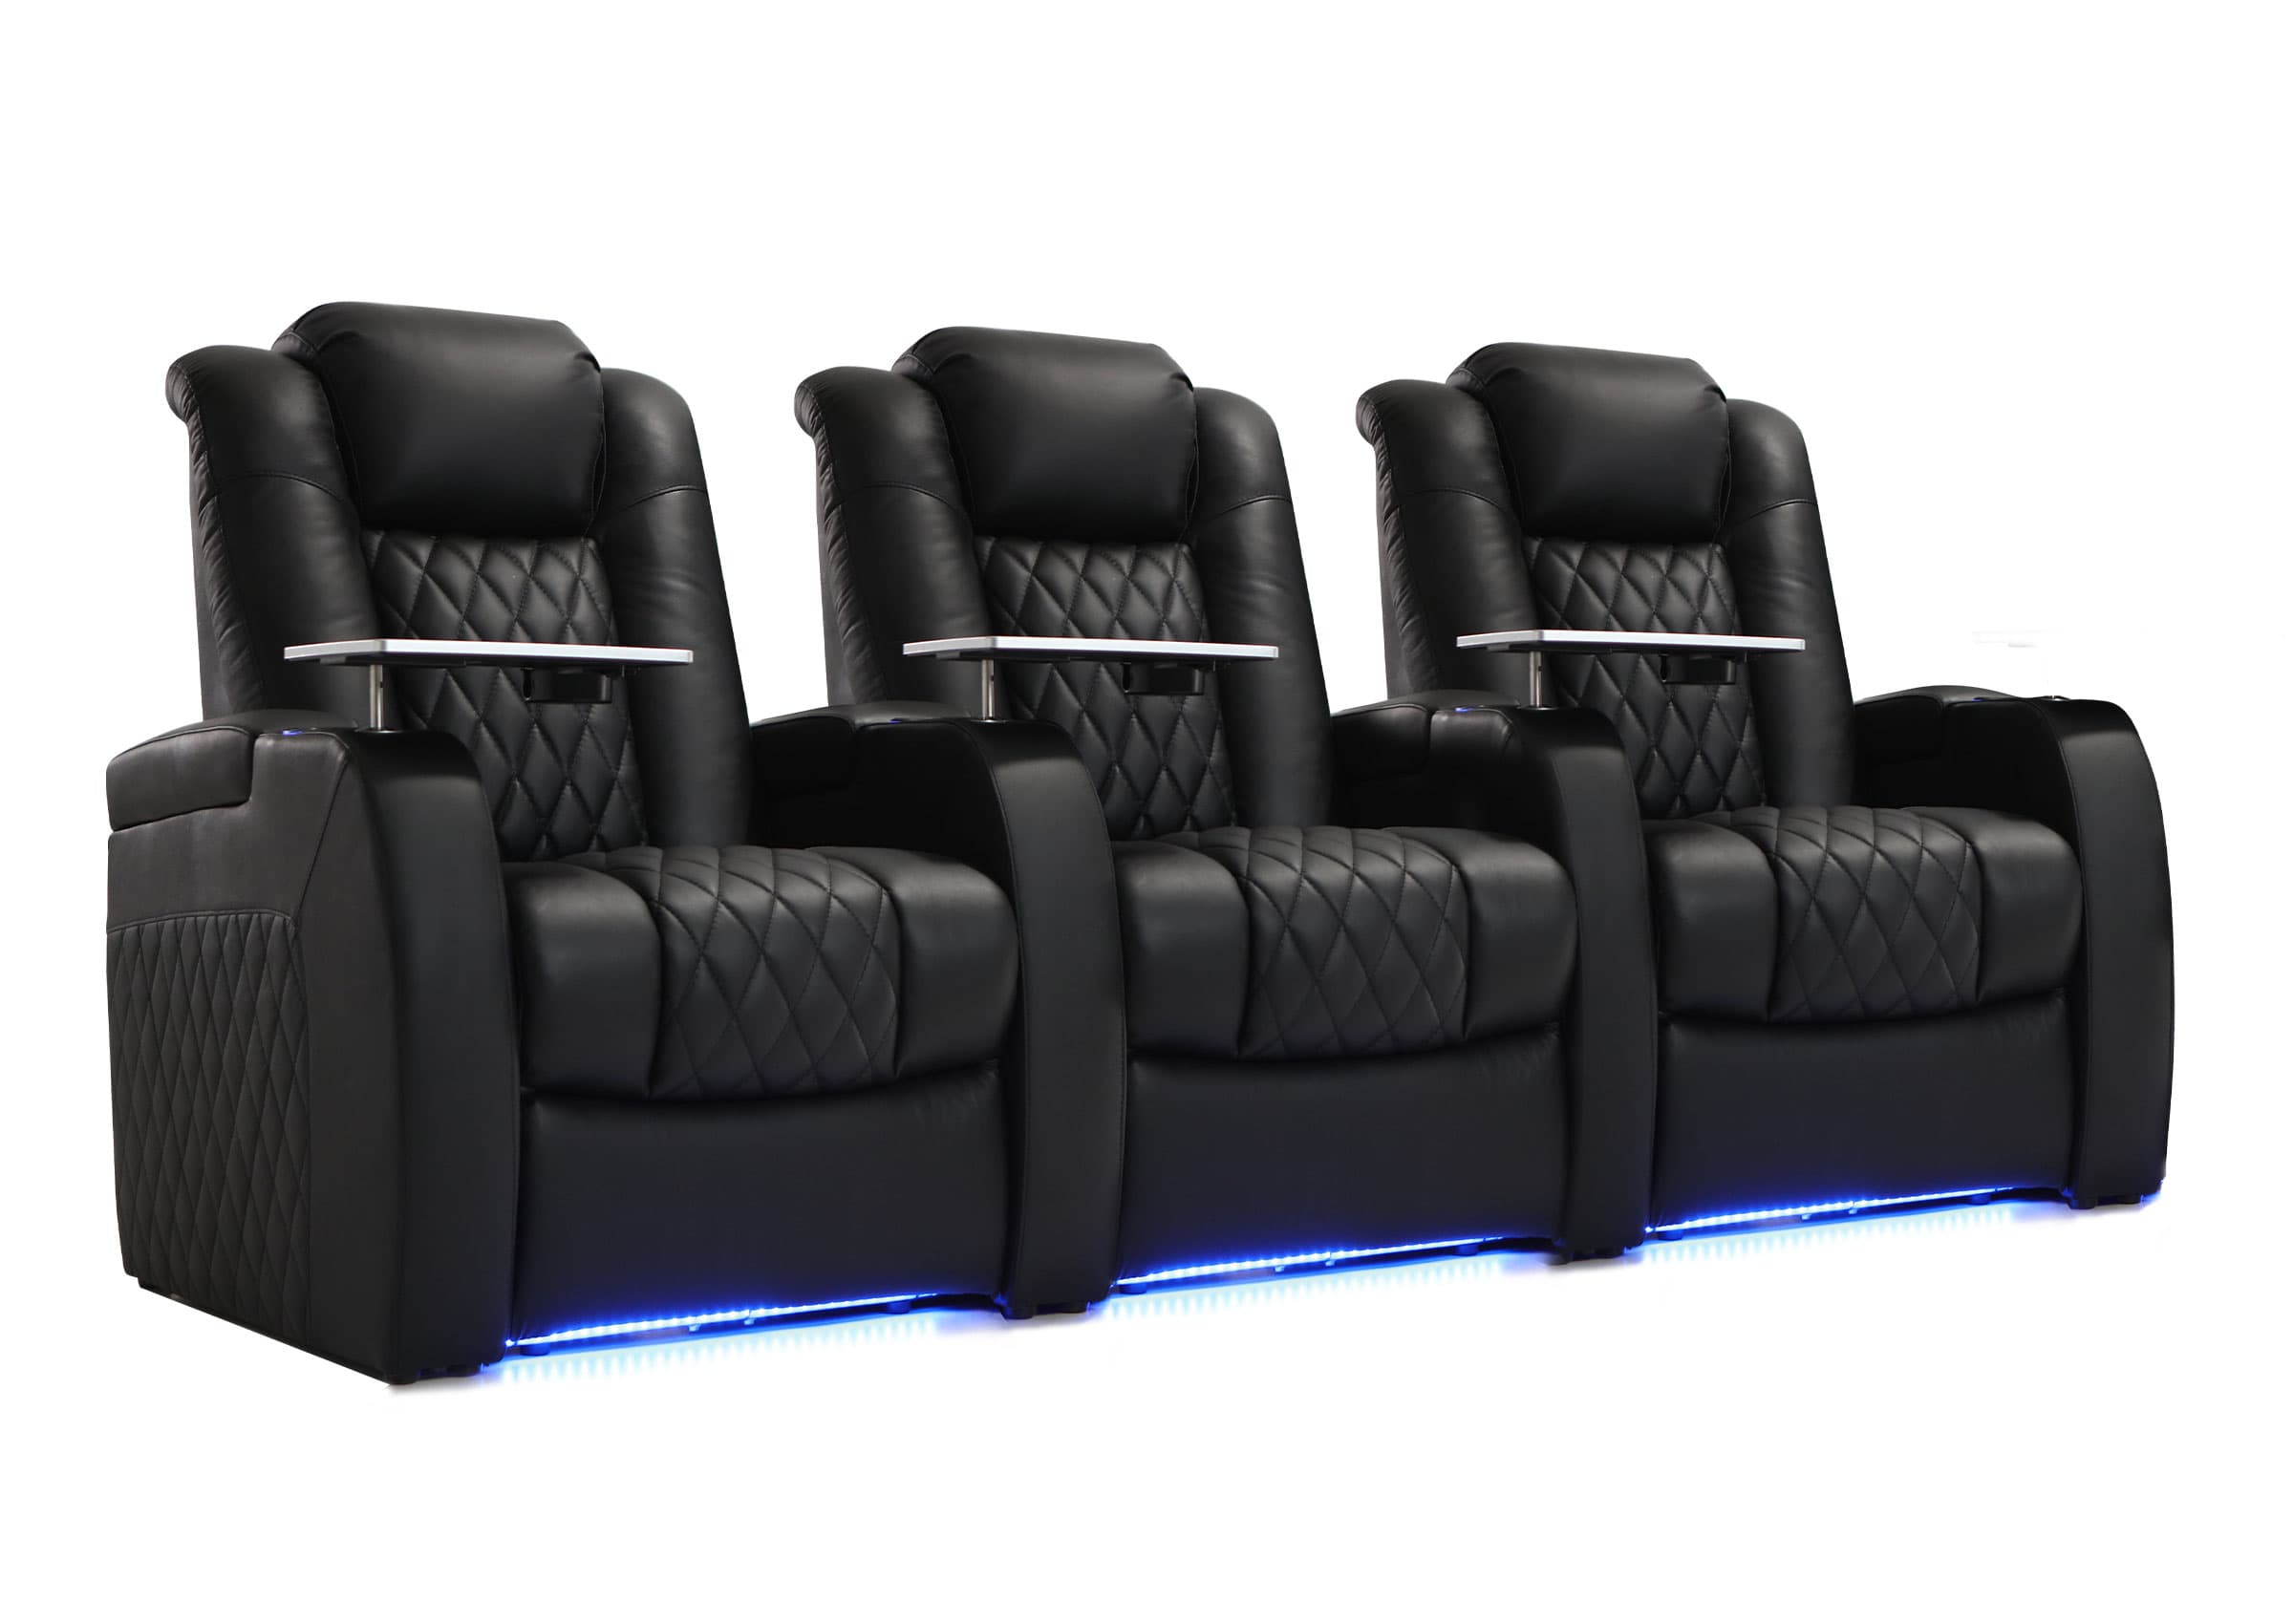
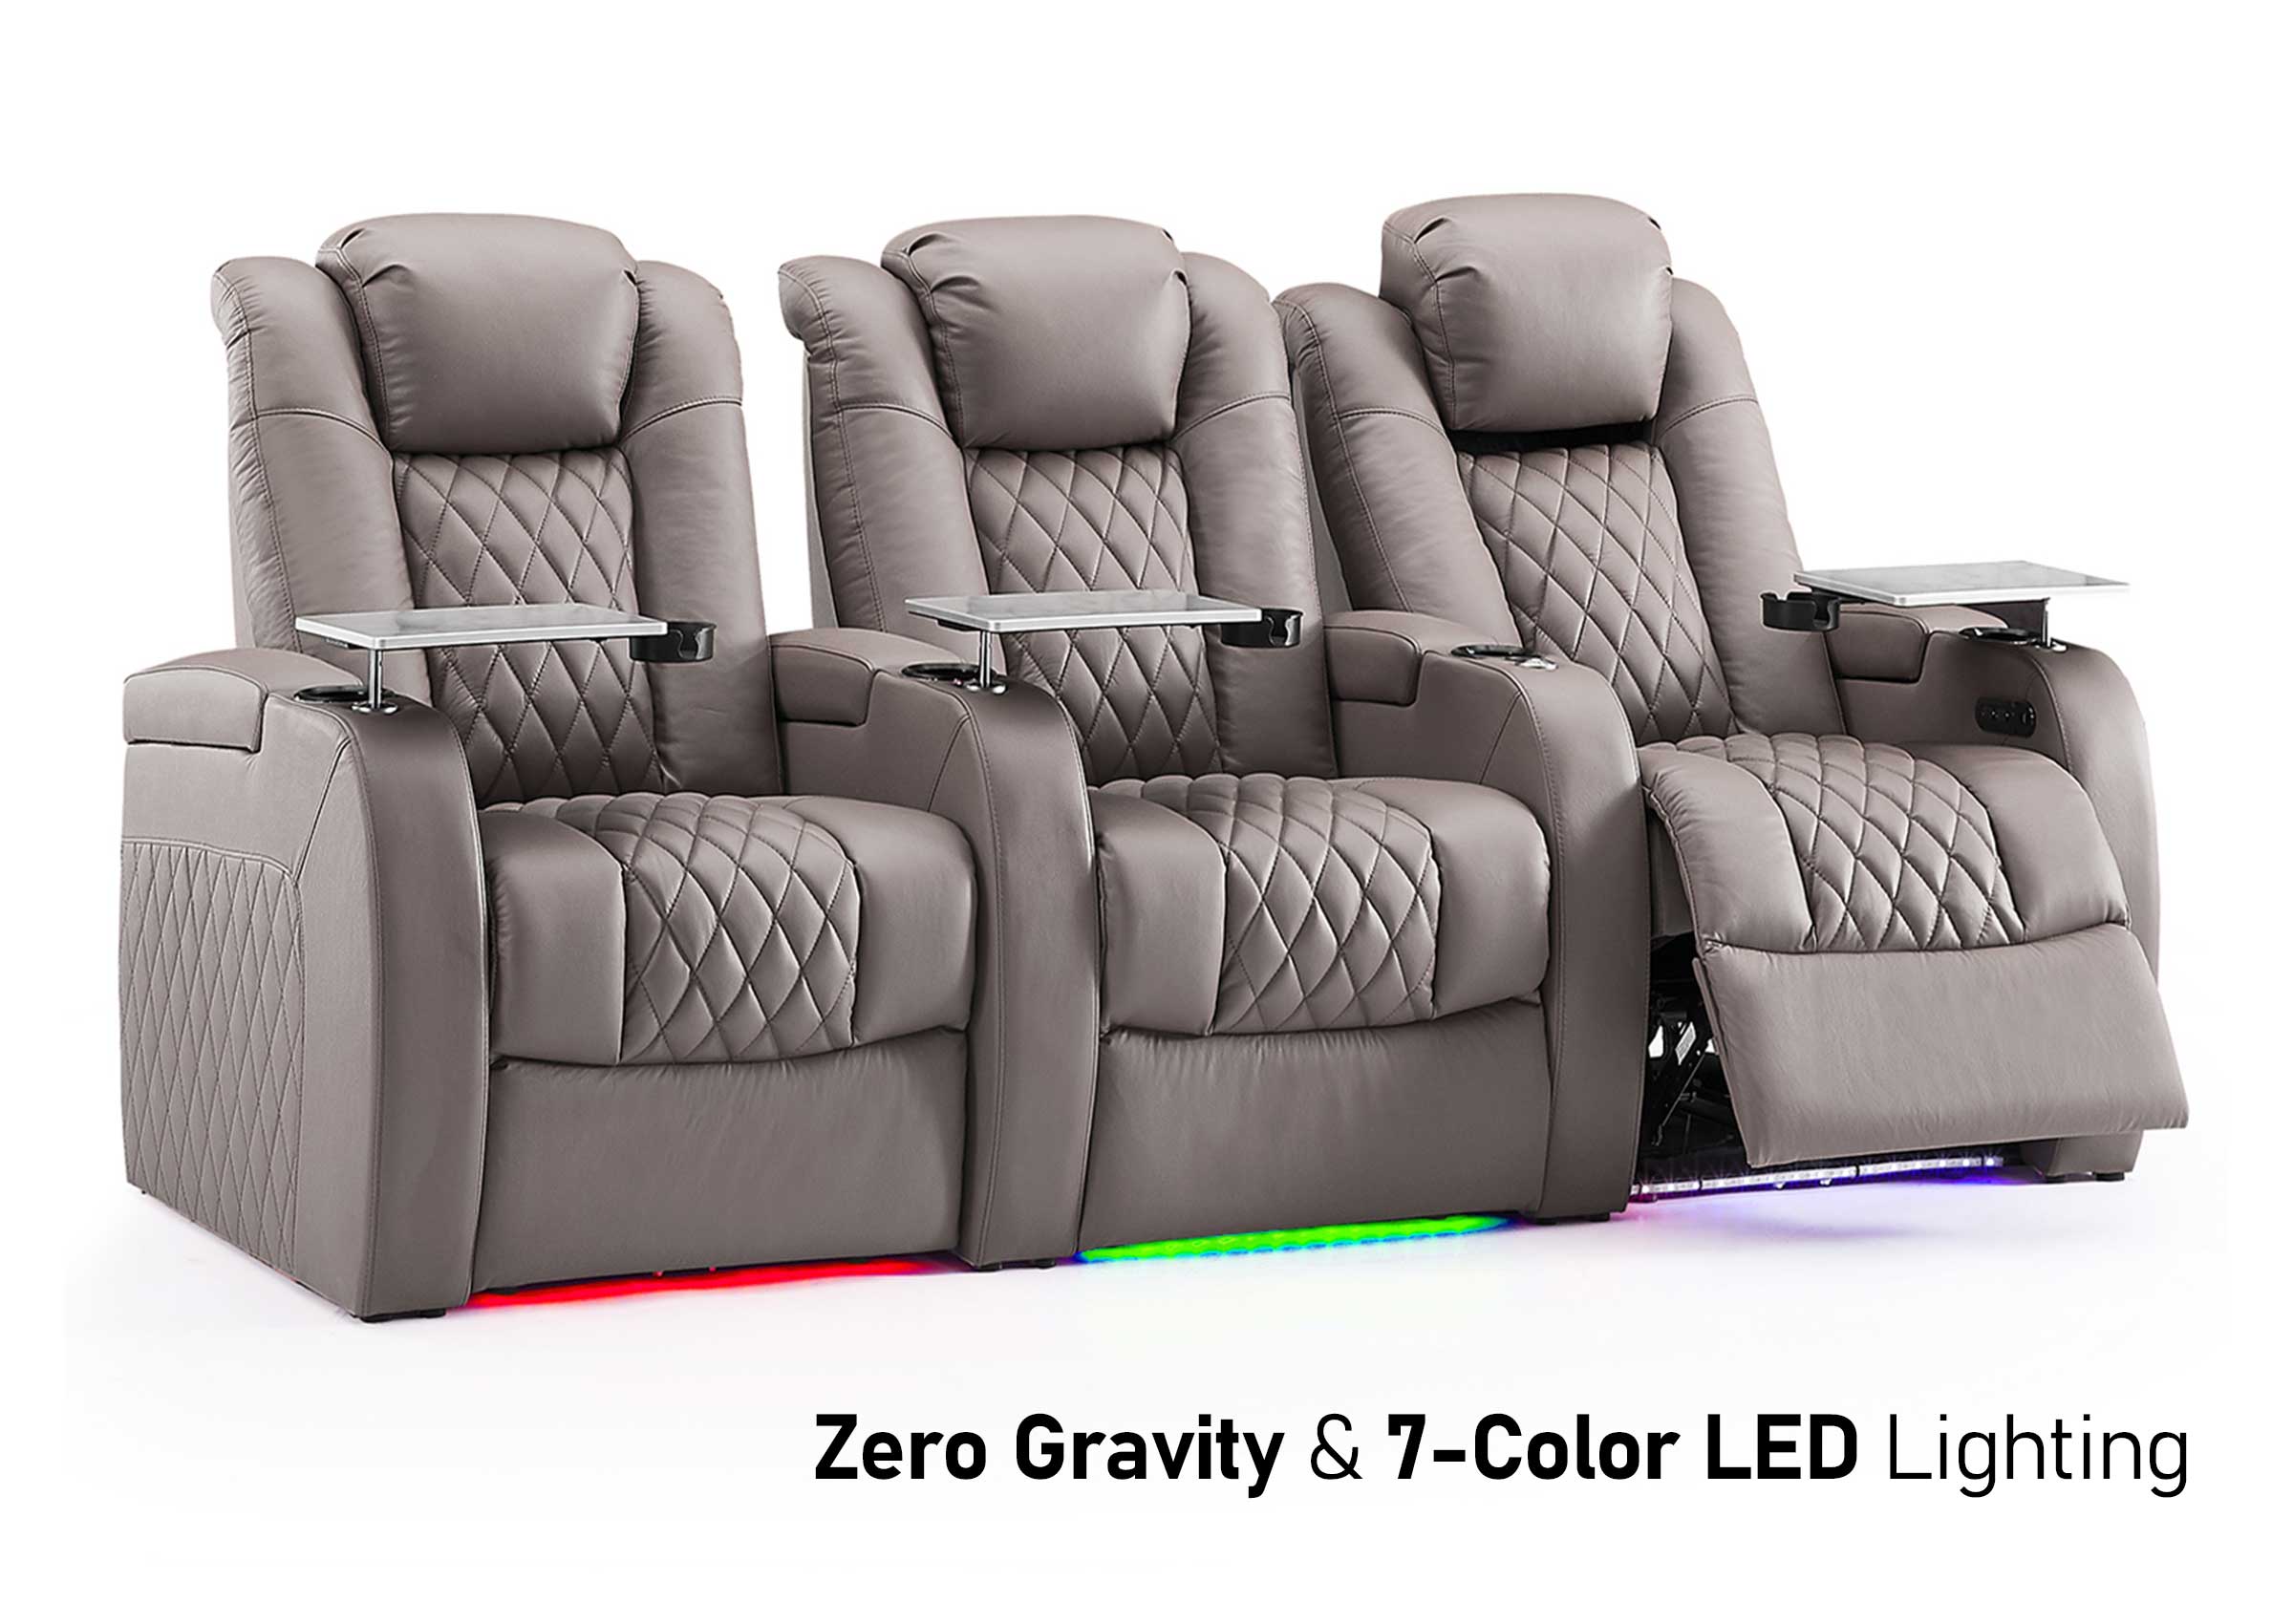
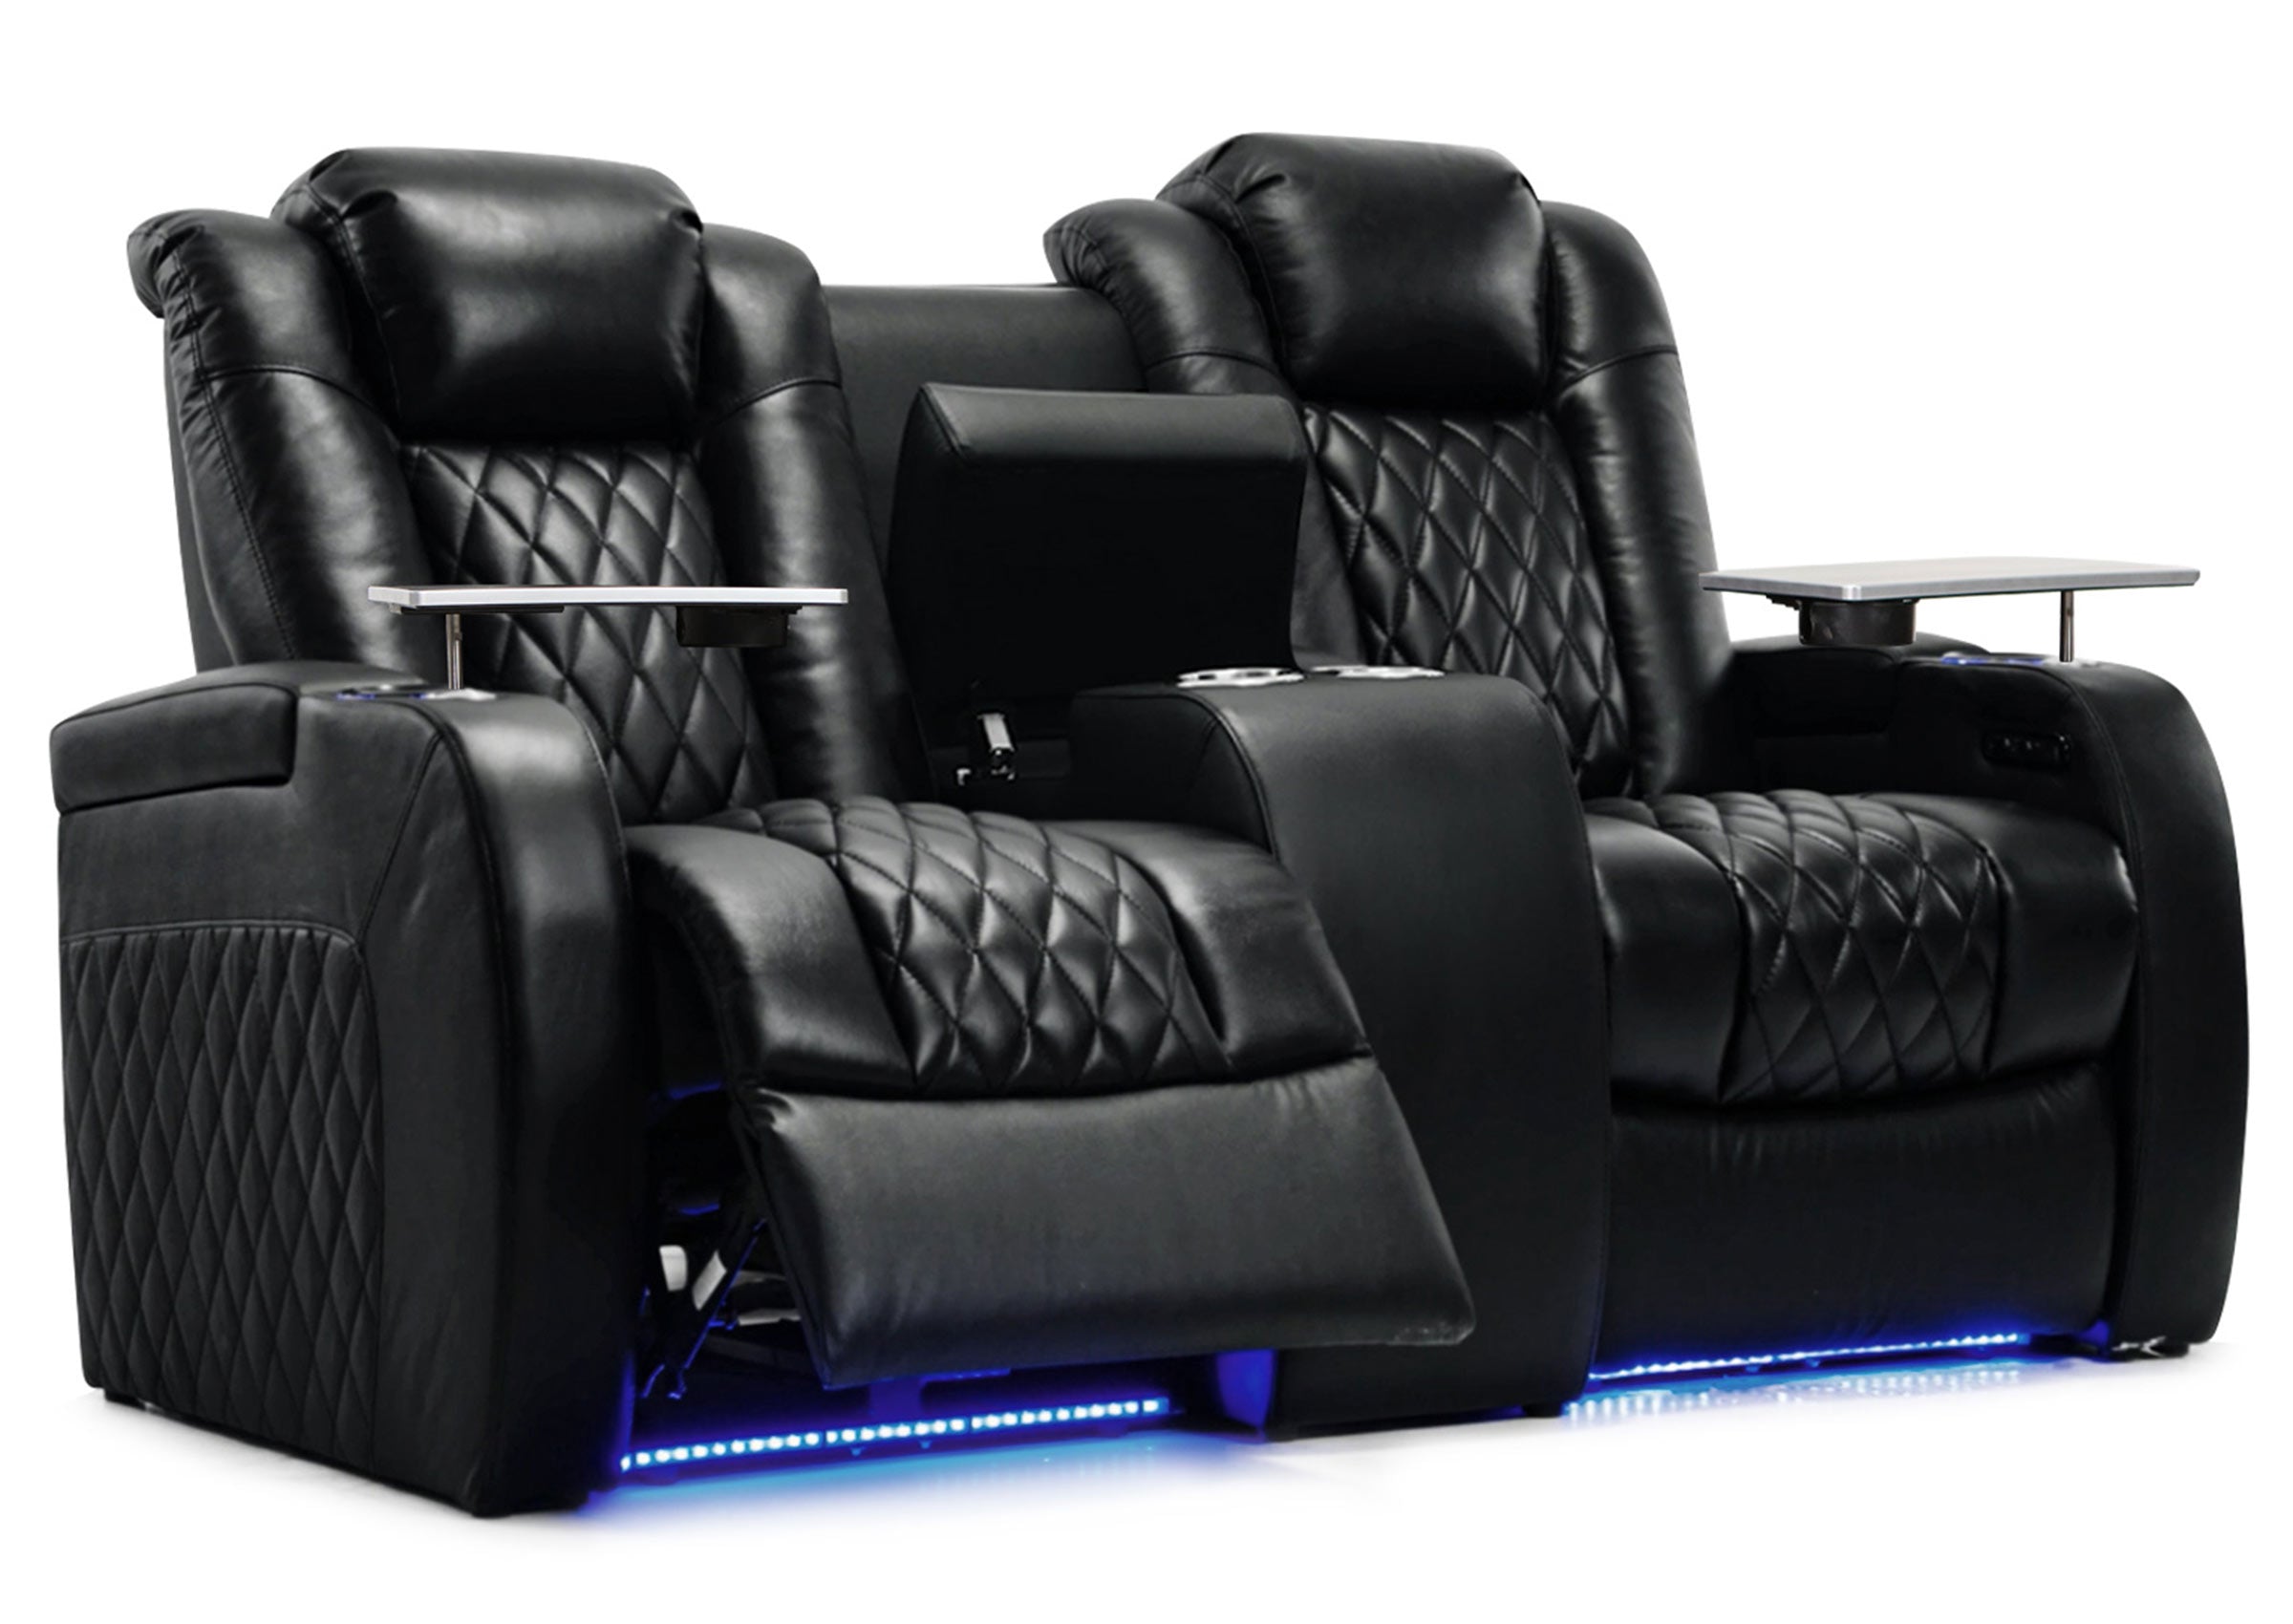
This is why many home theater setups use structured seating designed specifically for media rooms, where:
-
Frames are reinforced for long-term load
-
Layouts support wiring paths and modular installation
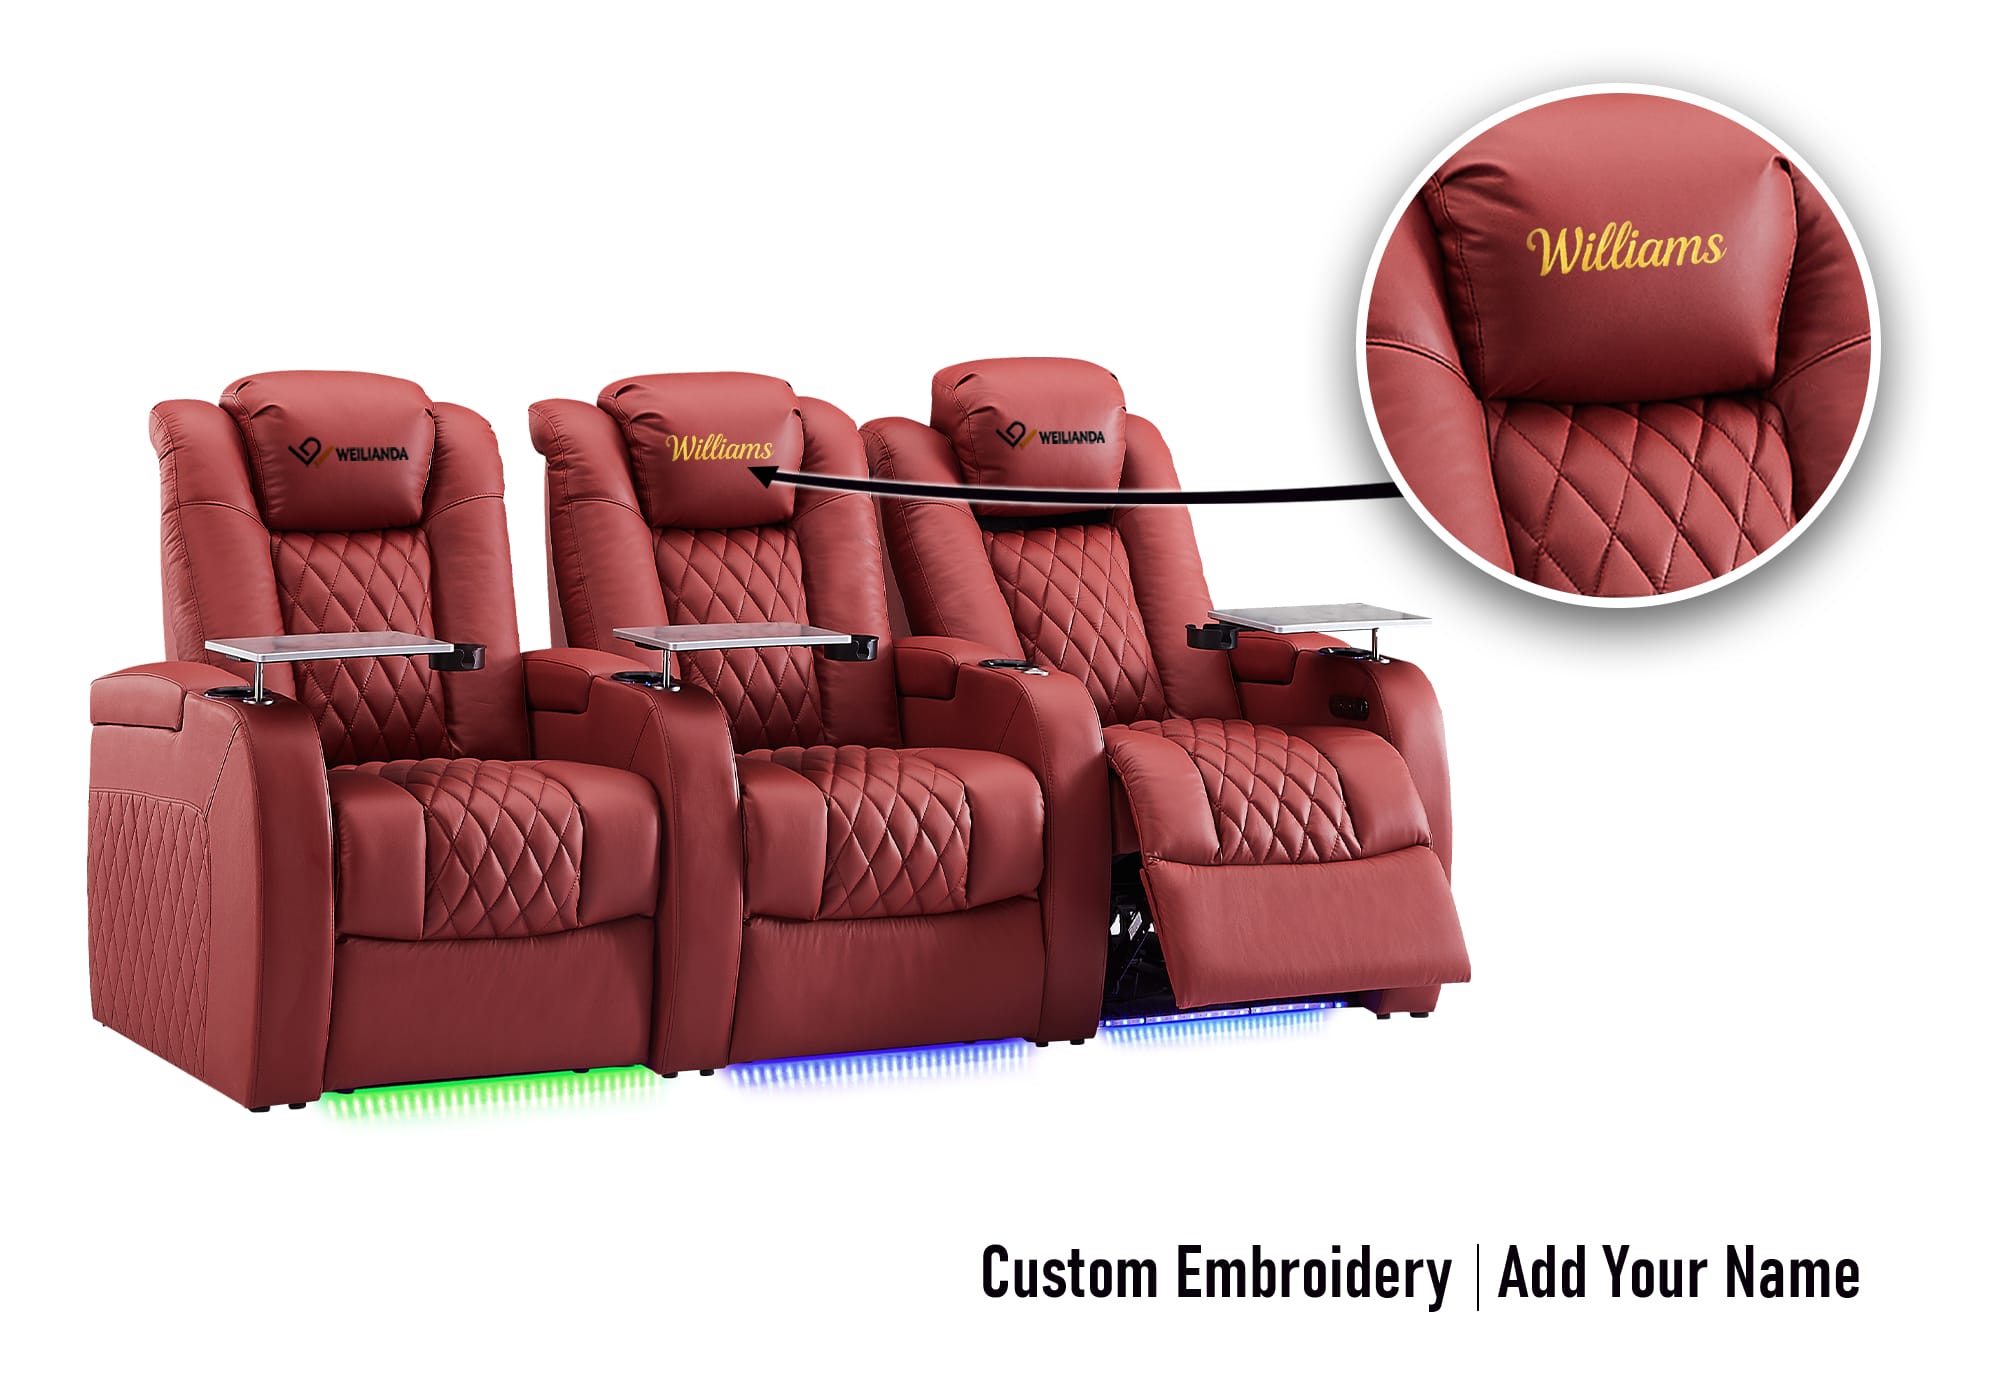
-
Seating can be customized for different room sizes or configurations
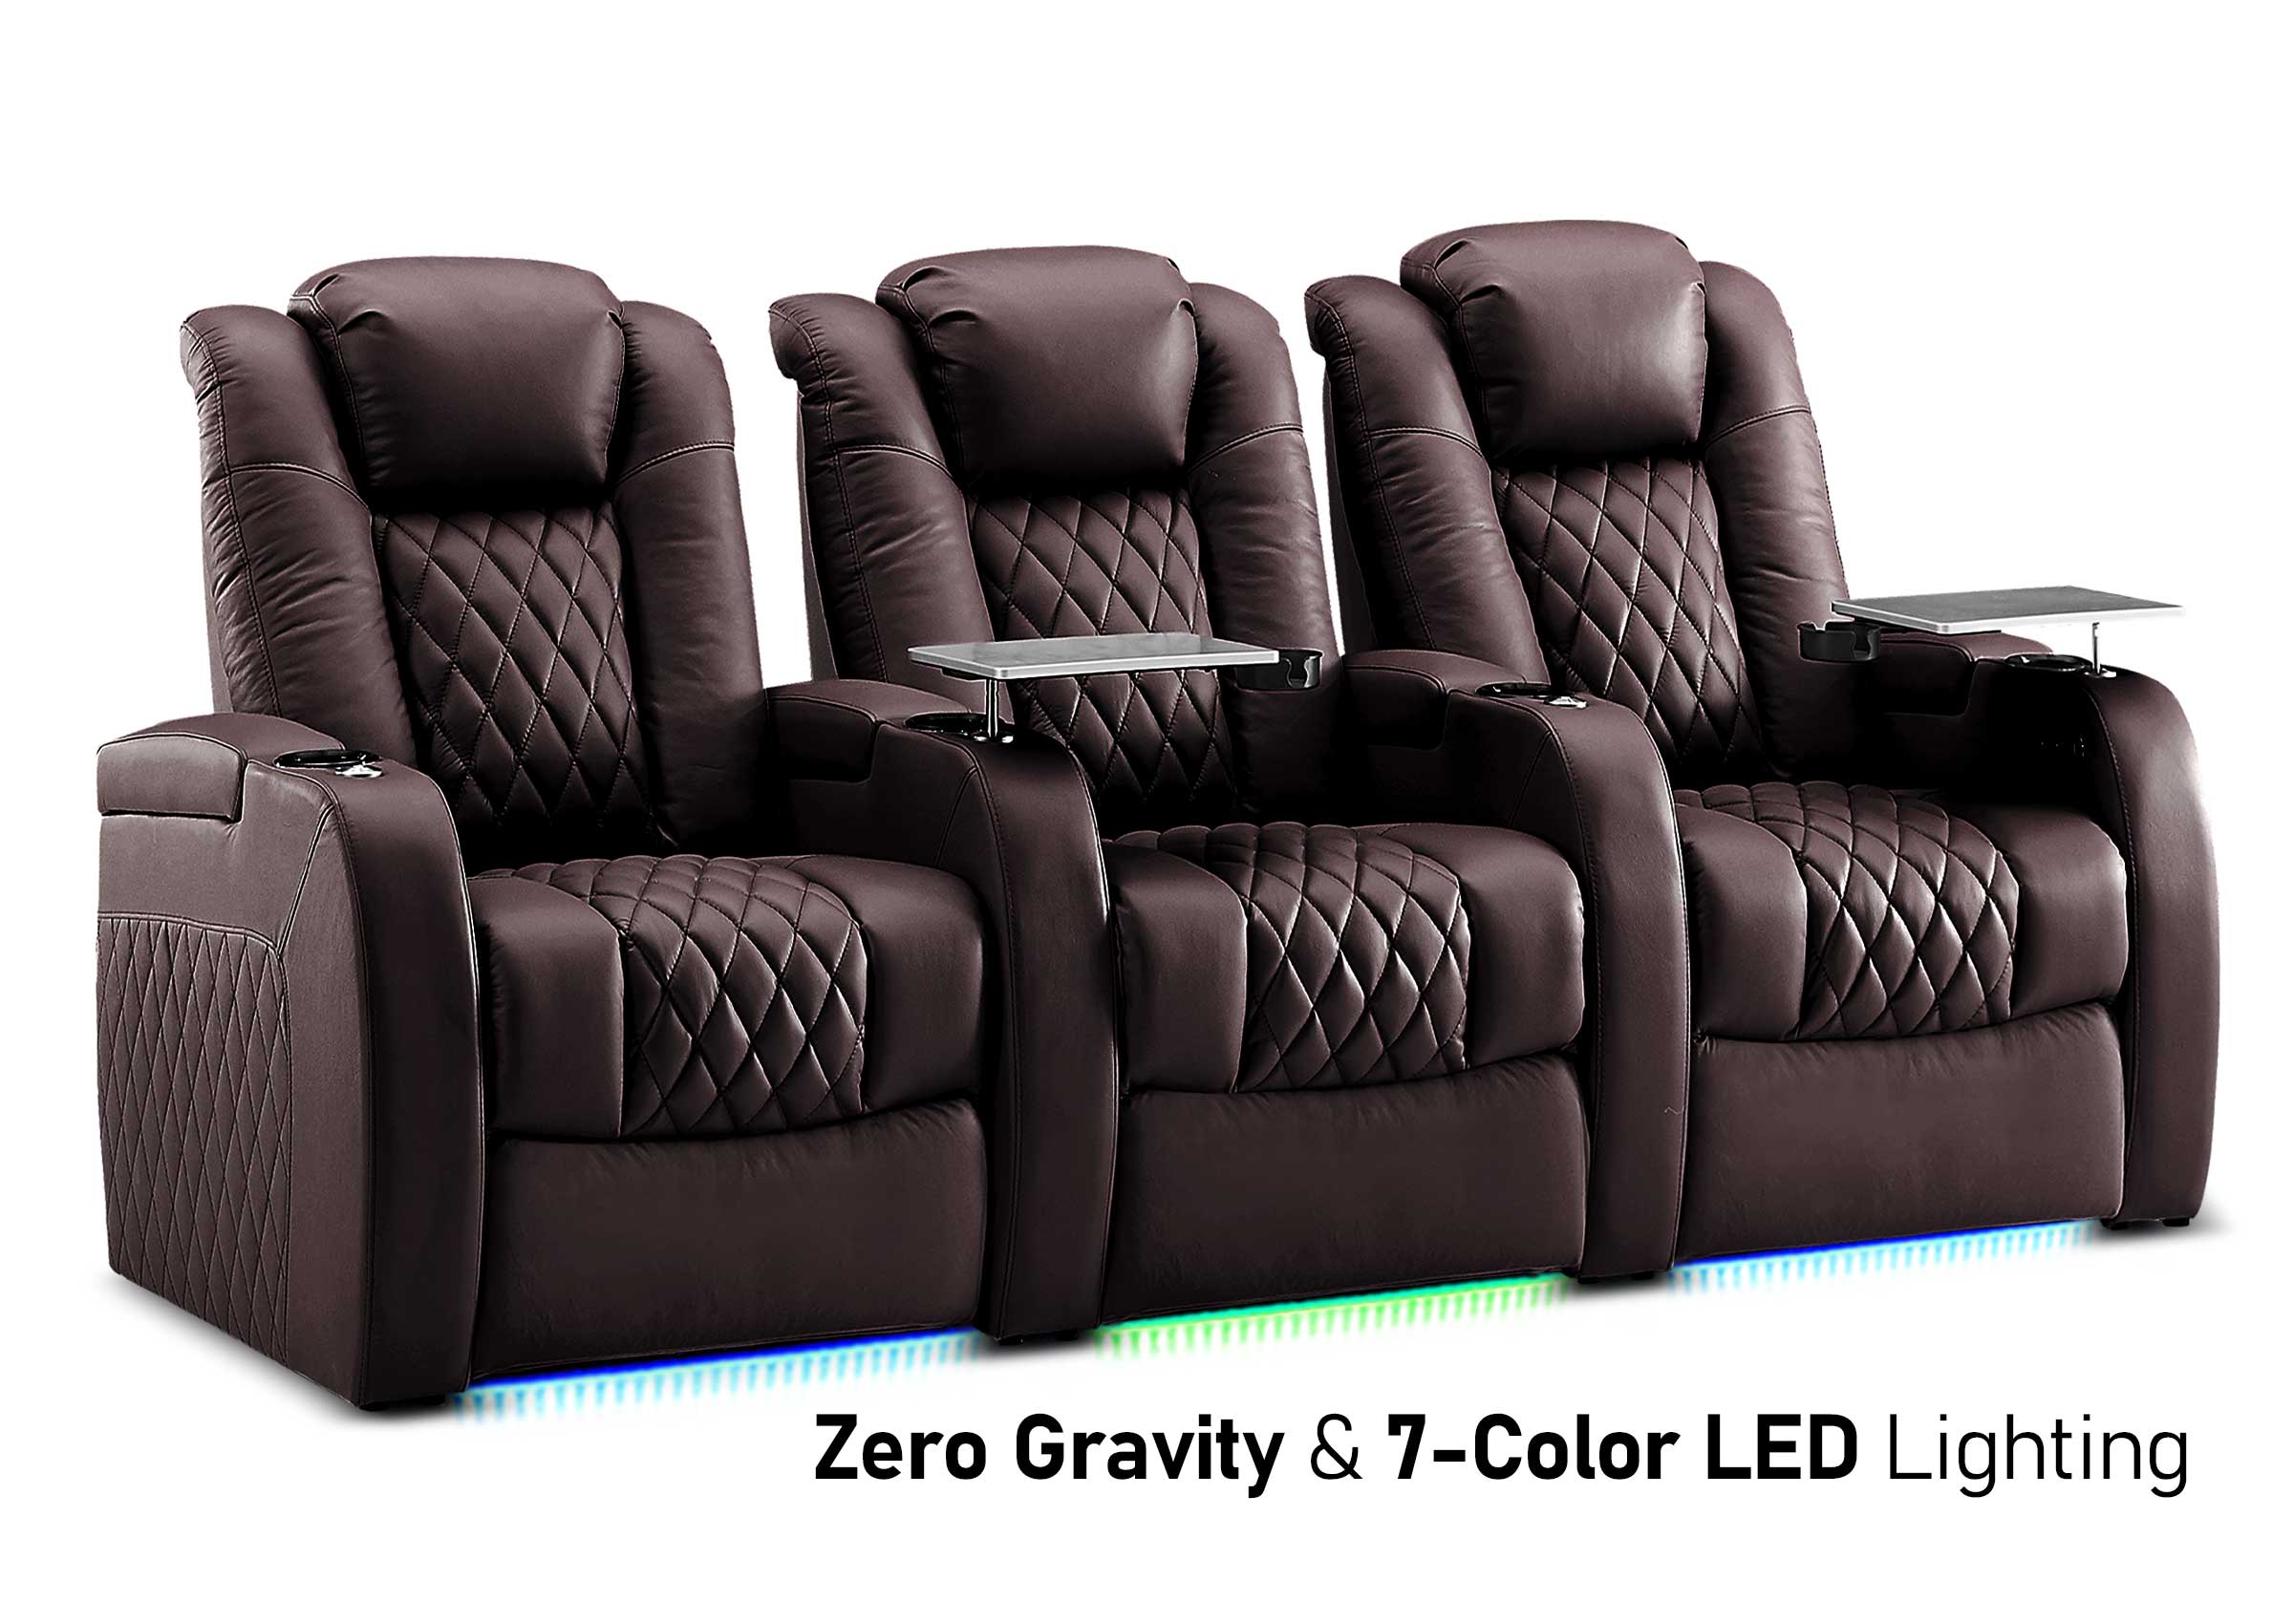
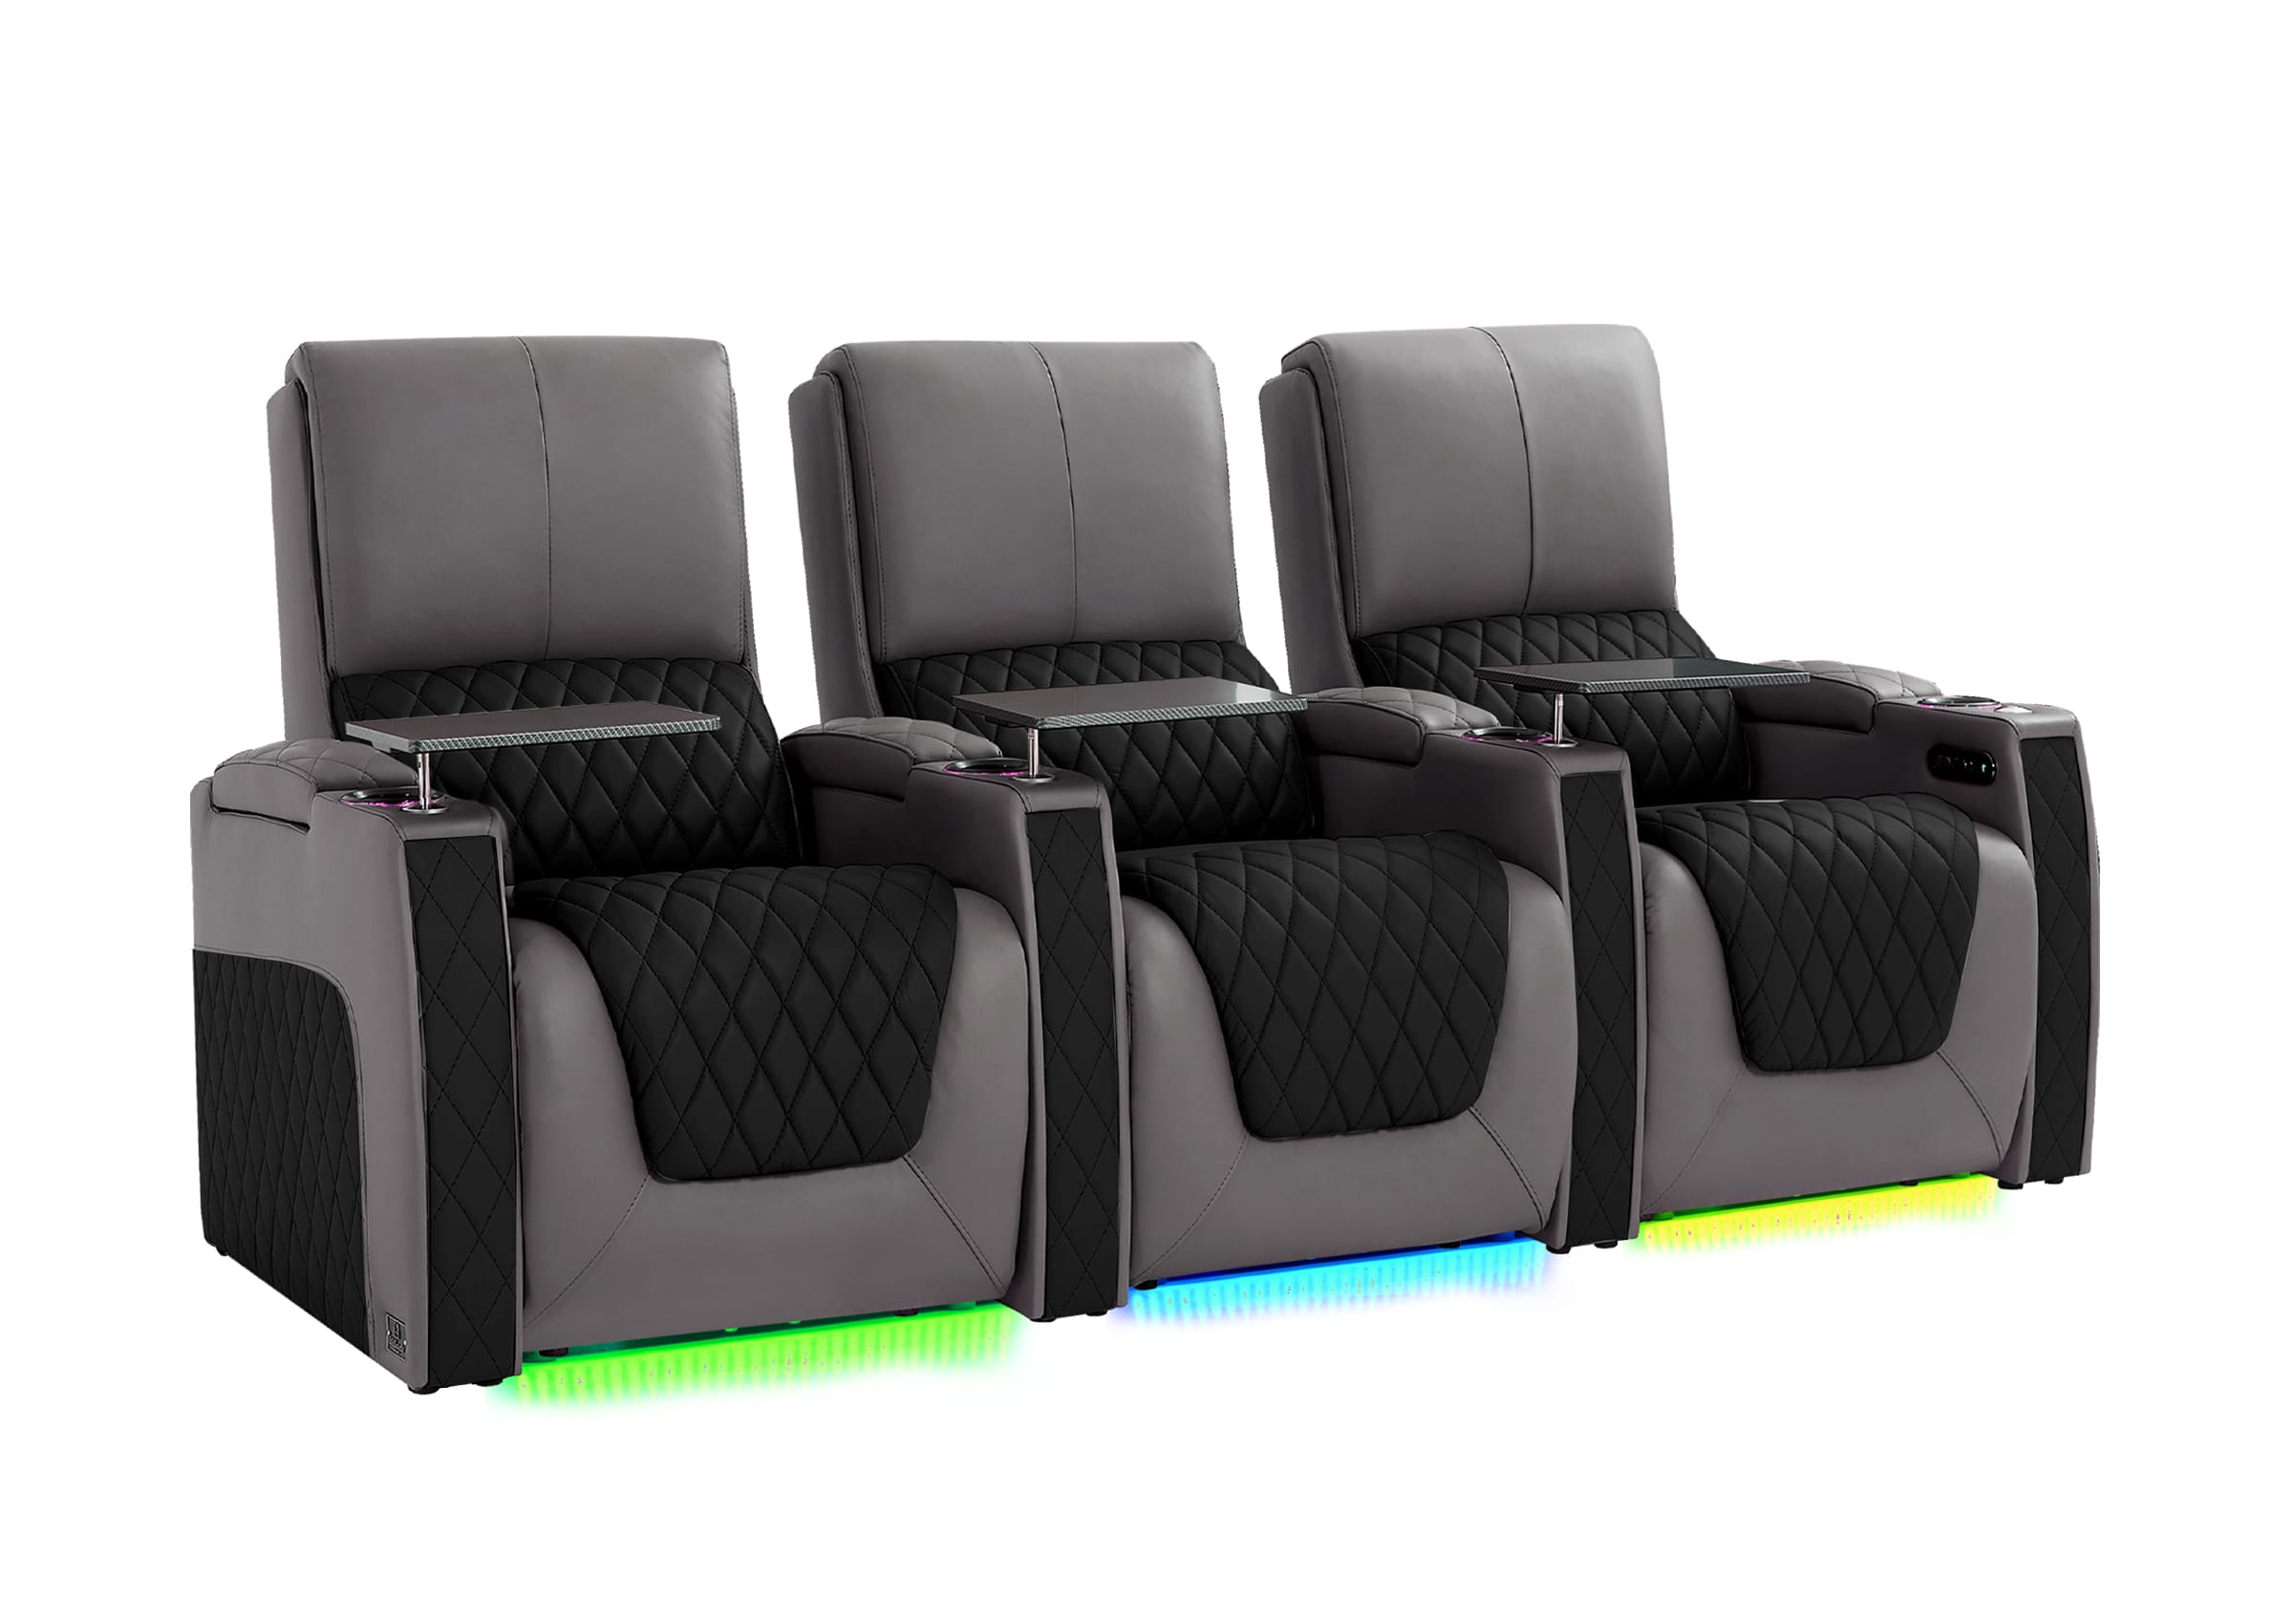
As a source factory specializing in home theater seating solutions, we often see users combining bass shakers with recliner systems, modular rows, or custom media room layouts. In these cases, proper frame design makes installation significantly easier and improves vibration consistency.
If you’re planning a custom setup—whether for a basement theater, living room media space, or multi-row cinema layout—these details matter more than most people expect.
FAQ
Do bass shakers need a separate amplifier?
Yes. A dedicated amplifier gives better control over intensity and prevents overload on your AV receiver.
How many bass shakers do I need per seat?
One can work, but two per seat gives a more balanced and natural left-right vibration feel.
Can I install them on recliner sofas?
Yes, but you must avoid motors and ensure wiring moves safely with the recline mechanism.
Will bass shakers damage my seats?
Not if installed correctly. Damage usually comes from loose mounting or interference with moving parts.
What frequency range works best?
Most setups perform well between 40–120 Hz depending on room and preference.
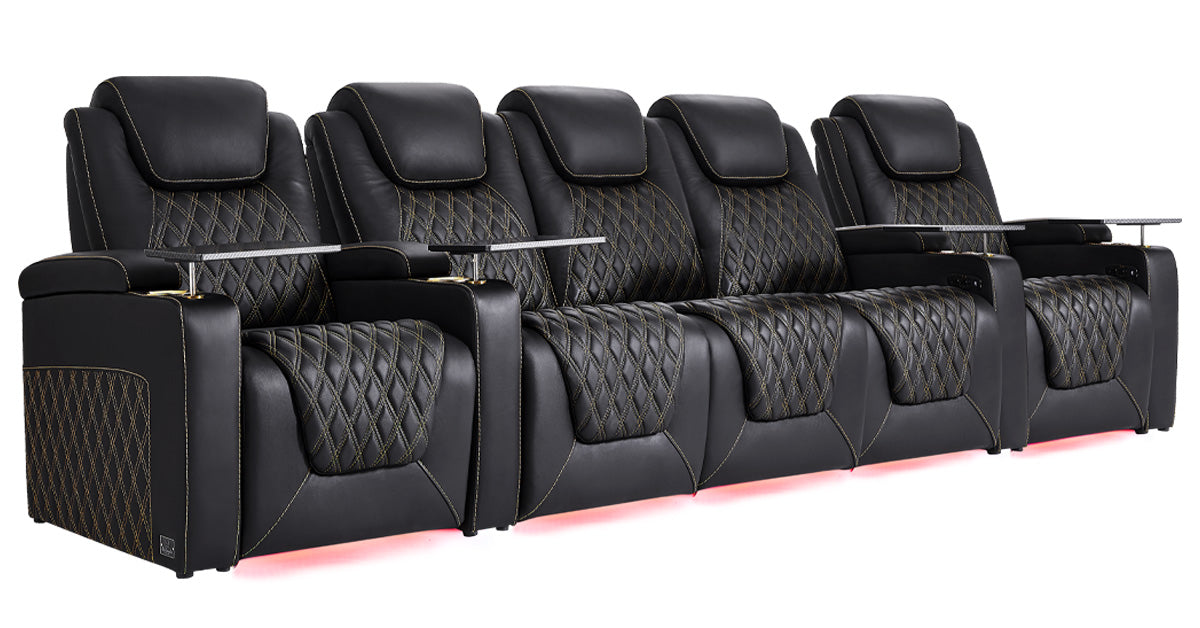
Planning a More Immersive Home Theater Seating Experience?
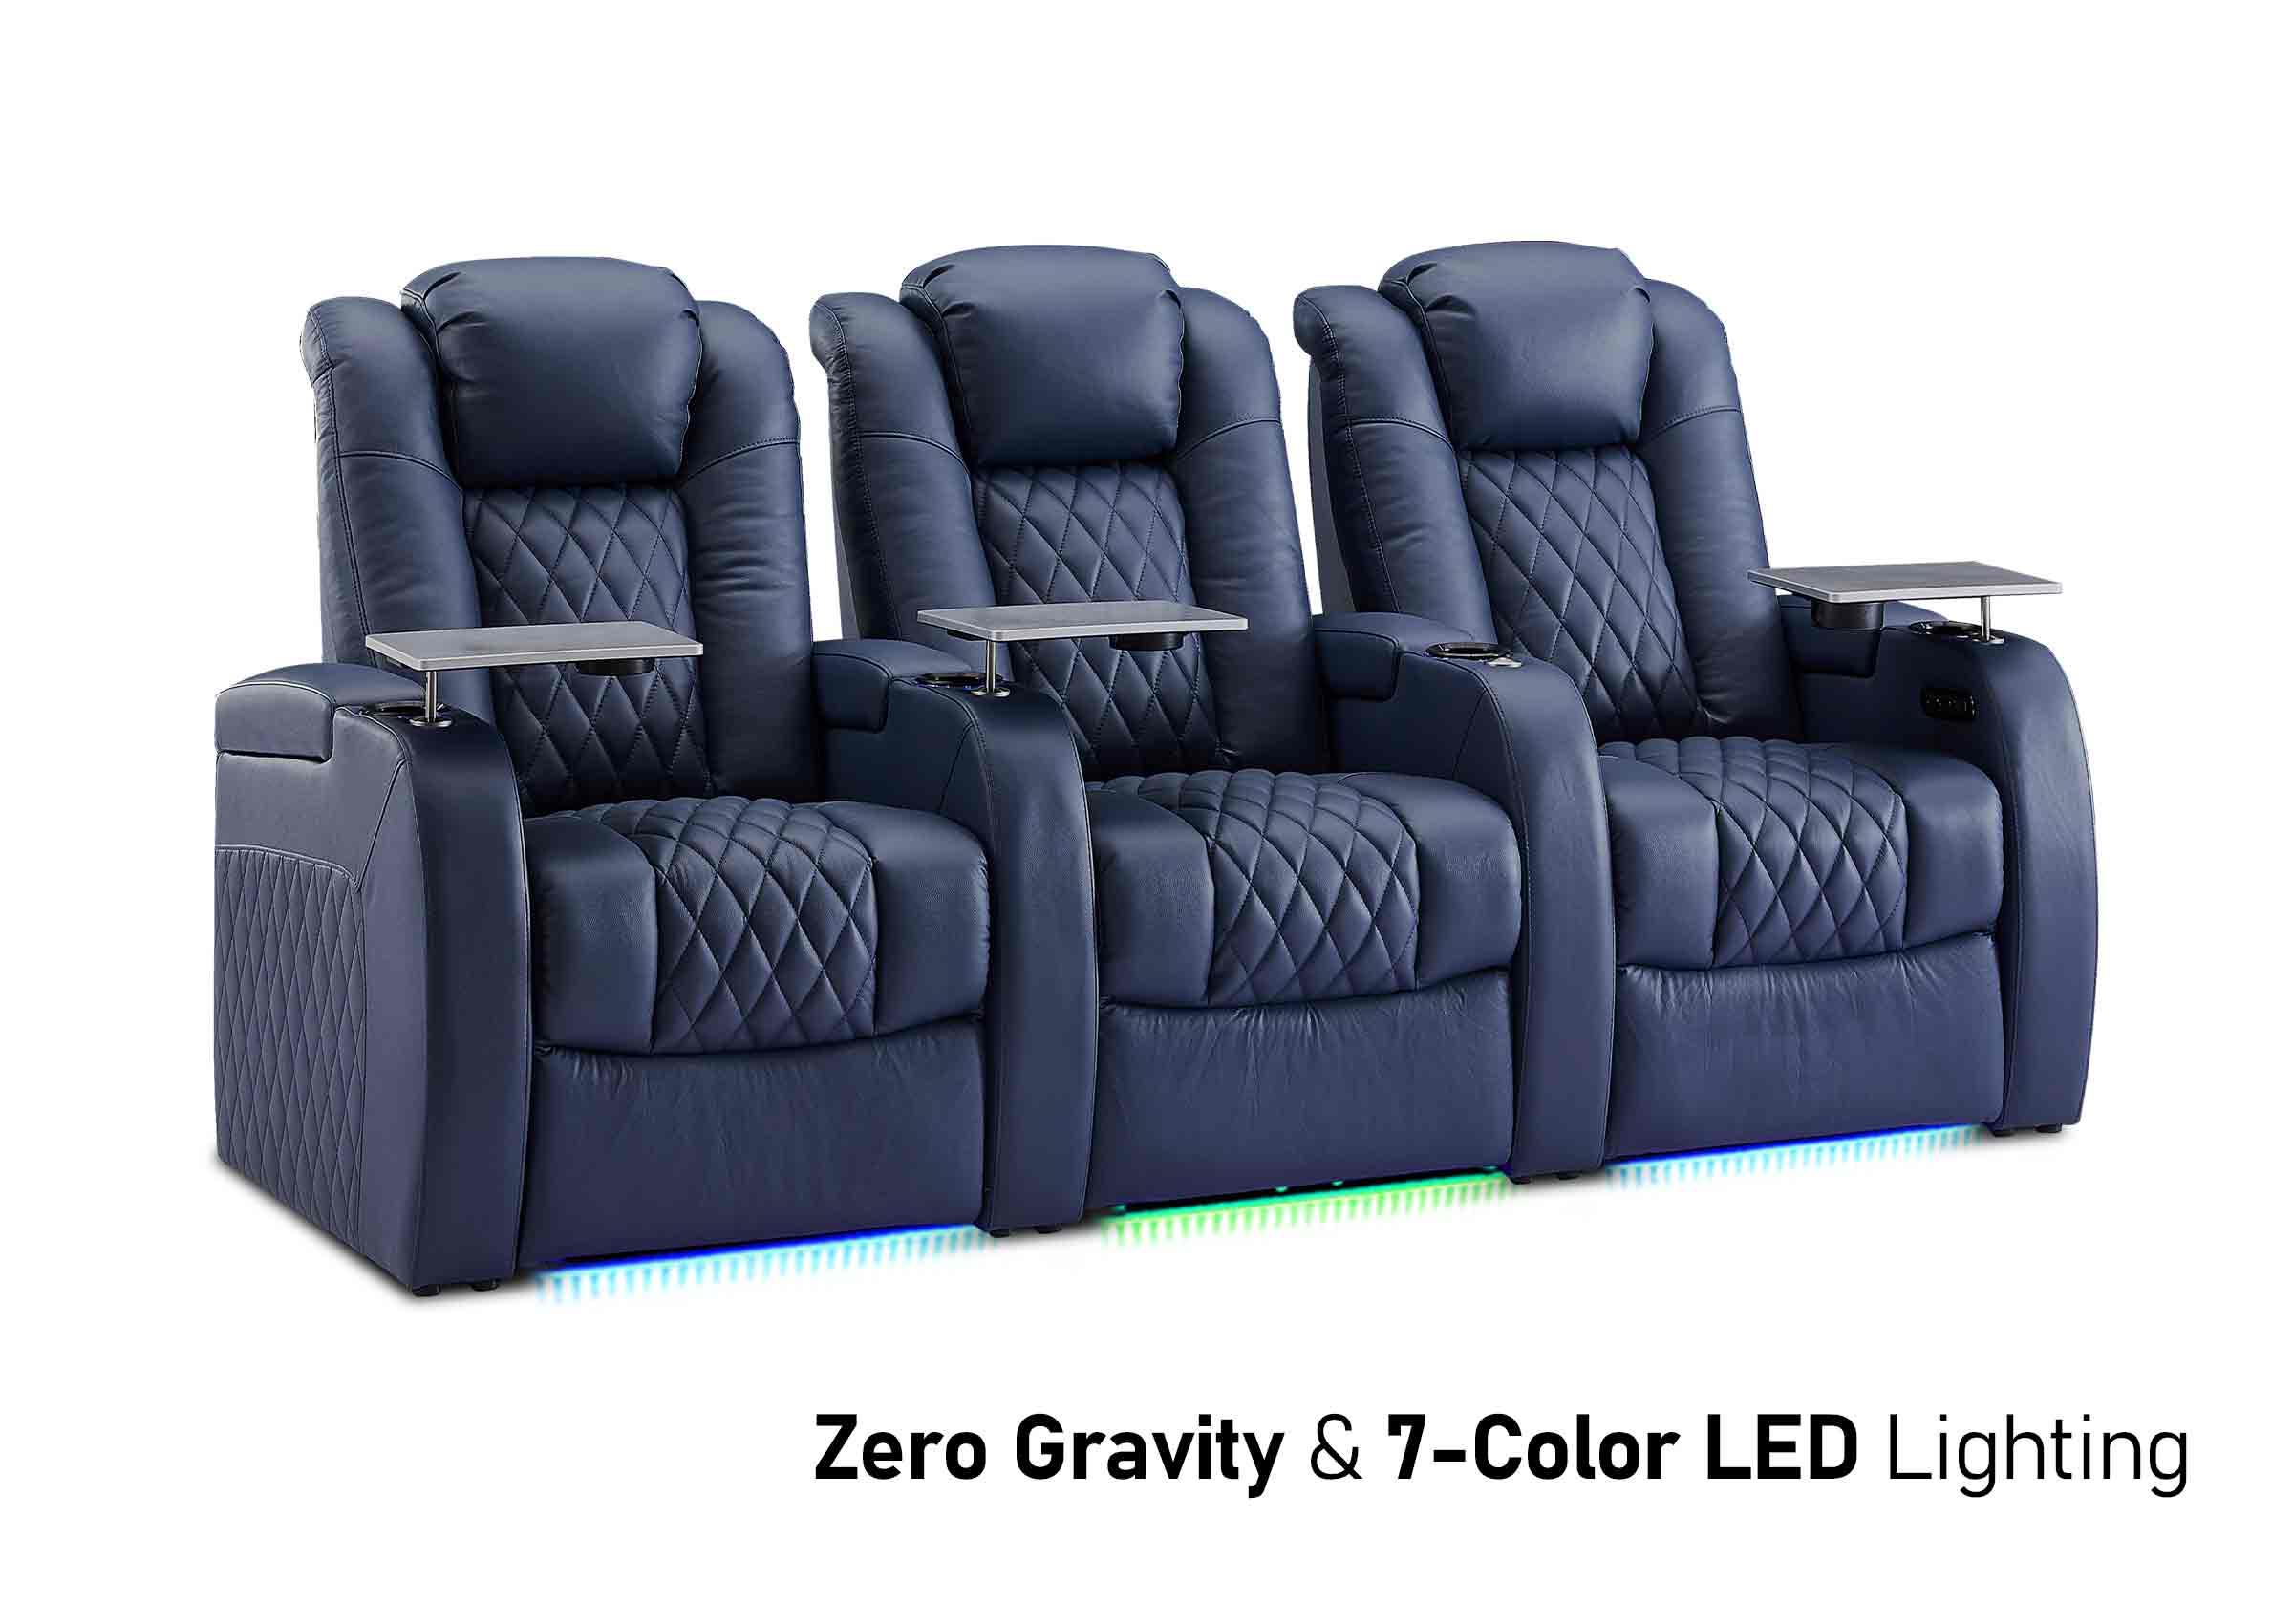
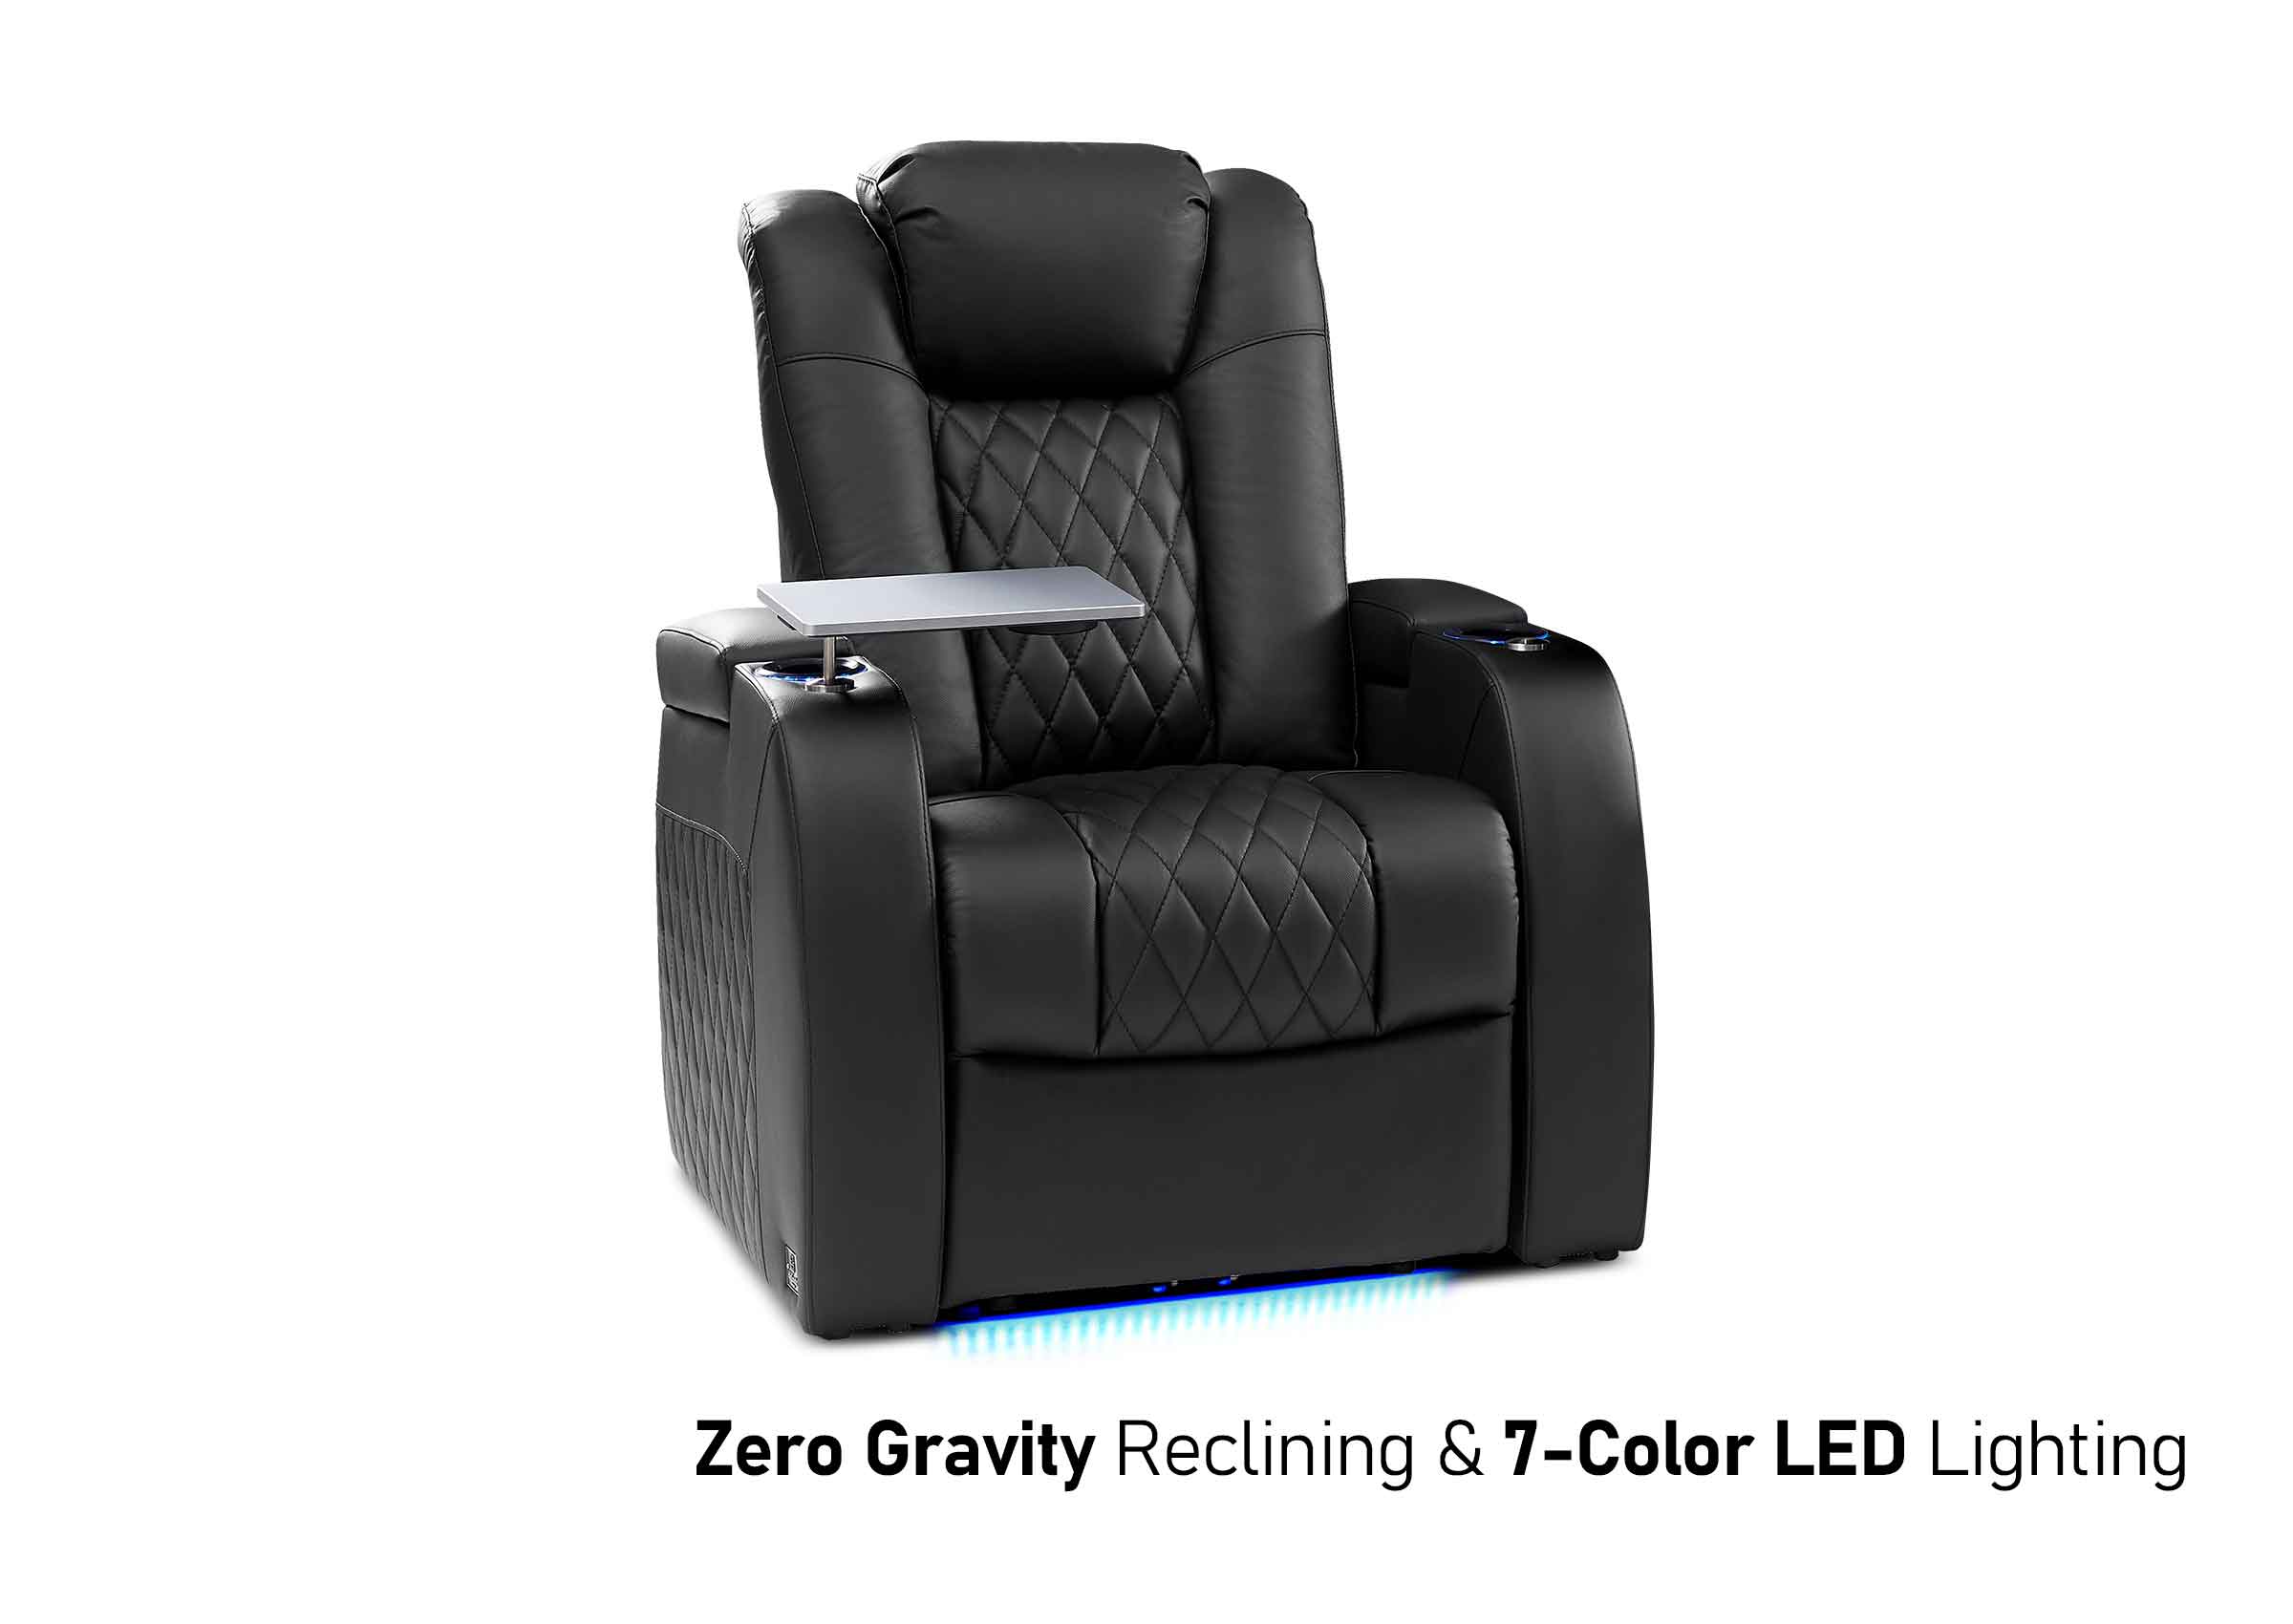
Installing bass shakers is not just a hardware upgrade—it’s a system design decision. The quality of the experience depends on how well the vibration integrates with your seat structure, room layout, and audio system.
When properly installed, the seat stops being just furniture and becomes part of the soundtrack.
If you are planning a media room, upgrading theater seating, or considering a custom layout, it can be helpful to discuss your setup in advance. As a factory specializing in home theater seating, we can support customization, structural optimization, and long-term warranty coverage for different seating configurations.
If you want to explore ideas or share your room layout, feel free to reach out—we’re always open to exchanging practical setup insights and helping refine real-world installations.