








To organize cables behind a TV and entertainment center, identify and label each connection, choose routes that keep plugs accessible, and secure the cables with reusable supports. Leave enough slack for equipment to move before hiding the finished setup.
A tidy arrangement should let you unplug a streaming device, reach a power switch, or move the TV through its normal range without pulling on a connector. You can usually improve an existing setup with labels, soft straps, a few cable clips, and a clear plan for where each cable goes.
Start With the Connections You Already Have
Turn equipment off, shut down game consoles completely, and disconnect the setup from mains power before repositioning cords. Let hot equipment cool. Get help if reaching the cables would require lifting a heavy TV or moving furniture you cannot handle safely.
Take photos of the back of each device, including the port labels. Those photos give you a reference if a connection comes loose or you need to put a device back later.
Trace one cable at a time from its source to its destination. Label both ends with the same connection name, such as “Console to AVR GAME.” A label that only says “HDMI” will not tell you which device belongs at the other end.
Leave an unidentified connection in place until you know what it serves. Remove unused cords only after confirming that they are no longer part of the working setup.
Choose Routes That Keep Plugs Within Reach
Entertainment center cable management works best when the route matches the furniture and the devices you use.
For a TV sitting on a console, use the TV’s intended cable guides and route cords toward the console’s rear openings. Check the view from the side as well as from the couch; a bundle hidden from the front may still hang visibly beside the cabinet.
For a wall-mounted TV above a console, organize the cables at both ends before choosing a surface cord cover for the visible drop. Check the cover’s cable capacity and installation instructions. Surface covers can avoid cutting drywall, but adhesive or screw mounting may still affect the wall finish.
For a receiver and several devices inside a cabinet, route each device’s cables toward an accessible rear opening. Keep ports and ventilation openings clear, and follow each device’s required ventilation clearances. A cable bundle should not occupy space the equipment needs for airflow. For a fuller cabinet check, see our AV receiver ventilation guide.
Treat each removable device as its own branch. If a console shares one tightly bound bundle with every other component, pulling it forward becomes a much bigger job.

Which Cable Organizers Do You Actually Need?
Choose organizers after you have worked out the routes. Buying a large kit first can leave you with clips and covers that do not fit your furniture or the cables you need to manage.
| Organizer | Useful for | Check before using |
|---|---|---|
| Reusable hook-and-loop straps | Loose bundles and excess cable length | Keep them snug enough to organize, without compressing cables |
| Cable clips | Holding a route along a furniture edge | Match the clip to the cable diameter and mounting surface |
| Surface cord covers | A visible run between the TV and console | Check capacity, attachment method, and whether the cover can reopen |
| Cable trays or baskets | Supporting cords behind furniture | Use suitable mounting points and keep equipment vents clear |
You may only need straps and a few clips. A sleeve can make a group of exposed cables look cleaner, but it also adds a step whenever you need to remove one cable. Use it where appearance matters and frequent changes are unlikely.
CONTINUE ORGANIZING
Keep the Rest of Your Media Room Organized
Once each cable has a route, give remotes, controllers, and movie-night accessories a place you can reach from the seats. These guides help you plan the next part of your cleanup.
Leave Slack for the Device That Moves
Cable length needs to cover the actual route and the movement of the equipment. Measuring straight from one port to another can underestimate what you need.
For an articulated TV mount, follow the mount’s cable-routing instructions and check the TV throughout its normal range. The cable should not become taut when the screen extends or folds back. SANUS guidance specifically calls for enough slack to move a full-motion TV without straining its cables.
A device on a shelf needs a different allowance: enough accessible cable to bring the device forward for the maintenance you expect to do. Keep that slack with the device’s own branch.
Gather excess length in broad, relaxed loops. Keep loops away from hinges, drawer slides, sharp edges, and vents. Let a support carry the cable’s weight rather than leaving that weight hanging from a port.

Put the Power Strip Where You Can Reach It
Choose a power-strip location where you can see the connections, reach the switch, and disconnect power without dragging out the entire entertainment center.
If the strip supports mounting, use the mounting method specified by its manufacturer. Keep plugs fully seated and avoid positioning the cabinet so that it presses against plugs or traps cords.
Follow the strip’s electrical rating and instructions. Connect the strip as directed by its manufacturer, and do not connect one surge protector to another; Eaton’s safety guidance identifies that arrangement as unsafe.
Do not hide a power extension under a rug or carpet. The U.S. Consumer Product Safety Commission also warns against running extension cords through doorways or under furniture. If the outlet location makes the setup depend on those routes, have an electrician assess a better outlet arrangement.
Test the Setup Before Pushing the Cabinet Back
Keep equipment off and unplugged while you check movement and access. Carefully return furniture toward its intended position, watching for trapped cords. Check an adjustable TV mount according to its manual.
Before restoring power, confirm:
- Both ends of each connection are identifiable.
- You can release one device’s cable branch without undoing every bundle.
- Normal TV movement does not pull on connectors or pinch cables.
- Plugs, the power switch, and needed ports remain accessible.
- Cable supports are secure and equipment ventilation requirements are met.
Reconnect power and test the sources you actually use, including picture and sound. A setup that worked before organizing should still work afterward.
Finally, save a new photo of the cable layout and port connections. When you add a device, repeat the same process for its cables rather than feeding another loose cord into the cabinet.
Keep Seating Power Cords Easy to Manage, Too
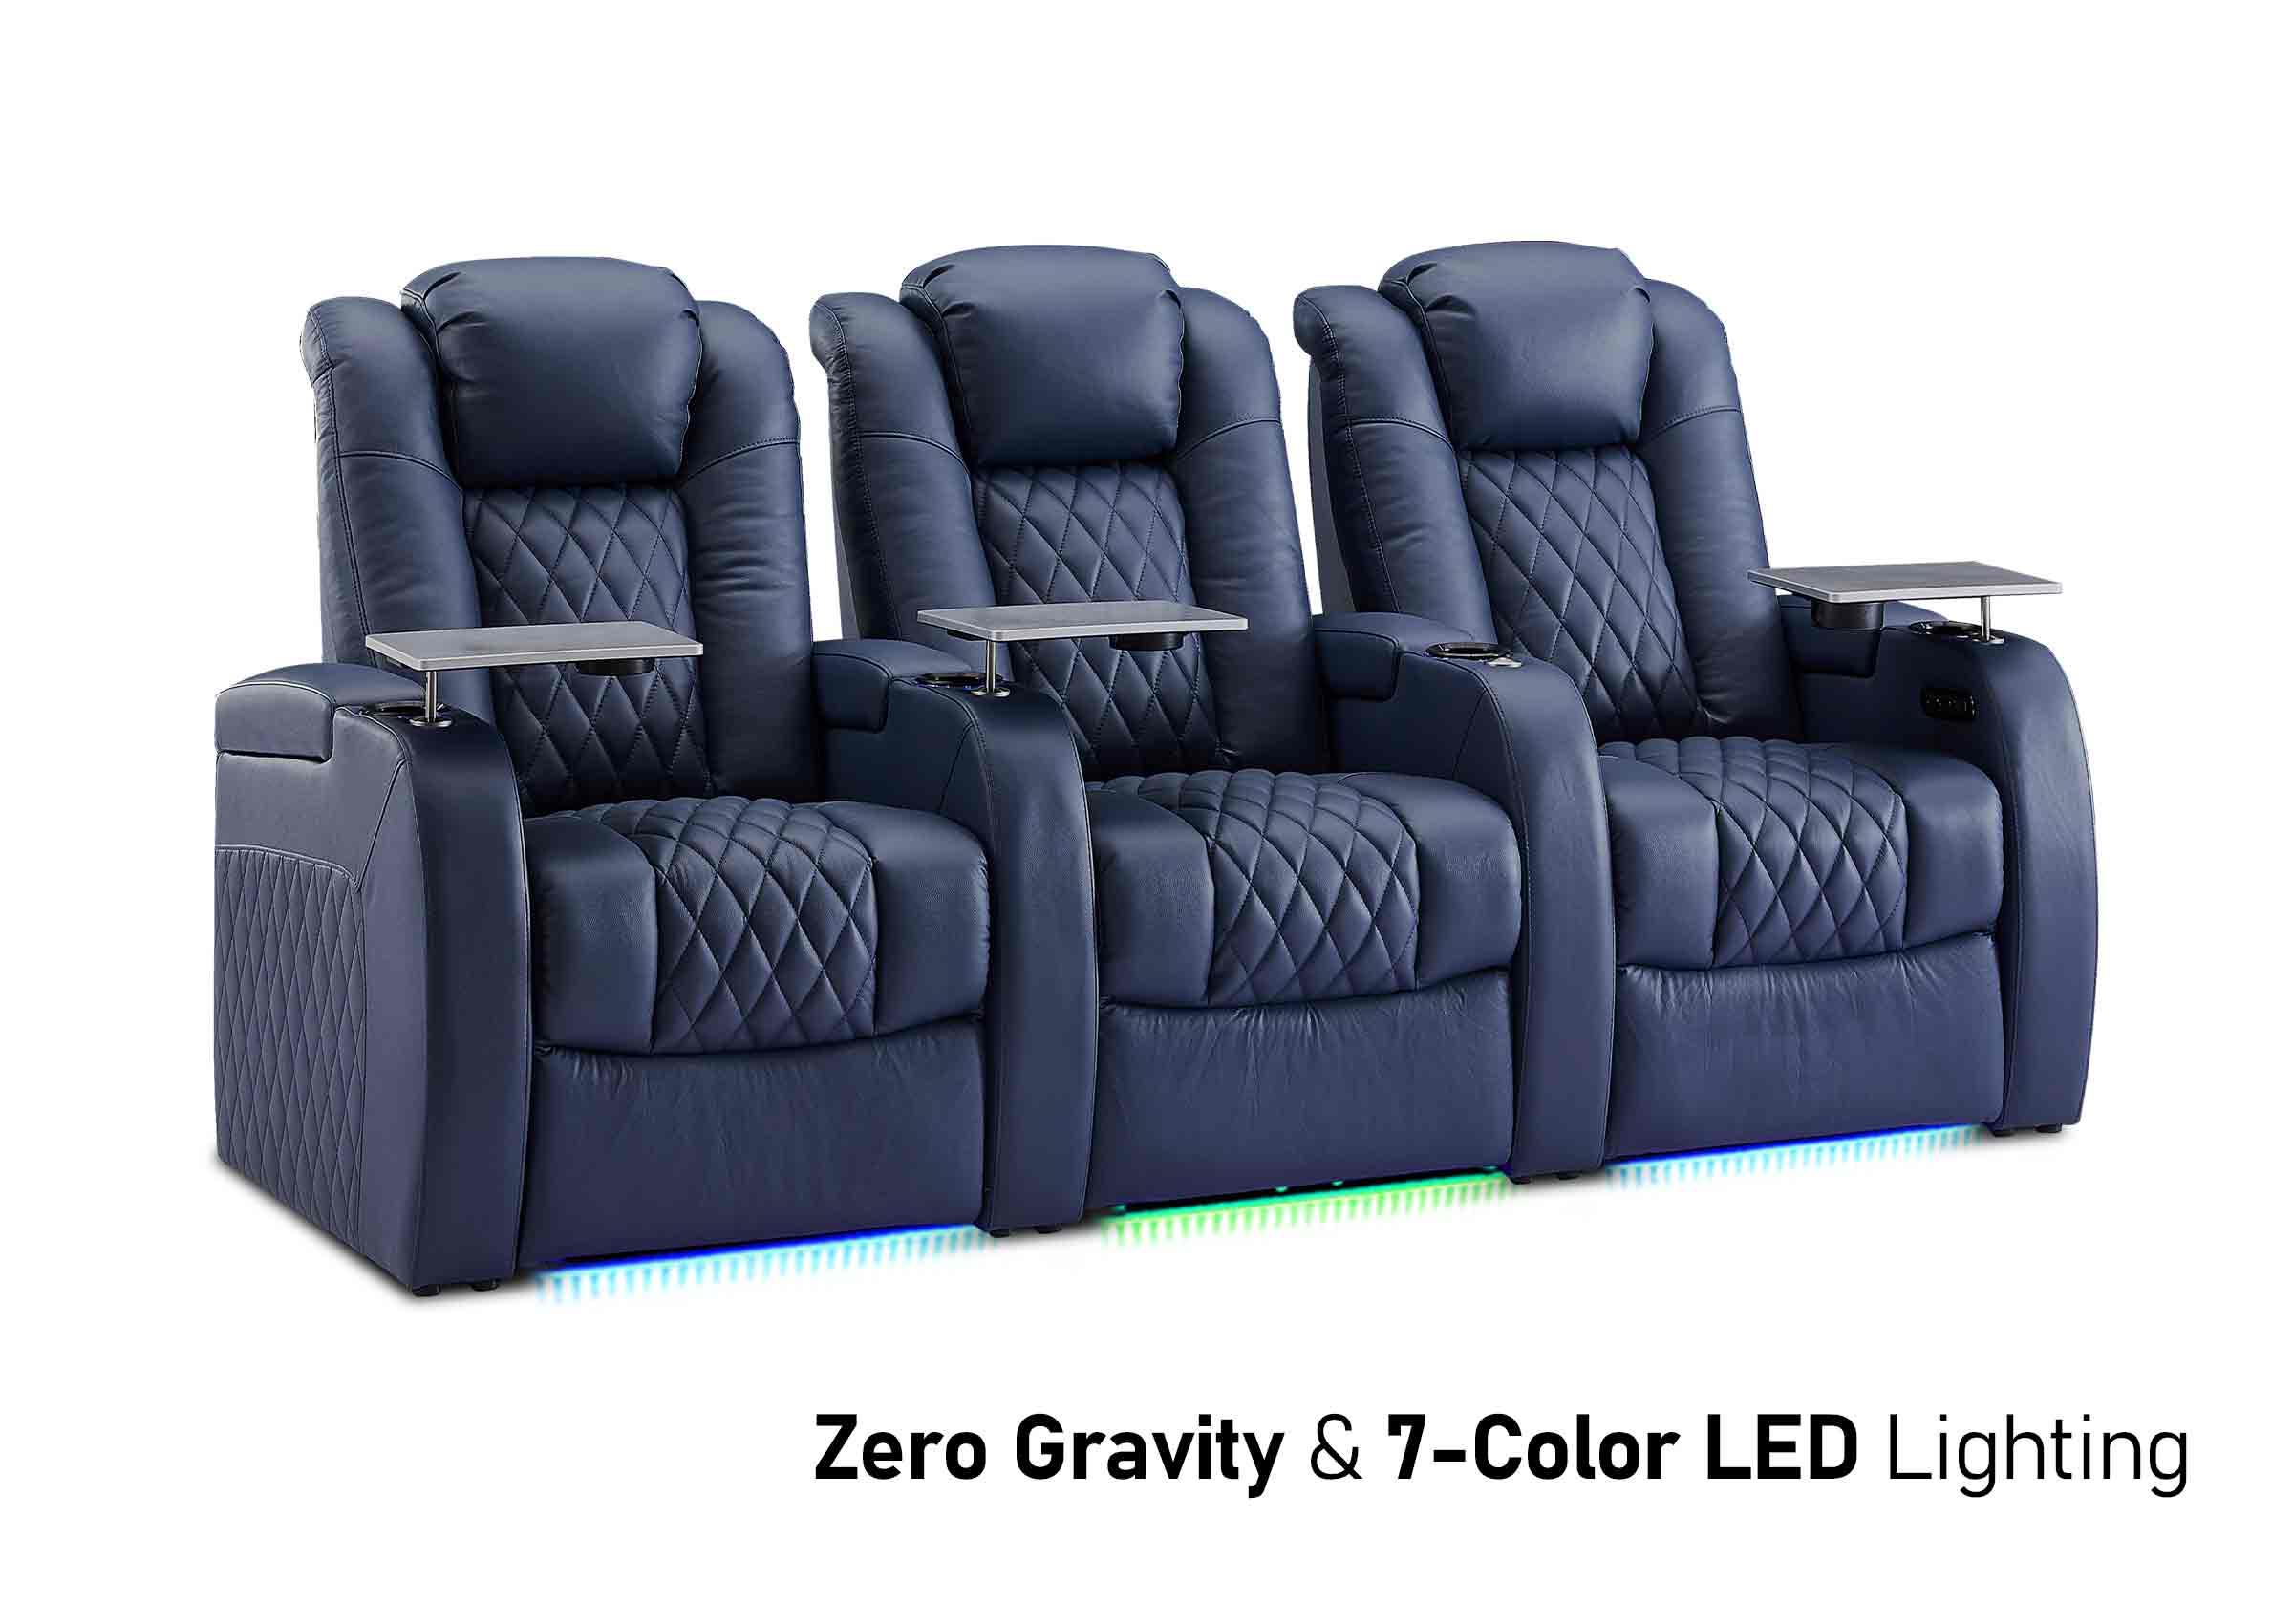
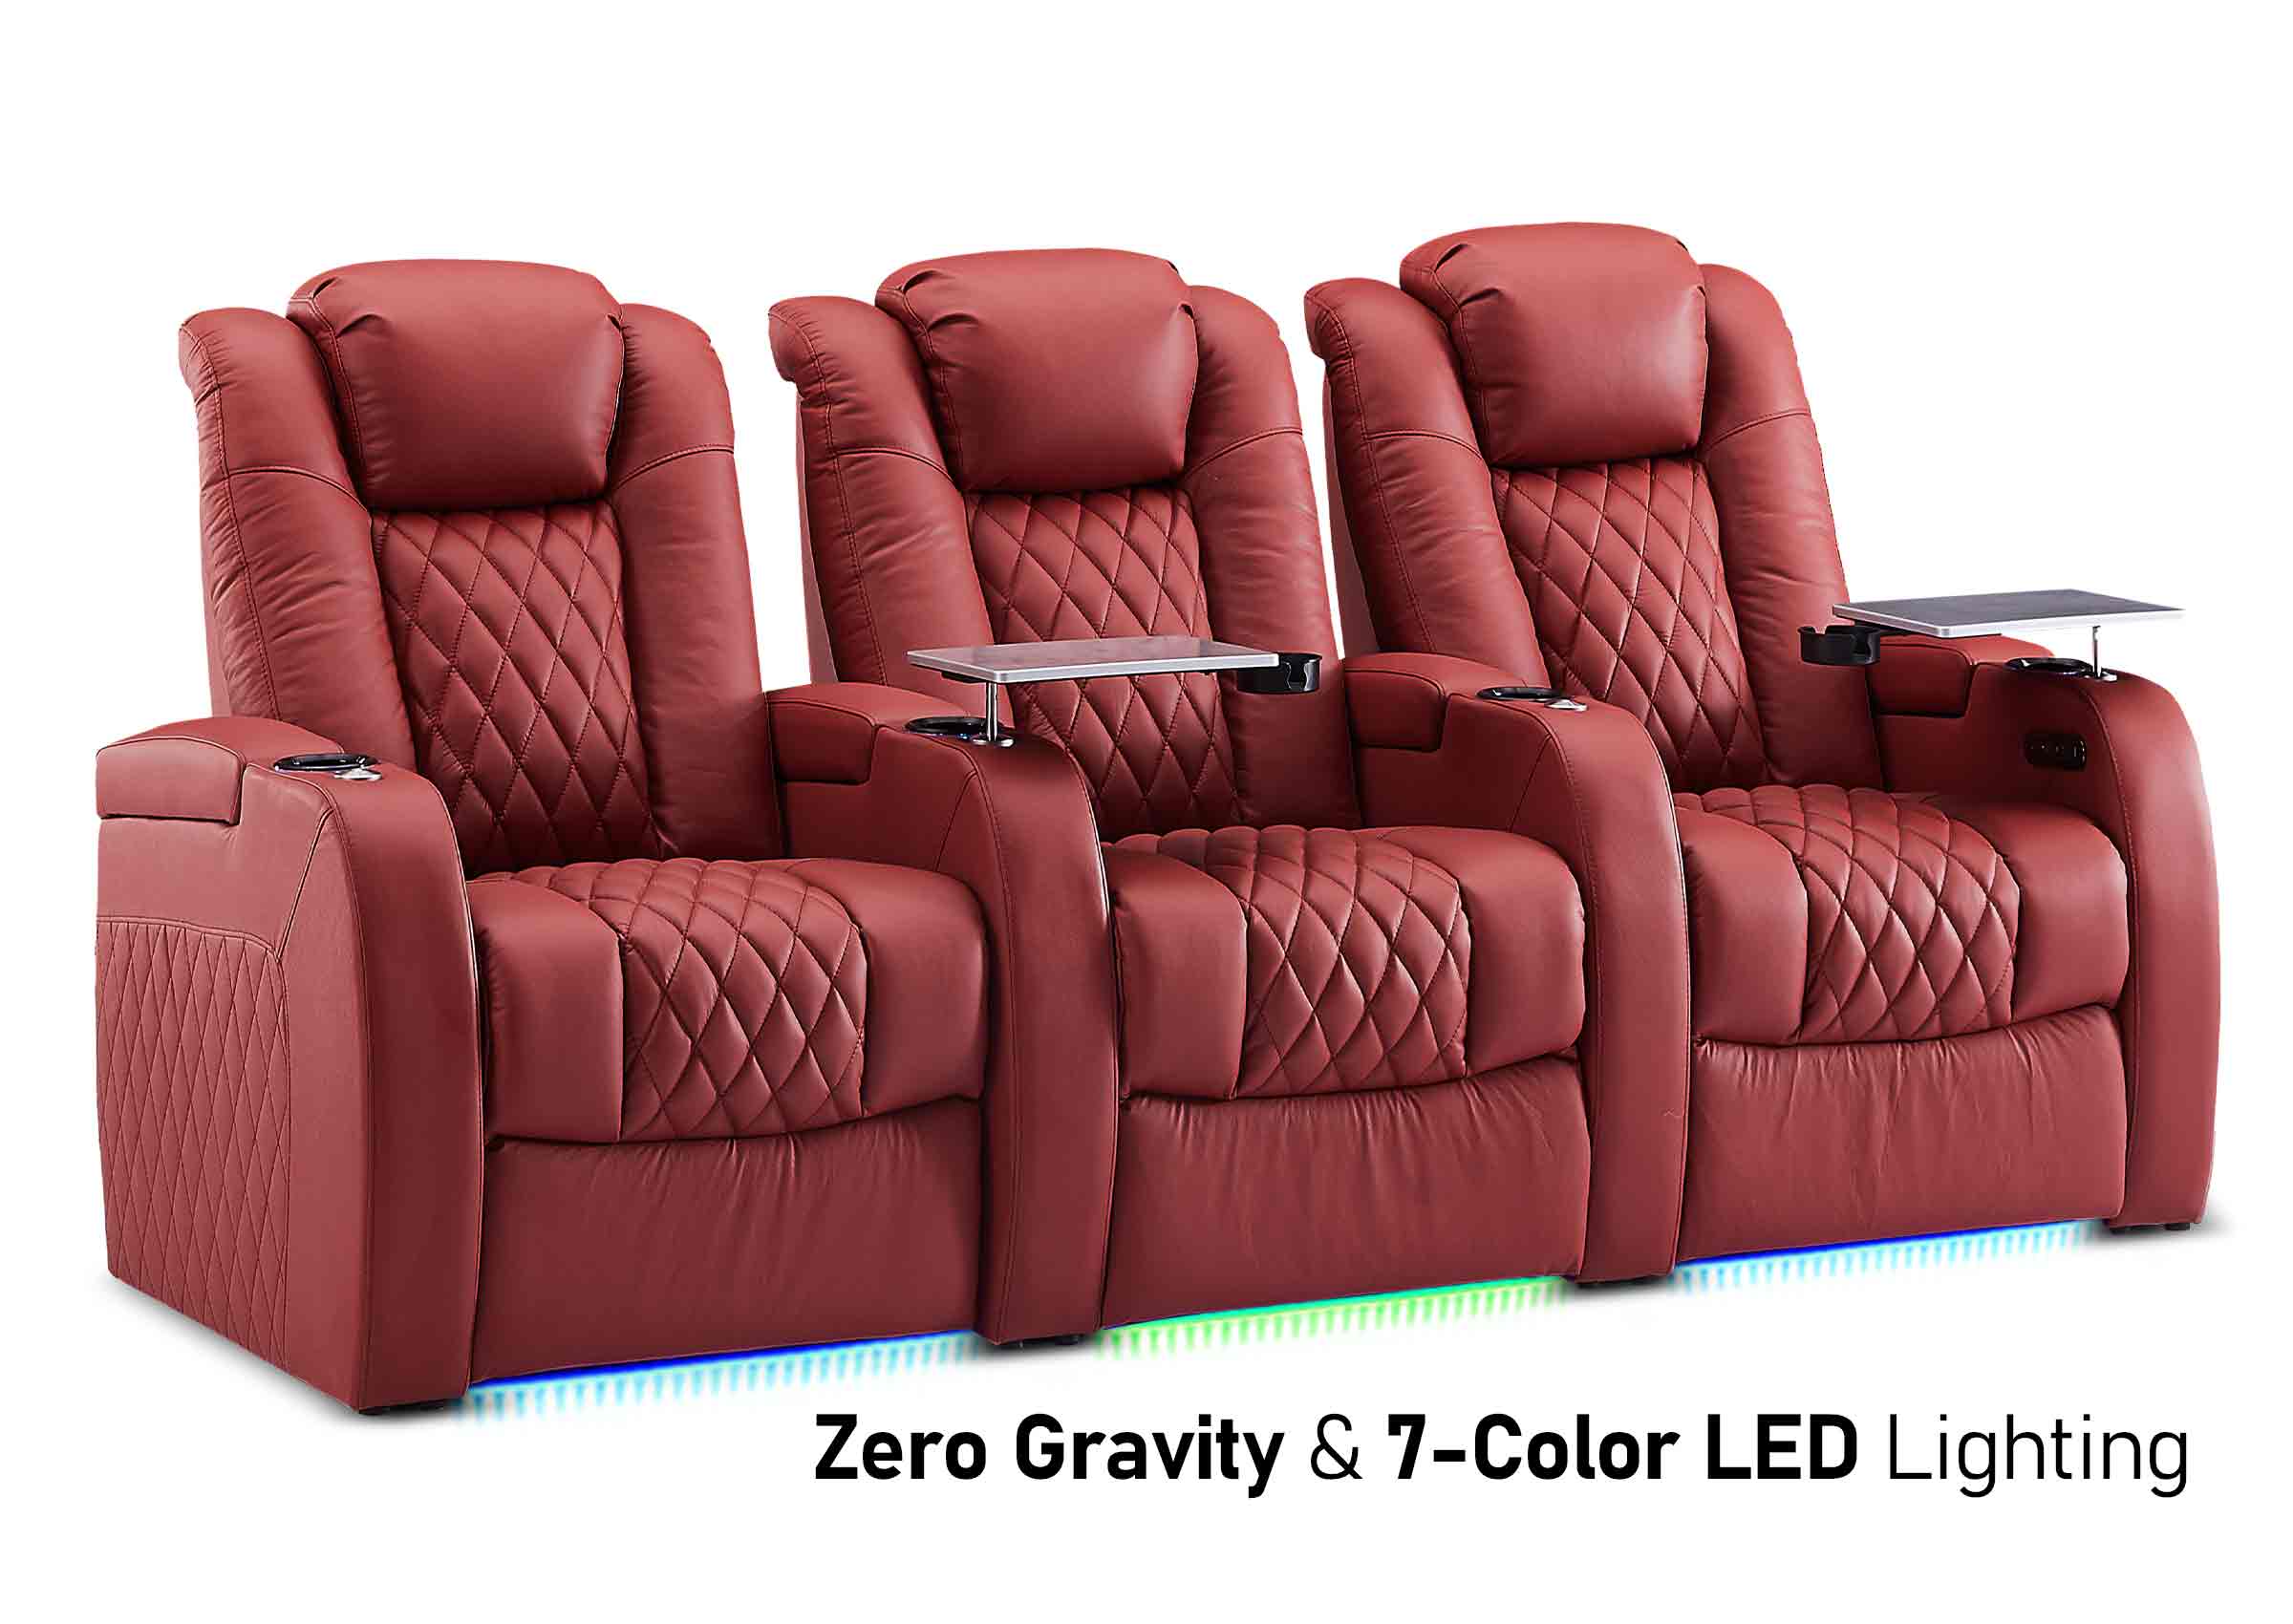
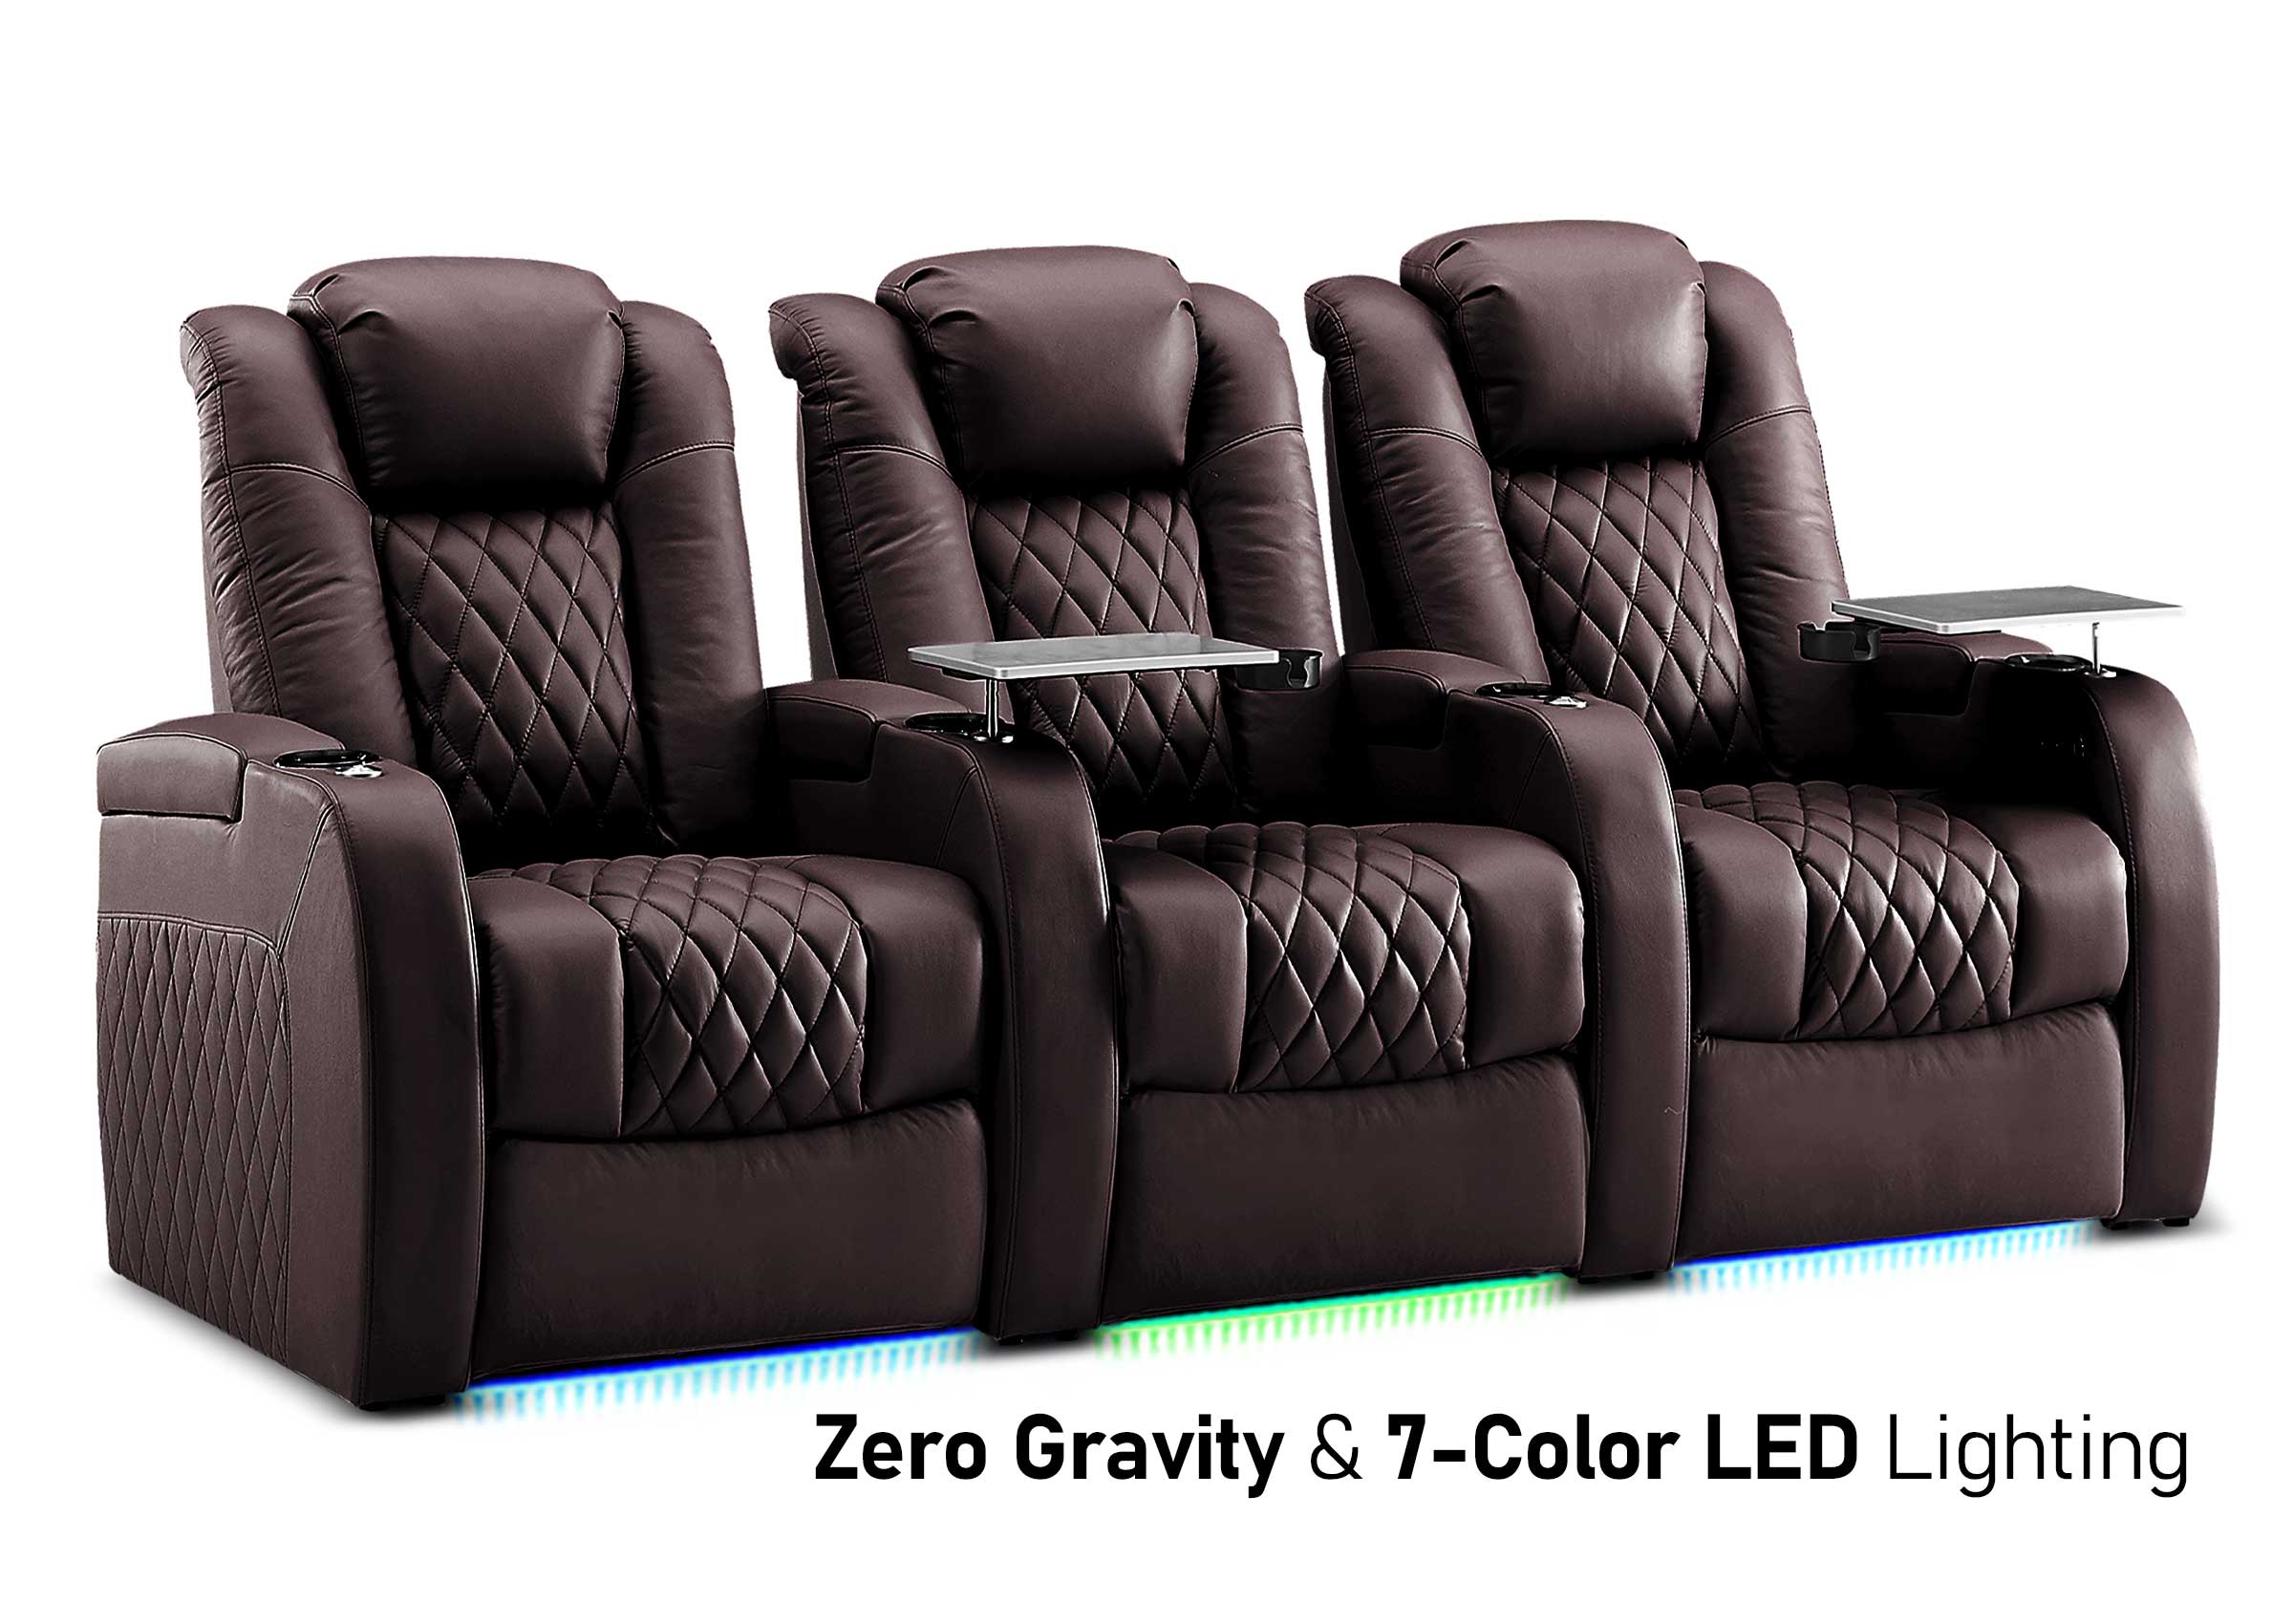
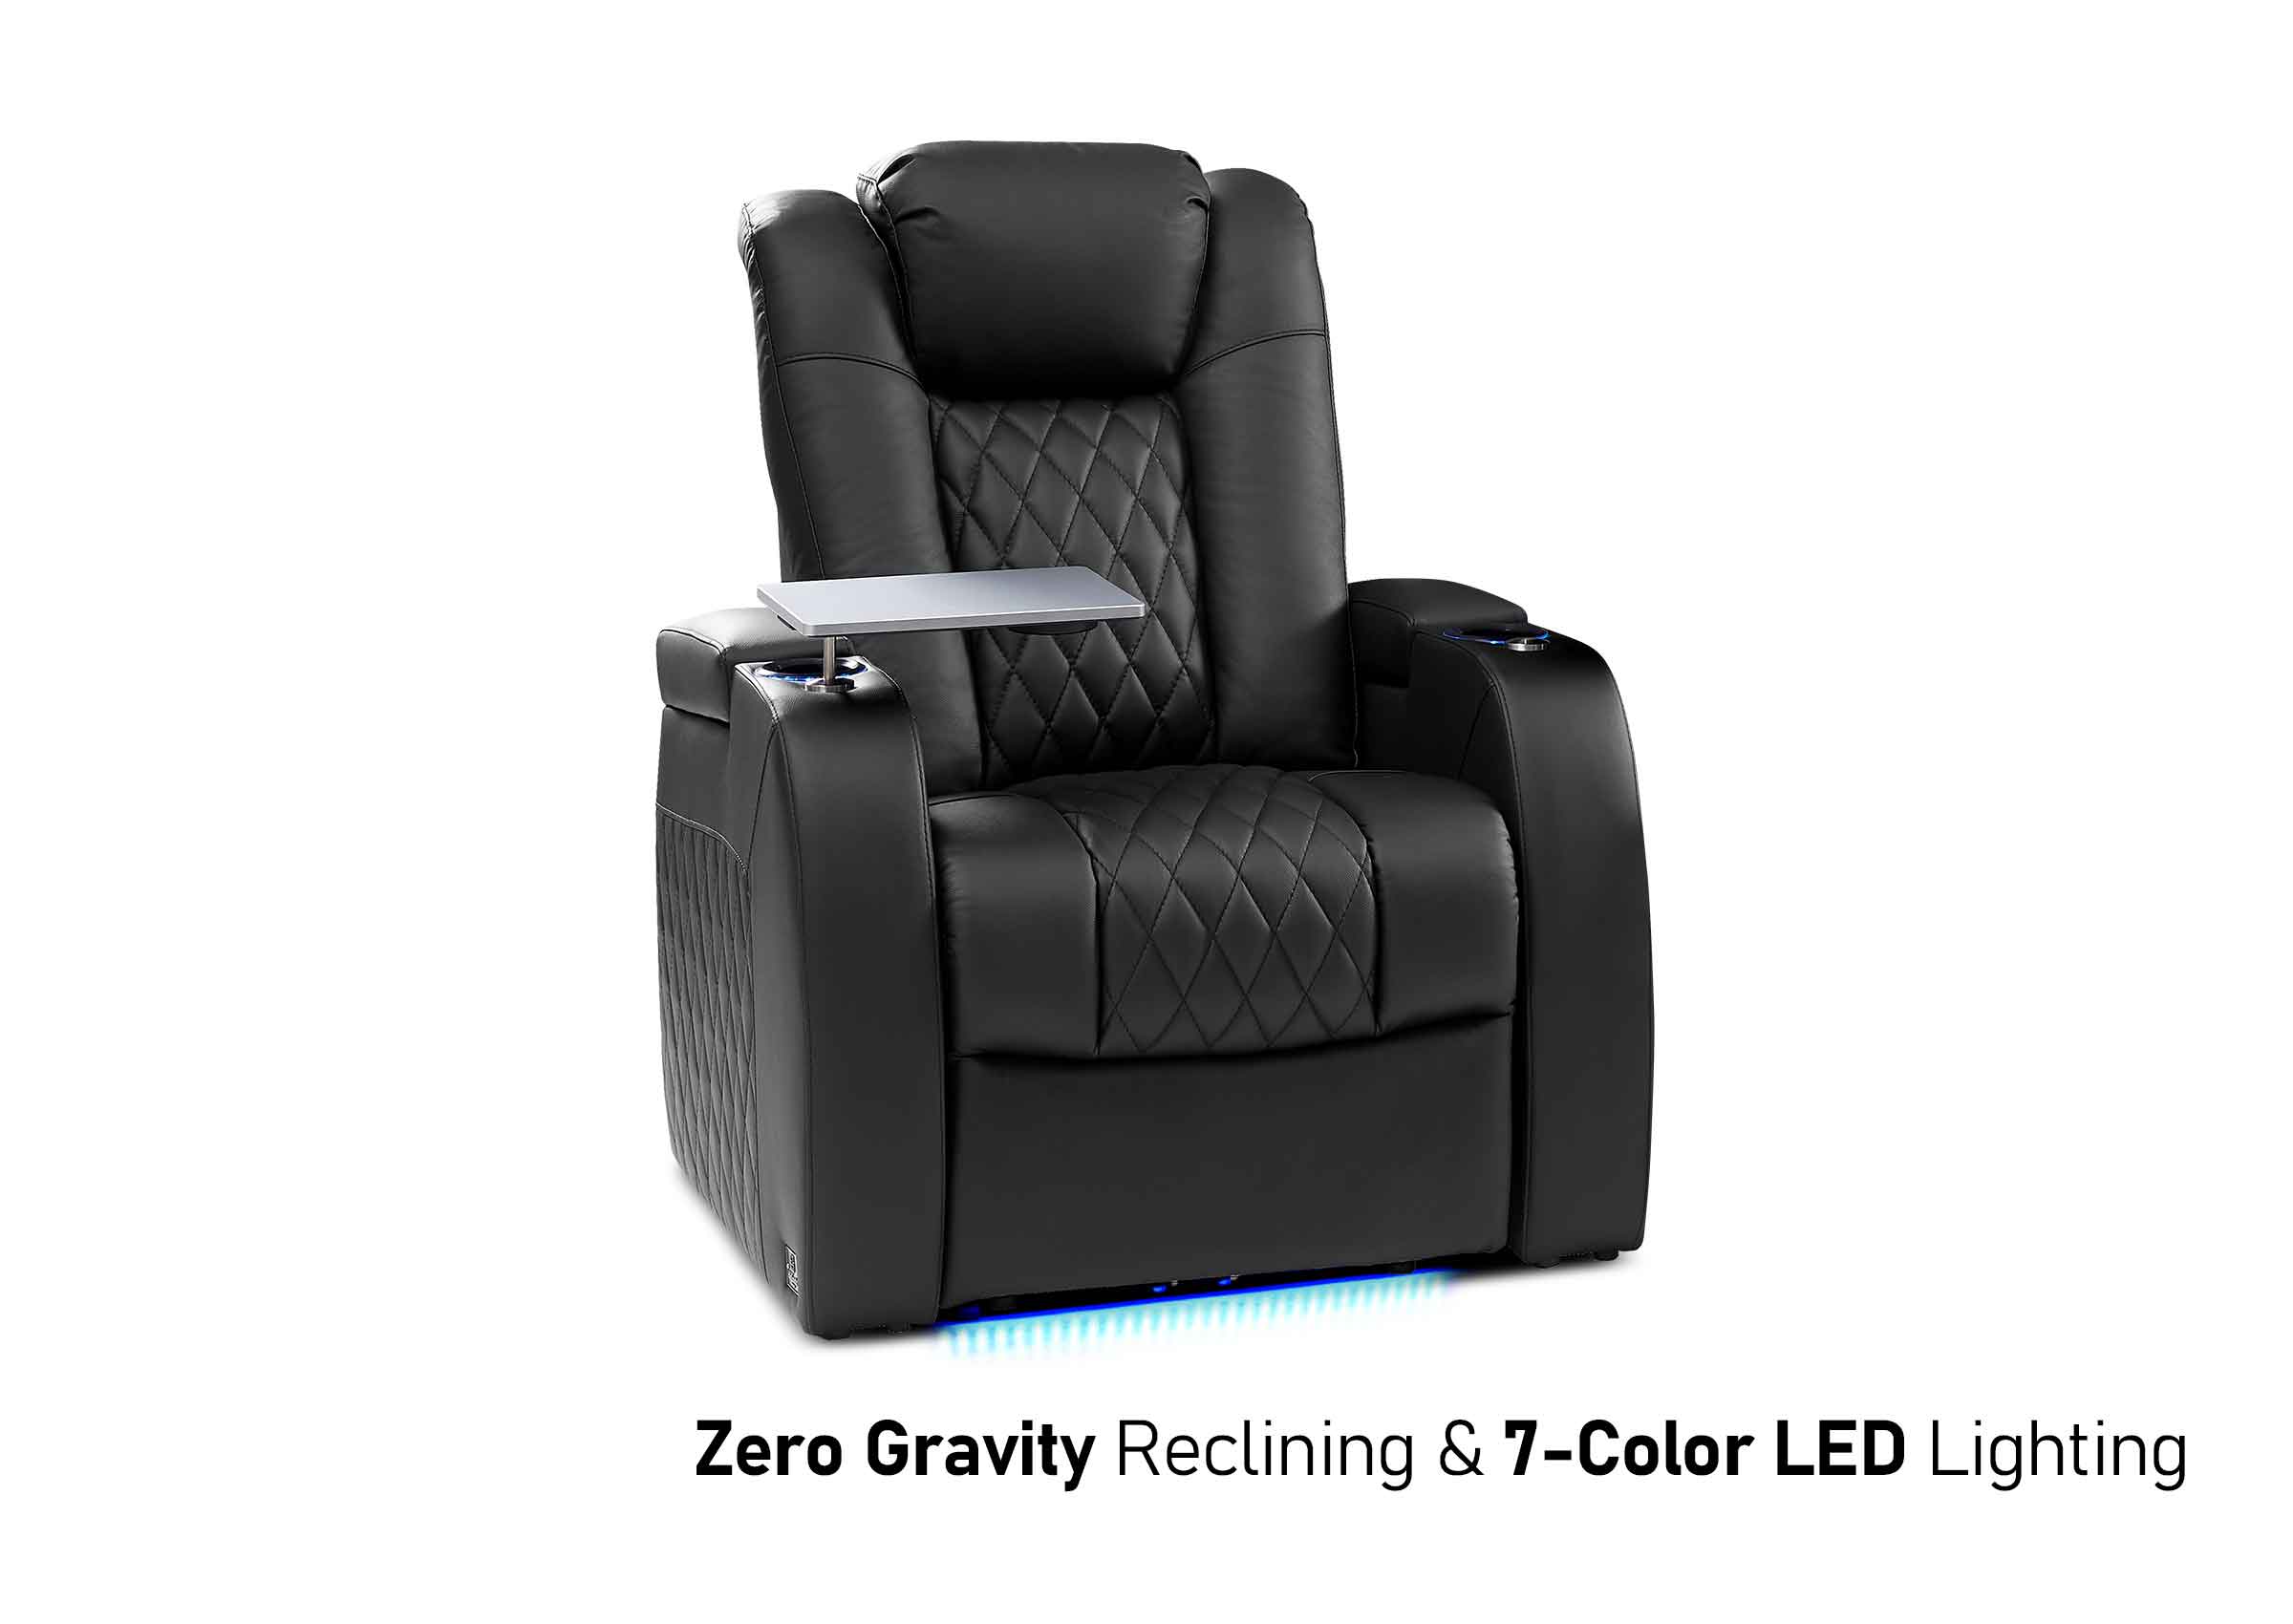
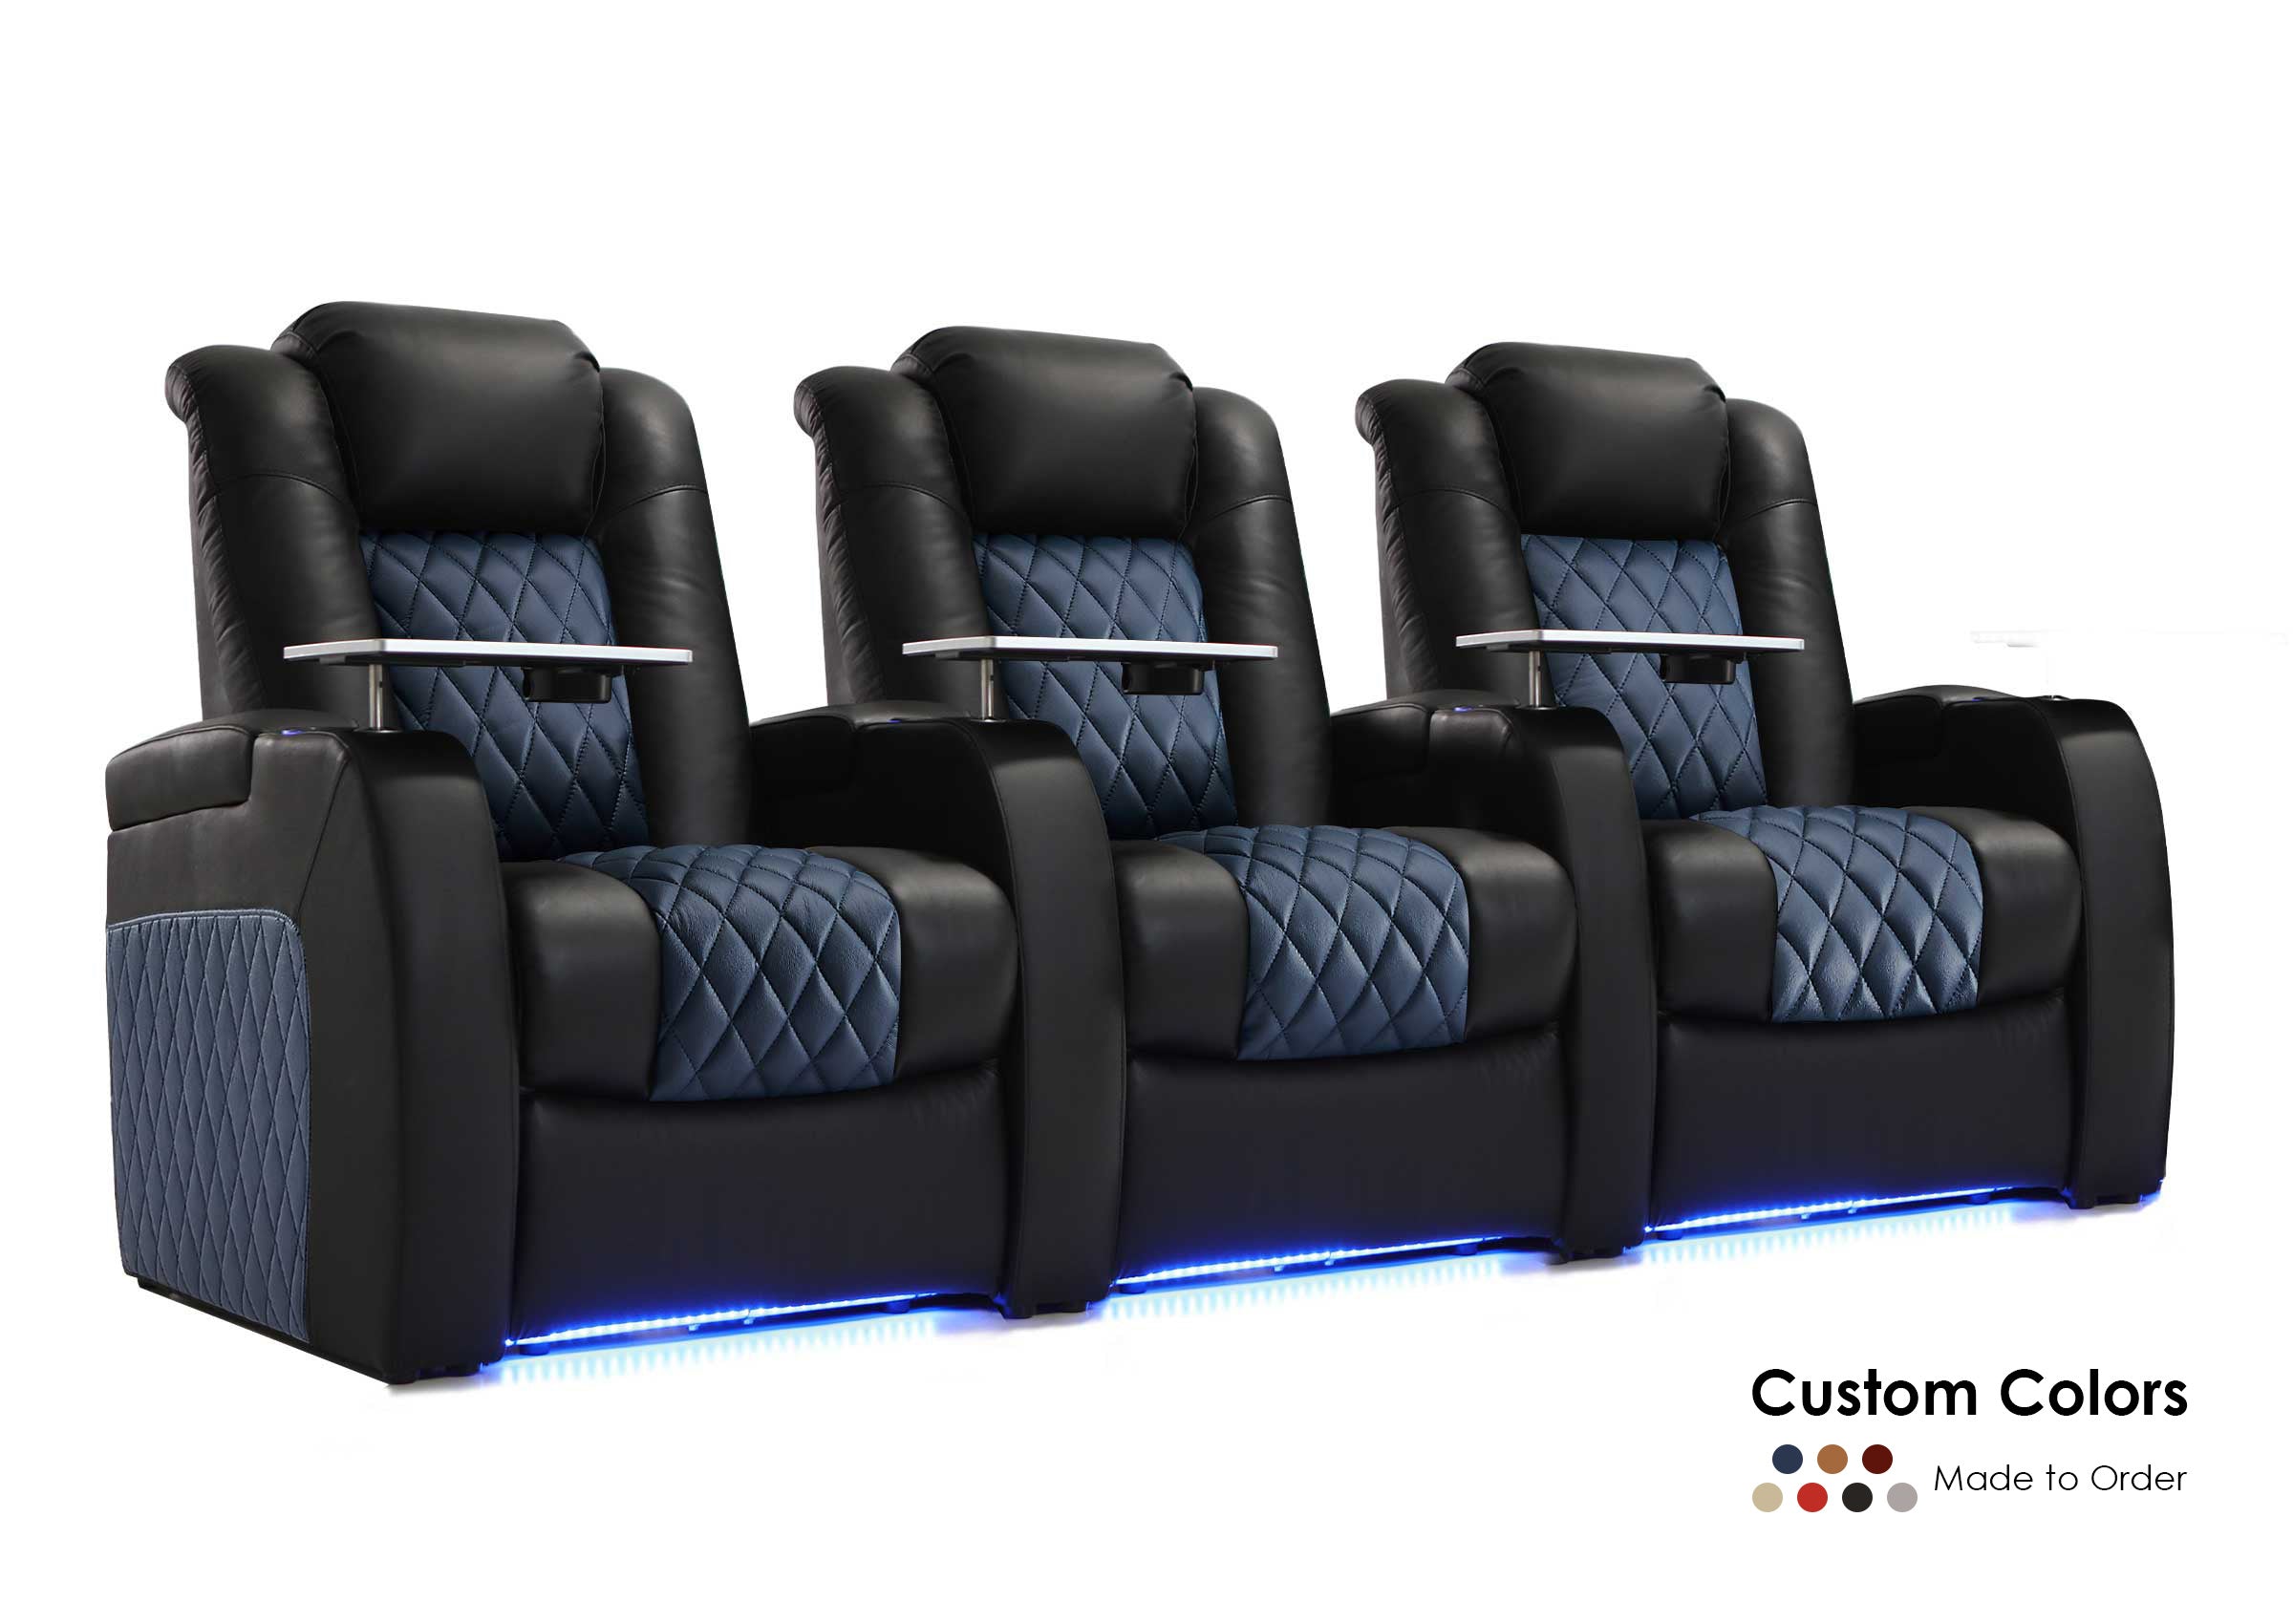
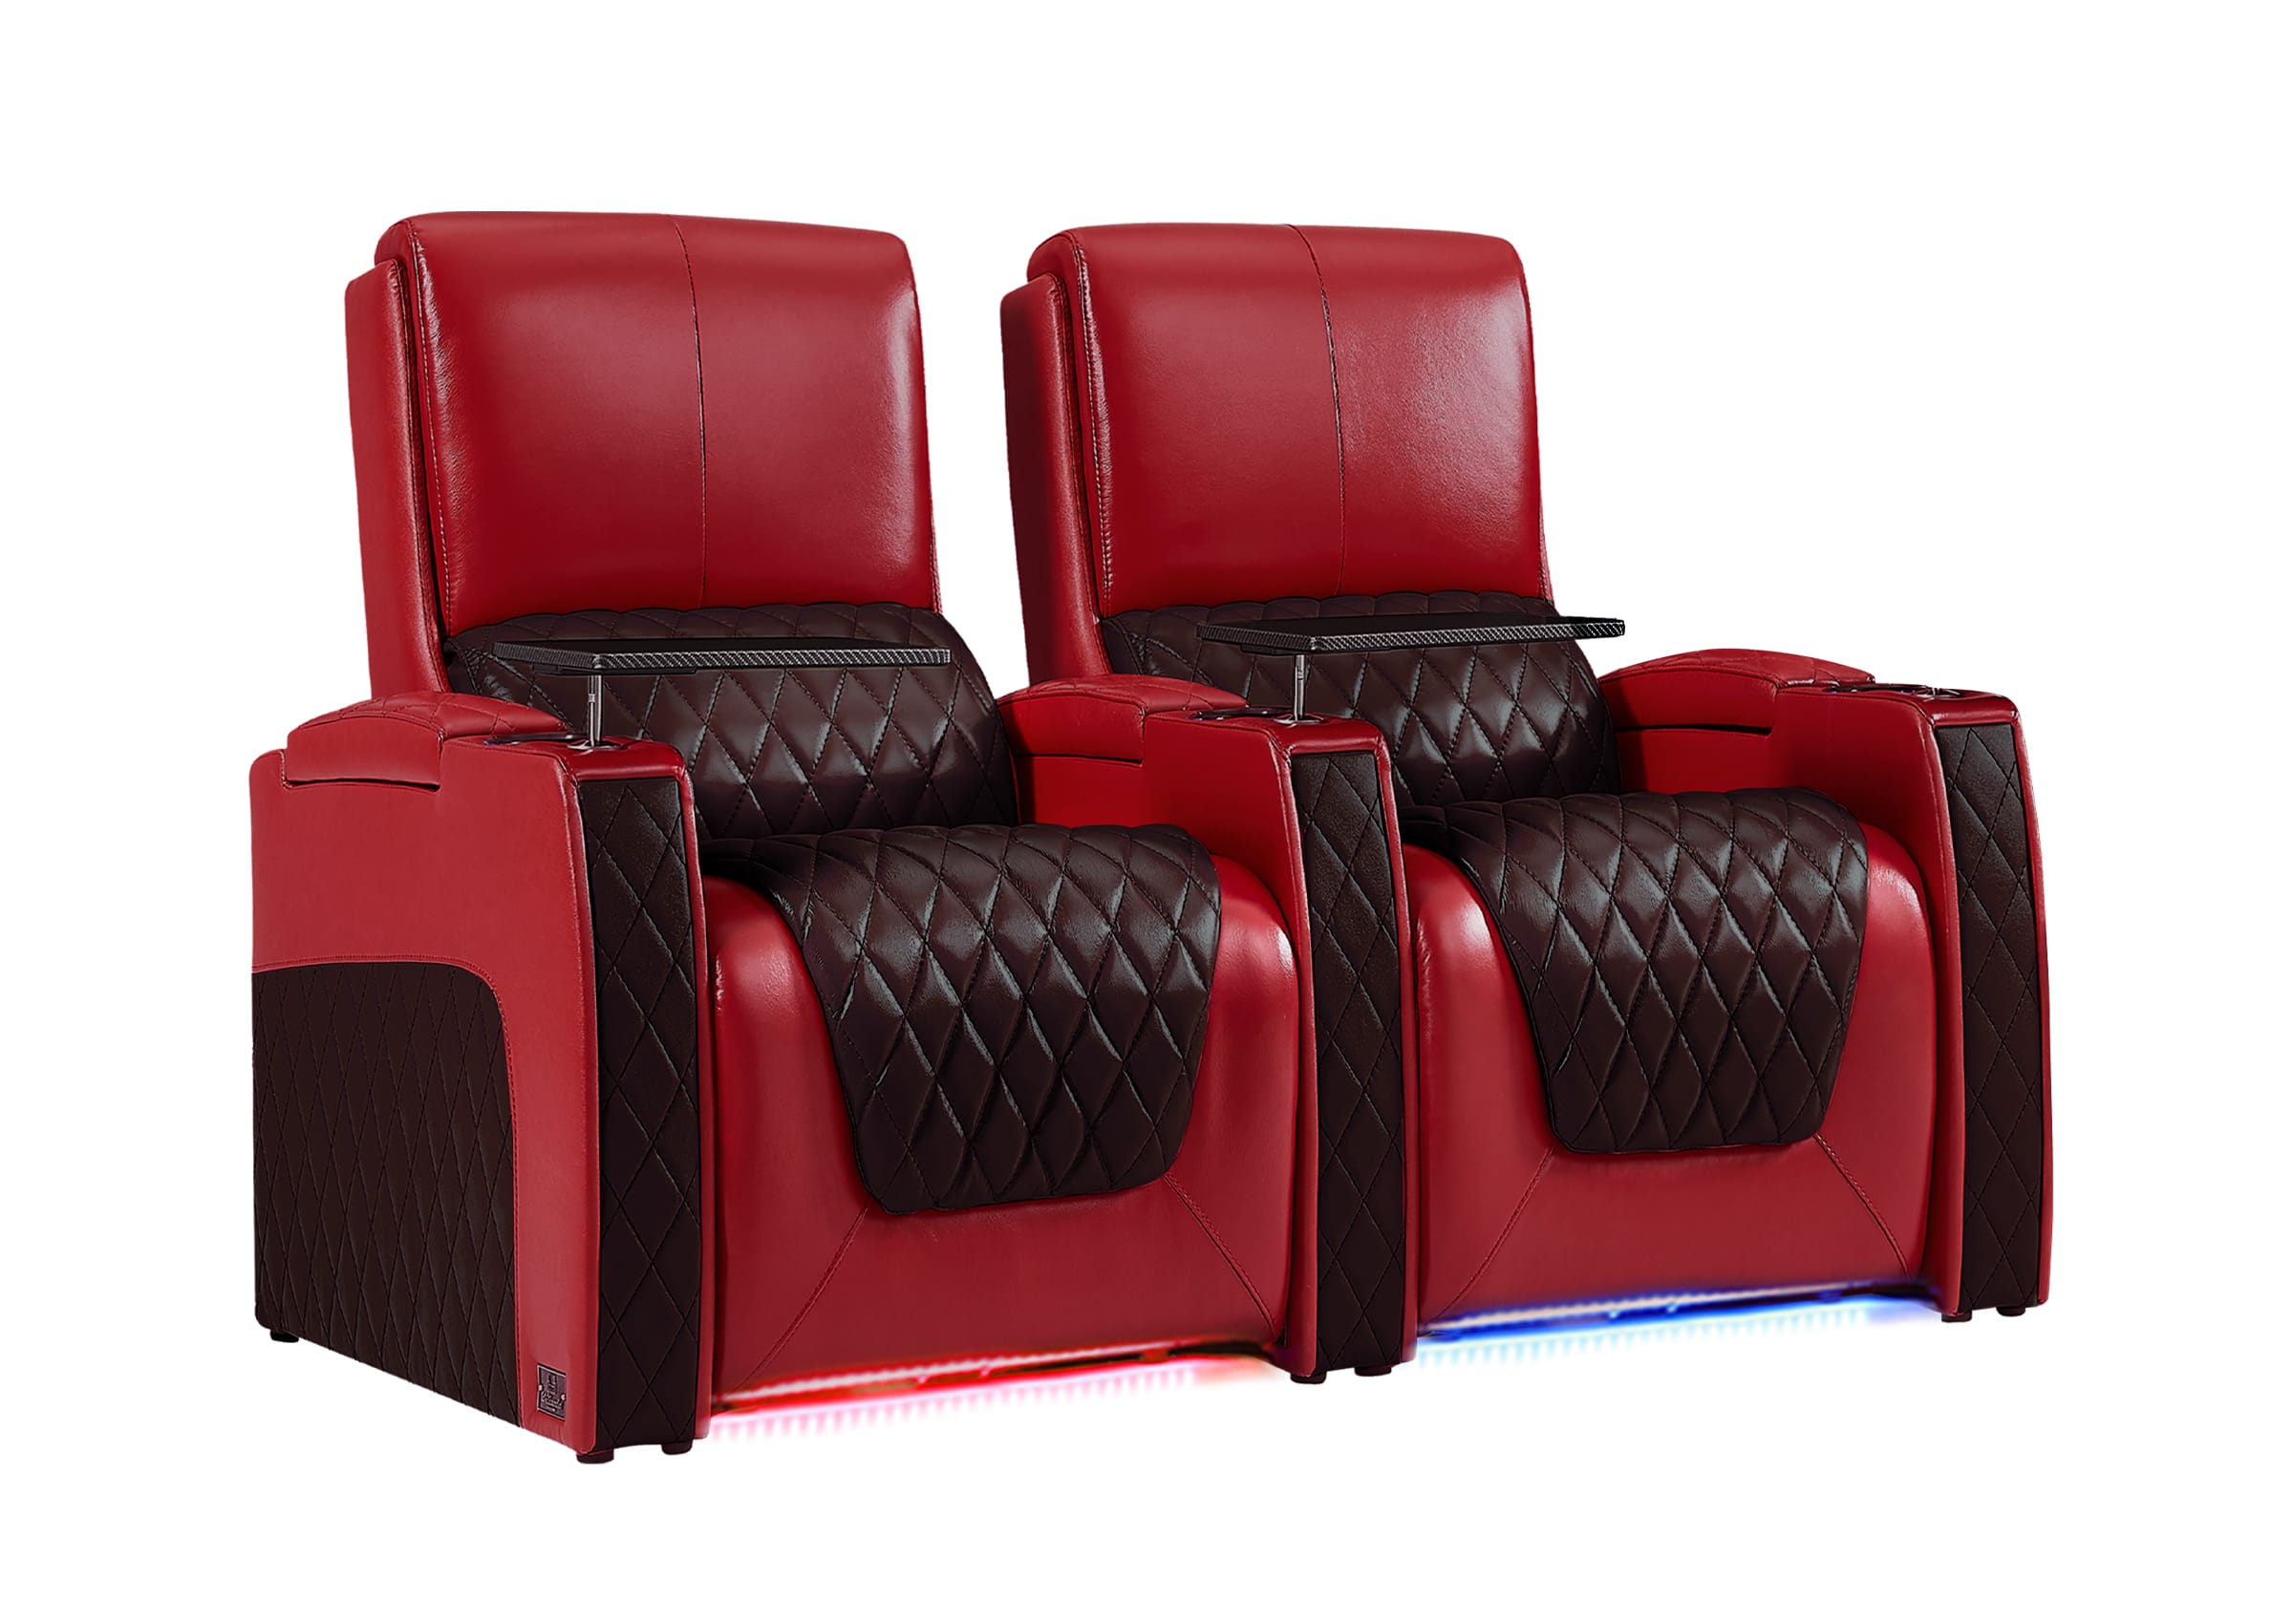
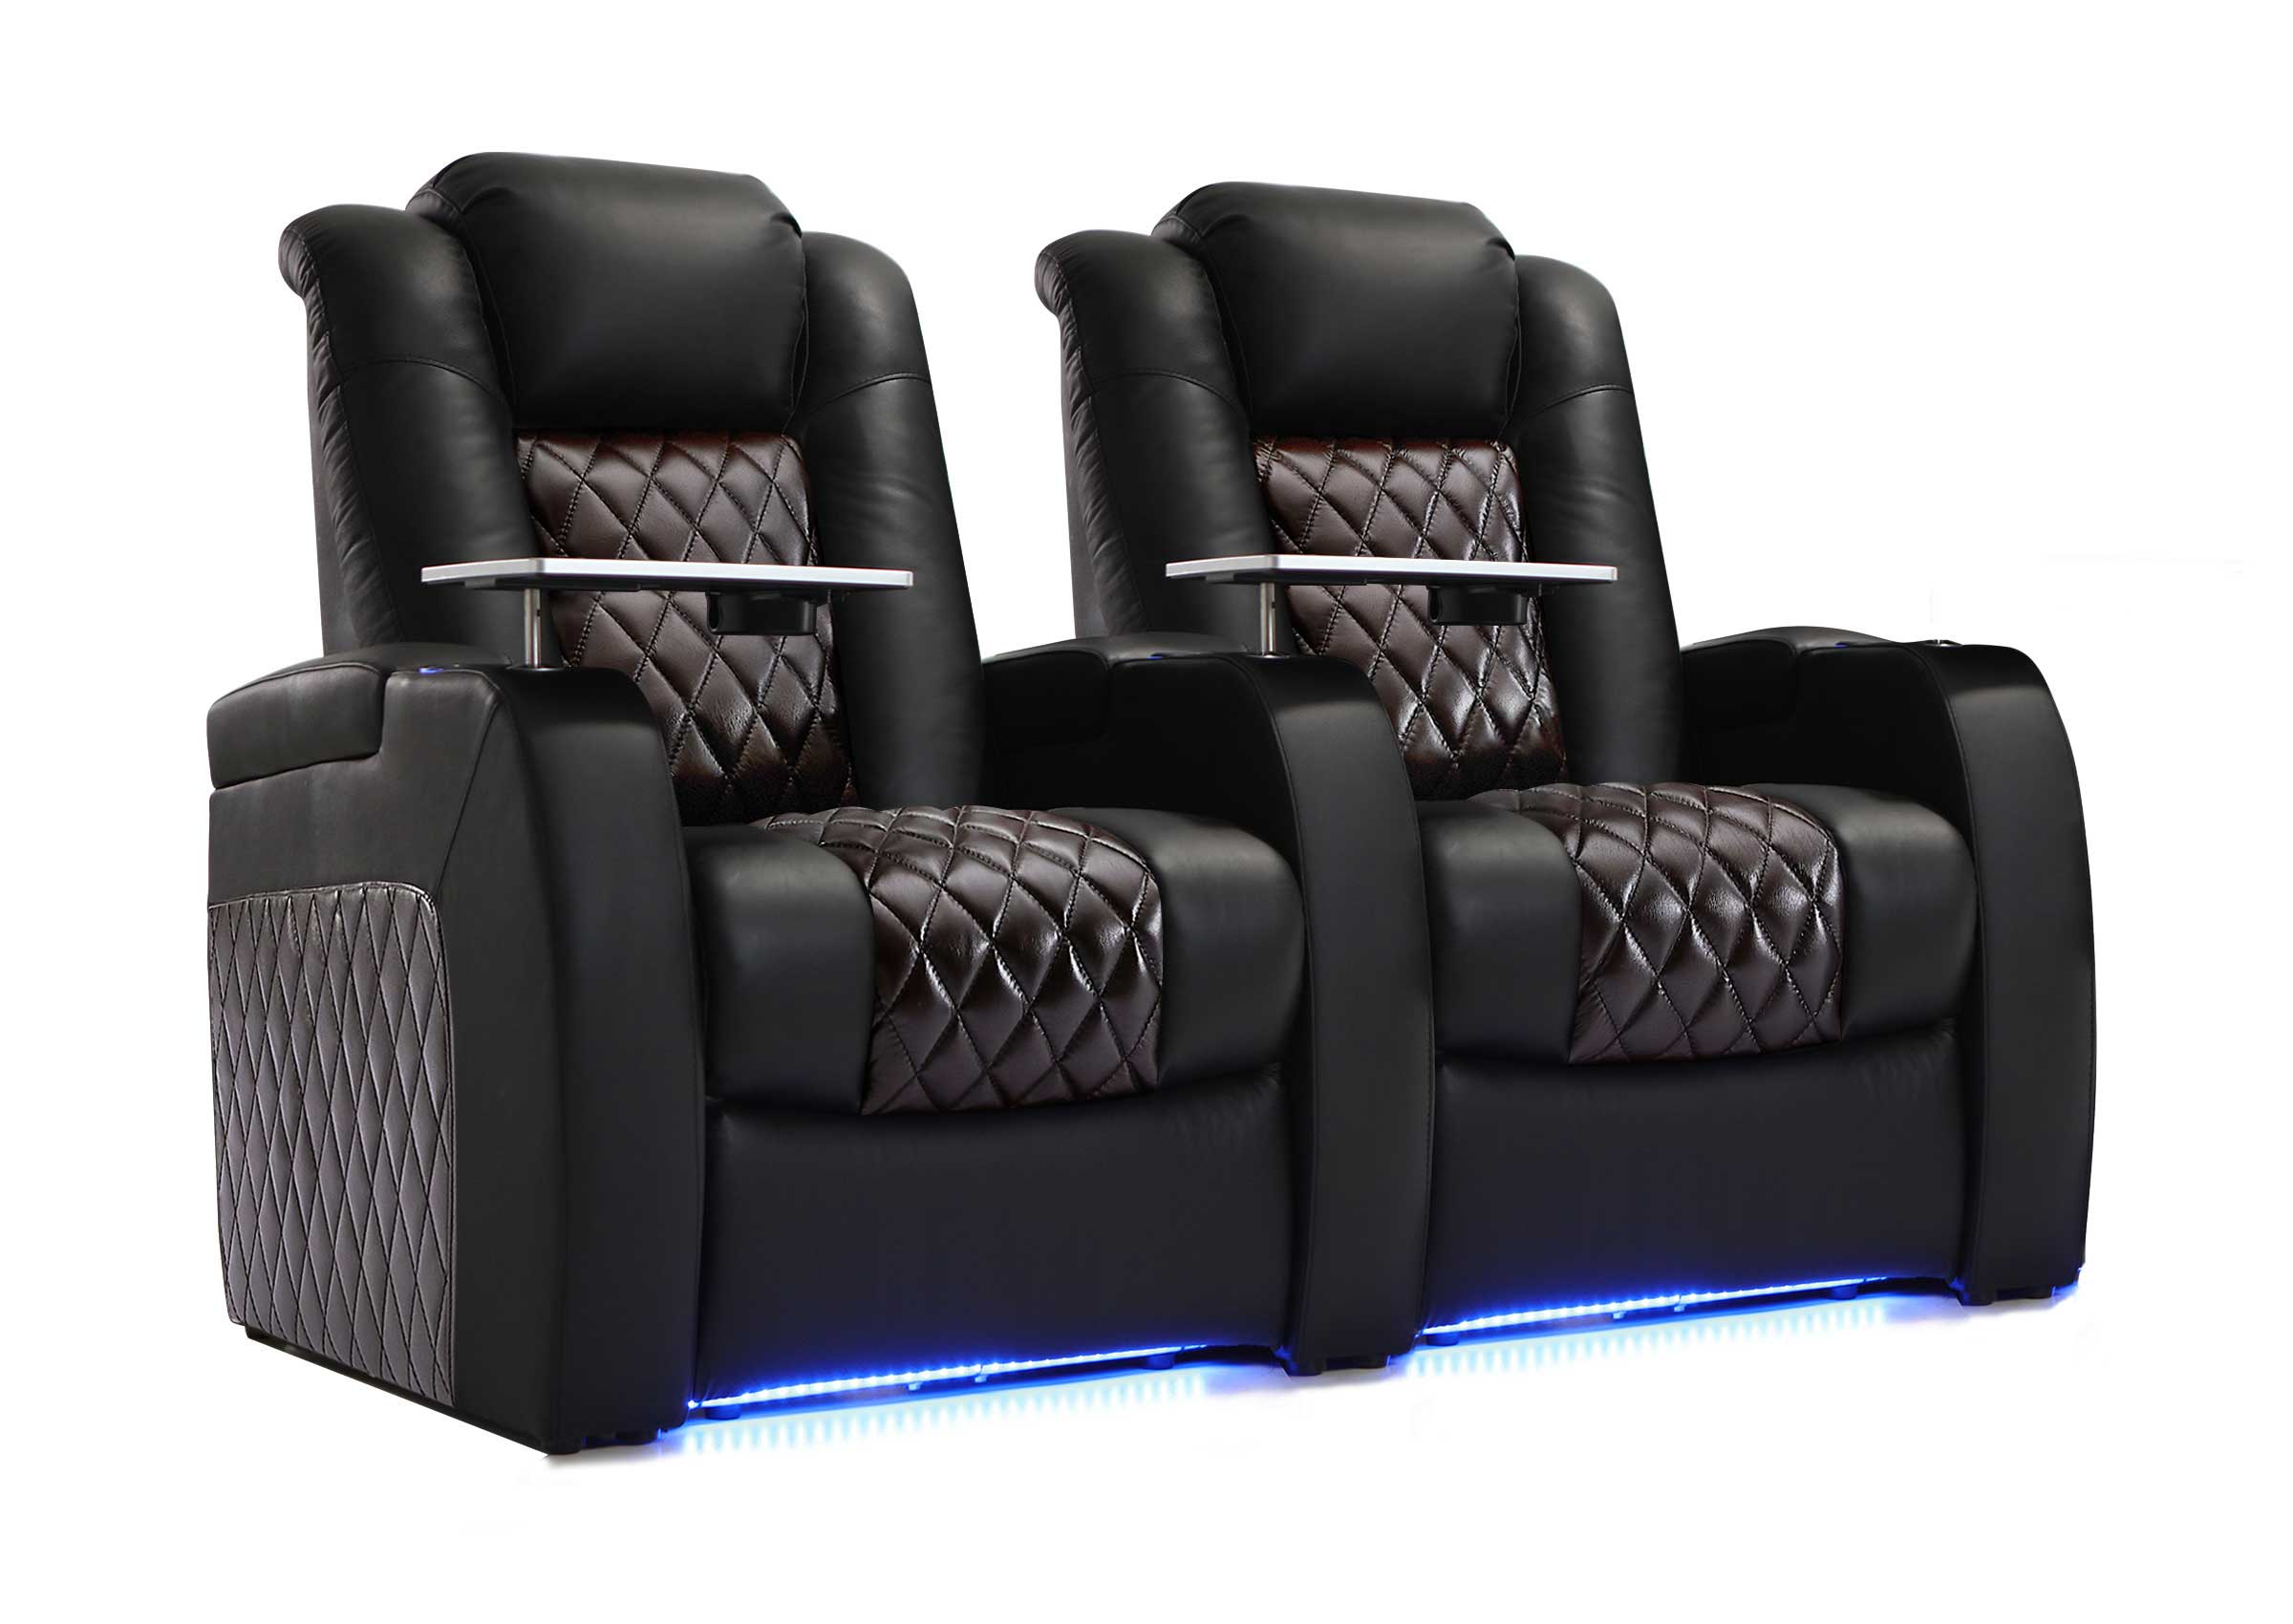
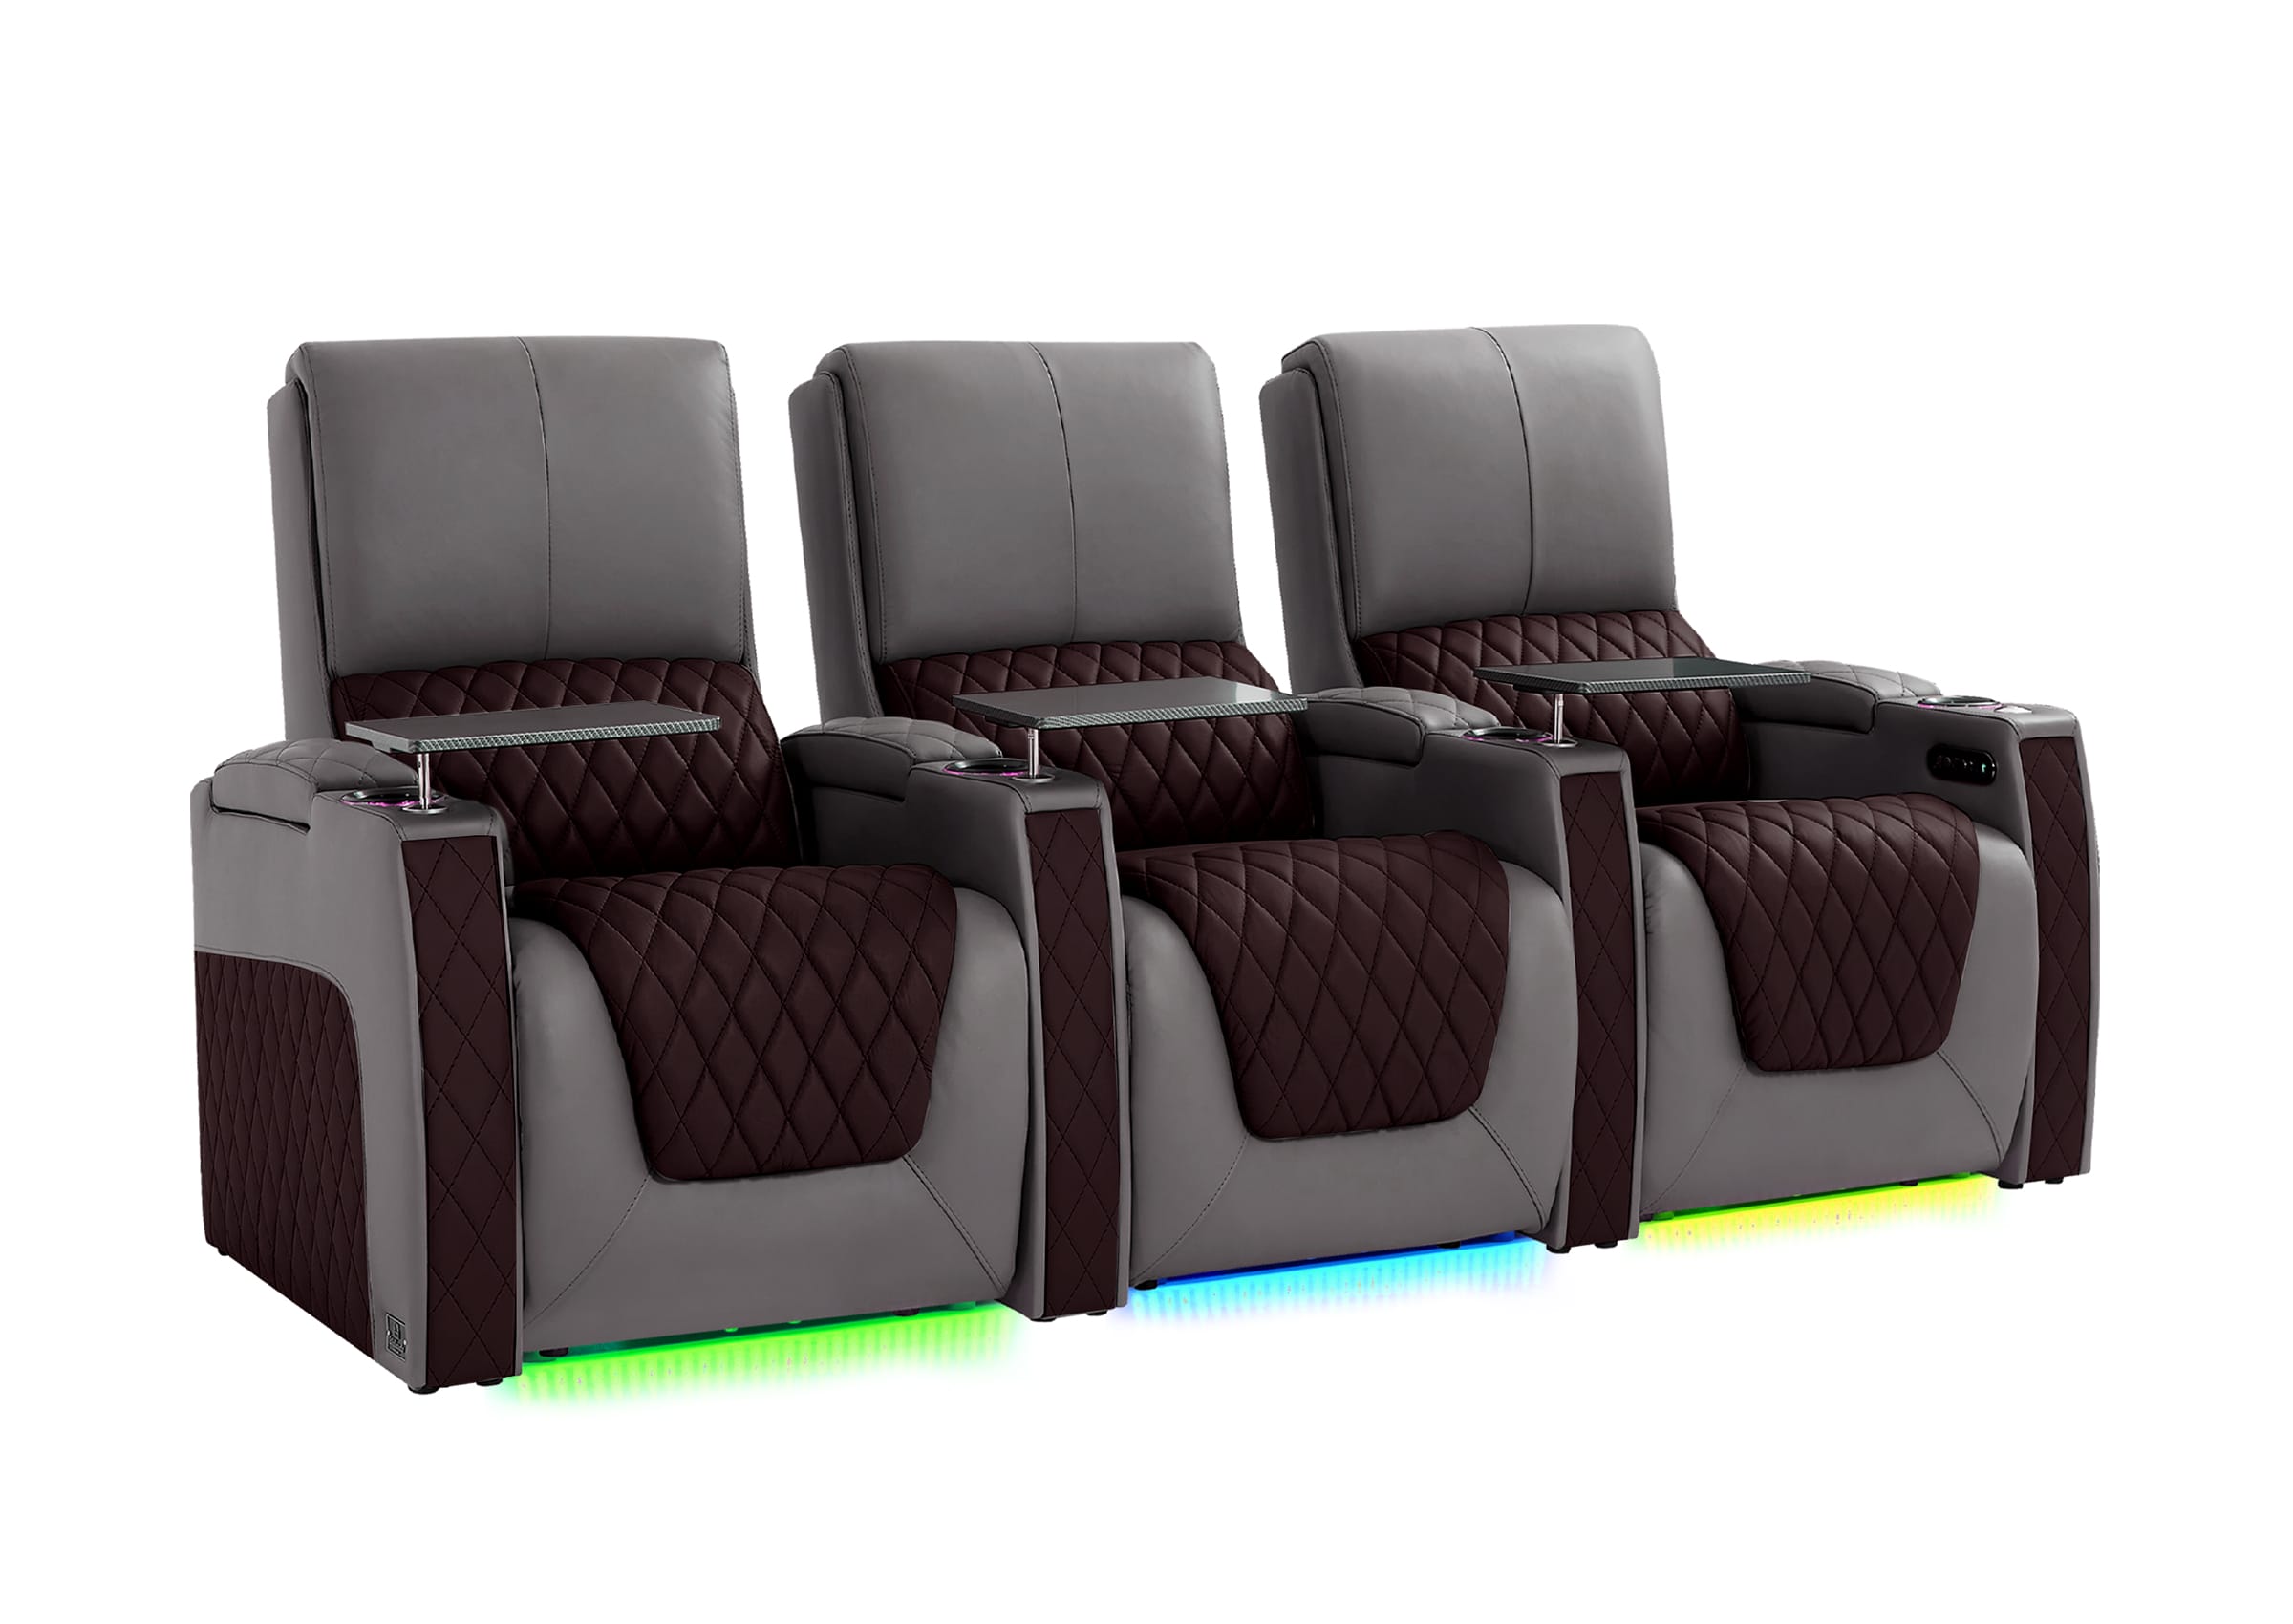
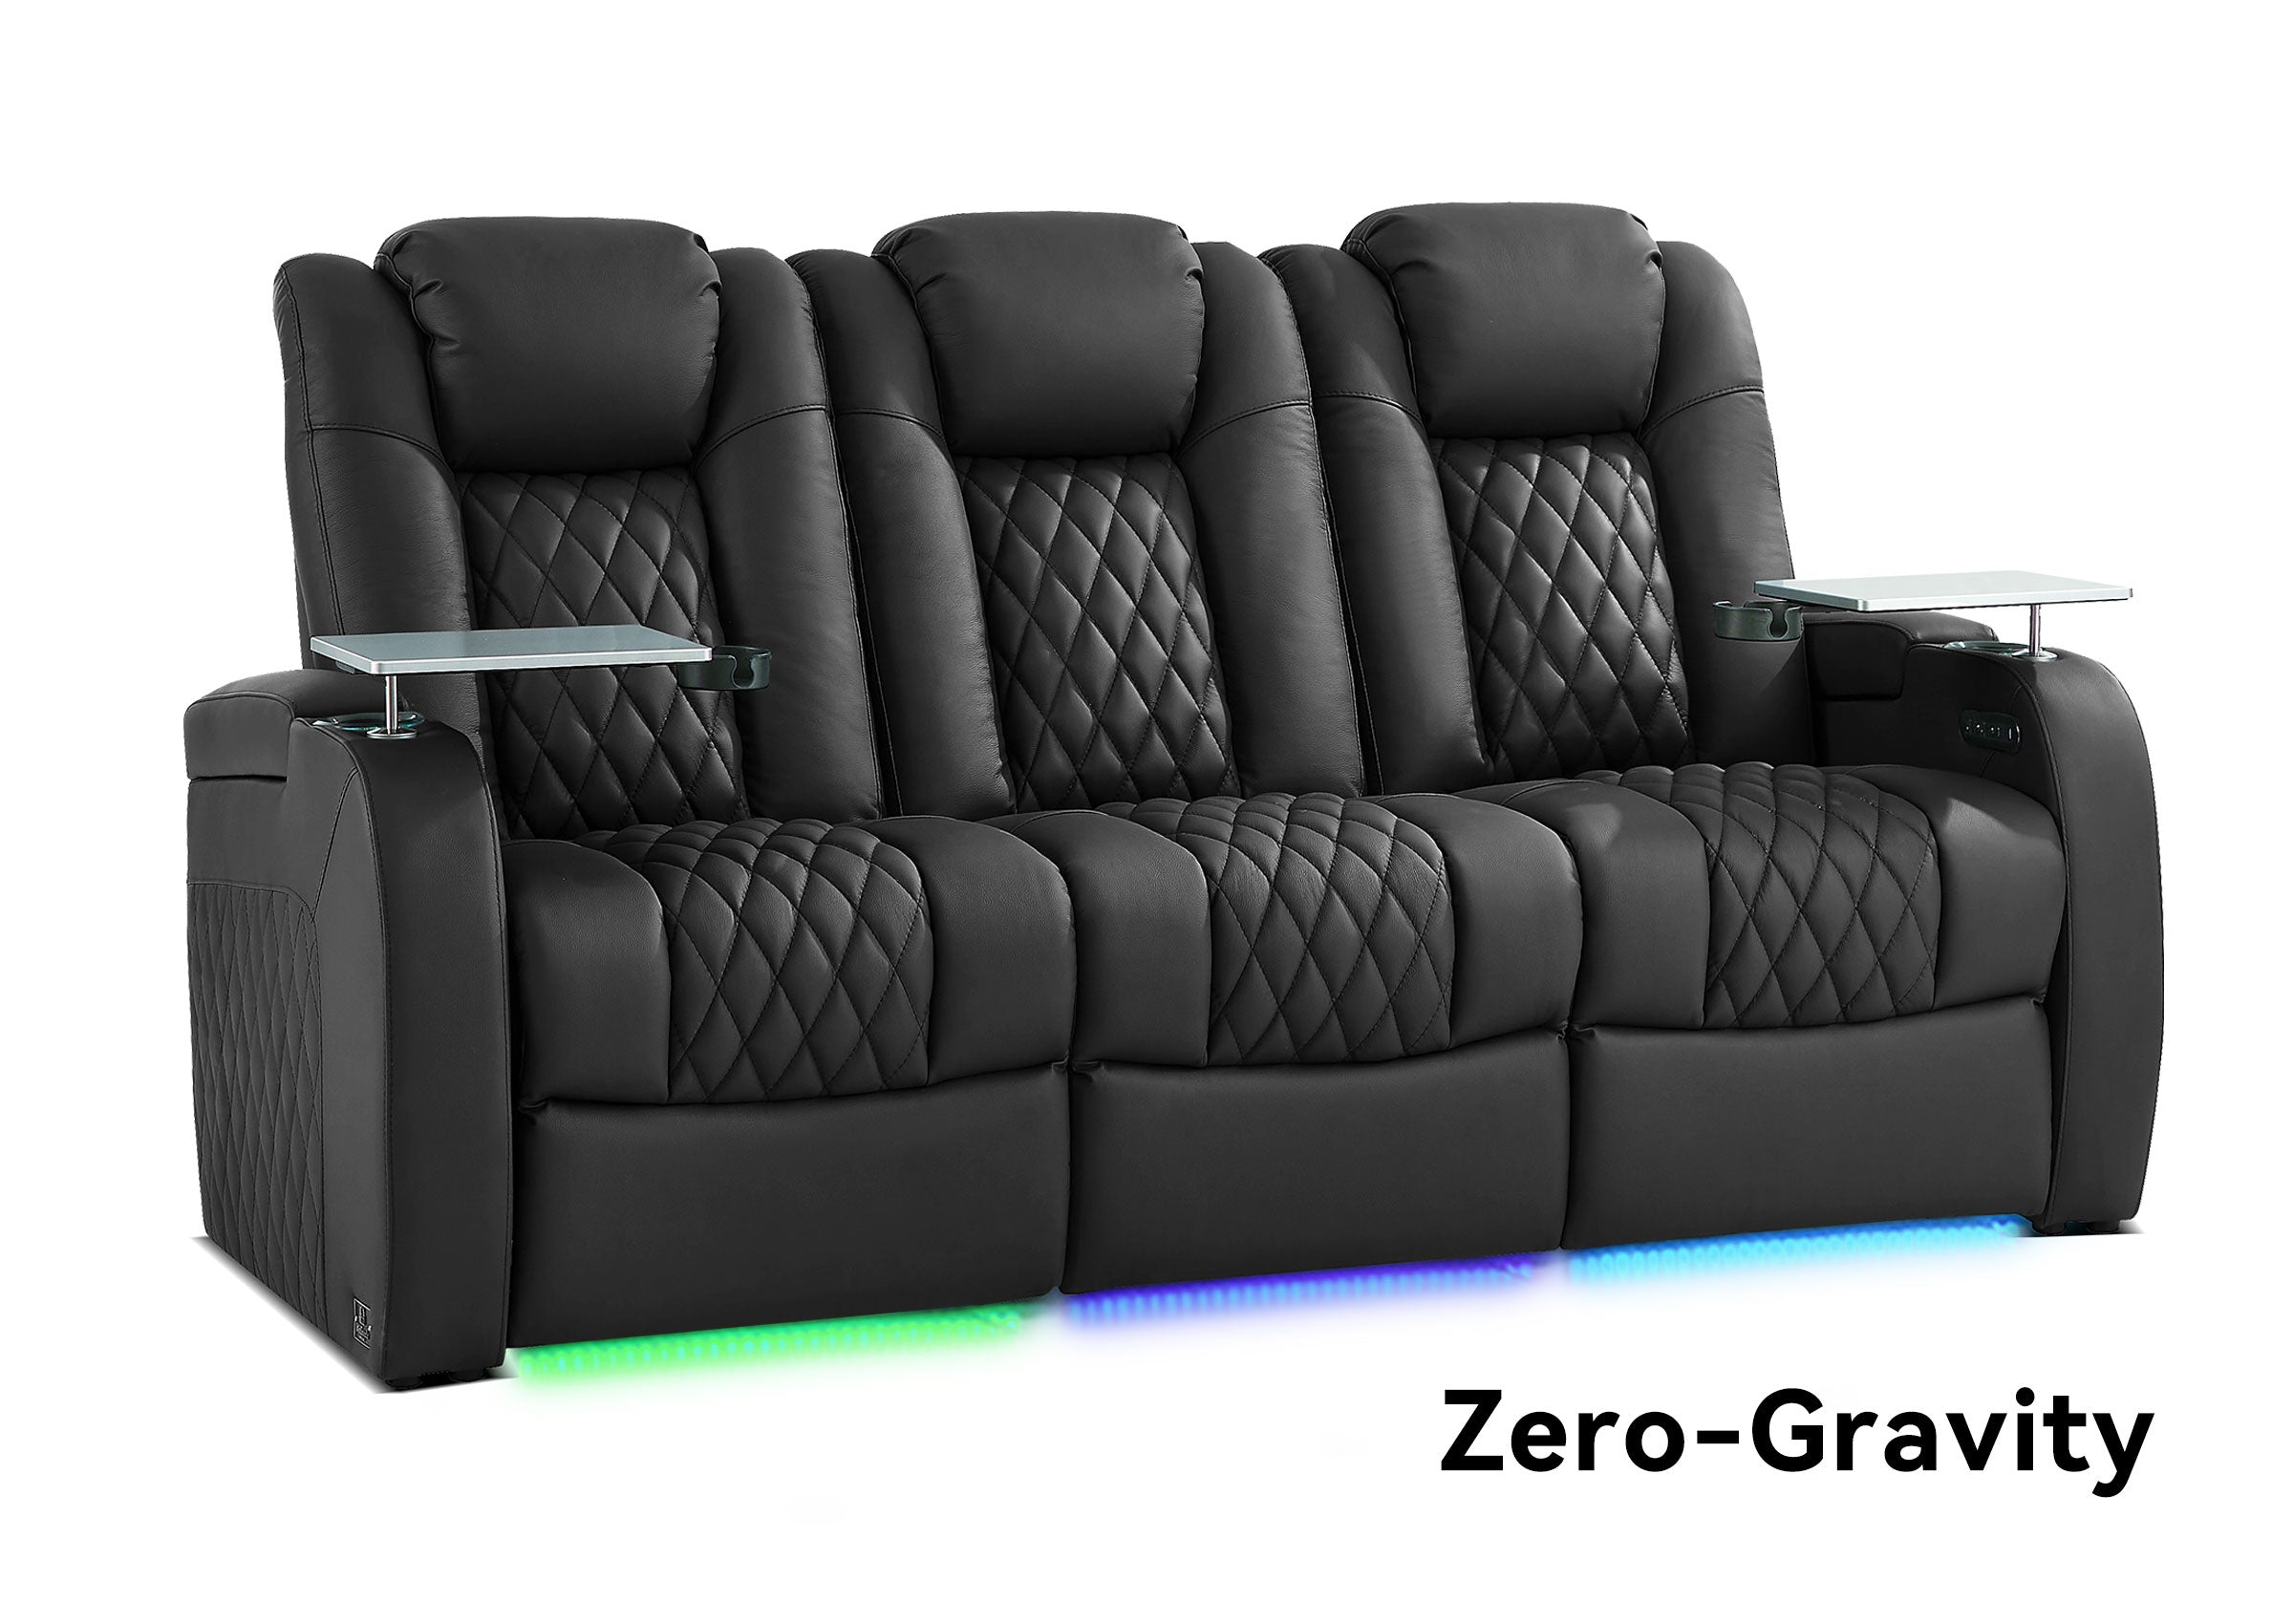
If your room also includes Weilianda powered seating, keep its cord path clear of moving parts and follow the instructions for the specific model. For questions about supplied electrical components or seating installation instructions, contact Weilianda Support with your model or order information.
For pre-purchase questions about Weilianda seating and its setup requirements, email leon@weiliandahome.com.