




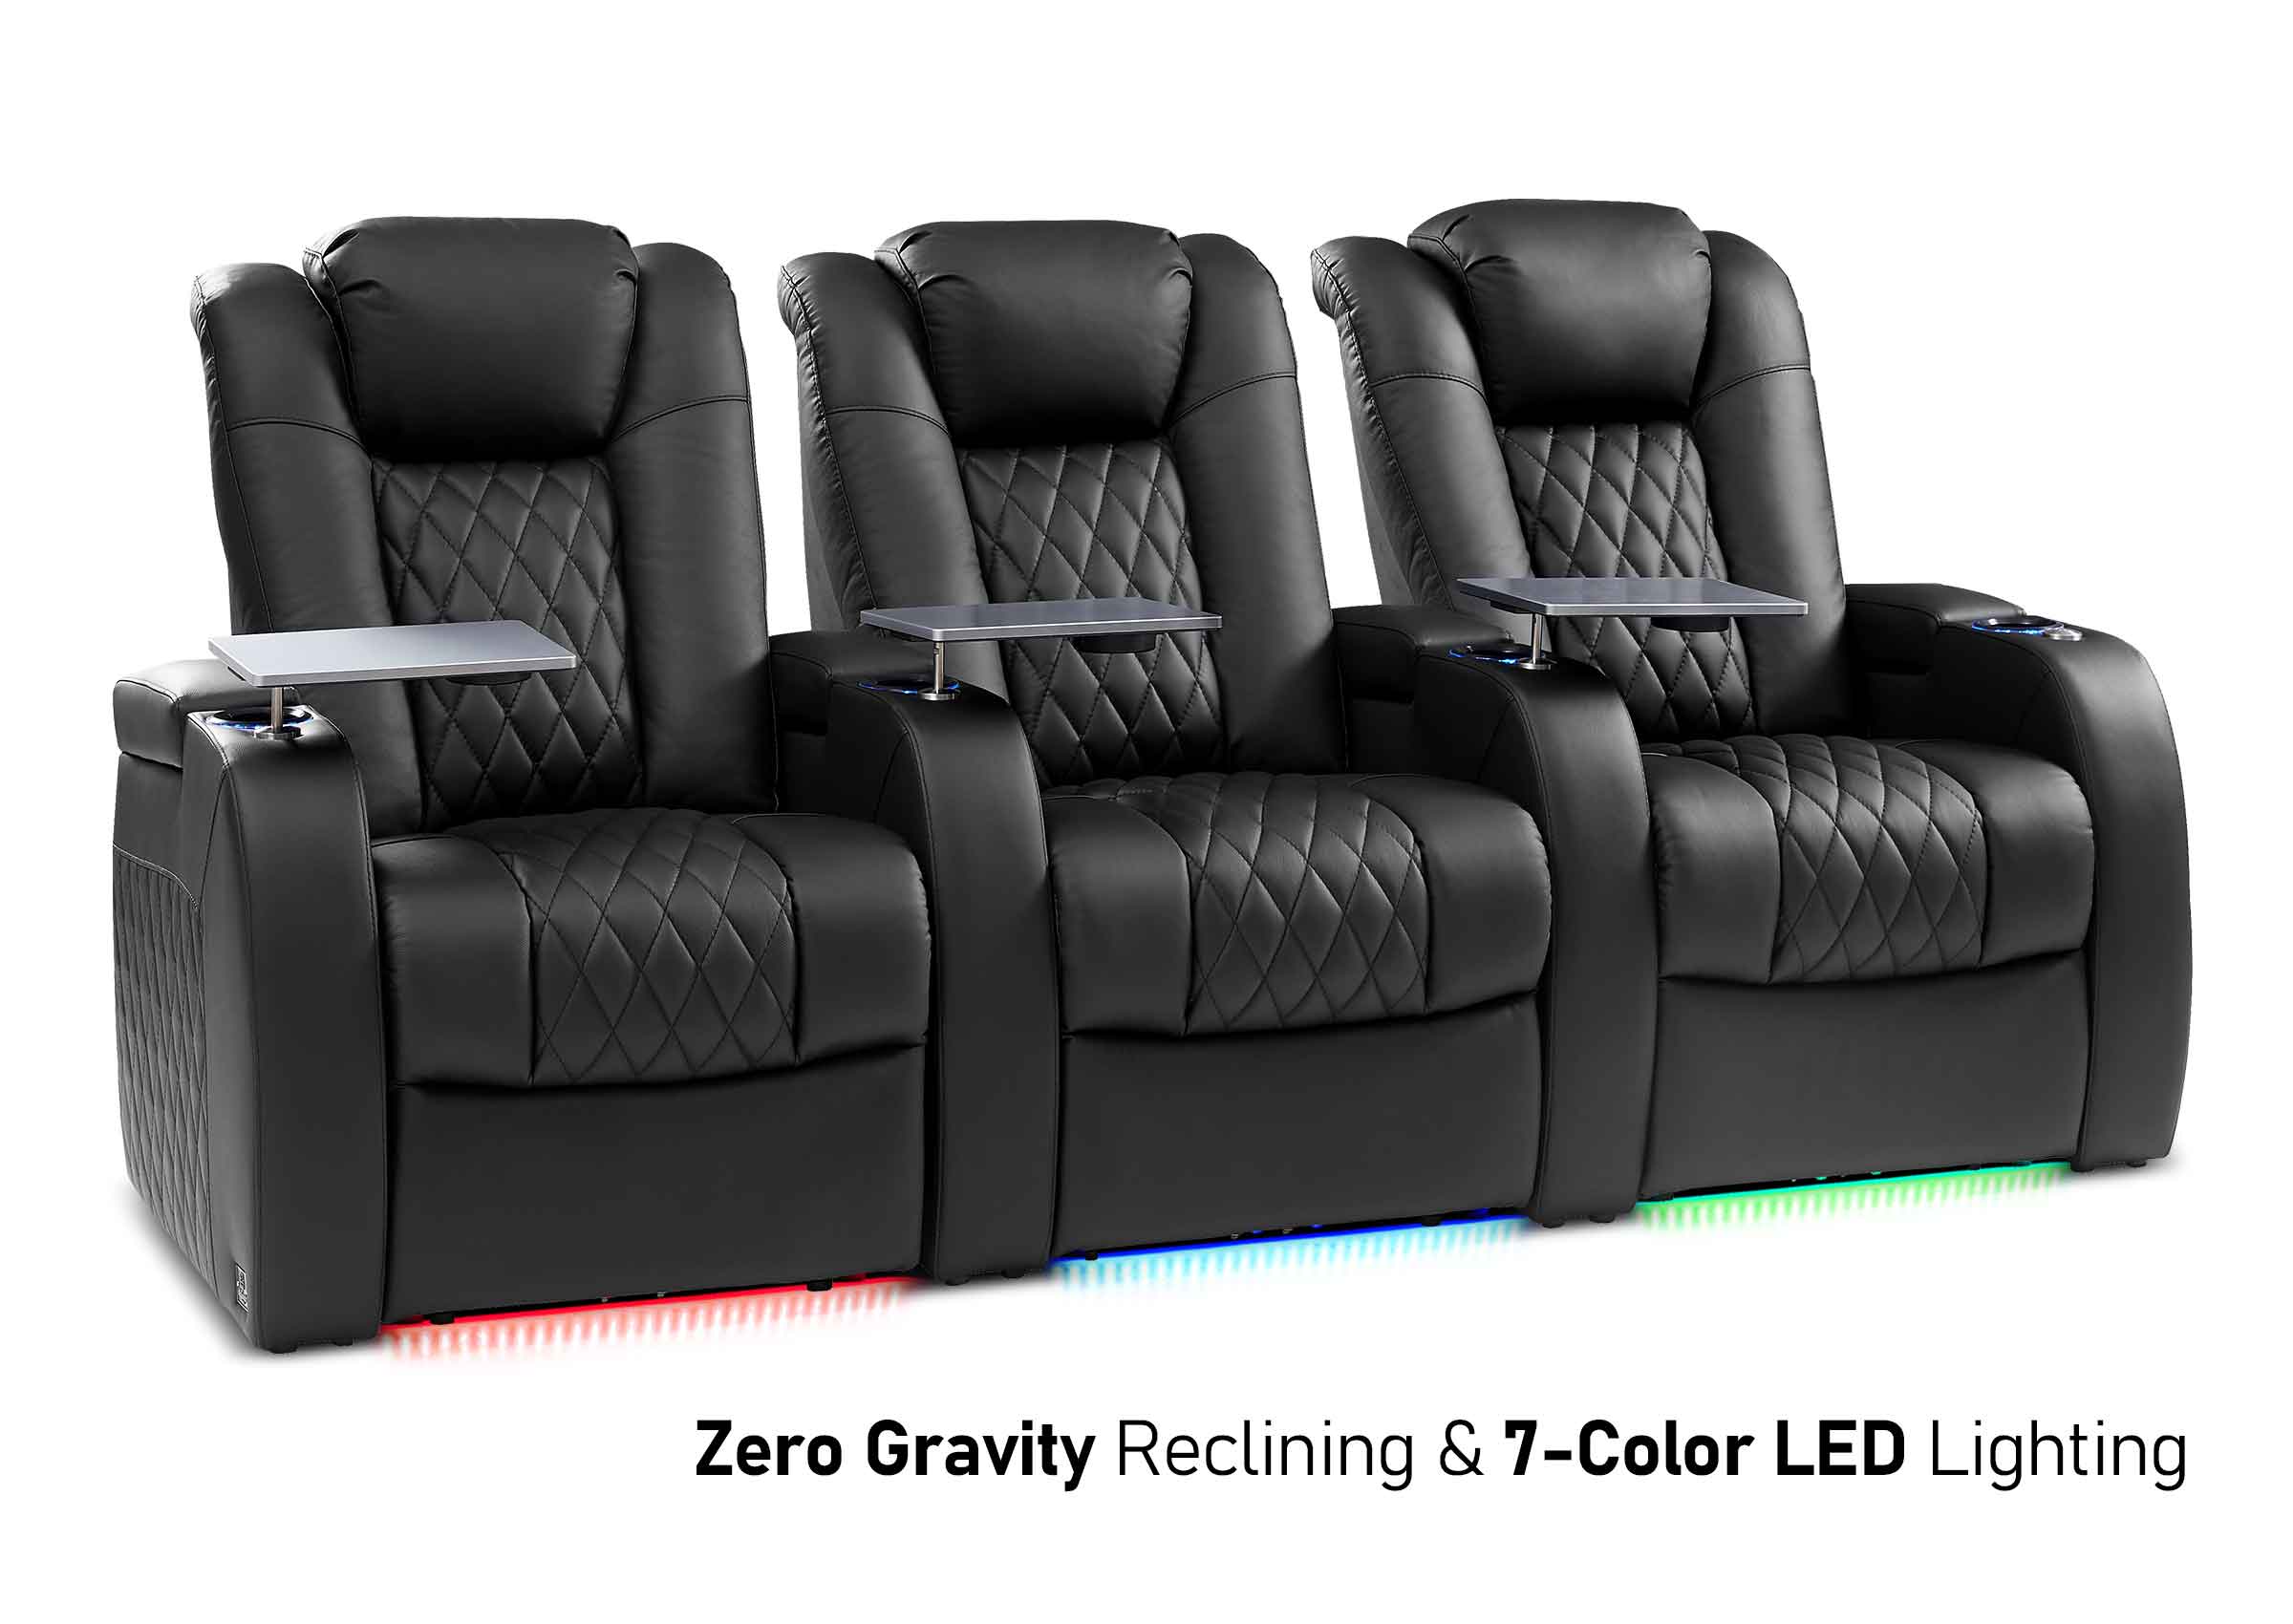
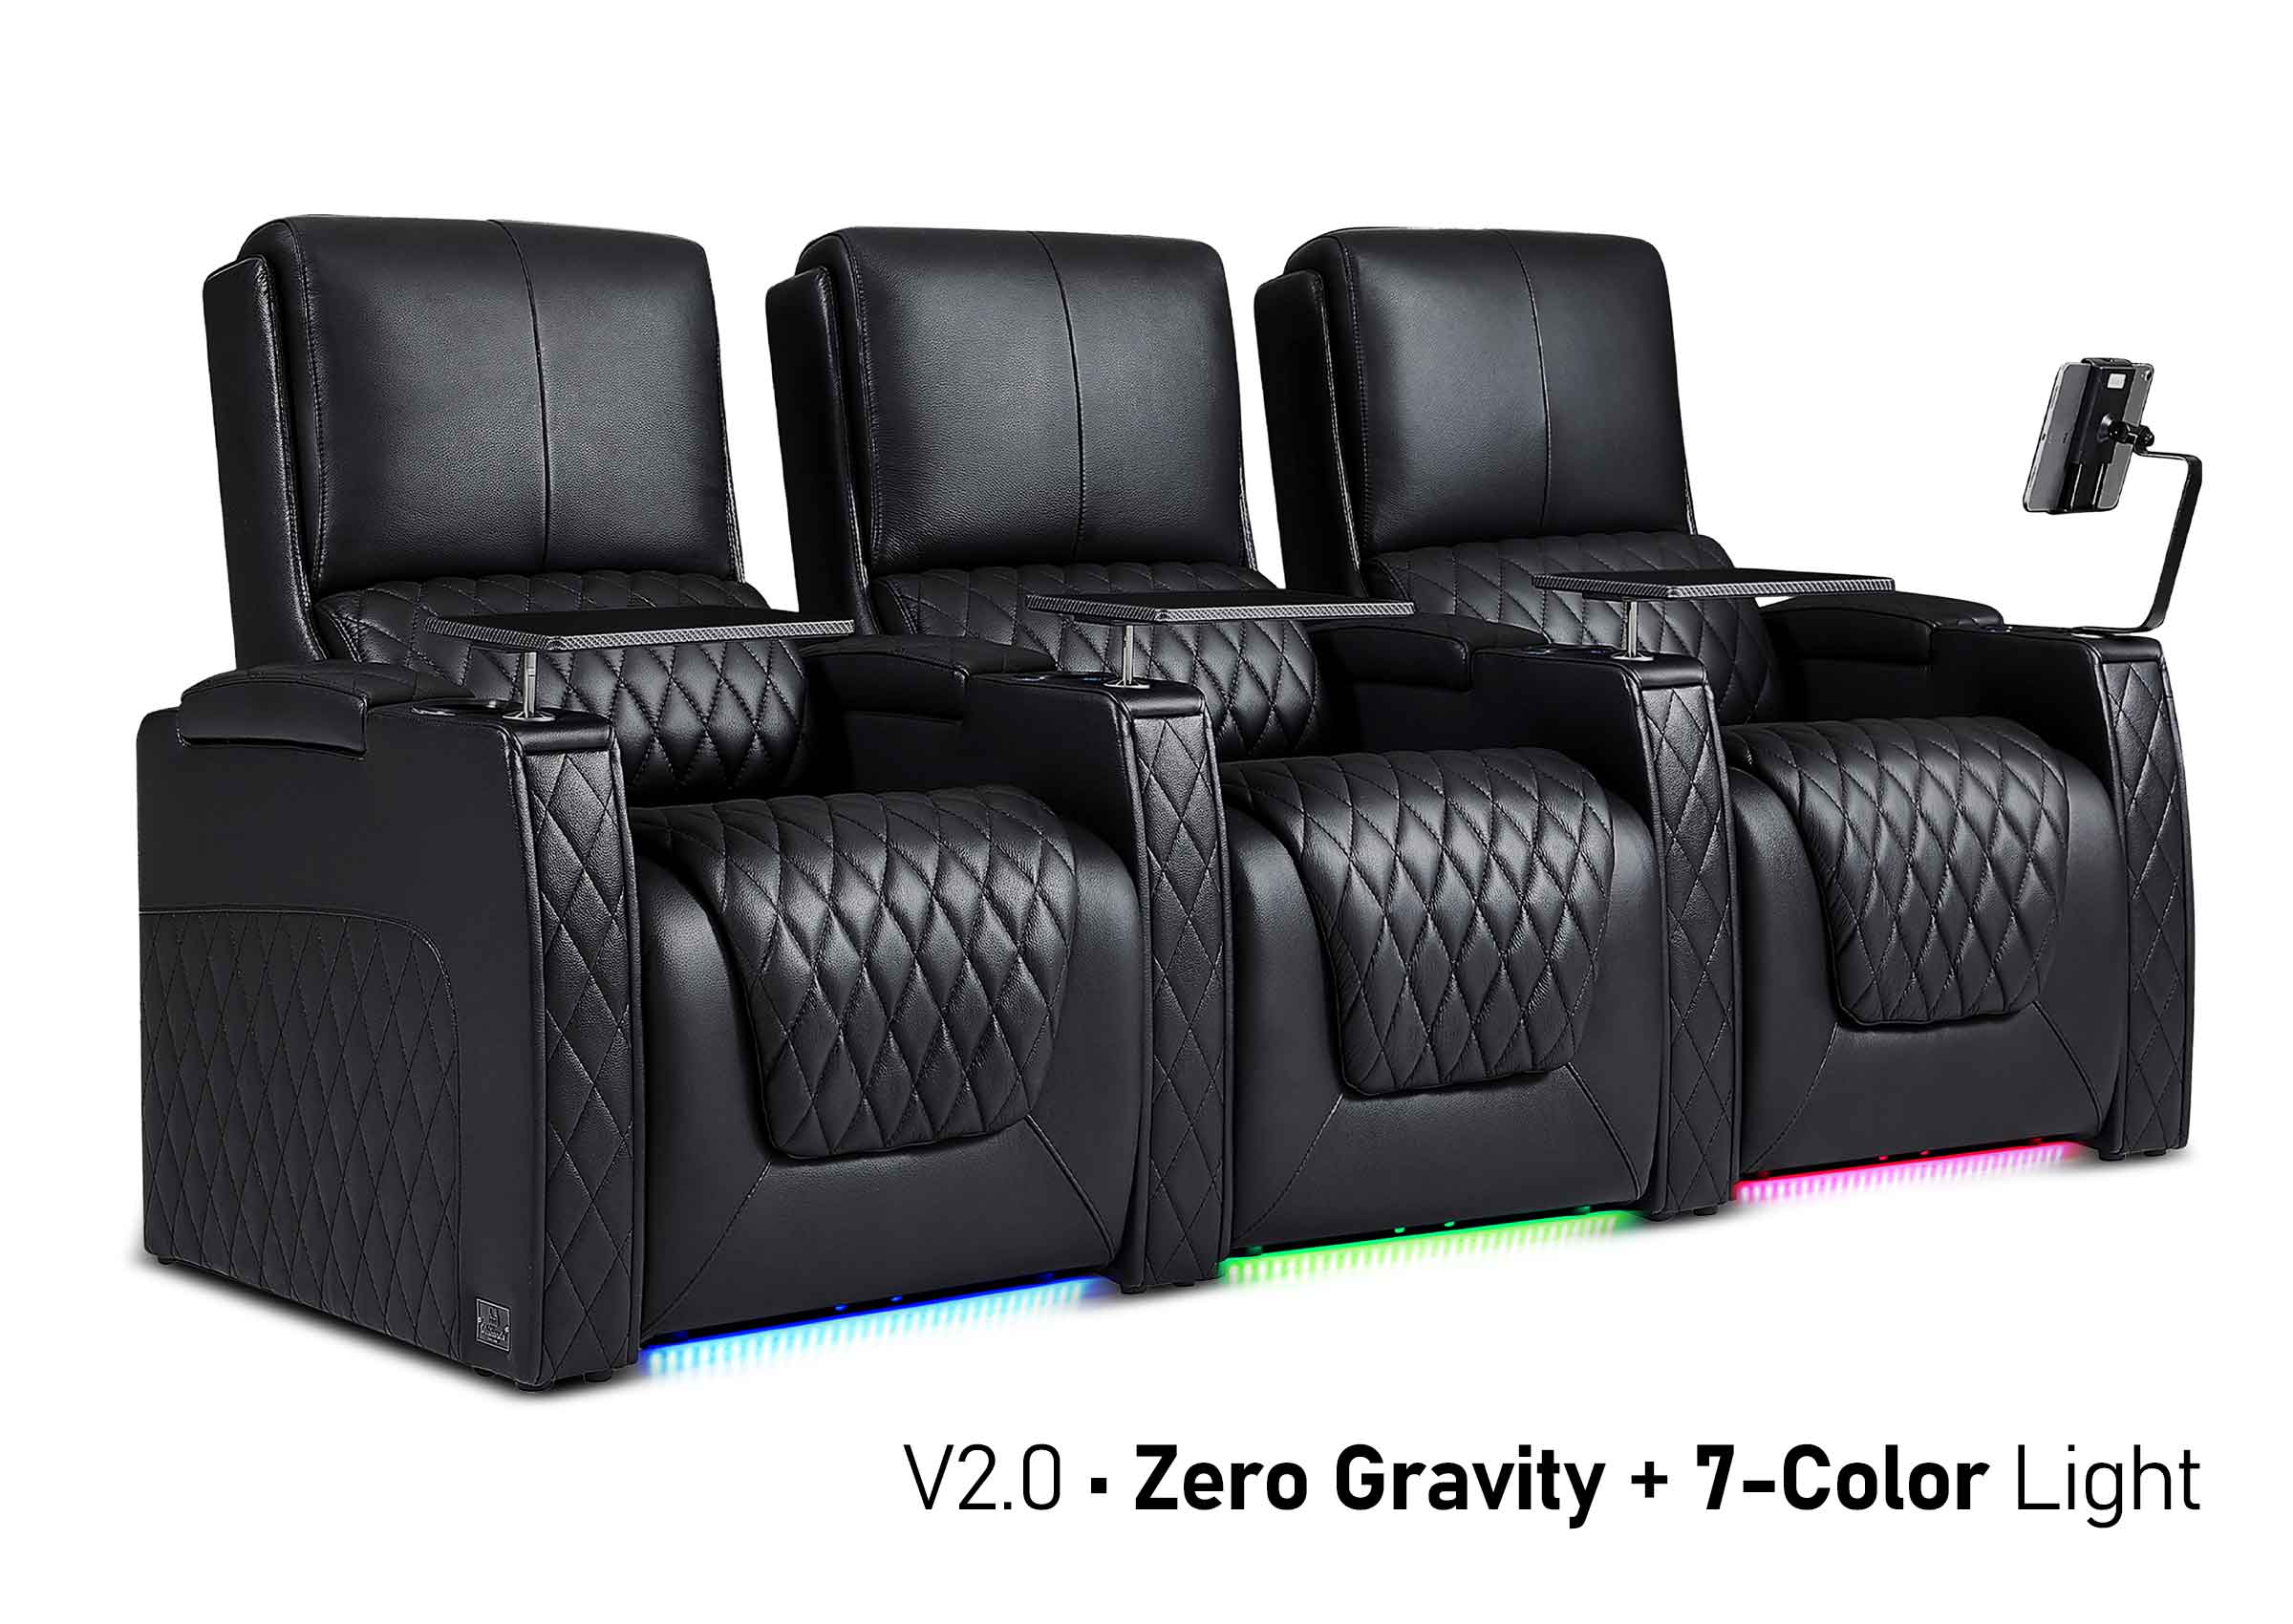
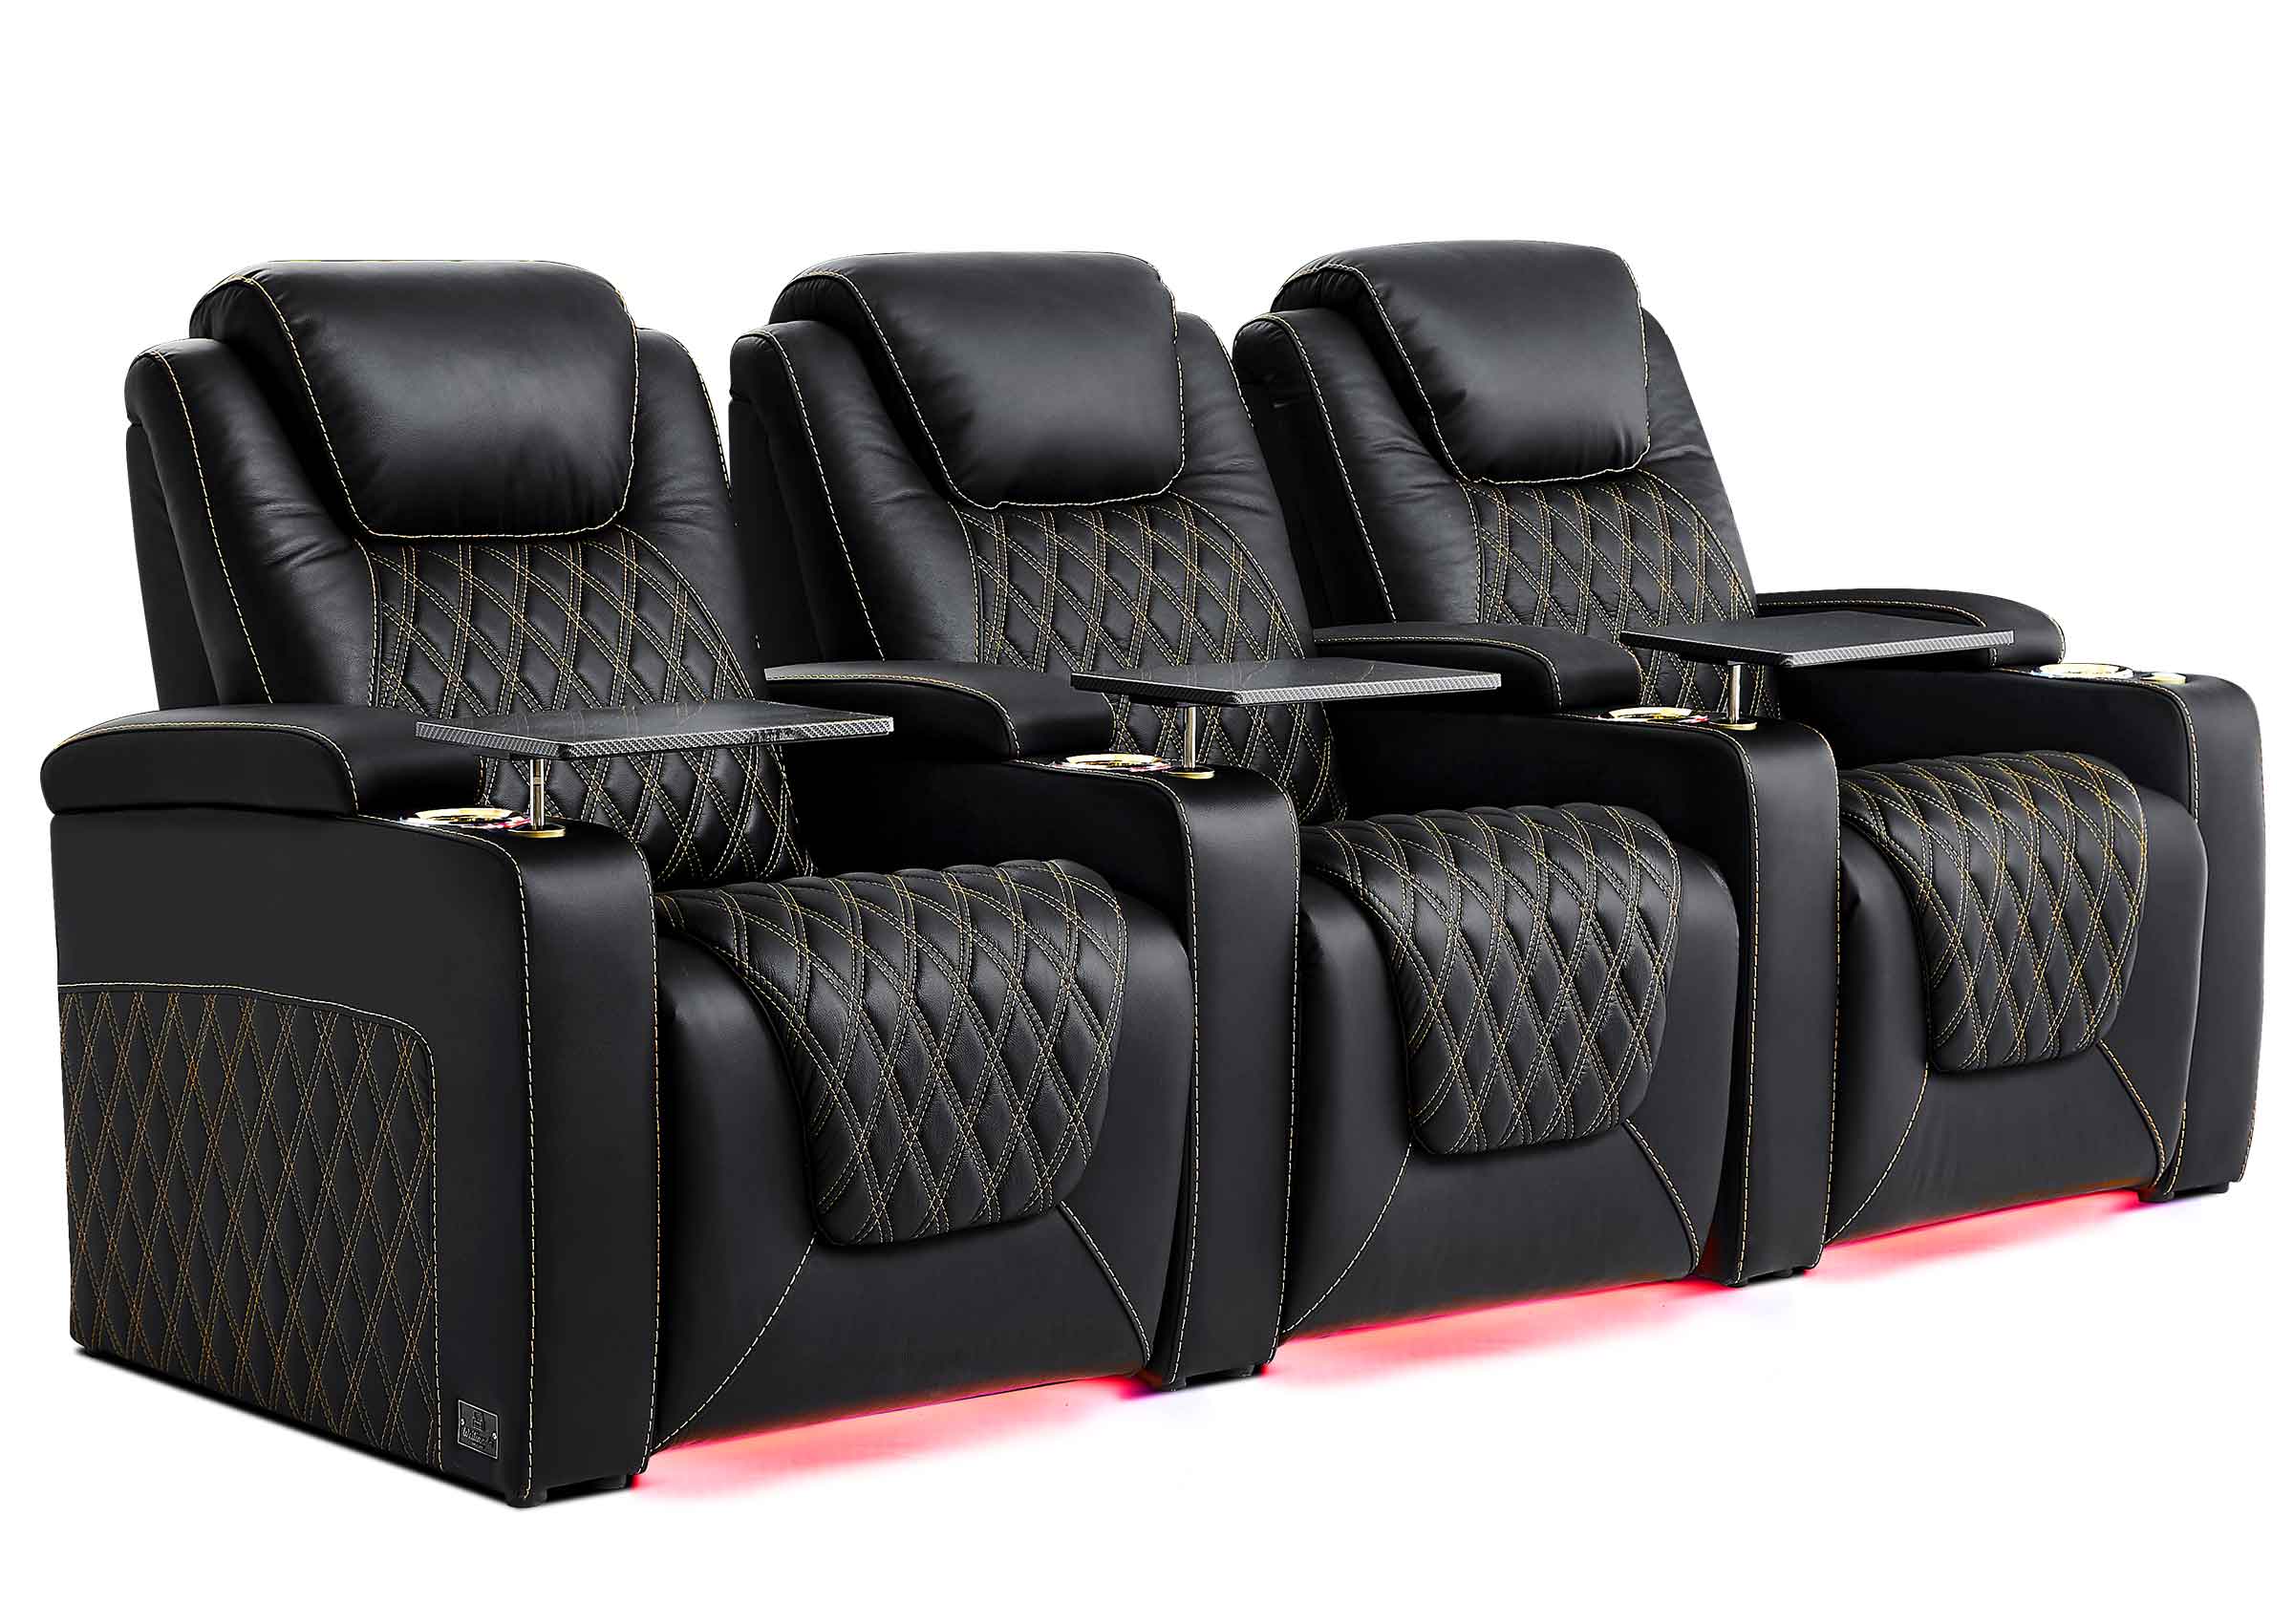
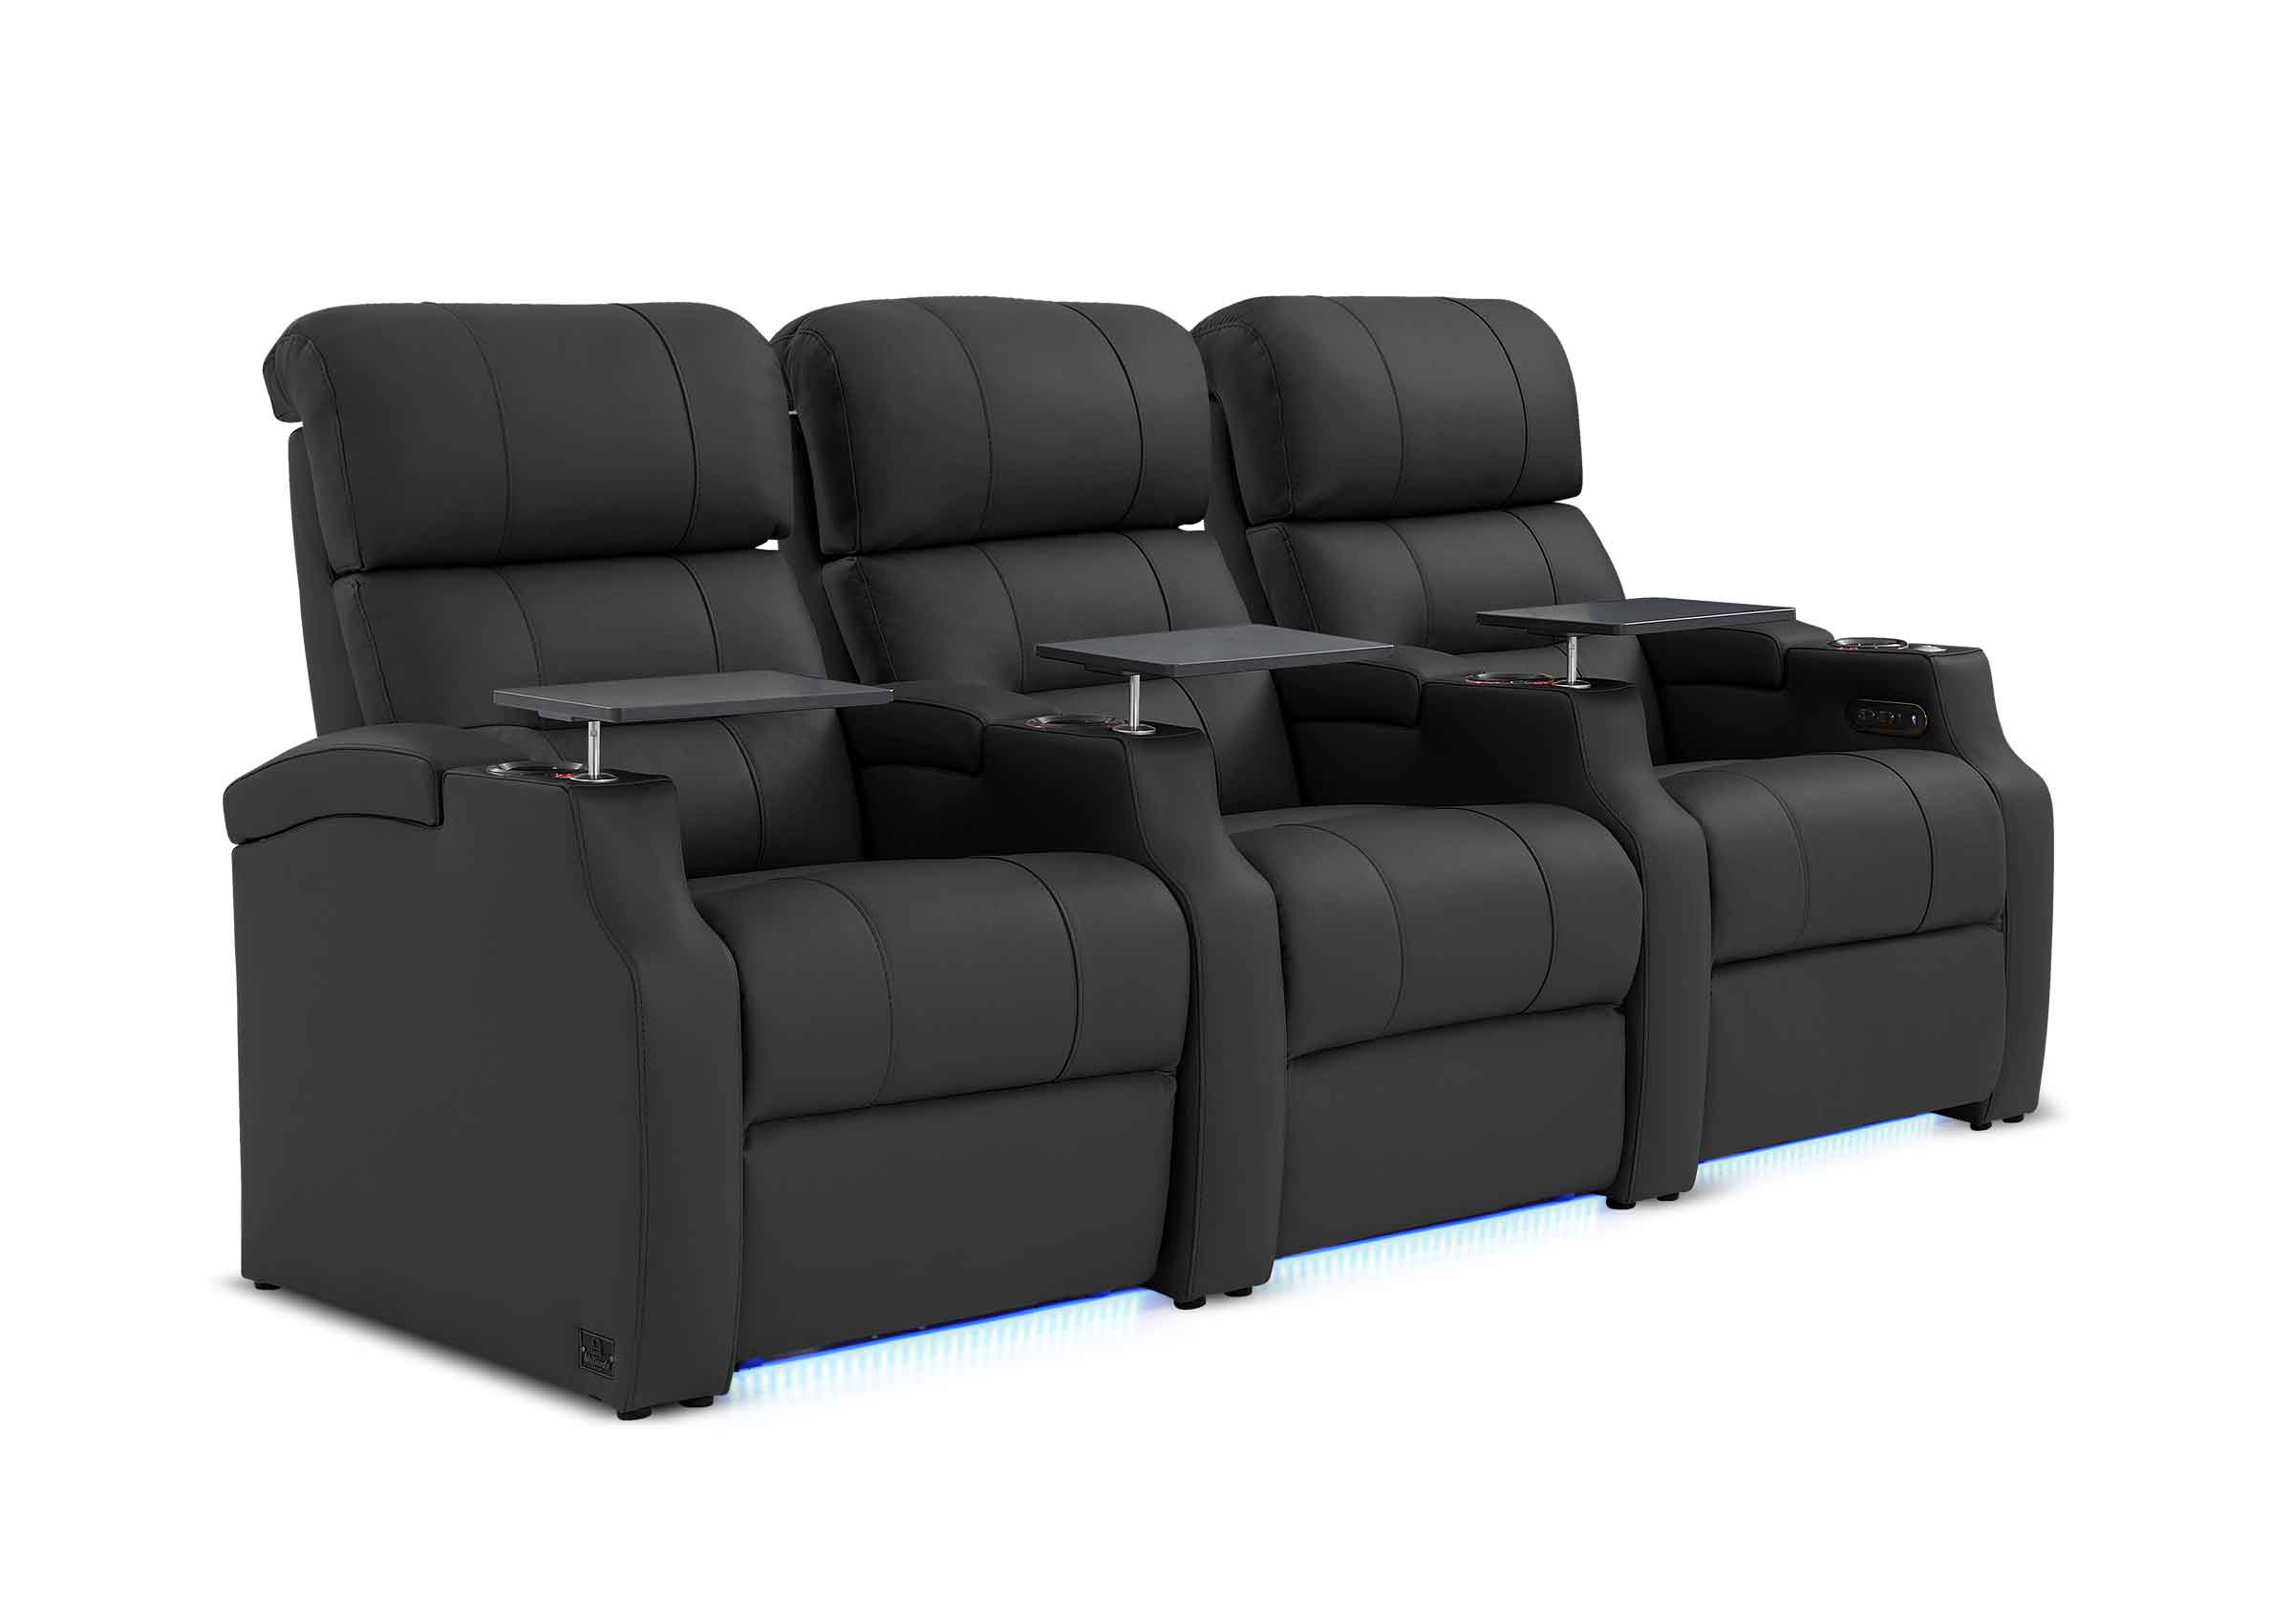
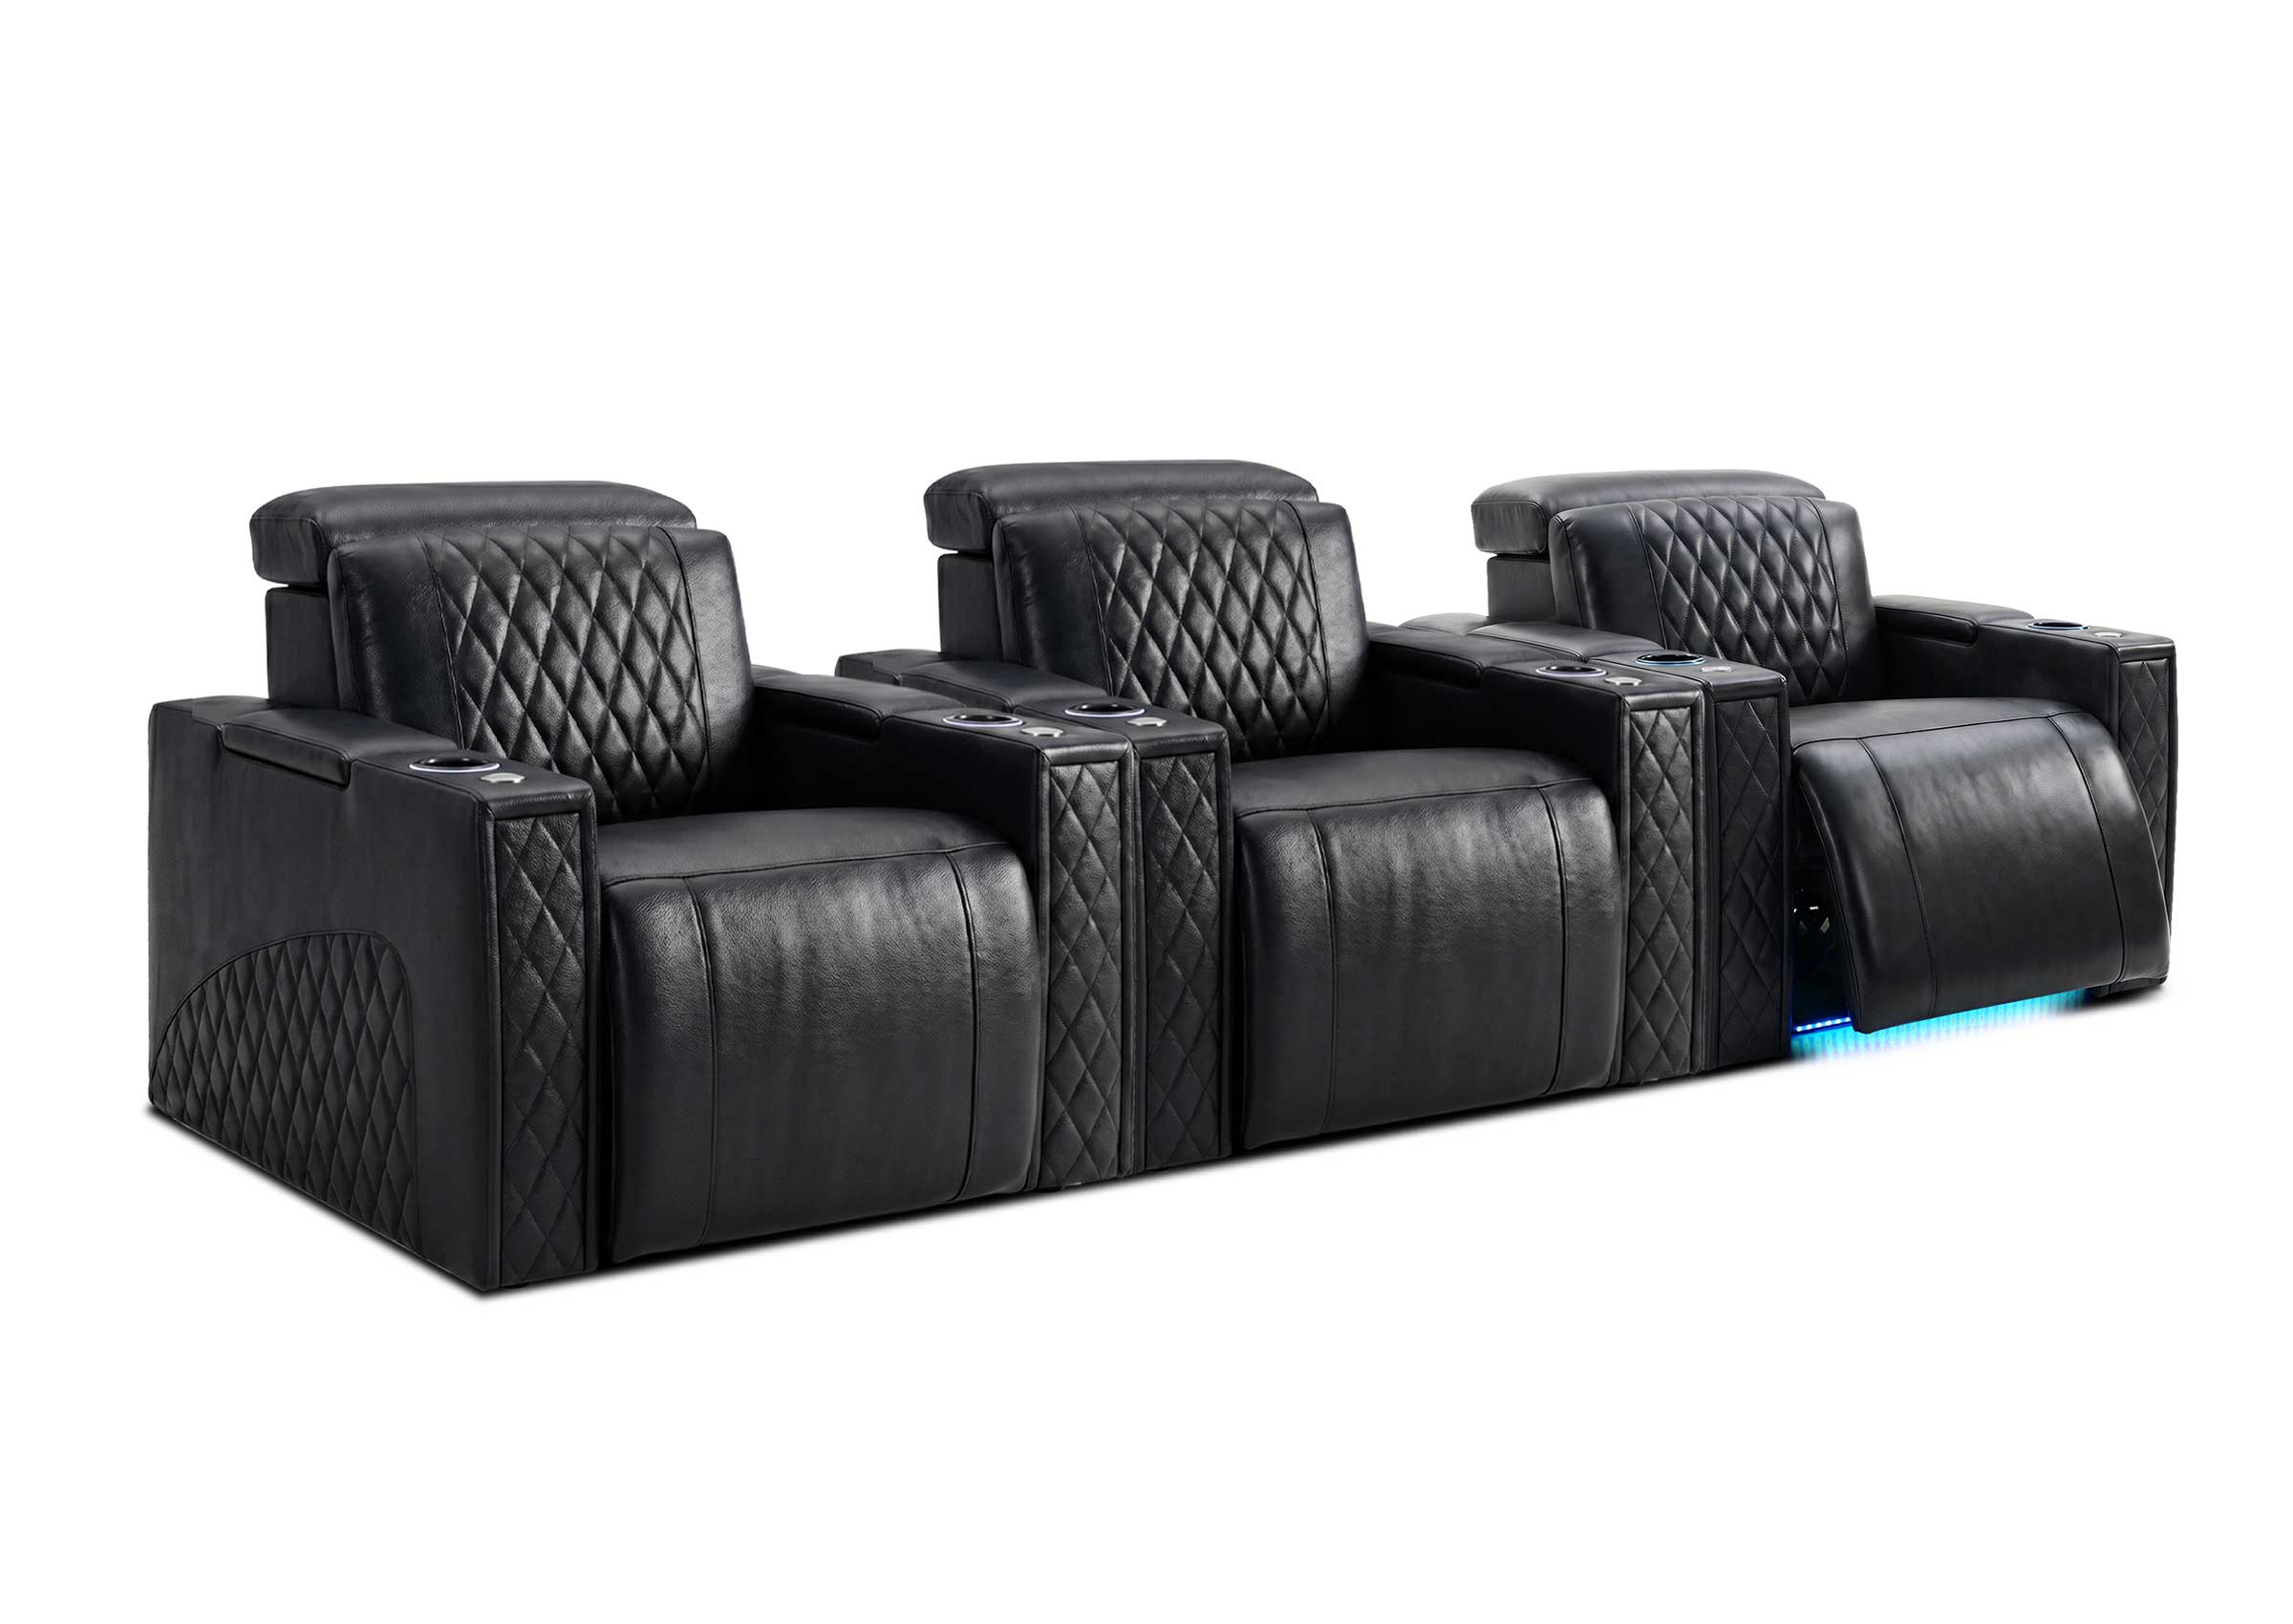

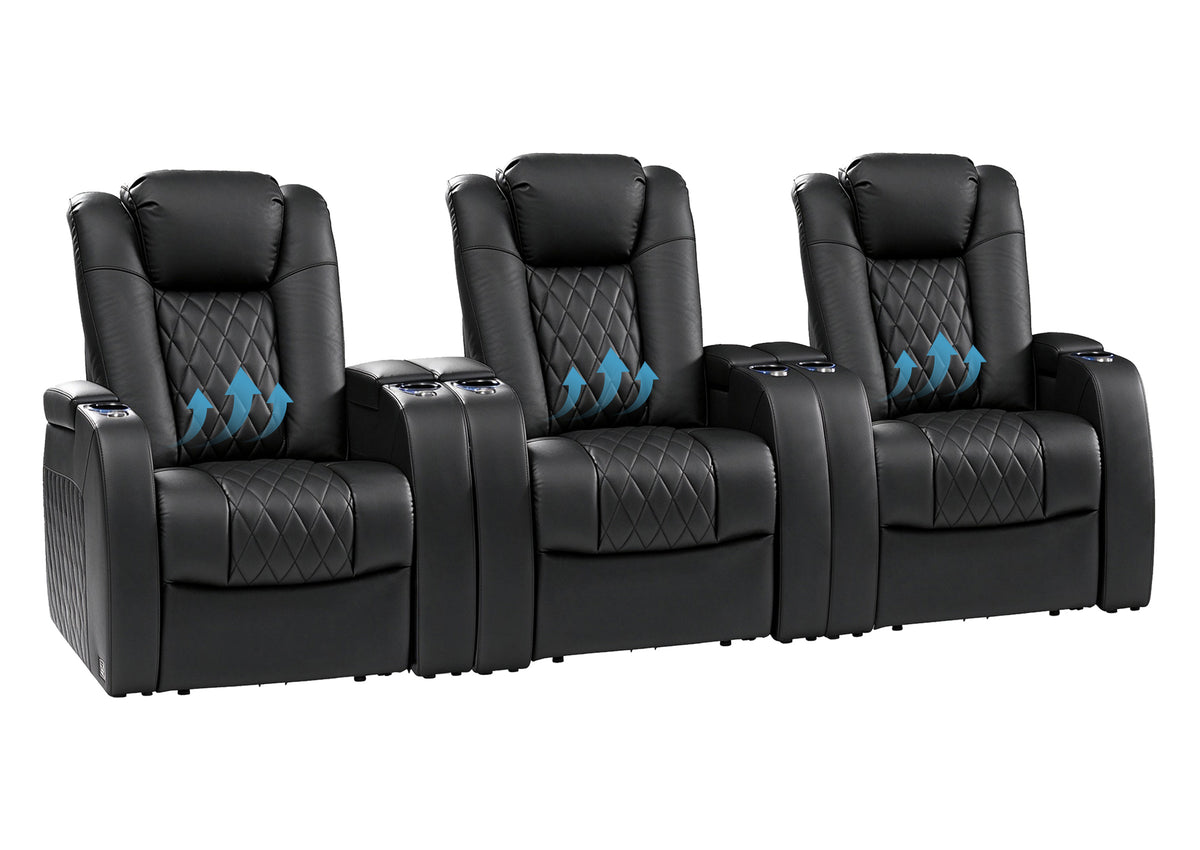
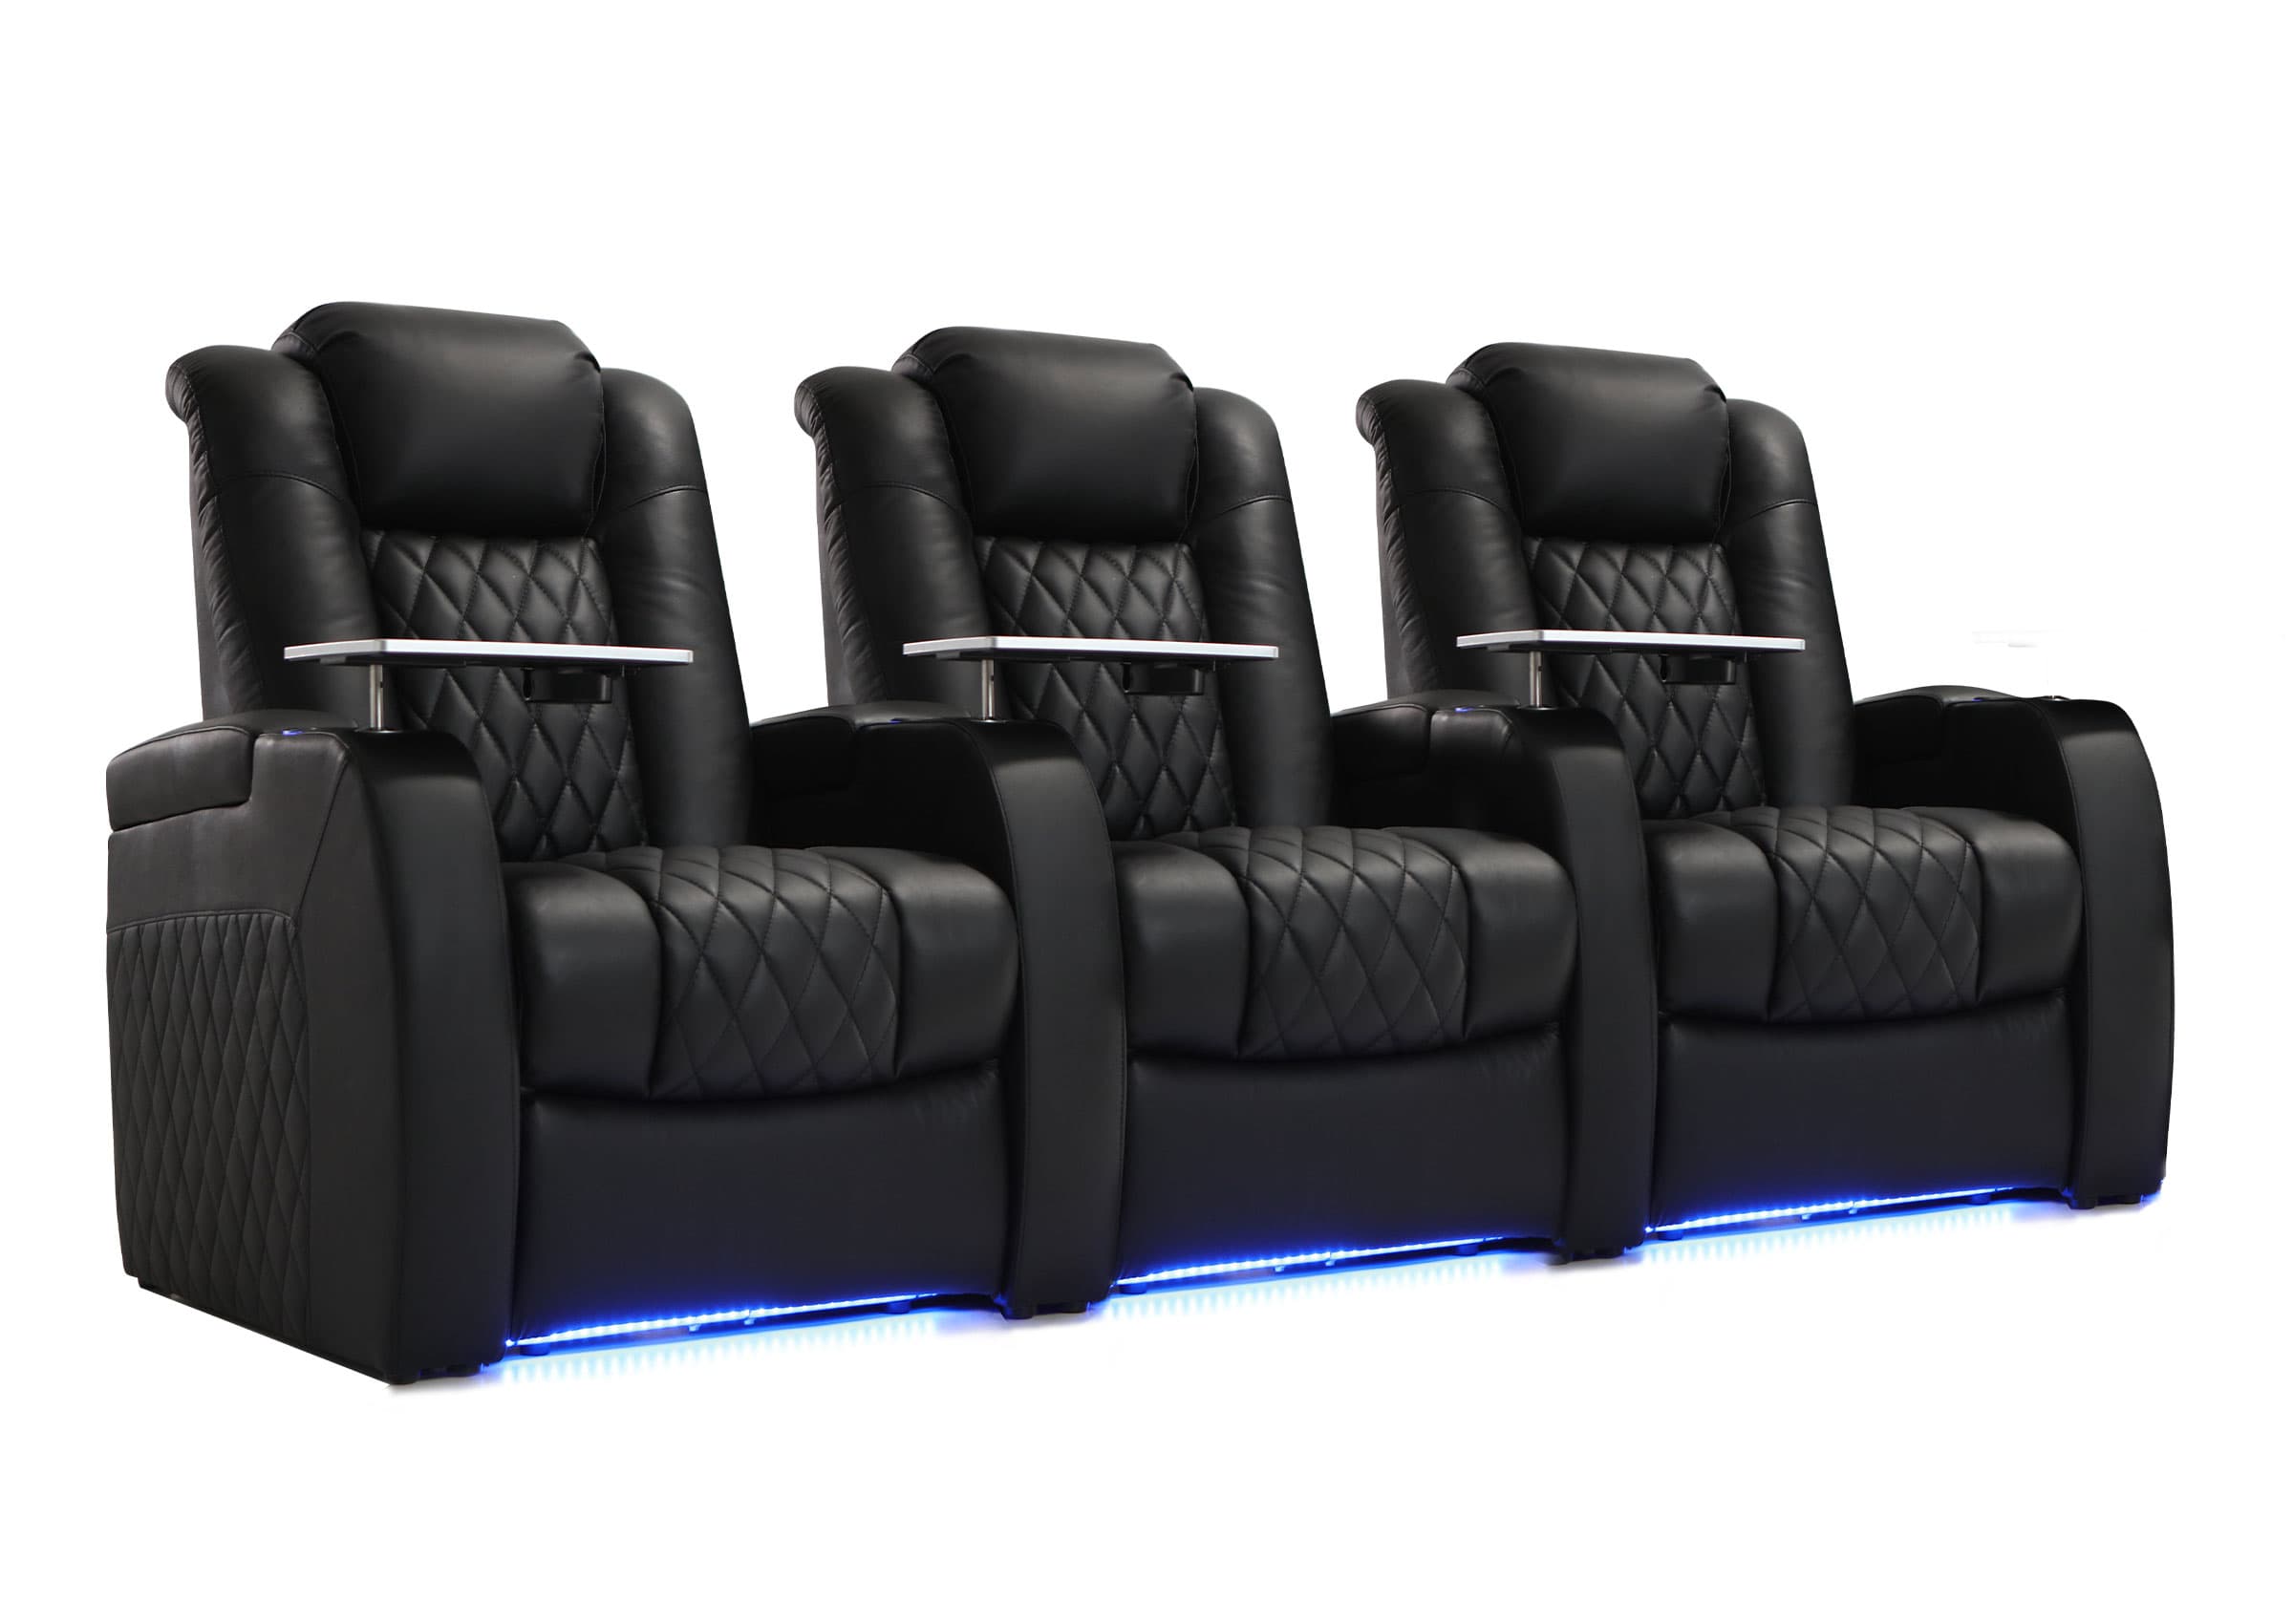
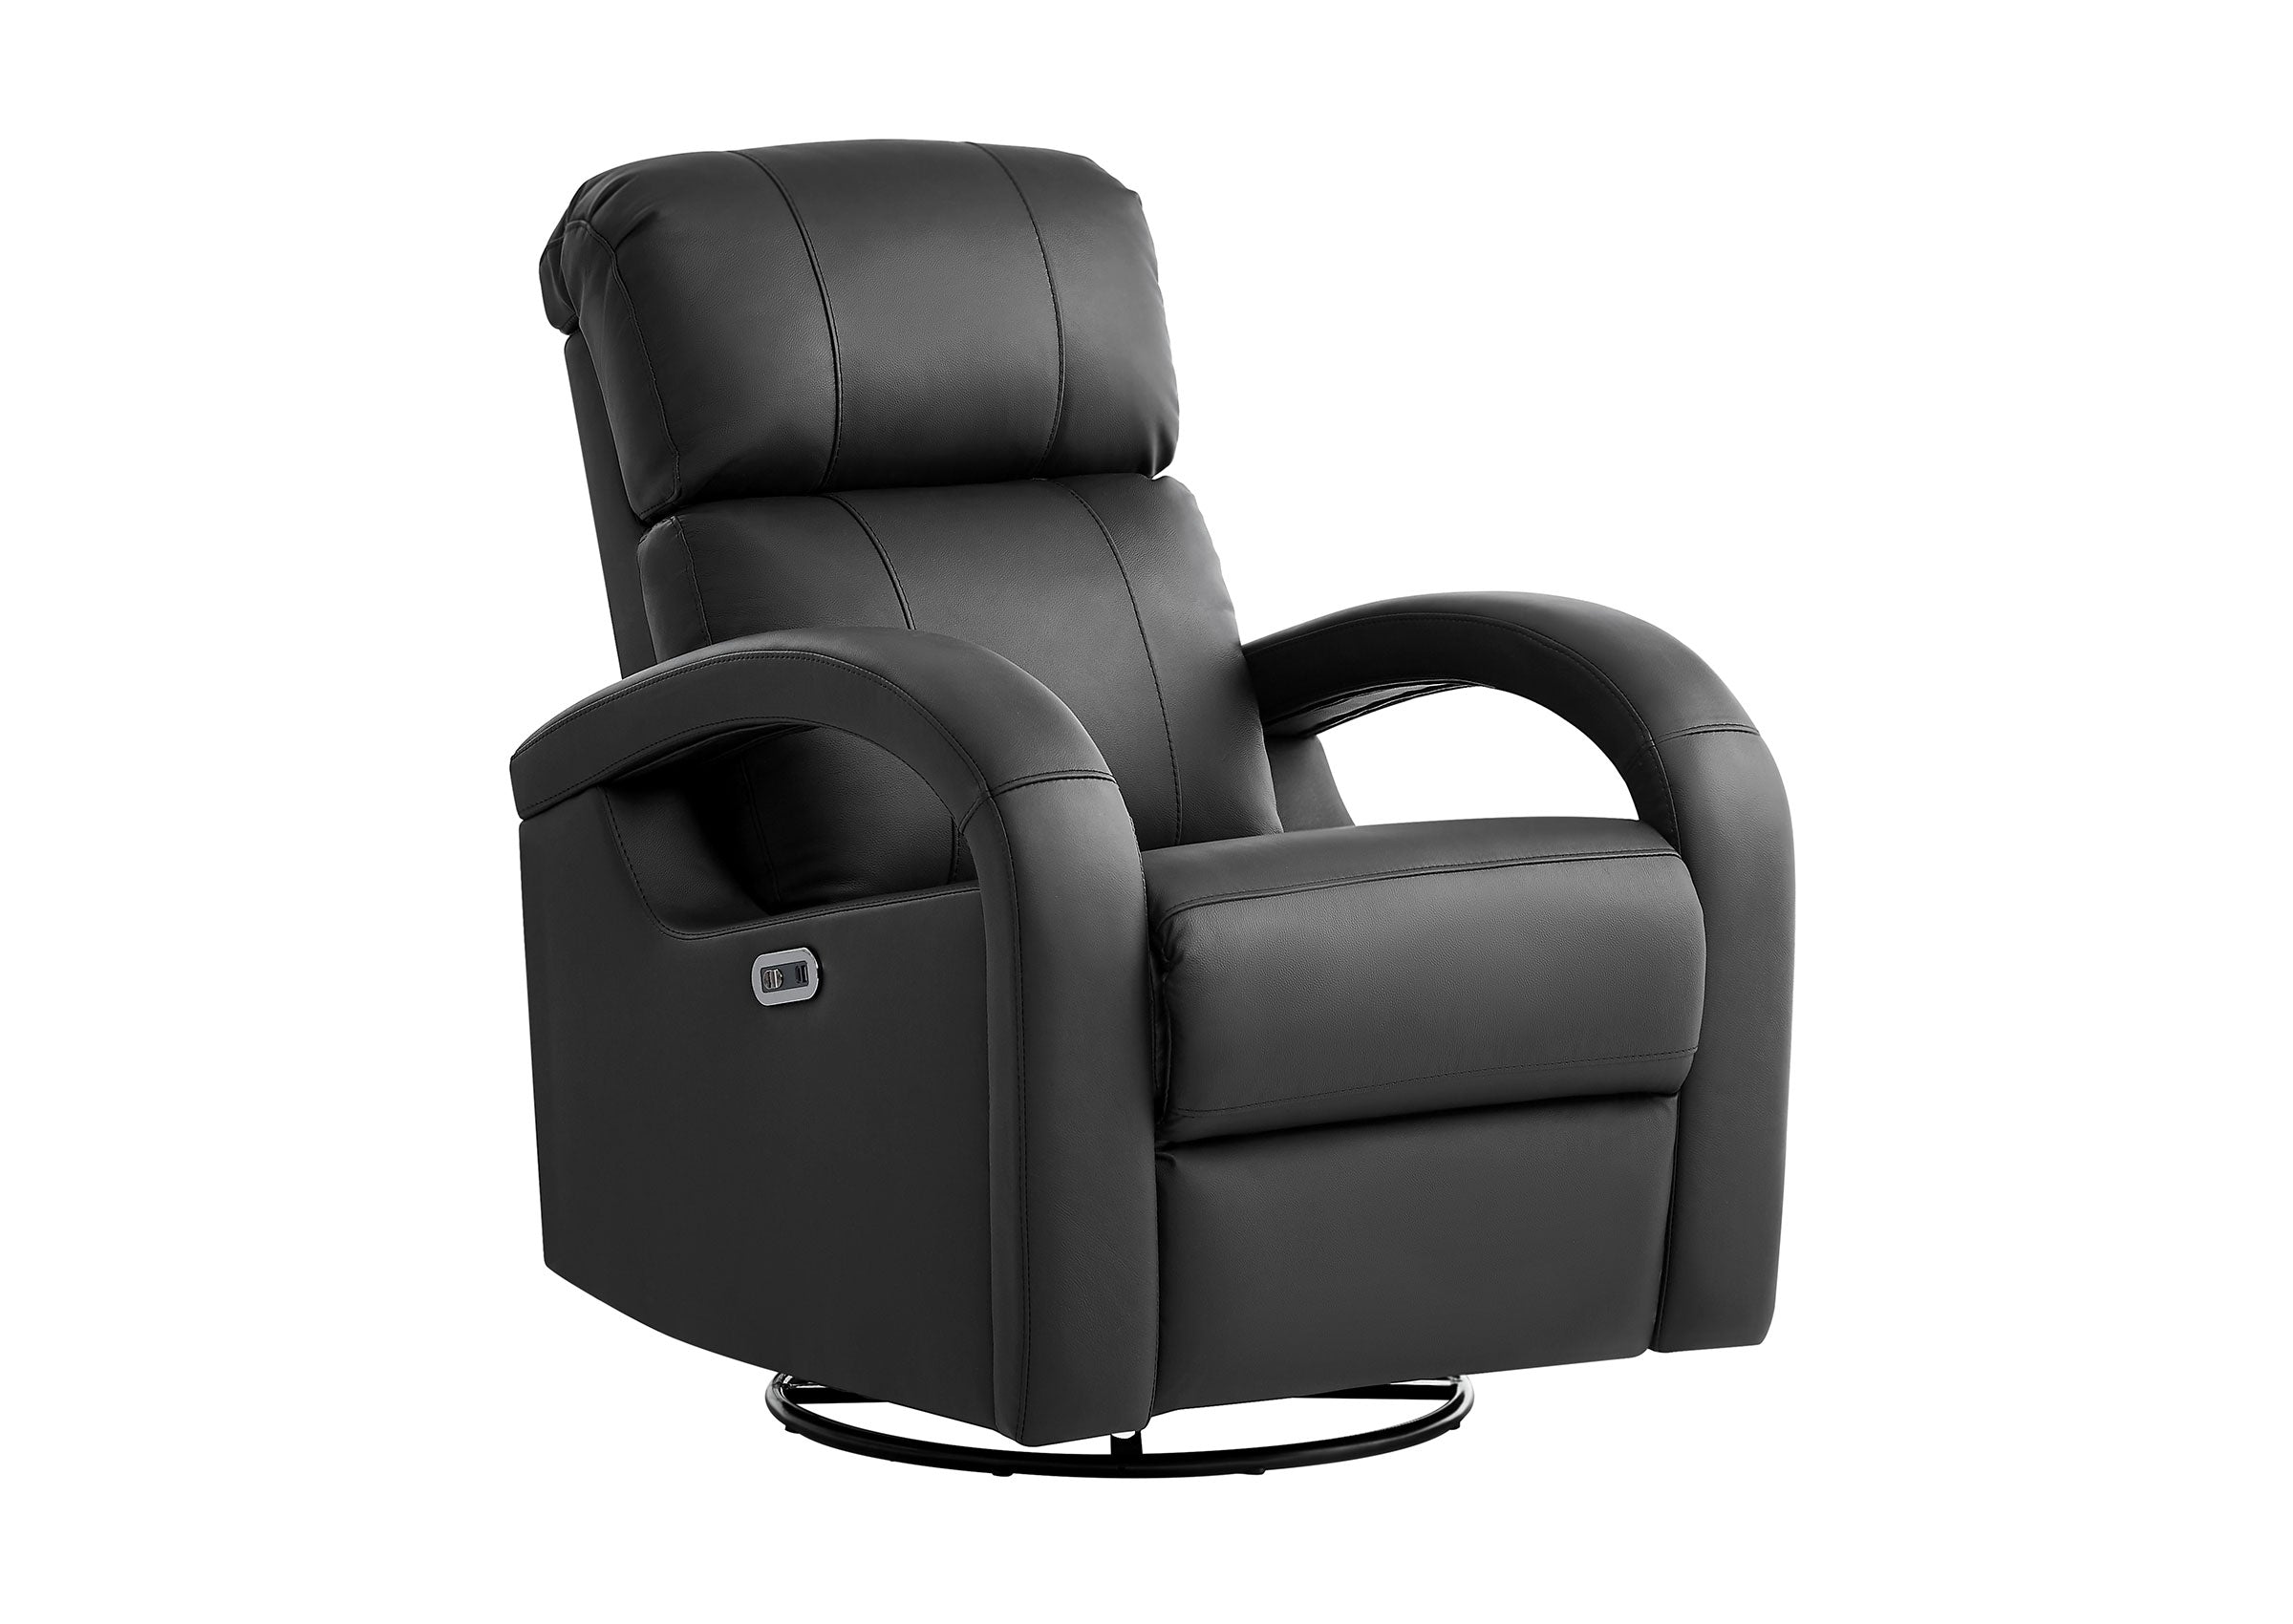


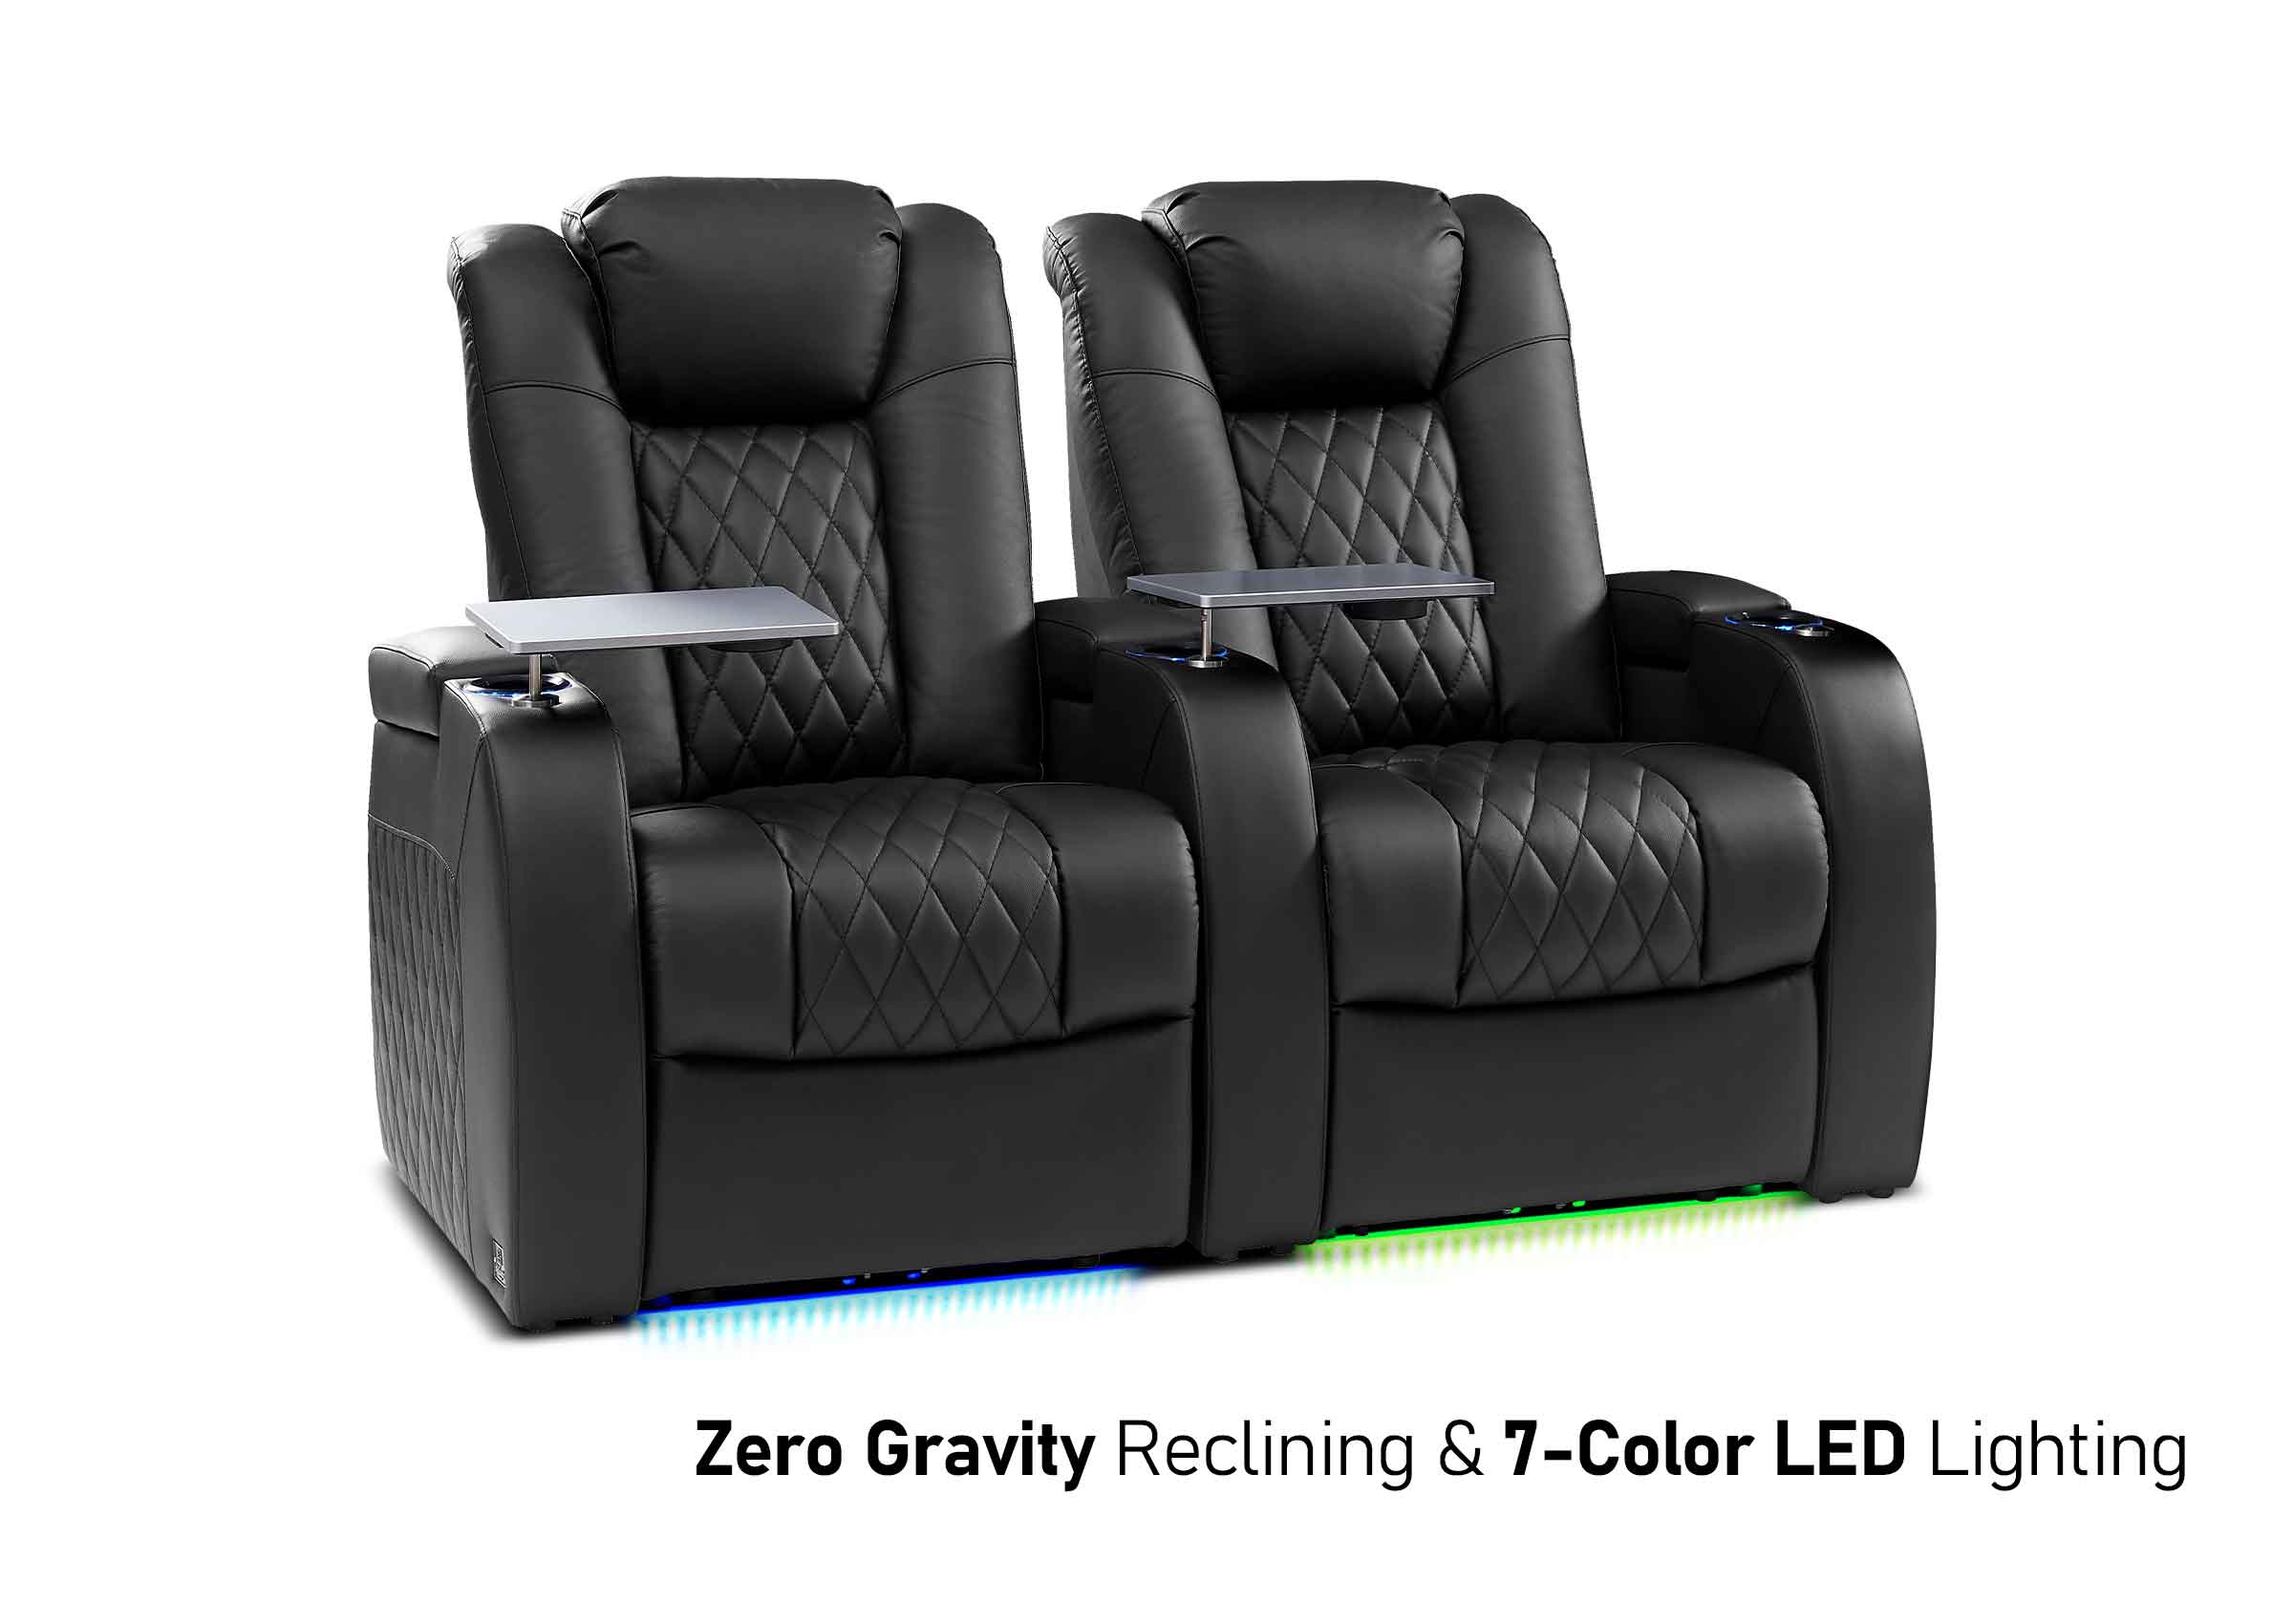
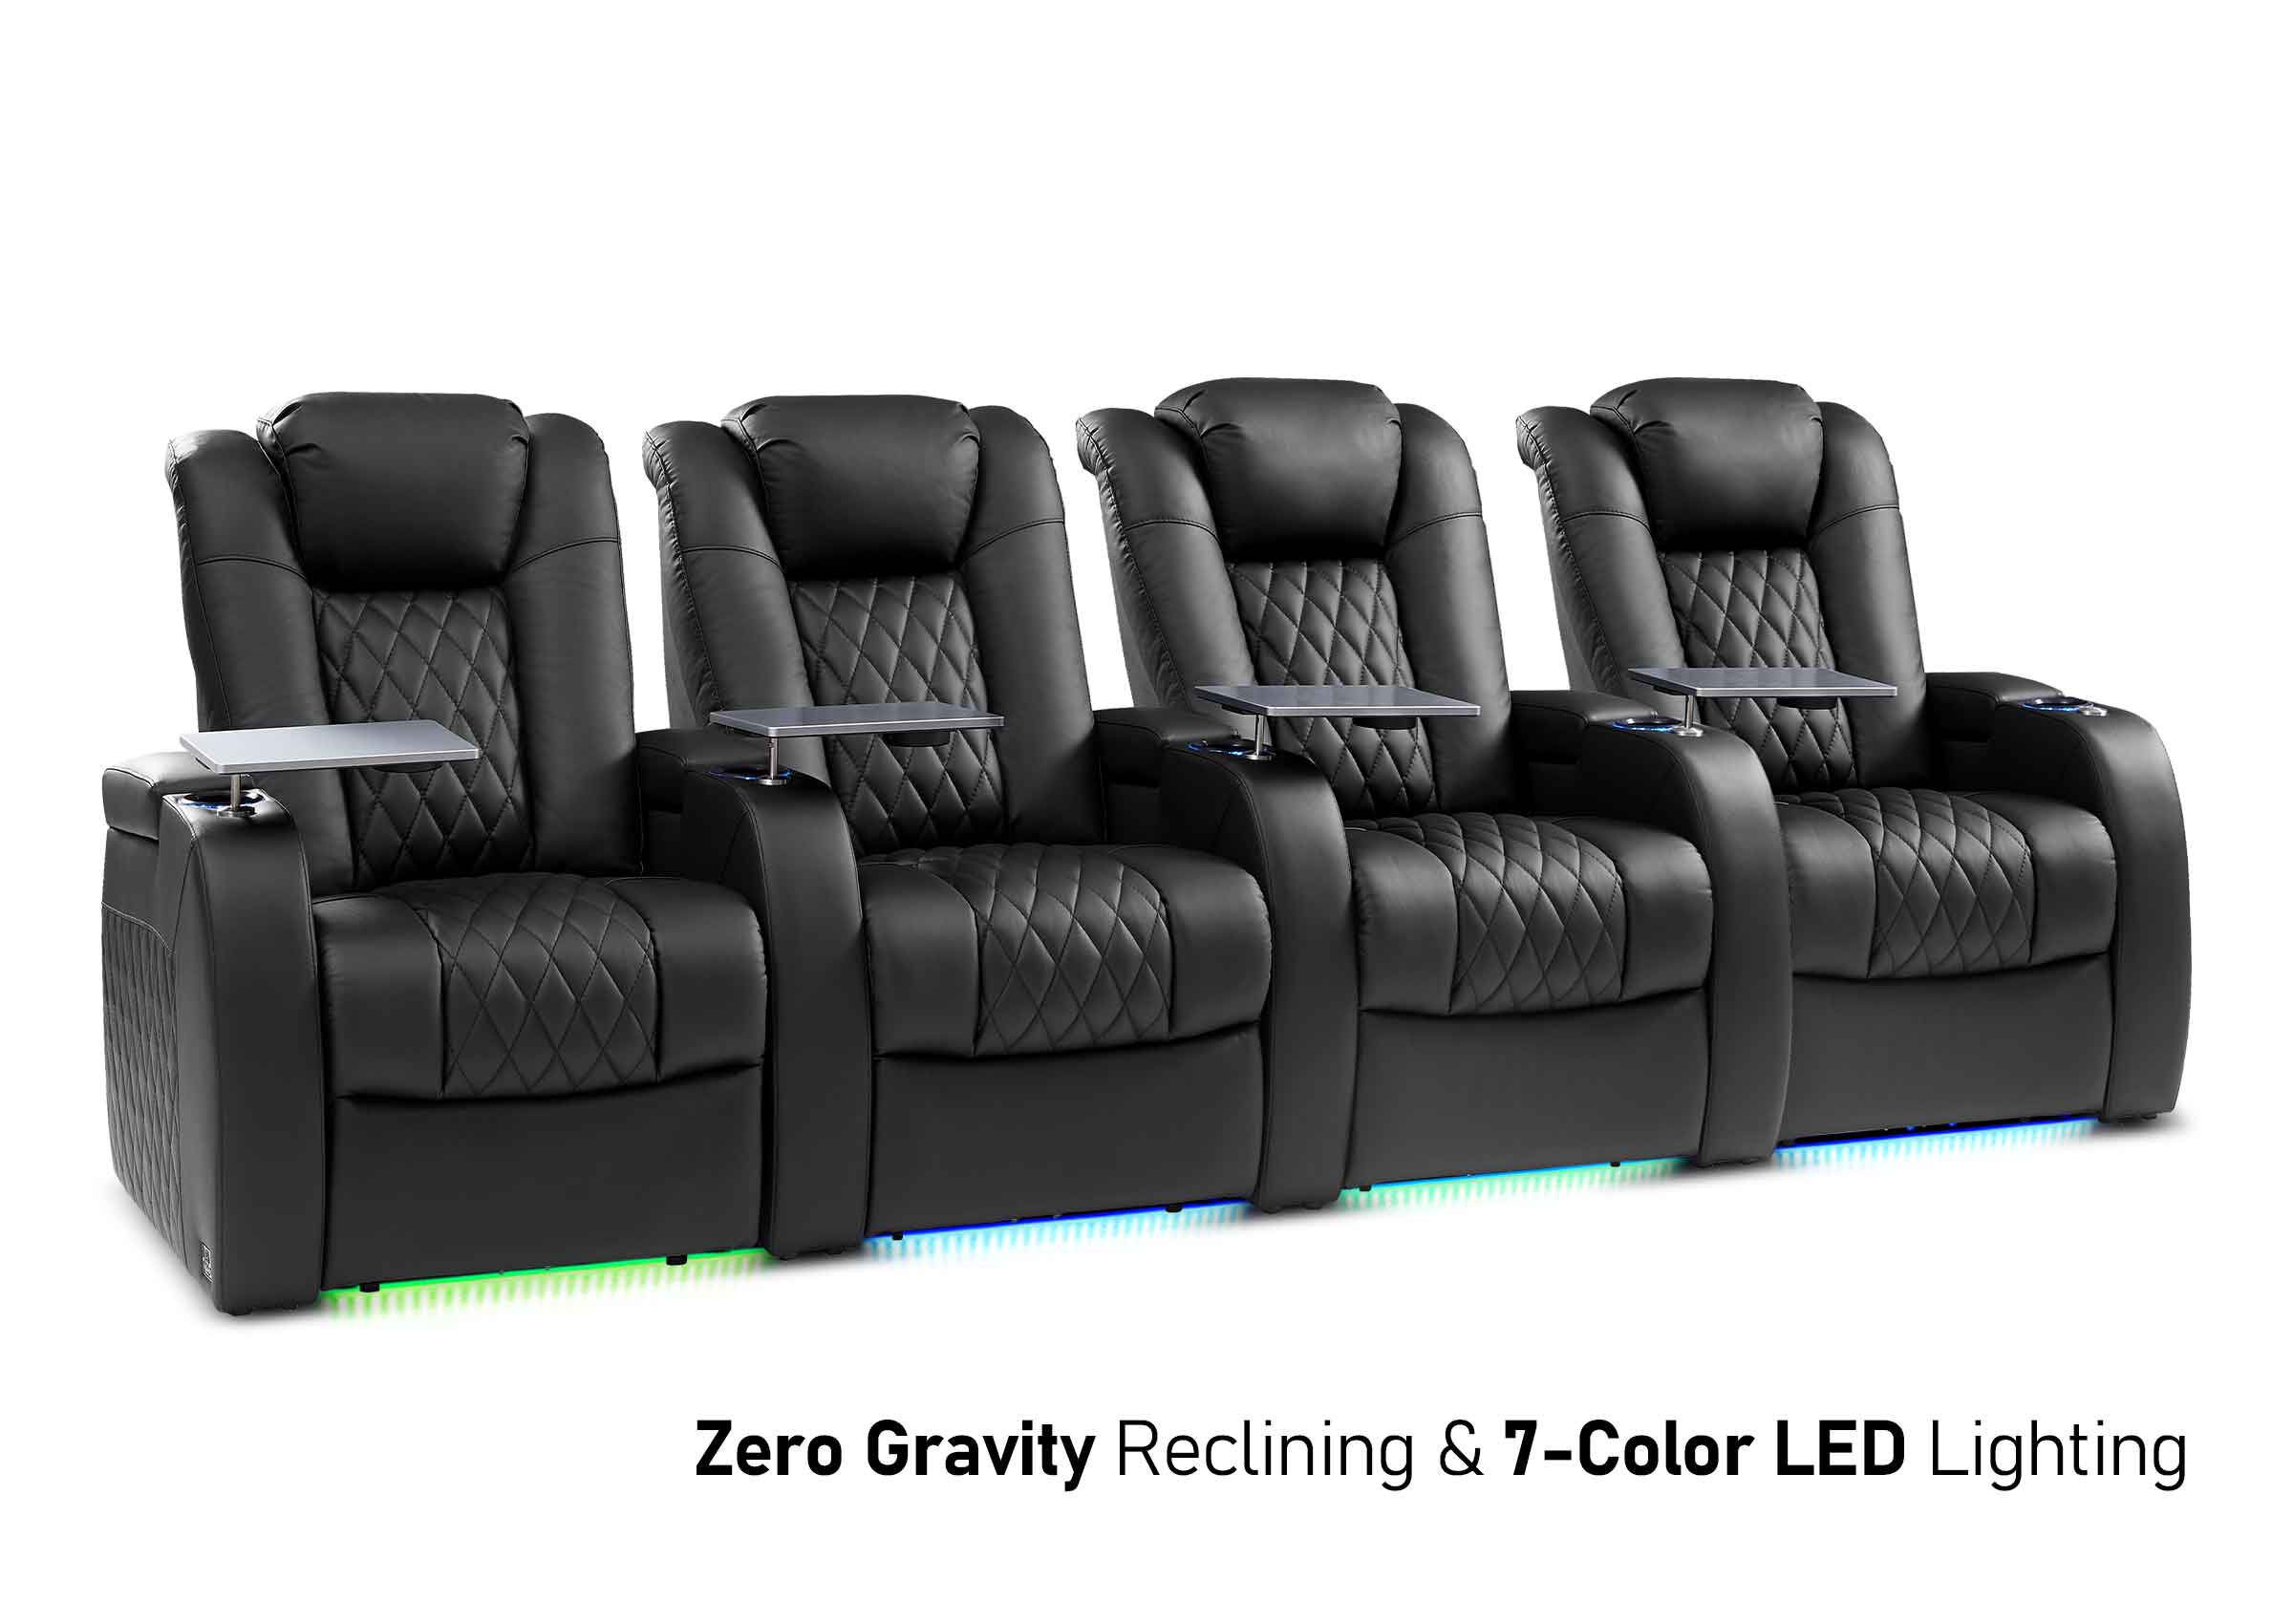
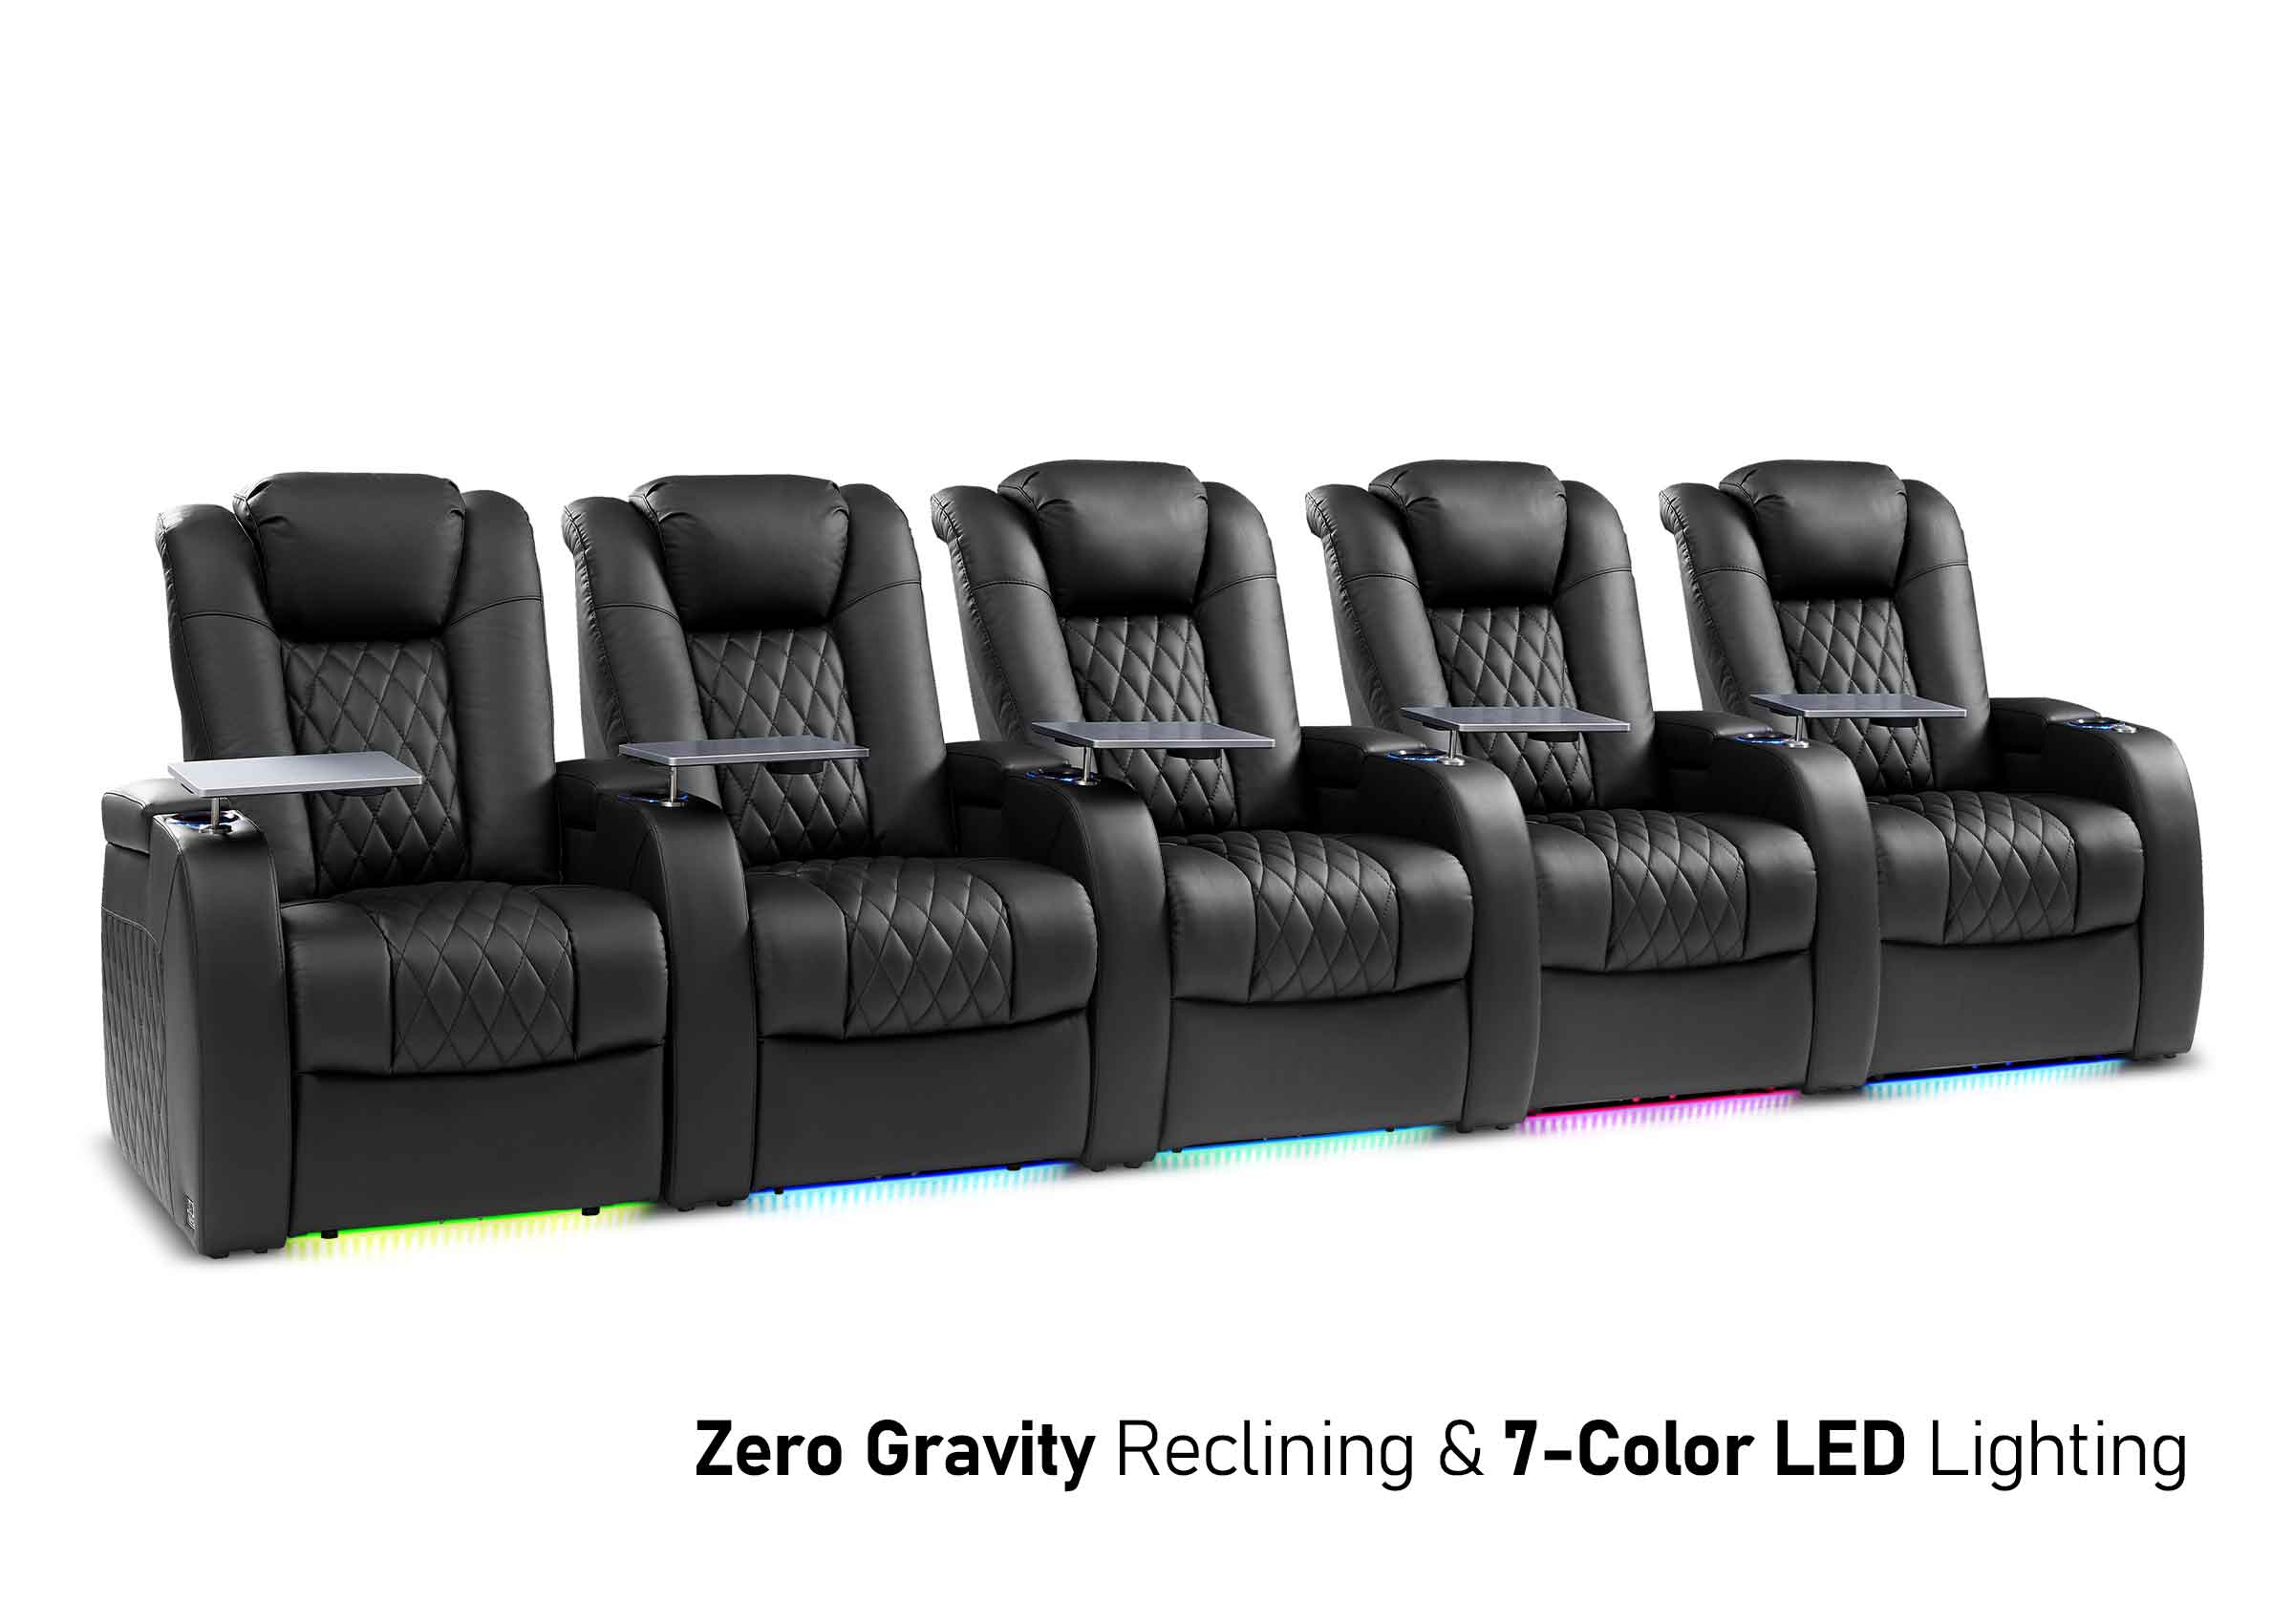
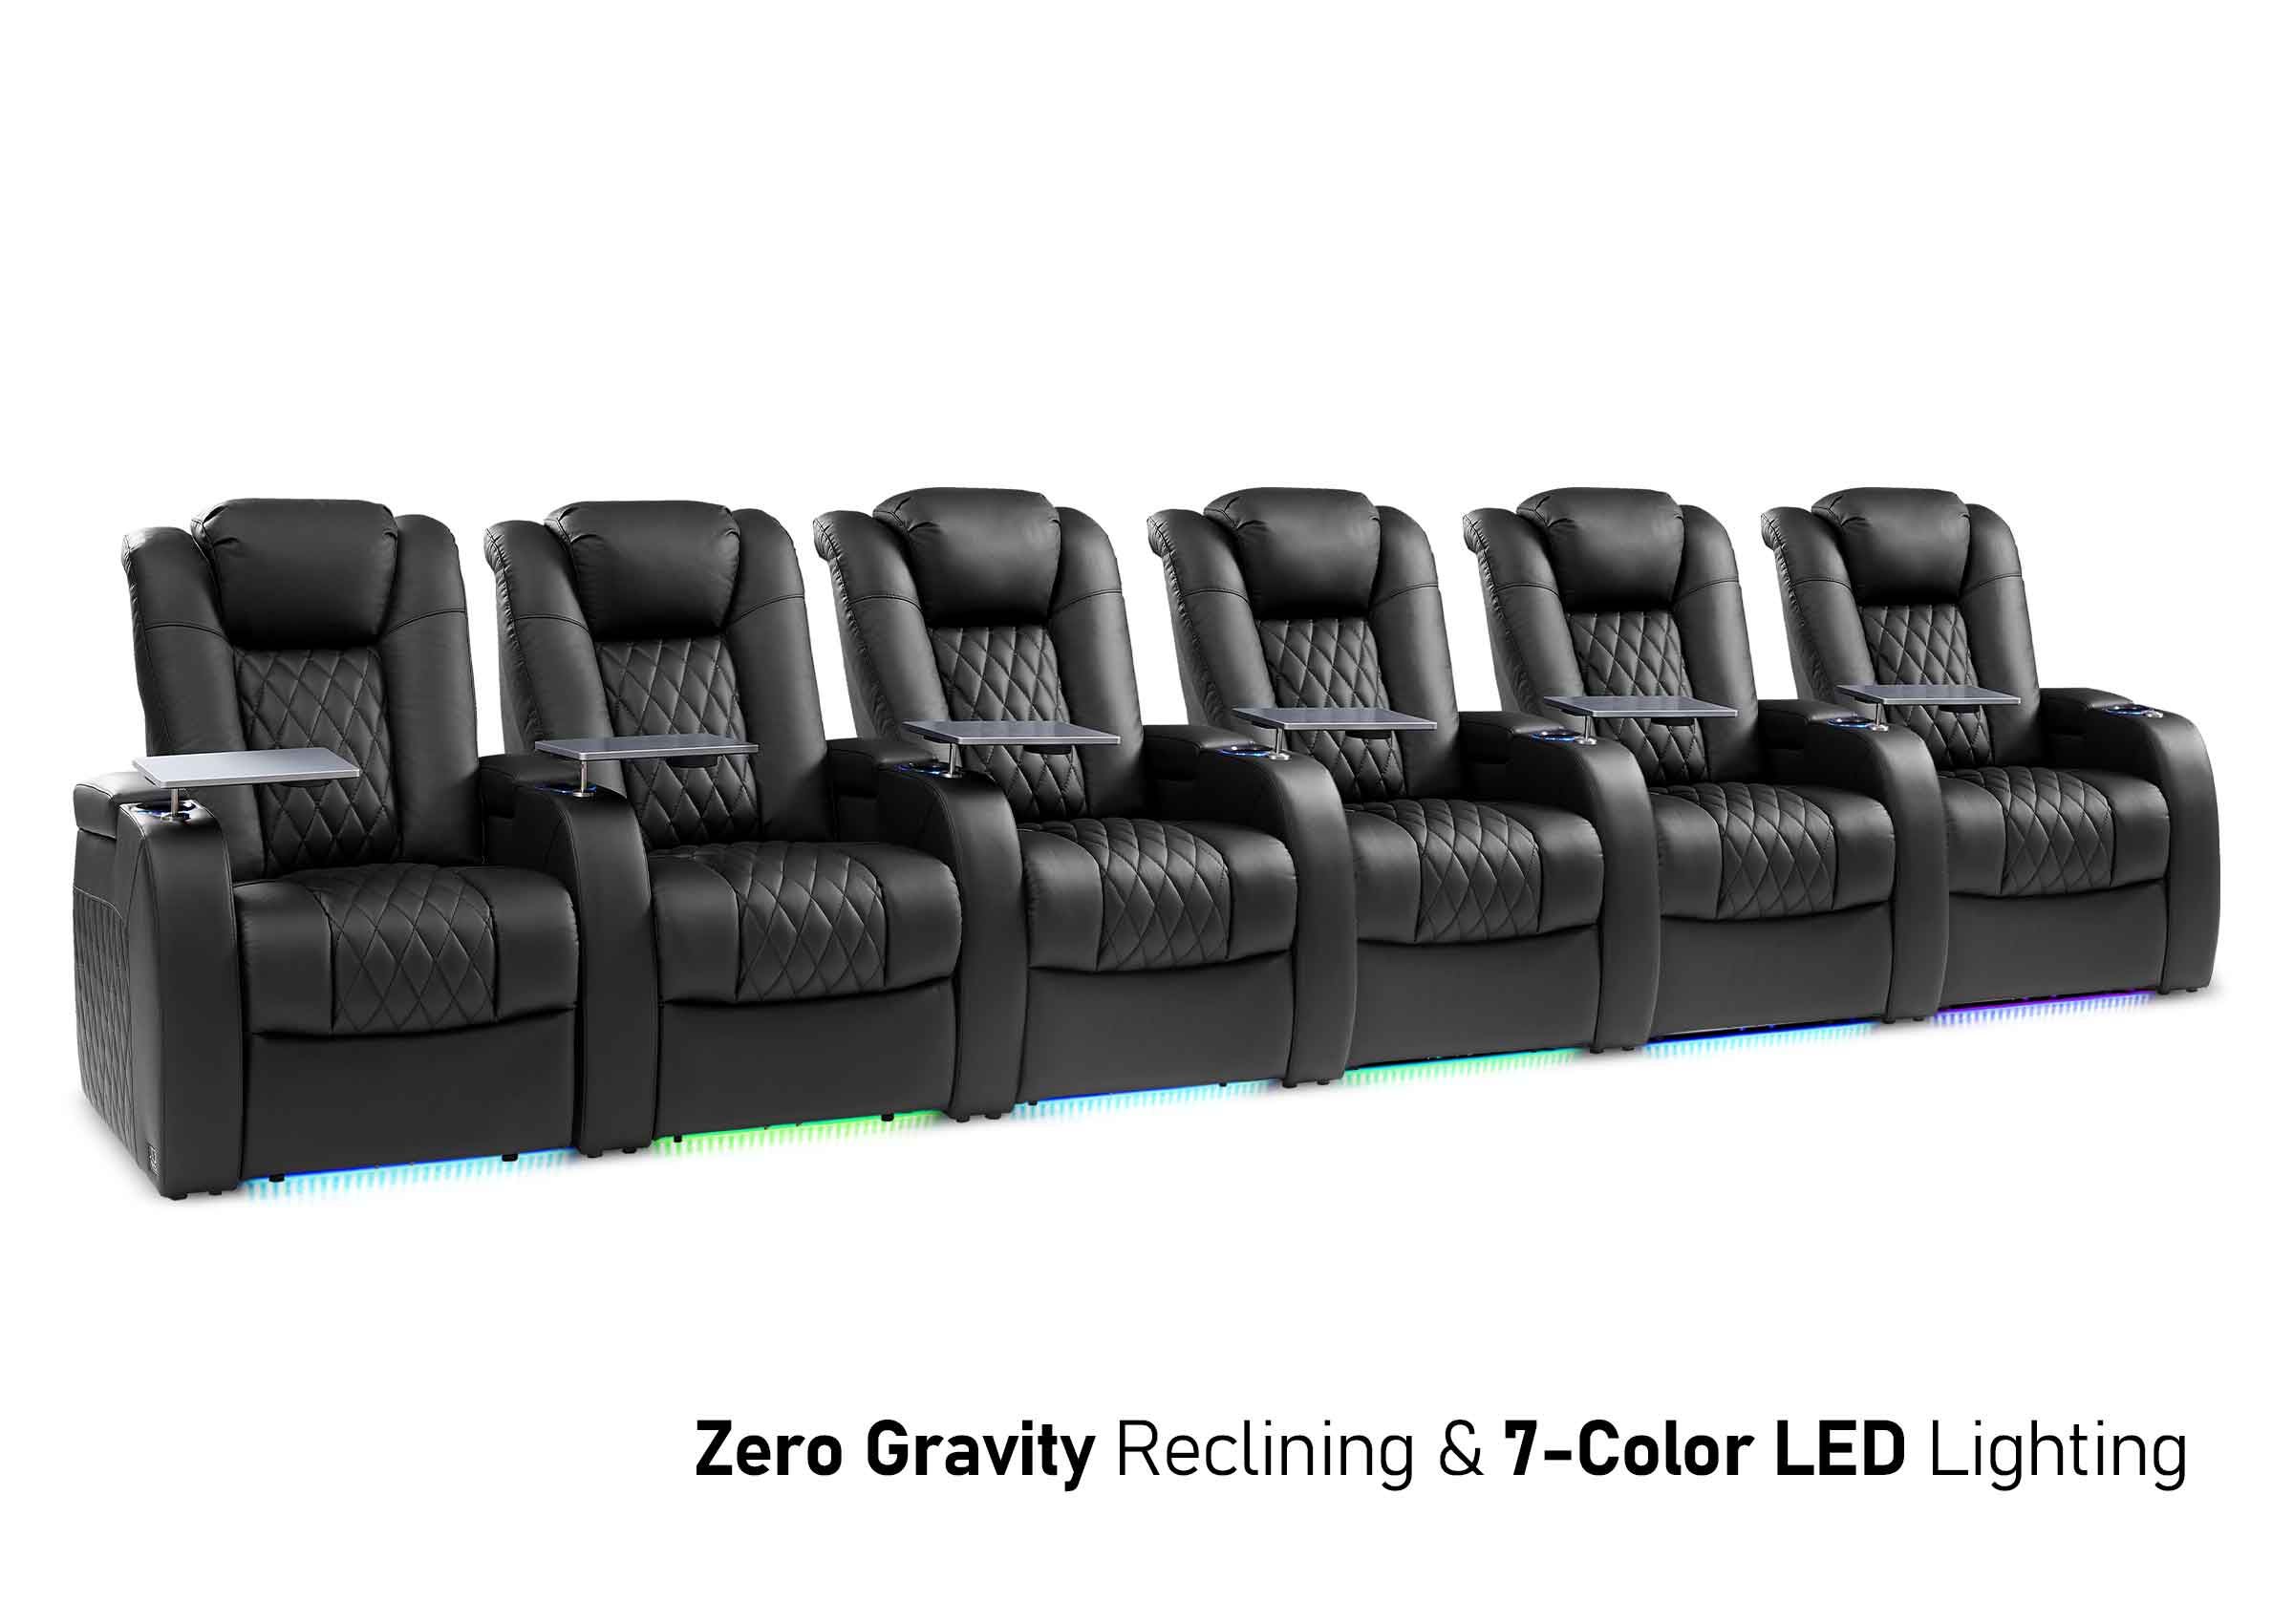
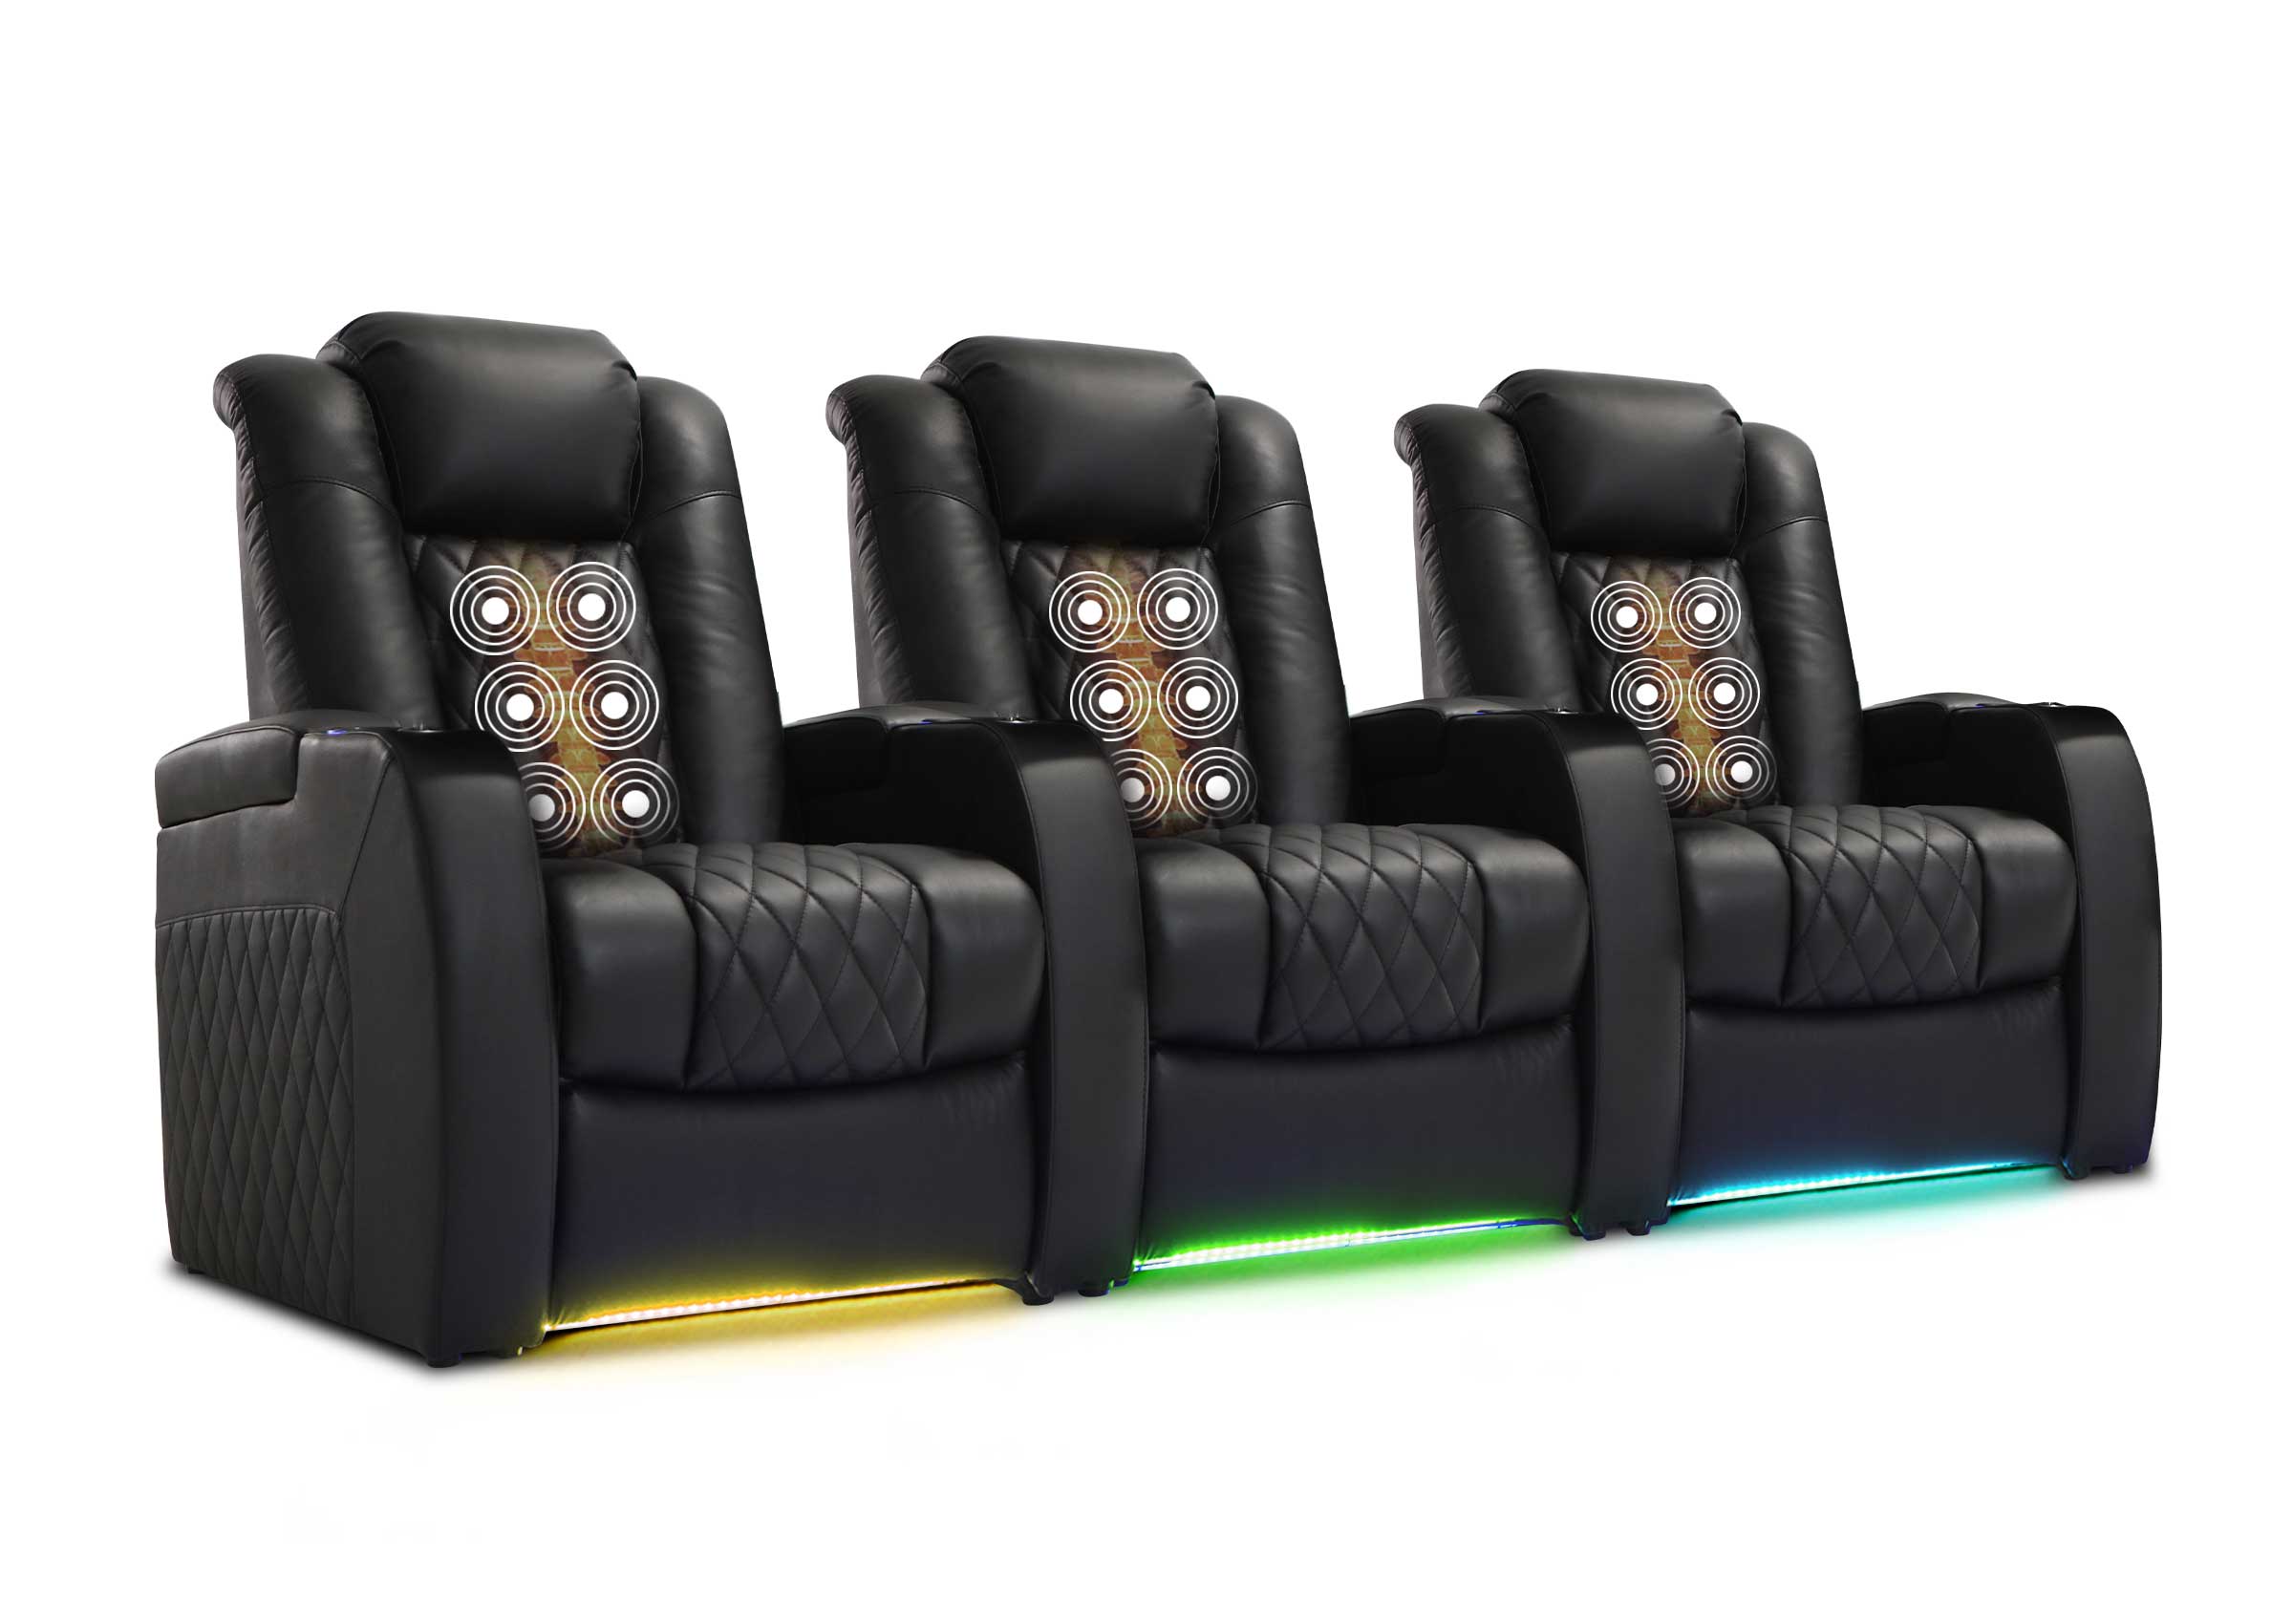
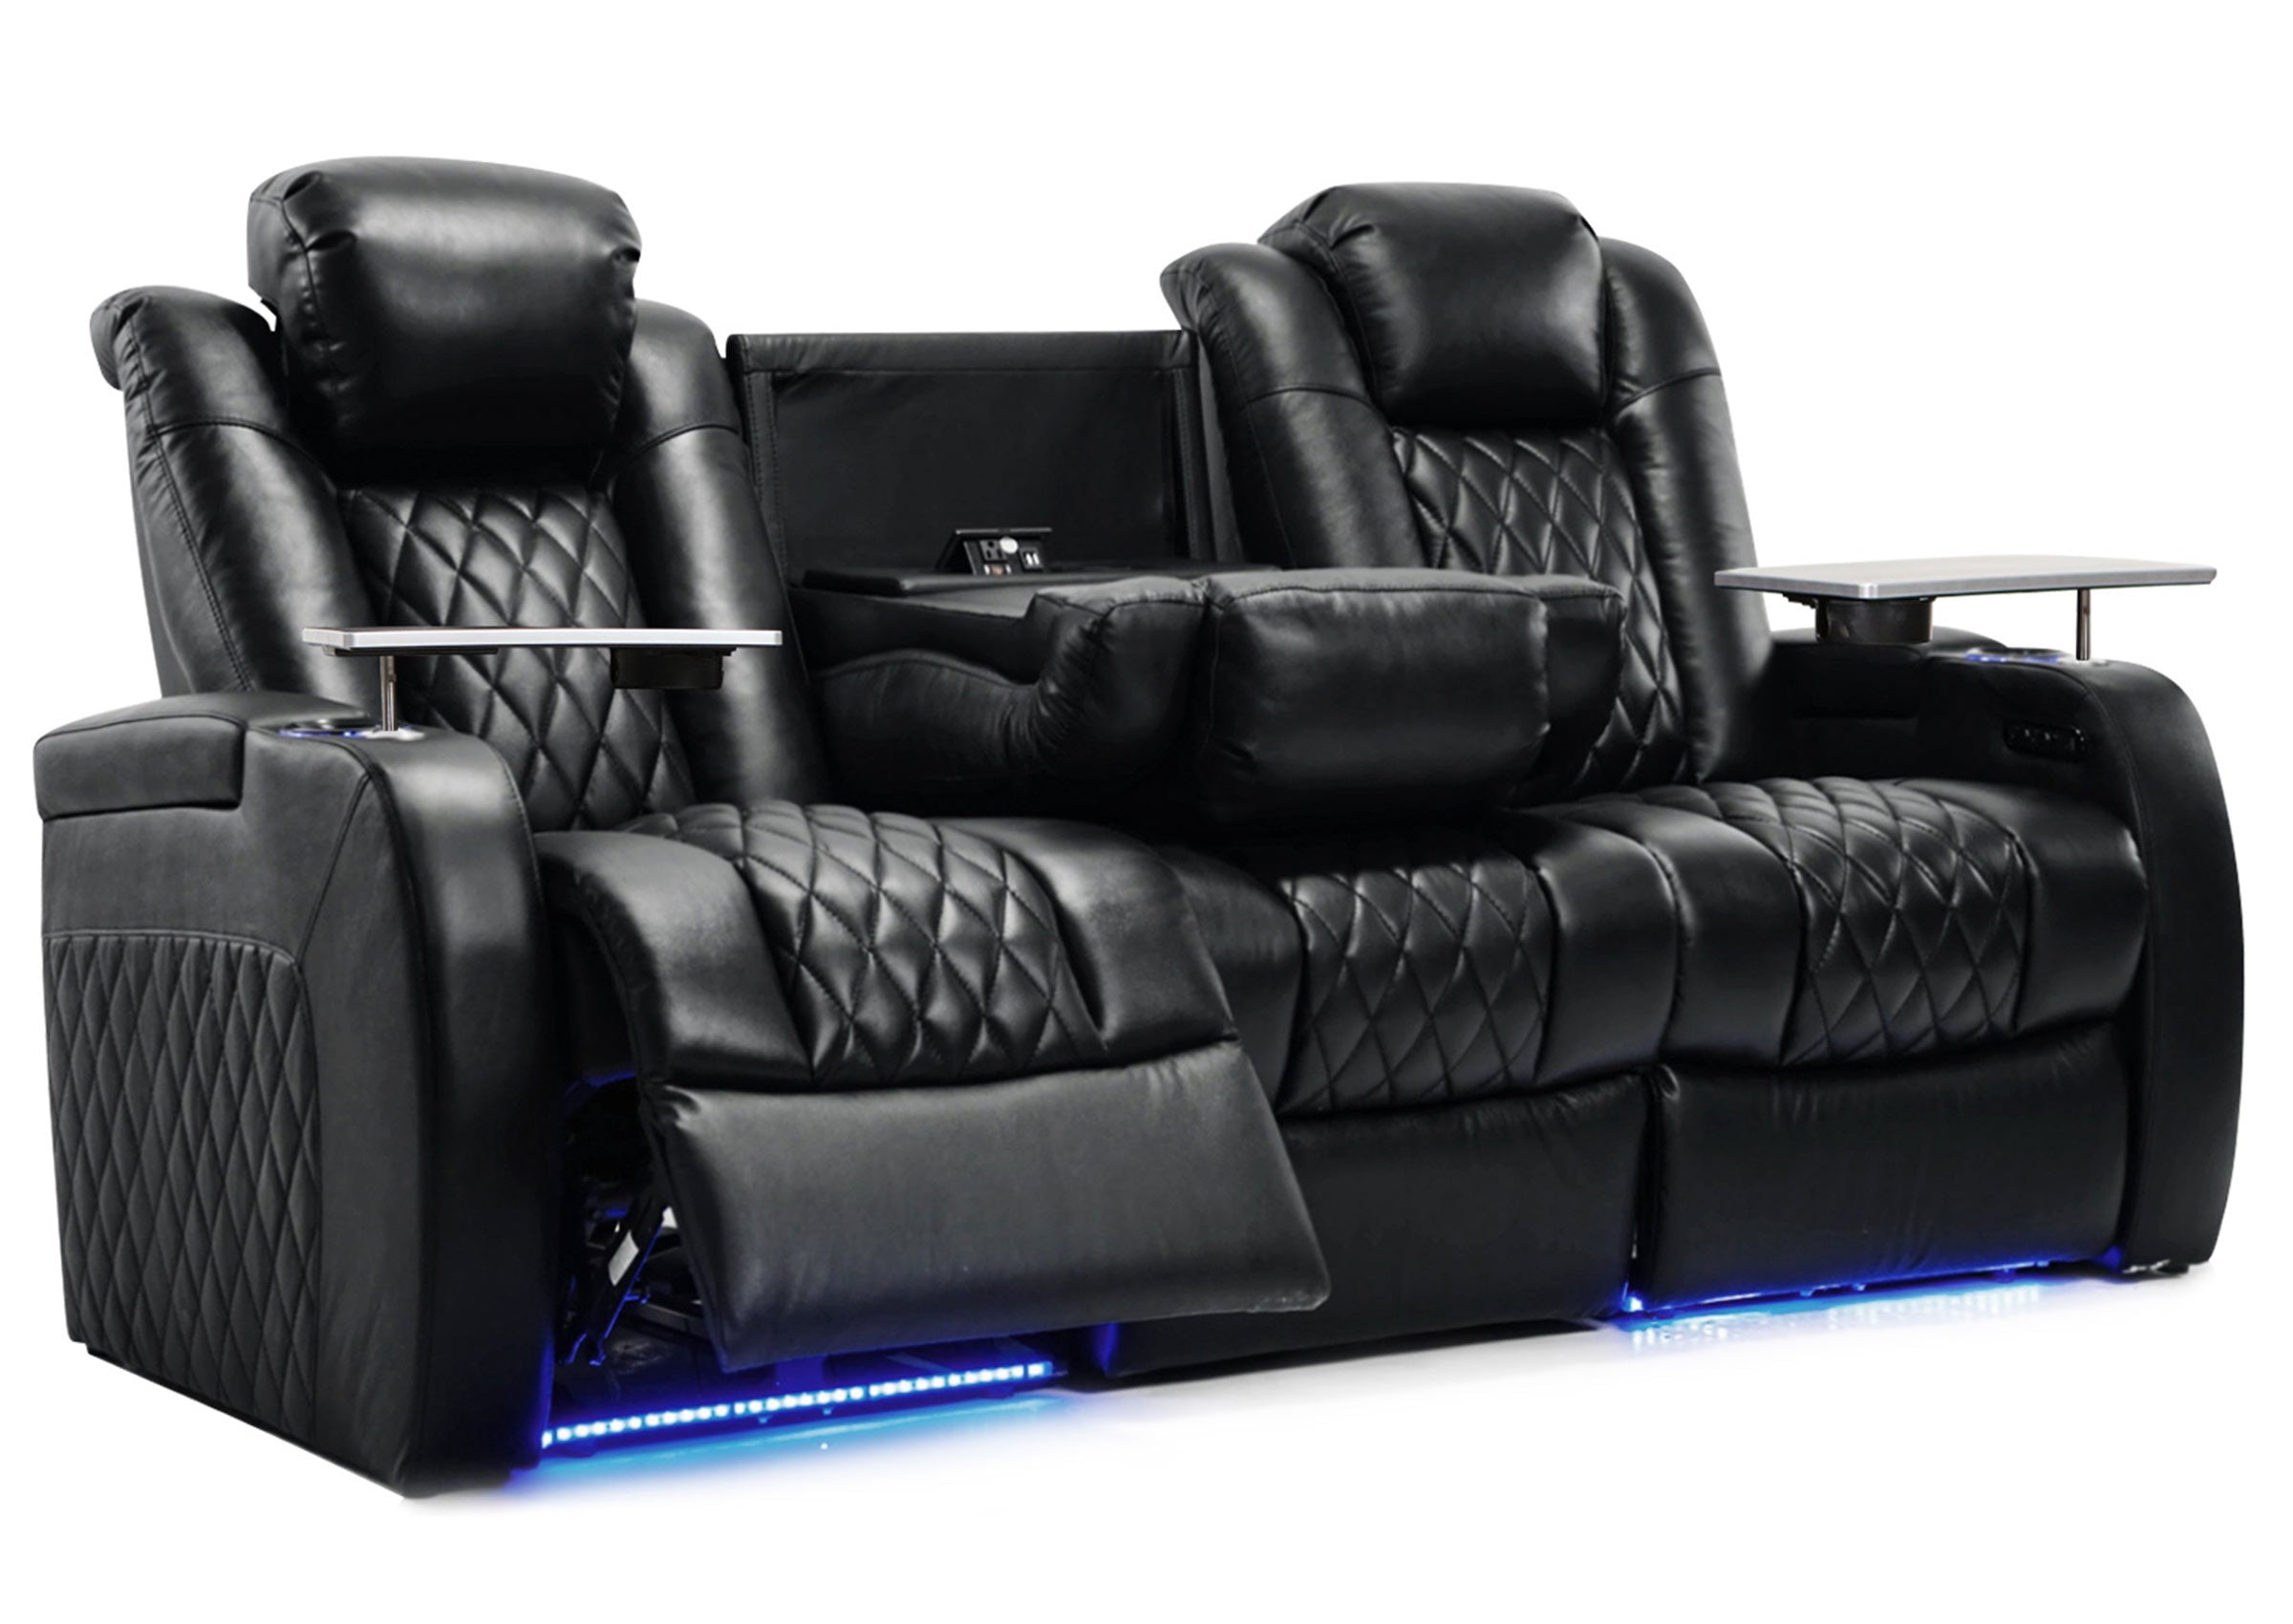
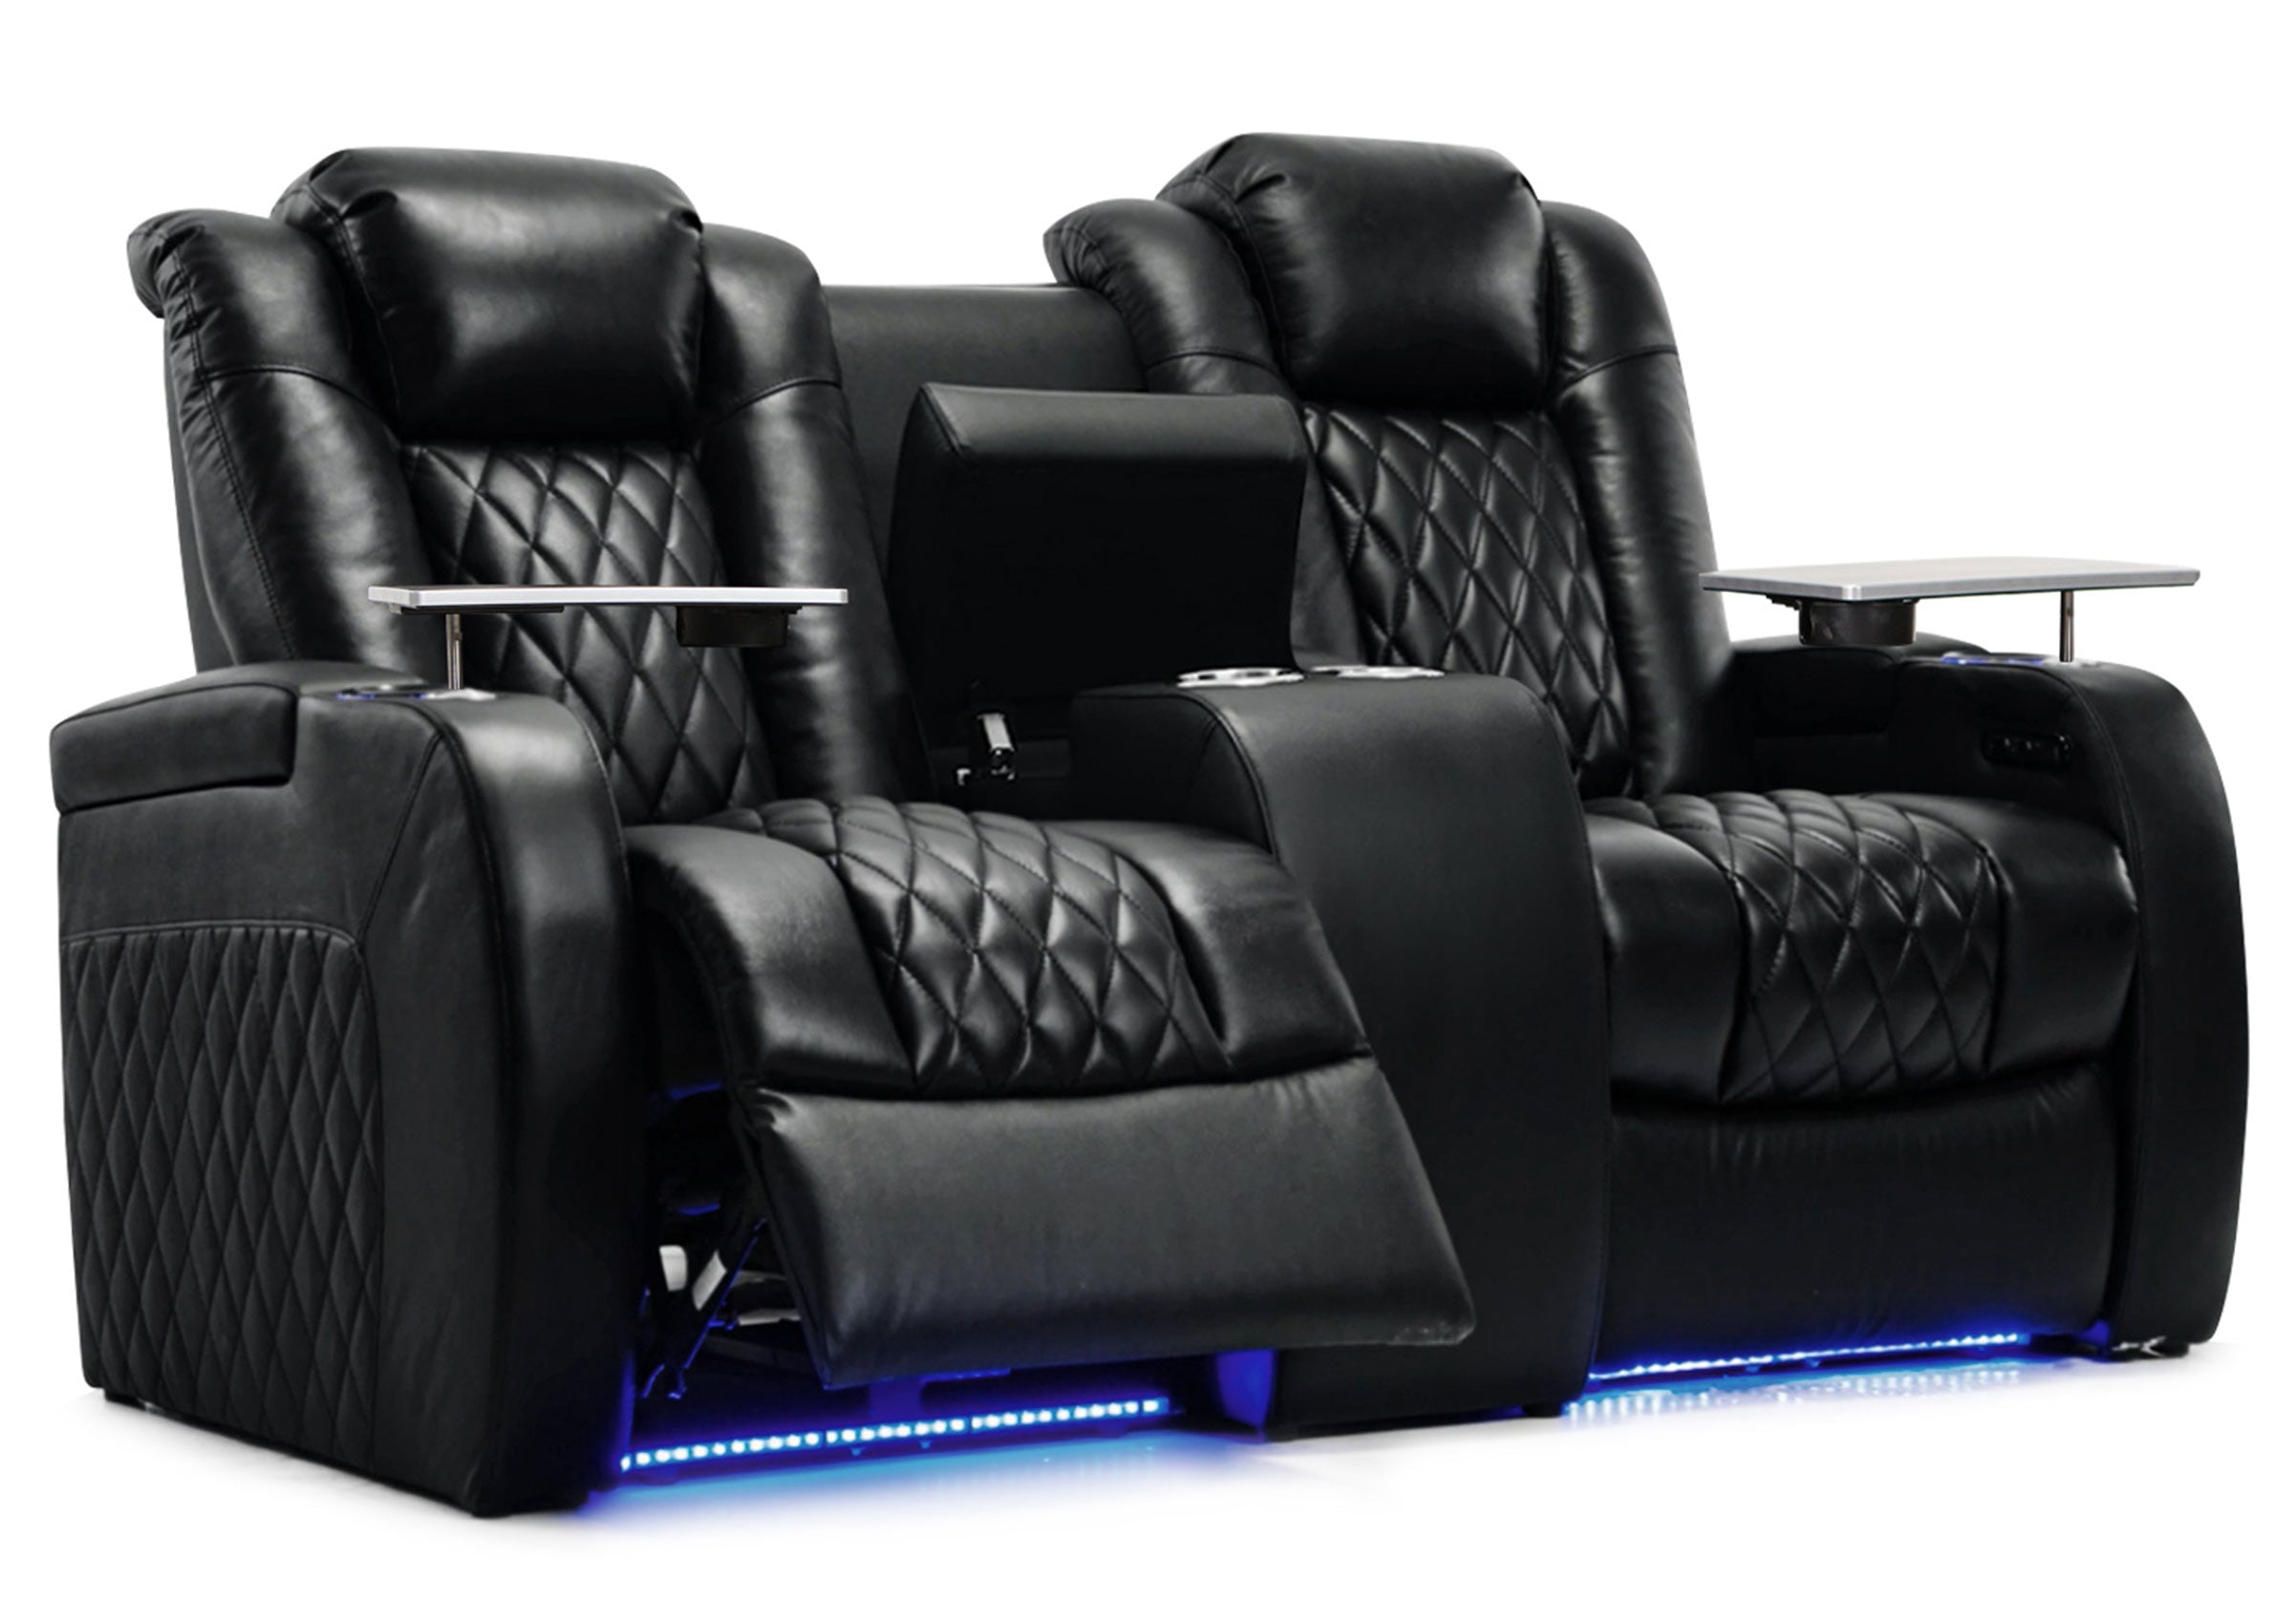


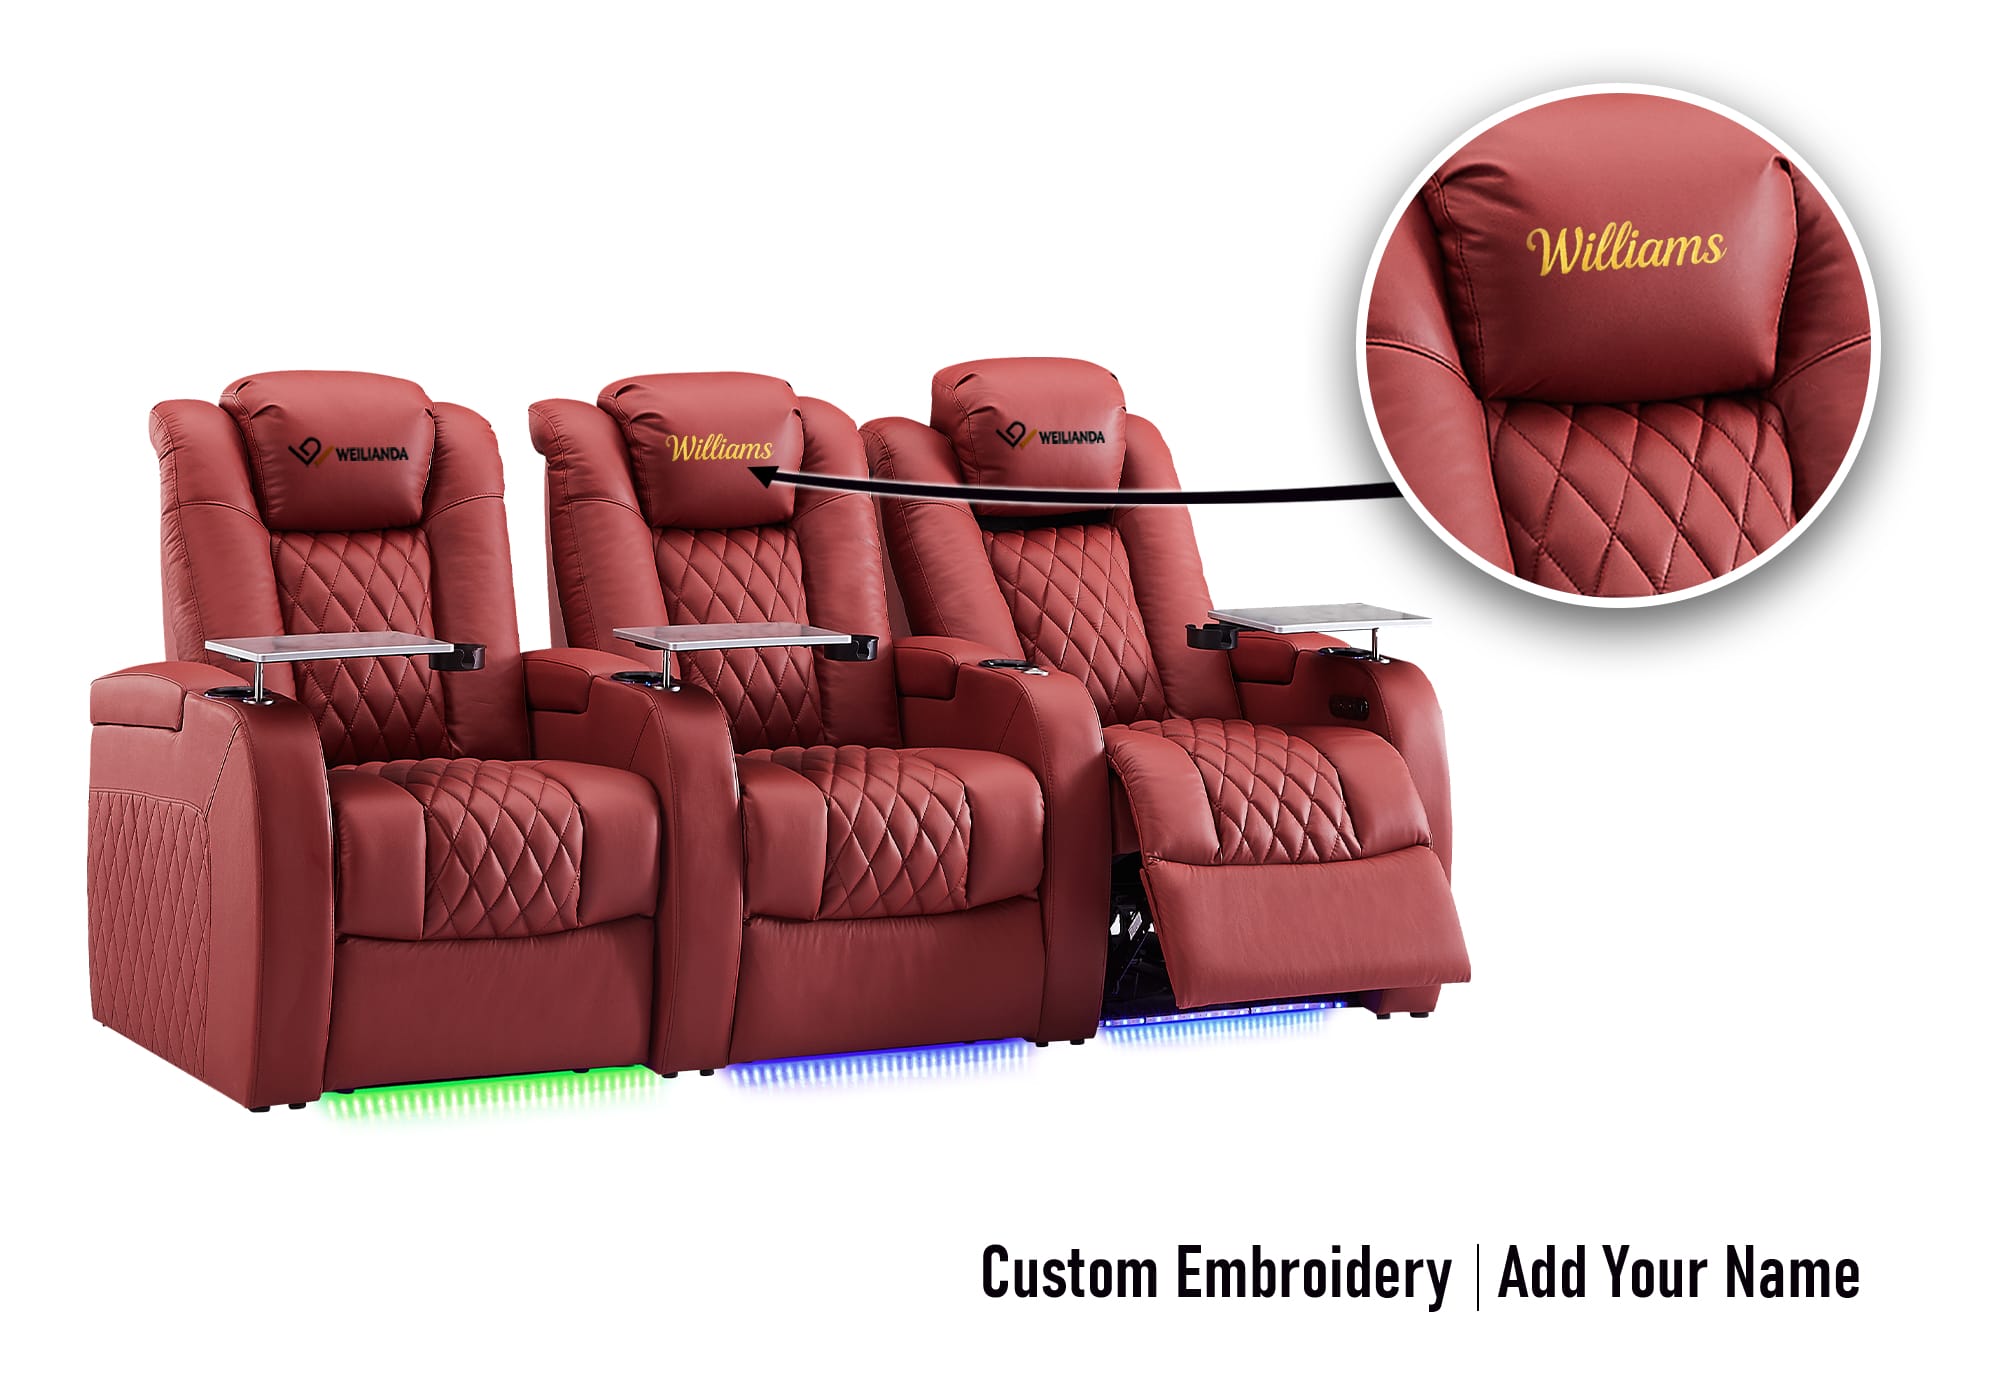

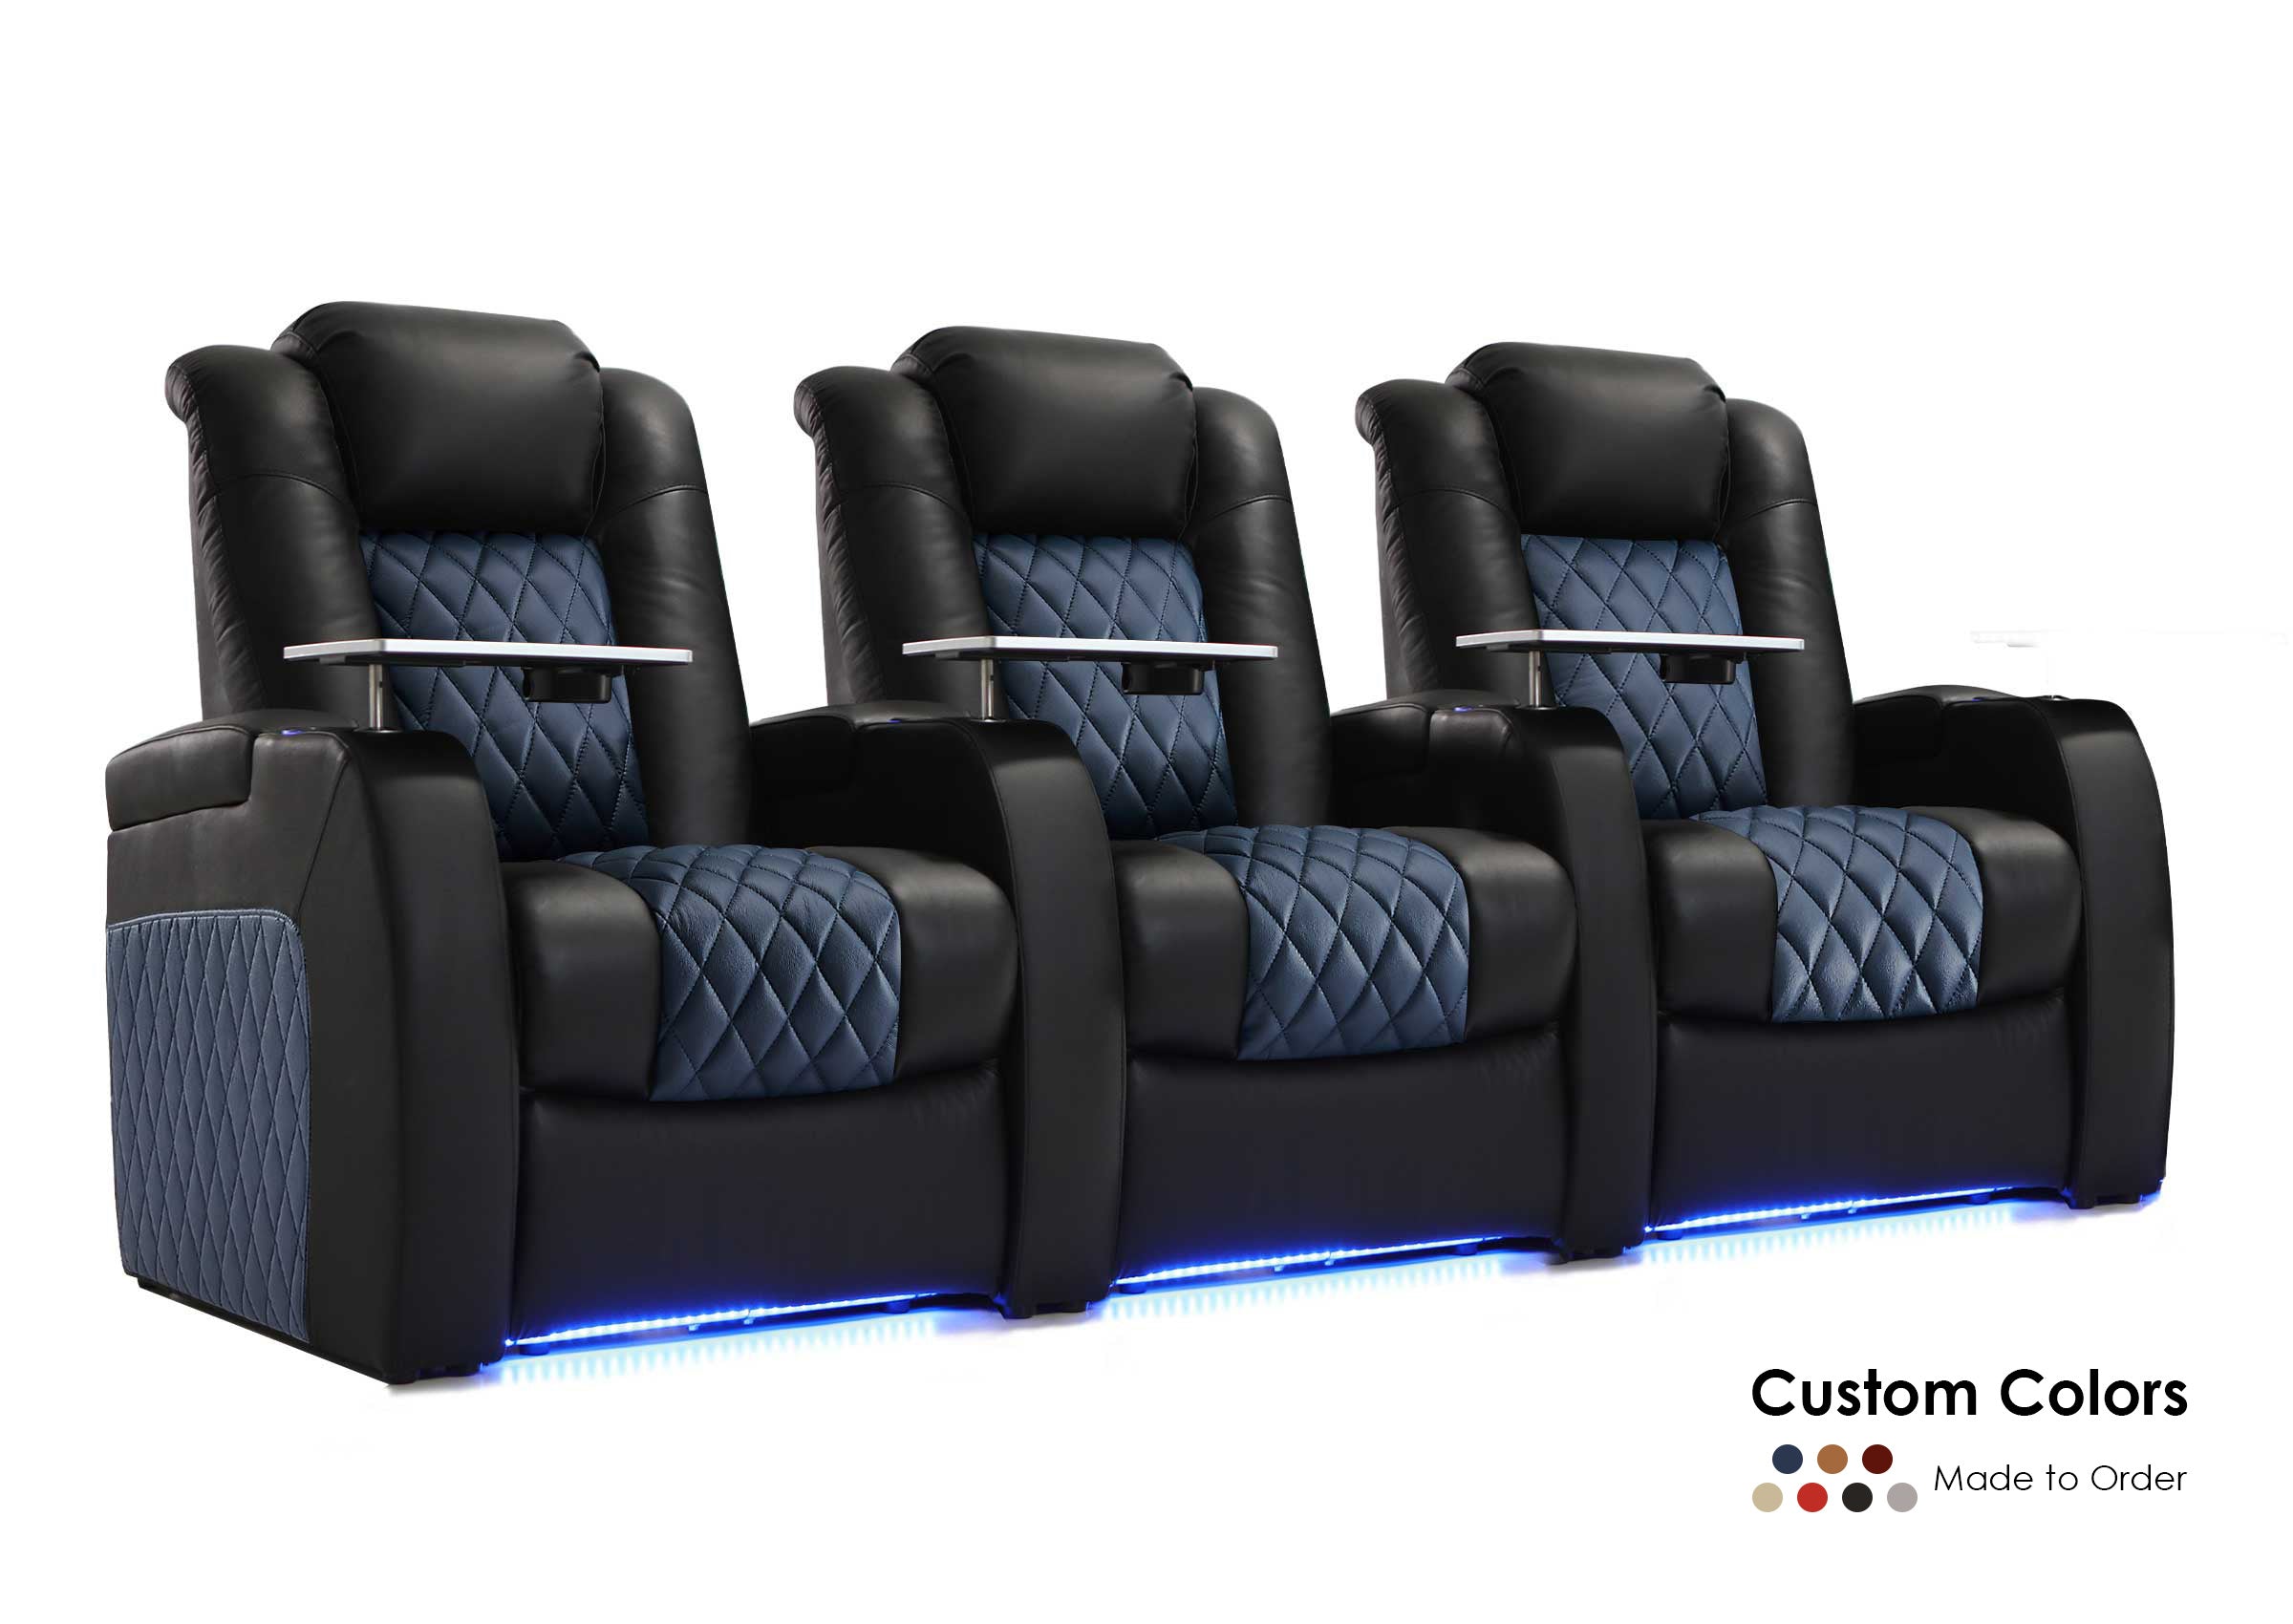

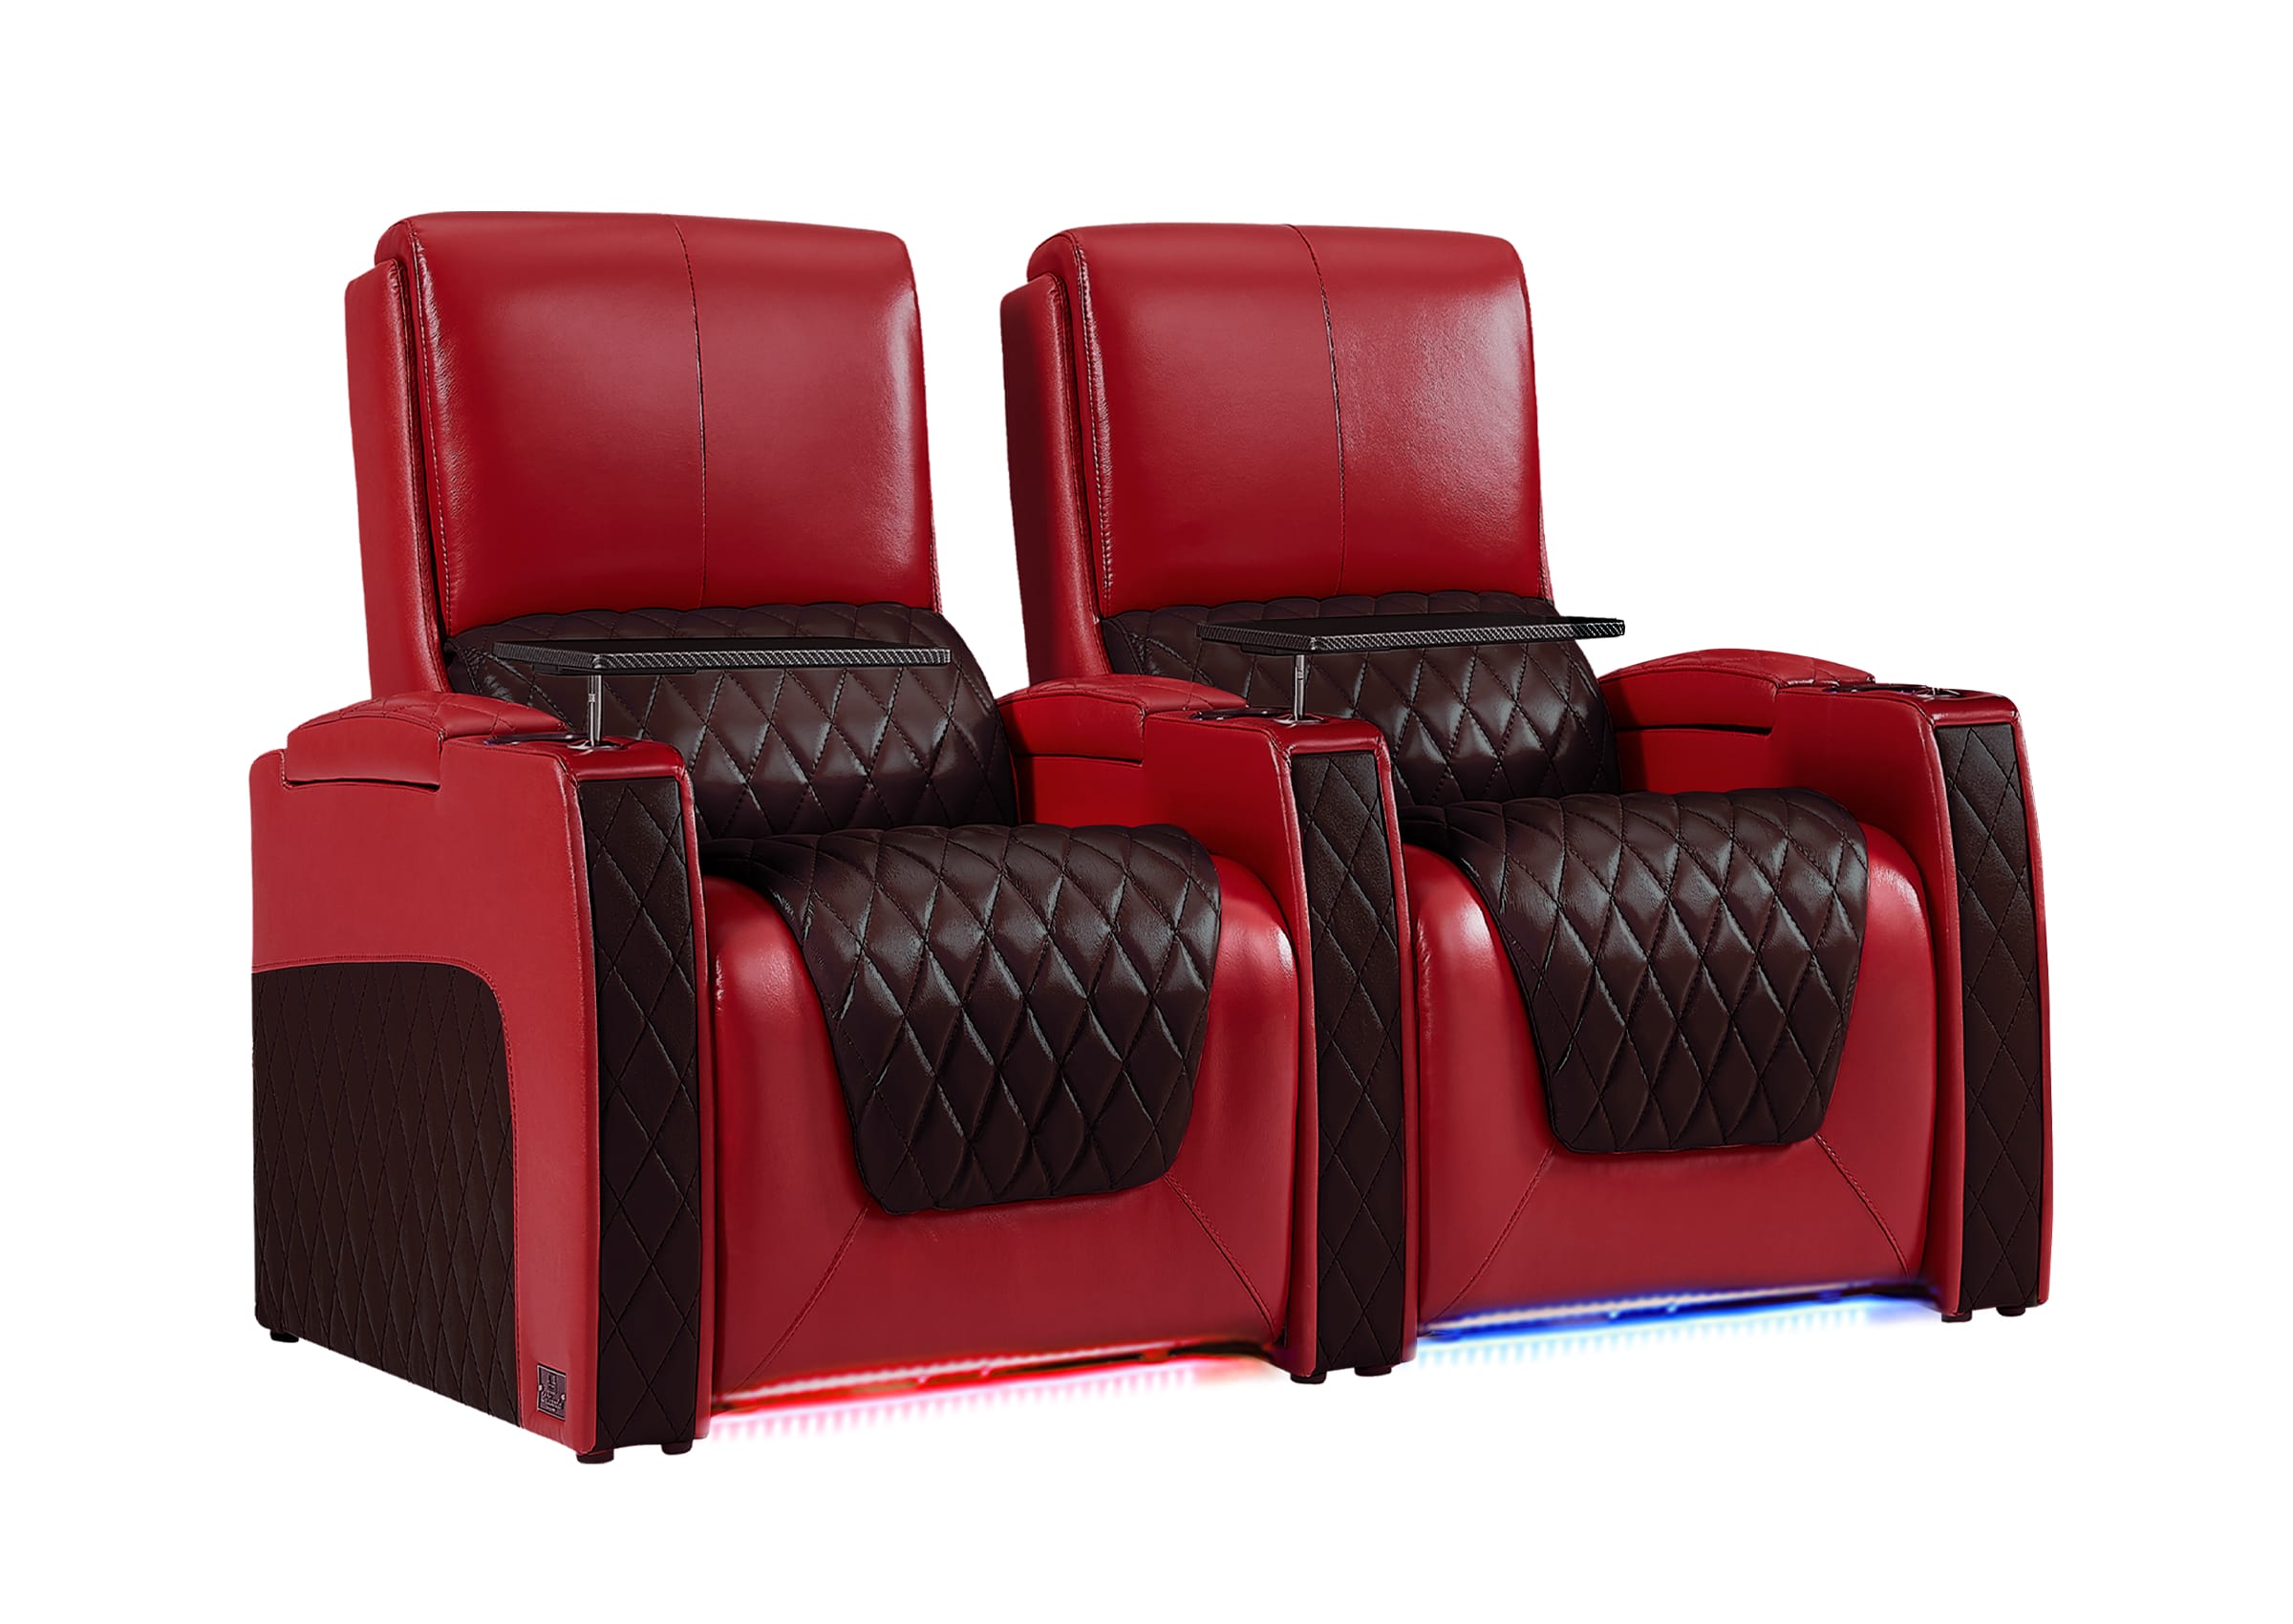
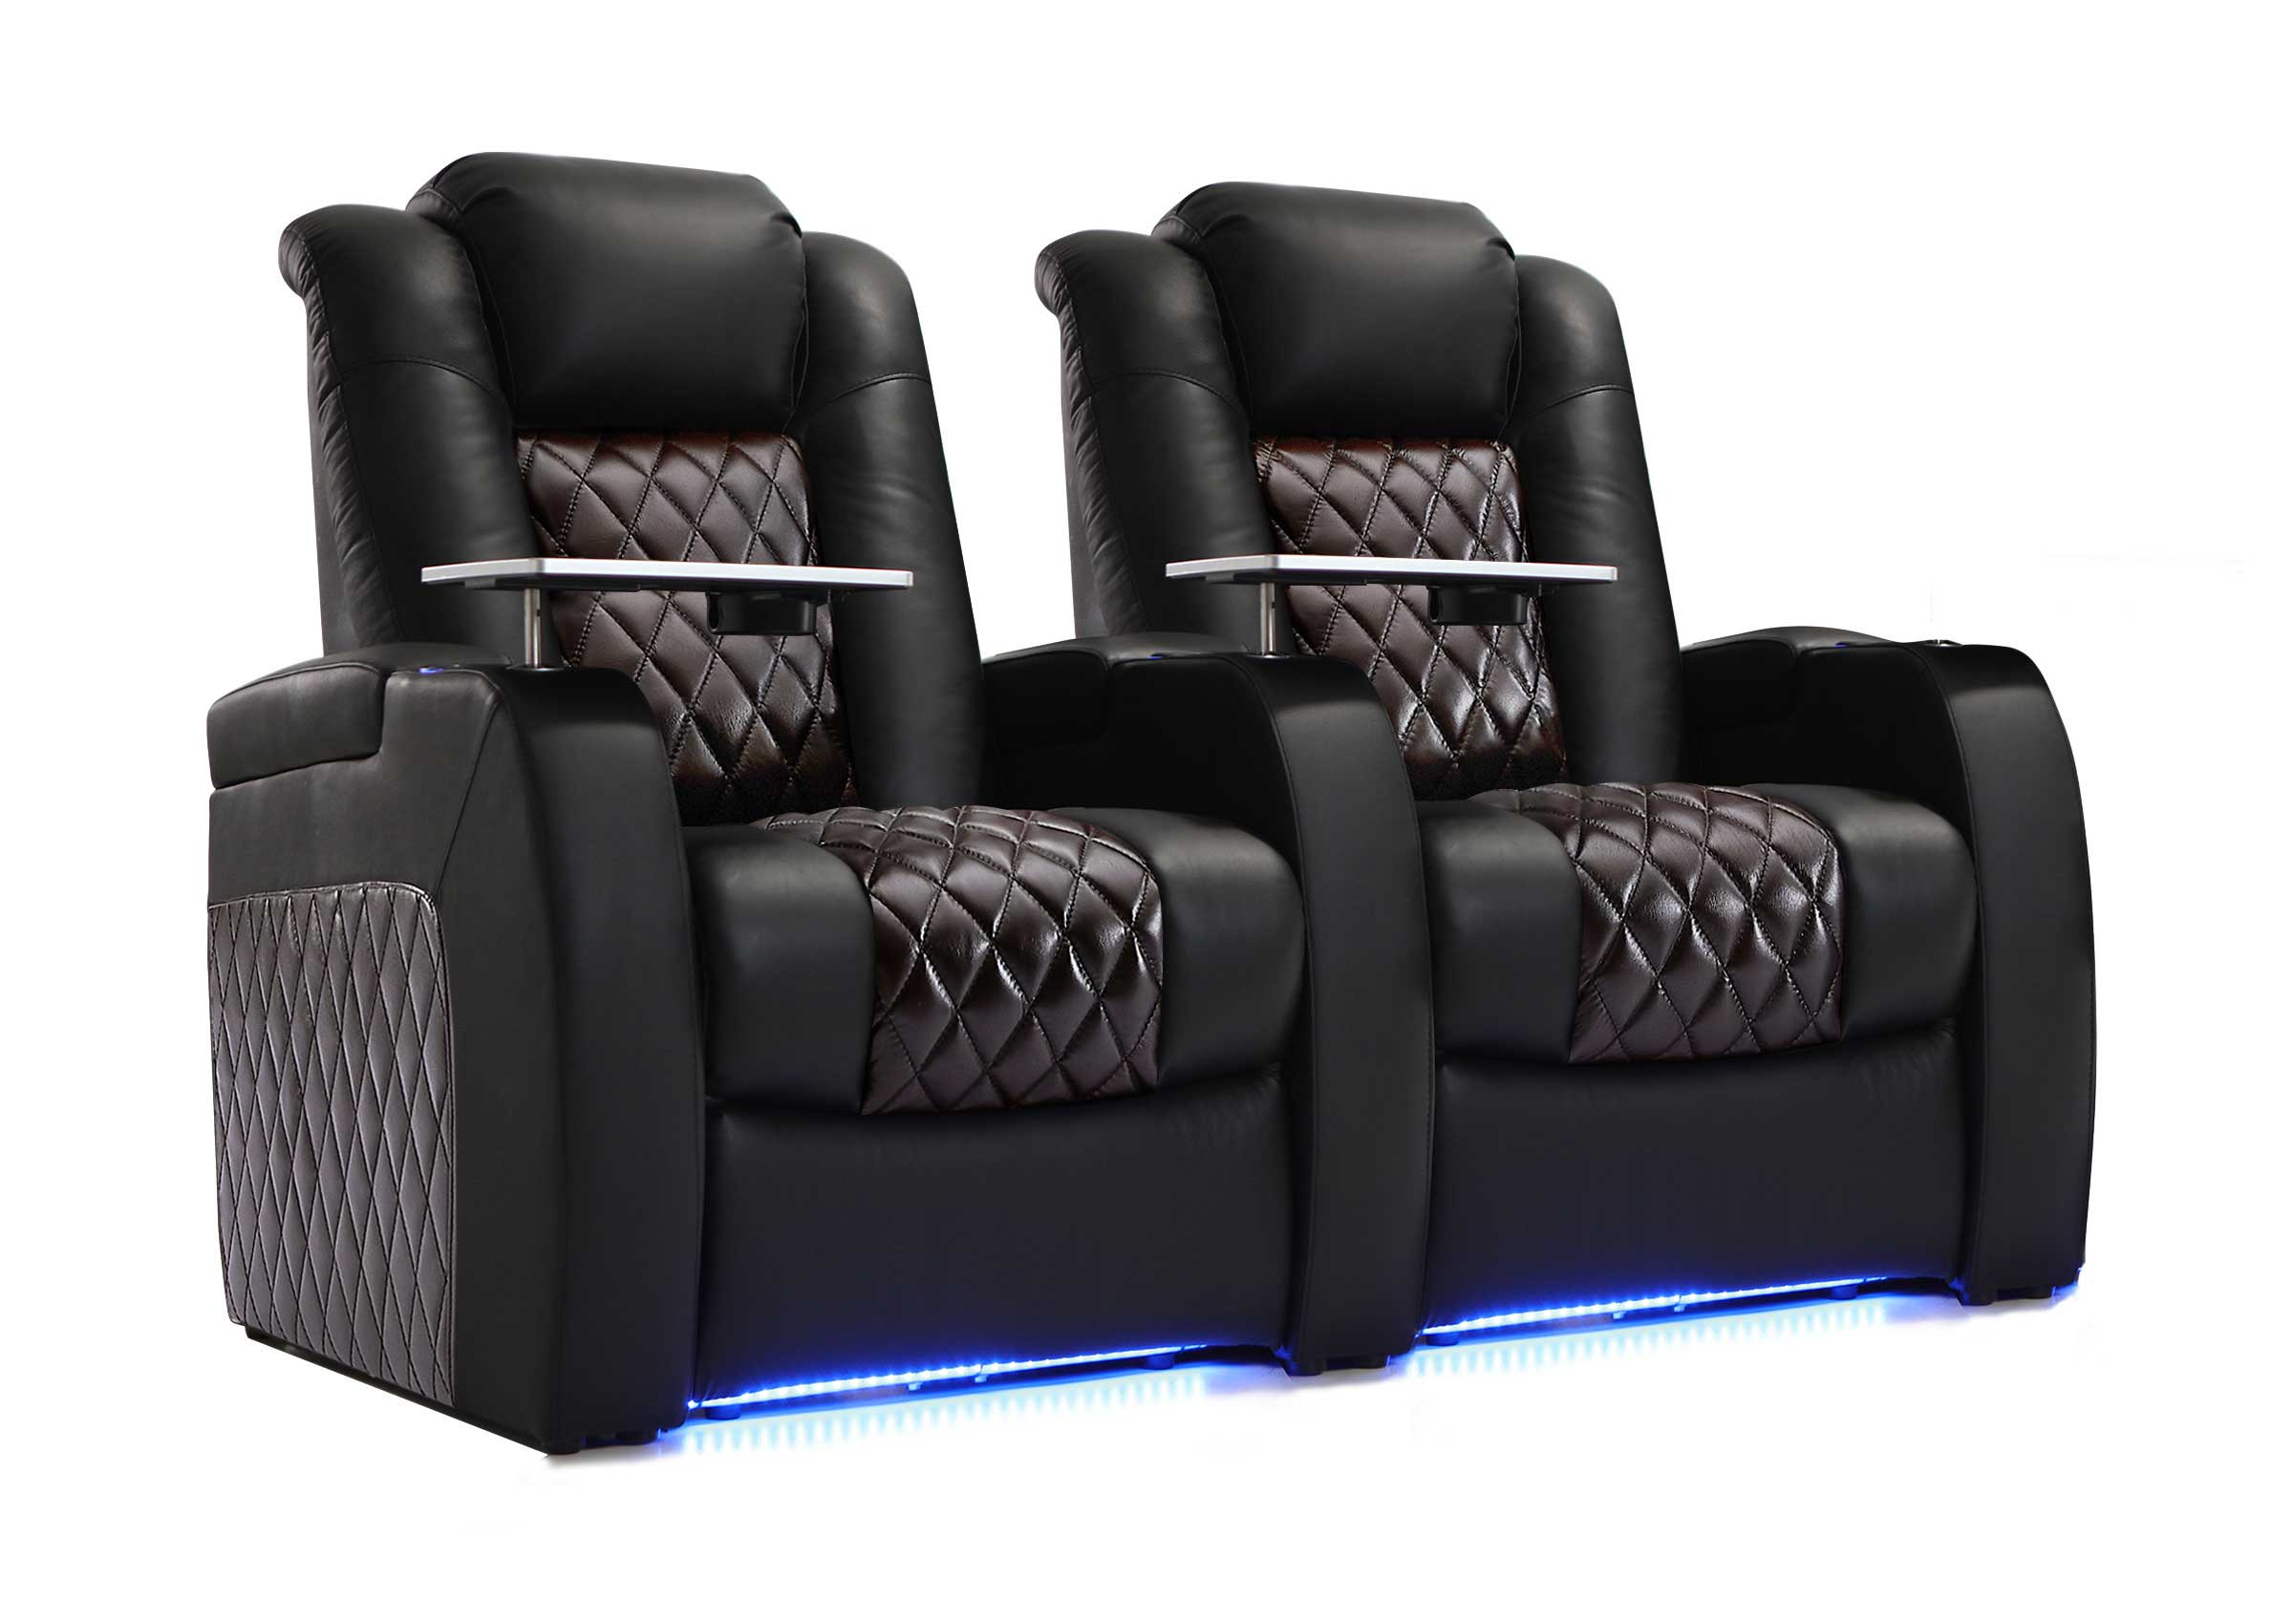
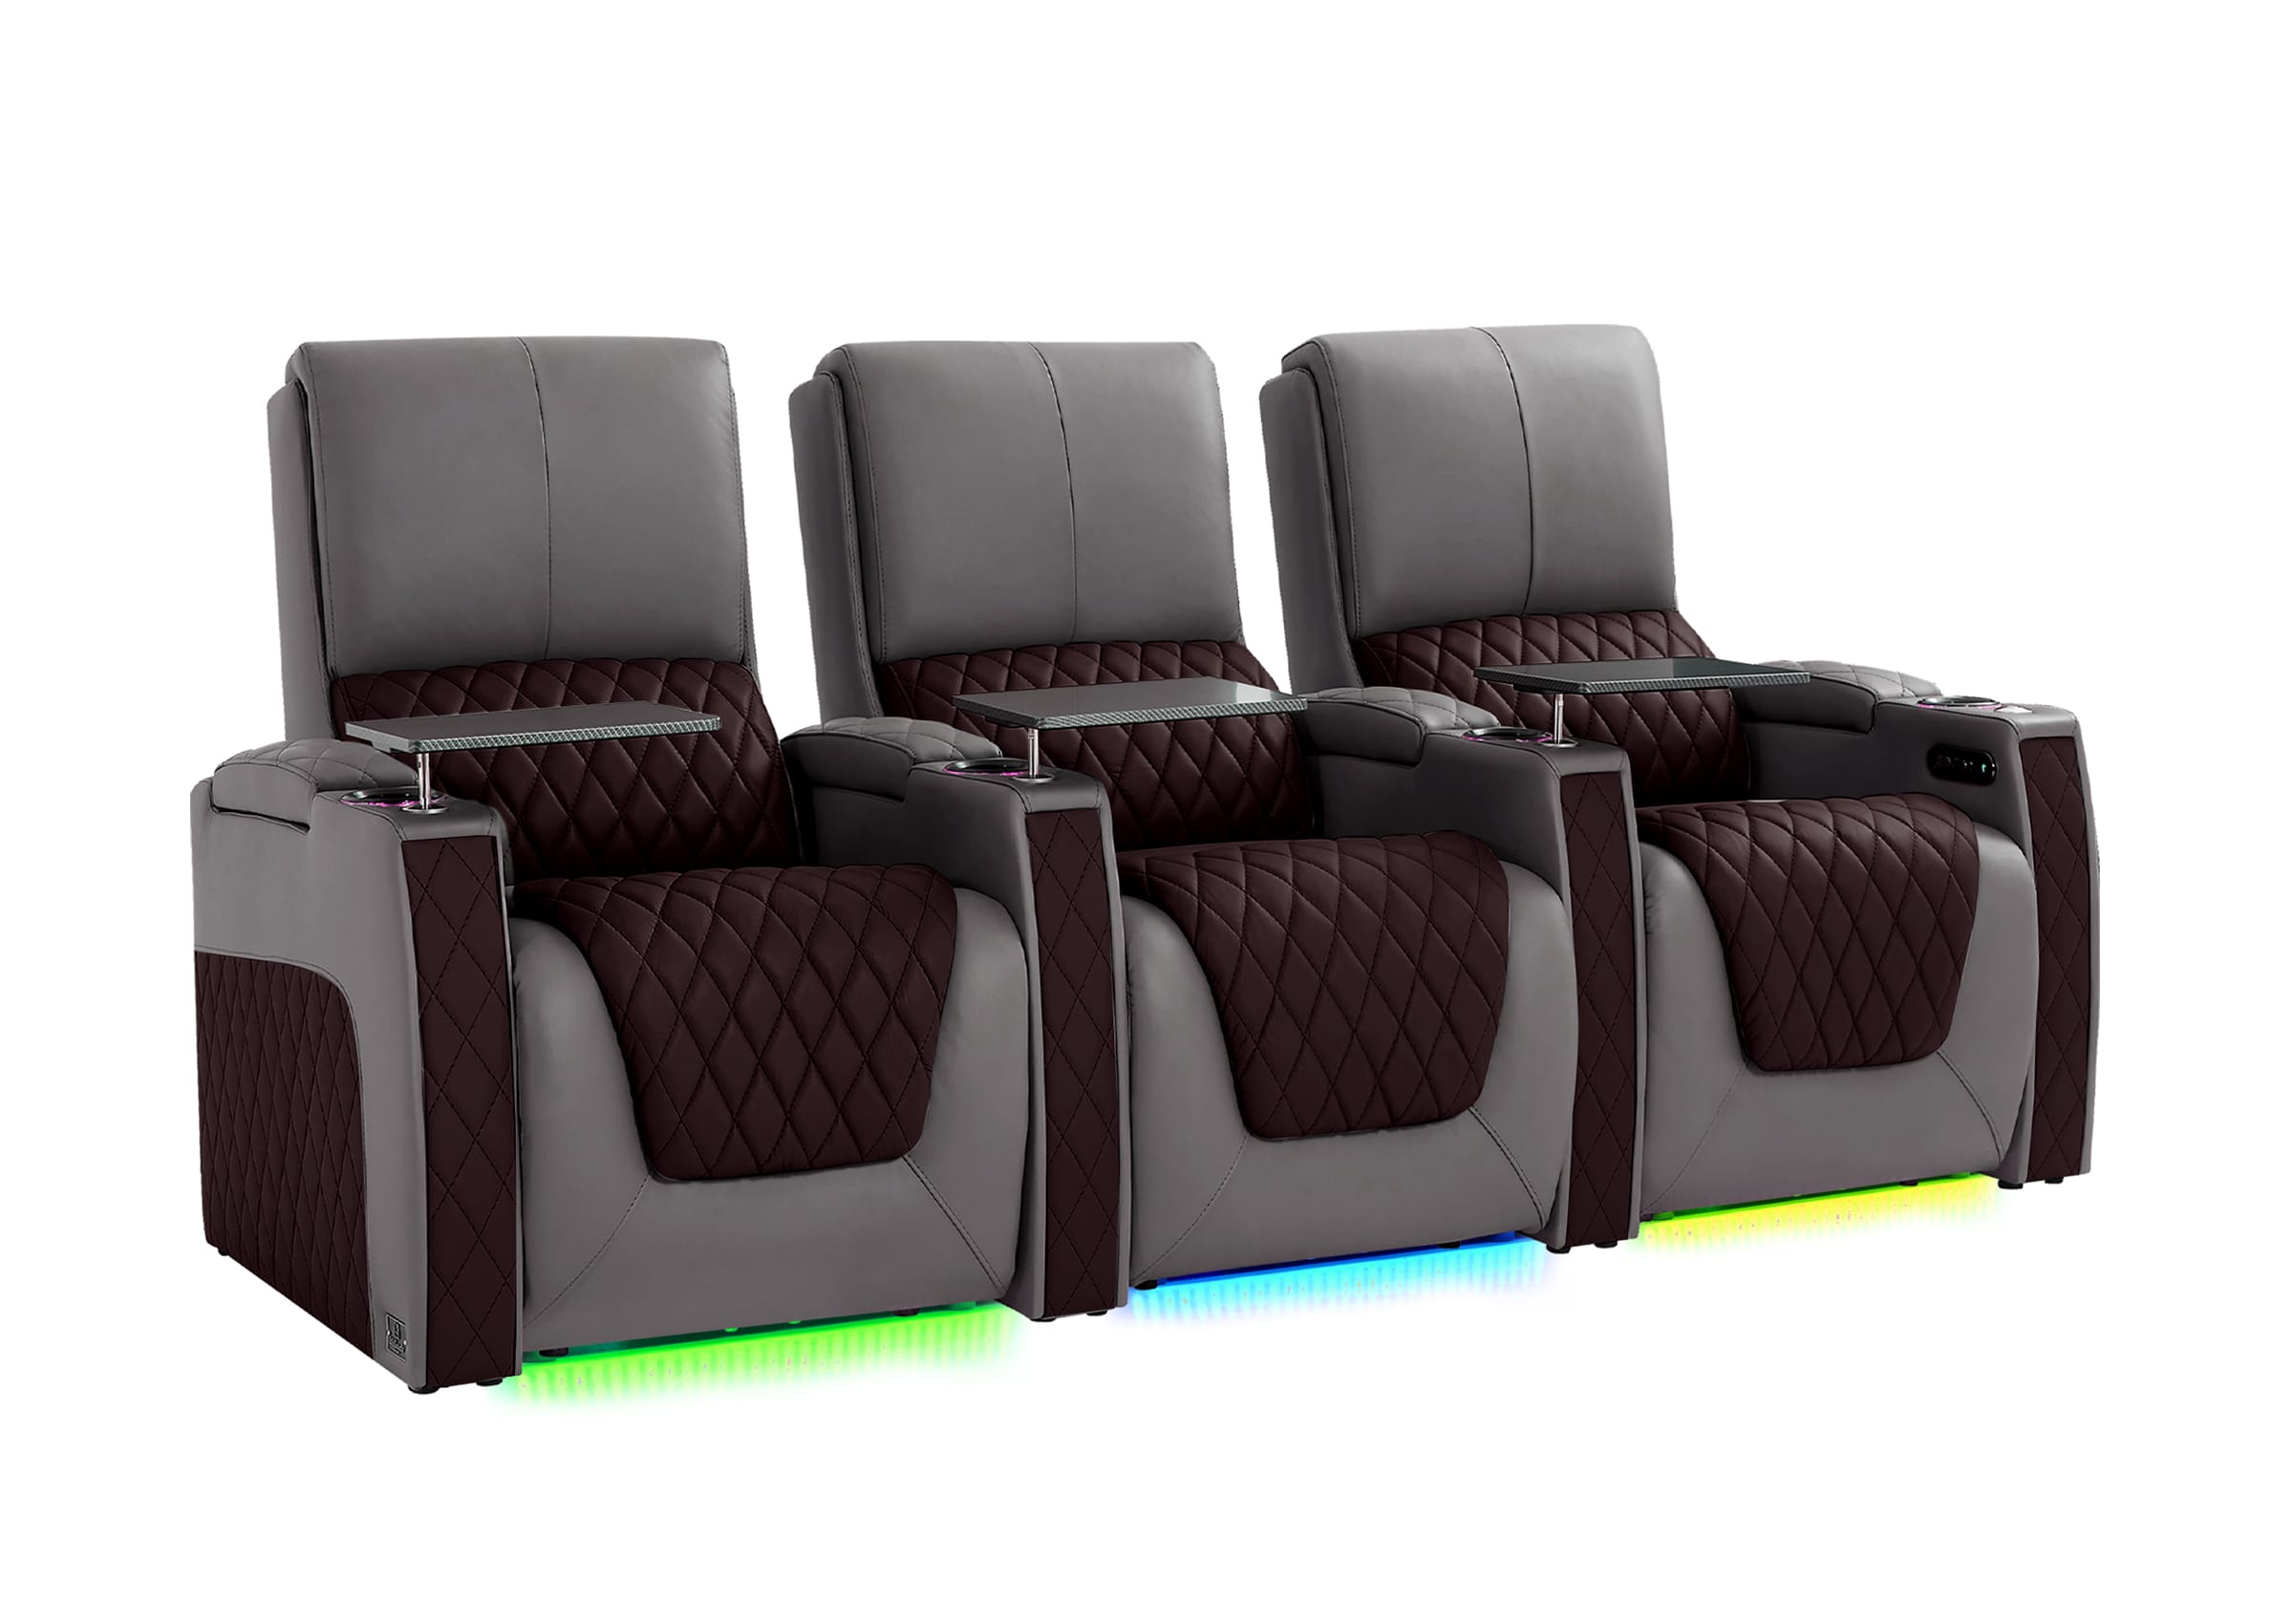
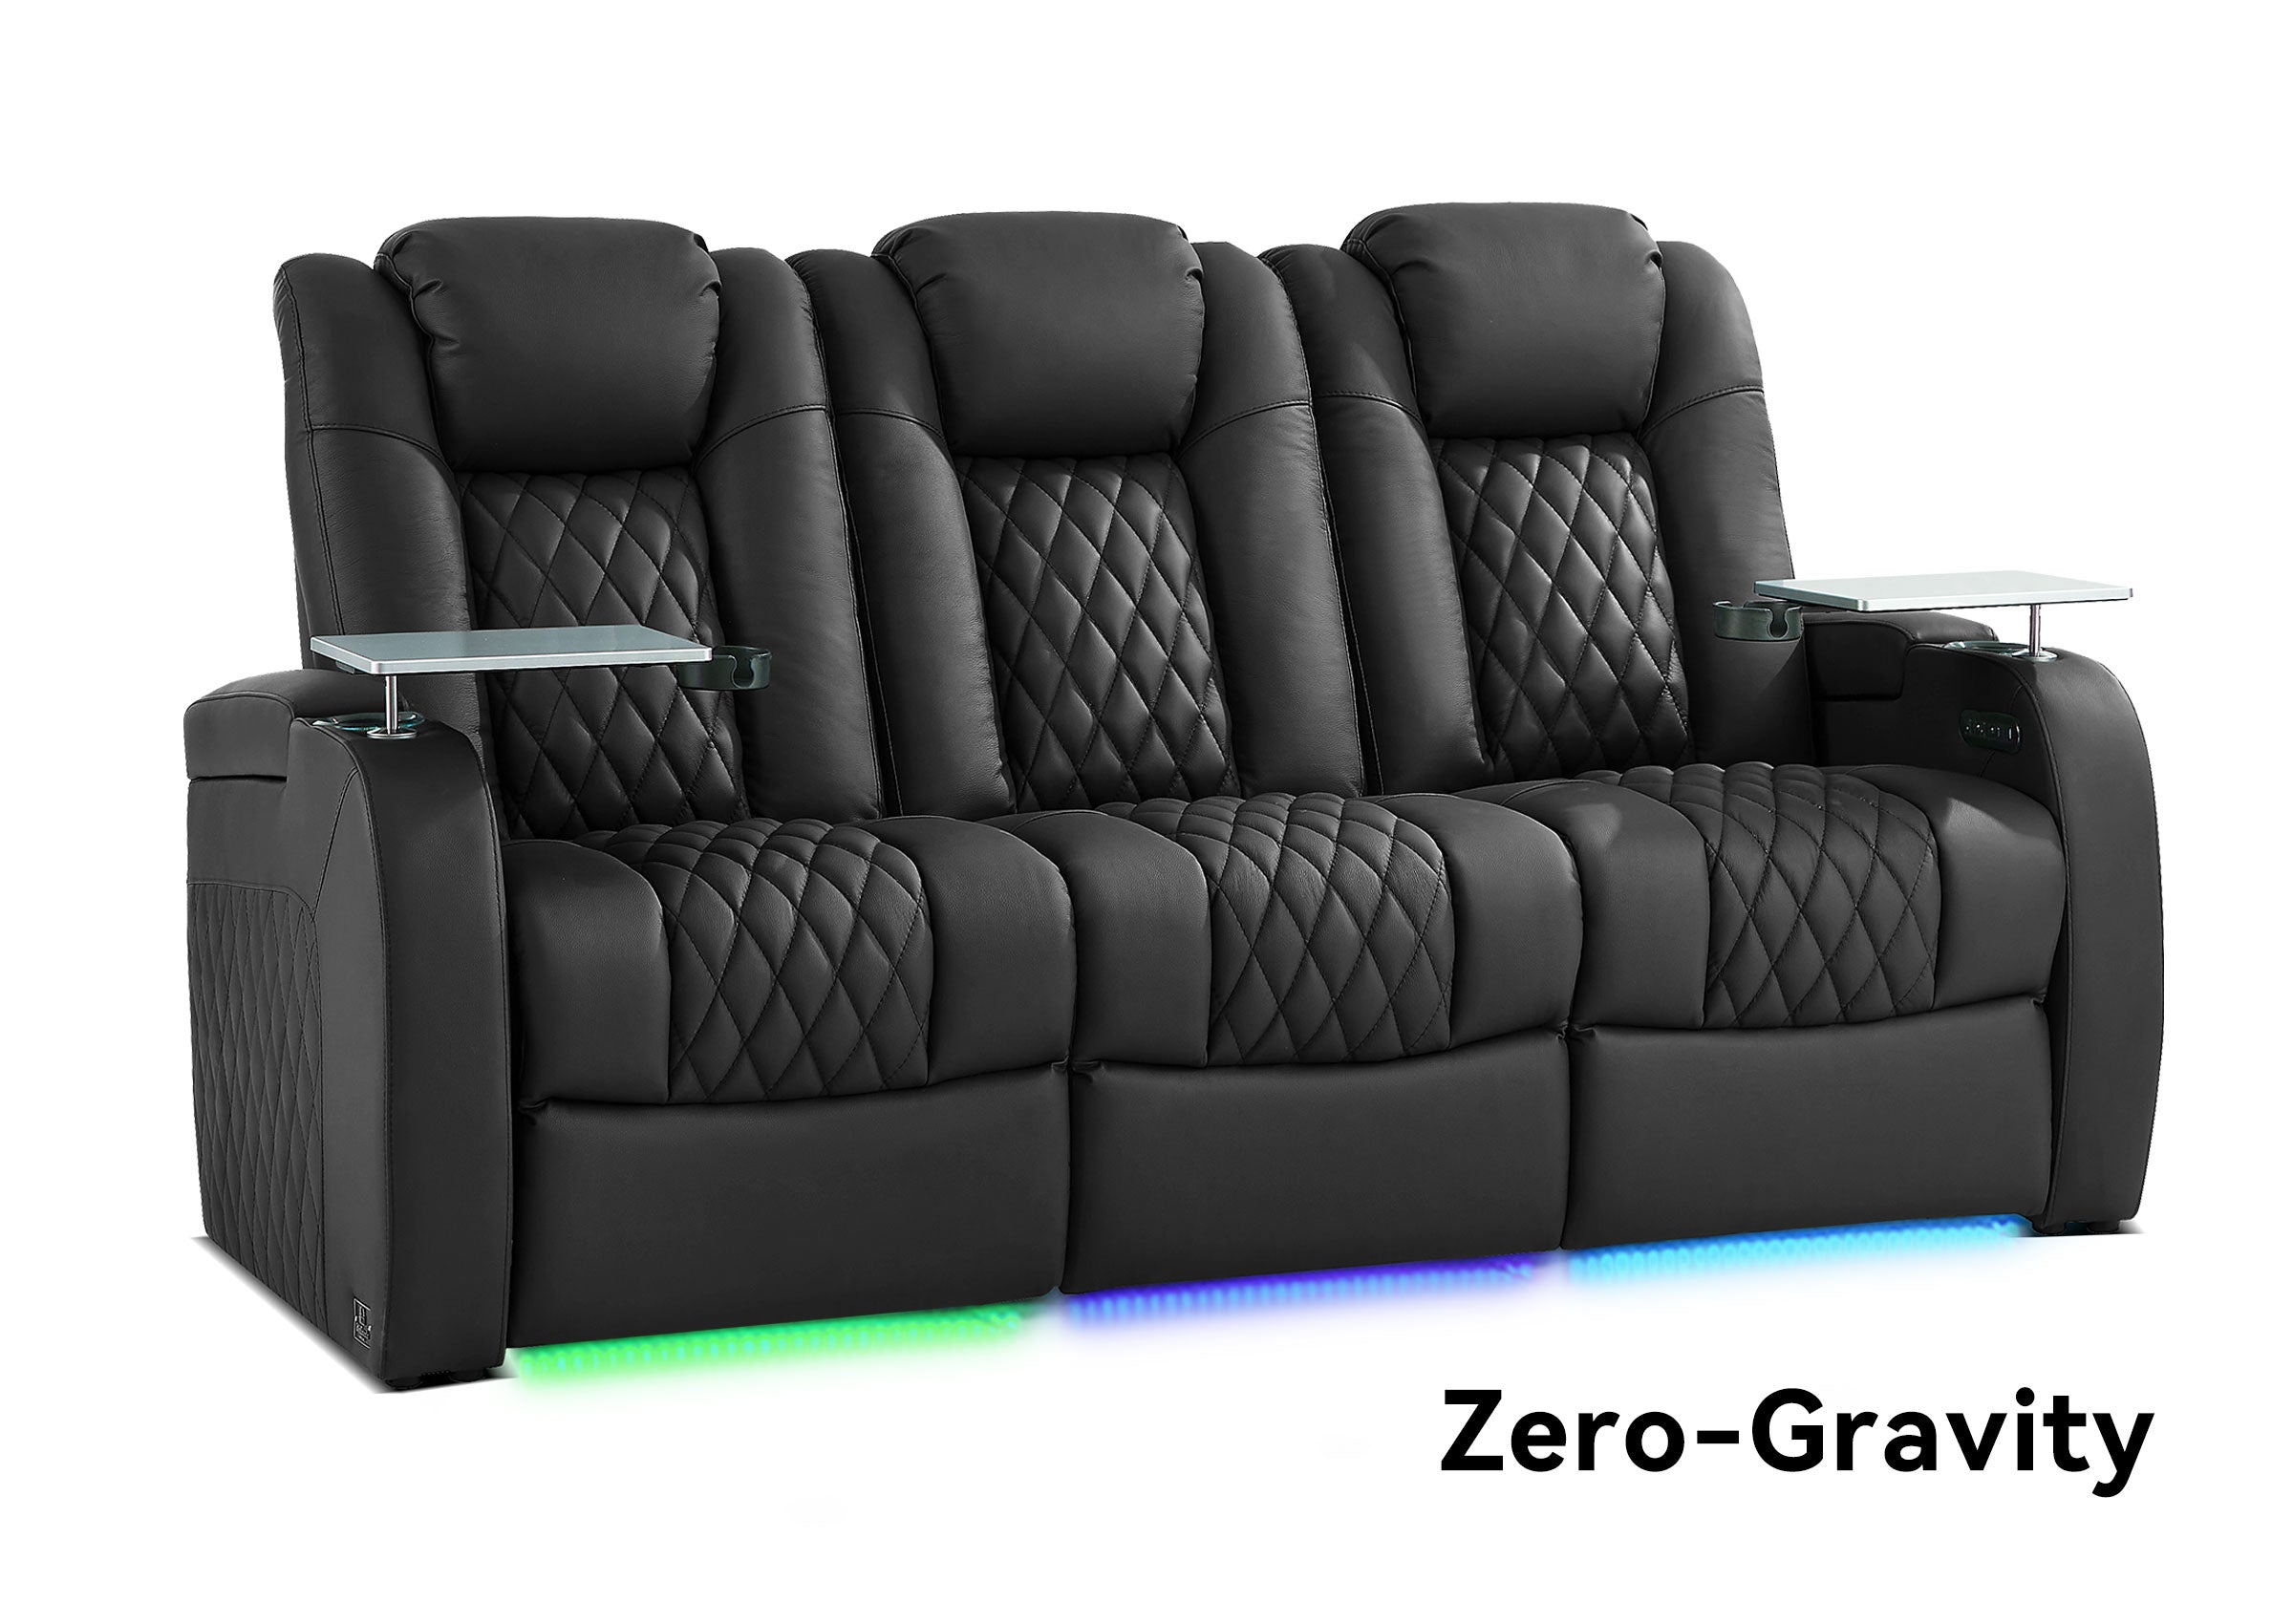
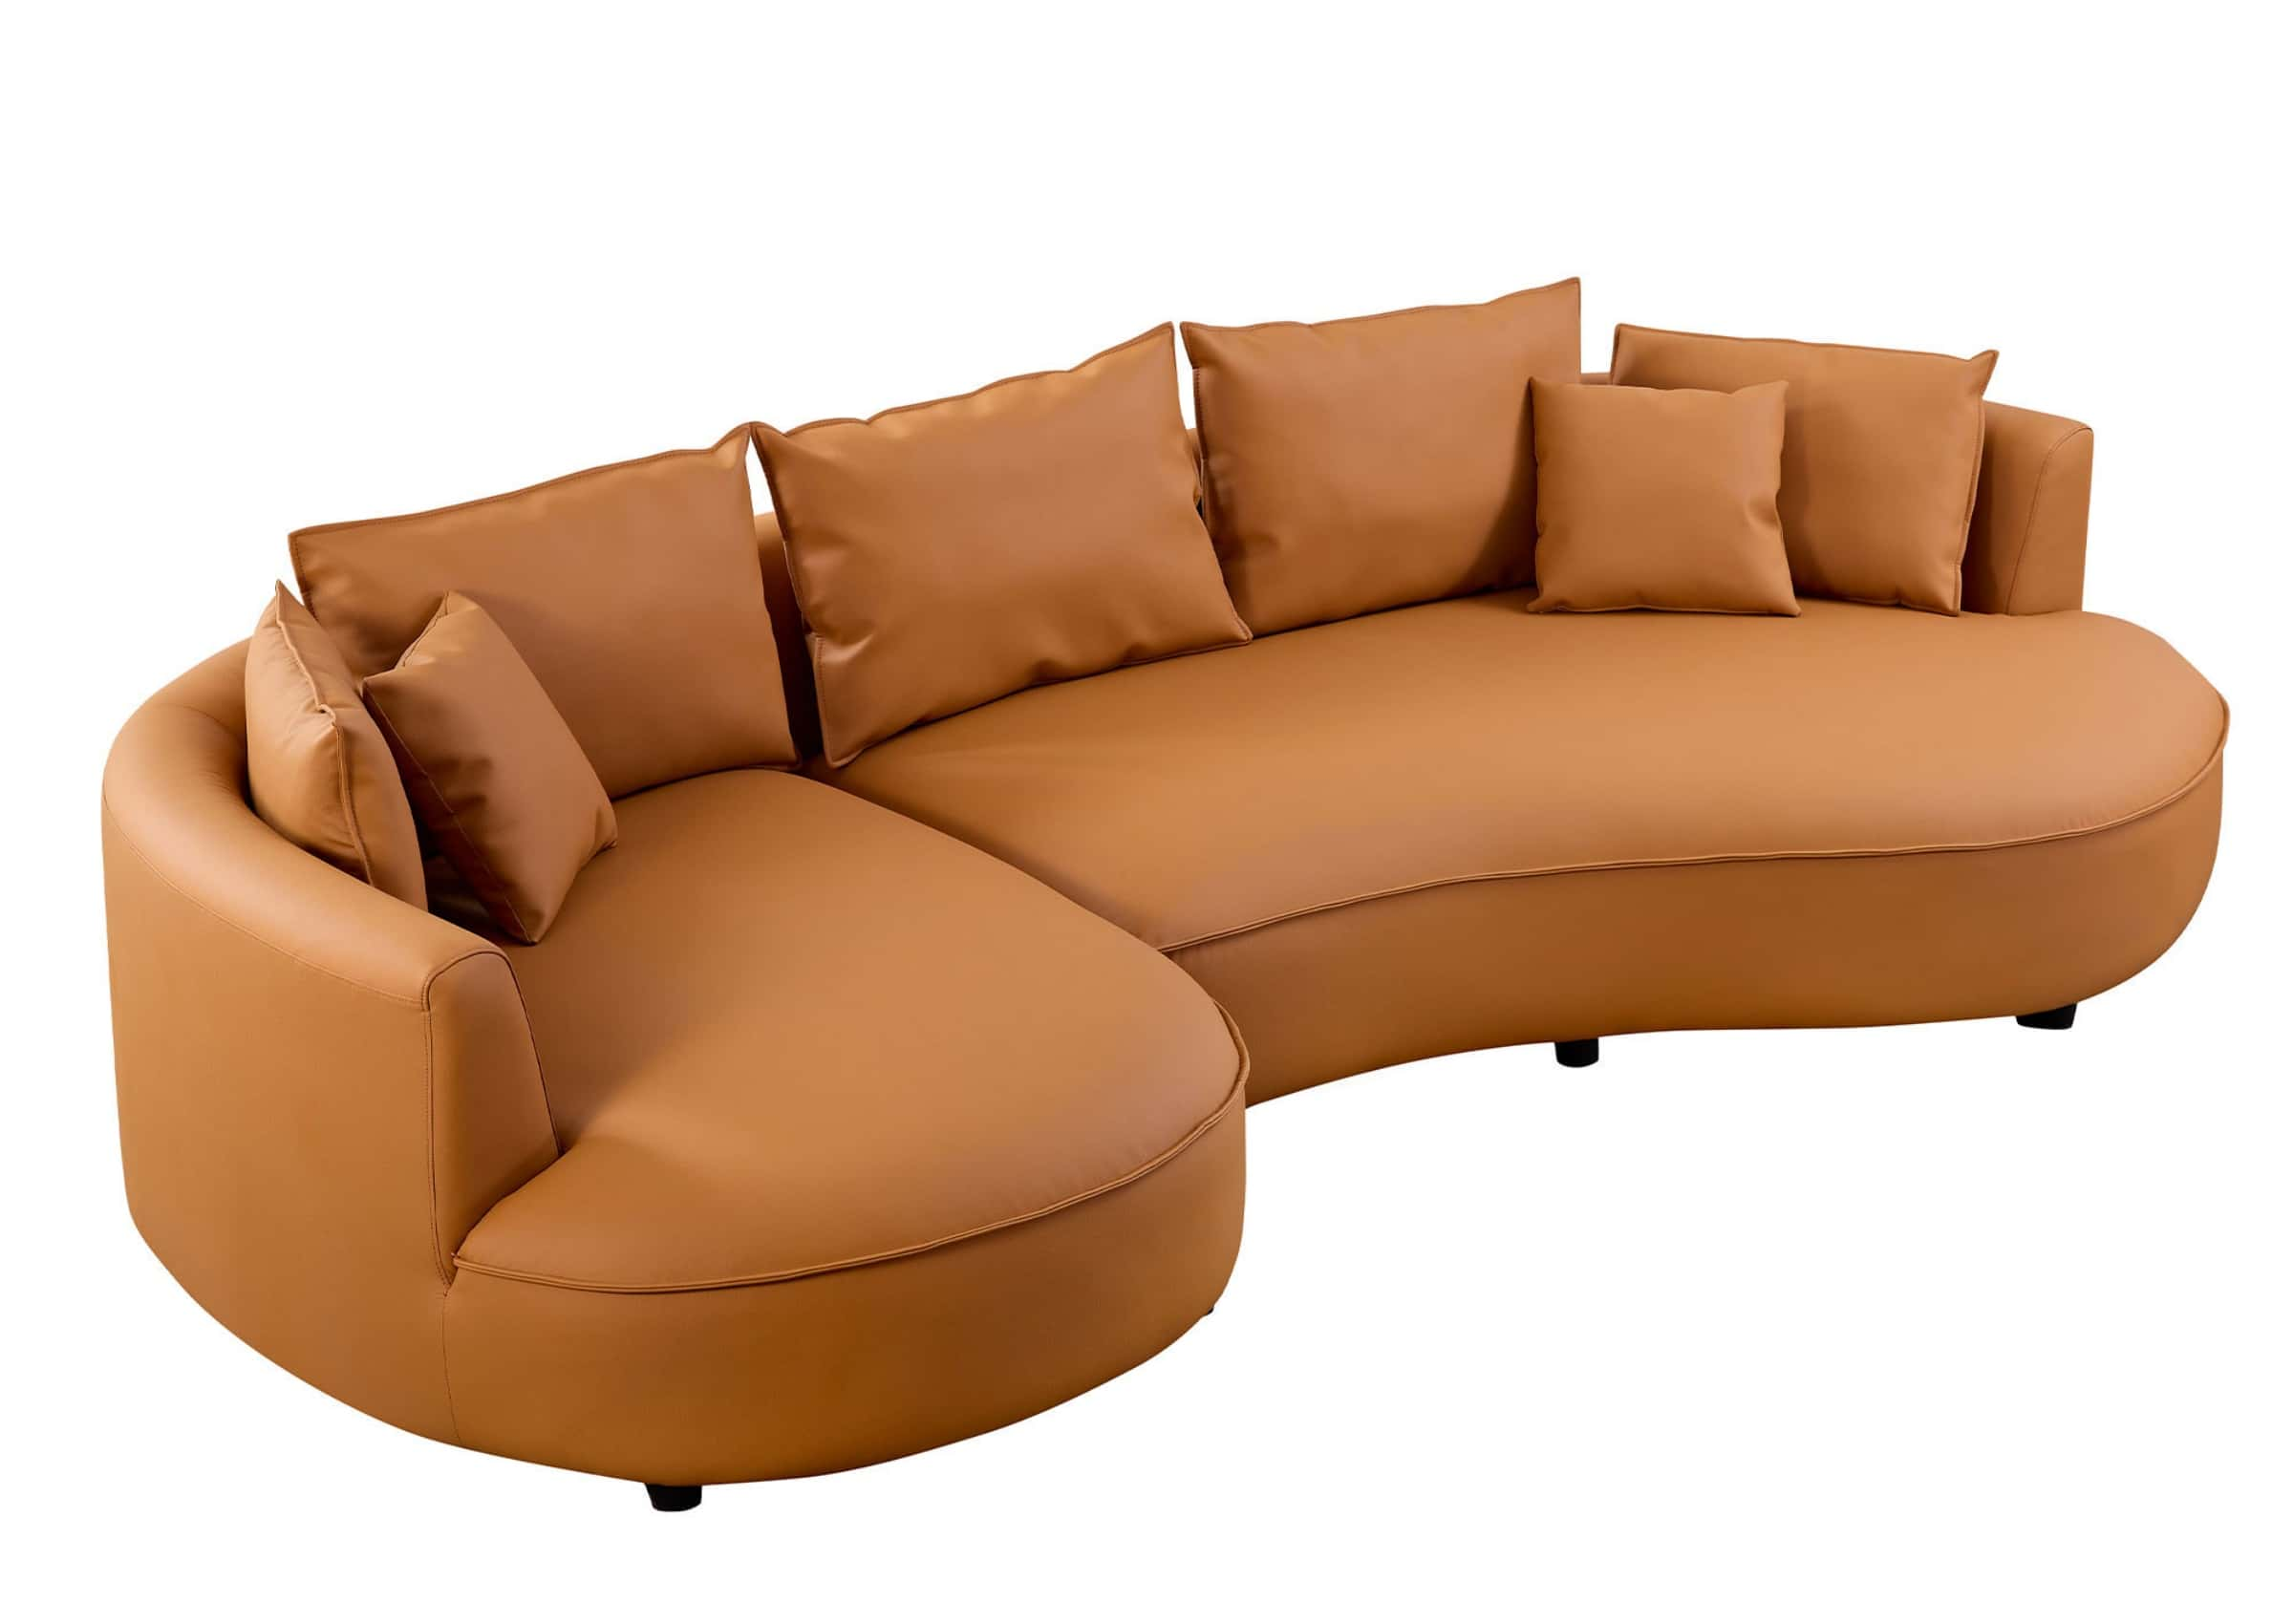


To assemble a sofa, match the parts to the instructions for your exact model, prepare enough working space and help, and build each connection in the manufacturer's order. Then check the structure, supports, and any powered functions before normal use. The useful starting point is identifying what actually needs assembly: some sofas need a frame built, others need only a back or legs fitted, and some modular sections do not connect at all.
This guide helps you organize the job and work through common sticking points. Keep your model's instructions beside it for the actual fasteners, assembly sequence, lifting method, and locking checks.
Identify Your Sofa and Its Assembly Type
Find the model name or number on the order confirmation, carton, or product label. Check the configuration, too: a straight sofa, chaise version, sleeper, and reclining version may not share the same instructions.
If the instructions are missing, look for a model-specific download on the manufacturer's or retailer's site, or request it using the model and order details. A video for a similar sofa is not a substitute for the correct parts list and connection method.
Read through the instructions once before starting. Look for a parts list, front or back markings, left and right labels, helper symbols, and steps that require turning the furniture. A drawing showing a second person is part of the procedure, not an optional way to finish faster.
| What arrived | Your main assembly task | What to identify first |
|---|---|---|
| Separate frame, arms, backs, and hardware | Build the structure and fit its components | Part labels, fastener sizes, orientation, and the tightening sequence |
| A largely assembled base with removable legs or back | Fit the remaining parts and secure them | Correct mounting points and every required lock or retaining part |
| Several sectional modules | Arrange the intended configuration and join sections where specified | Which sections belong beside each other and how their connectors engage |
| Finished or no-assembly modules | Unpack, position, and complete any specified setup | Whether connections are required and whether the product needs a recovery period |
Do not infer the method from the word modular. Swyft's assembly guide, for example, describes a Model 03 system whose sections remain separate. That example does not establish how another modular sofa should be installed.
If a label and the manual appear to describe different products, resolve that mismatch before attaching parts. Photograph both labels and send them with your order details to the seller. Guessing from a similar-looking sofa can send the whole assembly down the wrong path.
Prepare the Work Area, Tools, and Help
Use a clear area in the room where the sofa will stay, once you have confirmed that the delivered components can reach it. Leave space for the unfinished furniture, open boxes, loose parts, and the people doing the work. The finished sofa's footprint alone is not enough.
Move breakable objects away and keep the exit route open. Use the floor protection specified for the job, without creating an unstable surface under the furniture. Keep packaging and small hardware out of the area where you will stand or place your hands.
Gather the tools listed in the manual before opening hardware packets. A flashlight can make recessed fittings easier to see; a phone helps record labels and assembly stages. Neither replaces the correct driver, supplied wrench, or required helper.
For solo assembly, identify the difficult actions in advance. Can you keep a component steady while aligning it, or would you have to let go to reach a fastener? Can you turn the base using the specified handling method? If the instructions require two people, or you cannot support a part without strain, arrange help for that stage.
You may still be able to sort components, match hardware, and prepare the room yourself. Separating those tasks from the lifting and alignment stages makes help more useful than asking someone to stand by for the entire unpacking process.
Unbox and Check the Parts Before Building
Photograph visible carton damage and keep the labels. Open the packaging along its indicated opening route, keeping cutting tools away from upholstery and cables. Place components where they will not have to be lifted over one another.
Match the contents to the parts list by label and quantity. Keep different fastener lengths, washers, brackets, and feet in separate groups. Two similar-looking screws are not necessarily interchangeable.
Check for parts packed inside a marked storage compartment or supplied pouch only where the instructions direct you. Do not cut the fabric under the sofa to search for missing hardware. An underside covering is not automatically disposable packaging.
Next, establish orientation. A part can look almost symmetrical while having its mounting points on only one correct side. Compare the labels and drawings, and confirm whether left and right are defined from a seated or facing position. Look for the manual's stated convention rather than using your own.
Before beginning, you should be able to answer three questions: Do I have the parts for this stage? Do I know where each one belongs? Can I identify the hardware that secures it? If any answer is no, pause before creating a partly assembled structure.
Keep the packaging until the sofa is assembled and you have resolved any damaged or missing parts.
Fit the Frame, Legs, Arms, and Back in the Specified Order
There is no universal rule that the arms must go on before the back. Habbio's sofa-in-a-box example installs the arms before the back; other systems use a different sequence. Covers, wiring, and access to fittings can also affect the order.
Work through one instruction stage at a time, checking the connection before moving on. Depending on the design, the following details matter.
For Bolted Components
Match the fastener and any washer or retaining part to the drawing. Bring the mounting points into alignment before inserting the fastener. Do not use a screw or bolt to drag a misaligned component into place.
Where the manual calls for a loose fit before final tightening, follow that sequence. It leaves the specified adjustment available while the related fasteners are positioned. Complete the final tightening when instructed, using the stated tool and any specified setting.
If a fastener will not start correctly, stop and check its identity, angle, and receiving point. A longer screw is not a solution to a connection that will not reach.
For Slide-In Backs or Arms
Identify the mating fittings and the direction in which they engage. Support the component as instructed, line up the corresponding sides, and keep fingers out of the connection path.
Check both sides rather than assuming that one seated fitting means the whole component is secure. If a panel sits higher on one side, return to the prescribed alignment or release step instead of pressing harder on the other side.
Some systems require a separate lever, clip, or retaining fastener after the main pieces engage. Finish those steps before treating the part as installed.
For Legs, Feet, and Covers
Use the mounting positions and parts shown in the manual, including any center supports. A short support foot can be less obvious than the decorative legs, but it still belongs in the inventory and installation check.
If a leg screws into an insert, start it straight and stop if it will not thread as intended. Follow the instructions for tightening and for any adjustable feet.
Fit covers and cushions at their specified stage. Keep fabric clear of connection points without cutting it, removing staples, or changing the upholstery to expose a fitting.

Join Sectional Modules and Connect Powered Components
Place the modules in the intended order before joining them. Check the front edges, backs, arm positions, and chaise orientation against the configuration you purchased. A section that looks right in a photograph may still be the wrong neighbor for the connector beside it.
Inspect the two fittings that are supposed to meet. Compare their direction and height, then use the engagement motion described for that system. Do not assume every connector joins by pushing horizontally, lowering one section, or waiting for a click.
If your design keeps modules separate, there is no lock to install. Follow that system's positioning and foot instructions instead of adding generic brackets to make it behave like a connected sectional.
For a system designed to connect, perform the manufacturer's connection check after joining each pair and install any required retaining part. Complete that connection before adding the next section. Keep the assembly supported and avoid dragging a joined group by an arm or back.
For powered seating, distinguish the furniture connectors from the electrical connections. Keep the unit unplugged until the instructed stage. Identify the supplied plugs and cable route, and keep wiring clear of moving hardware, feet, and joints.
La-Z-Boy's power furniture manual illustrates why this is model-specific: its assembly instructions delay plugging in and note that power connections can vary. Do not copy another product's connector colors, adapter, or wiring arrangement.
INSTALLATION HELP
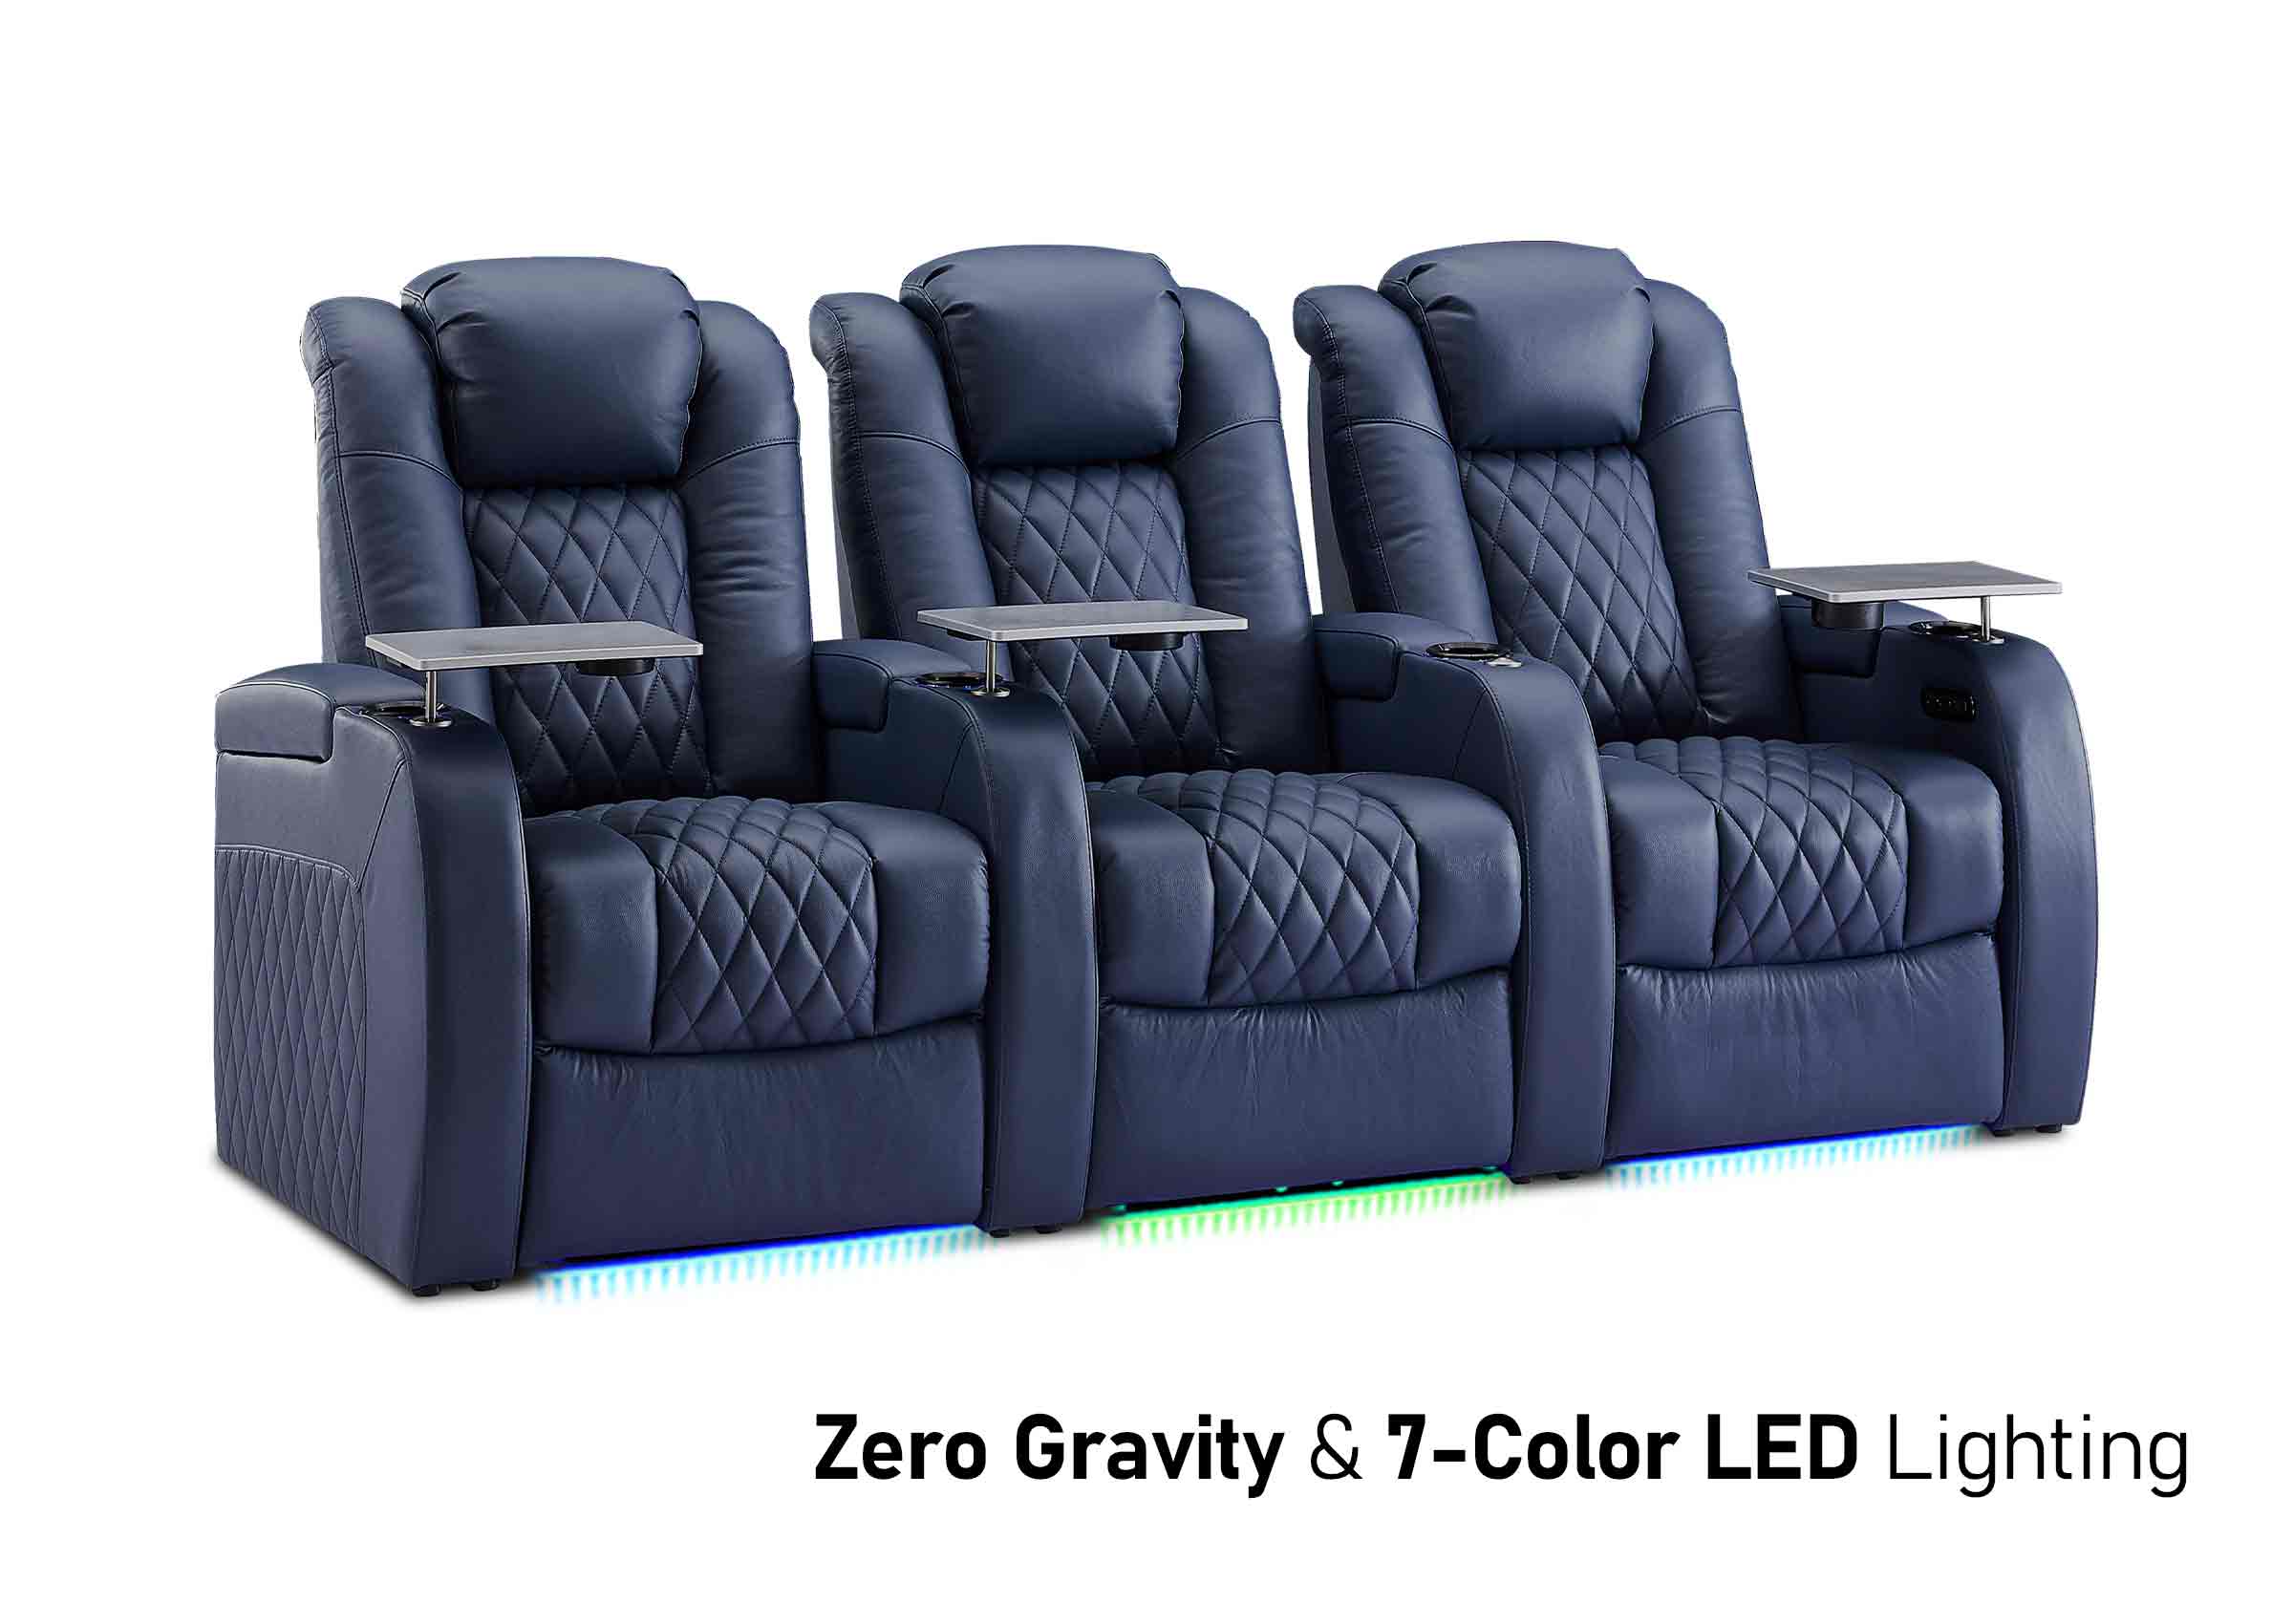
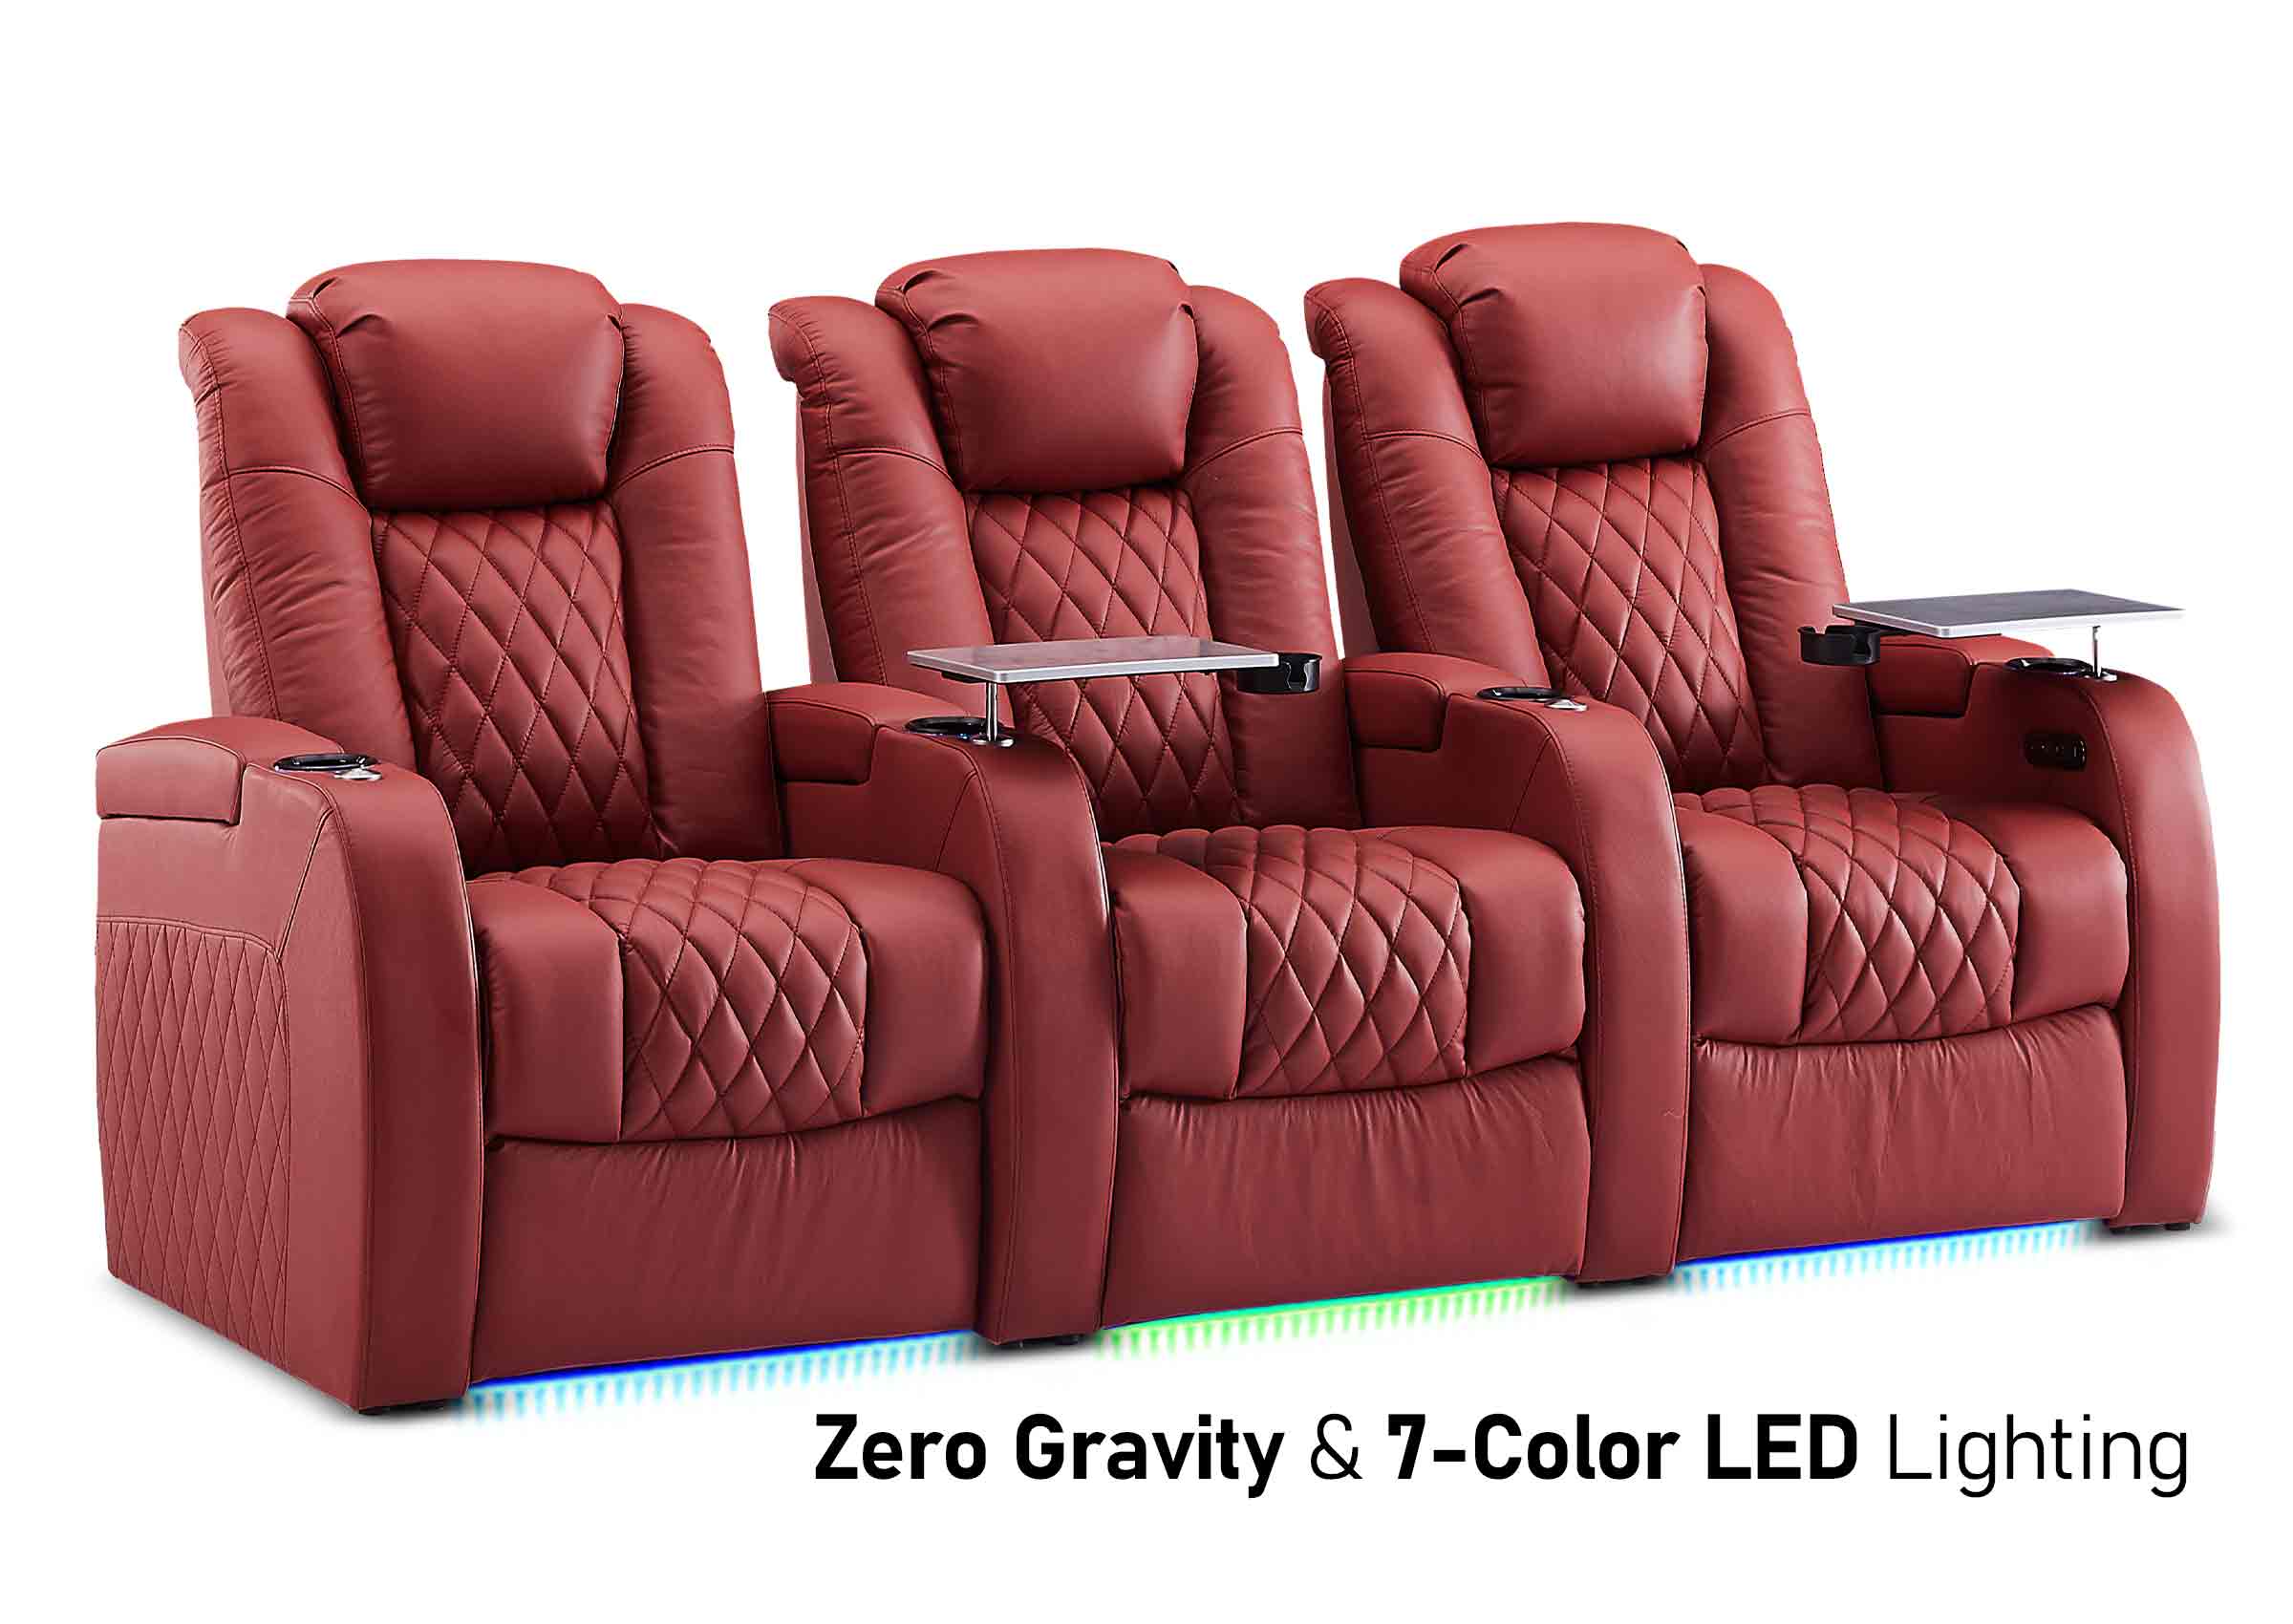
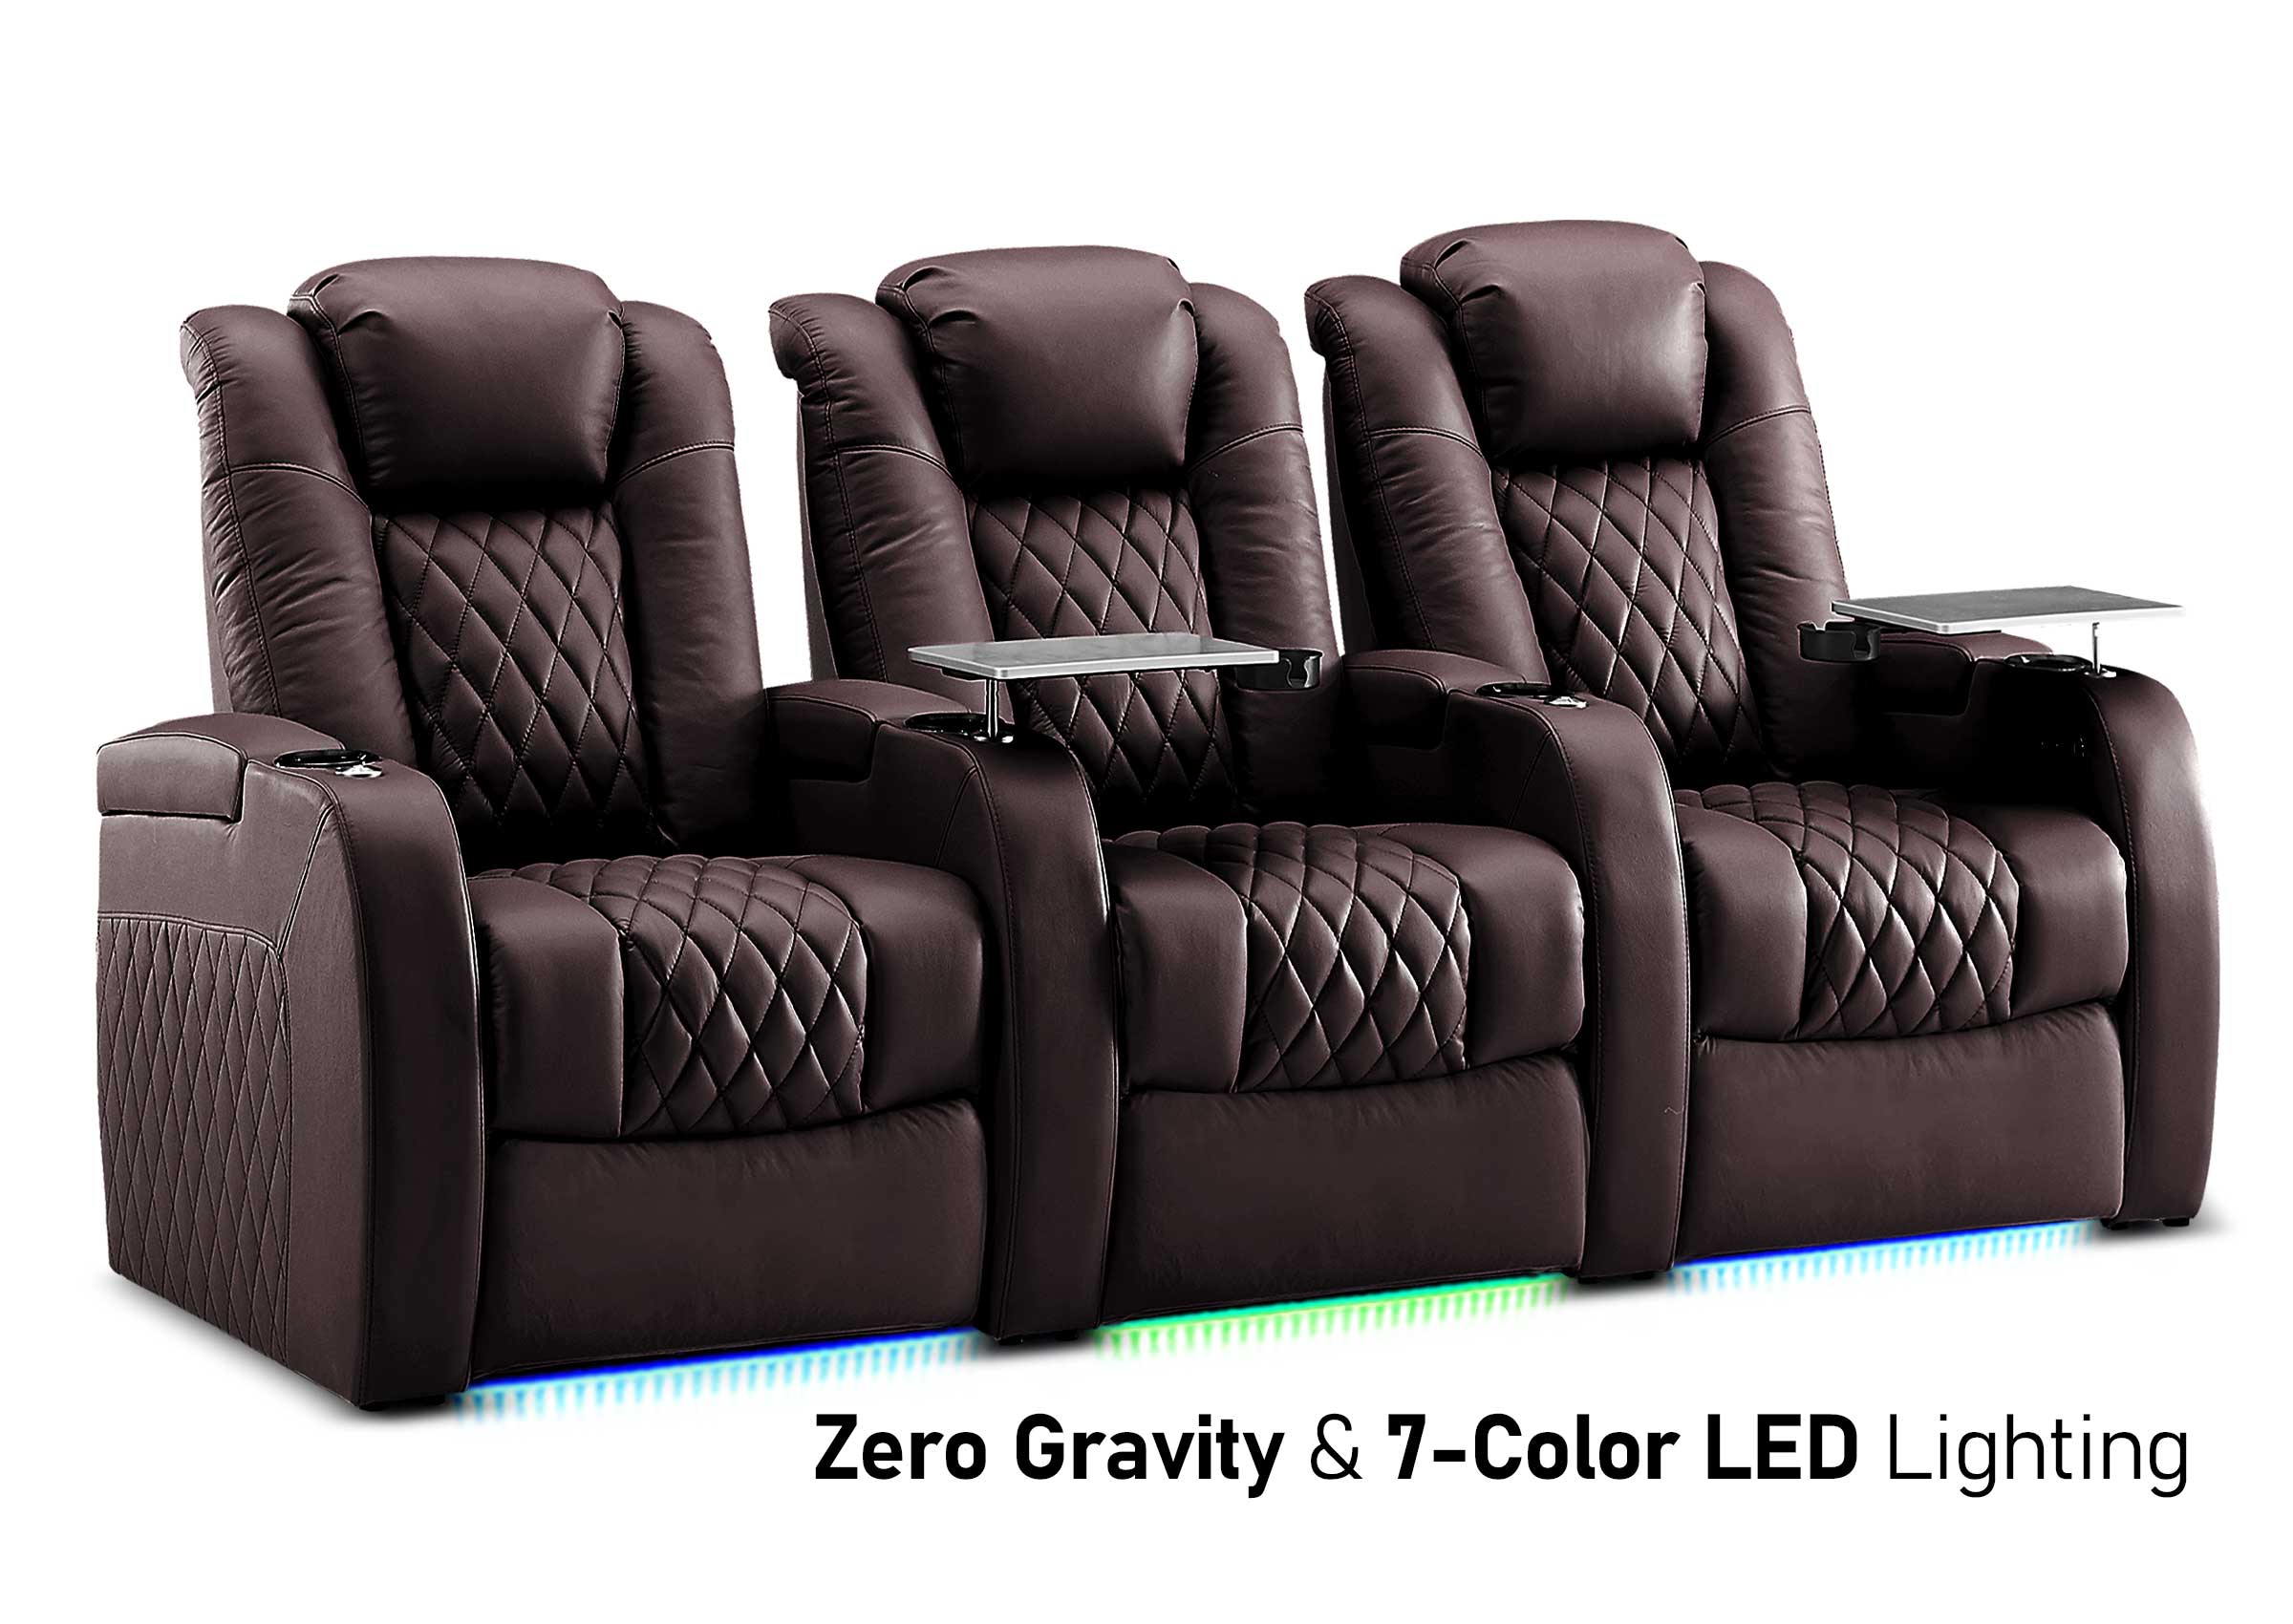
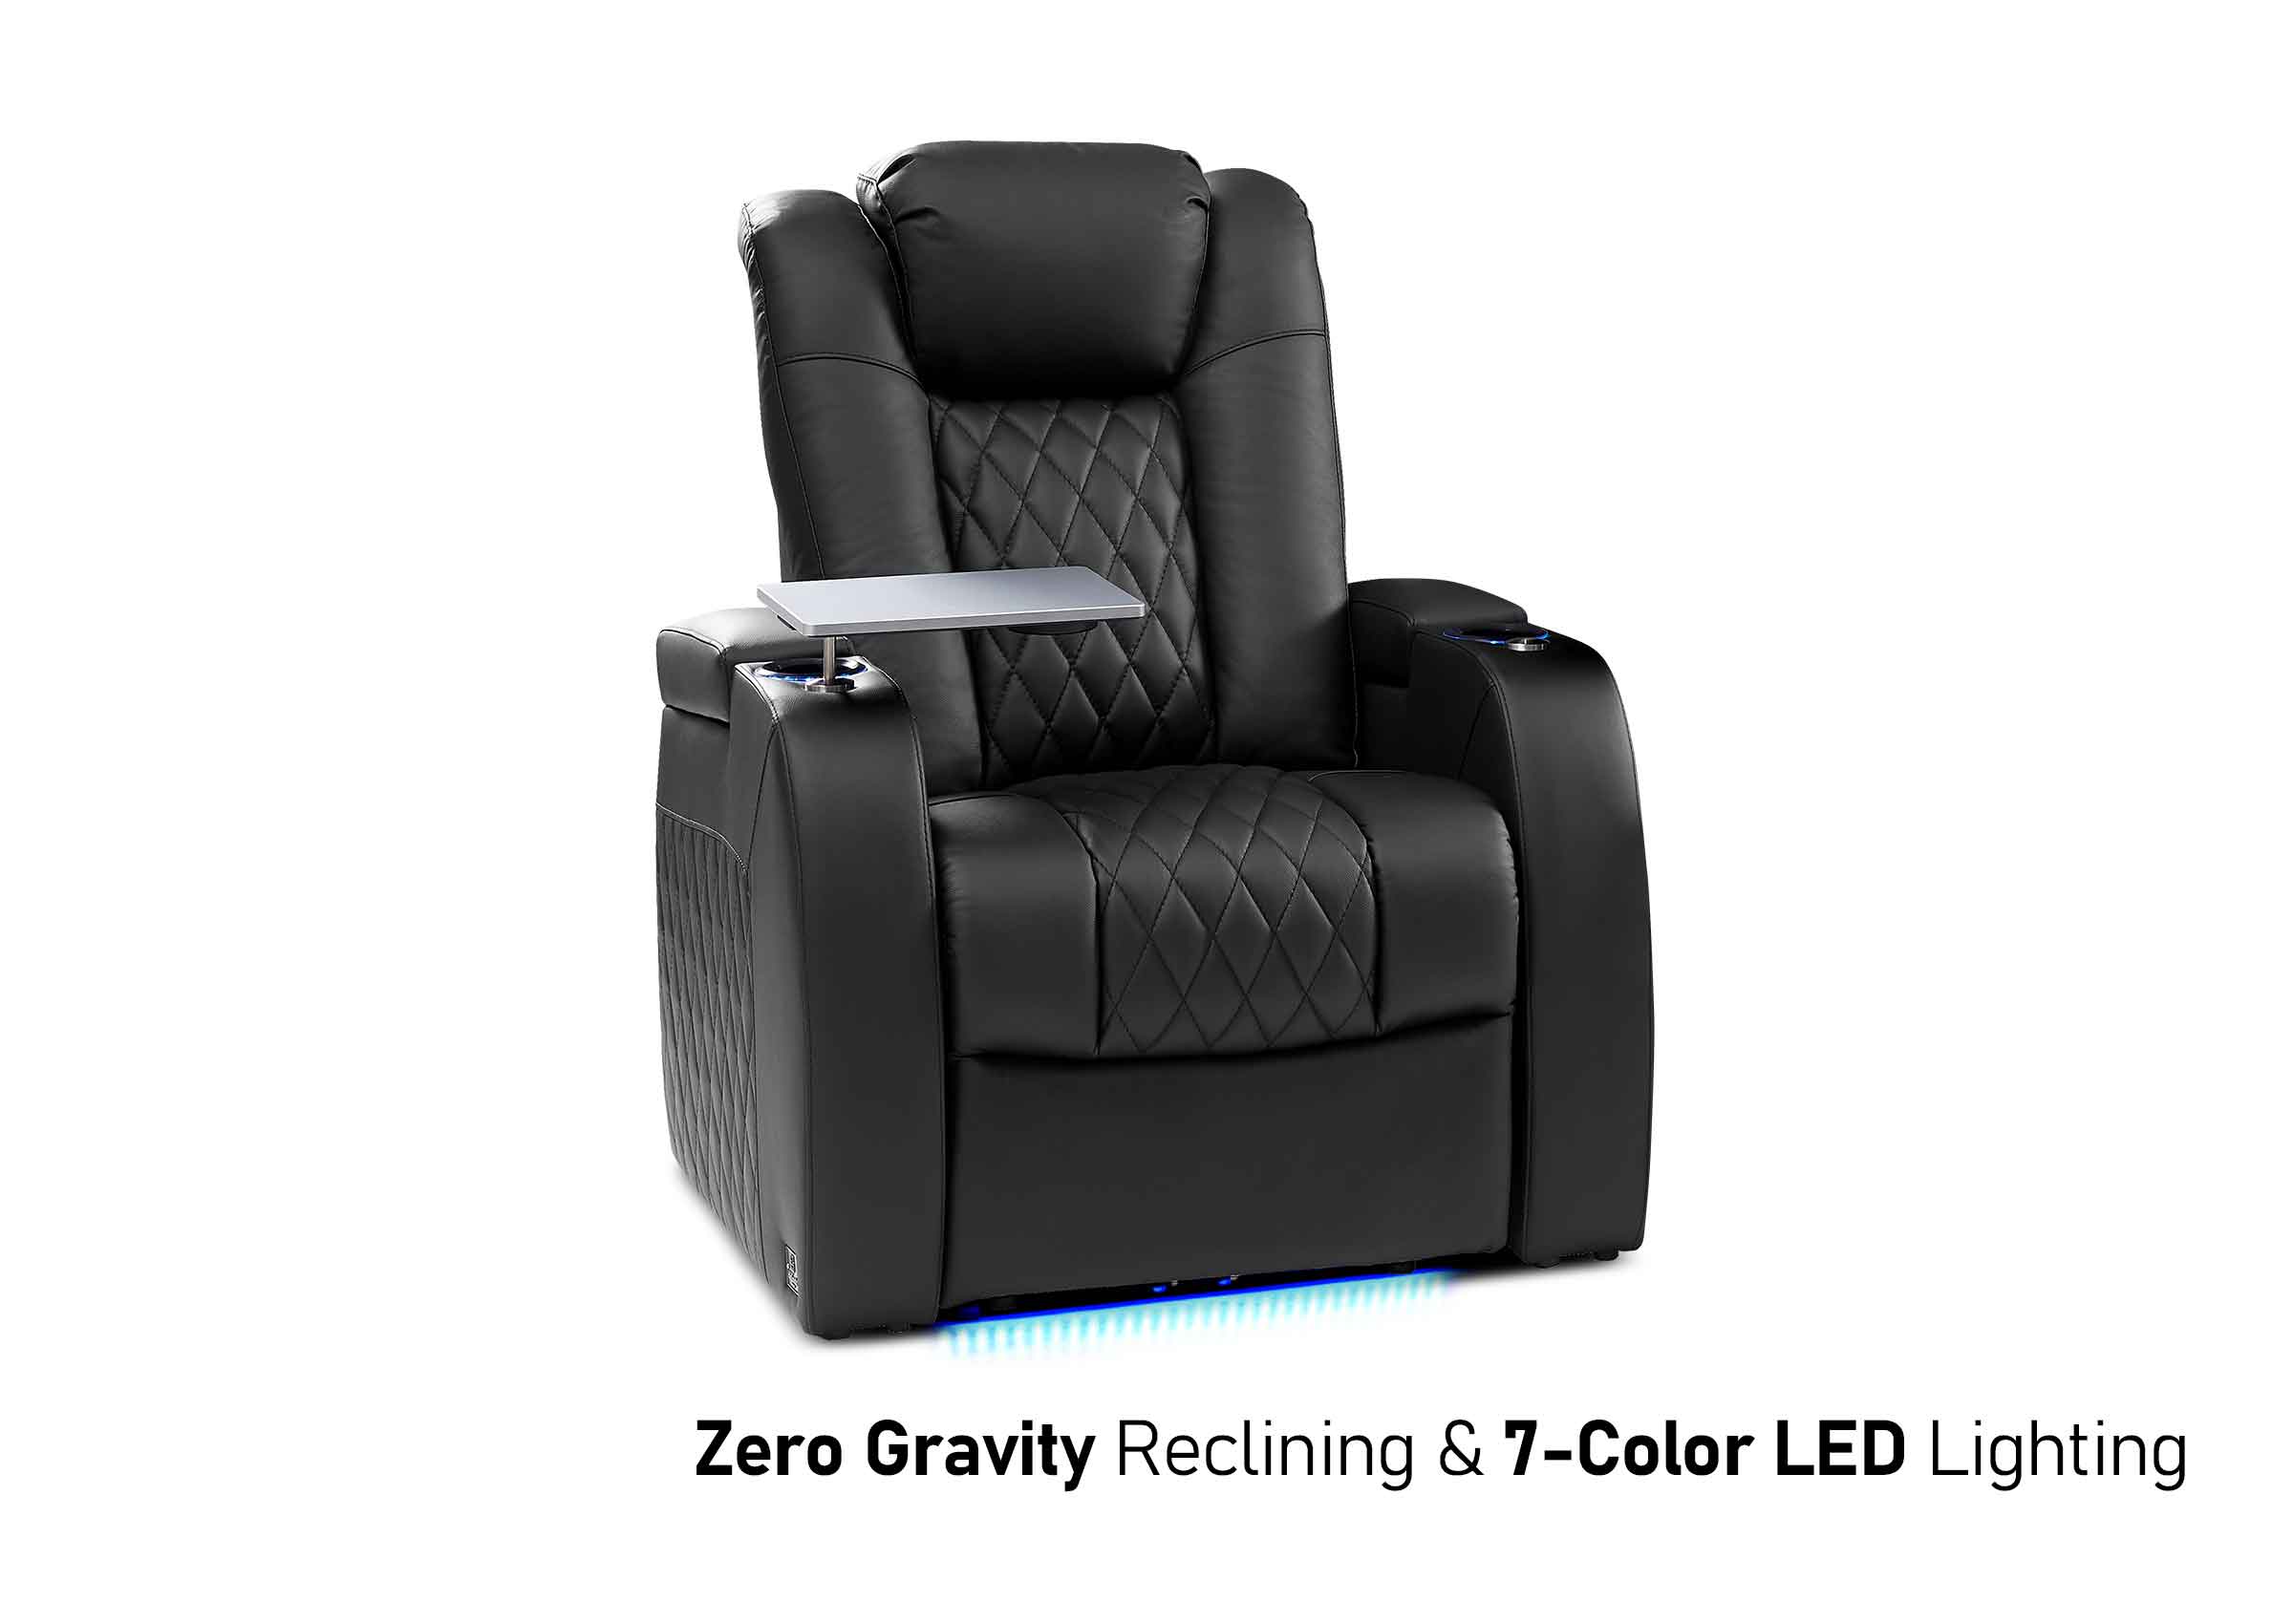
Setting Up Weilianda Theater Seats?
For Weilianda home theater seats, our installation overview provides a separate walkthrough and video entry point. Match it to your seating and use the instructions for your exact model for the actual connections.
What to Check When Parts Will Not Fit
Stop at the first connection that does not work. Completing other stages around a misaligned part can make the cause harder to see.
Start with identity, orientation, and access. Compare the physical parts with the same instruction step; check the corresponding fitting on the opposite side; and look for fabric or packaging obscuring a connection. Improve the view with lighting rather than reaching blindly between heavy components.
| What you notice | Check first | What to do next |
|---|---|---|
| Holes will not line up | Correct part, front/back orientation, and the current assembly stage | Return to the instructed positioning or loose-fit stage; do not drill another hole |
| One side engages while the other stays high | Both fittings' alignment and the prescribed engagement direction | Support the part and follow the approved release/repositioning method |
| Upholstery hides the fitting | Labels, the designated fabric opening, and trapped cover material | Clear only what the instructions permit; do not cut the cover or pull out staples |
| A module designed to lock joins but will not remain connected | Required locks or retaining parts, intended neighbors, and connector condition | Repeat the specified connection check; do not add an improvised fixing |
If the assembly still will not fit, or a bracket, mounting point, or cable appears damaged, leave that section out of use and contact the seller. Take one photograph showing the whole assembly stage and close-ups of both mating parts. Include the model, part labels, instruction step, and what happened when you tried to join them.
That information distinguishes a missing step from a wrong or damaged part. Asking only for “a stronger bracket” can lead to the wrong remedy.
Complete the Final Checks Before Normal Use
If the sofa needs a final positioning adjustment, check whether its modules must be separated before moving them. Use the prescribed handling method and enough help; do not assume a connected group can be lifted or dragged as one piece. Recheck the required connections afterward.
Before anyone settles in, confirm that:
- All structural parts and required retaining pieces are installed.
- Legs and supports are in their specified positions and meet the floor as intended.
- Arms, backs, and module joints pass the checks in the instructions.
- No upholstery, packaging, or cable is trapped in a joint or moving mechanism.
- Required clearances, cable routing, and any product-specific waiting period have been addressed.
For powered models, complete the mechanical checks before supplying power at the instructed stage. Test the functions as directed, with people, pets, and objects clear of the mechanism. If a cable is damaged, a part shifts unexpectedly, or movement catches, stop testing and seek model-specific help. Disconnect power before inspecting or repositioning connections, following the model's instructions; do not reach into a moving mechanism to look for the cause.
For a fixed sofa, follow the maker's first-use instructions; do not bounce on it to prove that it is strong. An even-looking back or a comfortable cushion does not establish that hidden connections are secured.
Save the manual, model label, and a few assembly photographs. Keep identified spare hardware in a labeled bag, separate from parts whose purpose is unresolved. These records will be useful if you later need a replacement component or move the sofa.
Frequently Asked Questions
Can I Assemble a Sofa by Myself?
Some models permit solo assembly; others require a helper. Check the manual's handling instructions before deciding. You can often prepare the room and organize the parts alone, but a stage that requires holding, aligning, and fastening a heavy component may need assistance. Do not change the order or use your body weight on an unfinished frame just to avoid having help.
How Long Does Sofa Assembly Take?
There is no reliable time that applies to every sofa. A base needing only legs is a different job from a frame with separate arms, covers, and sectional connections. Use the estimate for the exact model if one is provided, and allow for unpacking, inventory, and final checks. If you have limited help, identify the lifting stages first so the available time covers those tasks.
Should I Use a Power Drill?
Only use a powered driver when the product instructions permit it and specify the appropriate method. A tool-free fitting does not need a drill, and a powered driver should not be used to overcome a connection that will not align. Use the stated hand tool where required; drilling new mounting holes changes the furniture rather than completing its intended assembly.
Is It Normal to Have Screws Left Over?
It can be, if the parts list identifies extras or hardware for a configuration you did not buy. Compare the remaining pieces with the quantities used in each completed stage. A missing structural fastener can be mistaken for a spare, so do not discard the parts or assume the sofa is complete merely because it stands upright.
Can I Start if Not All the Boxes Have Arrived?
First compare the delivery with the full package and parts list. You can document the cartons and sort what is present, but do not begin a stage that depends on a missing base, support, connector, or other required component. Check the tracking and seller's instructions for split deliveries. An incomplete shipment is not a reason to borrow hardware from another piece of furniture.
Can I Use a No-Assembly or Compressed Sofa Immediately?
Follow the setup instructions for that exact product. No-assembly can still involve unpacking multiple sections, positioning supports or cushions, and checking the final arrangement. A compressed product may specify a recovery period after opening. Do not transfer a waiting time from another sofa, or use the outside shape alone to decide that it is ready.
Can I Take the Sofa Apart Again When I Move?
Only separate the parts the manufacturer identifies as removable, using its dismantling instructions. Keep the manual and photographs so you can identify those connections later. A sofa that arrived in pieces is not necessarily designed for unlimited rearrangement, and removal may require a different sequence from installation. Do not assume a back, arm, or module releases simply by pulling upward.
Finish the Assembly Before You Put the Sofa to Use
A finished sofa has more than its cushions in place: its parts match the instructions, its required connections are secured, and its supports and functions have passed the specified checks.
If you are assembling Weilianda seating and need help with a part or connection, contact Support or email support@weiliandahome.com. Include your model or order details, the instruction step, and photographs of both sides of the problem connection so the team can identify what needs checking.